When you click on links to various merchants on this site and make a purchase, this can result in this site earning a commission. Affiliate programs and affiliations include, but are not limited to, the eBay Partner Network.
Hey guys, I just wanted to give you an update and I guess this one just goes to show for my "humanity" as.. I make mistakes.. and I made a slight error of which I'm hoping I can recover soundly from.
Here's my progress list:
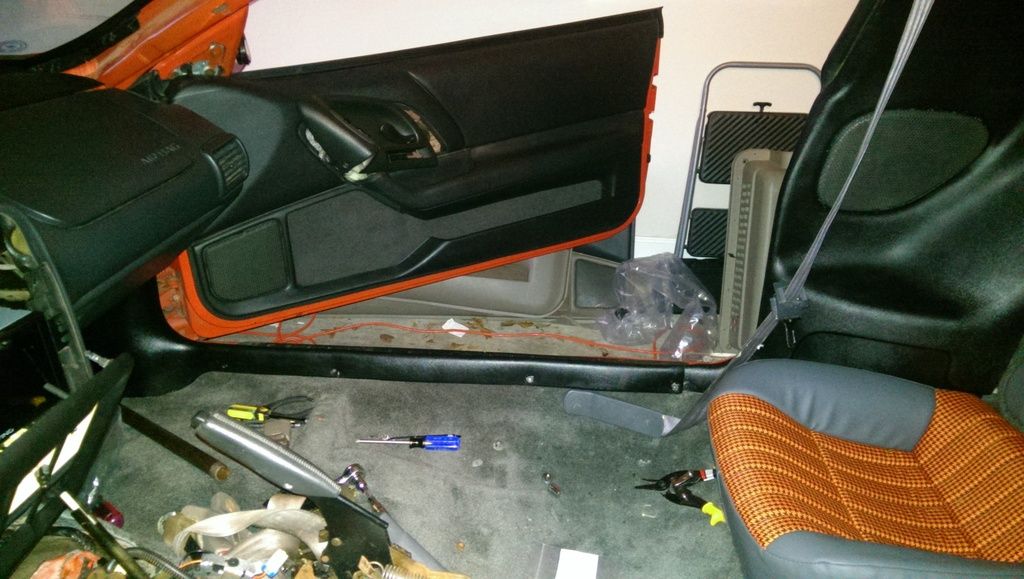
-- Removed all seats
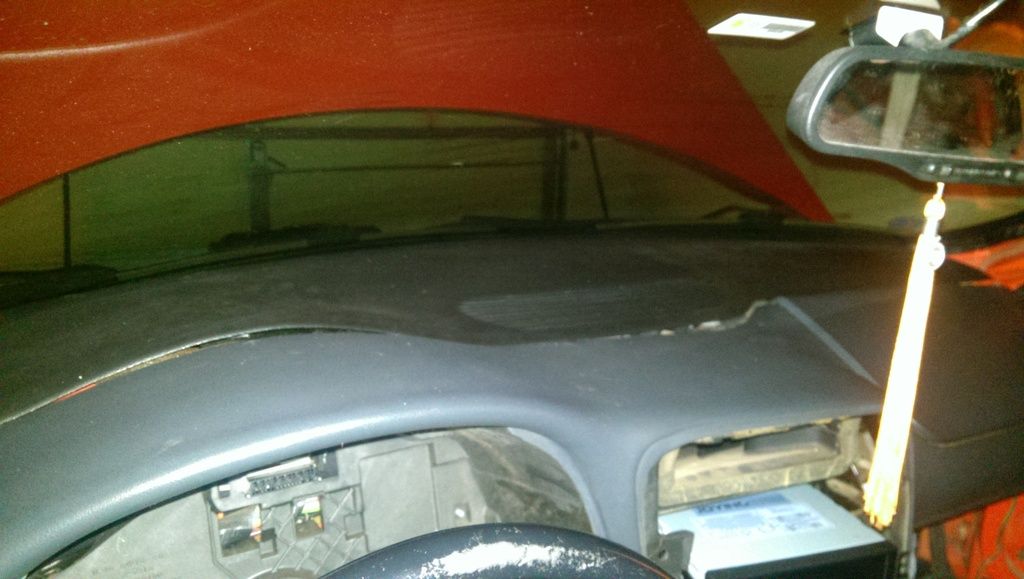
-- Modified Upper Dashboard and deleted 2 tabs..it fits better but still needs alittle adjustment.
-- Inspected my drivers seat which has an issue Ive been dealing with since I got the car.
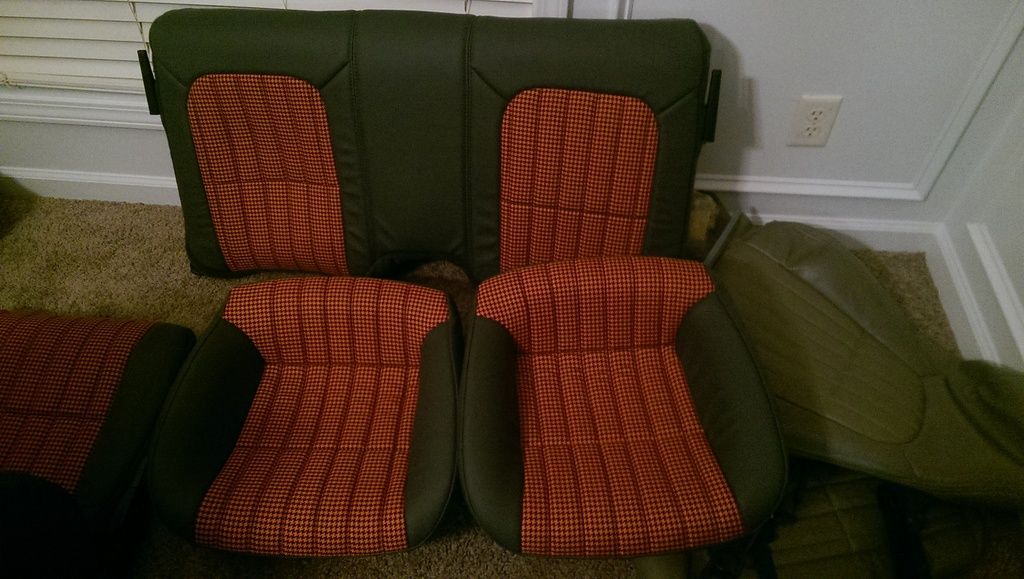
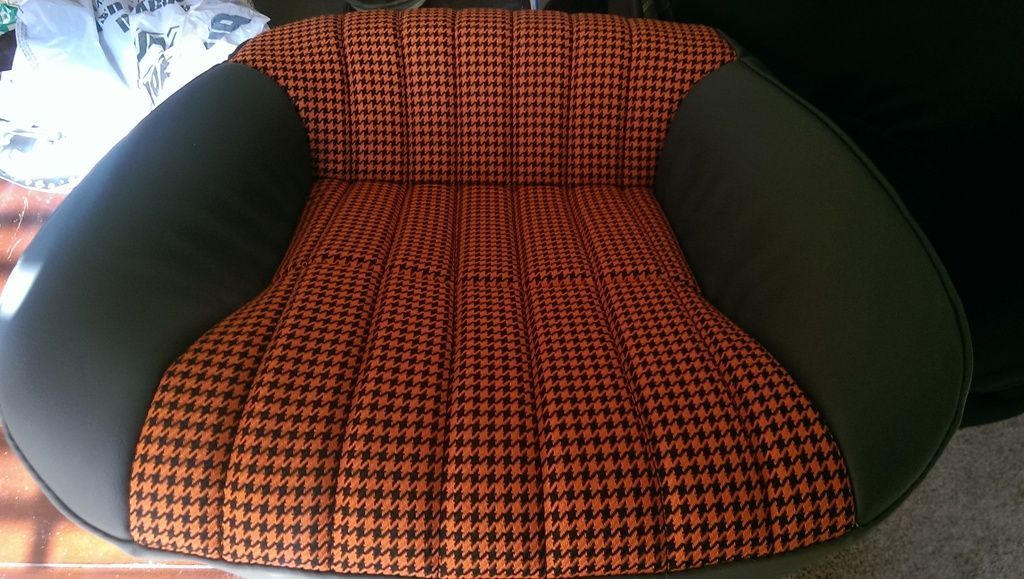
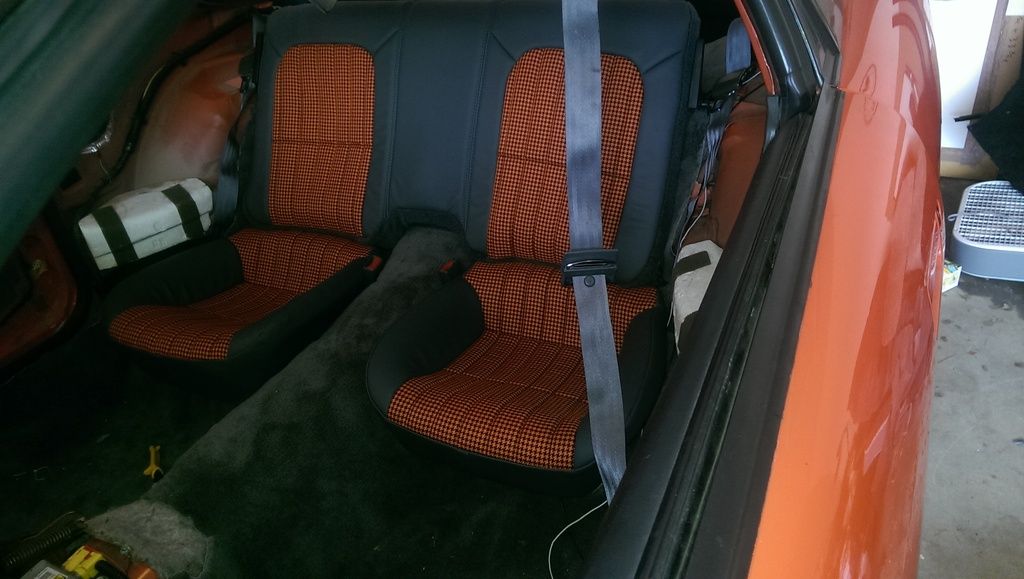
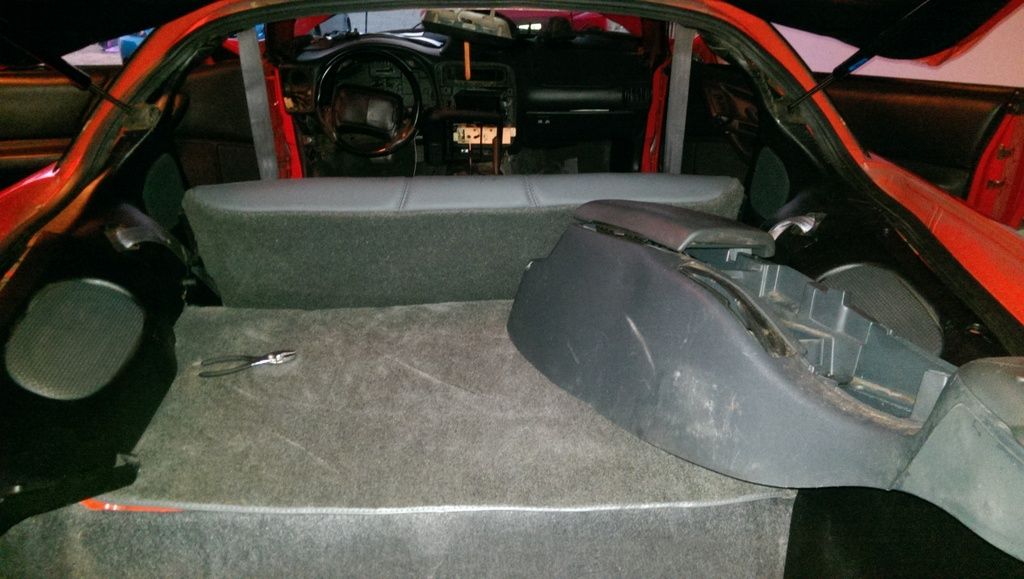
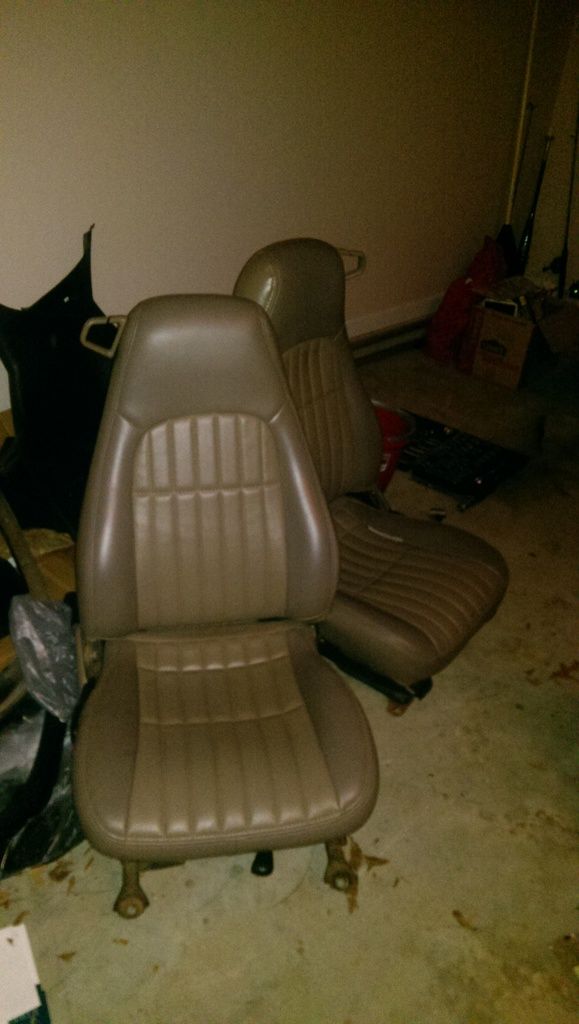
-- Began installing my seat covers on what I thought would be the easiest part, the rear bucket seats.
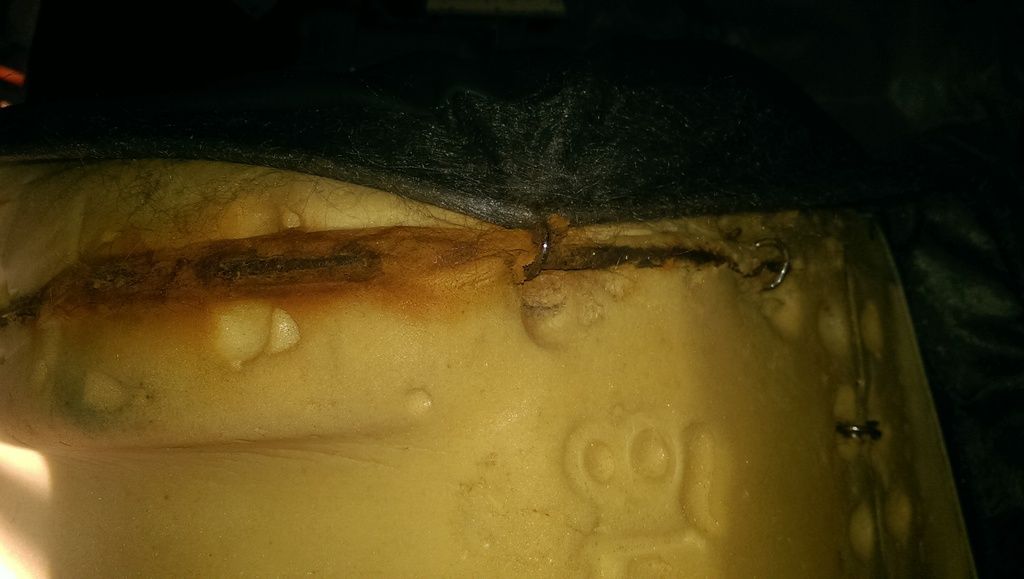
So here's where I made my error.. I wasn't away that the stock covers were glued to the foam pad and I peeled the stock cover from the foam pad taking some of the foam skin with it..overall it wasn't... too bad...but is noticable..and then realized I would need to glue them back on...I figured out how to manipulate the tabs to remove the seat covers but they're a witching pain to manipulate.
Photos below...
Does this look alittle too tight? I didnt install the rest of them yet because I want to make sure Im doing this right.
So I've been pretty busy with the car lately.. slowly.. rolling closer to completion... I'd say I'm about half way at this point with a few things on my wish list. Unfortunately I had to scale back alittle bit on some of my goals because the costs of them were just going to be too outrageous. The one thing I really wanted was to customize my door panels but $2,000 to redo my factory tan door panels the way I wanted them done (which wasn't going to be too much different) I'd rather buy a 12 bolt and full exhaust. I just decided to buy used ebony panels from a board member parting out a V6.
Honestly it is alittle weird dumping this kind of work into my interior and my exhaust system is still 100% bone stock .. I don't really even have a full idea as to what I want to do powertrain wise with this car .. whether it be N/A, Forced Induction or what..
Anyway on with the show...
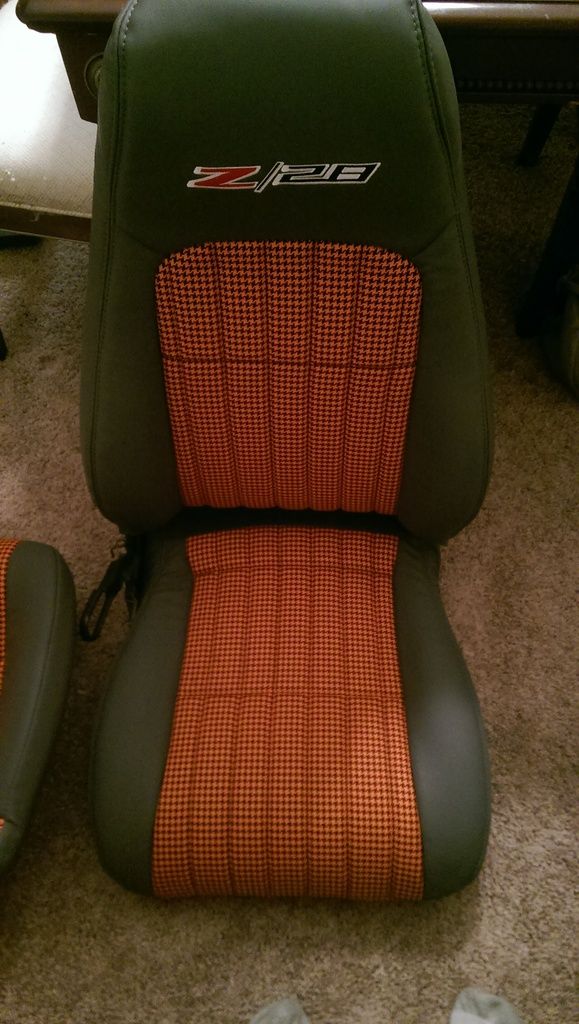
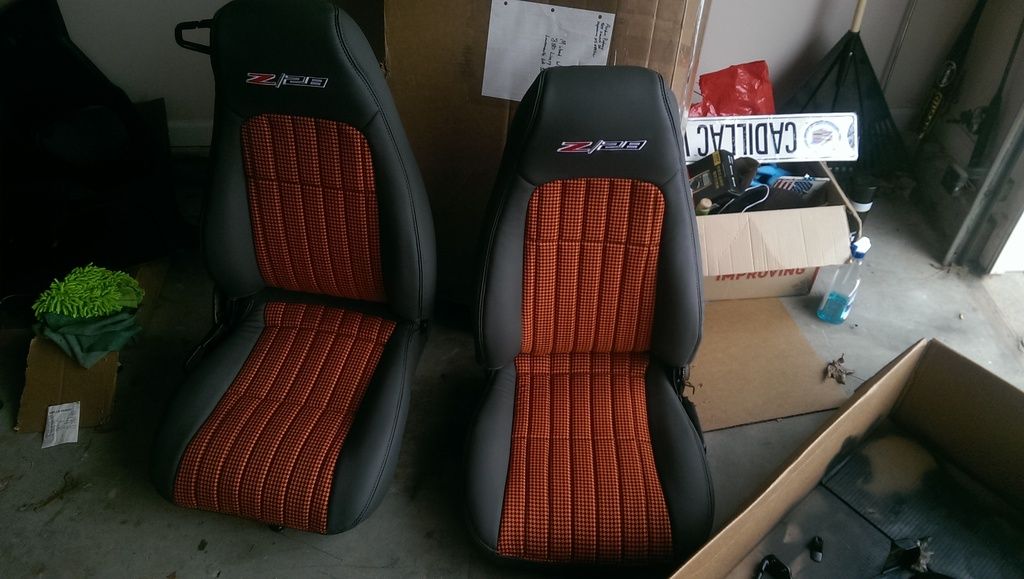
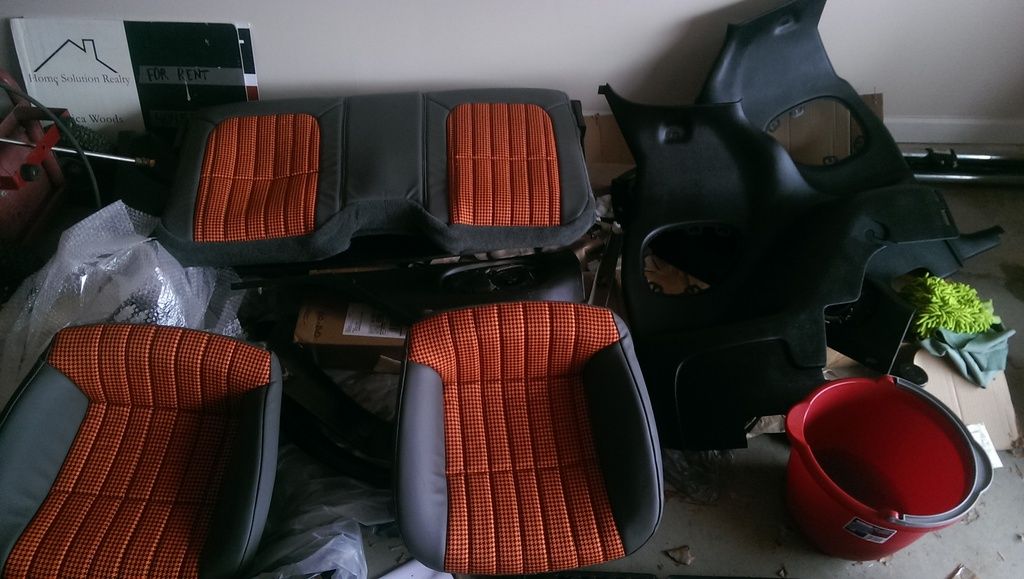
--Installed seat covers for bucket seats and rear back rest
--Installed seat covers for front passenger seat
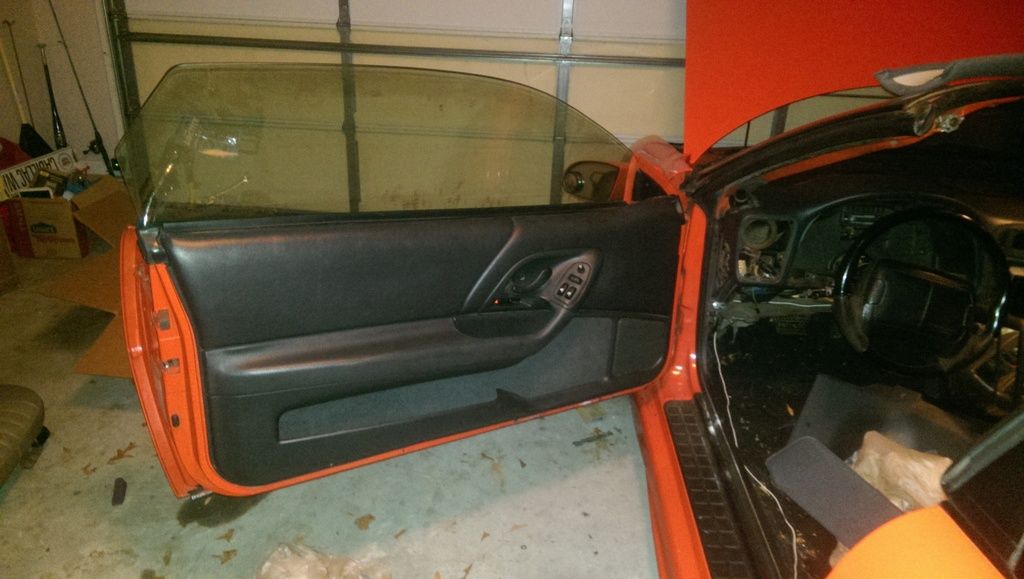
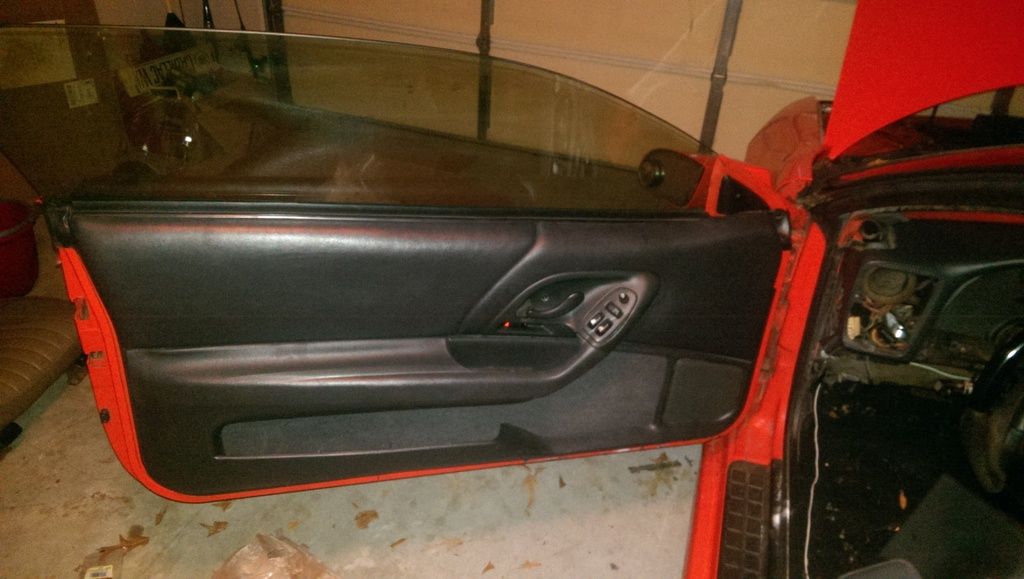
--Installed Driverside Door Panel
--Cleaned Interior in preparation for carpet removal.
Last edited by Need4Camaro; Jul 26, 2017 at 09:32 PM.
Well its time for updates again... I haven't been updating the thread because I have been busy with RL stuff but I got alot of progress in as well. The deeper I go in the more and more I learn and the more I learn the more I surprise myself (I was especially worried about the window motors but it seems to be no longer an issue) as I have never undertook a project like this ever in my life before and the vast majority of my information is coming from LS1tech. There's pieces of trim I never DREAMED I would be able to remove and now its like cakewalk. So here as it stands, my entire interior is stripped asside from the dashboard and a few trunk components.
-- Purchased 1 Terabyte External Harddrive. Tested on both my 2017 Camaro and also my Android Headunit..it works on both quite nicely.
-- Ordered Carpet from Stock Interiors
-- Ordered Grey Seatbelts from TACreations
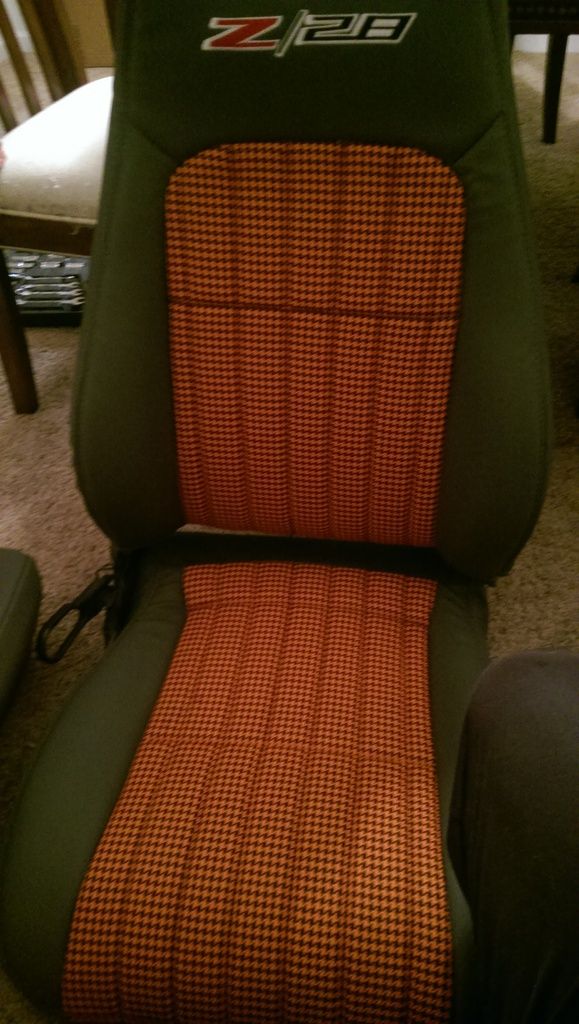
-- Completed the leather install on all seats, Drivers, Passengers, Rear Buckets and Backrest.
-- ALSO managed to figure out what caused the abnormal seat offset on my drivers seat and corrected that as well.
-- Repainted ALL Tan seat trim pieces (Seatbelt Guides, Seat Control Bezels or Plates) to Landue Black
-- Removed remaining center console pieces
-- REMOVED THE CARPET
-- Received REPLACEMENT Carpet from Stock Interiors
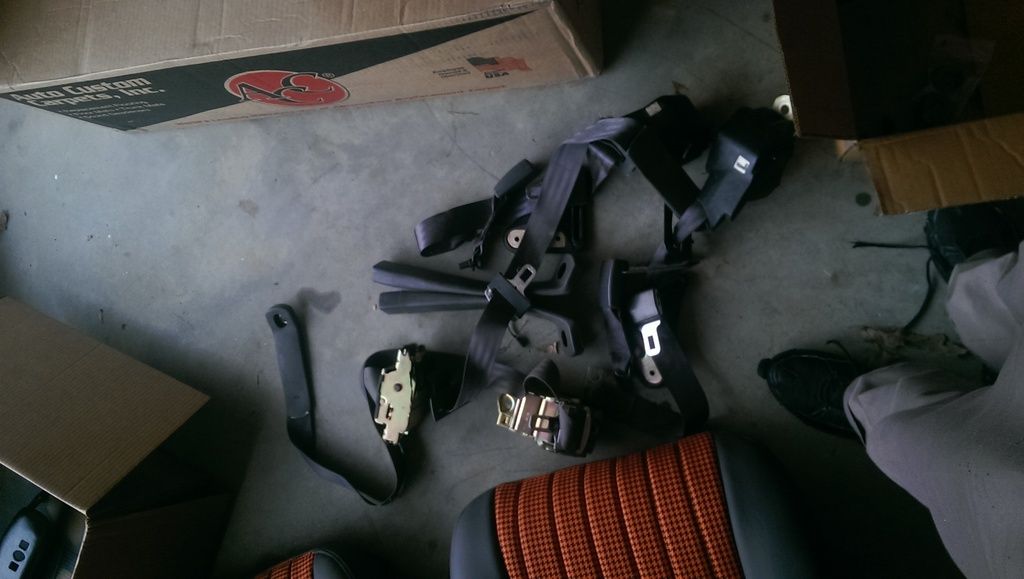
-- Received Seatbelts from TACreations...
-- SURPRISE #2 at the end of the post
I'm now more in than out..although there's still alot of work to do... I'm probably about 65% complete... As I'm pulling pieces out I'm seeing things that I "wish" I could do while my interior is apart to kind of spruce it up as far as quality is concerned. For starters I would LOVE a leather boot for both my Parking Brake and my Gear Selector. It appears for the gear selector its as easy as going in with a Grand Prix boot and a C5 ****... for the Parking Brake, I would really rather have that as well as a better (more modern) lever...Charcoal Grey but metalic... Then... and I need help with this... but I want to add interior neons.. not like all visible and flashing colors but tucked away for just extra ambient light, so you dont see the neon - just the light...problem is I don't know what colors I want..I don't know if I want White or Orange. I'll ask for suggestions alittle further down this post.
SURPRISE #2 AT END OF POST
Photo time...
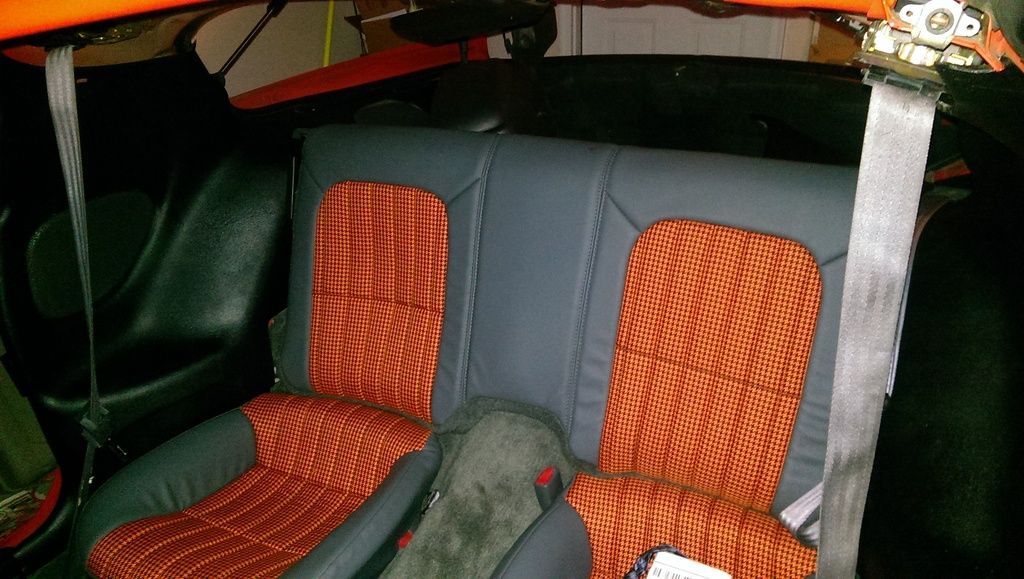
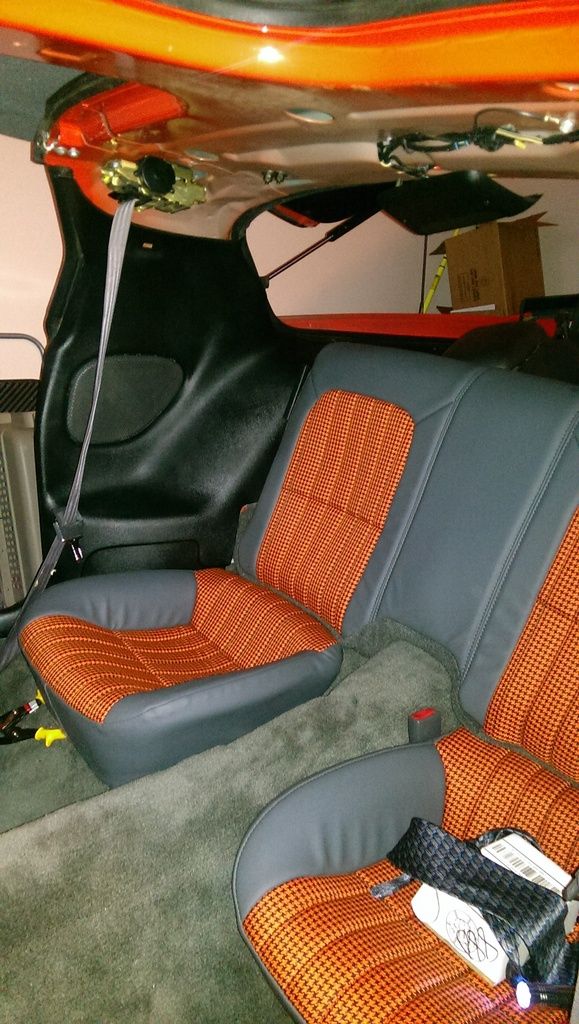
Drivers seat on the right.
Back seats.
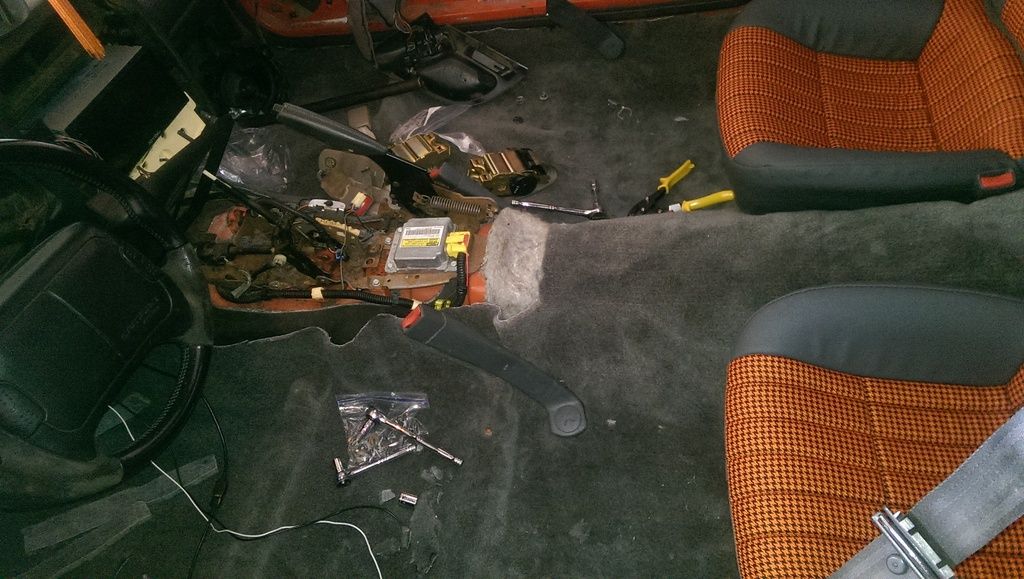
Drivers seat panels.
-
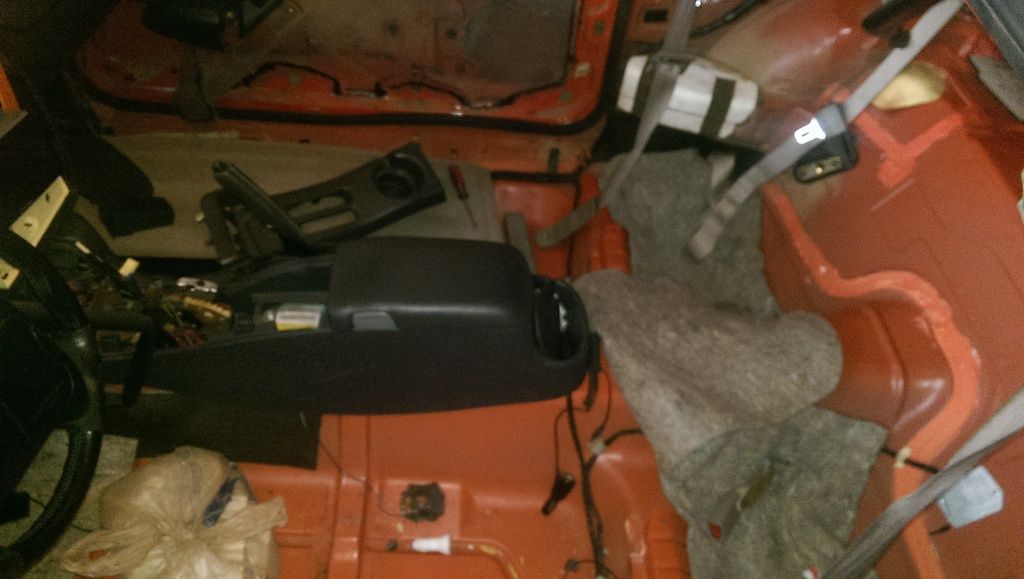
Carpet removed.
-
-
-
-
New carpet and seat belts... Note... I thought the new carpet was going to be alittle darker than it was.. I'll probably have to deal with that as I'm not sending it back. I just hope it doesn't look too bad.
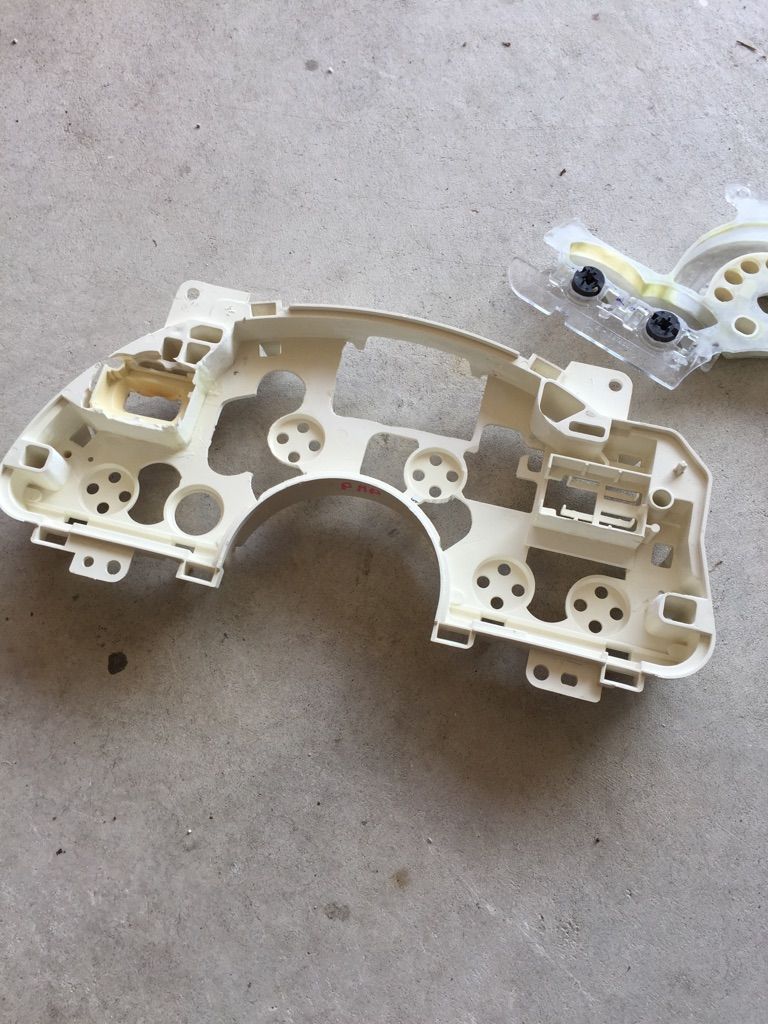
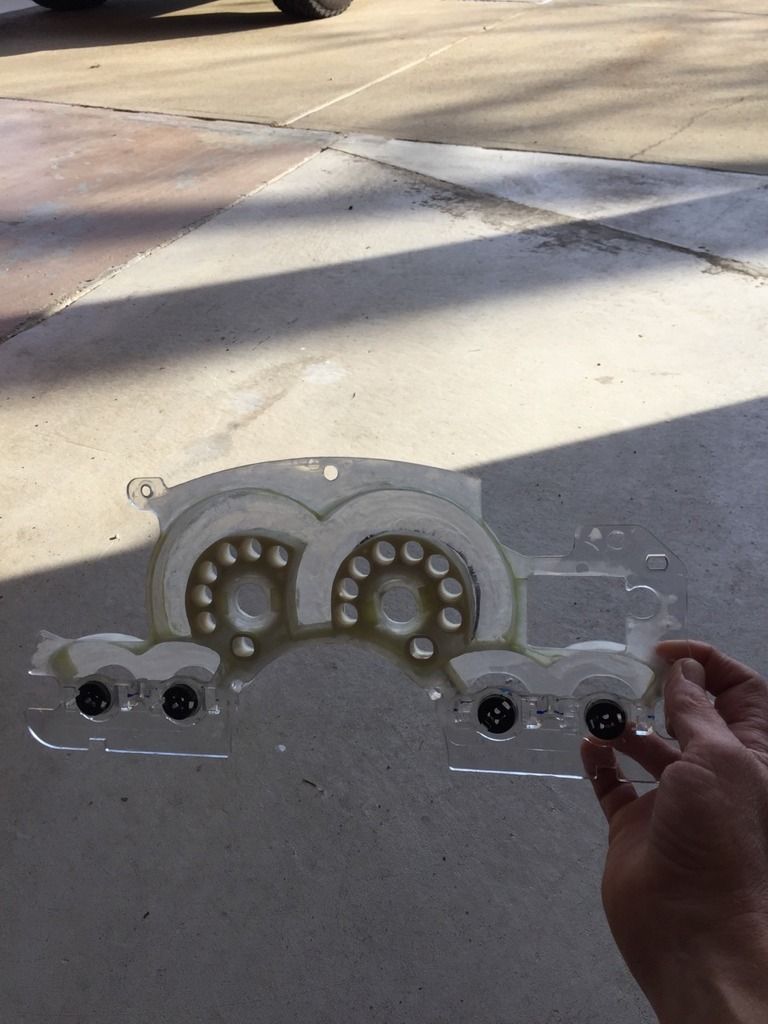
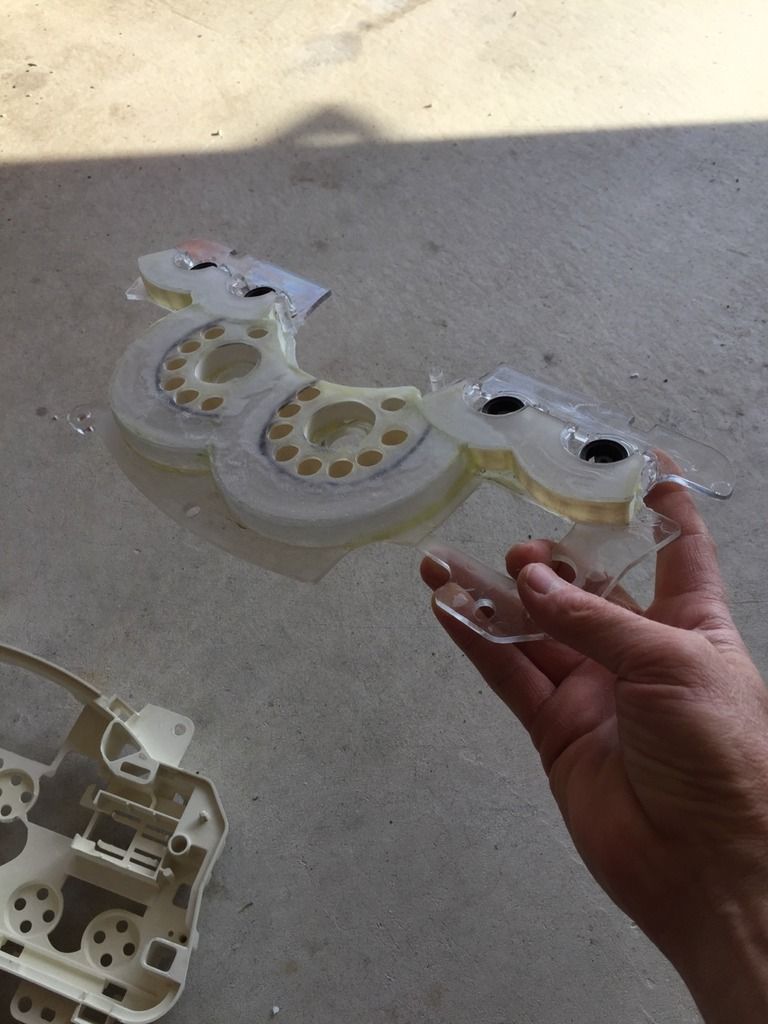
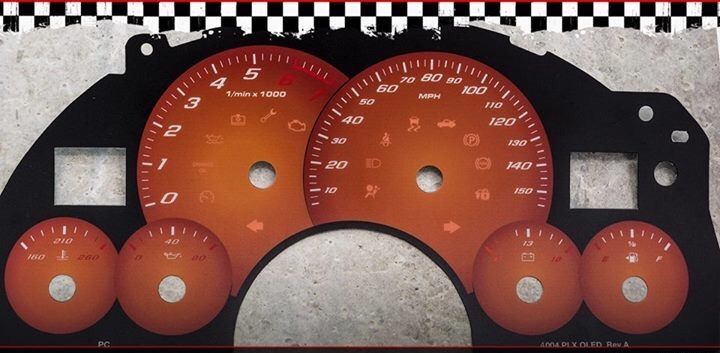
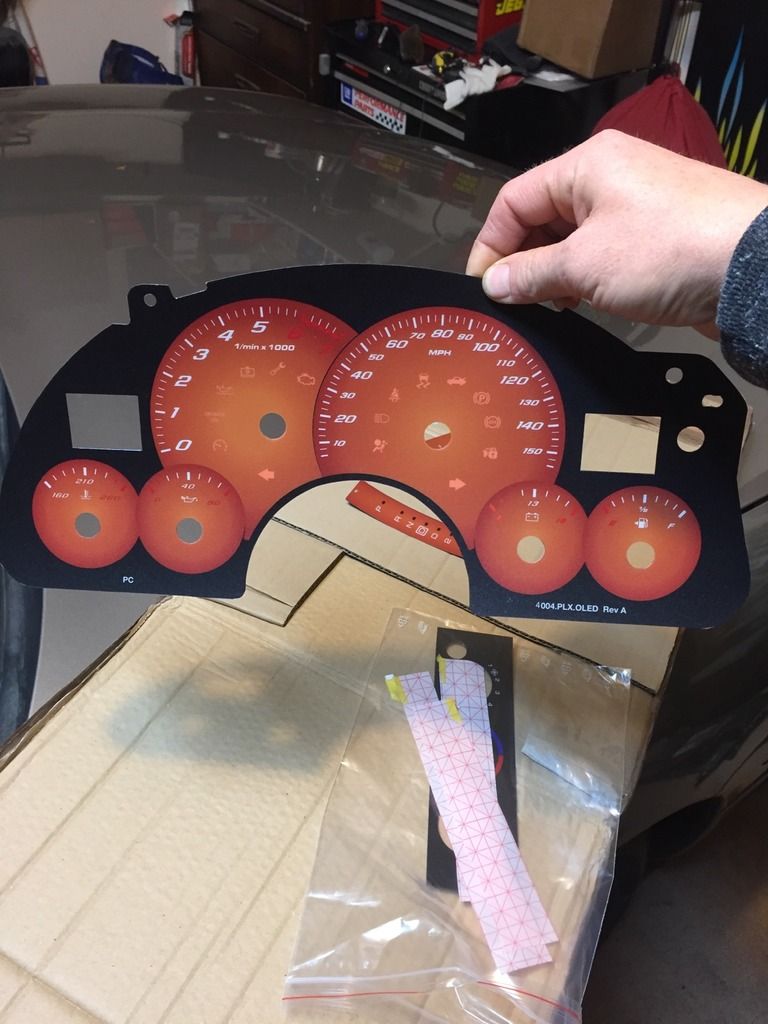
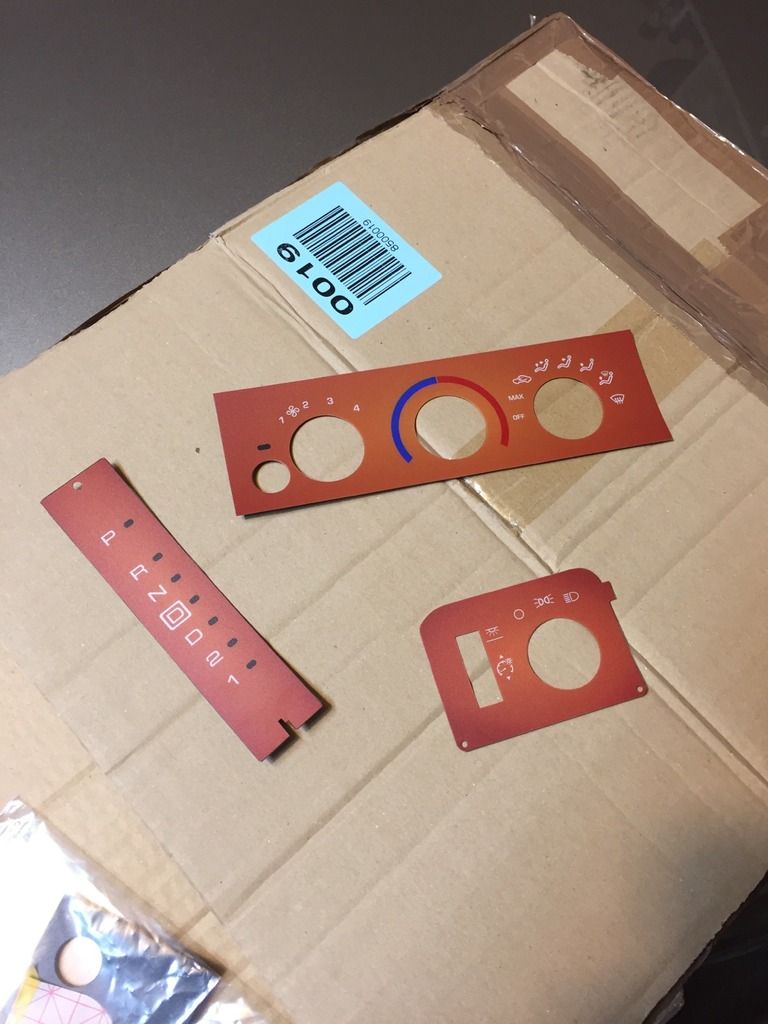
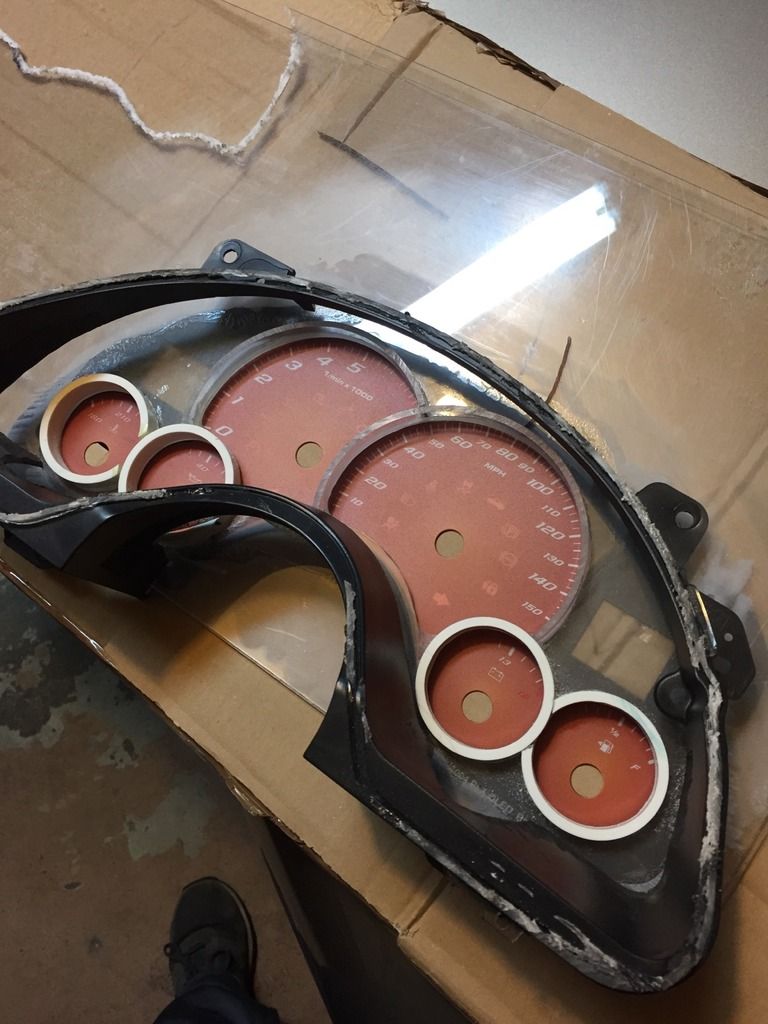
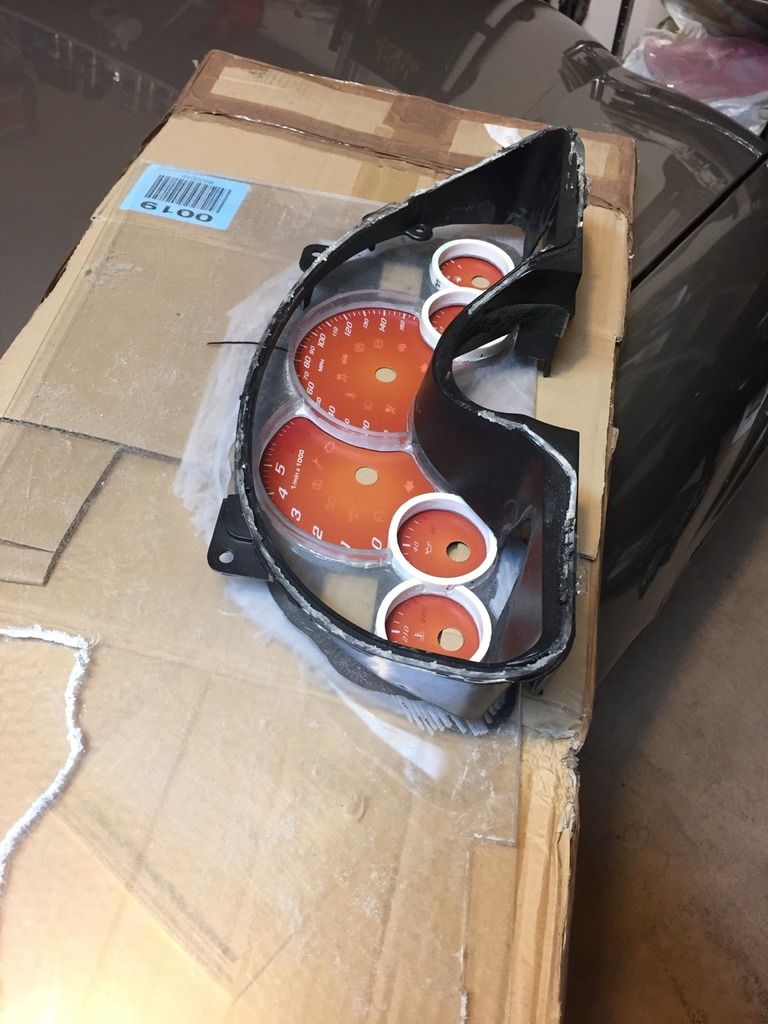
SURPRISE #2 - The Gauge Cluster
So I've been working on this since fall with LT4Vert but basically, the cluster that is currently under assembly will come with 2 OLED, Orange Faced Inserts with (as most of you know) white LED's which will remain illuminated headlights on or off... The remaining bezels (headlights, climate controls, shifter) will also be matched.
-
-
-
---------
Hope you all enjoyed so far.. I have an ETA of completion around early April so I still have alot of work left. Meanwhile...for the surveys...
What kind of interior lights should I get? Orange or White neons? Should I also install small ones on the door panels and back seat trim panels?
Where should I install my USB Hub and External Hard Drive? Inside the center console? Inside the dash? USB hub in the cubbyhole area?
Choices...
Last edited by Need4Camaro; Jul 26, 2017 at 09:34 PM.
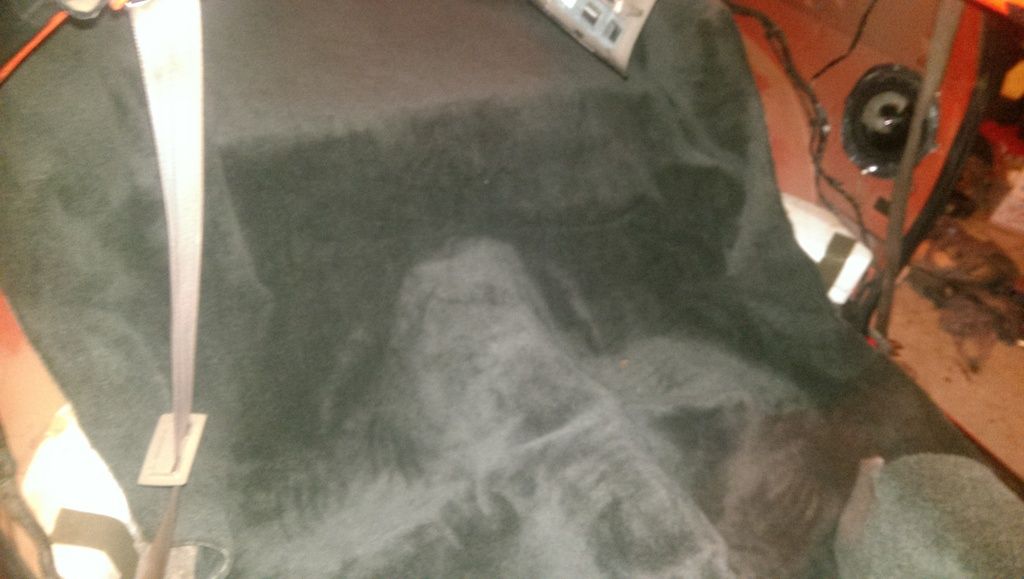
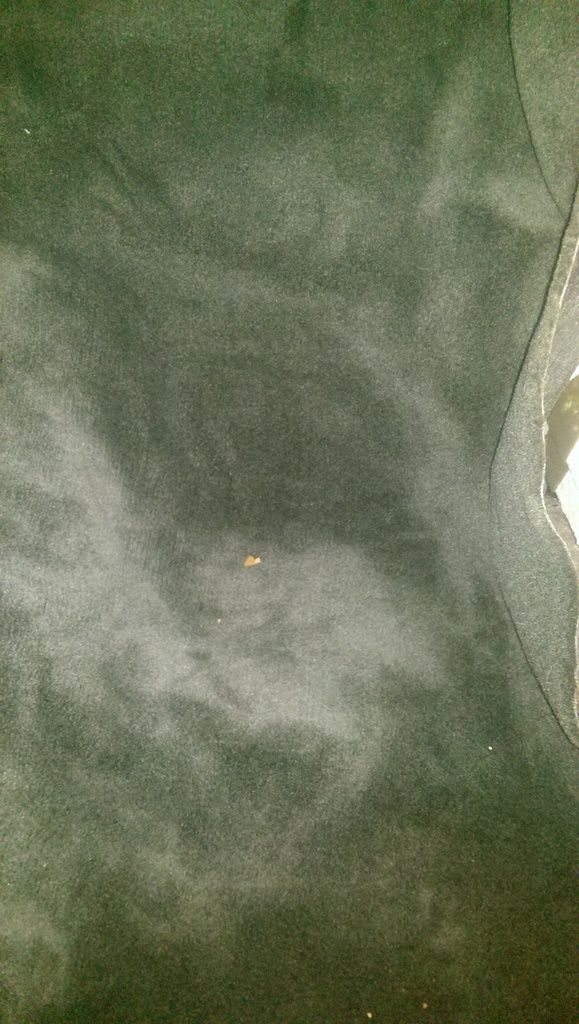
Okay... partially installed the carpet. I need to note I have never installed carpet in a car before. The carpet that came out was extremely lumpy and uneven. I'm hoping the same doesn't turn out for this carpet. I am requesting a bit of assistance
--
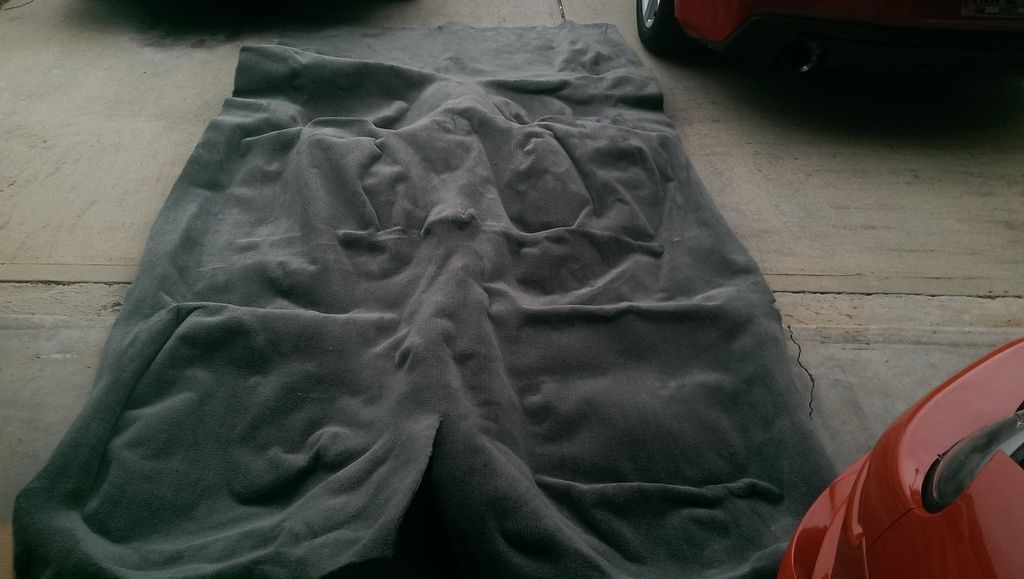
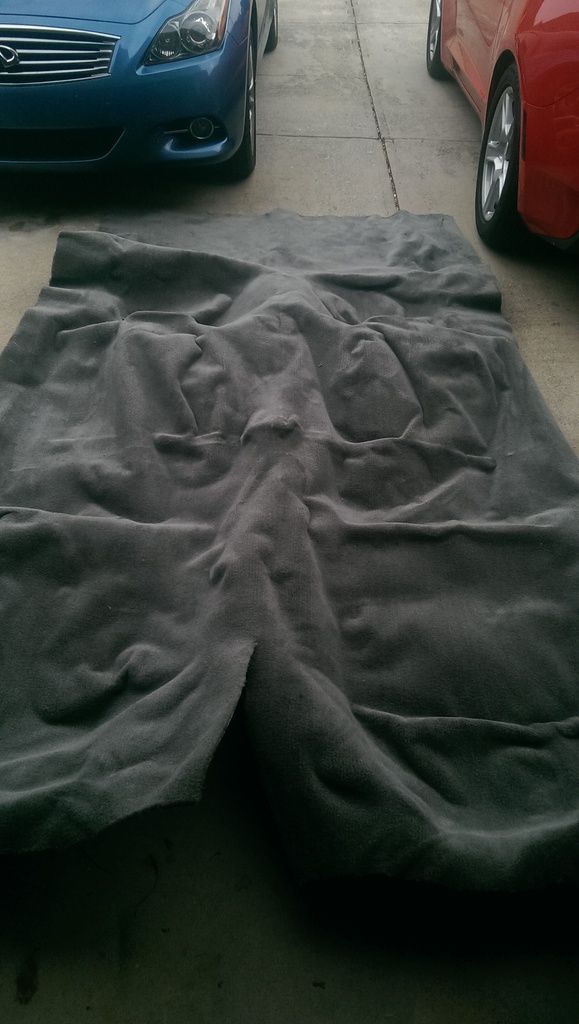
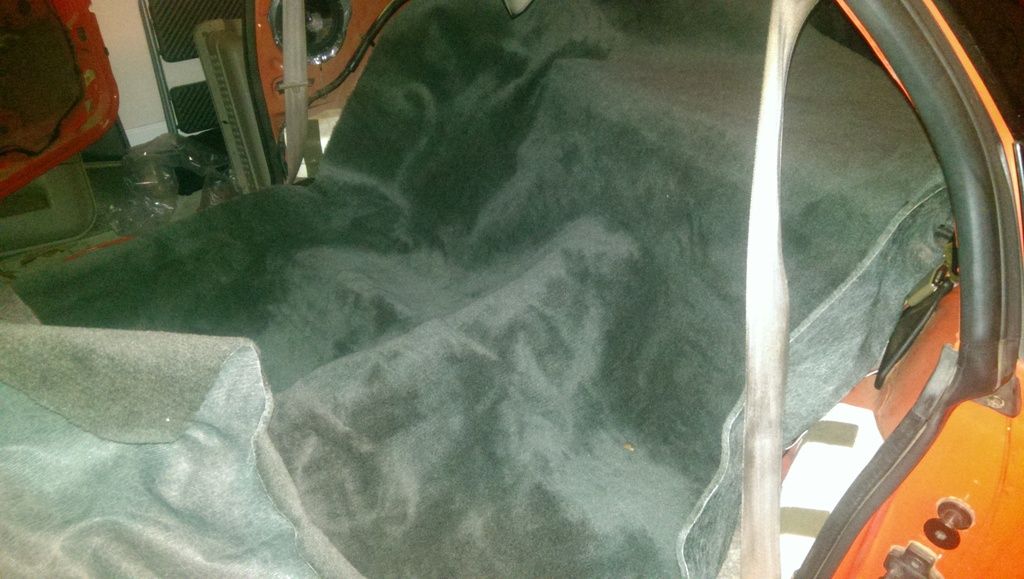
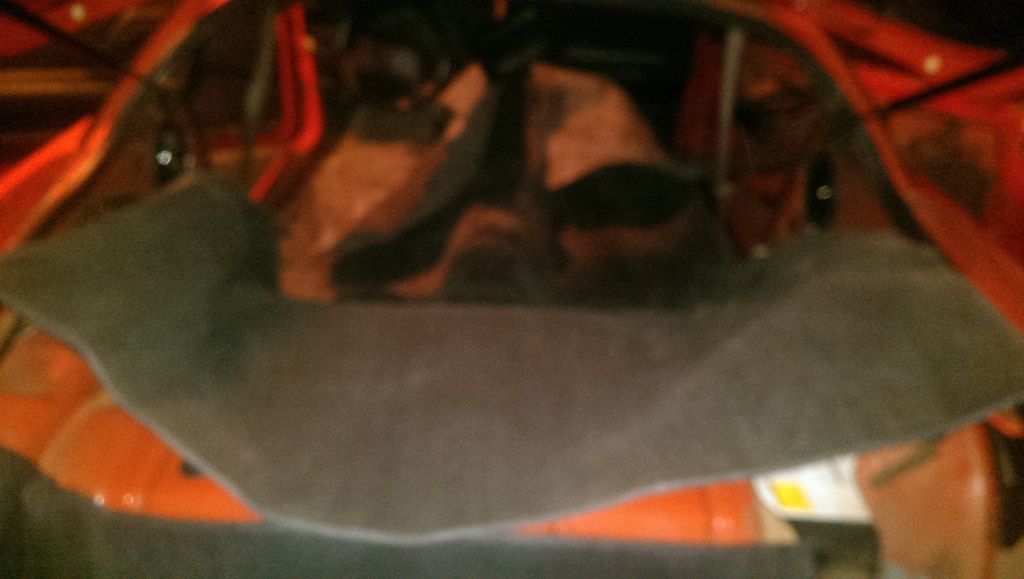
Trying to mold the back seat into place, note I haven't done any trimming. I know it will be necessary but I don't want to start trimming until I am on the right course. There is ALOT of slack back here. Is this normal and how do I get rid of it? Is there any area specifically I need to start?
--
--
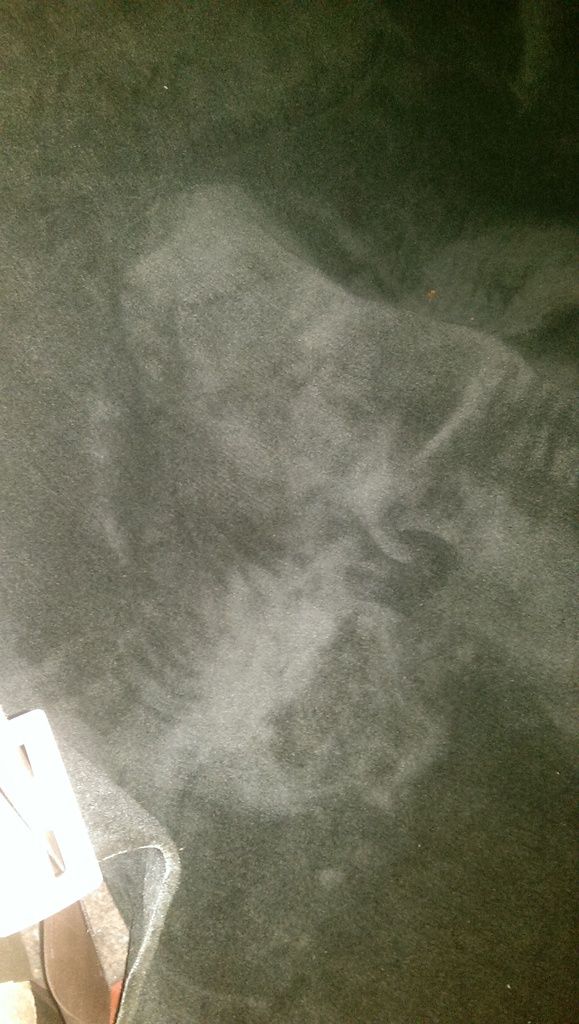
More photos of the slack in the area.. am I on the right track here or am I doing anything wrong?
-------------------------------------------
-------------------------------------------
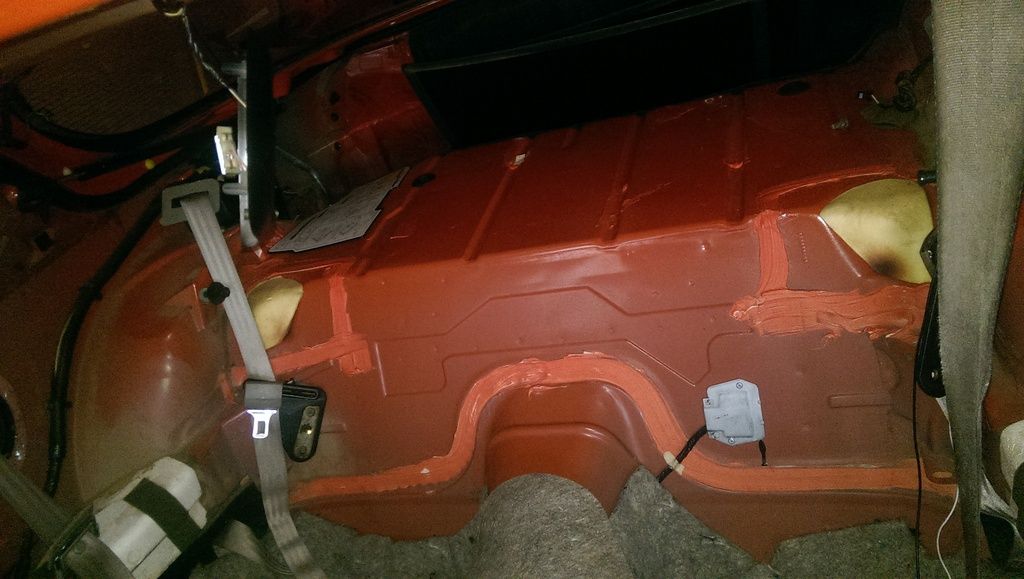
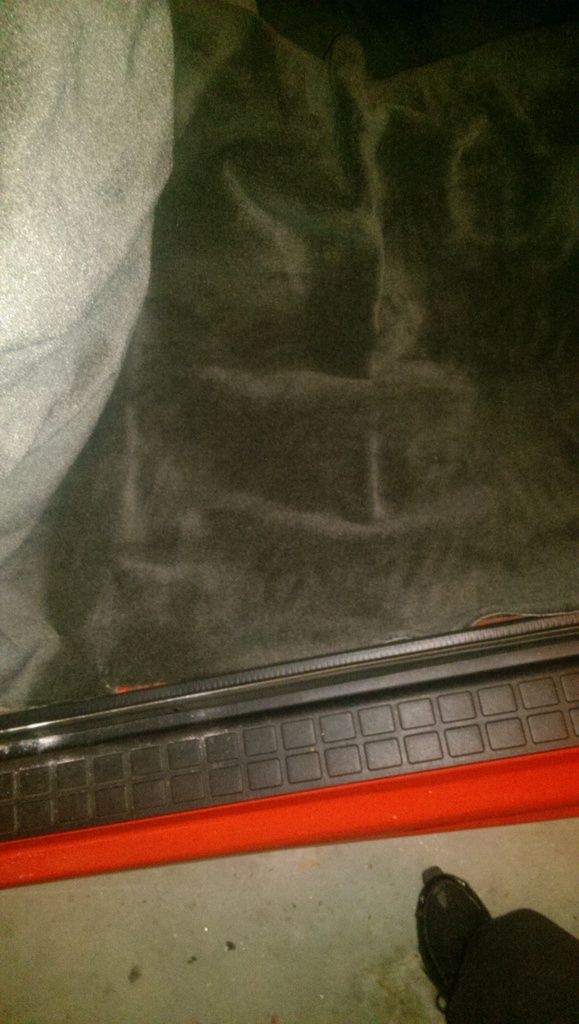
Hatch area... I had a question about this too.. on my old (non factory, someone replaced it) carpet, it went AROUND the rear seatbelts in the hatch but on this carpet there's almost enough to go right through them..is that what I'm supposed to do? Or how is it supposed to be routed up here?
-------------------------------------------
-------------------------------------------
--
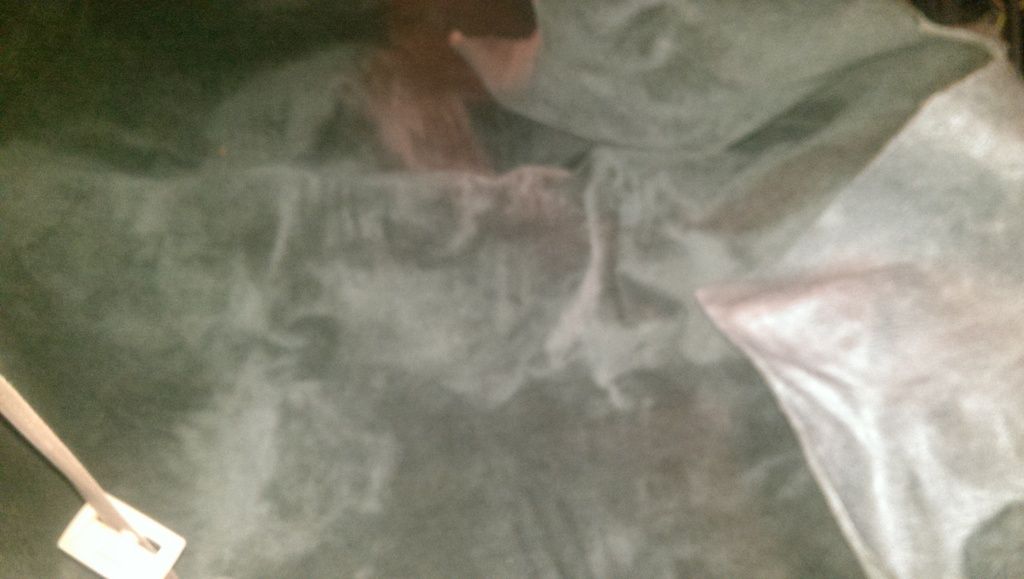
Front area, I'm trying to align the two ridges with the ridges for the front seats in the car but that is seeming impossible without trimming it.
I know trimming will be necessary..its just..I wanted to test fit before I started trimming... I am just trying to see if I am on the right track before I start cutting away... Can I get some input?
Last edited by Need4Camaro; Jul 26, 2017 at 09:35 PM.
The seats upholstery looks great. Hows the quality. I just ordered a set from lethal as well
Do you have any info on installation. Any videos???. Following your project and envy your work ..
Hey ive been following all your progress. Coming along great. My seats should be here from princess next week. Any info and help would greatly be appreciated. I didnt fully understand what you meant abour being glued. The rear botyoms are glued in. I have to be careful when removing???. Ive been trying to find any threads or videos on doing seats...
Hey ive been following all your progress. Coming along great. My seats should be here from princess next week. Any info and help would greatly be appreciated. I didnt fully understand what you meant abour being glued. The rear botyoms are glued in. I have to be careful when removing???. Ive been trying to find any threads or videos on doing seats...
Thanks for the Kudo's... Yeah I had a difficult time (quite surprisingly) finding any info on replacing the seat covers myself. I probably will do a write up on it but unfortunately I didn't really take many pictures of the actual install. I sent you a PM with everything you'll need to look out for and it addresses the glue issue as well... you'll see what I mean when you begin removing the rear seat covers...just whatever you do DON'T yank them out after you remove the hog pins or you can damage the foam...just slowly remove them.
More progress, carpet is mostly installed, replaced all the seatbelts... installed the rear seats too. Ran into issues with both of them, unfortunately I cut alittle too much off on the passenger side rear and I have a huge hump which Im not going to be able to fix..FML... I'll just have a professional replace it sometime down the road. Meanwhile, I also broke the bolt HOLE that the retaining bolt screws into for the passenger side bucket seat.. so now its empty without a hole. My only hope is tap and drill and use a larger sized bolt it looks like... If I dont address this immediately, is there any chance of water getting in here?
Last edited by Need4Camaro; Jul 26, 2017 at 09:35 PM.
Been busy reinstalling some of the interior panels, infact at this point all of them are ready to be reinstalled. I still need to properly fit the dashboard in place. Also ran into something thats concerning me alittle bit but may very well be normal and that is the Automatic Headlights are not coming on in the dark. Note that the headlight switch is completely removed. The foglights and DRL's work but no headlights. I'm "hoping" this is normal since the switch is removed but don't know for sure as I never noticed this issue until recently.
So here's whats been going on...
-- Installed passenger side kick panel
-- Installed passenger and driver side back seat panels
-- Installed both rear sail panels in the trunk.
-- Ordered Redline Goods Automatic Shift Boot, Parking Brake Boot, and Console Lid in Two tone, Black & Orange with Three tone stitching of white-orange-white...
-- Ordered a USB power interface replacement for the Cigarette lighter on the upper console, glows orange in the dark:
FUTURE:
-- Order orange neon LED's for under the dash / under the seats, hidden and secluded for just the glowing effect.
-- Repair lower dash rear seat cup holder (or replace lower dash)
-- Install USB hub somewhere on my center dash console.
-- Either C6 Wheel upgrade or leather wrap my current steering wheel, haven't decided yet.
-- Install remaining trim pieces, passenger and driver's front seats
-- Await completion of gauges and install...
INTERIOR PROGRESS:
--
--
--
GAUGE PROGRESS:
--
--
--
------------------------
Hope you enjoyed...
Last edited by Need4Camaro; Jul 26, 2017 at 09:35 PM.
I like how your seats came out. They have to be way nicer than they ever were from the factory. The leather certainly looks softer.
One note on that cigarette lighter/USB port: the 1a USB is a waste. I just bought the same thing last week, but in green and with dual 2.1a ports. My current cell will fast charge off of 3a, and I suspect future models will only go up from here. Early cell phones fell in the 0.5a-1a range, so these ports were to protect them, and 2.1a were for tablets. Now 2.1a is pretty standard for phones, and tablets use even more. I think one of the Rapid Charge phones even takes 4.5a from its own proprietary charger. You can use lower voltage, but at 1a, your phone may actually discharge if you are using the screen for nav.
Drat, Ah well. The Navigation comes directly from the headunit, no phone involved. But I'll try to remedy this issue anyway by contacting the seller. I was kind of concerned about that myself. I know in my 2017 Camaro and our 2013 Infiniti the stock USB ports do nothing for charging phones and we still need a cigarette lighter.
From eBay of course. So yeah, China. Still waiting on delivery.
Just search for "5V 4.2A Dual USB" Then look for the ones with the light up ports. They appear to have green, blue, and red options. Not sure if the red is different from the OP's "orange."
I also repainted all the major interior trim panels with SEM Landue Black. I'm fairly impressed with the outcome. I just hope it holds up to time.
I've been using SEM Vinyl Dye since the early 90's when it only came in cans you had to use a paint gun to apply it with. As long as you cleaned the vinyl well it will hold up. I've re-dyed 5 cars with SEM and never had a problem with longevity. As a matter of fact, I saw the '89 Mustang I re-dyed back in '95 about 5 years ago and it still looked great.
As for sanding it, you only needed to use a scotch-brite pad to knock off the gloss and you would have been fine (wish I had seen this post earlier...).
It is coming along nicely though brother! Good job!
Last edited by psychosid30; Mar 14, 2017 at 02:59 PM.
Well the interior is almost back in one piece, I haven't taken photos but Im having issues getting that darn dome light in the back seat alligned with the holes and the headliner and the frame...if I just mount it without the headliner..no issues, but with the headliner..can't get it aligned.
I'm alittle worried about something. I just compared two photos and realized I may have cut my carpet too short >_<
and
You'll notice that the center console comes up higher than the black mat (I didn't realize this when cutting, I thought the black mat was hidden under the console, it isn't... its just under the carpet) and my carpet is cut evenly with the mat..mat will expose the mat and even some of the frame.. drat..I'm really hoping I can recover from that, if not I'm looking at a whole new carpet
Edit: I'm getting an idea... if it is too short I am going to look into trimming just alittle more off to make it even and transition it from Carpet to Dark Vinyl and go around both sides, drivers and passengers to make it as even as possible... Opinions on this?
Last edited by Need4Camaro; Mar 15, 2017 at 09:03 PM.
Not a bad idea. Maybe find some nice diamond quilted fabric or microsuede (even a thin, simple blanket with the right pattern could end up looking better than stock). The part next to the seat won't be visible anyway, but you will notice it next to your legs. Since the rear seat isn't graced with an arm rest, you could even run it all the way to the rear seat back (one less edge-seam to worry about).
7 Most Reliable High-Performance Engines GM Has Ever Built
Slideshow:These GM engines didn't just make huge power, they survived abuse, boost, track days, and six-digit mileage with a reputation for refusing to quit.
6 Common C5 Corvette Failures and What's Involved In Repairing Them
Slideshow: From wobbling harmonic balancers to failed EBCMs, these are the issues that define long-term C5 ownership and what repairs typically involve.
Retro Modern Bandit Pontiac Trans AM Comes With Burt Reynolds' Autograph
Slideshow: A modern Camaro transformed into a retro icon, this limited-run "Bandit" build blends nostalgia with brute force in a way few revivals manage.
Top 10 Greatest Cadillac V Series Performance Models Ever, Ranked
Slideshow: Cadillac didn't just crash the high-performance luxury vehicle party, it showed up loud, supercharged, and occasionally a little unhinged...
Coachbuilt N2A Anteros Is an LS2-Powered C6 Corvette In Italian Clothes
Slideshow: A one-off sports car that looks like a vintage Italian exotic-but hides a C6 Corvette underneath-just sold for the price of a new mid-engine Corvette.


 ~original
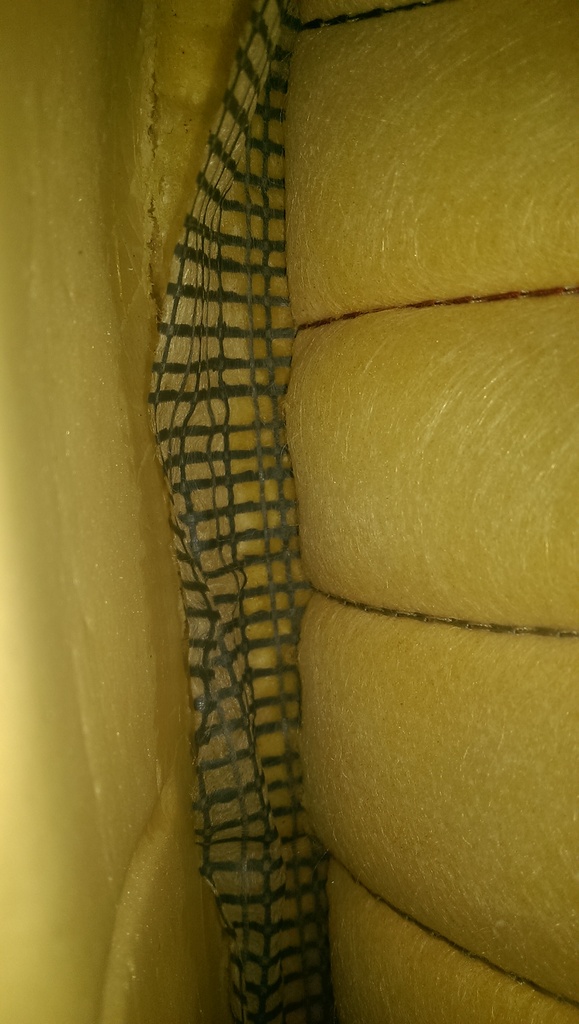 ~original
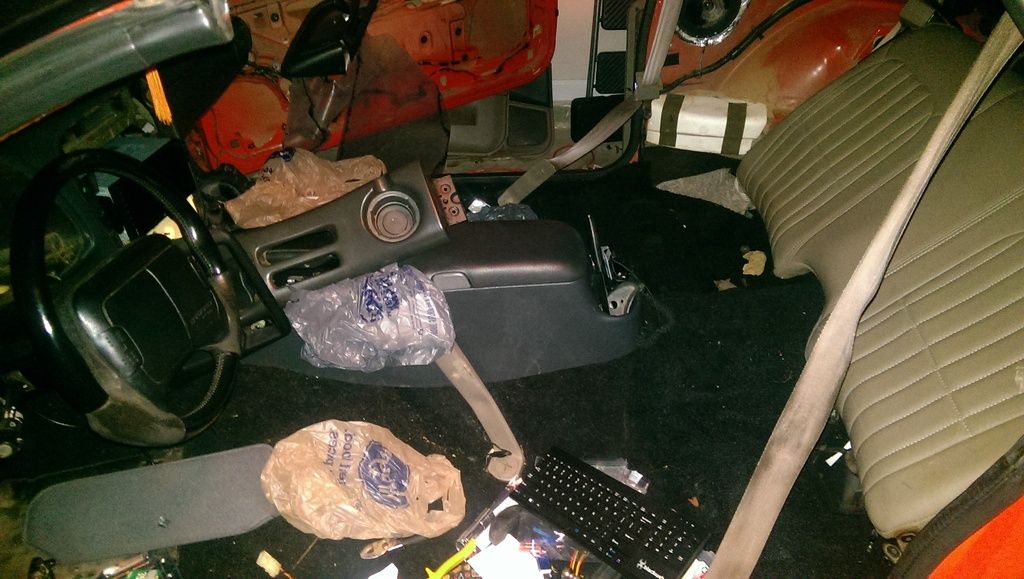


 ~original
 ~original