When you click on links to various merchants on this site and make a purchase, this can result in this site earning a commission. Affiliate programs and affiliations include, but are not limited to, the eBay Partner Network.
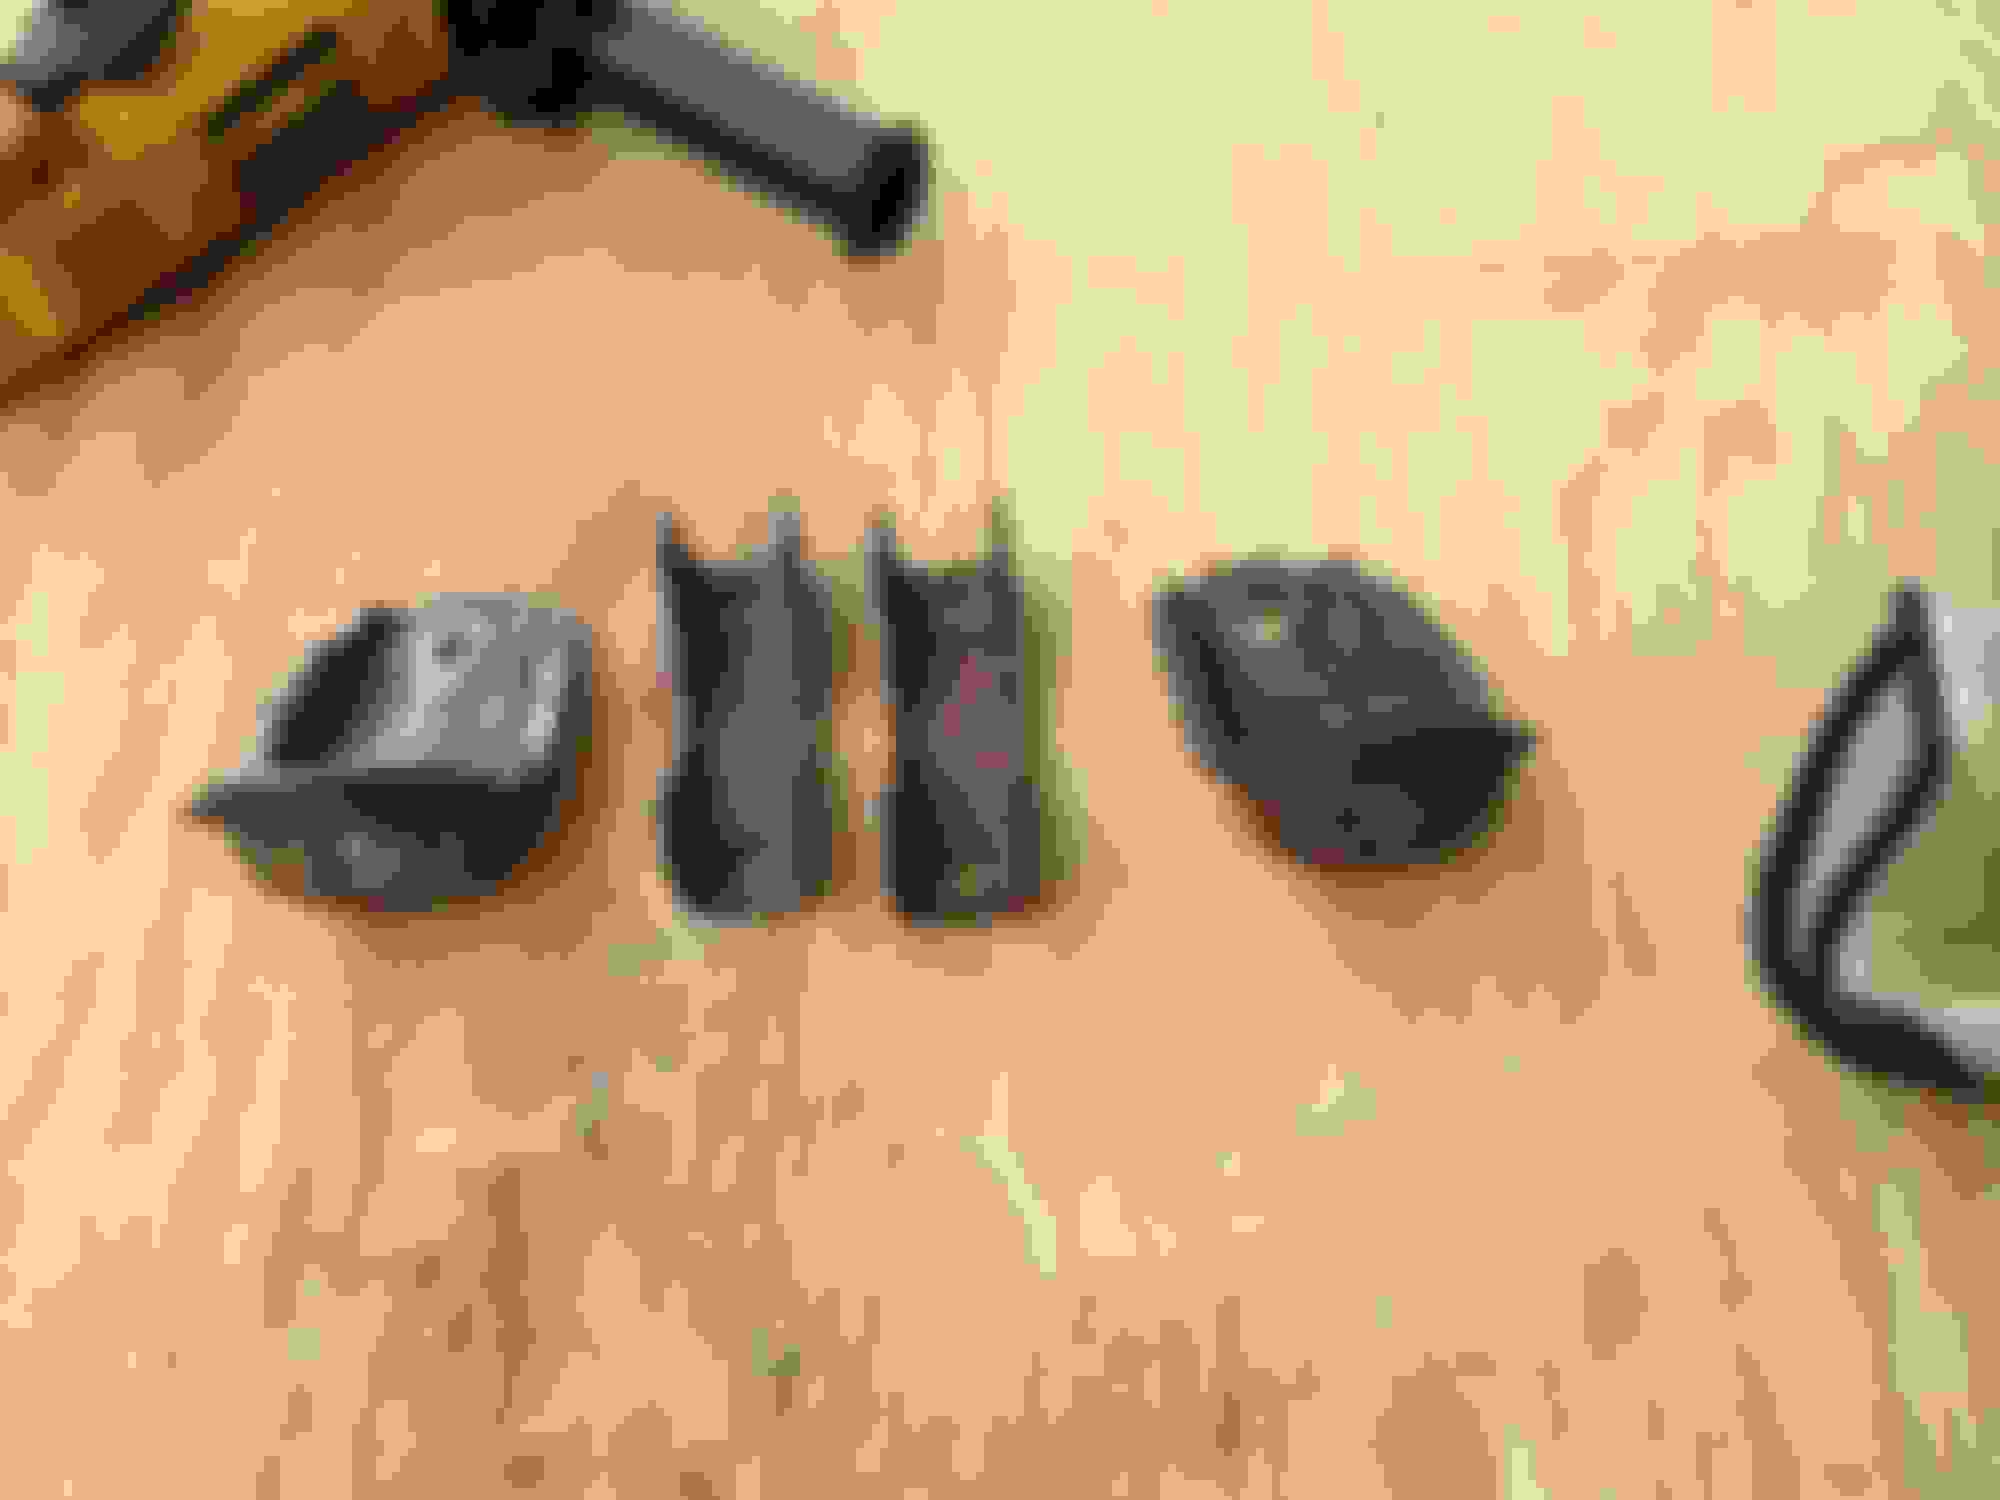
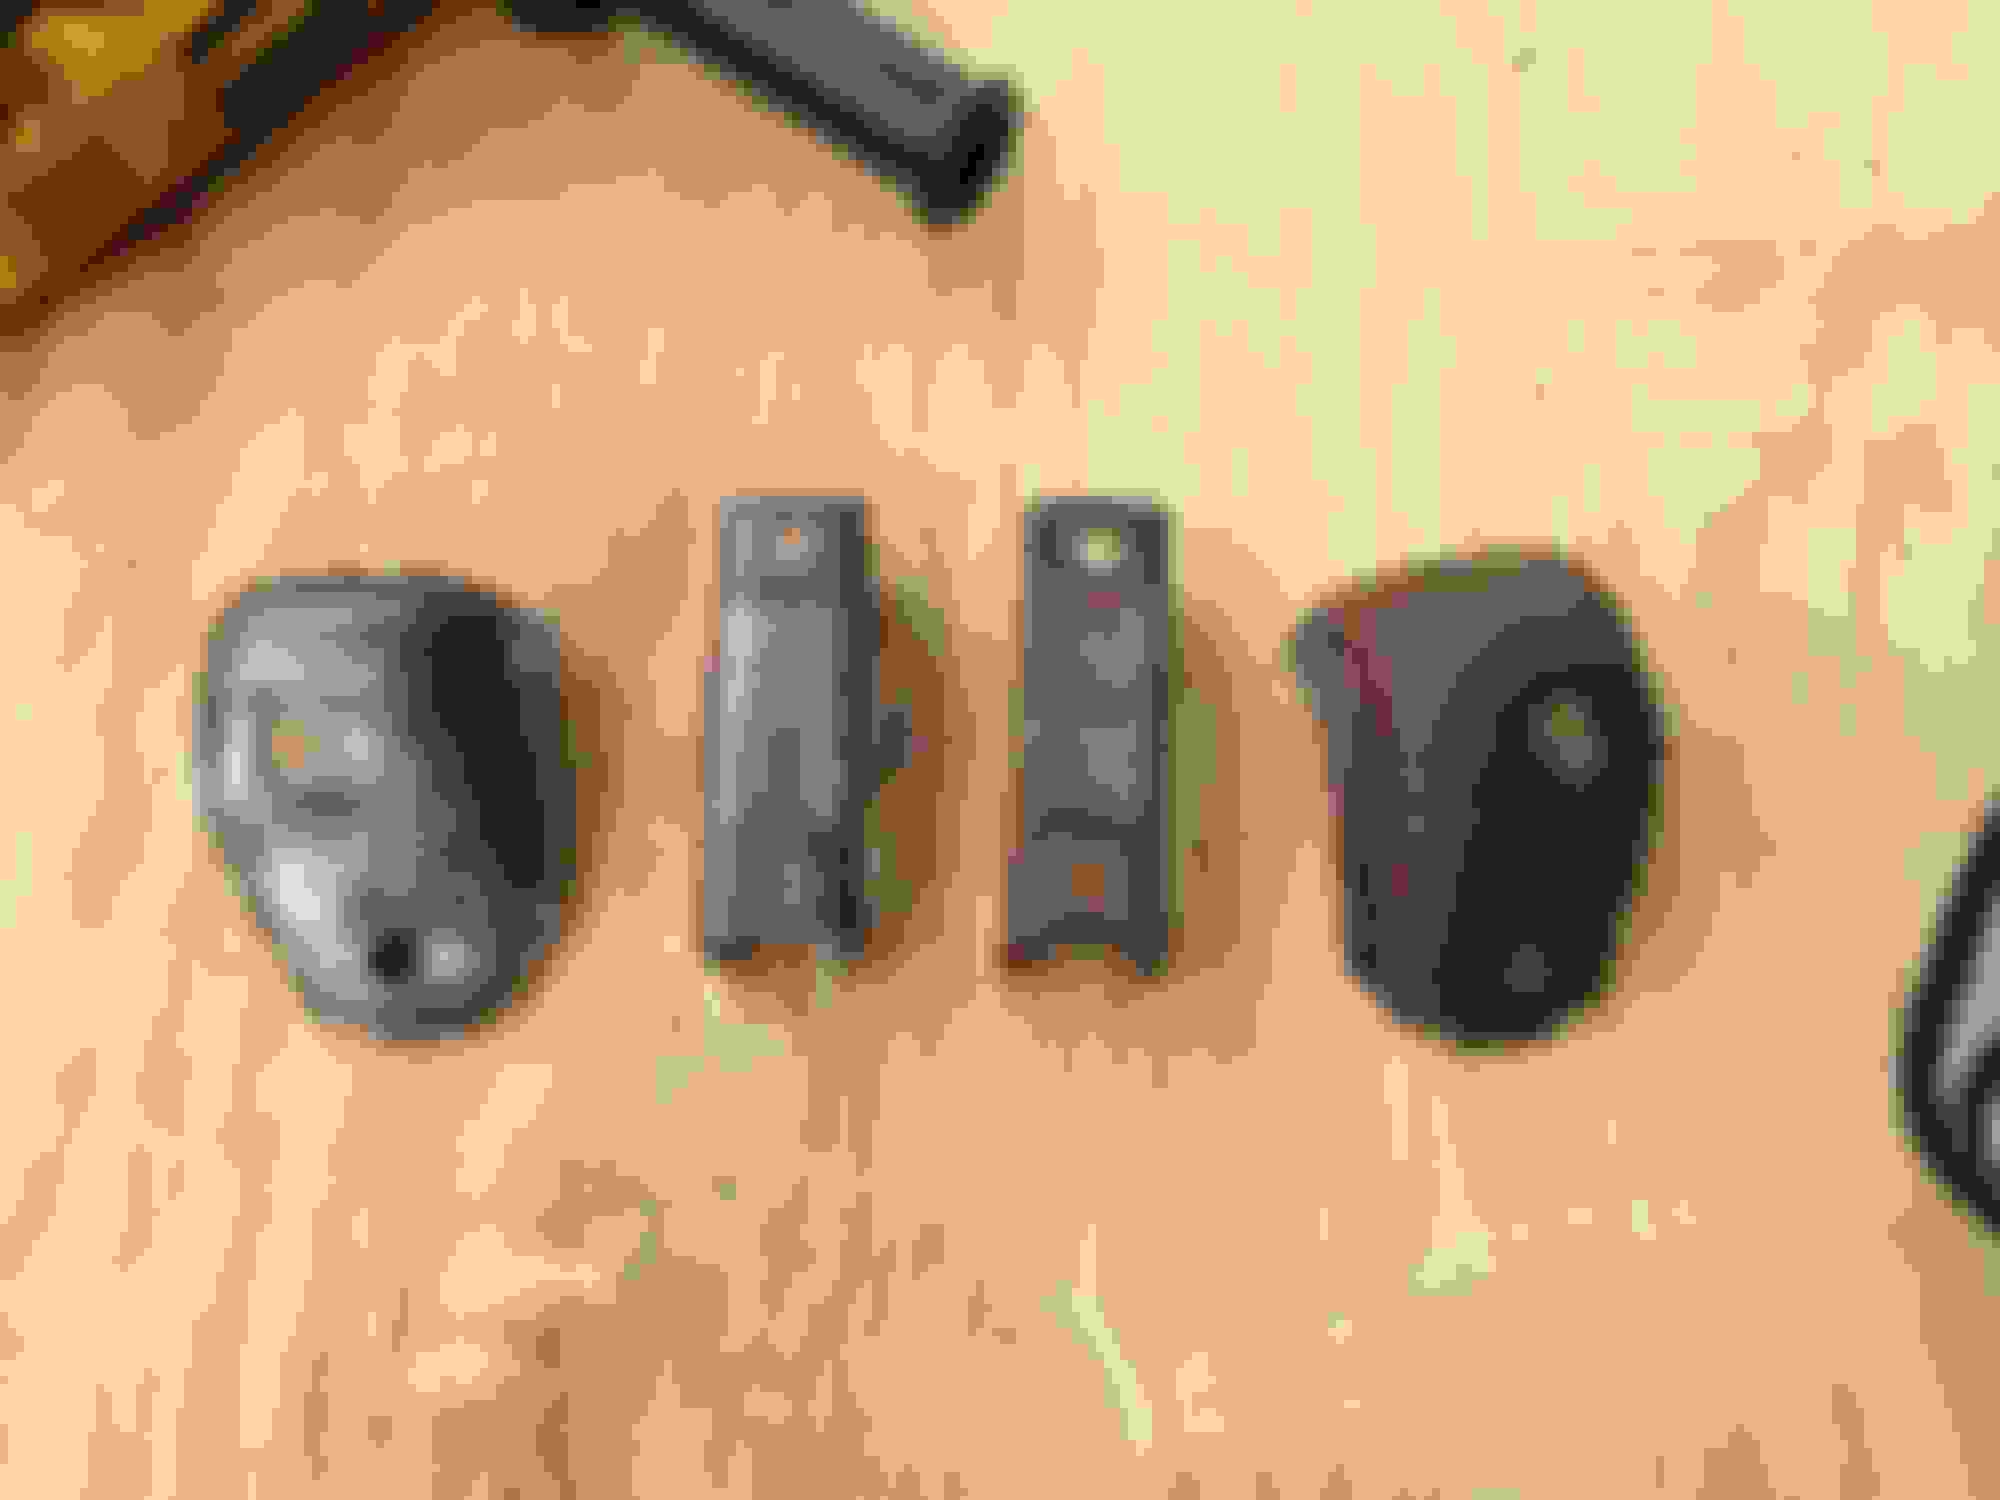
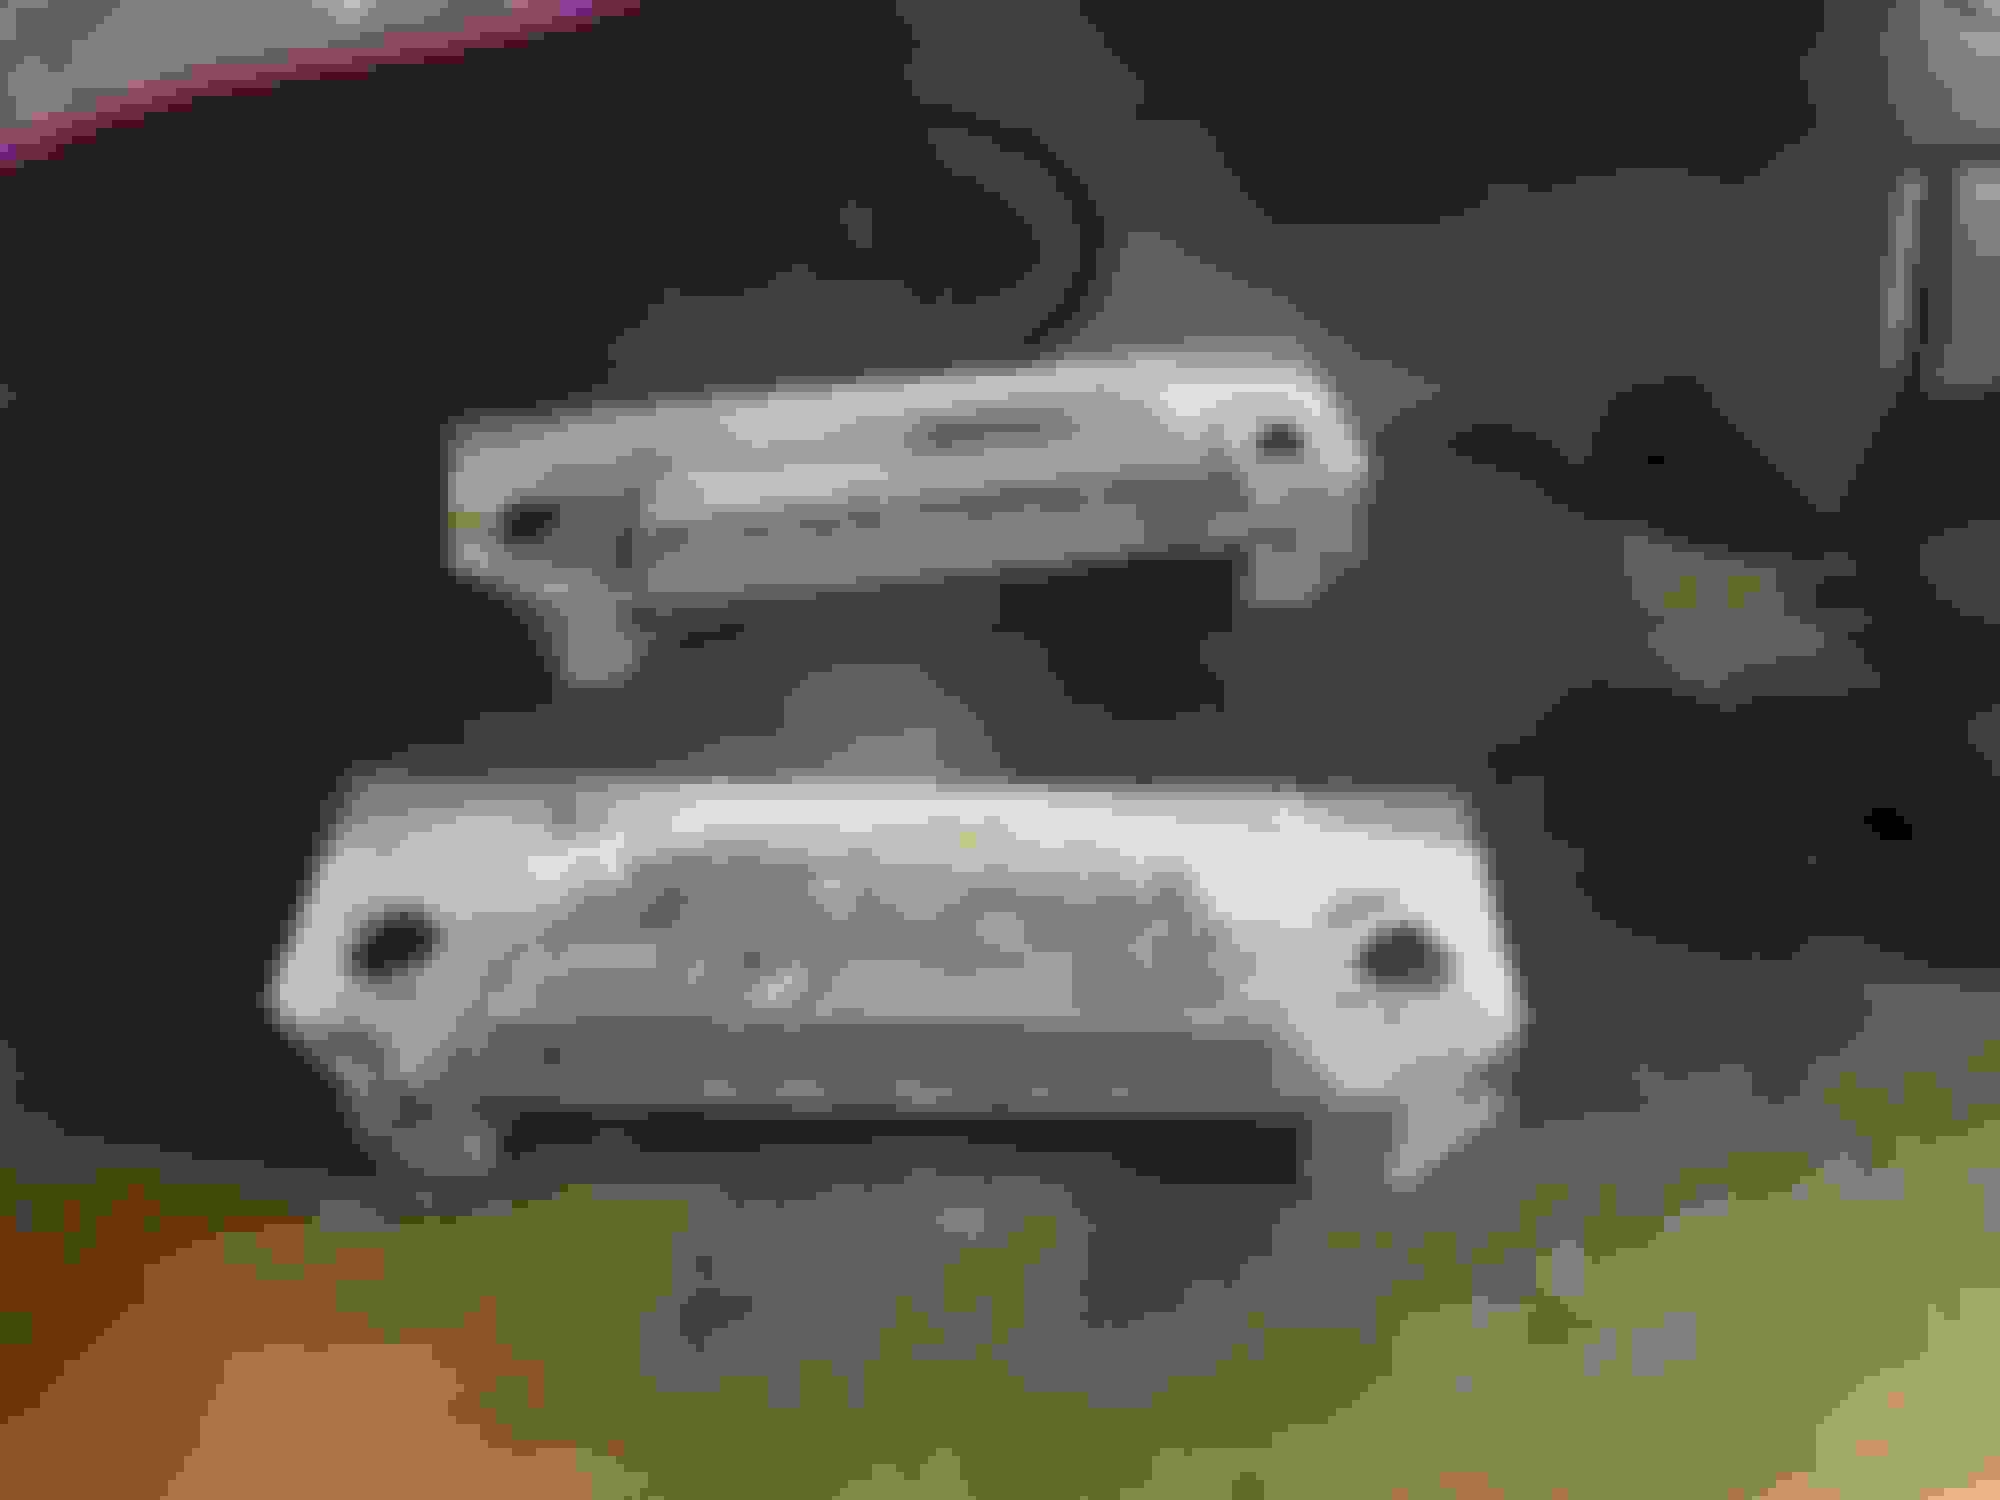
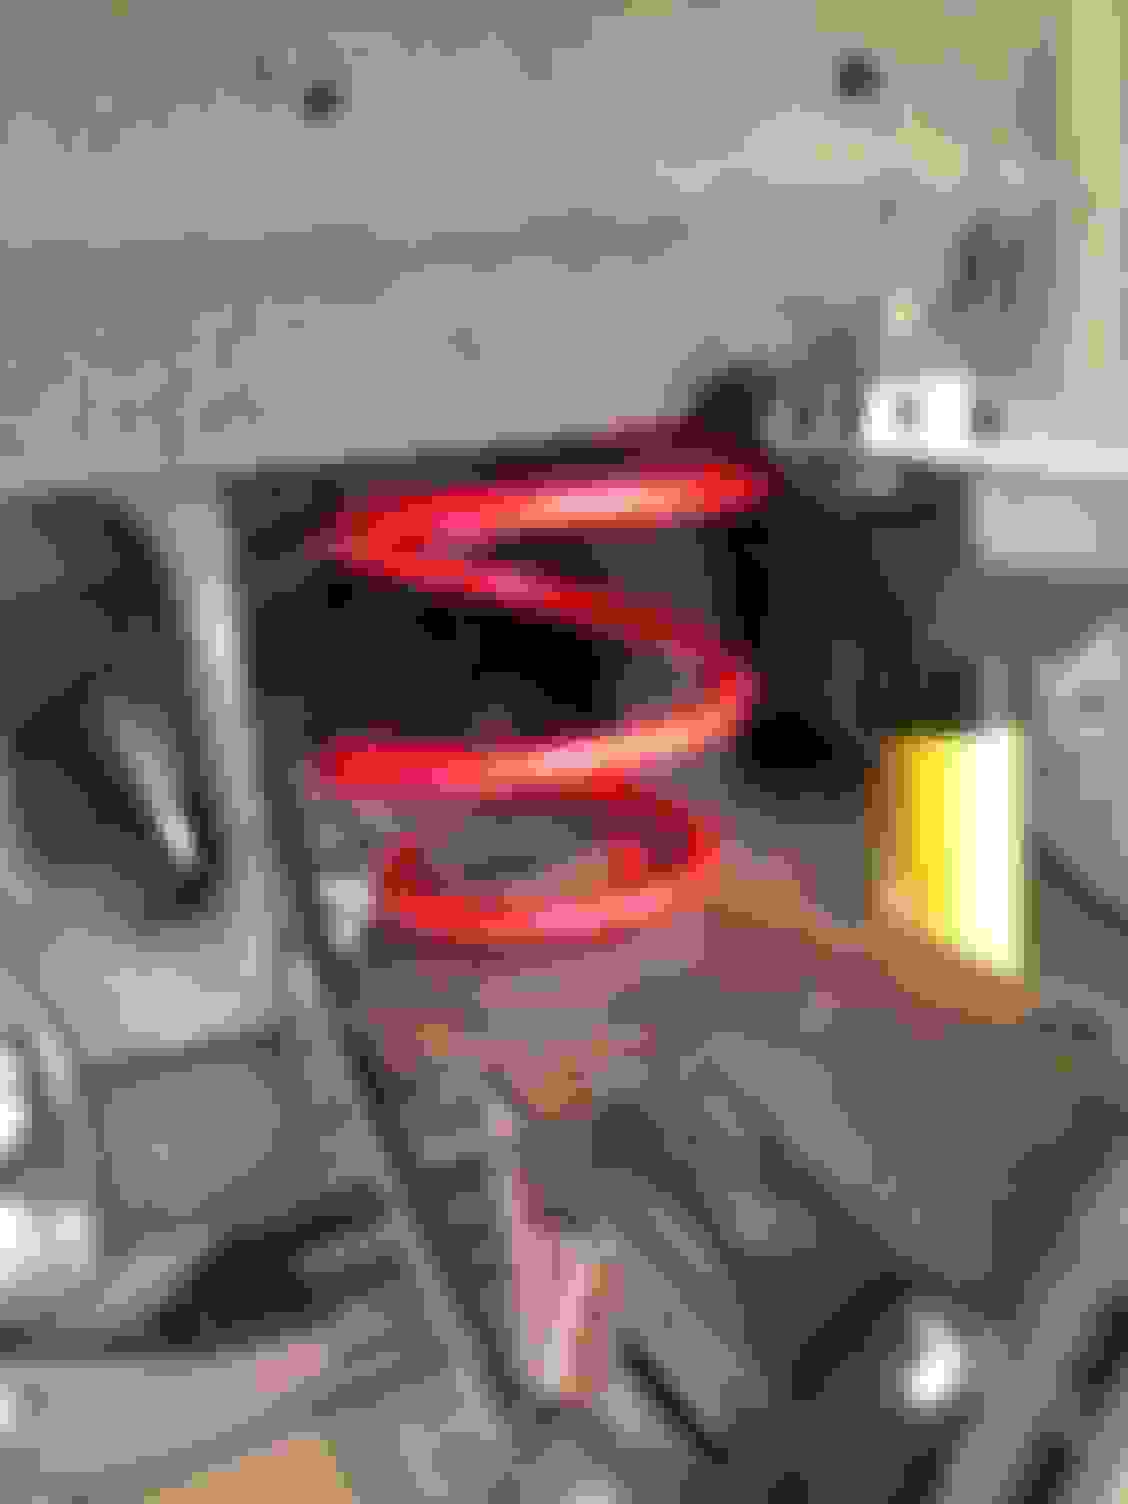
Got around to cleaning up and painting the rear sway bar brackets today. Just like everything else, I hit them with the wire wheel as best as I could. These were pretty rusty with a good bit of pitting, nothing structural however.
I have nothing but good things to say about the VHT Roll Bar & Chassis paint that I used on the front of the car, however, due to the amount of pitting on these brackets, I decided to switch it up a bit and try some Rust-Oleum Rusty Metal Primer and some Gloss Protective Enamel. I did two coats of primer and two coats of top coat. I think the Rust-Oleum covers a little better but I like the finish of the VHT more.
I don't know why but I'm just never a fan of cutting anything off the car, even though it'll never be concours restored. With that being said, the tab is pretty useless and I'll probably end up cutting it off once I get some bumpstops in, mock them up, and weight my options.
So I was doing a little research on bump stops and spacers today and found some interested information. It appears as if those universal jeep stops are actually shorter than the original foam pieces our cars came with. I came across some polyurethane replacement stops (they look very similar to the jeep stops everyone uses) and spacers that are sold on Hawks.
If Hawks uses the same or similar polyurethane stops as the jeeps, than mounting universal jeep stops flush with the body will mean the stop is actually shorter than the original foam stop. Below are some screen shots from Hawks website and as you can see, they specifically say and show that their polyurethane stop with the spacer is the same height as the OEM foam stop.
Hawks also offers a larger spacer for 17" wheels which brings me to another interesting variable. So it turns out that cars that came with 16" wheels from the factory have just a bump stop, but cars that came with 17" wheels got a spacer in addition to the bump stop to avoid rubbing of the tire on the inner fender well.
After some quick math, the stock 16"x8" ET55 wheels have a backspacing of 156.6mm and a frontspacing of 46.6mm. The stock WS6 17"x9" ET50 wheels have a backspacing of 164.3mm and a frontspacing of 64.3mm which gain some space on the back and front. The C6Z spyders that I am using are 18"x9.5" ET40 which means they have a backspacing of 160.65mm and a front spacing of 80.65mm, not much added in the back but a big jump to close to double what I had before with my 16's. I'm probably going to need to roll the fenders but I'm wondering if that extra frontspacing means I'm going to need some spacers for the bump stops to avoid rubbing if I hit some larger bumps or potholes.
What I'm probably going to do now is purchase UMI's rubber bump stops and create some kind of spacer that will allow them to sit at the same height as the OEM stops with the SLP spacer. I did find measurements for the SLP spacers and I can call up UMI to find out how tall their rubber stops are. If anyone has an OEM foam stop in good condition, if you can get a measurement of how high/tall those are from the end to the base and post that up, that would really help me gauge how thick of a spacer I'm looking at and what my options are.
Many people with the 17" wheels would remove their spacers to gain a bit of suspension travel. My WS-6 wheels (9") didn't rub with the old urethane bump stops I made. Neither did the 19" x 9.5" wheels I have now. I think they have slightly greater backspacing than stock, though I am not sure what. It might just be the extra 0.5" on the outer lip.
I would not worry about it if I were you. They might rub a tiny bit if you drive it over one of those pickup truck washboard obstacle tracks, but in all honesty, you will never experience enough suspension articulation in the real world to have a problem.
However, even with my shorter bump stops, there's barely more than an inch between the axle and the stops with 1.25" drop all around (rubber donuts not removed from springs). With the taller spacers/stops, you are losing out on vital suspension travel. And it is not like anything else was in danger of hitting. You can test like I did by putting the car on jack stands and removing the rear springs and jacking up the axle with everything else connected. Lift it by the pumpkin and you can even rock it left-right a little.
Oh, and regarding that lip on the body that you can cut off to make the wider bump stops fit, it is not just cosmetic. That provides strength to the sheet metal there to reinforce the mounting base of the bump stops. Yeah, it will probably be okay if you remove it, but it is structural.
Thanks for the info, I was wondering if guys who were running 17" wheels were really having rubbing issues without the spacers and how much travel you actually had with those spacers. I do plan on removing the springs and lifting the axle with my new wheels and tires on to see how much room I have to play with. I'm definable not liking the idea of cutting the lip, I'm never a fan of that stuff. As far as spacers go, I'm definable buying UMI's rubber bump stops, I was just referencing Hawks to show that spacer they include to make the universal poly bump stops the same height as the OEM ones. I know I may be overthinking the simplest thing but I like doing my research and weighing out my options.
Stonecold. More for you to ponder on bump stops. OEM "on the shelf" bump stop height means little. It is compressed height that matters. OEM were pretty soft compared to poly. I would want a shorter poly stop or you are not getting full suspension travel.
Also, you are figuring your wheel backspacing dimensions incorrectly. Remember, offset does not include the wheel lips, backspacing does. Overall wheel/tire fitment is what matters though. A wider tire on the same rim as a narrower tire needs less backspacing to fit with minimal rub issues.
Very good point on the bump stop height. I know poly doesn't like to move which is why I'm going with UMI's rubber piece, which still probably doesn't compress as well as the foam either but should net a softer hit than the poly.
As far as the backspacing goes, I know wheel width is measured from inside the lip and backspacing goes to the outside of the lip. I also know that the tire will make a larger difference than the wheel, I was just trying to get an idea of how different my C6Z wheel will sit in the well compared to a stock 16" or 17" wheel. The lips on all of the wheels may vary but it'll be close enough to see what the difference is.
So I've been busy lately and waiting for parts to come in but I'm hoping to have the car on the road by the end of this weekend, early this week at the latest.
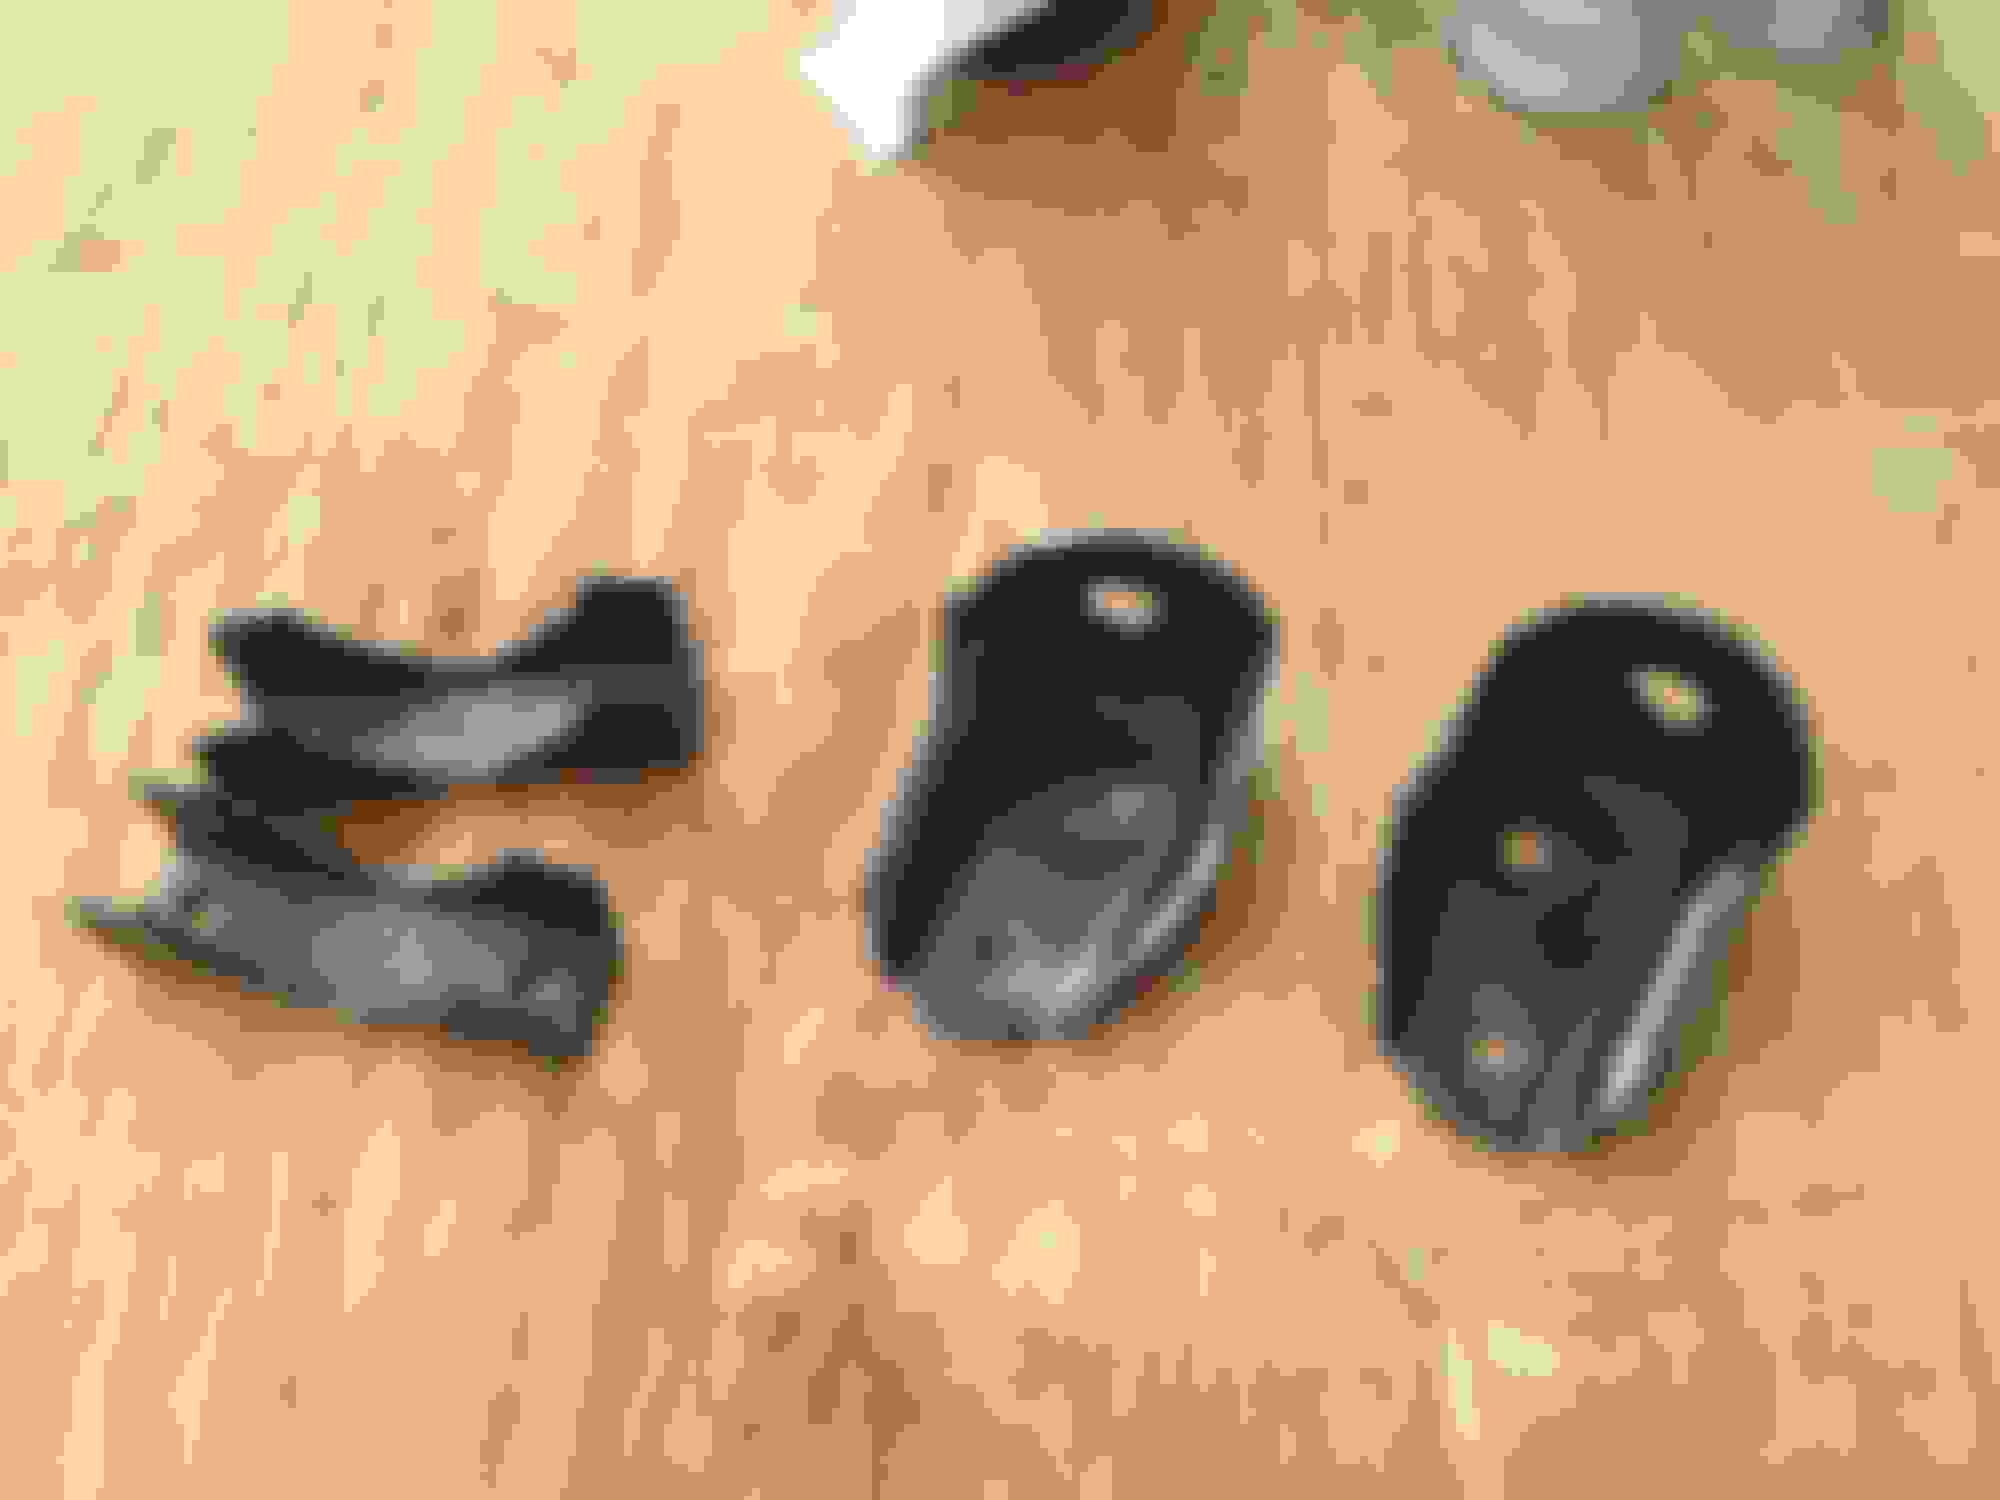
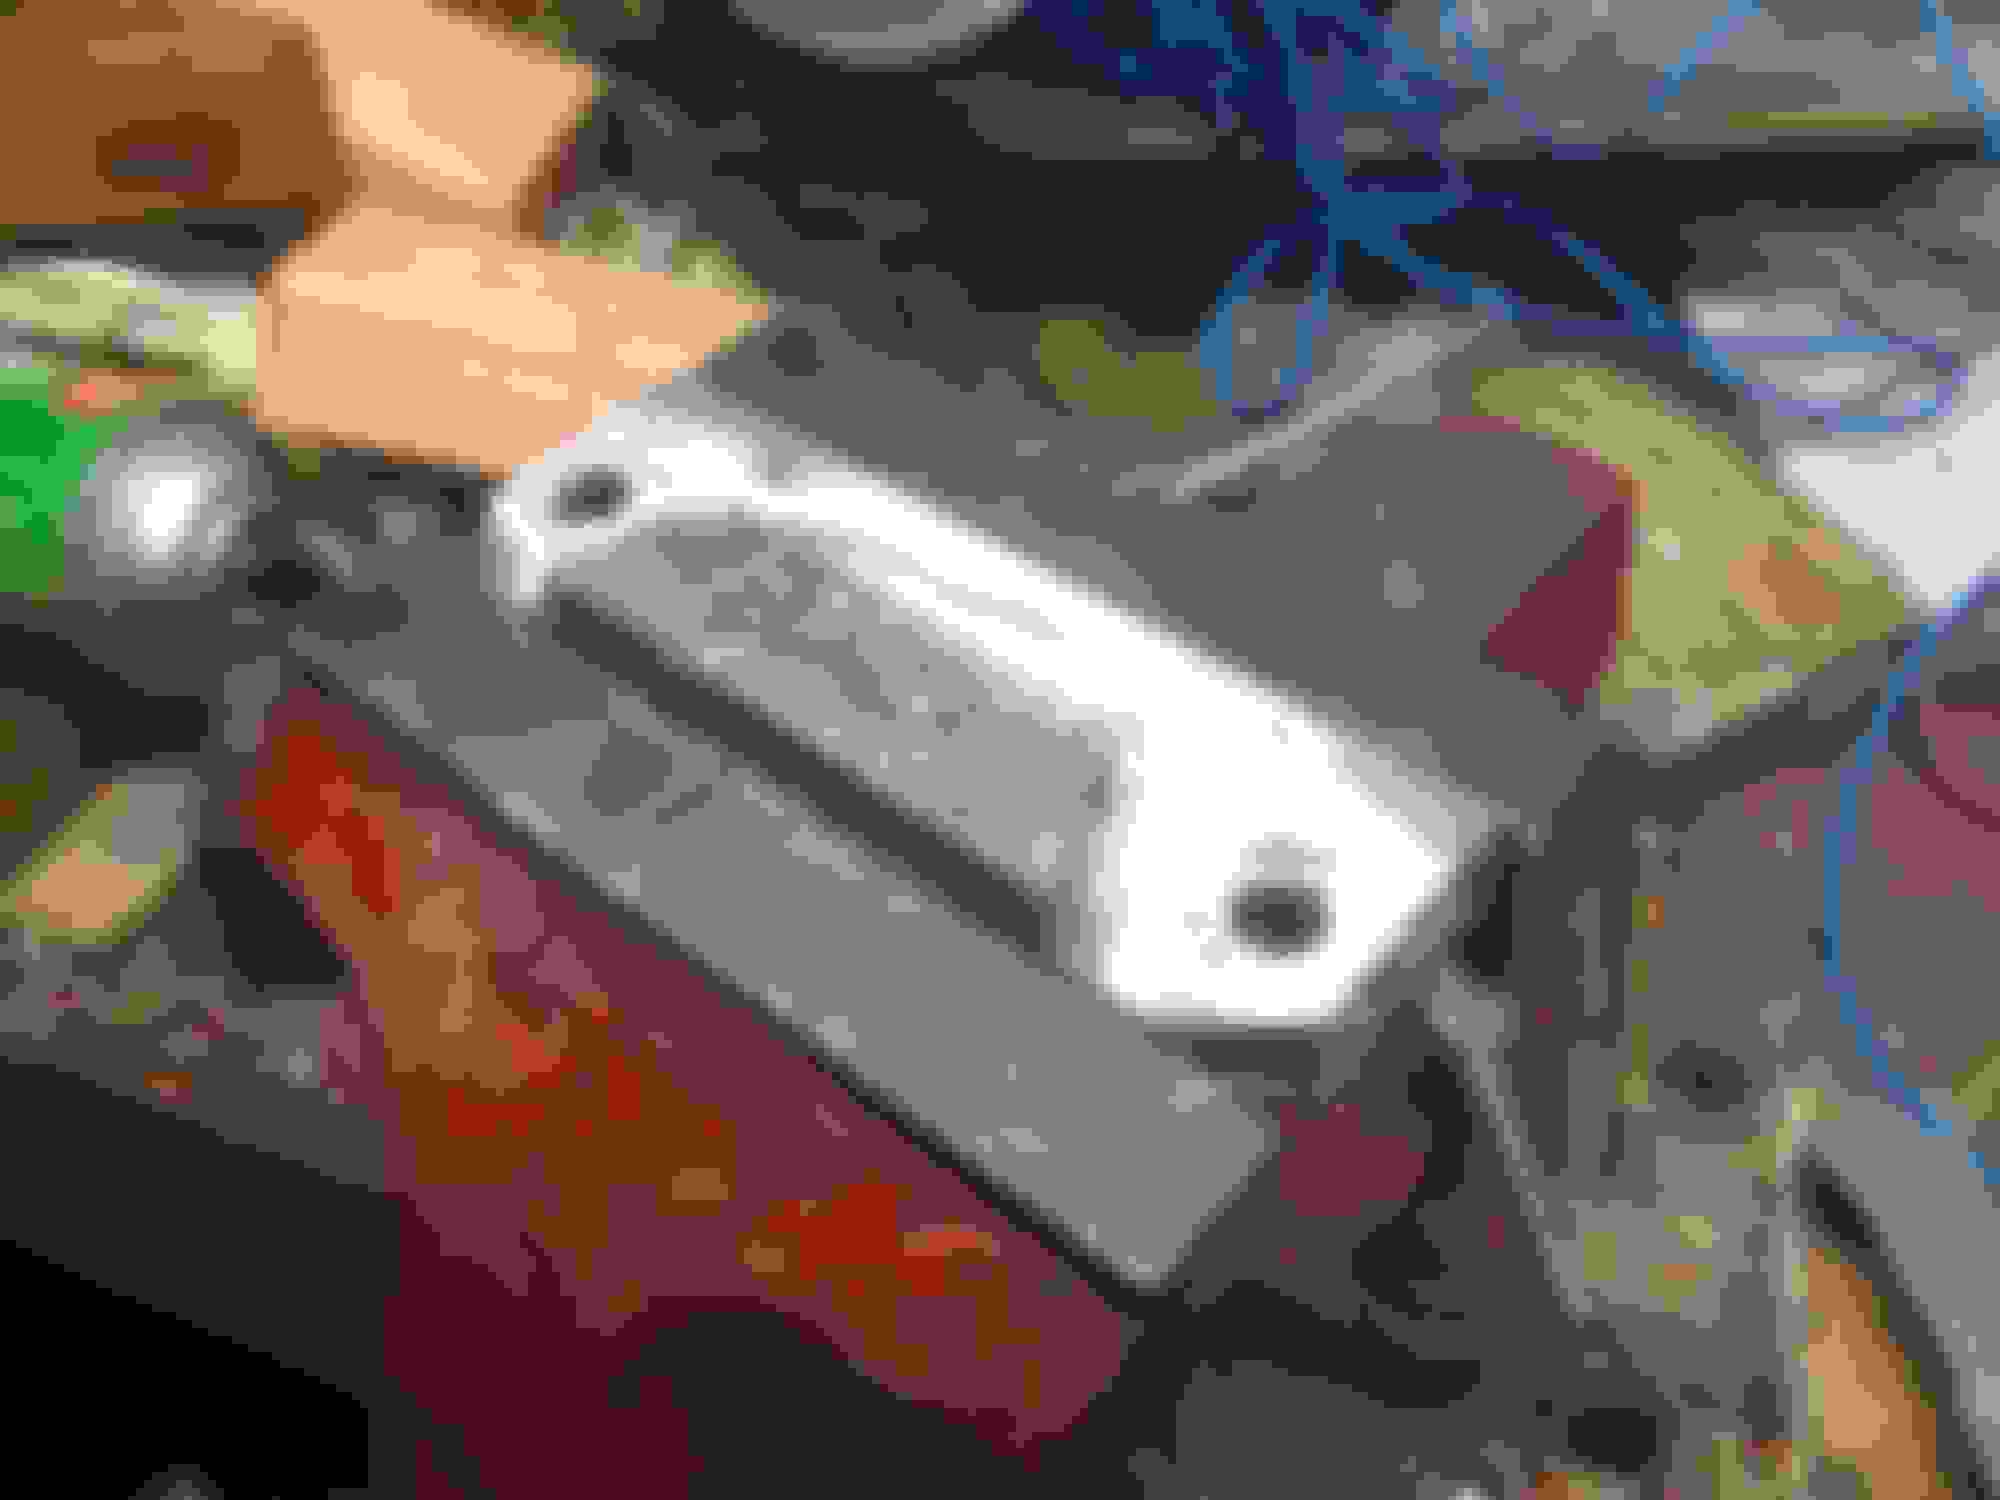
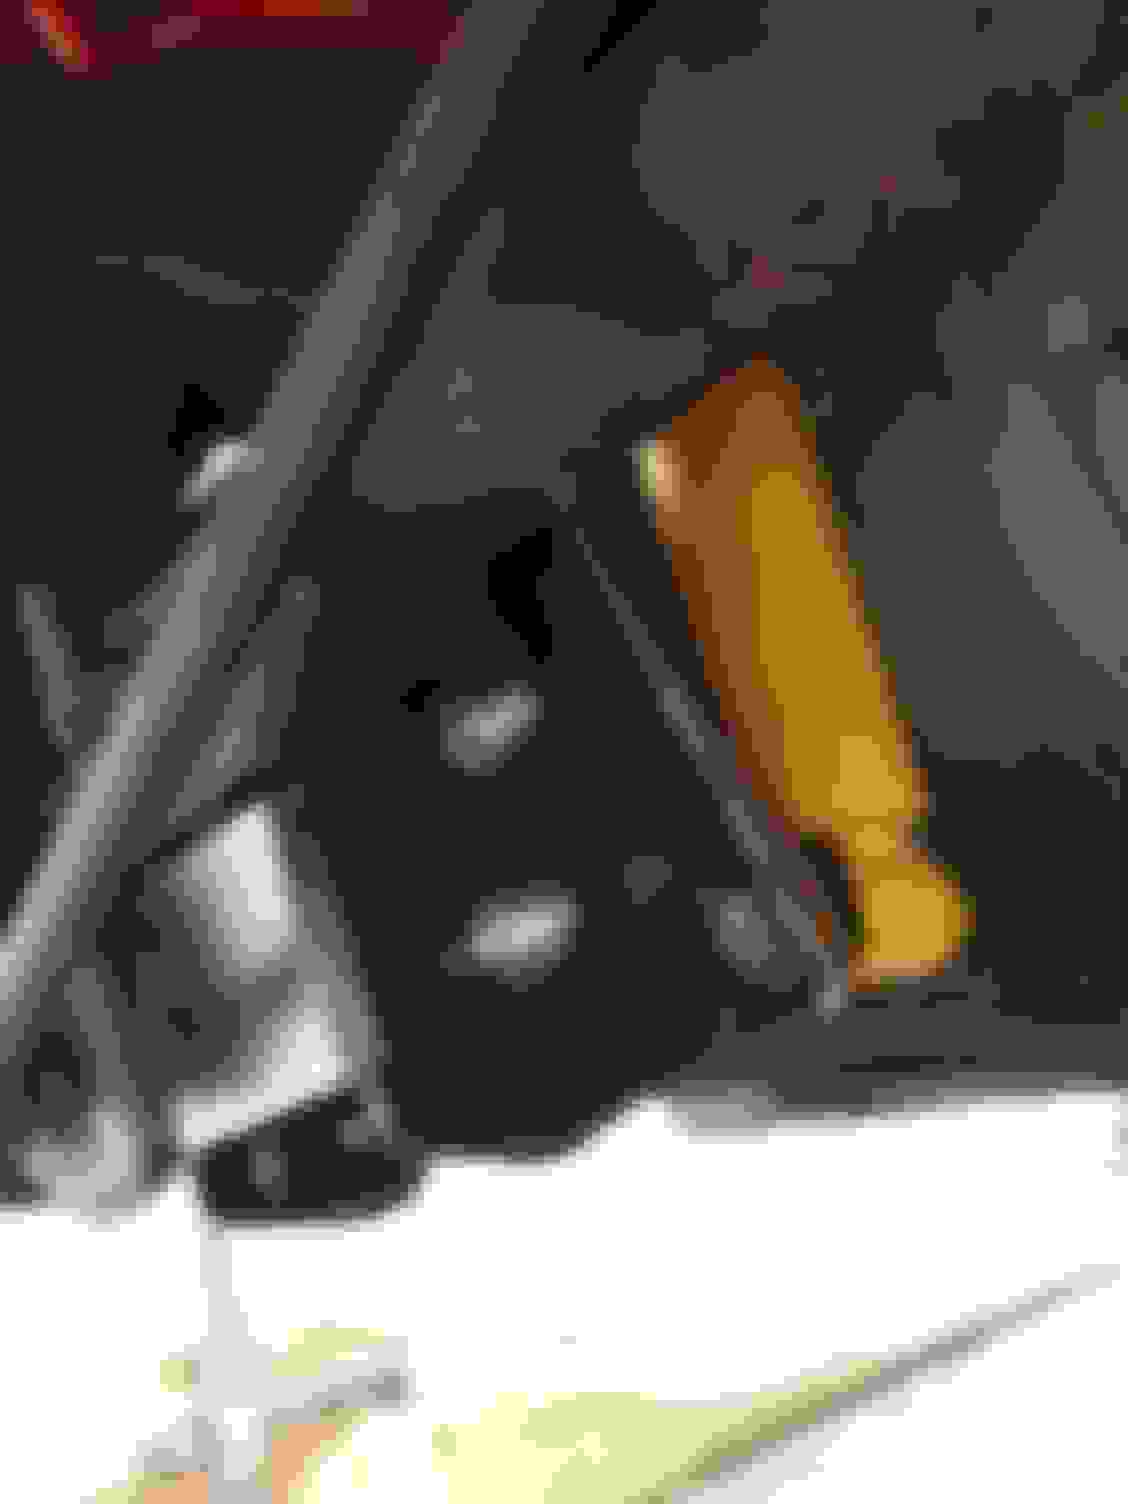
Currently, this is what I'm doing with the bump stops for now and we'll see how it rides on the road. I ordered a set of SLP bump stop spacers from Ebay that conveniently came with a set a longer bolts, and a set of of UMI rubber bump stops from Jegs.
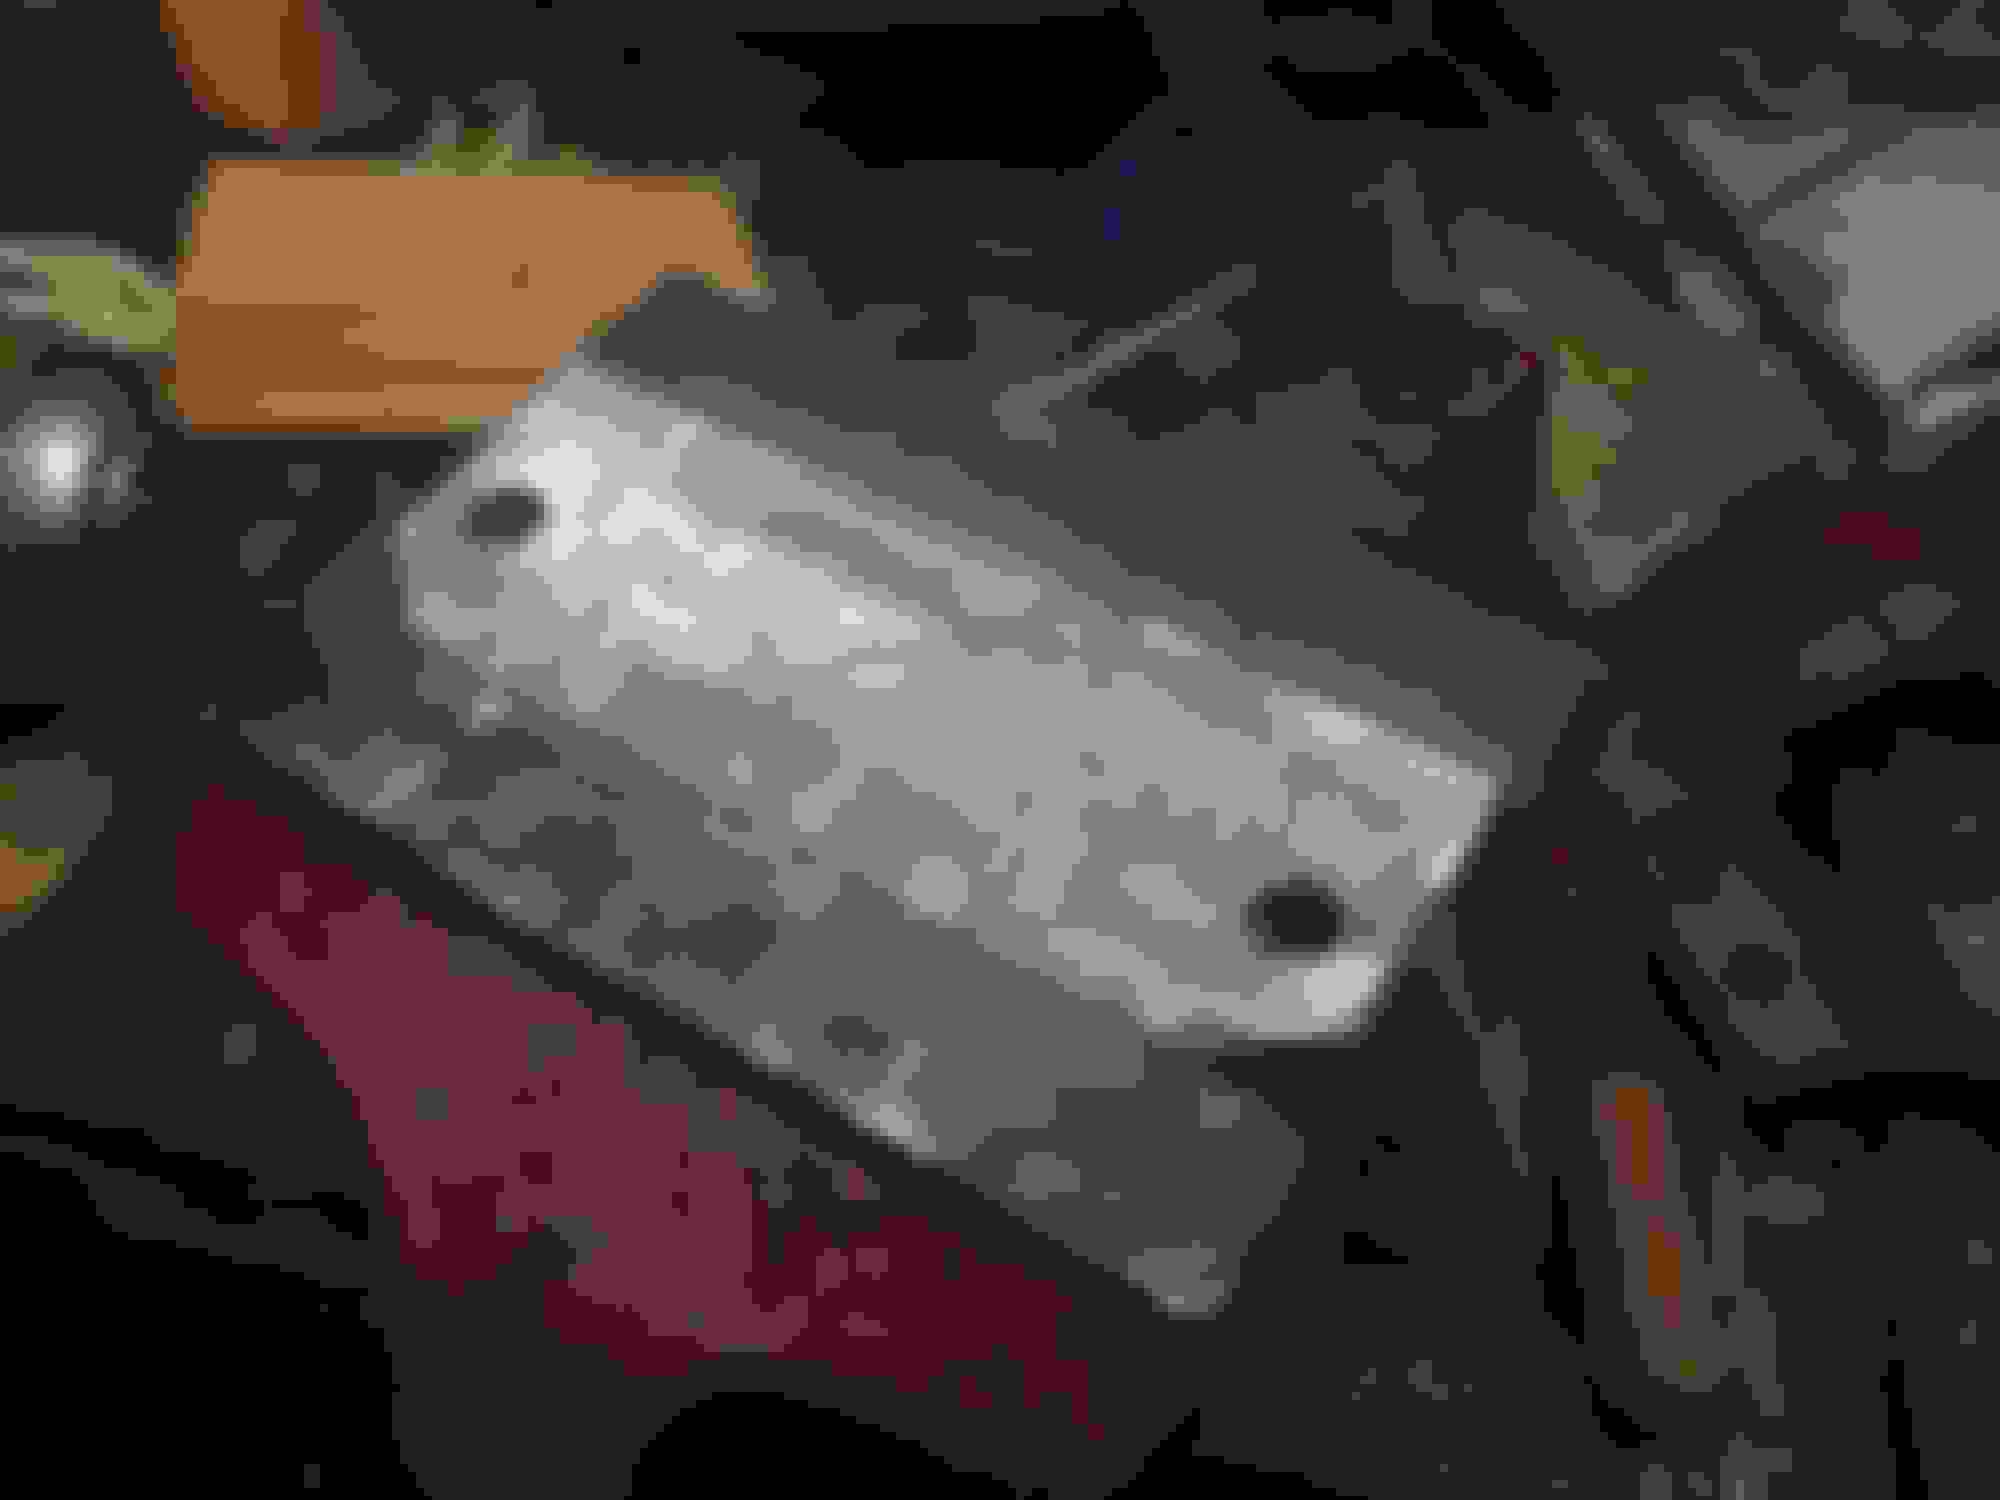
I put the spacers in a vice and a few seconds later with a sawsall, zipped the top of them off to make a flat mounting surface. I then took my grinder and just hit it real fast to make it pretty smooth. These are aluminum so it's nice not to have to worry about painting them.
Had to do a little clearancing on the passenger side lip.
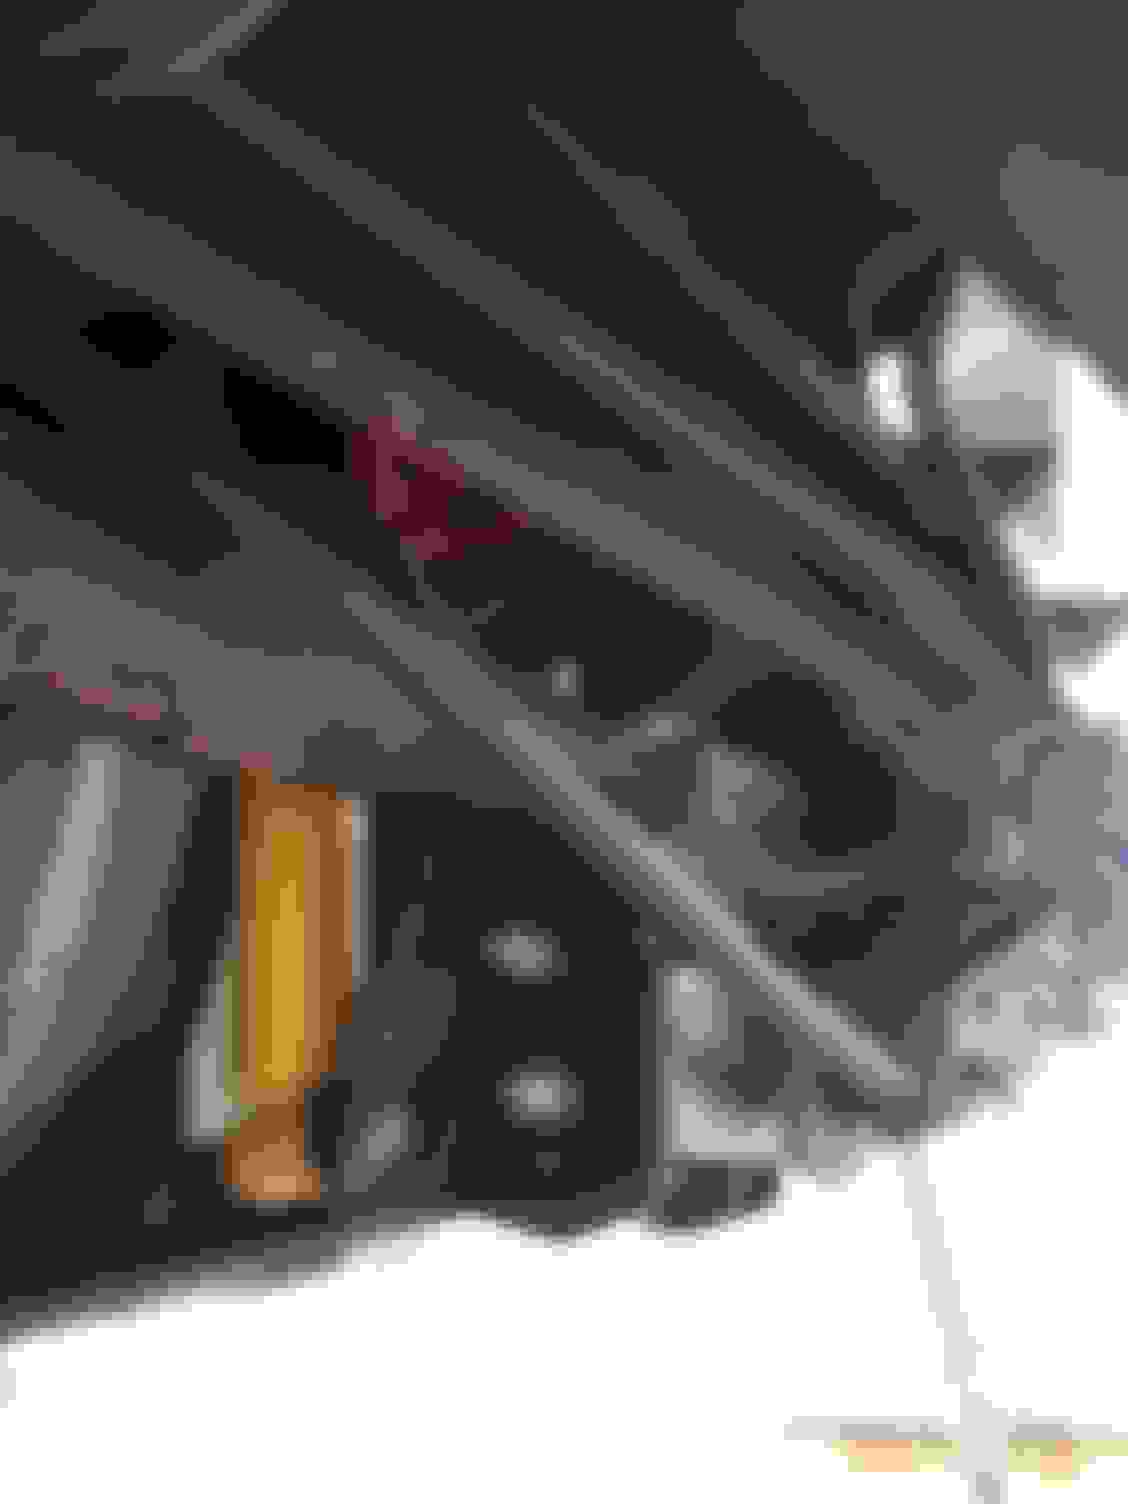
Then everything went together as it should.
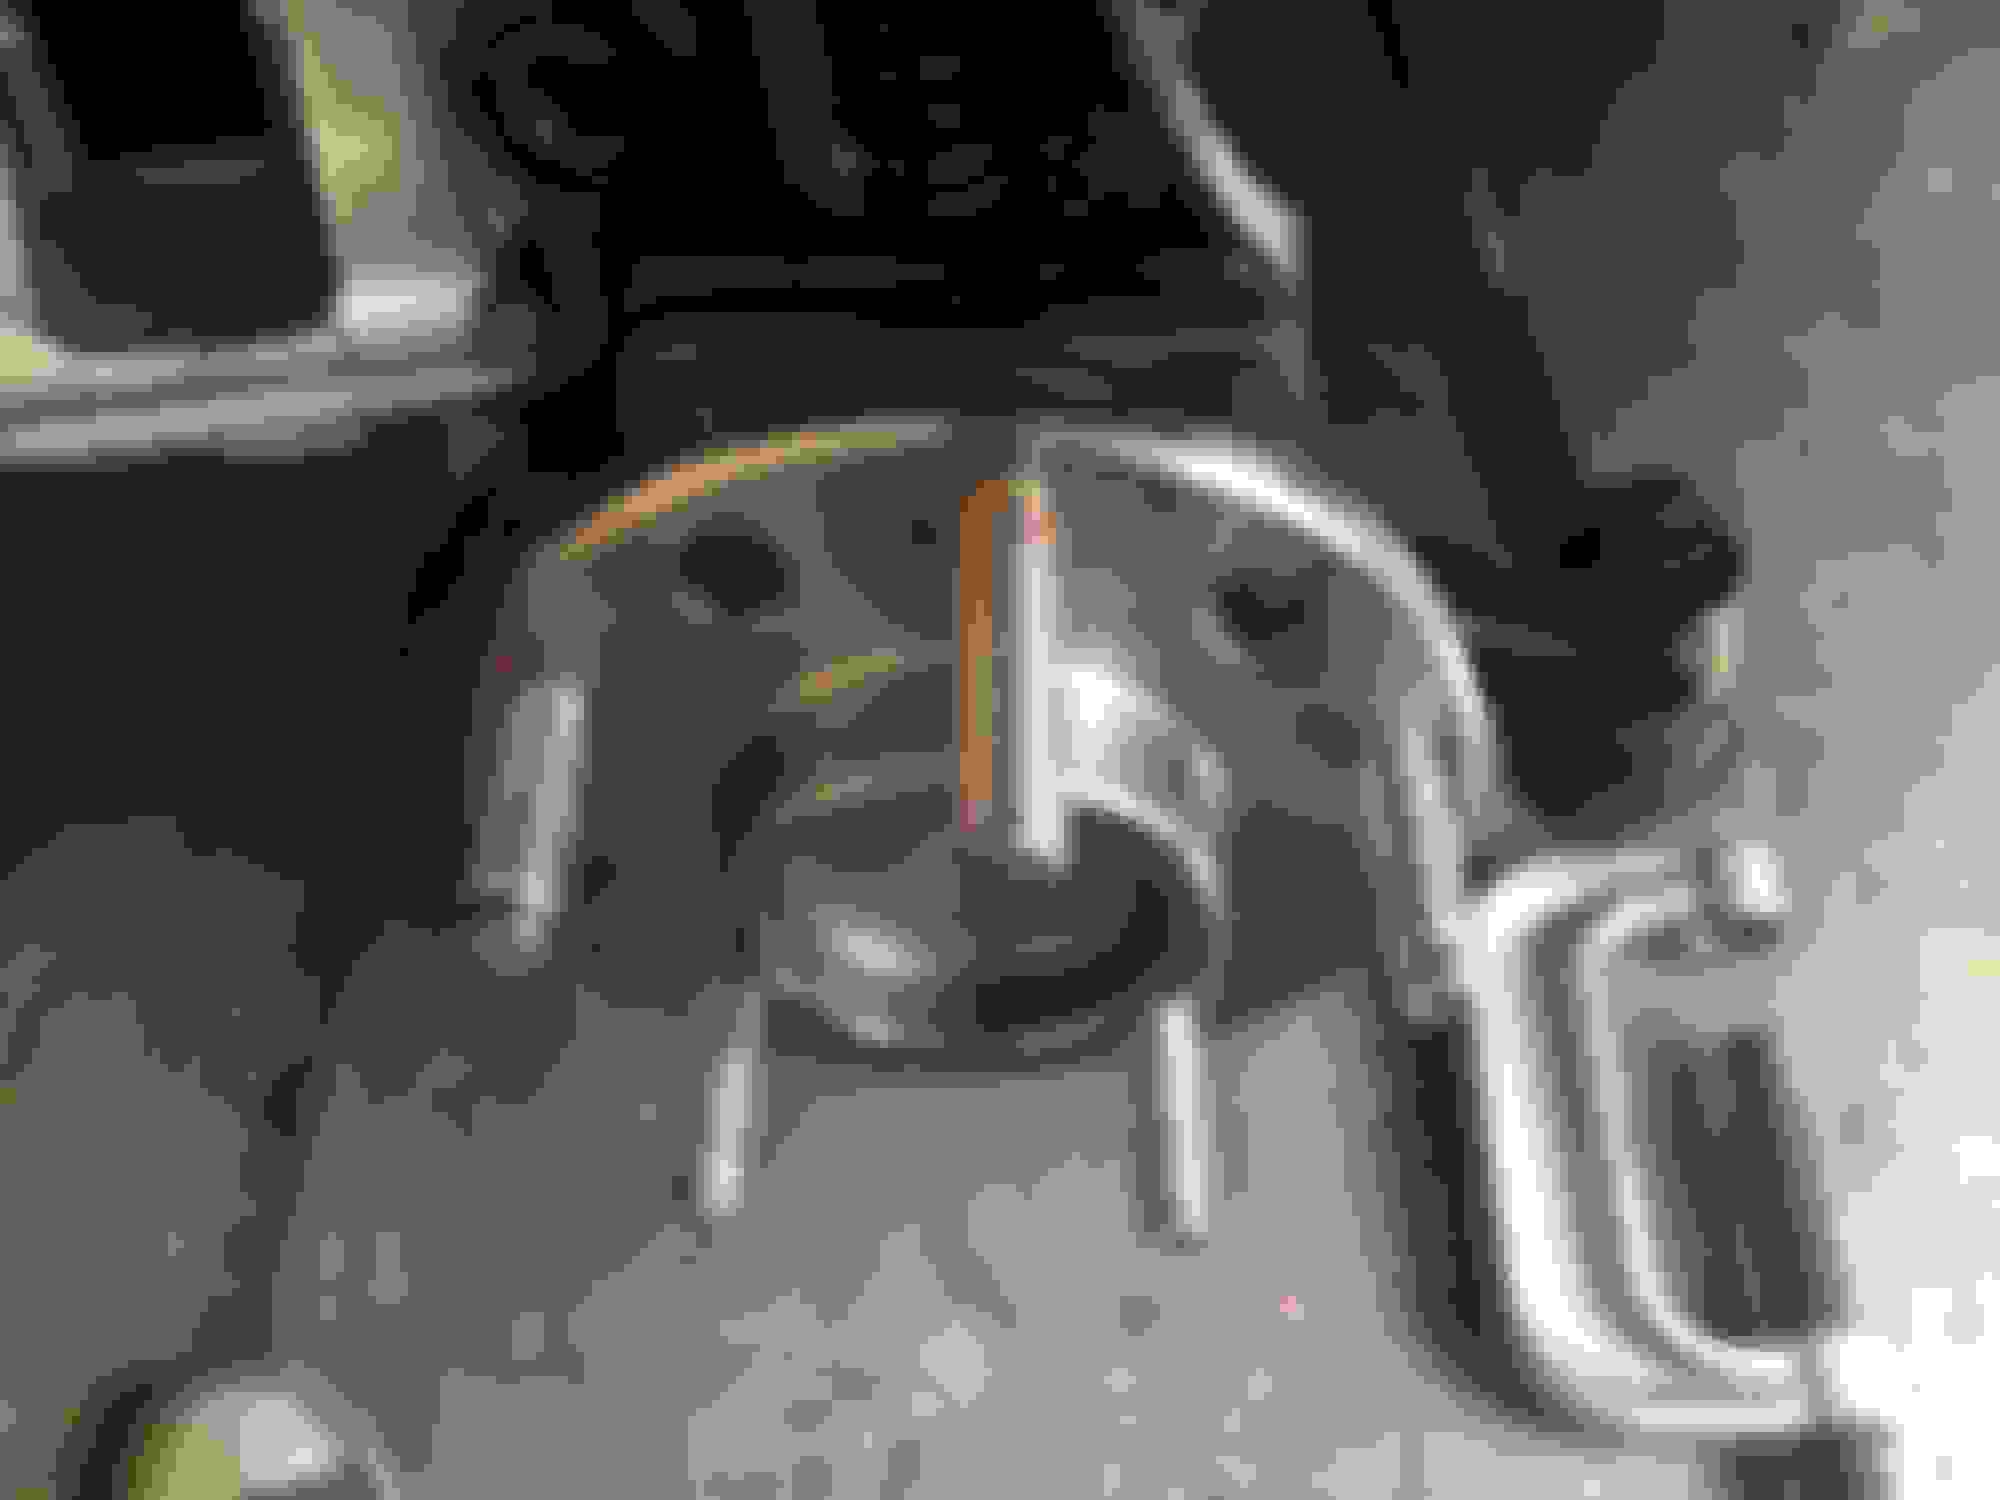
Once I had them on, I wanted to see at what height these bottomed out at. So I removed the springs which is literally the easiest thing to do, just support the axle with a jack, unbolt the shocks and lower the axle down.
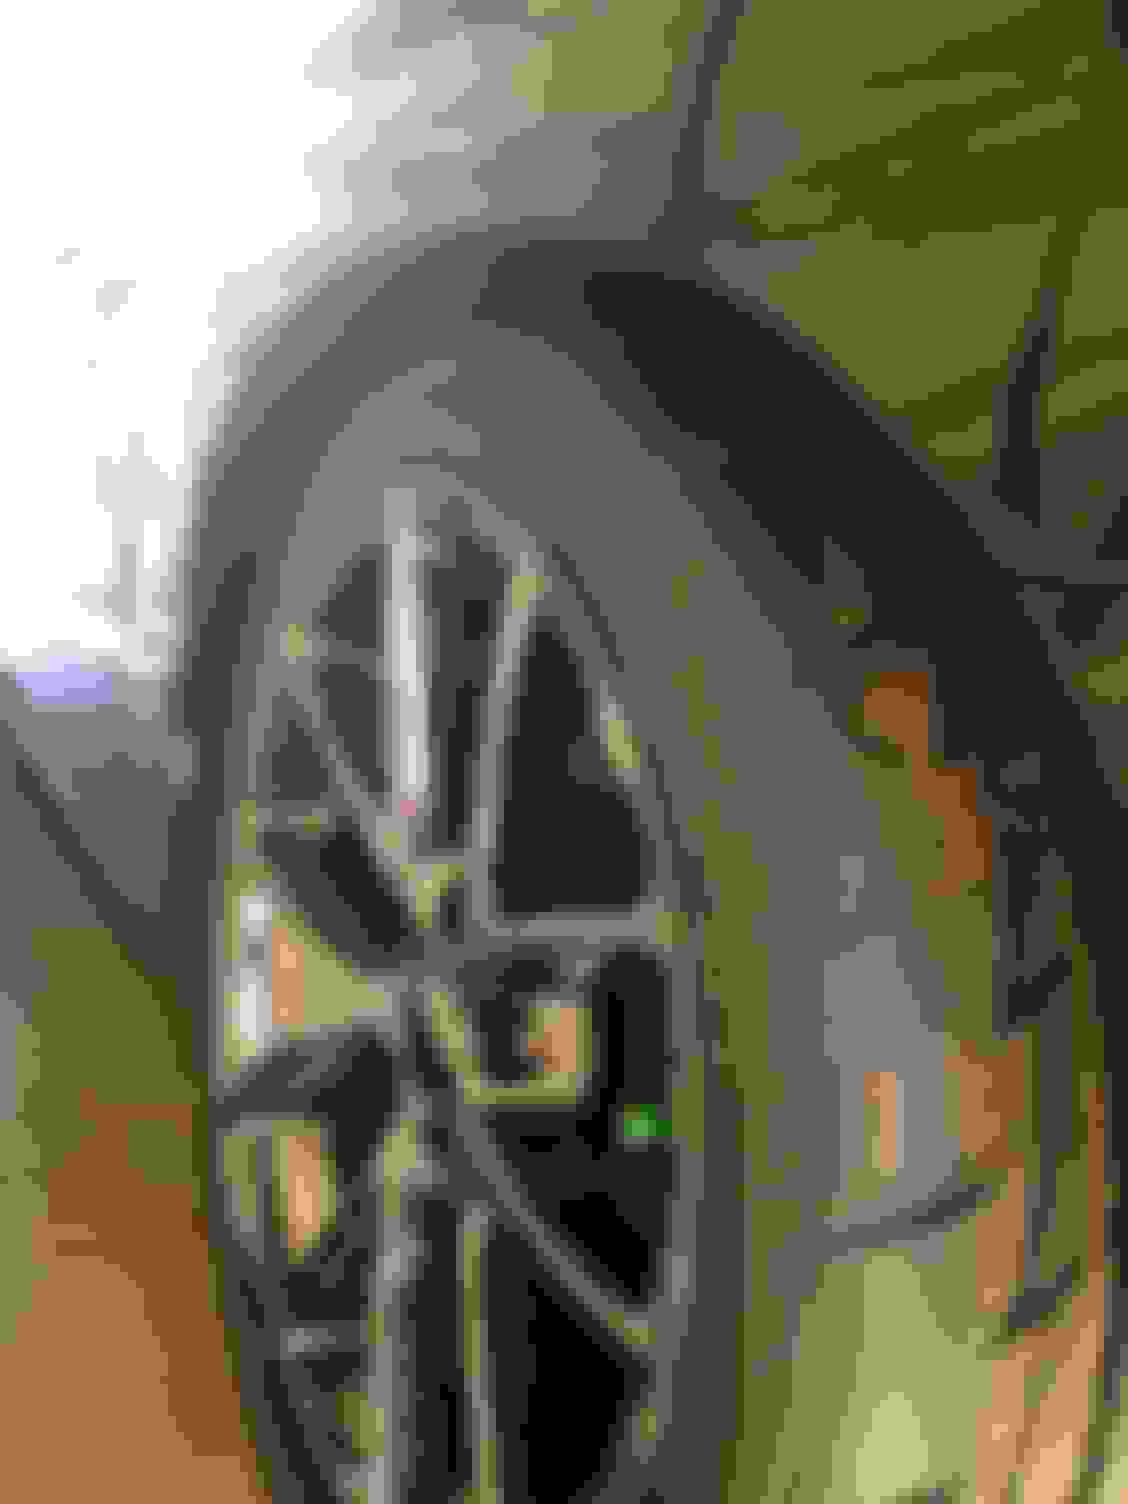
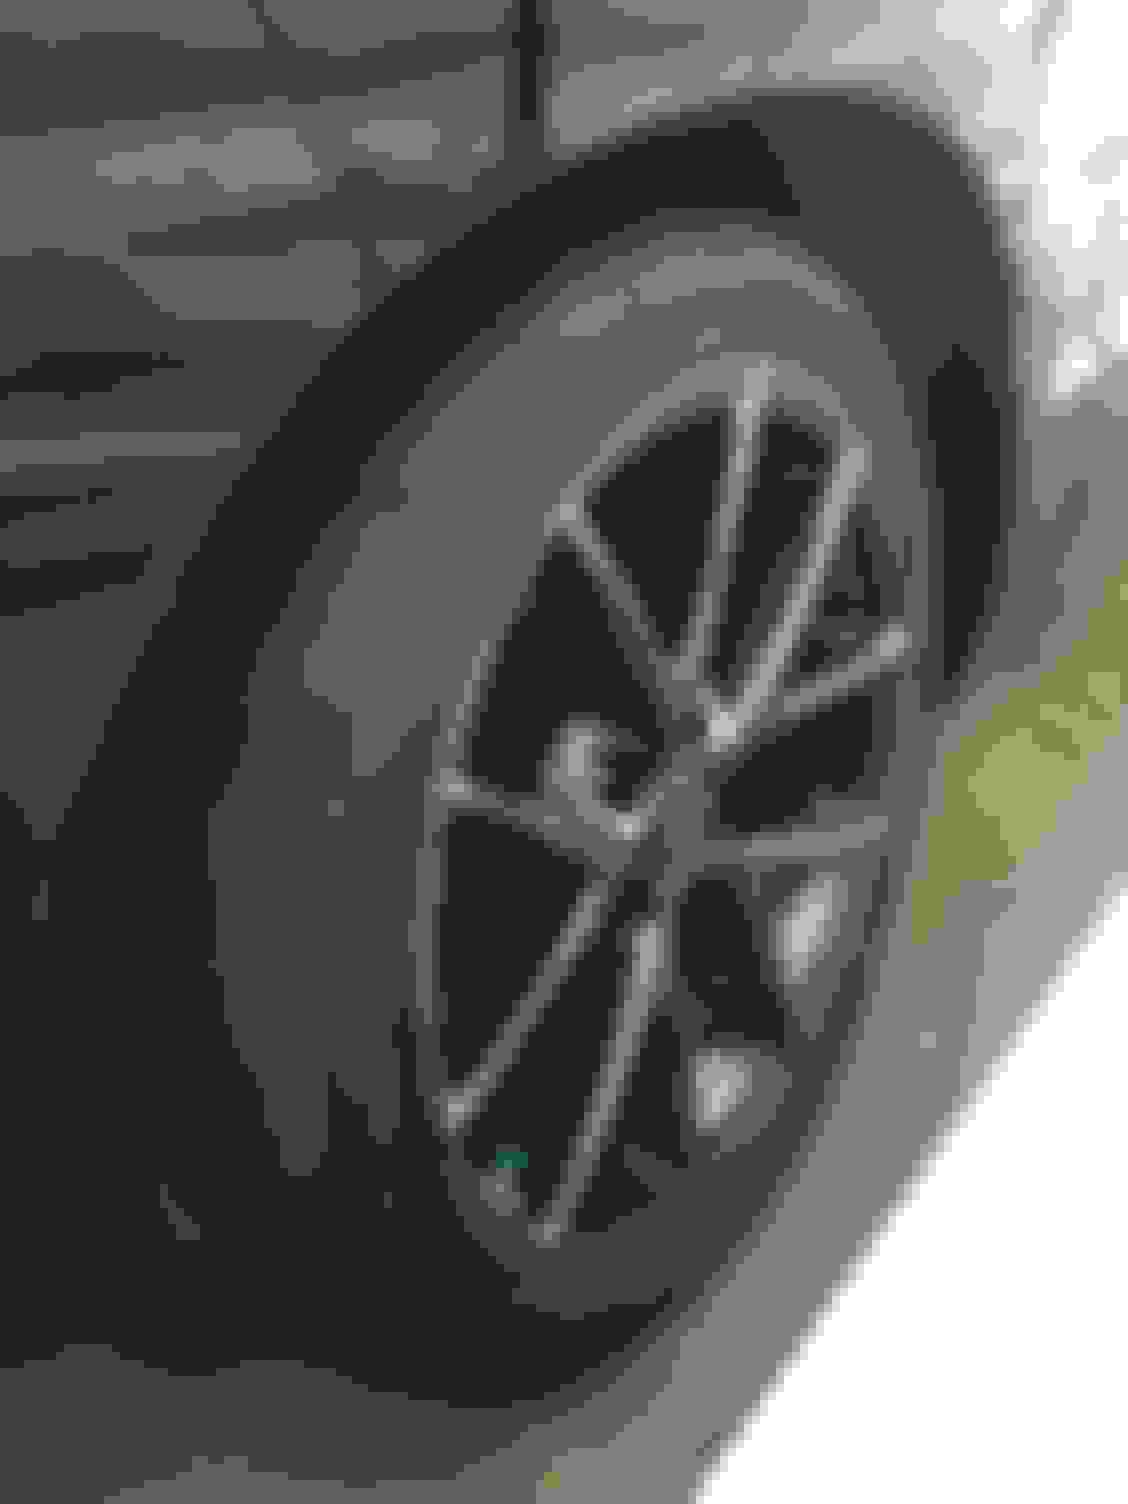
I installed my wheels and jacked it back up to see where we are at.
That is with the axle resting on the stops. From the look of it, it looks as if this setup will keep my tires from rubbing or forcing me to roll the fenders, the question now is will I need more travel into the wheel well to prevent it from bottoming out so soon, which will need to be answered once I get the car on the road. If I need more travel, I'll think of another solution.
Looks good. I would put the springs back in and with the car level and weight on the axle/tires, measure how much clearance you have between the axle and the bump stops.
For the fender lip, just check the sidewalls of the tires for scrapes, especially after hard cornering such as mountain driving. If you find you need to roll the fenders, the tires won't be ruined right away if you check them regularly after getting back on the road. You'll have time, so it should be fine whether they rub or not.
It's been a long day but the rear end is finally on the ground.
First thing I did was remove the lower control arm bolts and nuts, these are 18mm which is a pain. If you haven't done them yet, most likely they are on there. I used two breaker bars and a lot force, at one point I had my leg pushed up on the axle and was yanking on one while the other was pinned against a cinder block. Yes I tried my torque wrench and it didn't budge.
I am going to rebuilt my other set of arms with fresh paint and Moog's solid bushings, but for now, the bushings on my current arms are in good shape and they're staying on to get the car on the road.
Once the lower arms are out, I decided to finish taking the shocks out. I already removed the lower nuts which are 21mm to remove the springs. The upper nuts are located under the carpet inside the car. Like most shocks you need to hold the stud while you remove the nut, I used a pair of vice grips to hold the stud and a 15mm wrench to loosen the nut, it's barely on there, once you break it loose you can pretty much remove it by hand.
Once the springs, shocks, and LCA's are out, it's time to mock up and install the LCA relocation brackets. Now on LS cars, I believe there may be a modification needed due to the parking brake cable being in the way. On LT1 cars like mine, there is a damper for the rear caliper which needs to cut in order to clear the bracket. Even though the damper may be close to fitting, it is mounted to the floating part of the caliper so it will move as the brakes are applied and the pads wear.
To remove the damper, just remove the 15mm nut and pull off. I then put it in a vice, sawsalled a piece off and then hit it with a grinder to smooth it out. I'm going to clean these up and paint them when I do the arms just to keep them from rusting.
Once the damper is ready to go, I installed the brackets. The bolts on top have a spacer that goes where the arm originally went so the mount on the axle doesn't collapse when tightened down. I installed the bolts for the axle and arm but didn't tighten them until the got the shocks installed.
Installing the Koni's is pretty strait forward, they come with all new hardware except for the lower shock nut, I had to reuse the one that came off the car.
First thing I did was install the top. Install the bushings and plates per Koni's instructions. Hand tighten the nut to get it started. Koni puts a nice smaller nut on the head of the stud to hold while you tighten the nut, I was able to put a small rachet on the top and tighten the nut with a wrench. Don't kill it, you're supposed to have some wiggle room here. Not shown in the photos but Koni gives you extra nuts to use as a jam nut, just install on top and tighten down.
Before you install the bottom of the shocks, you're going to want to install the springs. Just like removing them, you just support the axle with a jack and lower it down, install the springs and jack the axle up. The upper isolators have a notch for the end of the spring in them so there is a certain way they're suppose to sit, just make sure it's correctly seated.
Next was time to install the lower shock nut. This was pain as it needs to go through the LCA relo bracket and axle. The drivers side was pretty easy, all I needed to do was pull the axle forward a little and it slid right in. The passenger side took some more work, I had to remove the bolt for the lower control arm, use a pry bar I had with a point to align the hole on the bracket with the hole on the axle, tighten the bolt that holds the bracket to the axle so it wouldn't move, remove the pry bar, and install the lower shock stud. Then to install the bolt in the lower control arm again, I just had to pull the axle forward like I did on the driver side. I put some anitsieze on these bolts and torqued them to 66 ft-lbs.
I then jacked up the axle to simulate ride height and torqued down the rest of the lower control arm and bracket bolts and nuts.
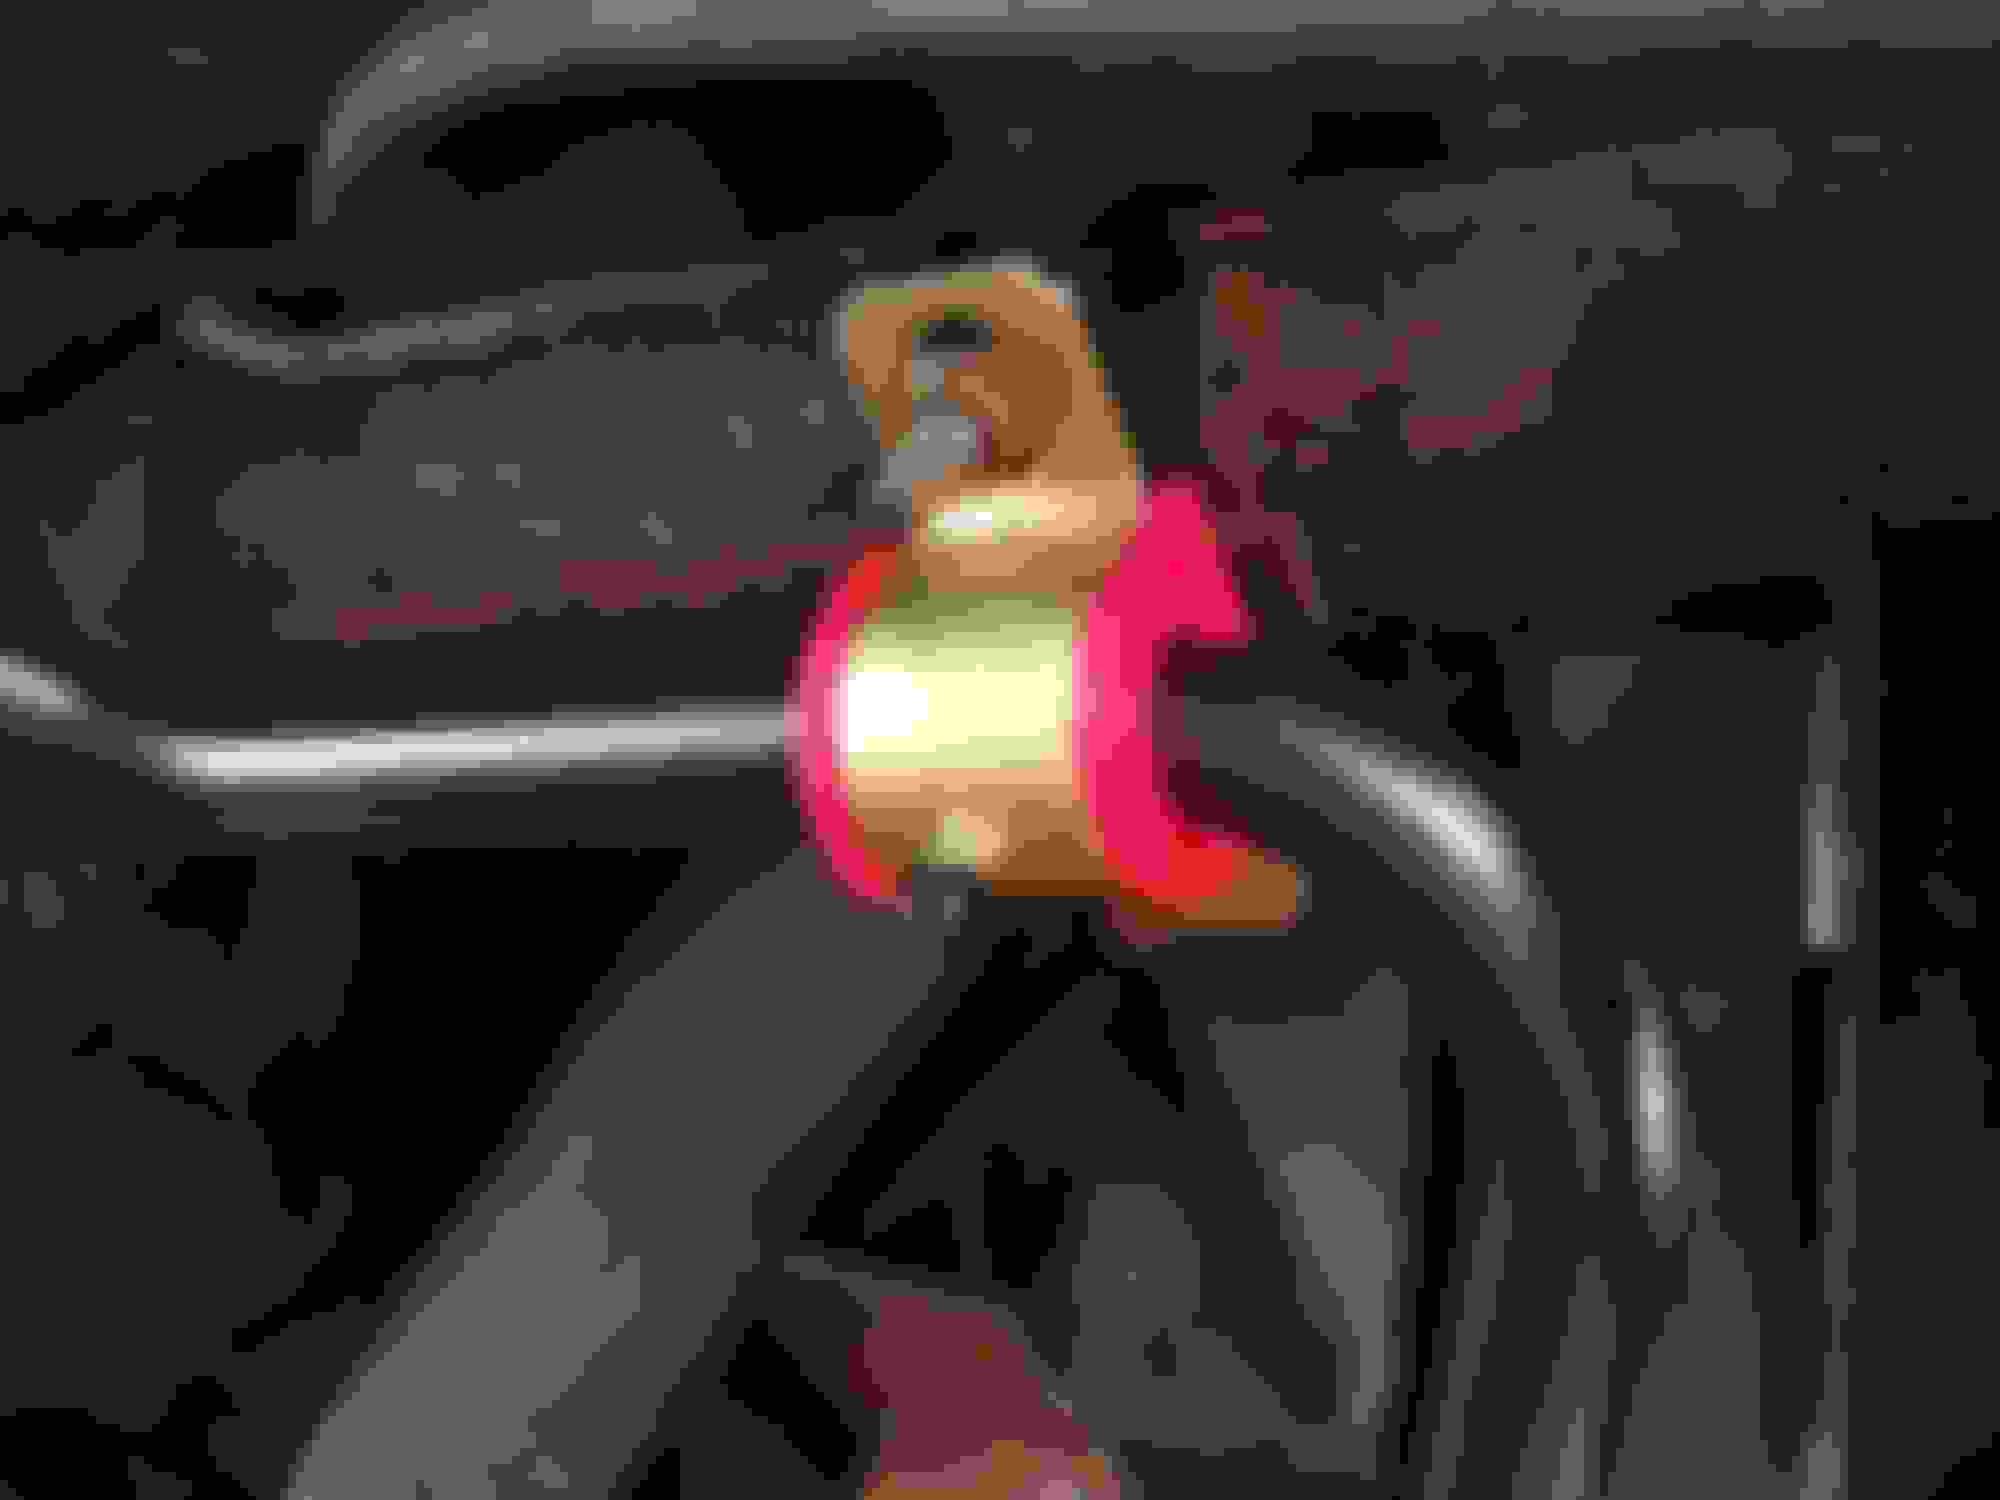
Then it was time to install the sway bar. First I installed my freshly painted sway bar end link mounts.
Next was the freshly painted clamps. I got everything installed and then tighten it down under ride height. Torque specs are 18 ft-lbs for the clamp bolts, the end links I tightened until I started to get some resistance.
For the final items, I bled the rear brakes to get some fresh fluid in the lines and greased the sway bar clamp bushings. Then I installed the wheels and tires and lowered the rear end on the ground.
While the car is on the ground, I haven't moved it yet due to a few reasons. I still have a small list of final things to finish up, such as bleeding the coolant, installing the belt and air intake, adjusting the toe, and greasing the front end so I should need one more full day to get it out.
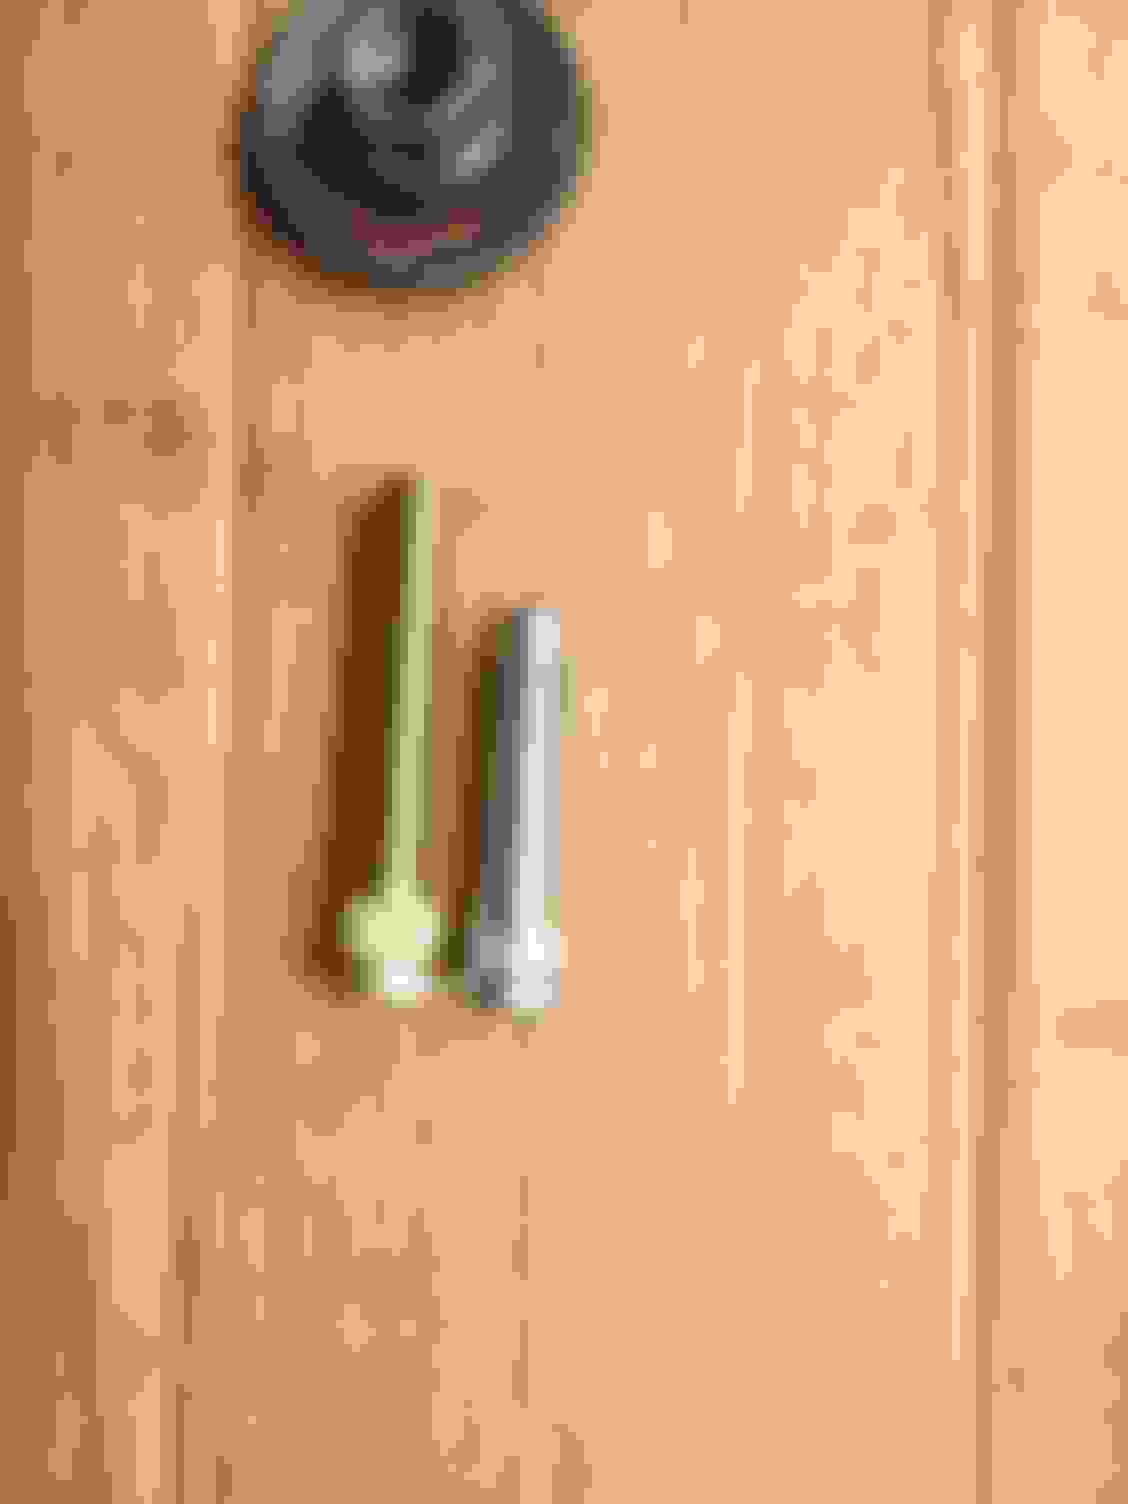
Another issue I ran into, my rear studs don't seem to be long enough for these rims, I only get about 3-4 turns before they start to tighten down. I checked the fronts and I can get about 6-7 turns before they start to get tight. I'm going to look into some options and will most likely need to get longer studs, at least on the rear, and maybe some new lugs all the way around.
Currently doing a lot of research on lugs and studs now. Not sure if I want to go with ARP's 7708's (2-1/2" long) or their 7713's (3-1/4" long). Another thing that becomes an issue is lugs and bottoming them out. I'm a fan of closed ended lugs for both corrosion protection and style, but I'm looking at Gorilla's forged steel racing lugs which are offered in both closed and open end. I'm also thinking about wheel protection and considering a set of their open ended locks as well since my car isn't stored in a locked garage. Lots of things to consider and I'm stuck in the office all week working
I have been doing a lot of research on breaks, lunch, and when I can jump on internet, but I work a lot. I've also done a lot of research and it's time to start pressing studs and see where the dust settles. I picked up a pair of 7708's from a local performance shop for the front that I'm going to press in and see if my stock lugs will bottom out.
If the stock lugs fit with the 7708's, I'm going to get another pair of 7708's for the rear and a set of Gorilla Guard Locks which look to be a little taller than stock lugs and should clear the studs as well. That'll solve my wheel security problems for when the car is parked and I'll probably eventually pick up a set of Gorillas forged steel closed-end racing lugs for the track.
If the stock lugs don't fit with the 7708's, then I'm either going to need to run Gorillas forged steel closed-end racing lugs all the time because they're tall, or an open ended lug, which at that point I might as well get the 7713's so I'm already good if I need a spacer down the road, maybe for another set of wheel's and tires for the street only. As for the wheel locks I'm either going to have to bite the bullet and not have them or use an open ended lock as nobody seems to make a tall closed ended lock for a 12x1.50 stud.
We'll see what happens once I start working on it.
Ball joint separator? Usually what I do if it fits is a C-clamp press, if that doesn't fit, I try to support the hub/axle flange with a block of wood or something, thread on an old lug nut to the end and a couple good hits with a hammer they come right out, I never had any issues doing it that way.
The tool from Summit looks pretty cool due to the bearing that allows the lug to spin freely. I never knew about that and I might pick one up. I always just used an old lug and some washers but I can see how that will help pull it in.
Yes, works awesome. Pops studs out effortlessly.
Yes, seats studs effortlessly. Straight and true, the first time, everytime. No risk of messing up lugs or threads on new studs.
Pressed in the new studs on the front end today. Used my trusty ball joint press to get them out and an old lug nut, washers, and an impact to run the new ones in. Lubing the studs up with grease helps.
The stock lugs come damn close to bottoming out but they clear. I'm going to be ordering a set of Gorilla Guard Locks Part# 61631 for locks (hopefully they clear) and maybe a set of Gorilla Steel Forged Racing Lugs Part# 45138BC for the track.
Rear studs will be done tomorrow, we'll see how those go.
 07-23-2017, 10:56 PM