When you click on links to various merchants on this site and make a purchase, this can result in this site earning a commission. Affiliate programs and affiliations include, but are not limited to, the eBay Partner Network.
Oh okay. Wish I had a LQ9 as I had one in my Sierra, but everyone wanted too much for them at the time. Doesn't matter now as I am about to go to a forged 370 bottom end.
YES!!! Me and my buddy were just talking about how everyone thinks LQ9 is gold!
YES!!! Me and my buddy were just talking about how everyone thinks LQ9 is gold!
To be honest I think they are rare compared to a LS1 and LQ4. They didn't come in as many trucks. But then you compare it to the price of a LQ4 and the mark up for just flat top pistons seems ridiculous.
Installed the Racetronix kit and it was straight forward. Also found out why my fuel gauge wasnt working right. The contacts on the float were bent and not making contact.
Holley LS fuel rails with crossover kit. Comes with multiple fittings and braided fuel line. Heard some bad things about the Fast rails and a bunch of good things about these. Nick Williams 102mm. Huge! Dont have nitrous yet, but i went ahead and test fitted this. lol Finally got my Fast 102 and you know i had to test fit the throttle body and fuel rails! I like the blacked out setup.
Well so far I have obtained what you guys see here. I also have a MS4 cam and springs kit, LS7 lifters, LS2 lifter trays, ARP head bolts, 799 heads, BMR front lowering springs, and a SLP line lock. Suppose to get a big bonus soon and then do my taxes and hopefully I will have enough to get a fully forged 370 rotating assembly. About to order ARP main studs next week. I am getting closer to reaching my goals!
Thanks guys. Been hard keeping up with this thread lately as I have been working a lot and have had family issues. Also just finished helping my brother get his car back up and running. Here is a idle clip oh his car.
Thanks. Just called the machine shop last week and he quoted me $3500 to fully machine and assemble the shortblock. This will also include cleaning up my stock crank and him providing forged rods and pistons. He also will be performing a CNC port job on my 799 heads and installing bigger valves. So hopefully in a few months I will be yanking the motor and transmission. It will be such a relief when I get the motor build done. Then I can start working on the suspension and brakes.
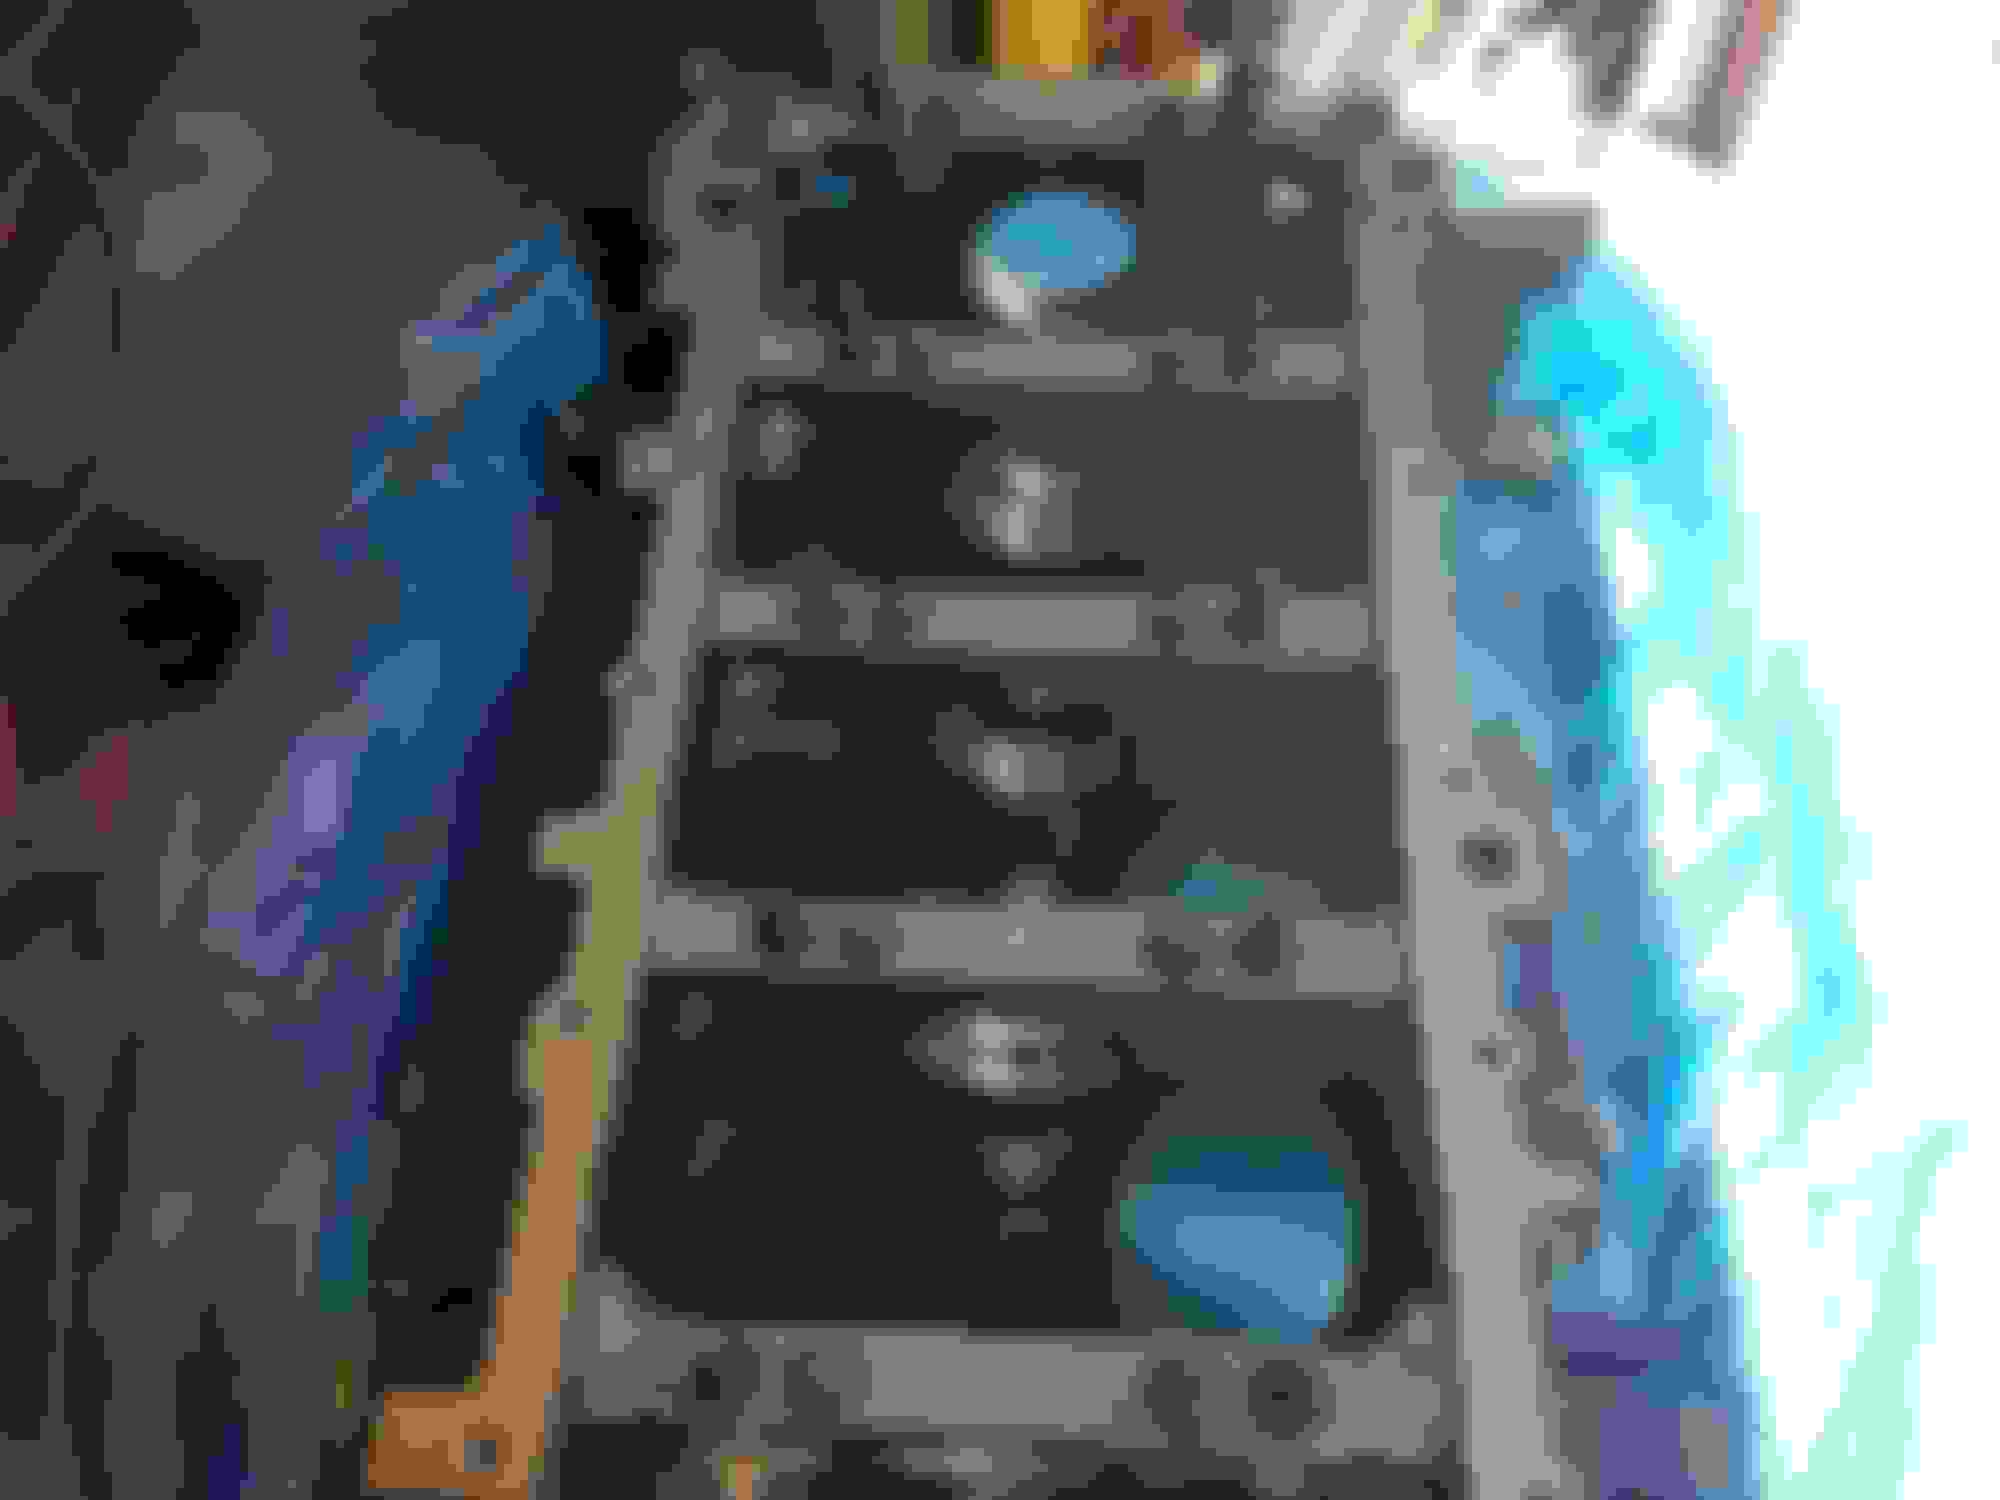
Well plans changed slightly and I decided to build a separate motor instead of the one in the car so I will have less downtime. So I purchased a brand new 4th gen 6.0 iron block.
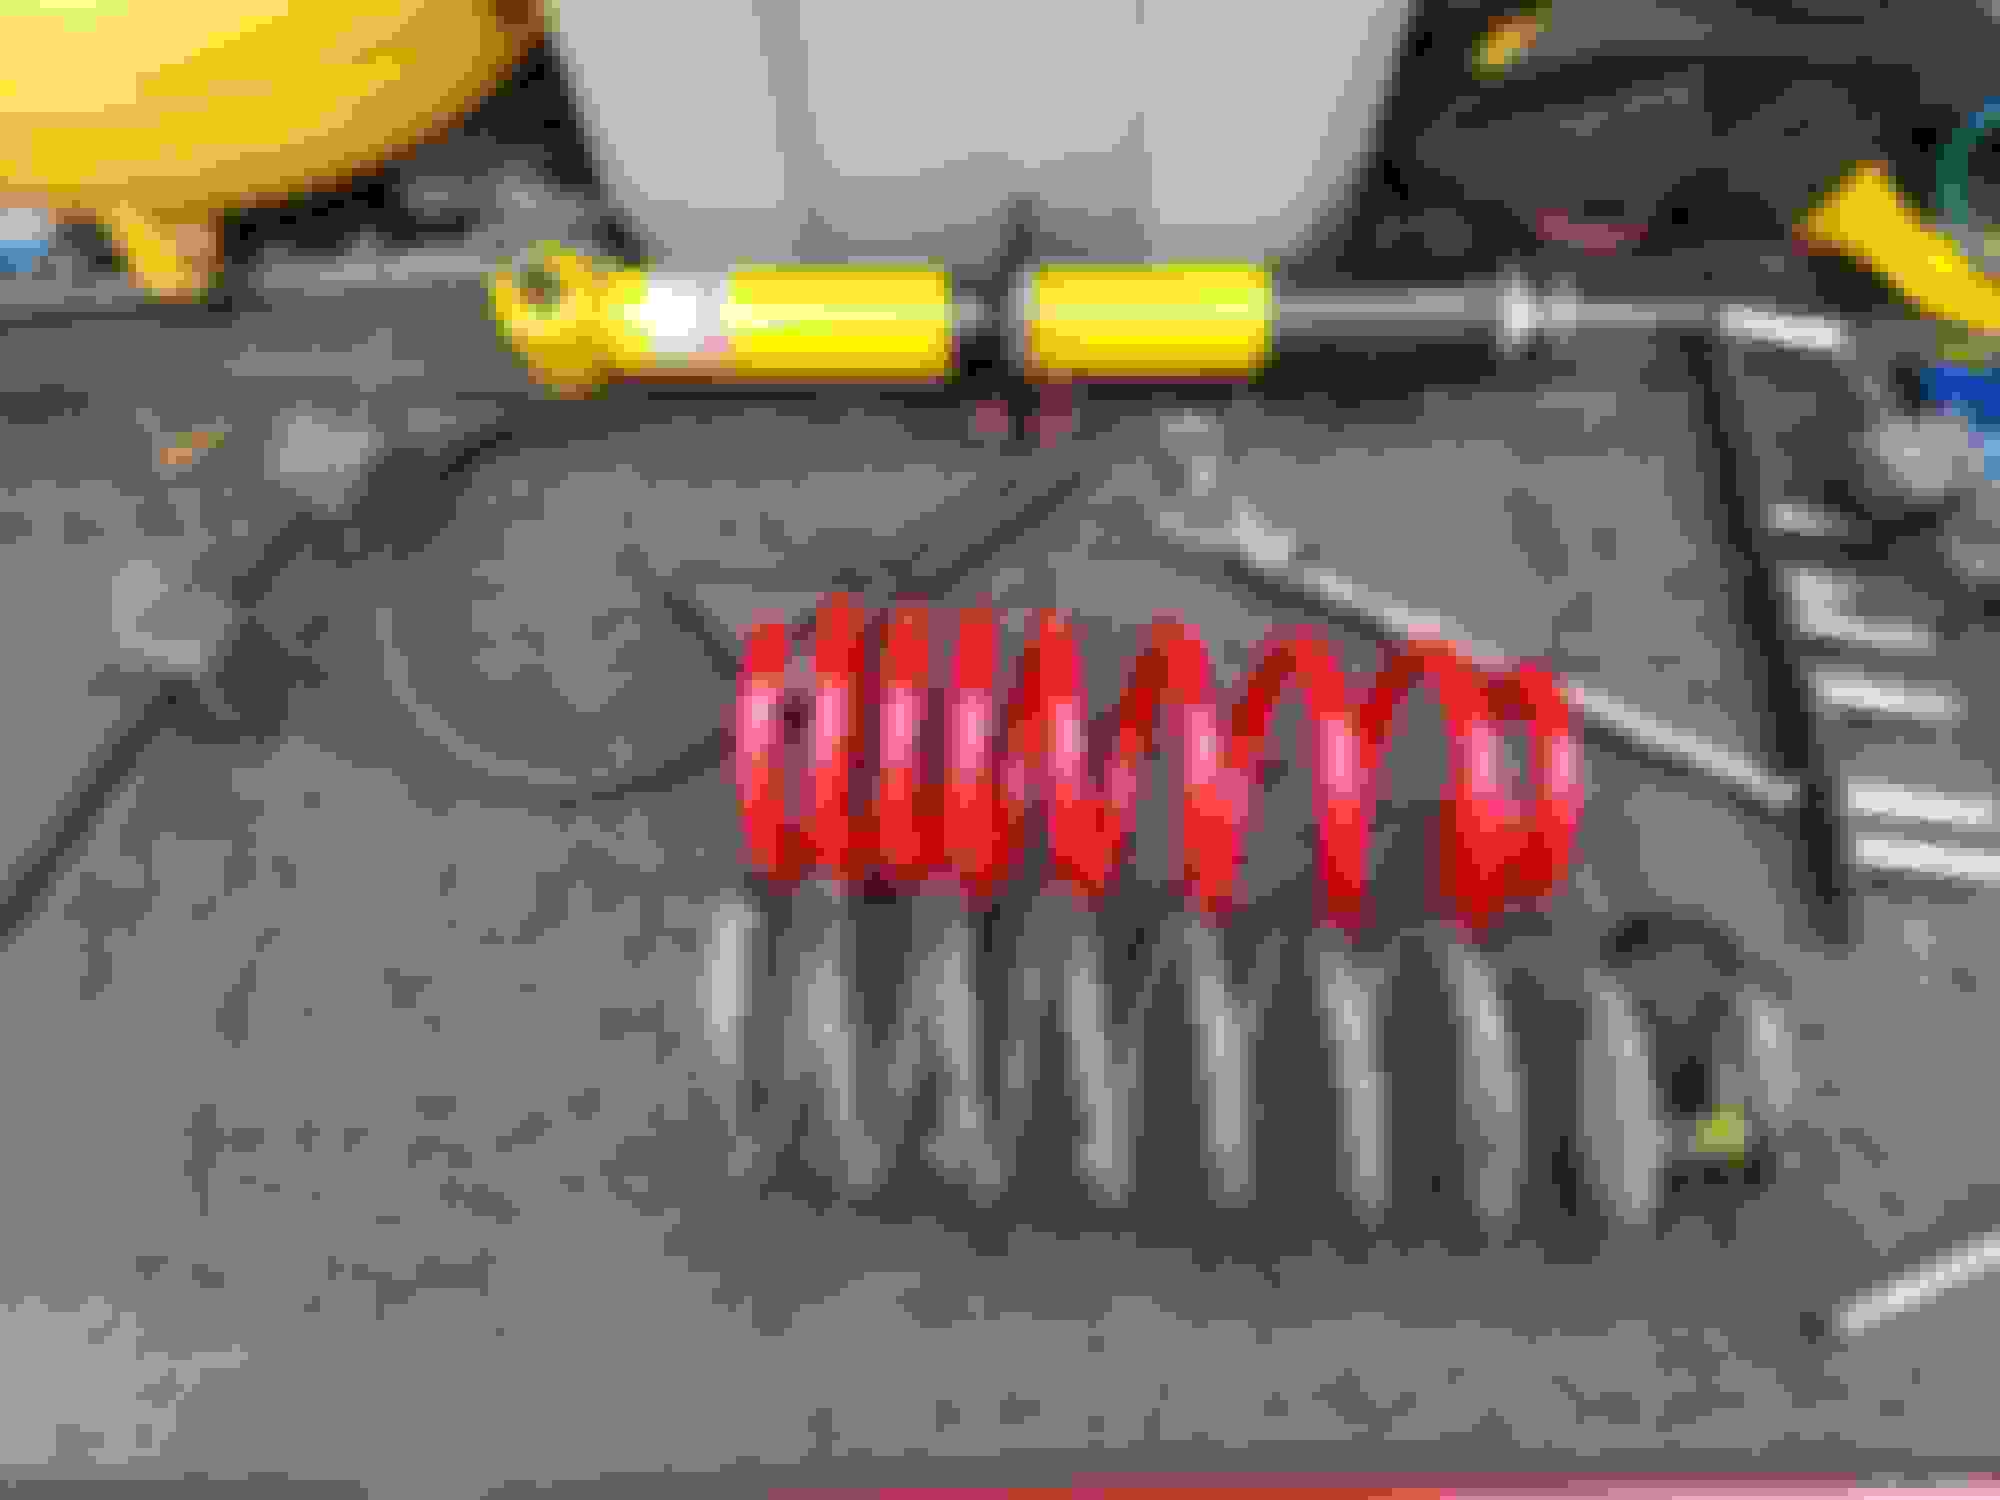
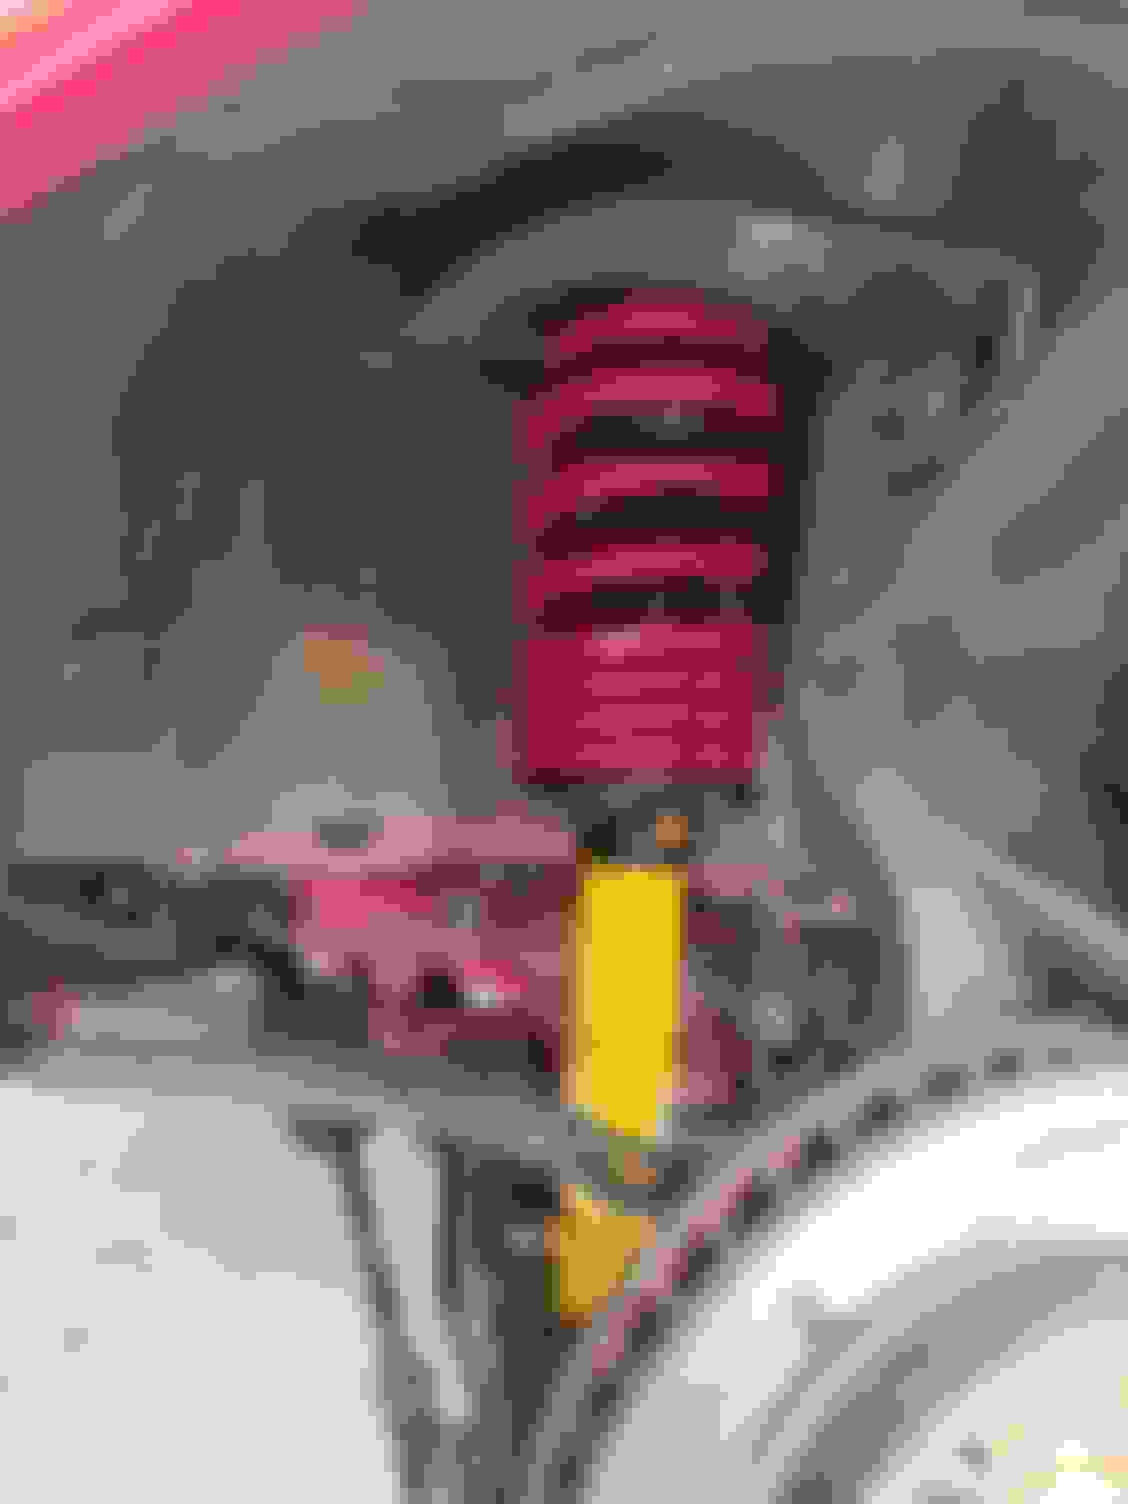
Also the original shocks and springs were done. So I purchased the newest BMR drop springs and Koni 4/4 shocks. Everything is installed except for the rear springs (backordered). So I cut half a coil off the stock rear springs.
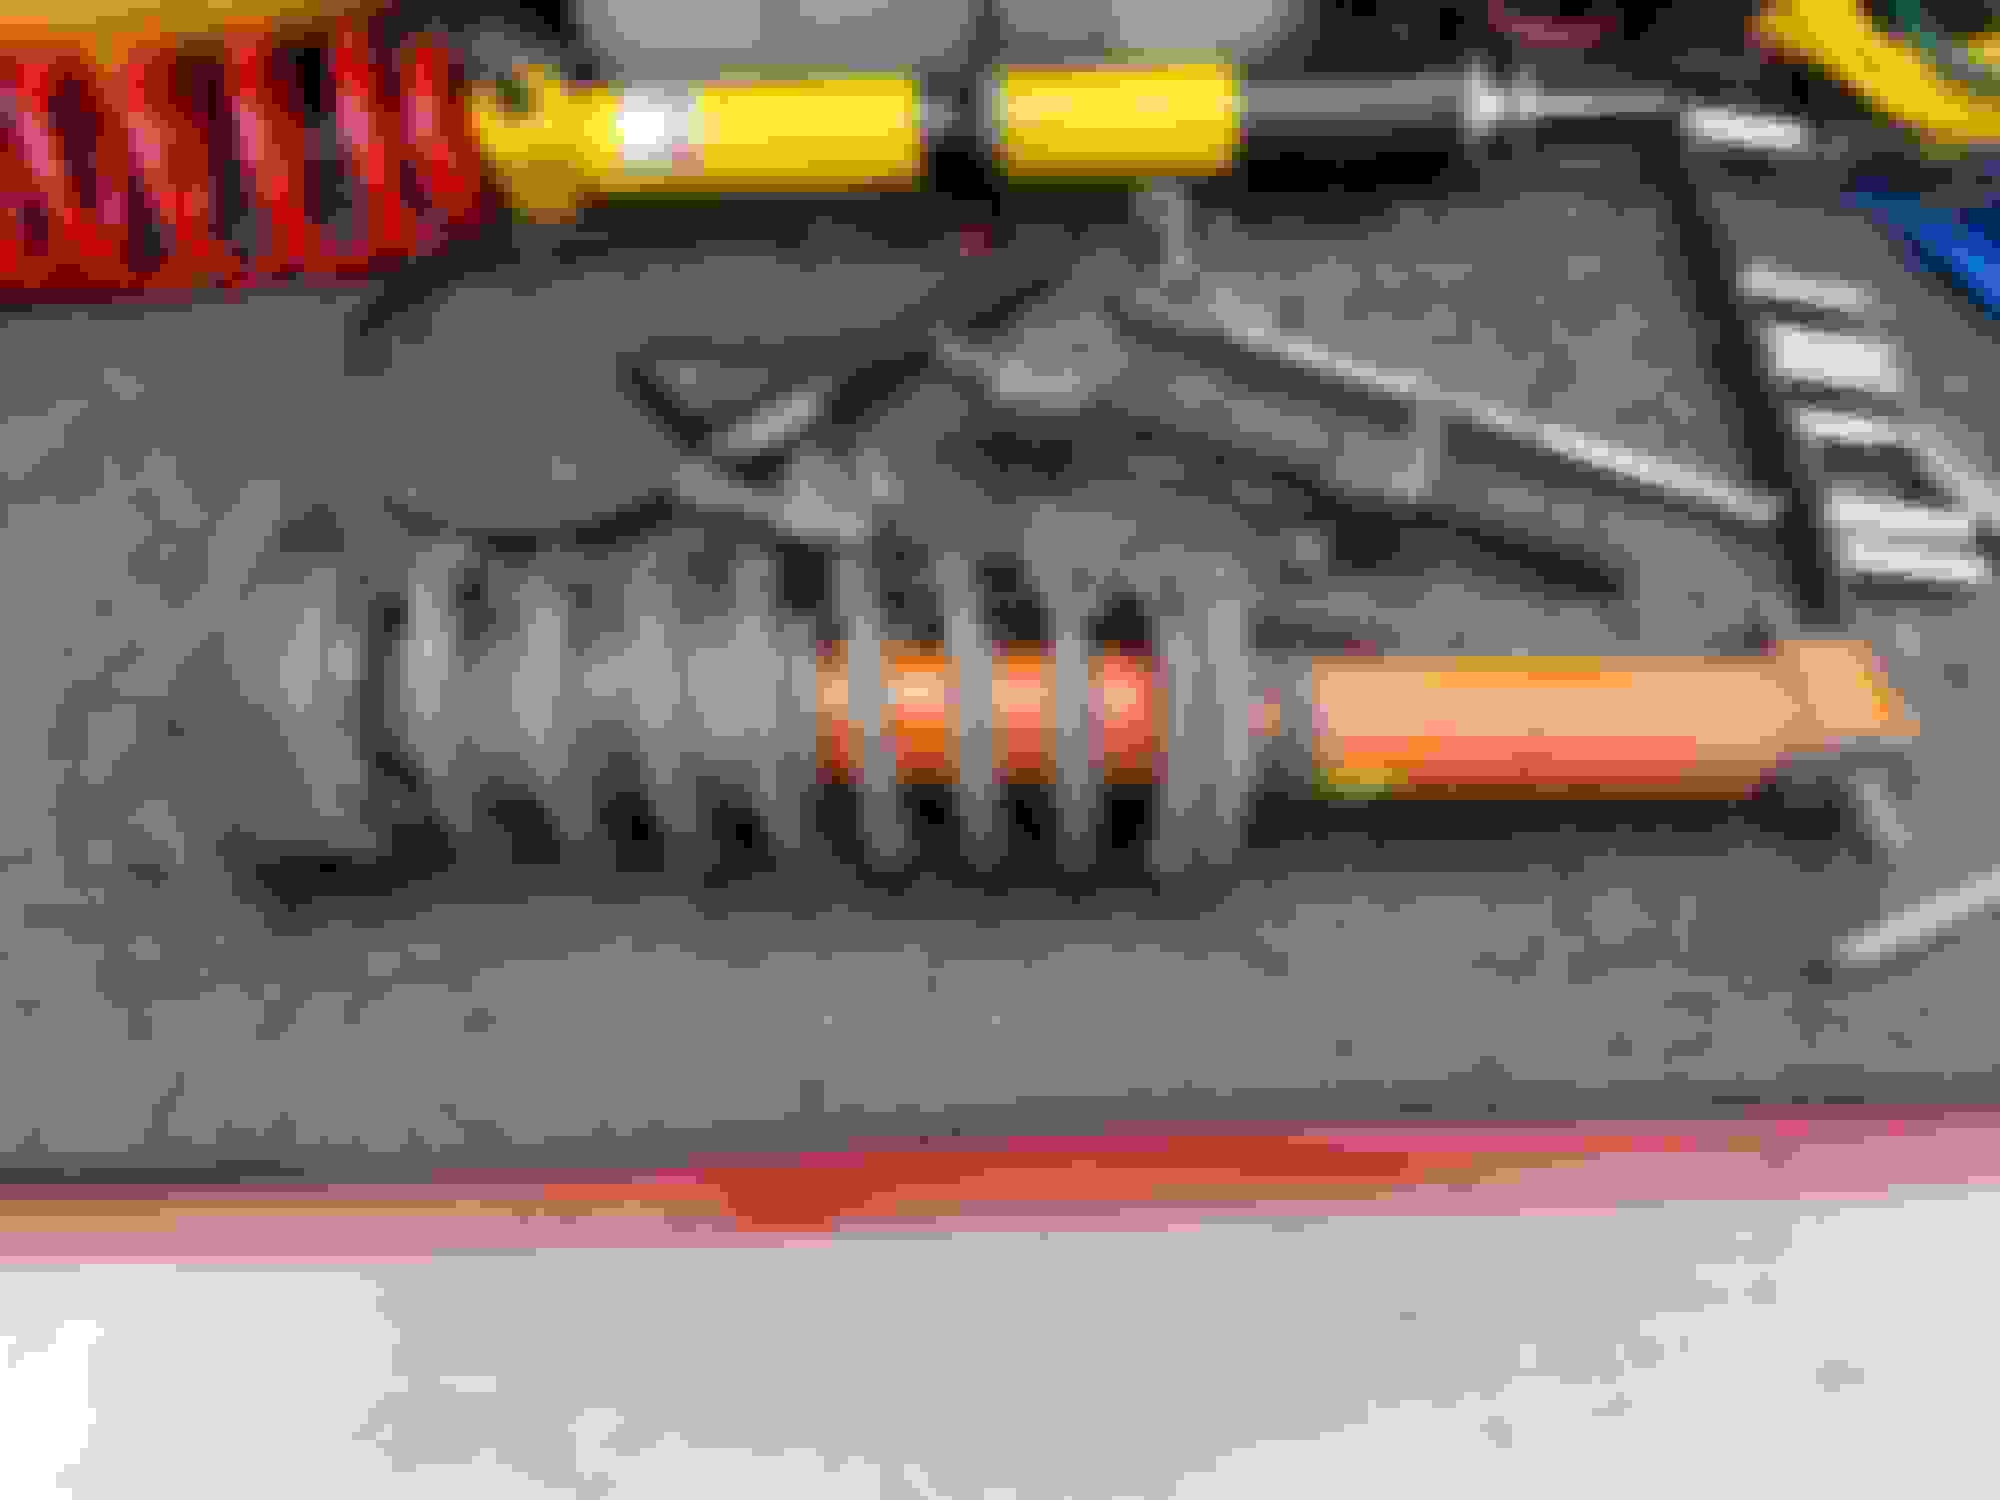
Old shocks were corroded bad. Had to cut the shafts off with my sawzall. Also had to replace upper perches as they were on bad condition. Guess that is what 24 years does to them.
I have it setup with 4 sweeps from soft in the front and i have the rear set to full soft.
The suspension gas settled more since this pic.
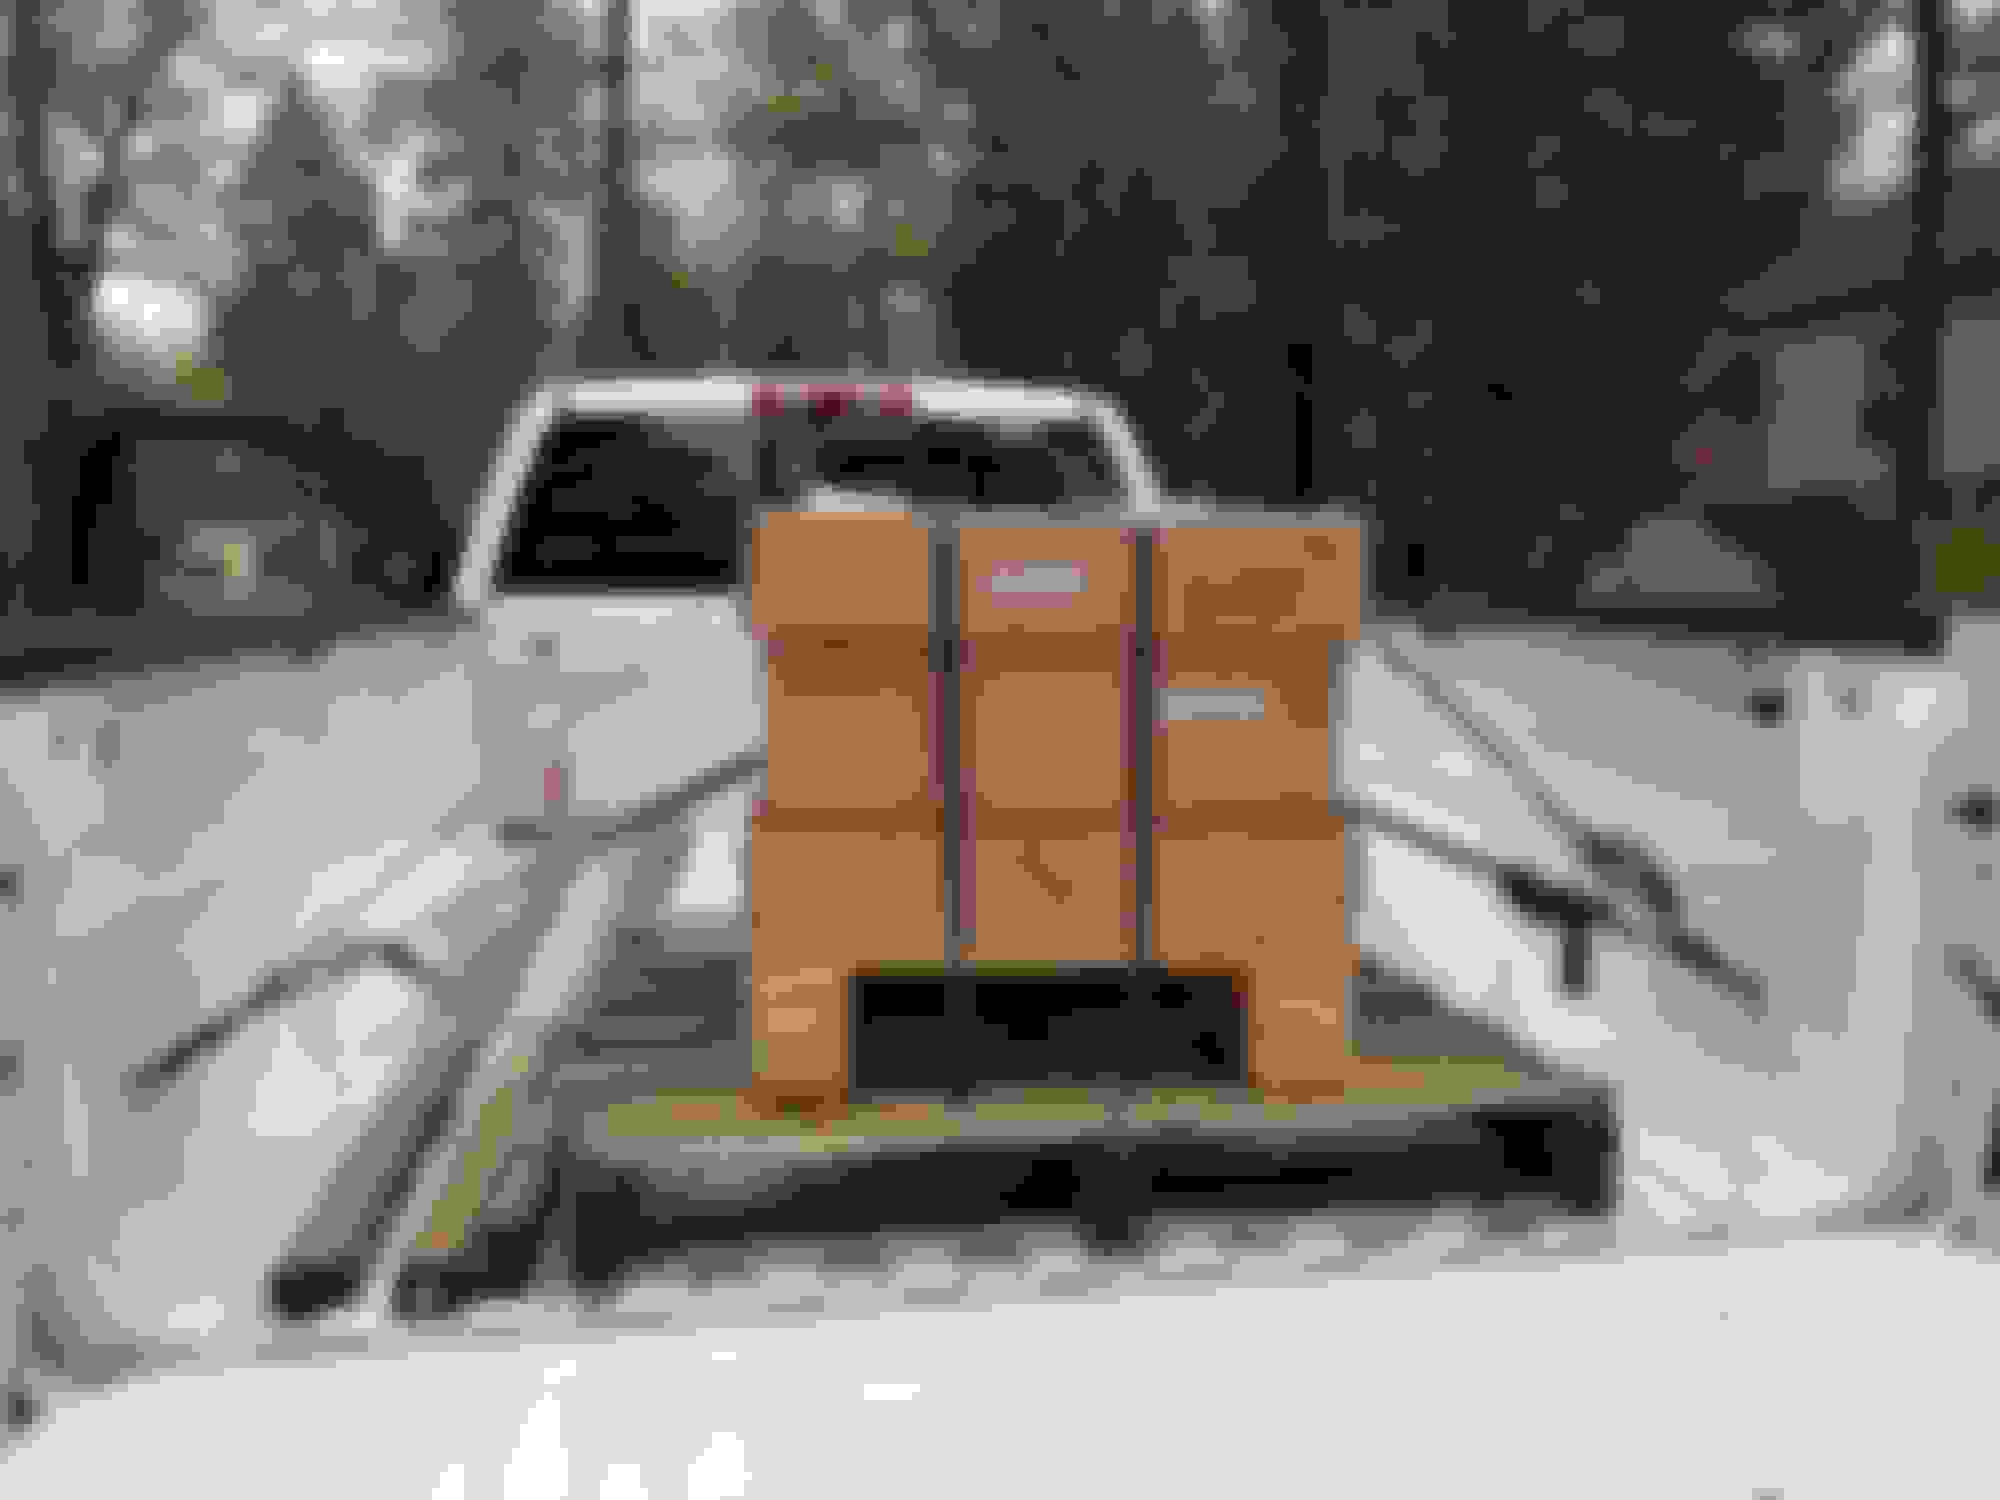
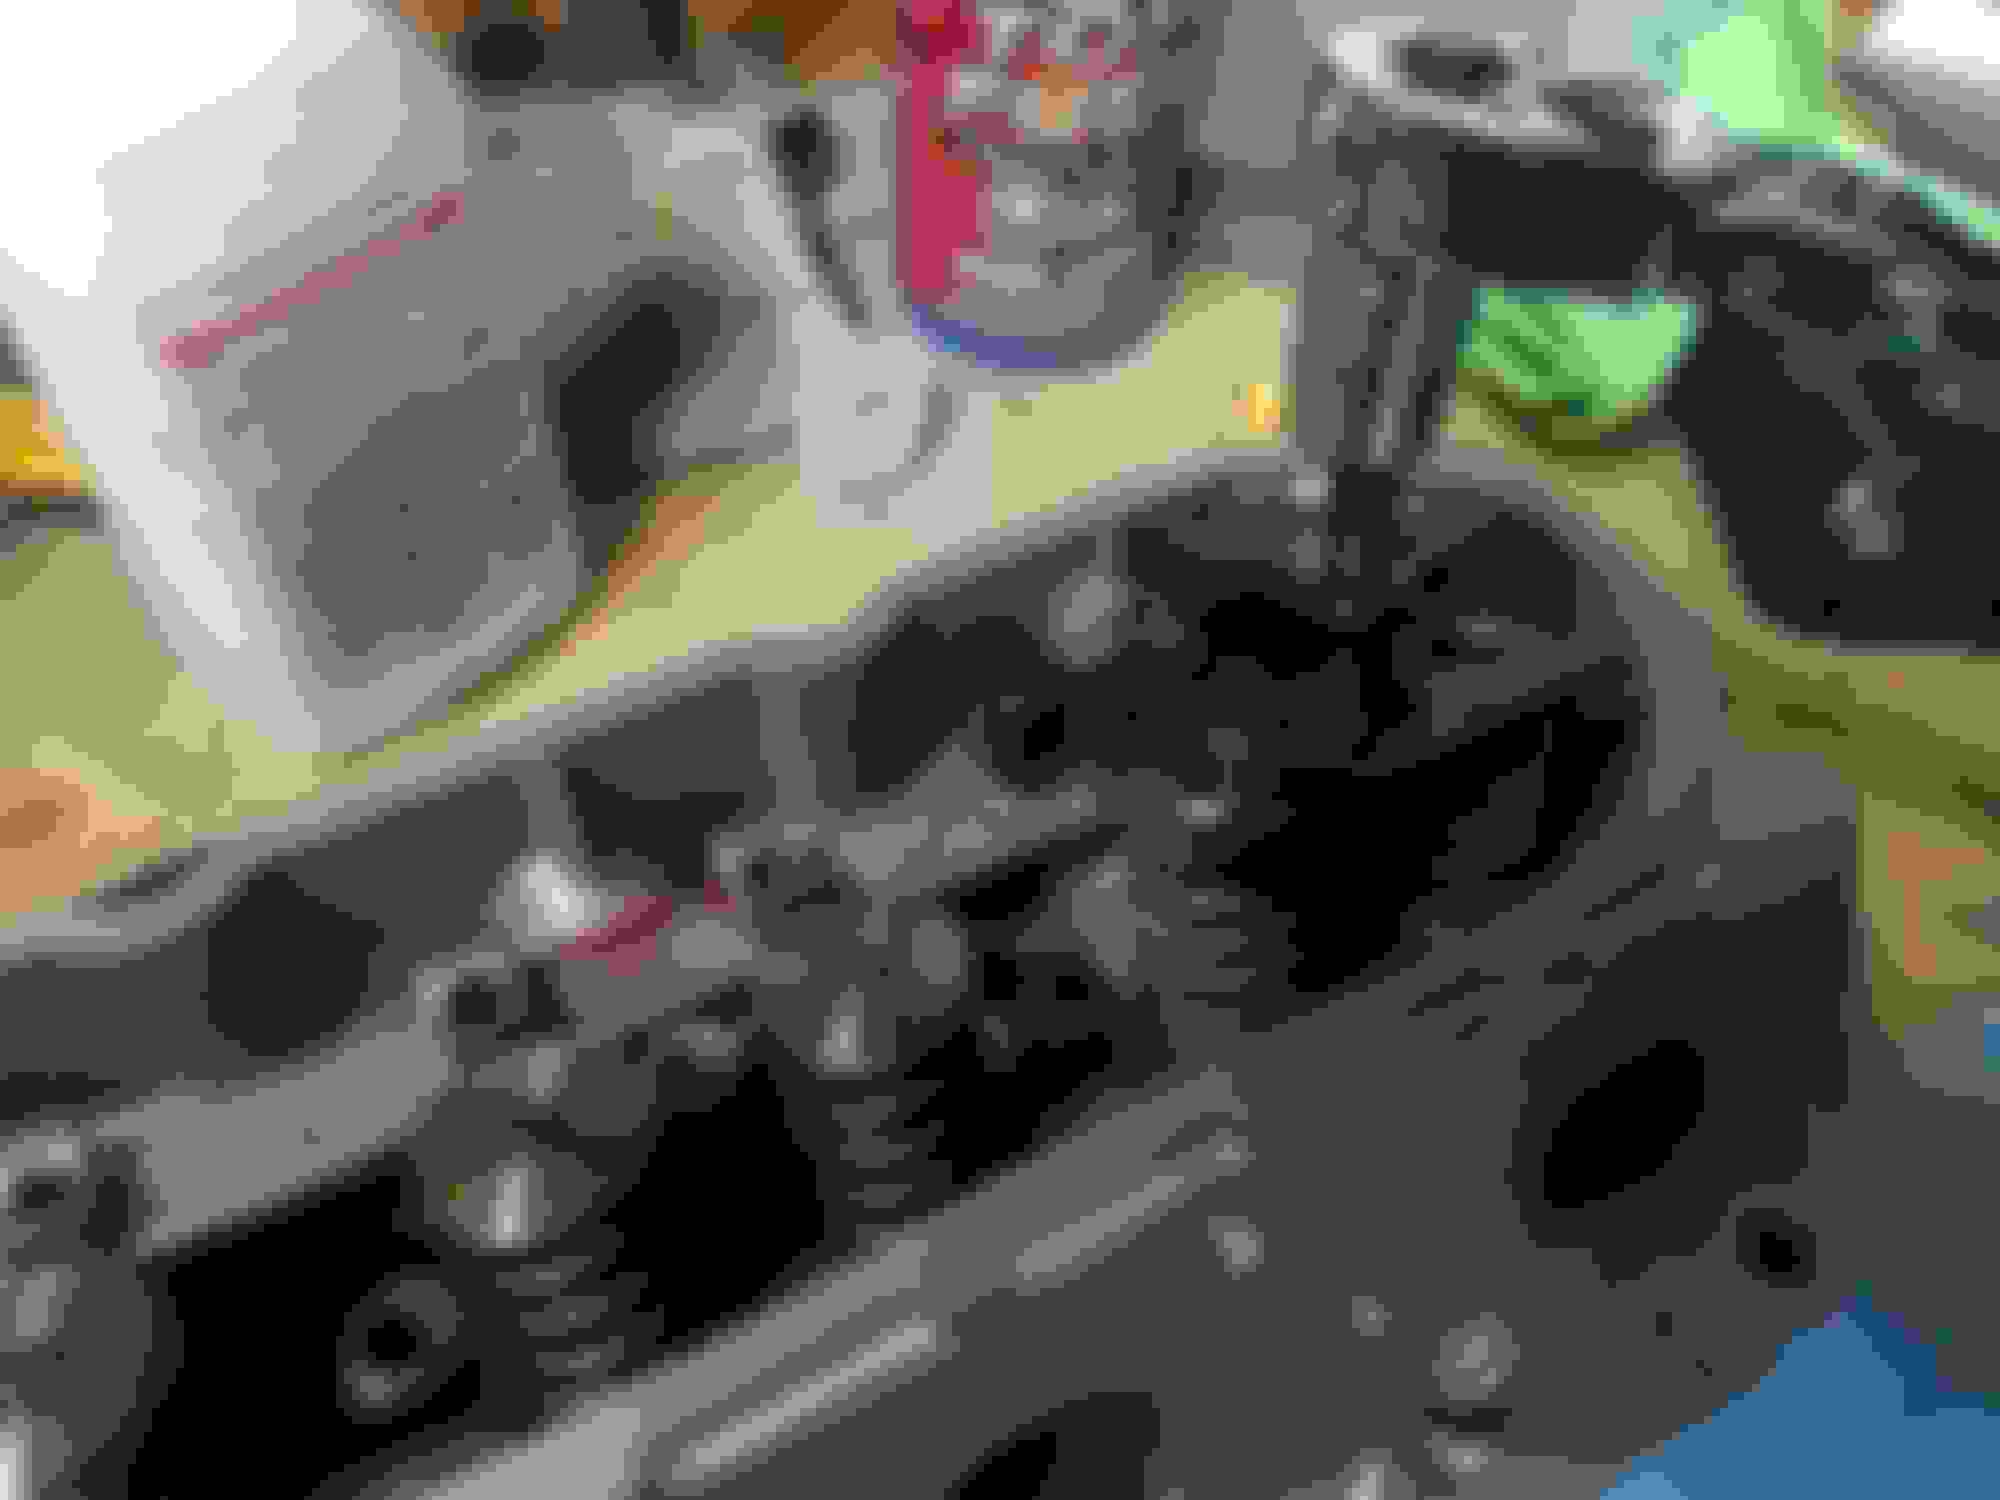
How a bare block comes from GM.
Thought it was interesting that they package it upside down.
Comes with cam bearings already installed.
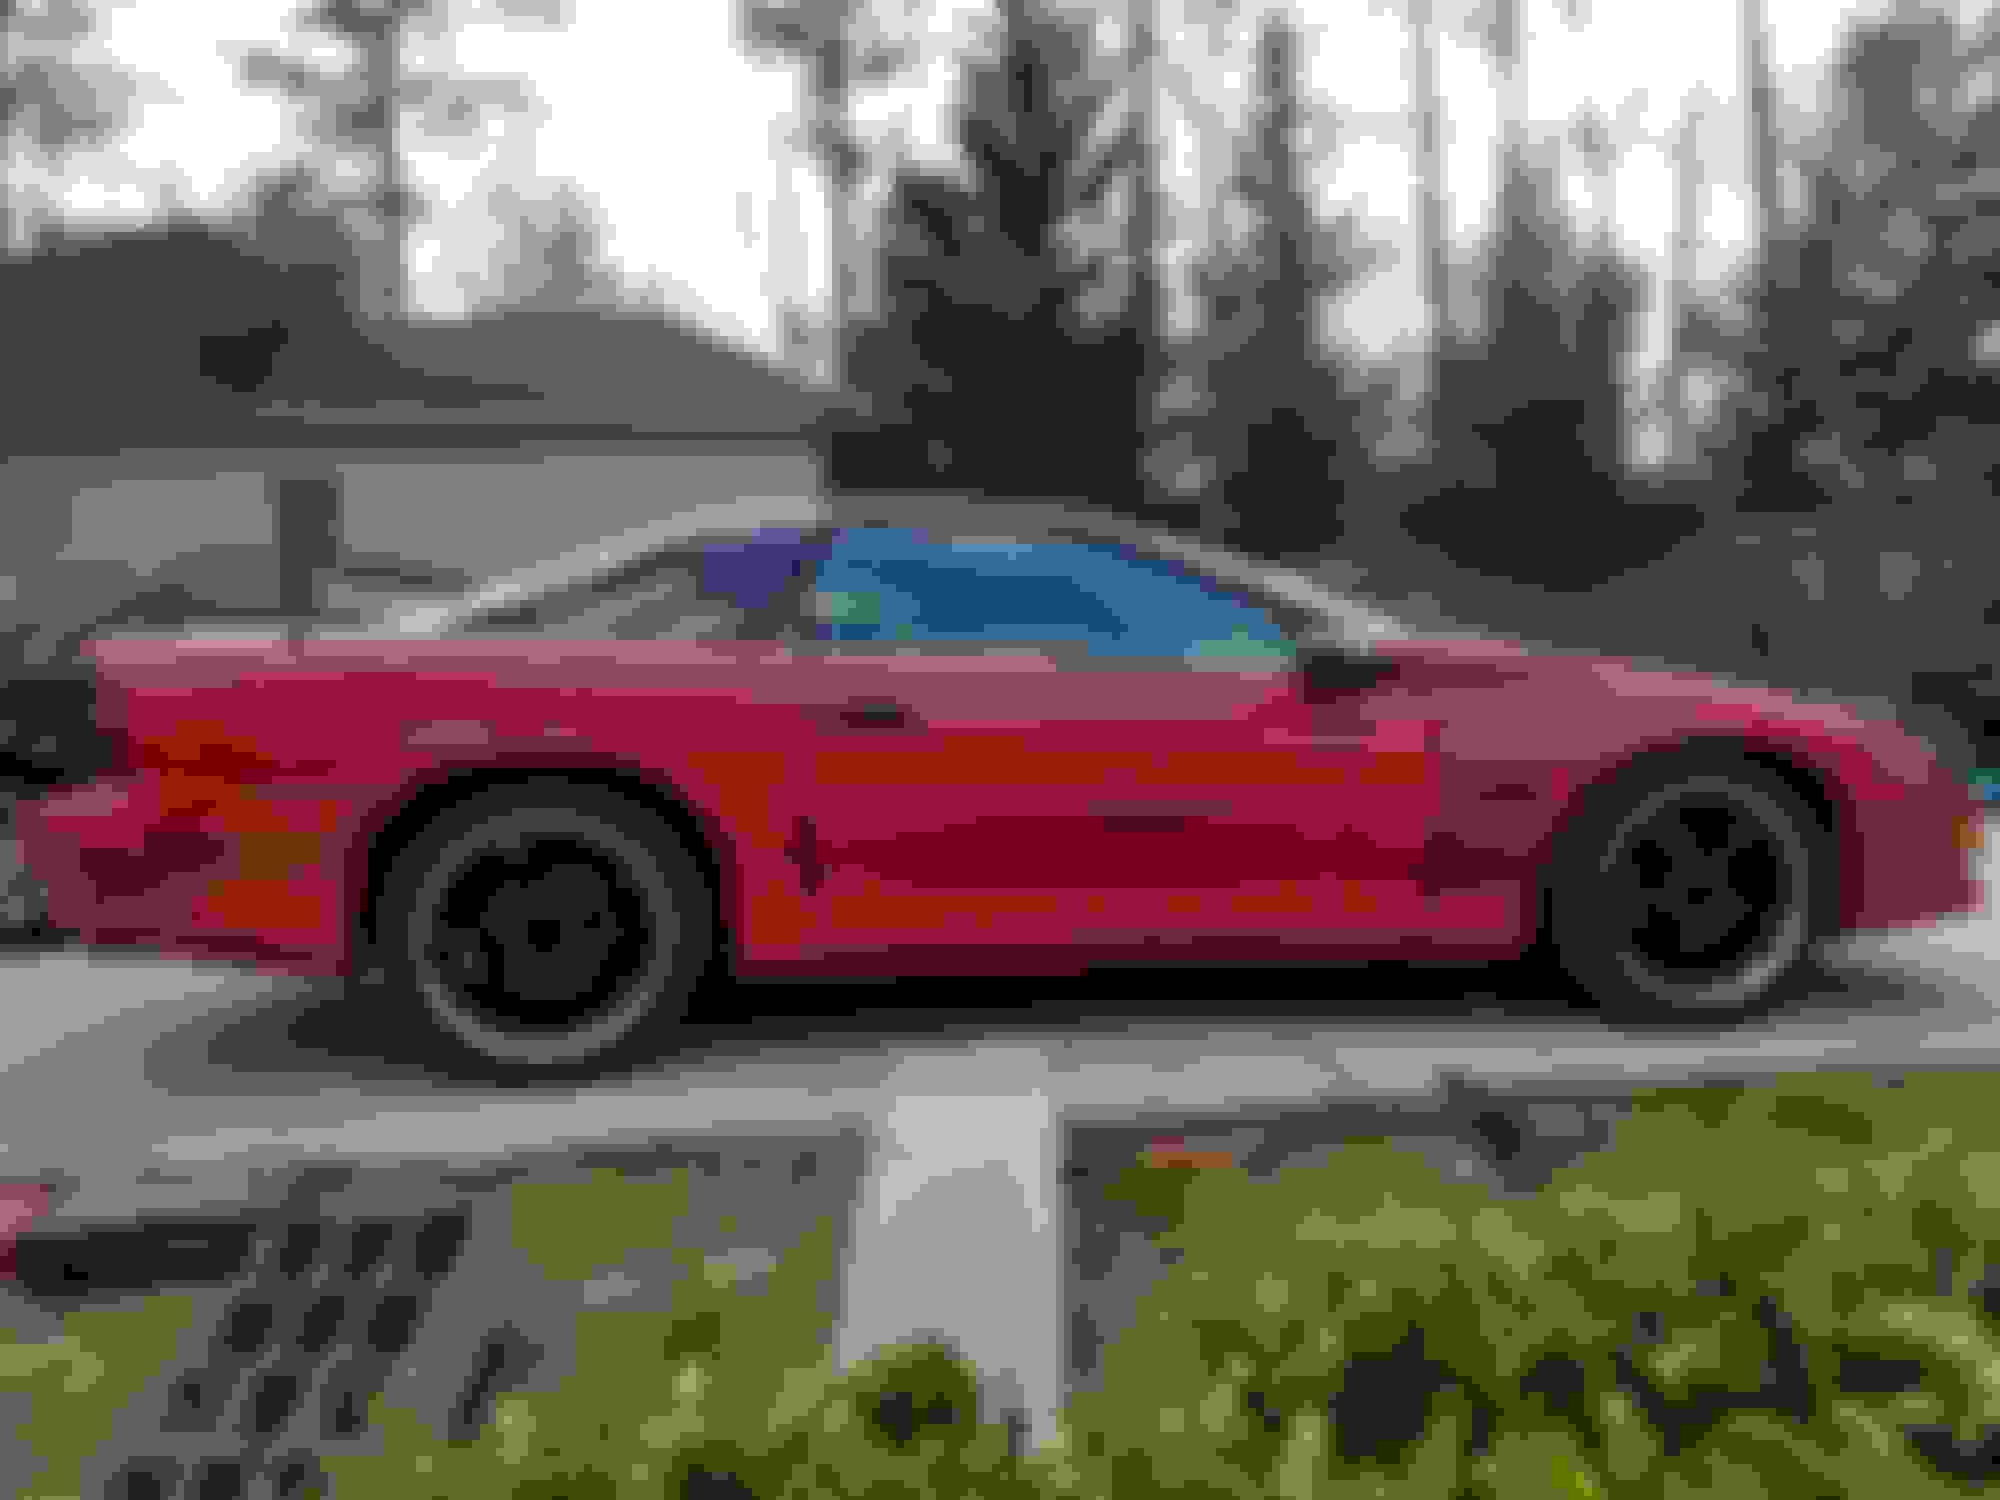
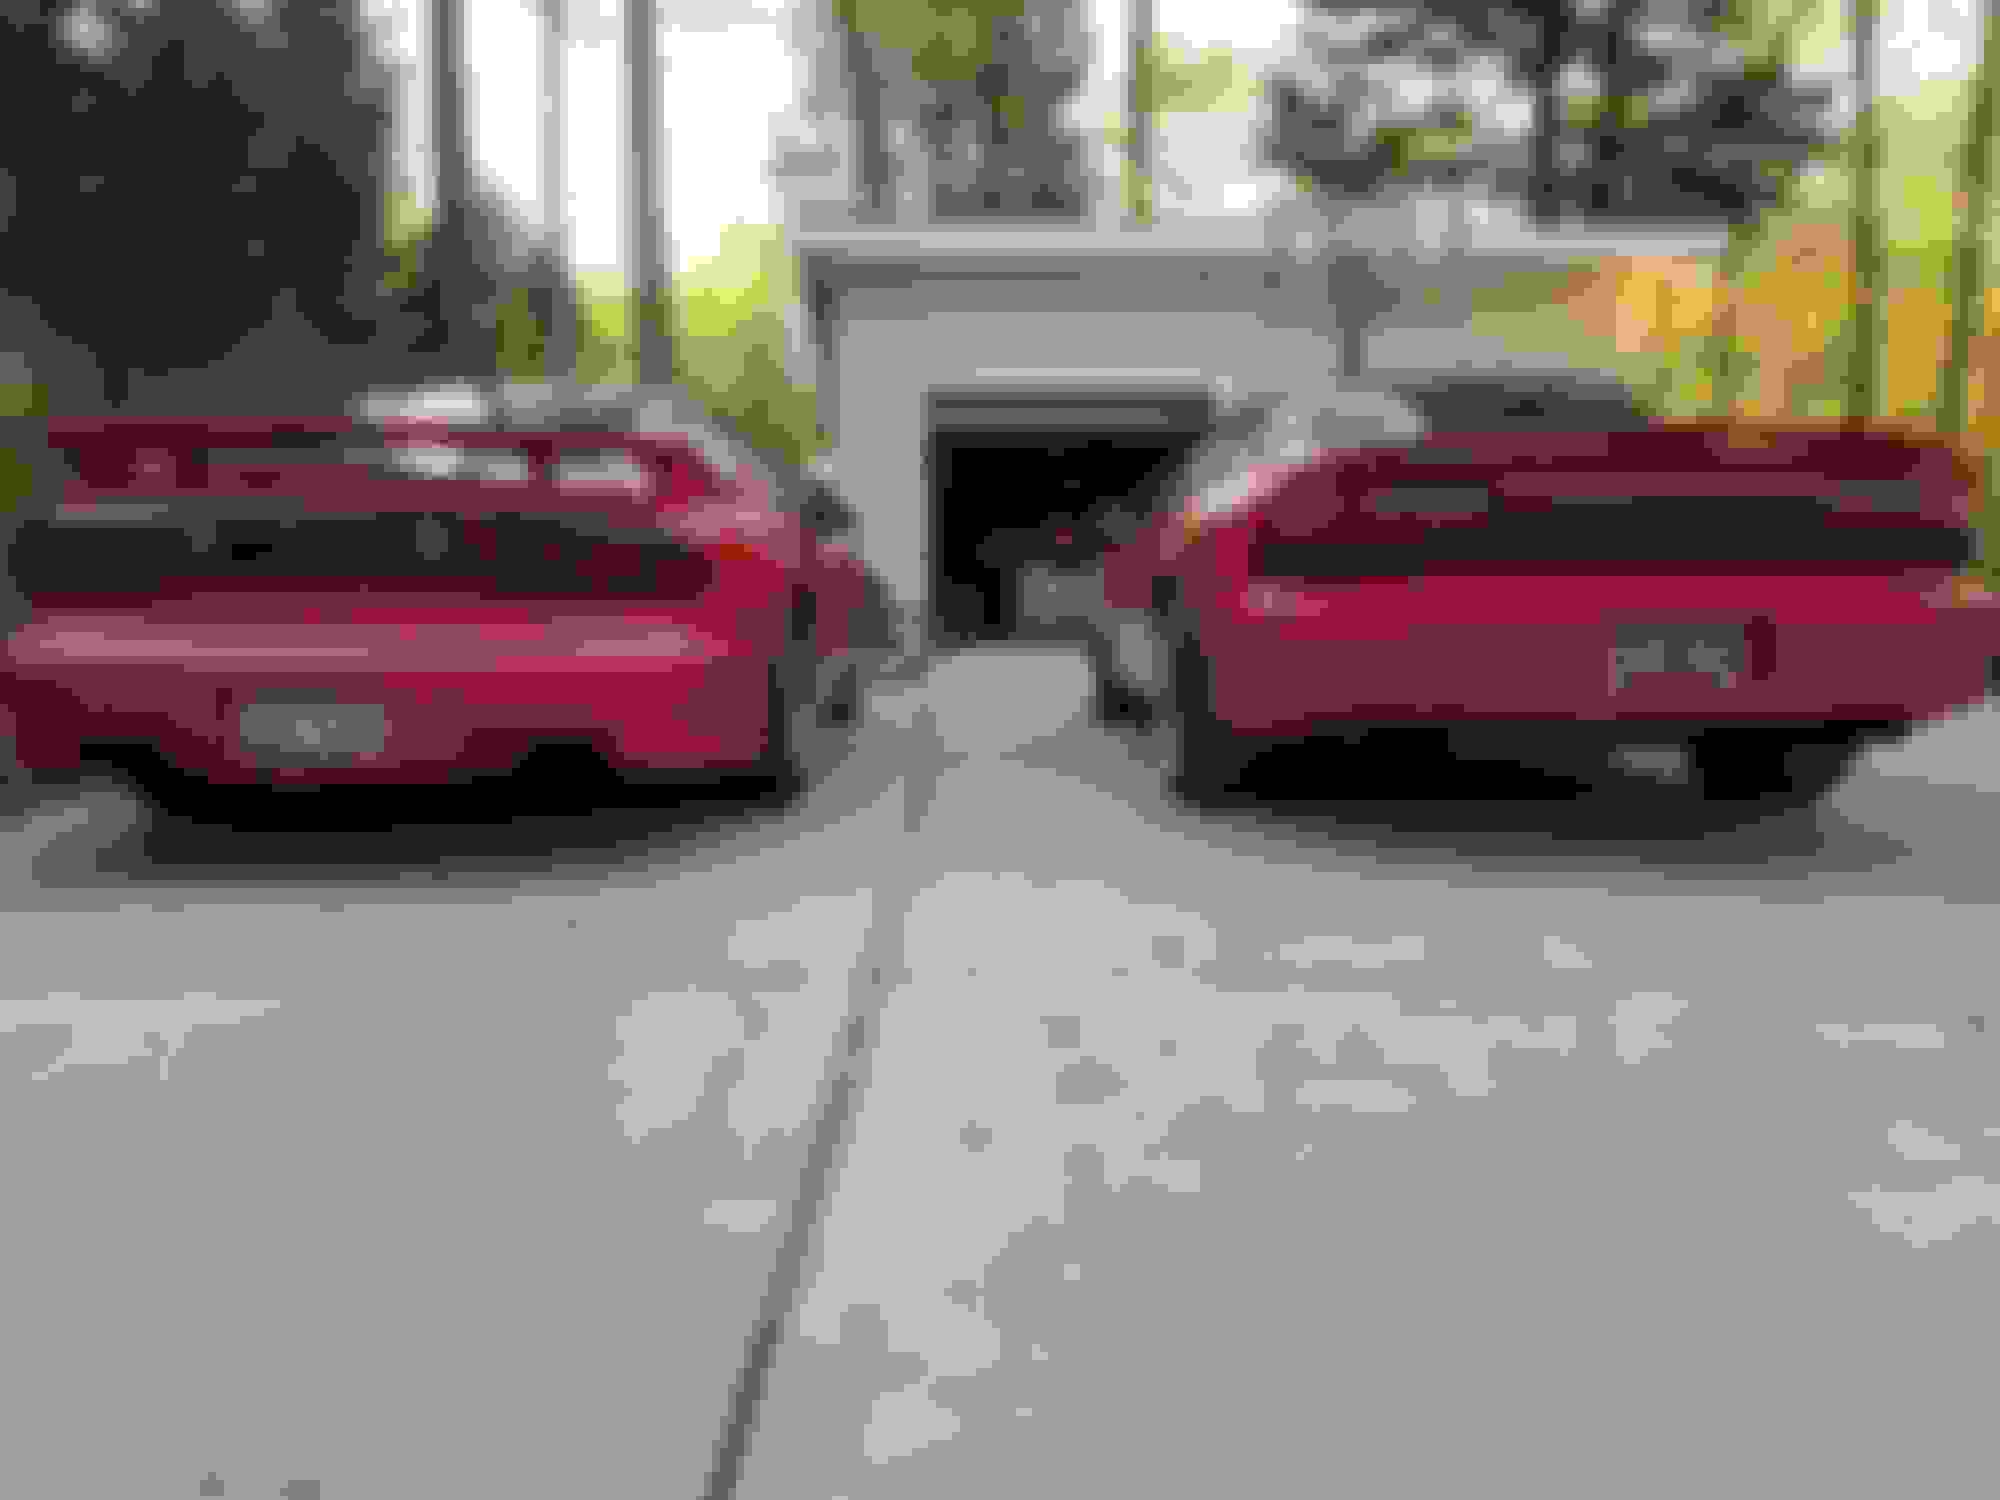
Decided to snap a couple pictures with my brothers car.
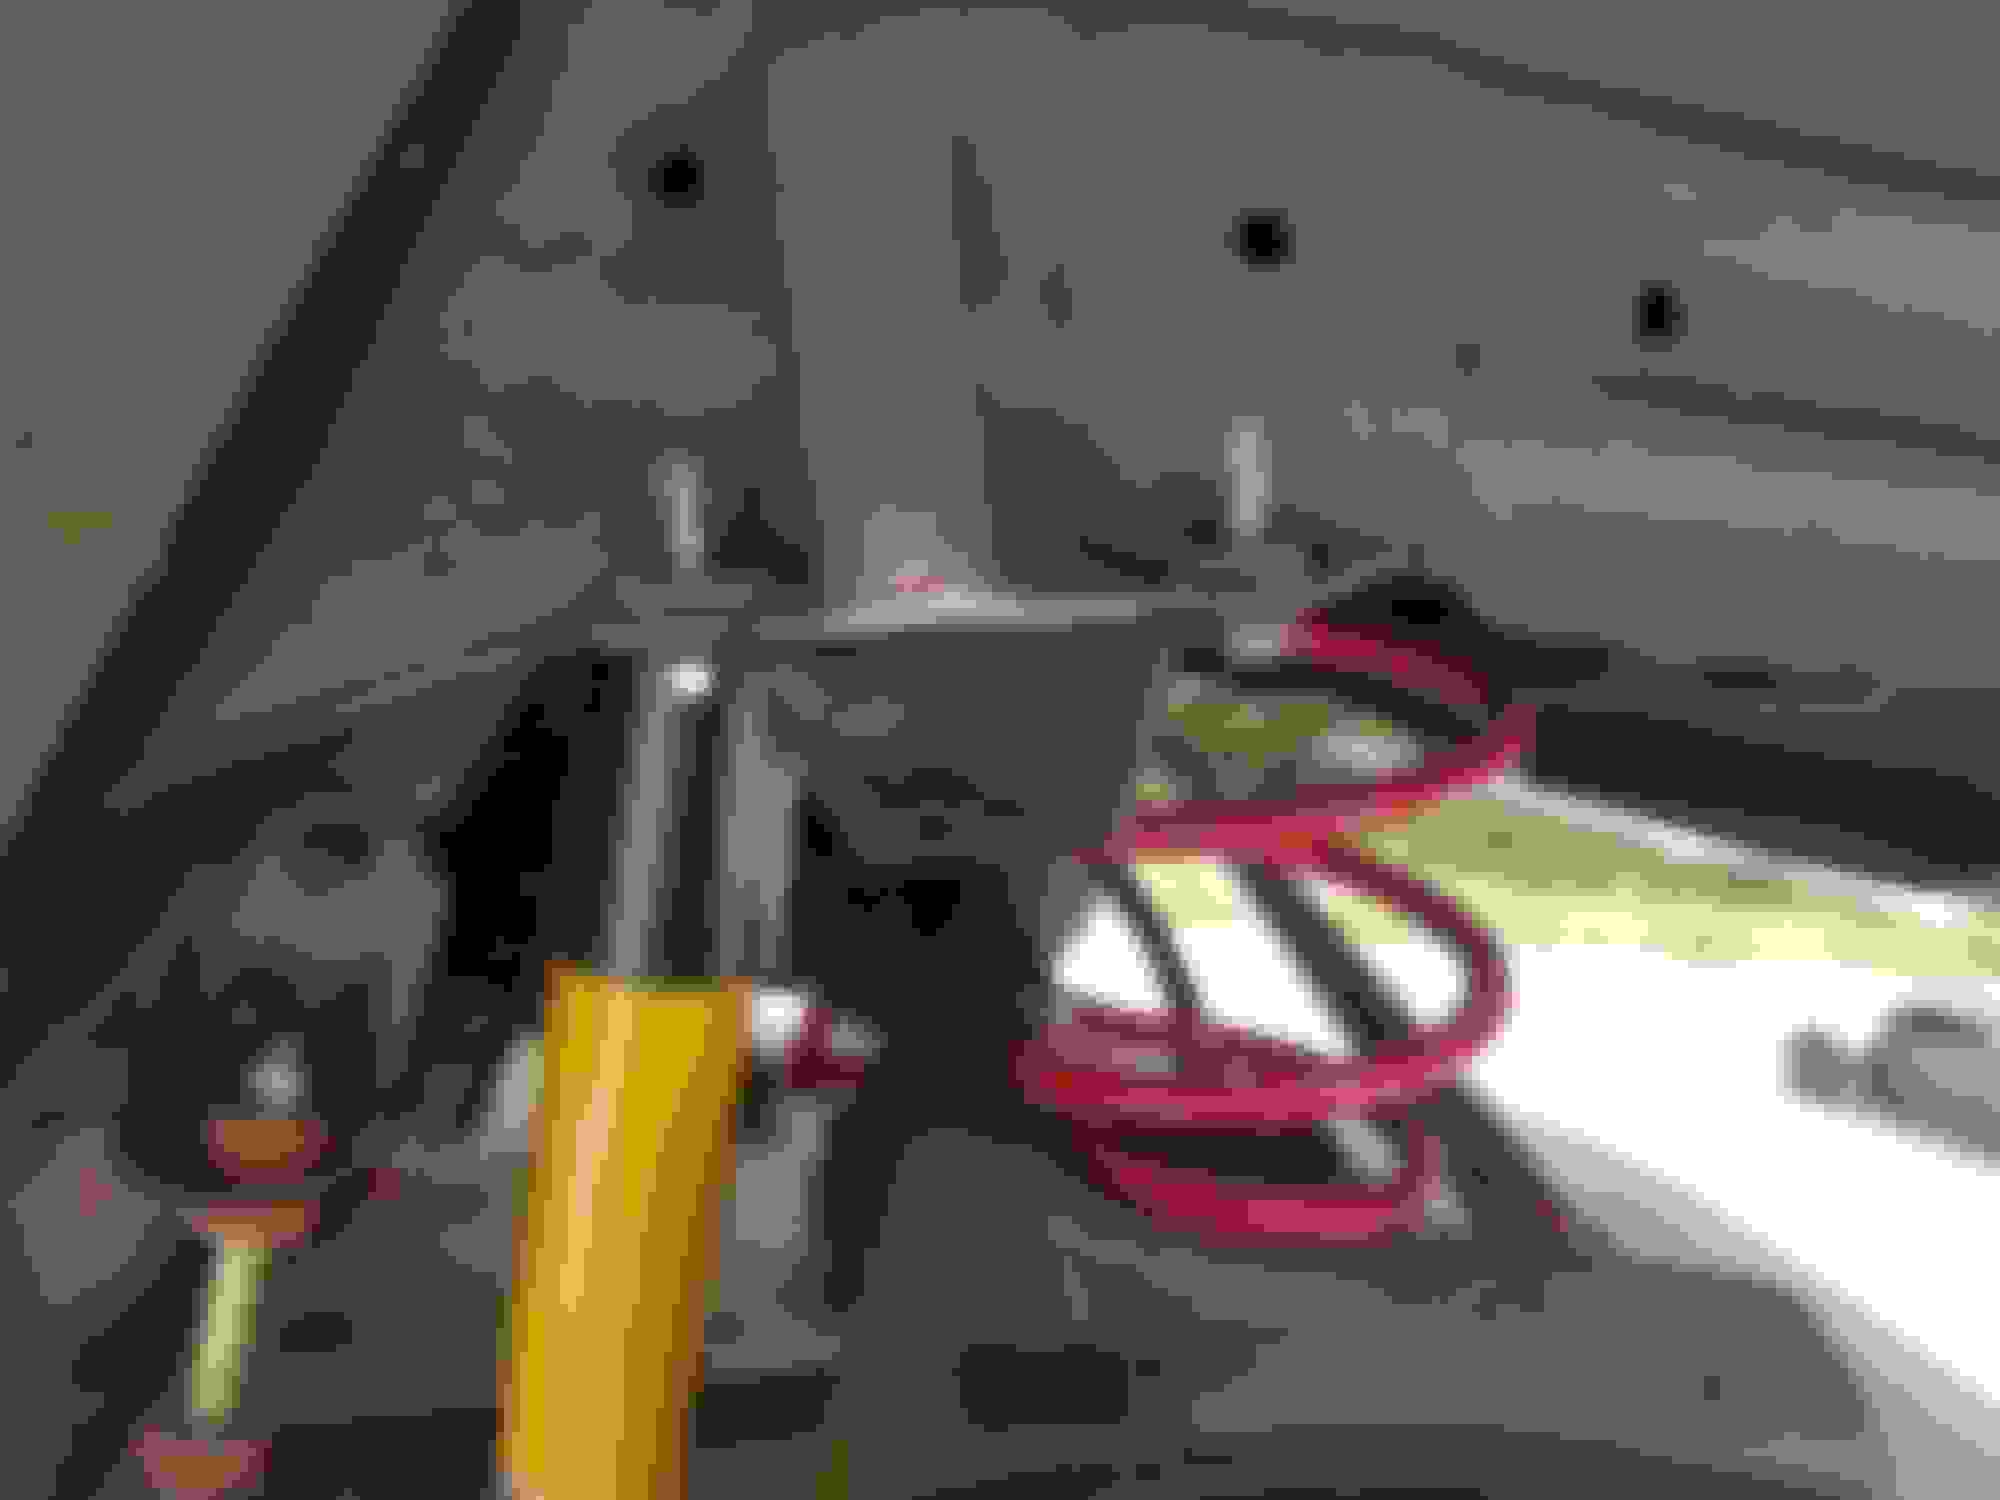
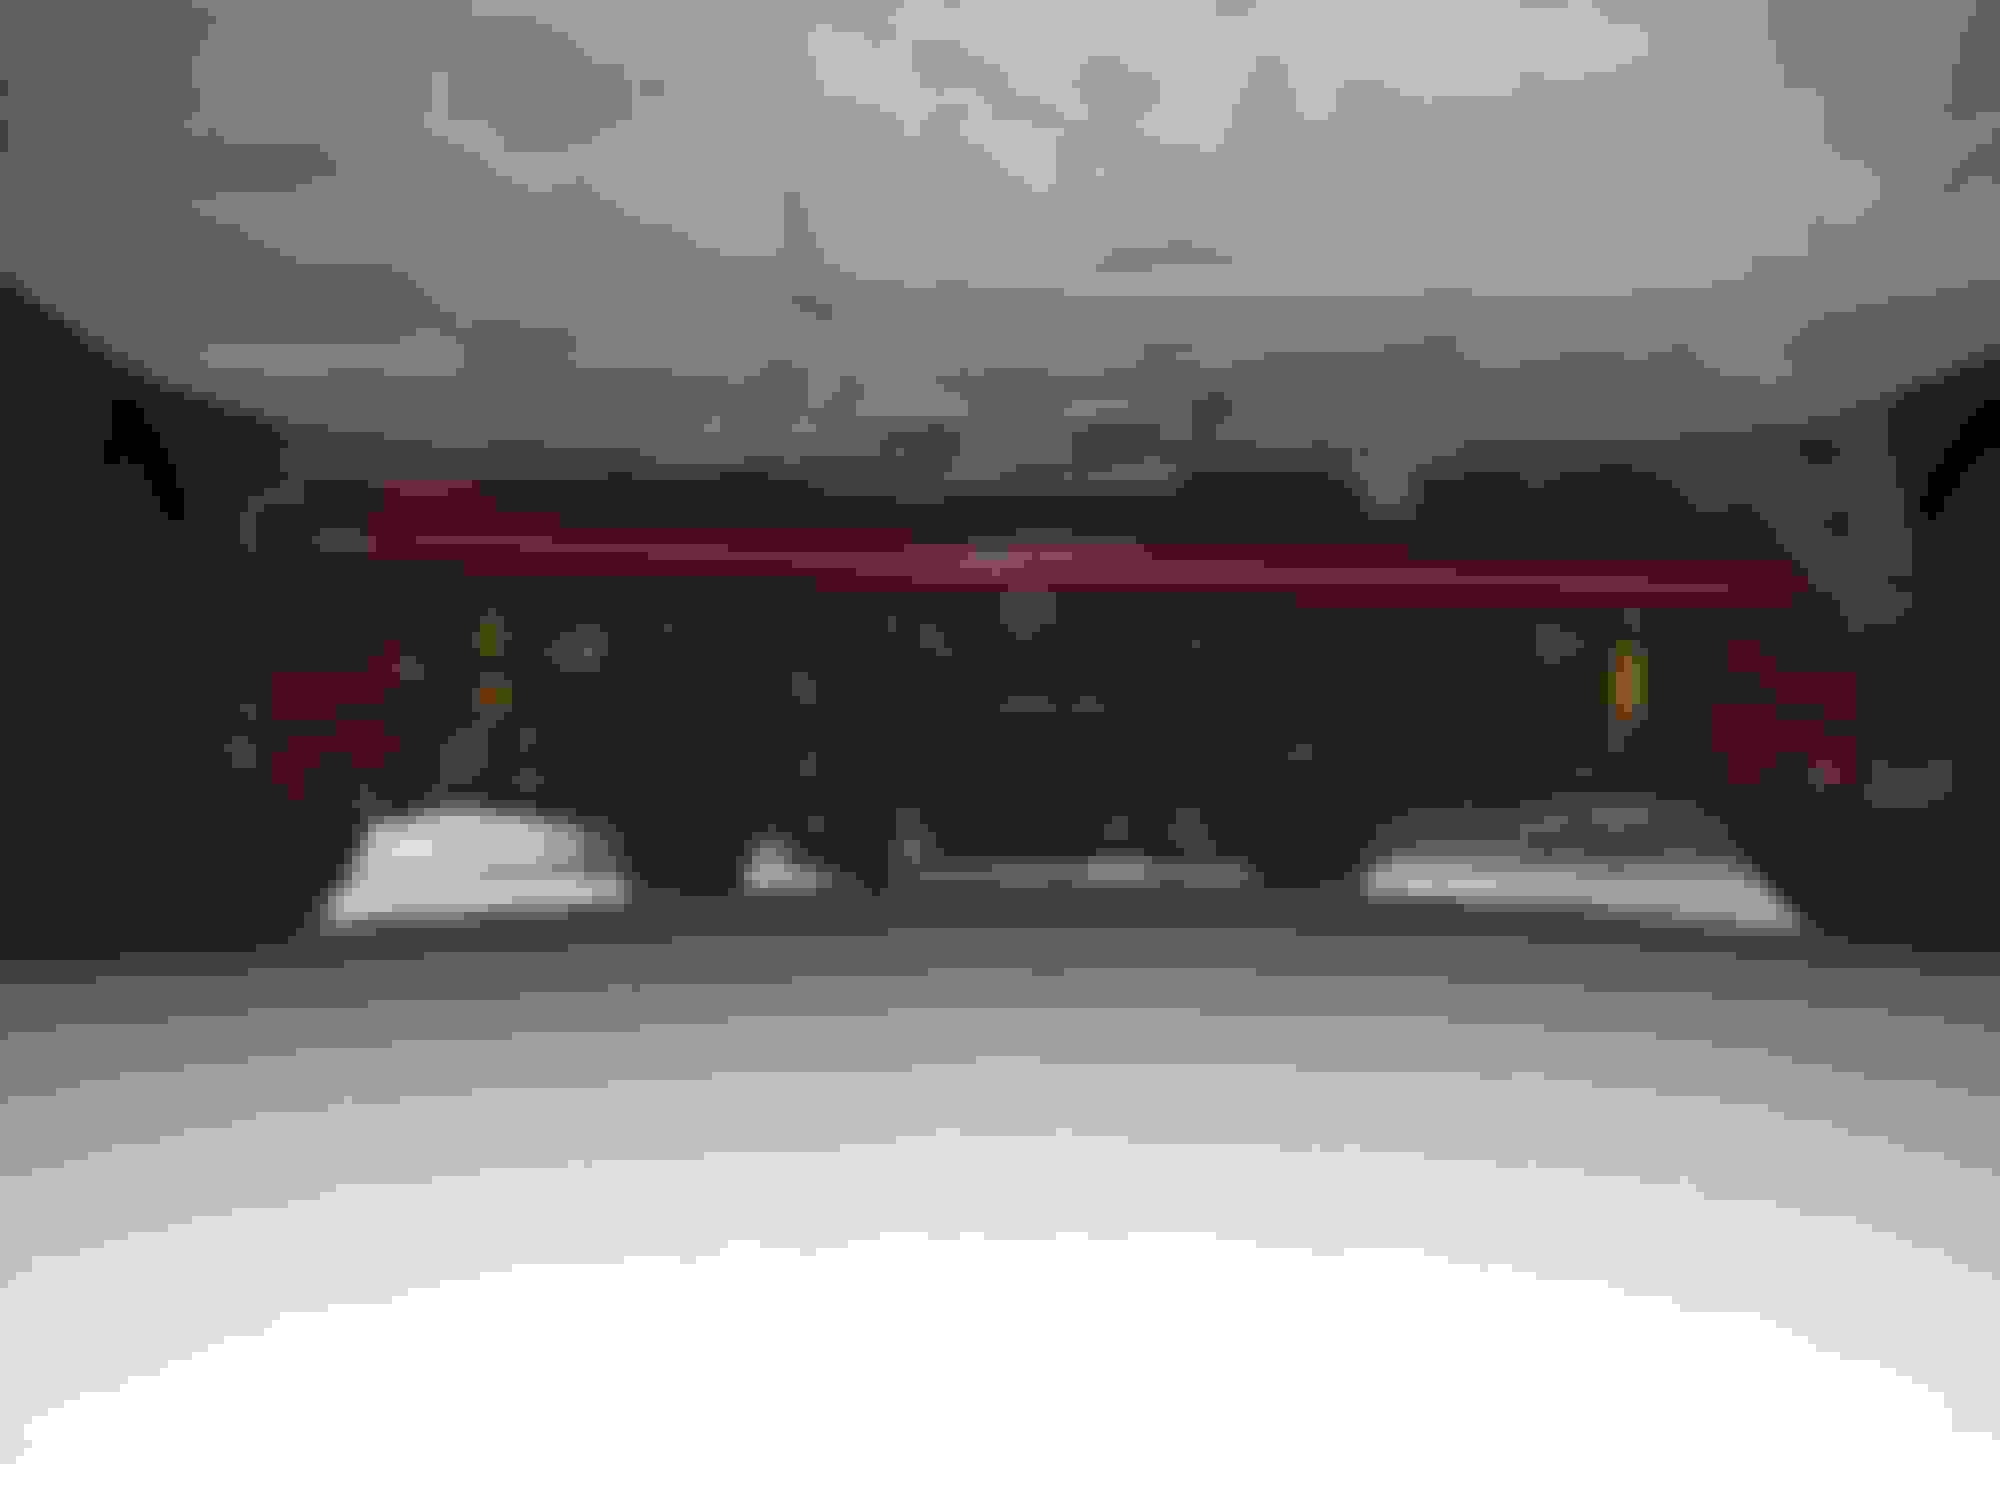
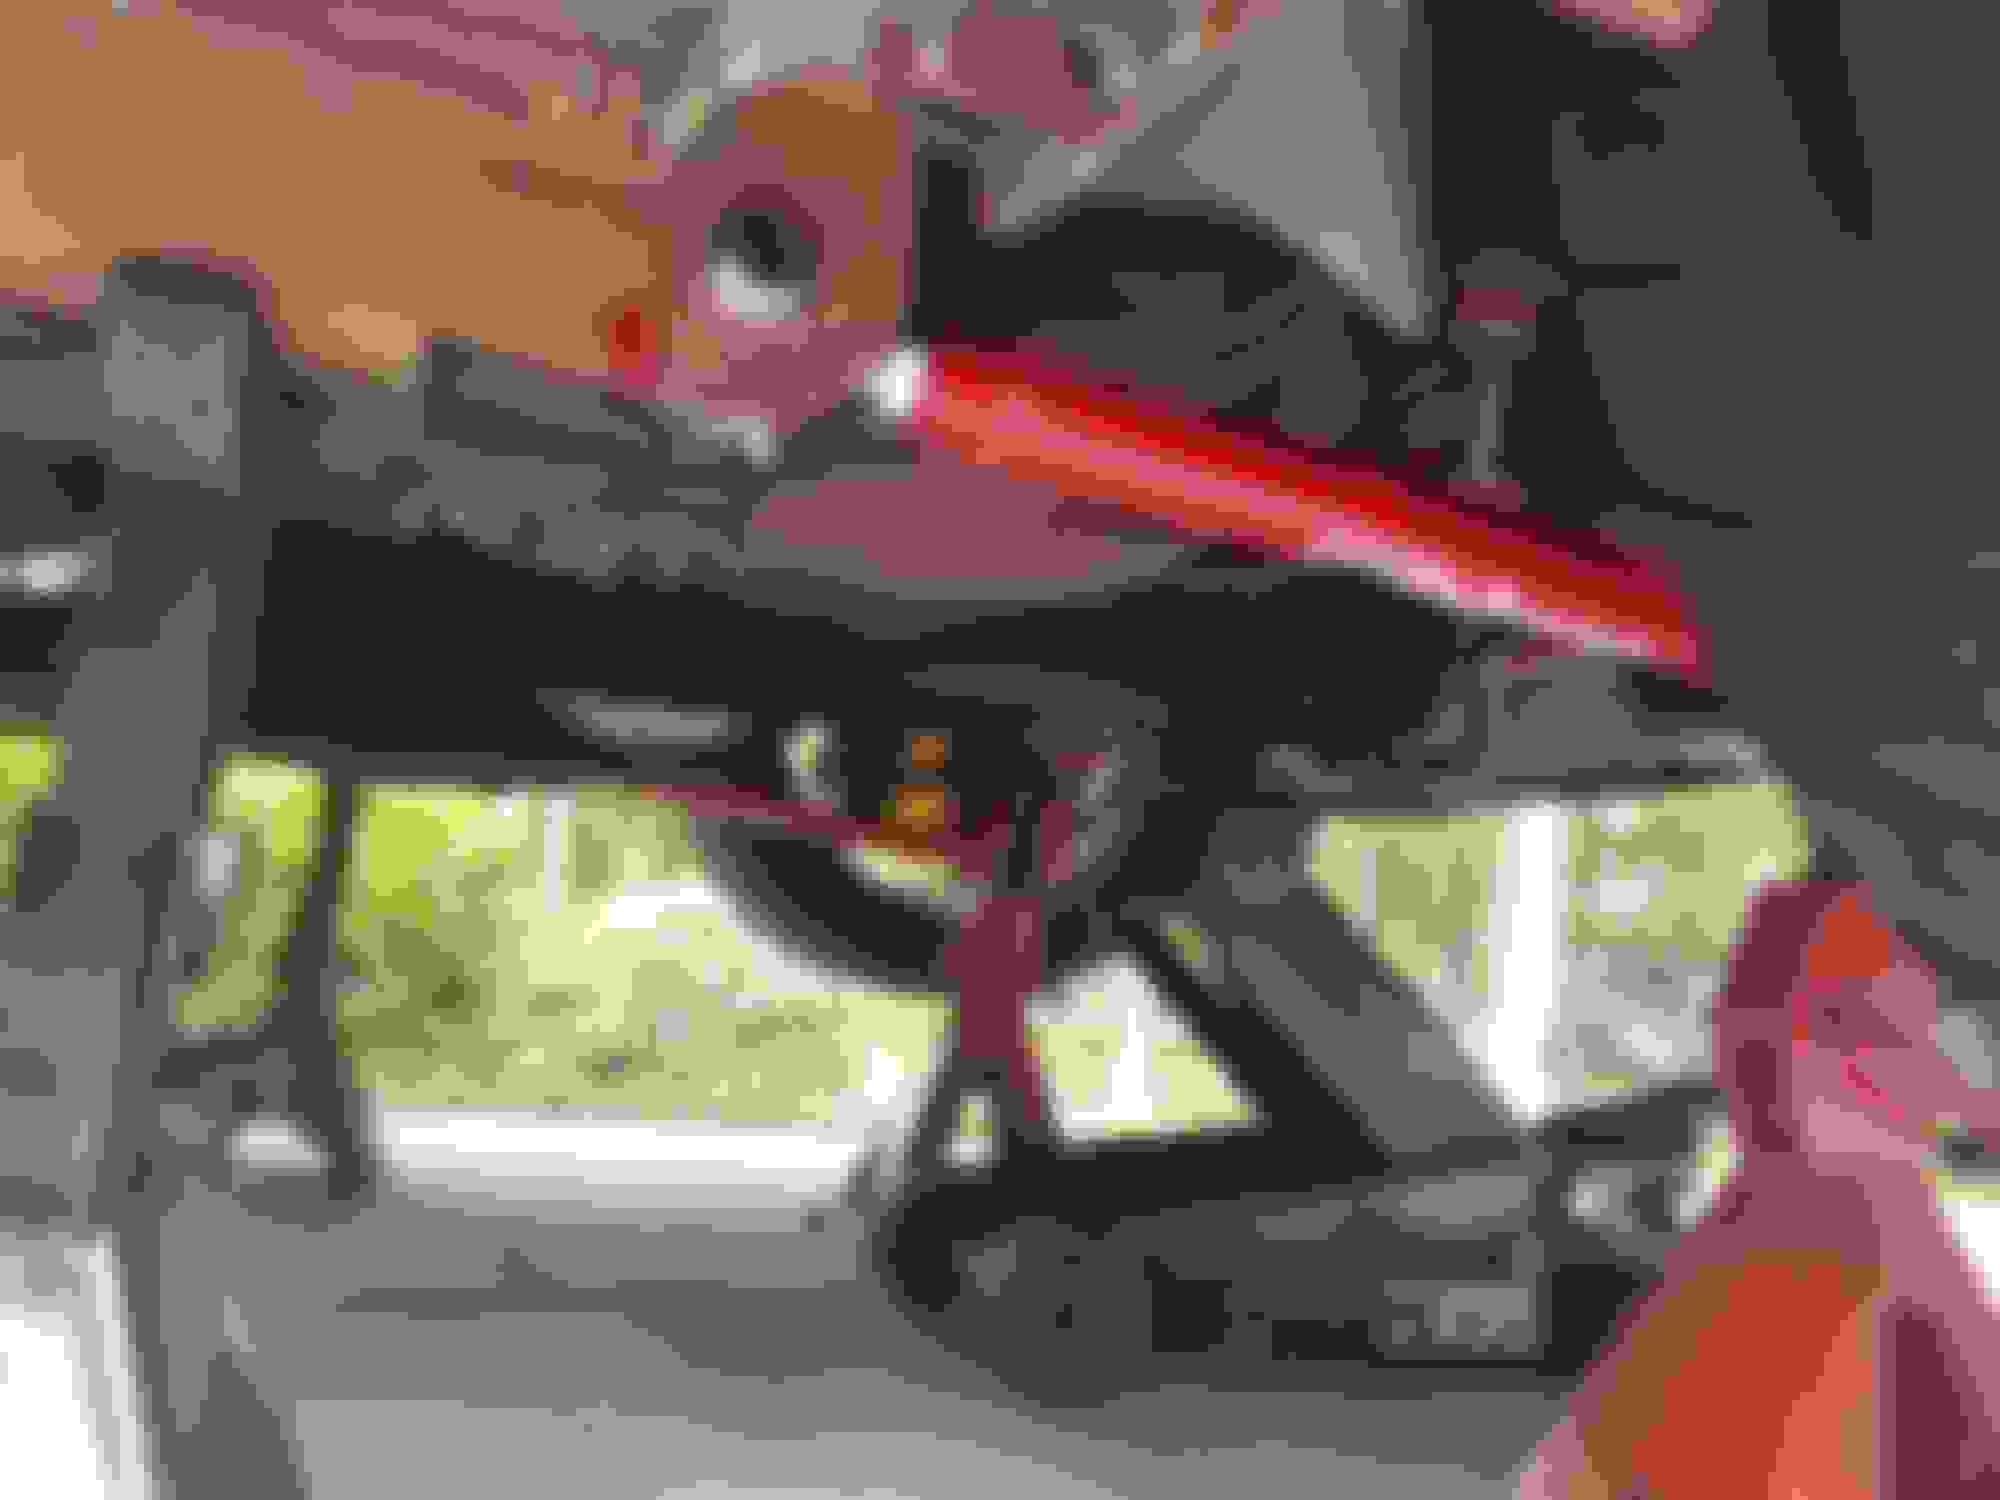
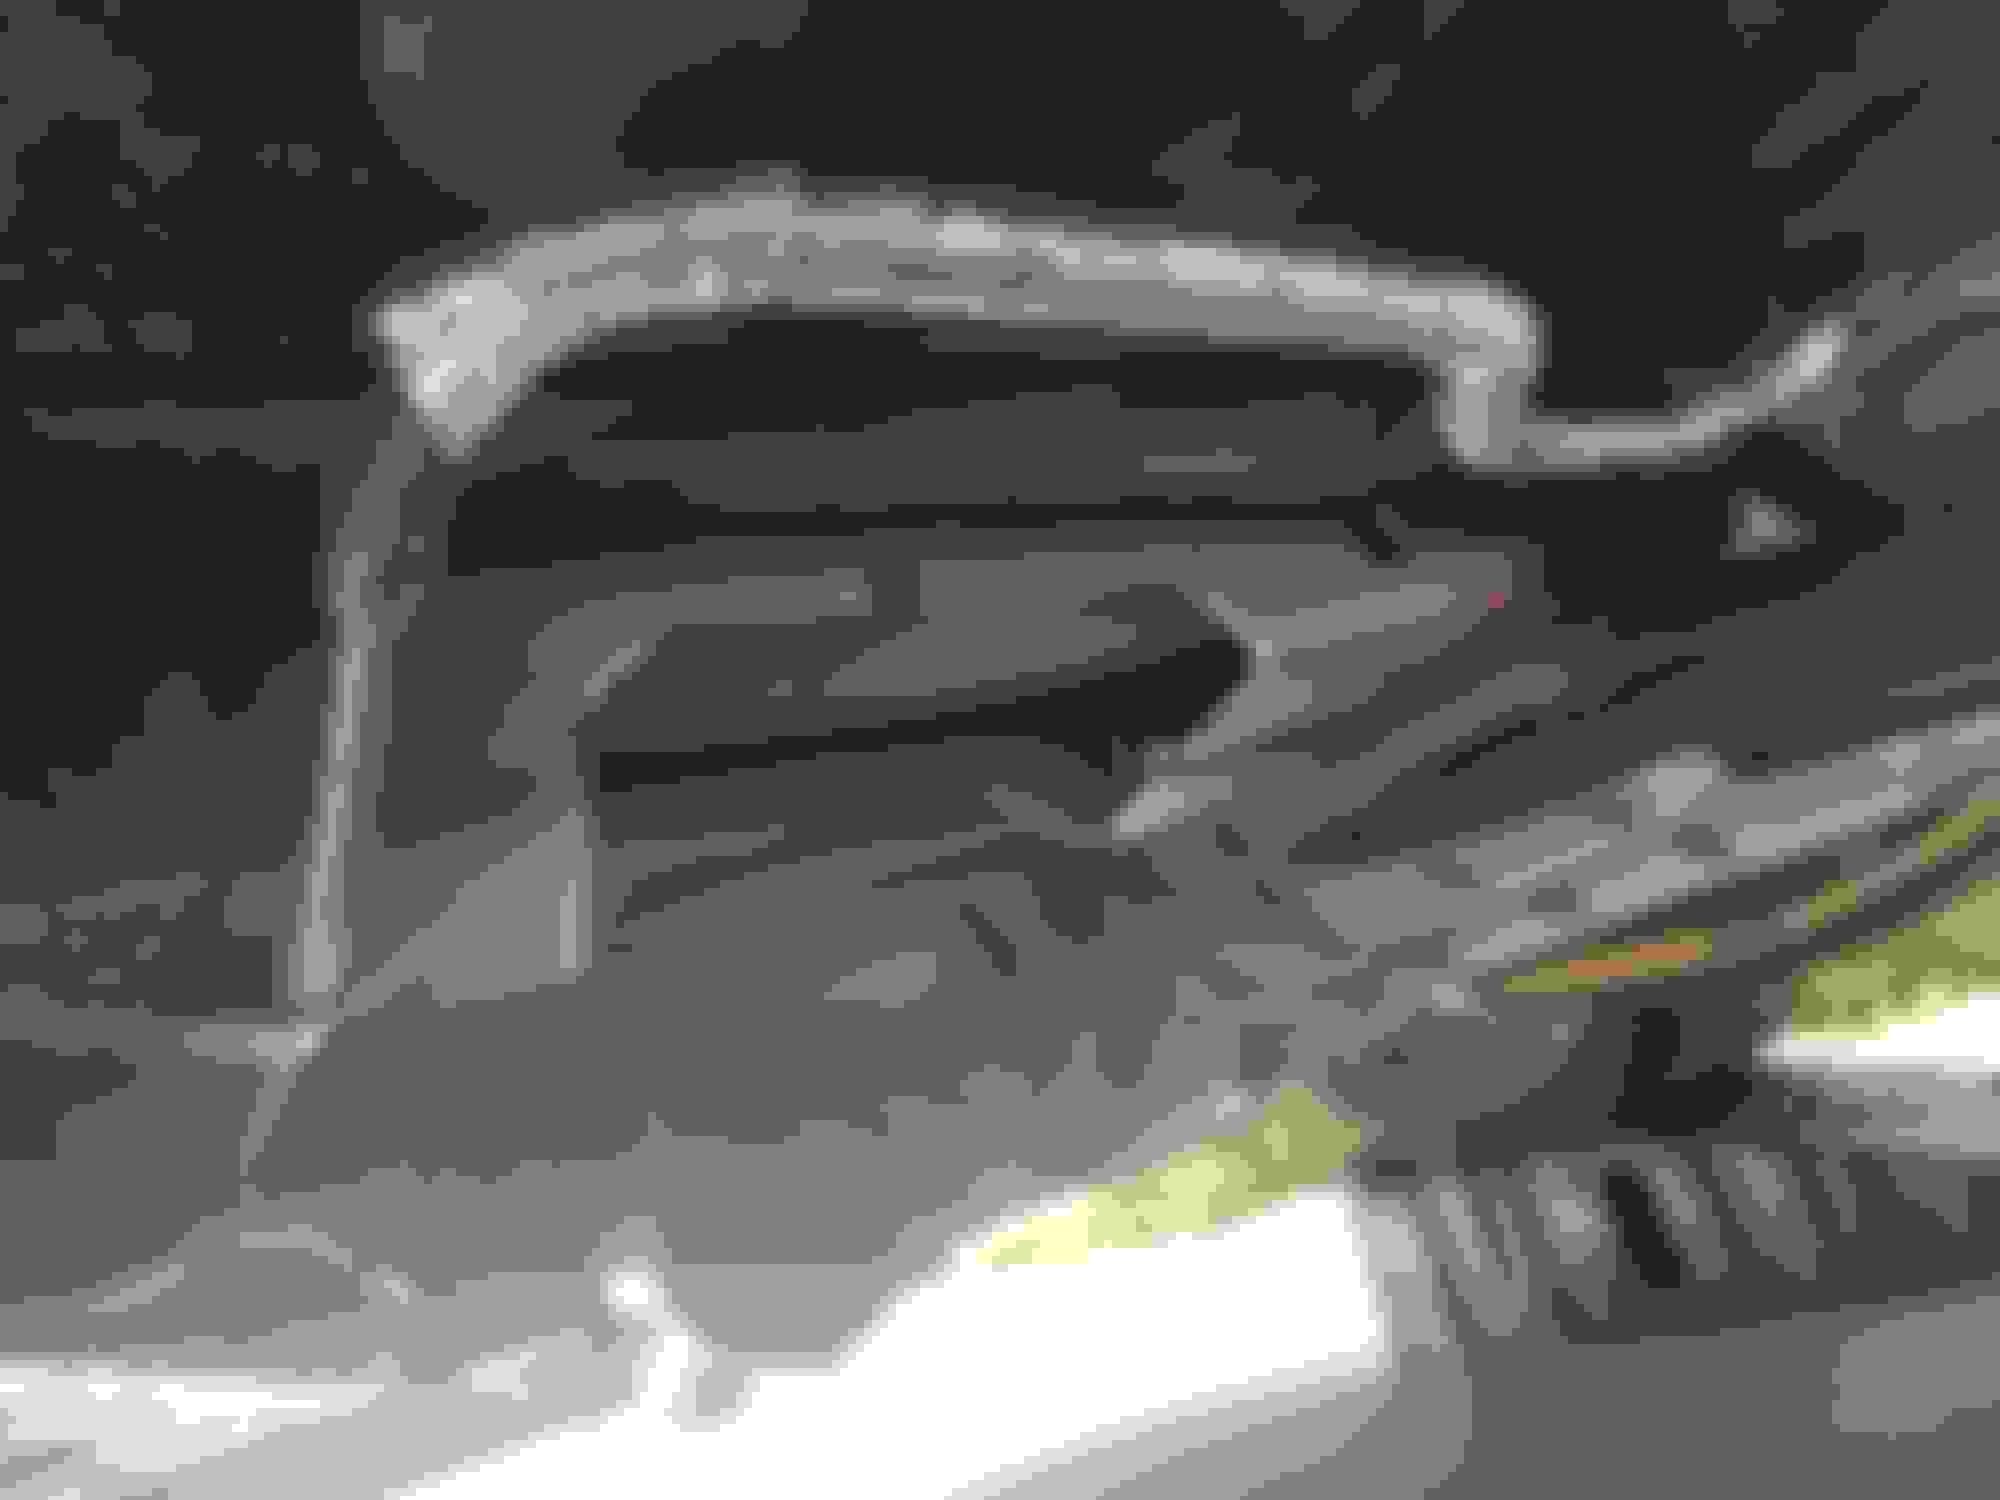
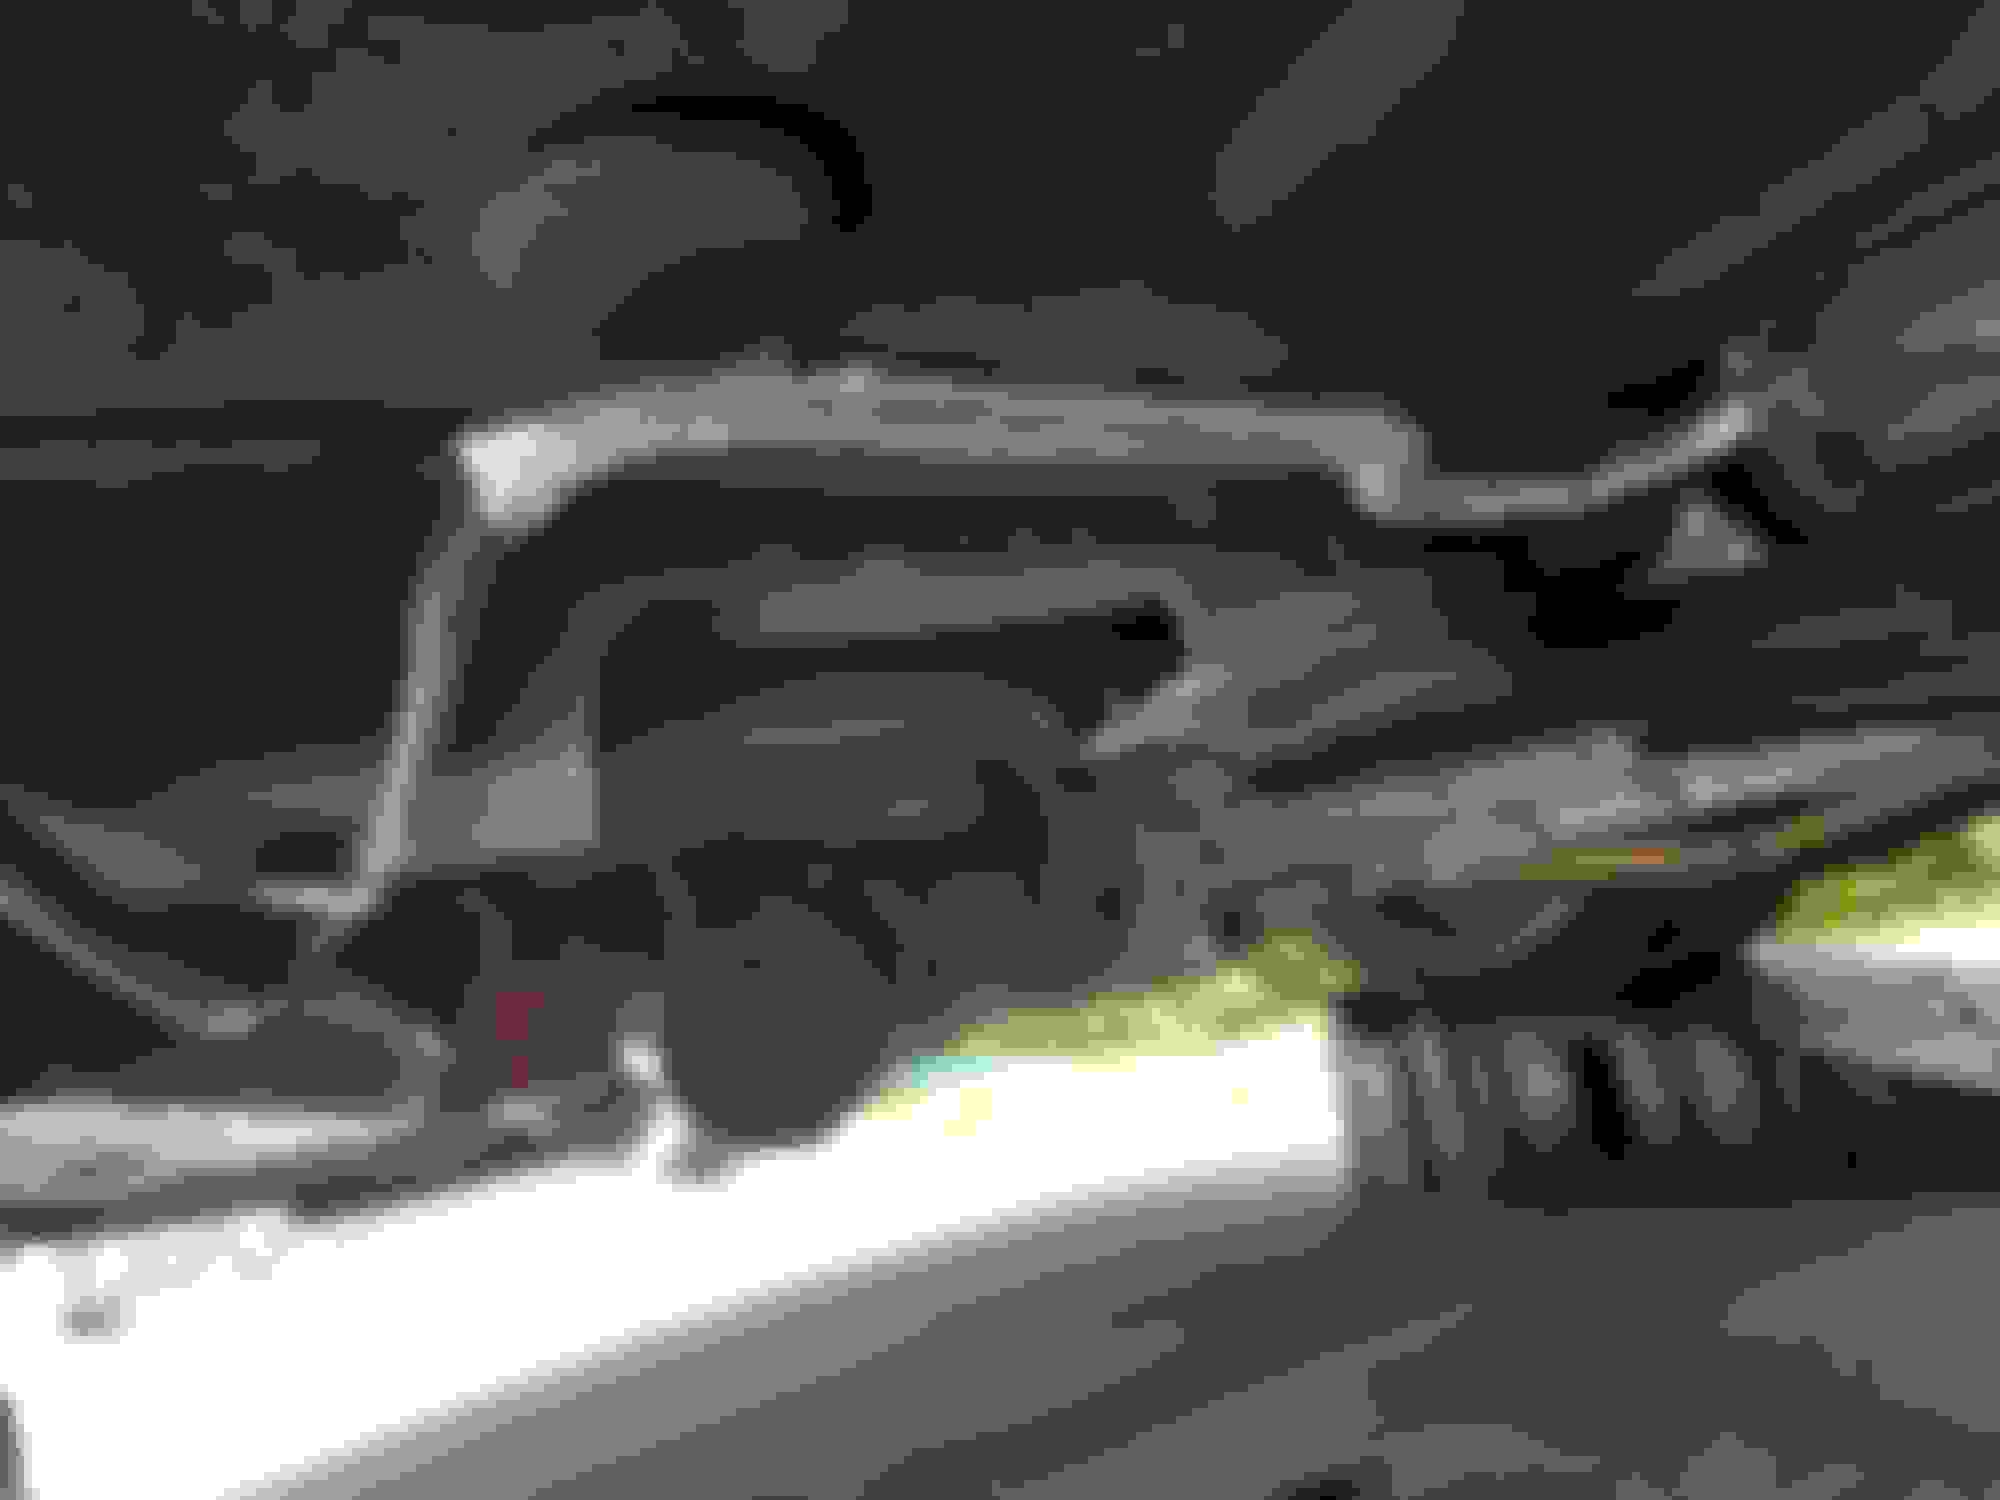
Rear kept bottoming out after i lowered it. So I bought UMI rubber bumpstops and removed the spacer and modded the mounts with a dremel. Installed UMI on car adjustable panhard with rotojoints. Also UMI relocation brackets. TSP 1 7/8 longtubes. Speed Engineering dual 3" with axle dumps. New plug wires and boot protectors. Installing headers Everything installed and back on the road. Not happy with ground clearance. Also after driving here and there i got tired of the drone. Made me not want to drive the car.
I have done more. Just trying to get this thread caught up.
Removed the exhaust and sold it. Received new UMI control arms with rotojoints. Installed Notching for exhaust. Rounded corners to prevent stress cracks. Test fitting Hooker notch plate. Welded, added seam sealer, and painted.
Last edited by sierravmax; 08-09-2017 at 08:04 AM.
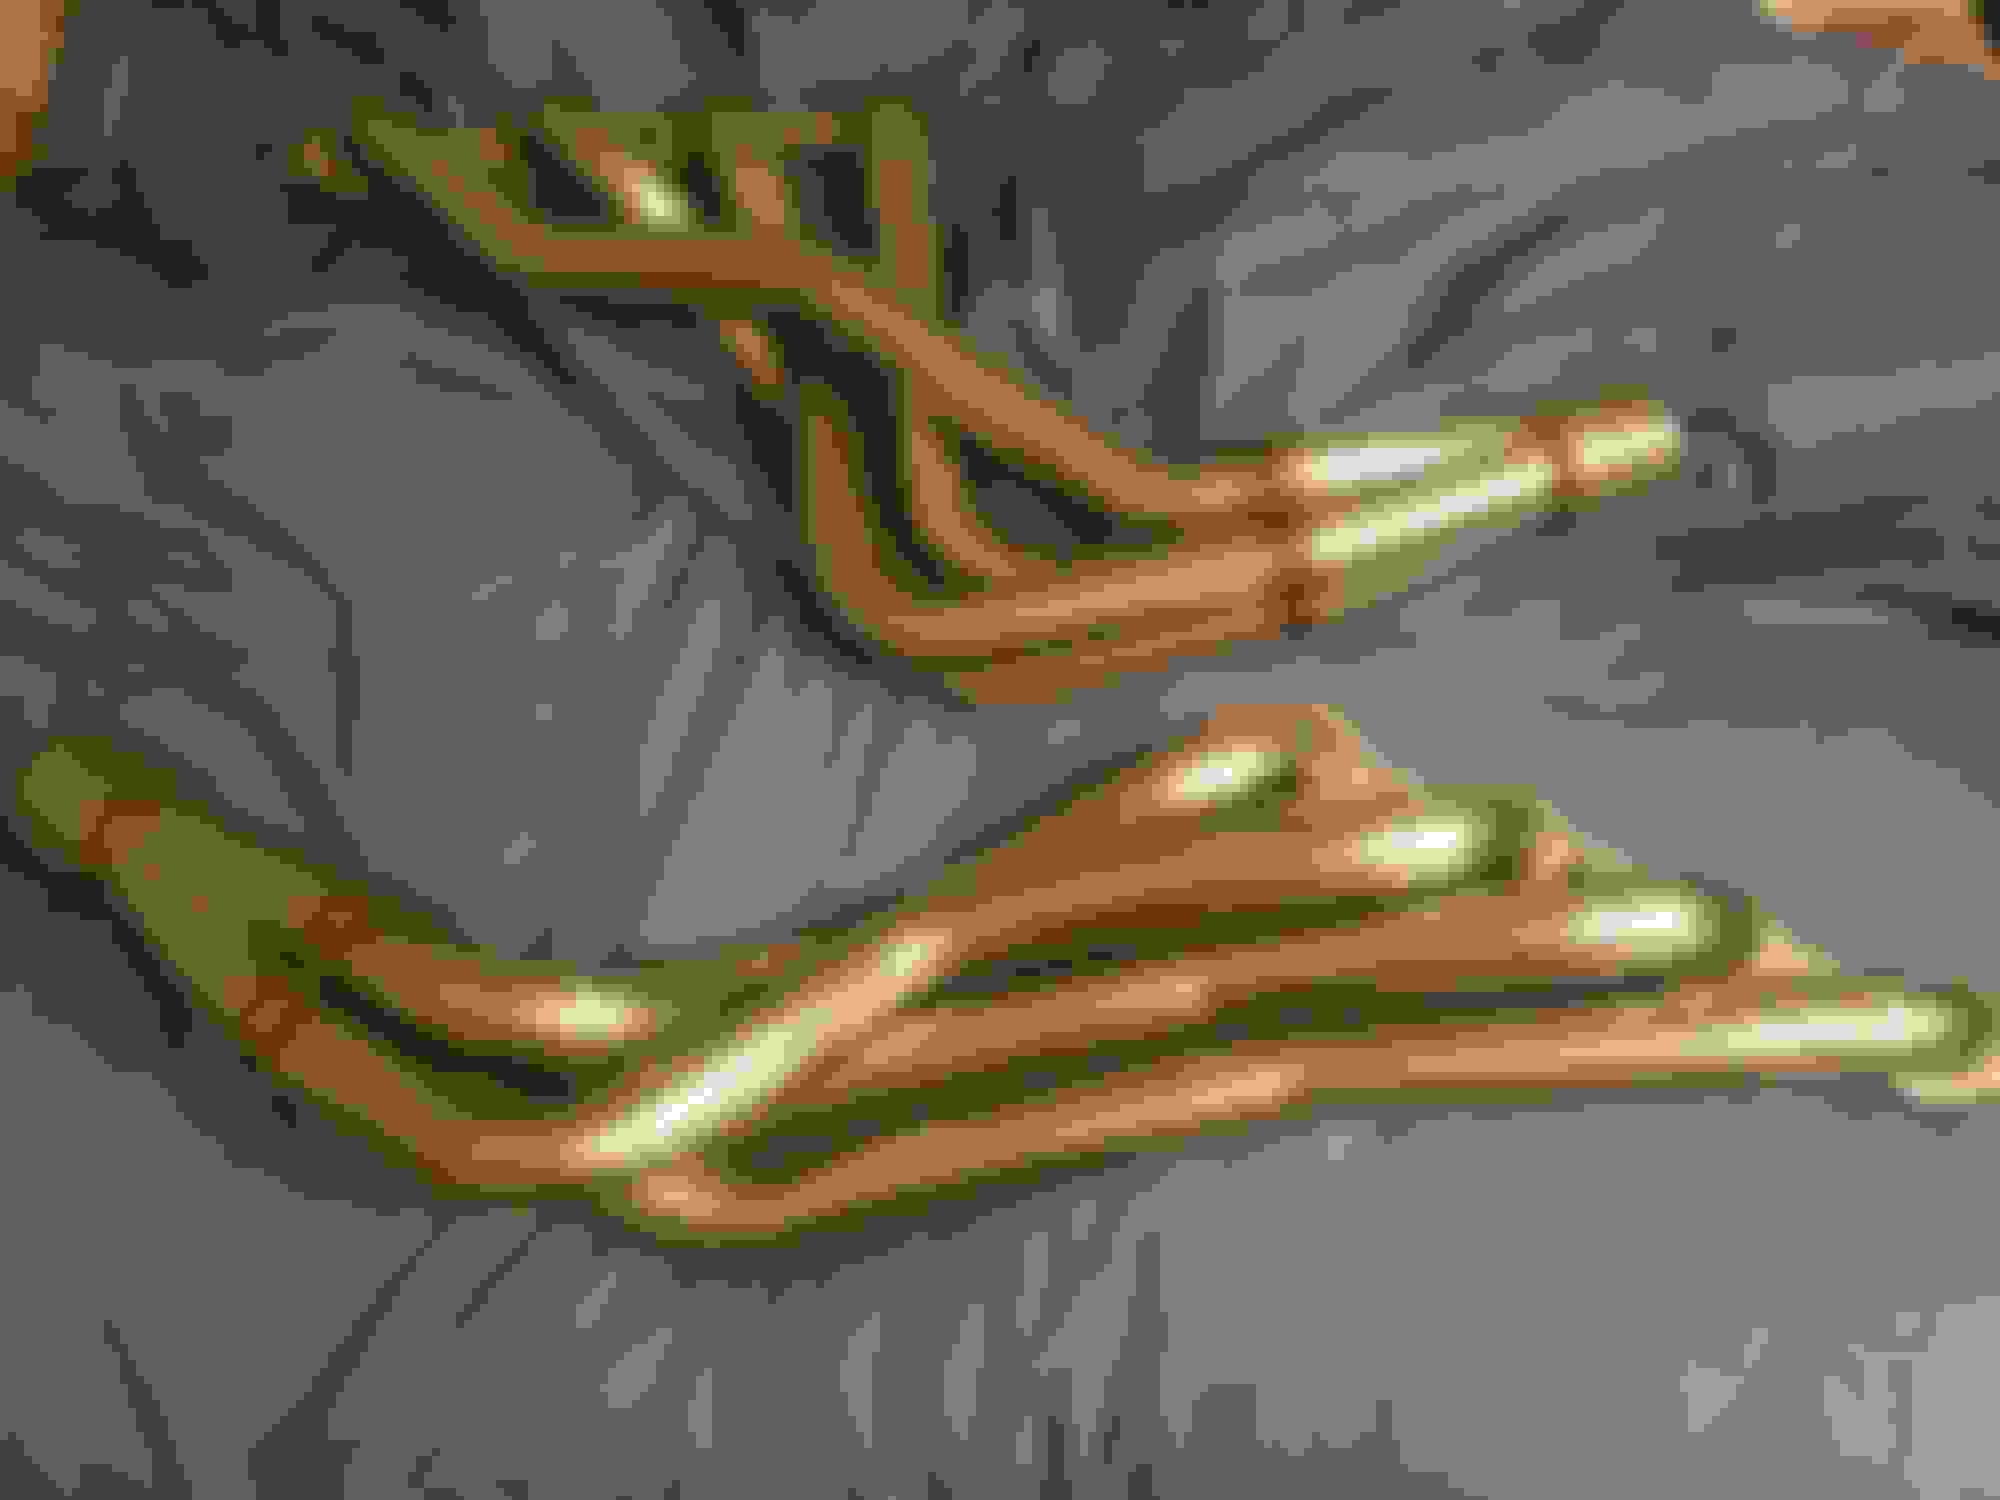
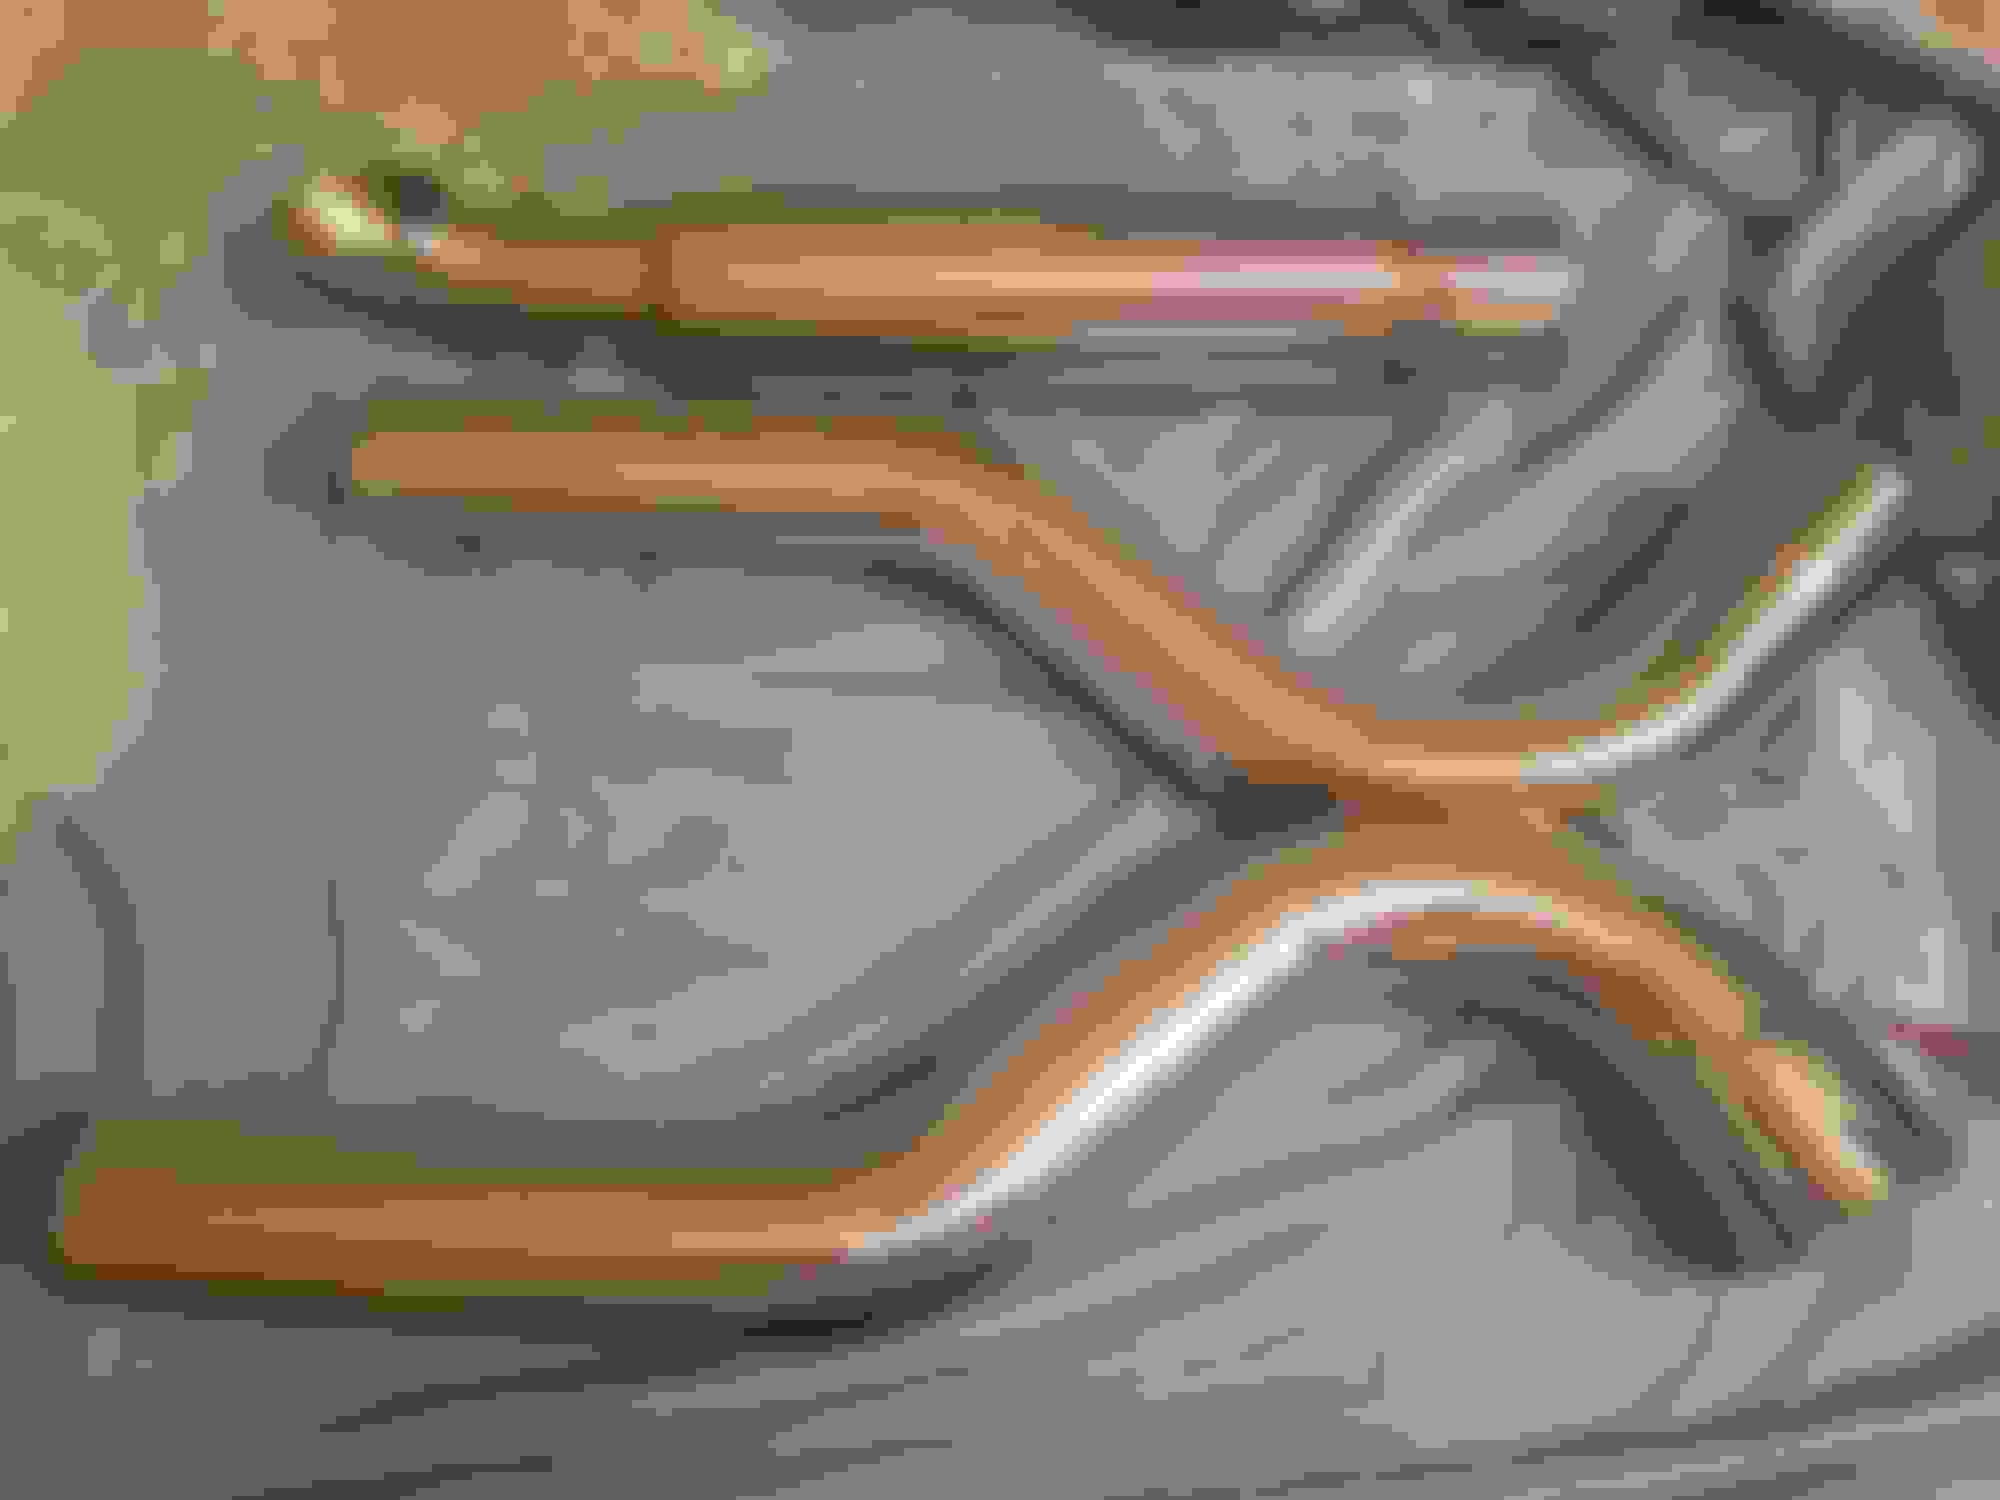
Box was a little beat up on top, but everythong was okay. Hooker Blackheart true duals. Very shiny. UMI 3 point subframe connectors. Test fitting exhaust and has way more clearnance than old system. Installed subframe connectors. Ground clearance still isnt bad. Couple photos showing how beefy the hangers are.
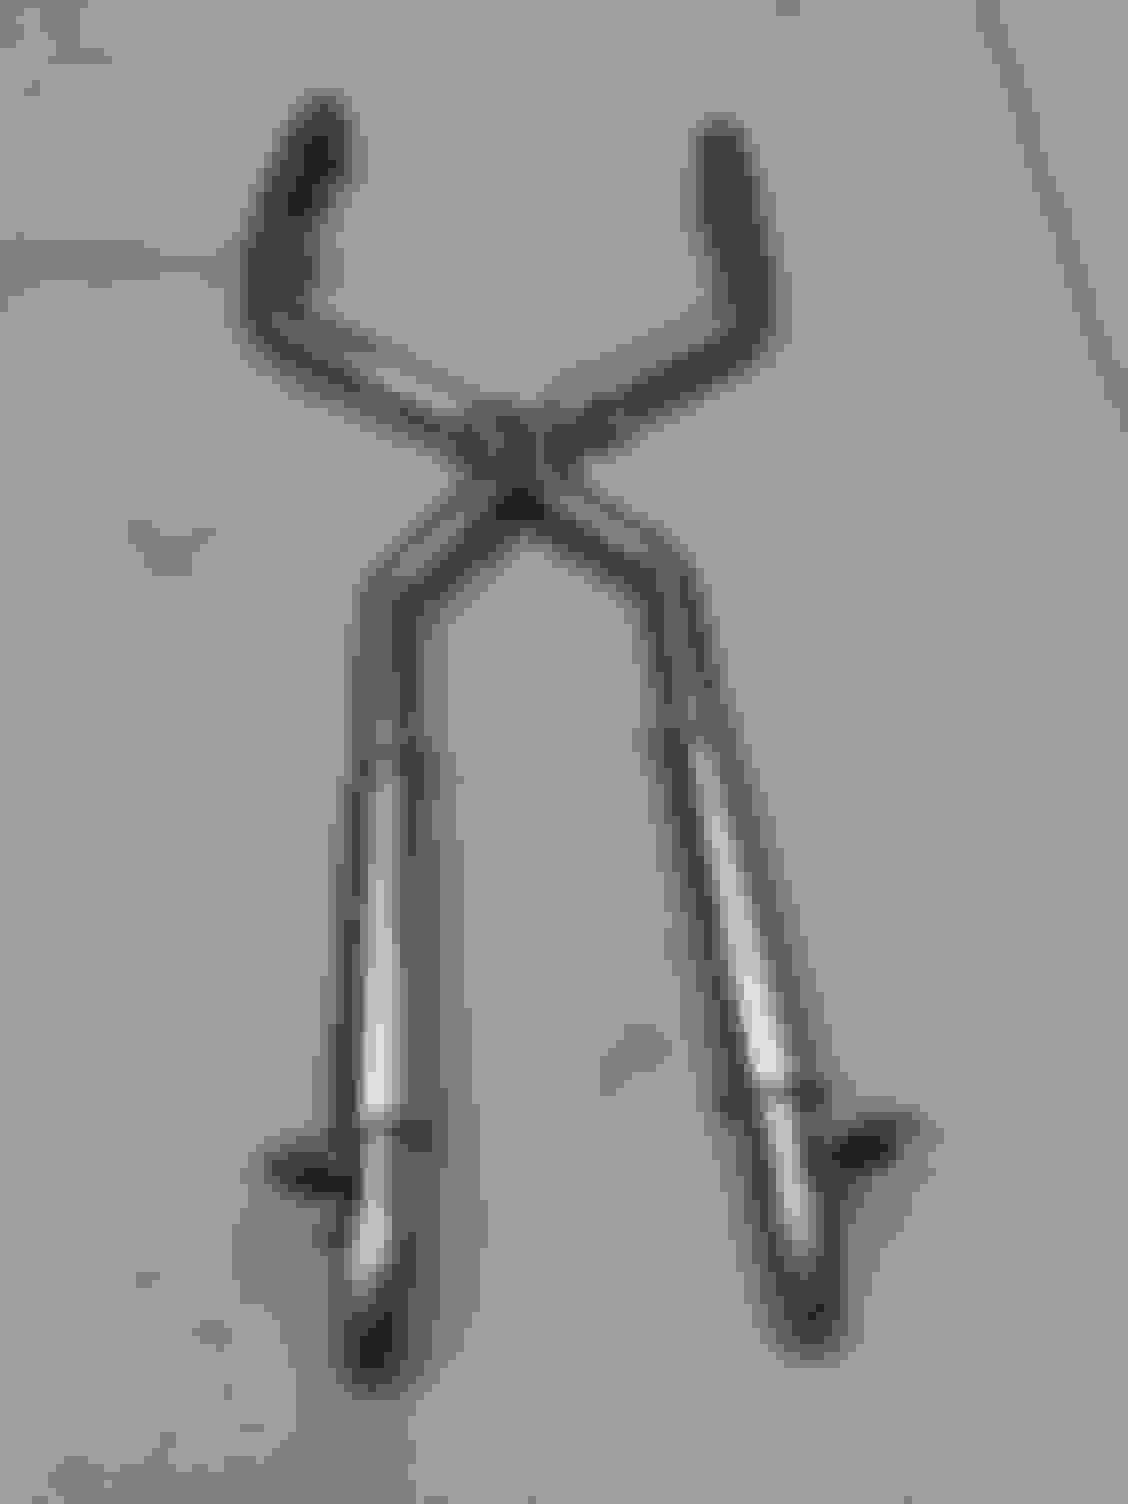
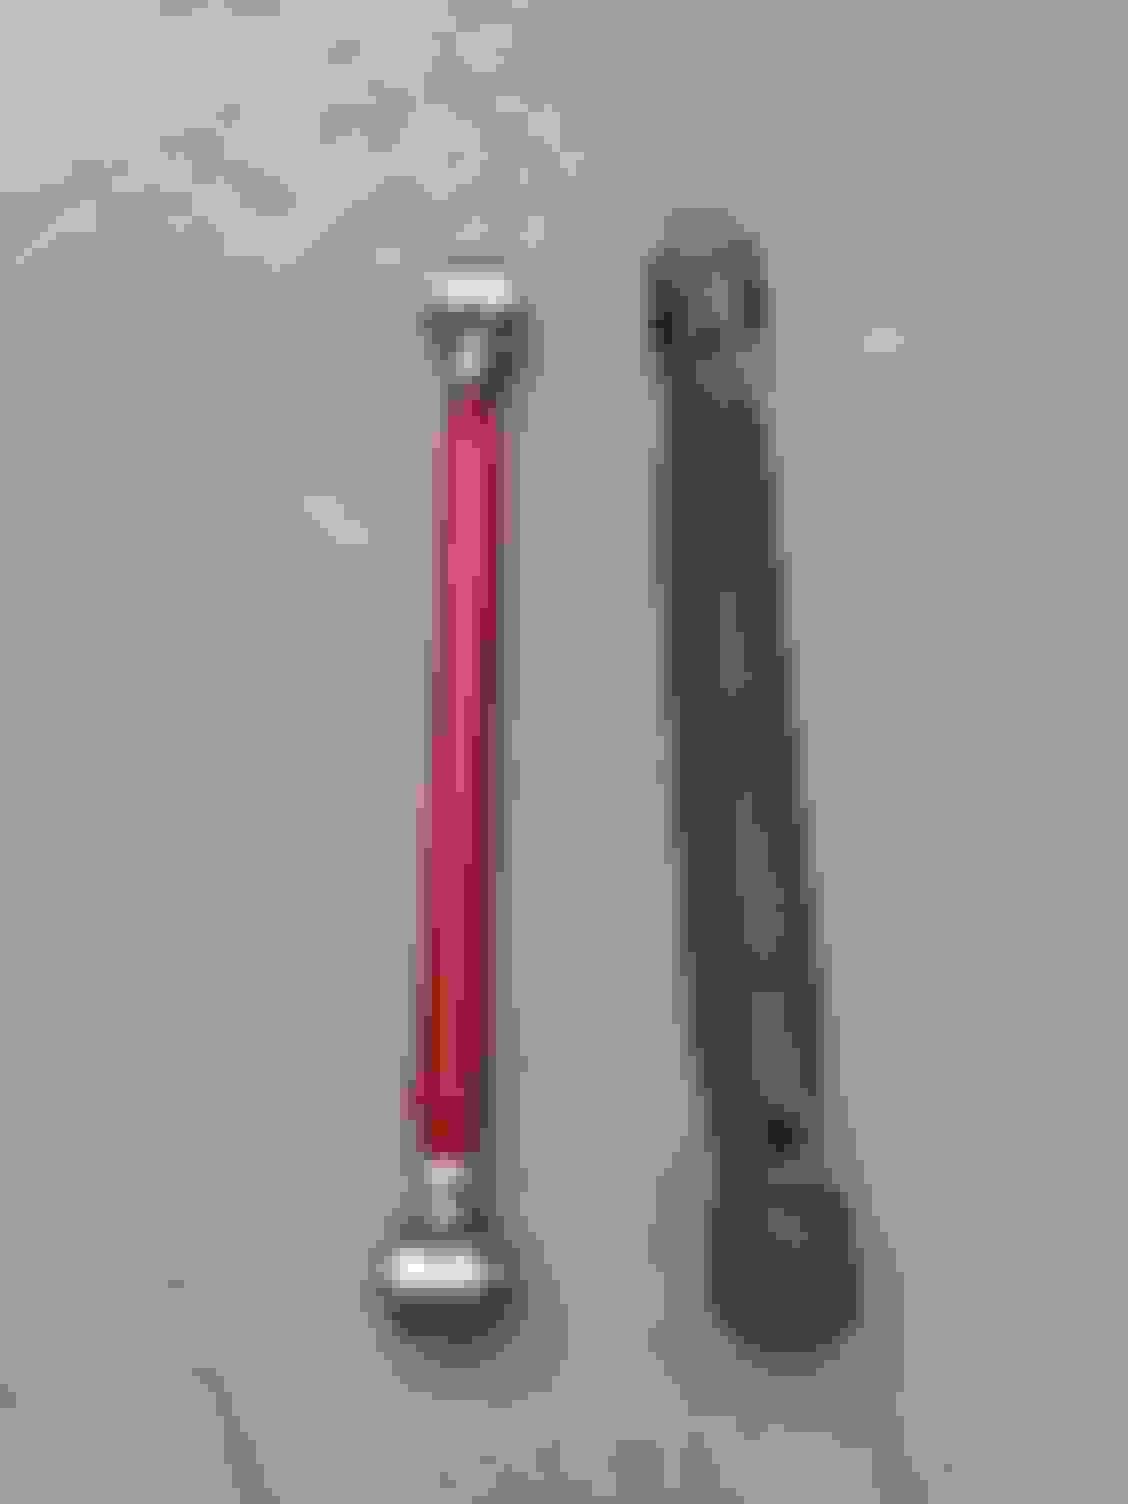
Never ends. Brought my car in for a alignment. They told me my jam nuts on my tierods were seized. I managed to get one off, but I had to cut off the driverside. Rented the tool from Oreilly's. So i purchased new inner tie rods and ends. This is the adapter that came with the tool. Not sure what exactly that cover does, but I put it back on. Think it might be a bumper incase the steering bottoms out. Put plenty of antiseize on to make sure this doesn't happen again. lol And i did put a ziptie back on the boot.
And here we go again! I use a atv/motorcycle jack to lower the motor. Have no spare dollys so I use a skateboard. lol It actually worked great. I put the transmission over one set of trucks and I could lift the other end of the skateboard and steer it. My setup.
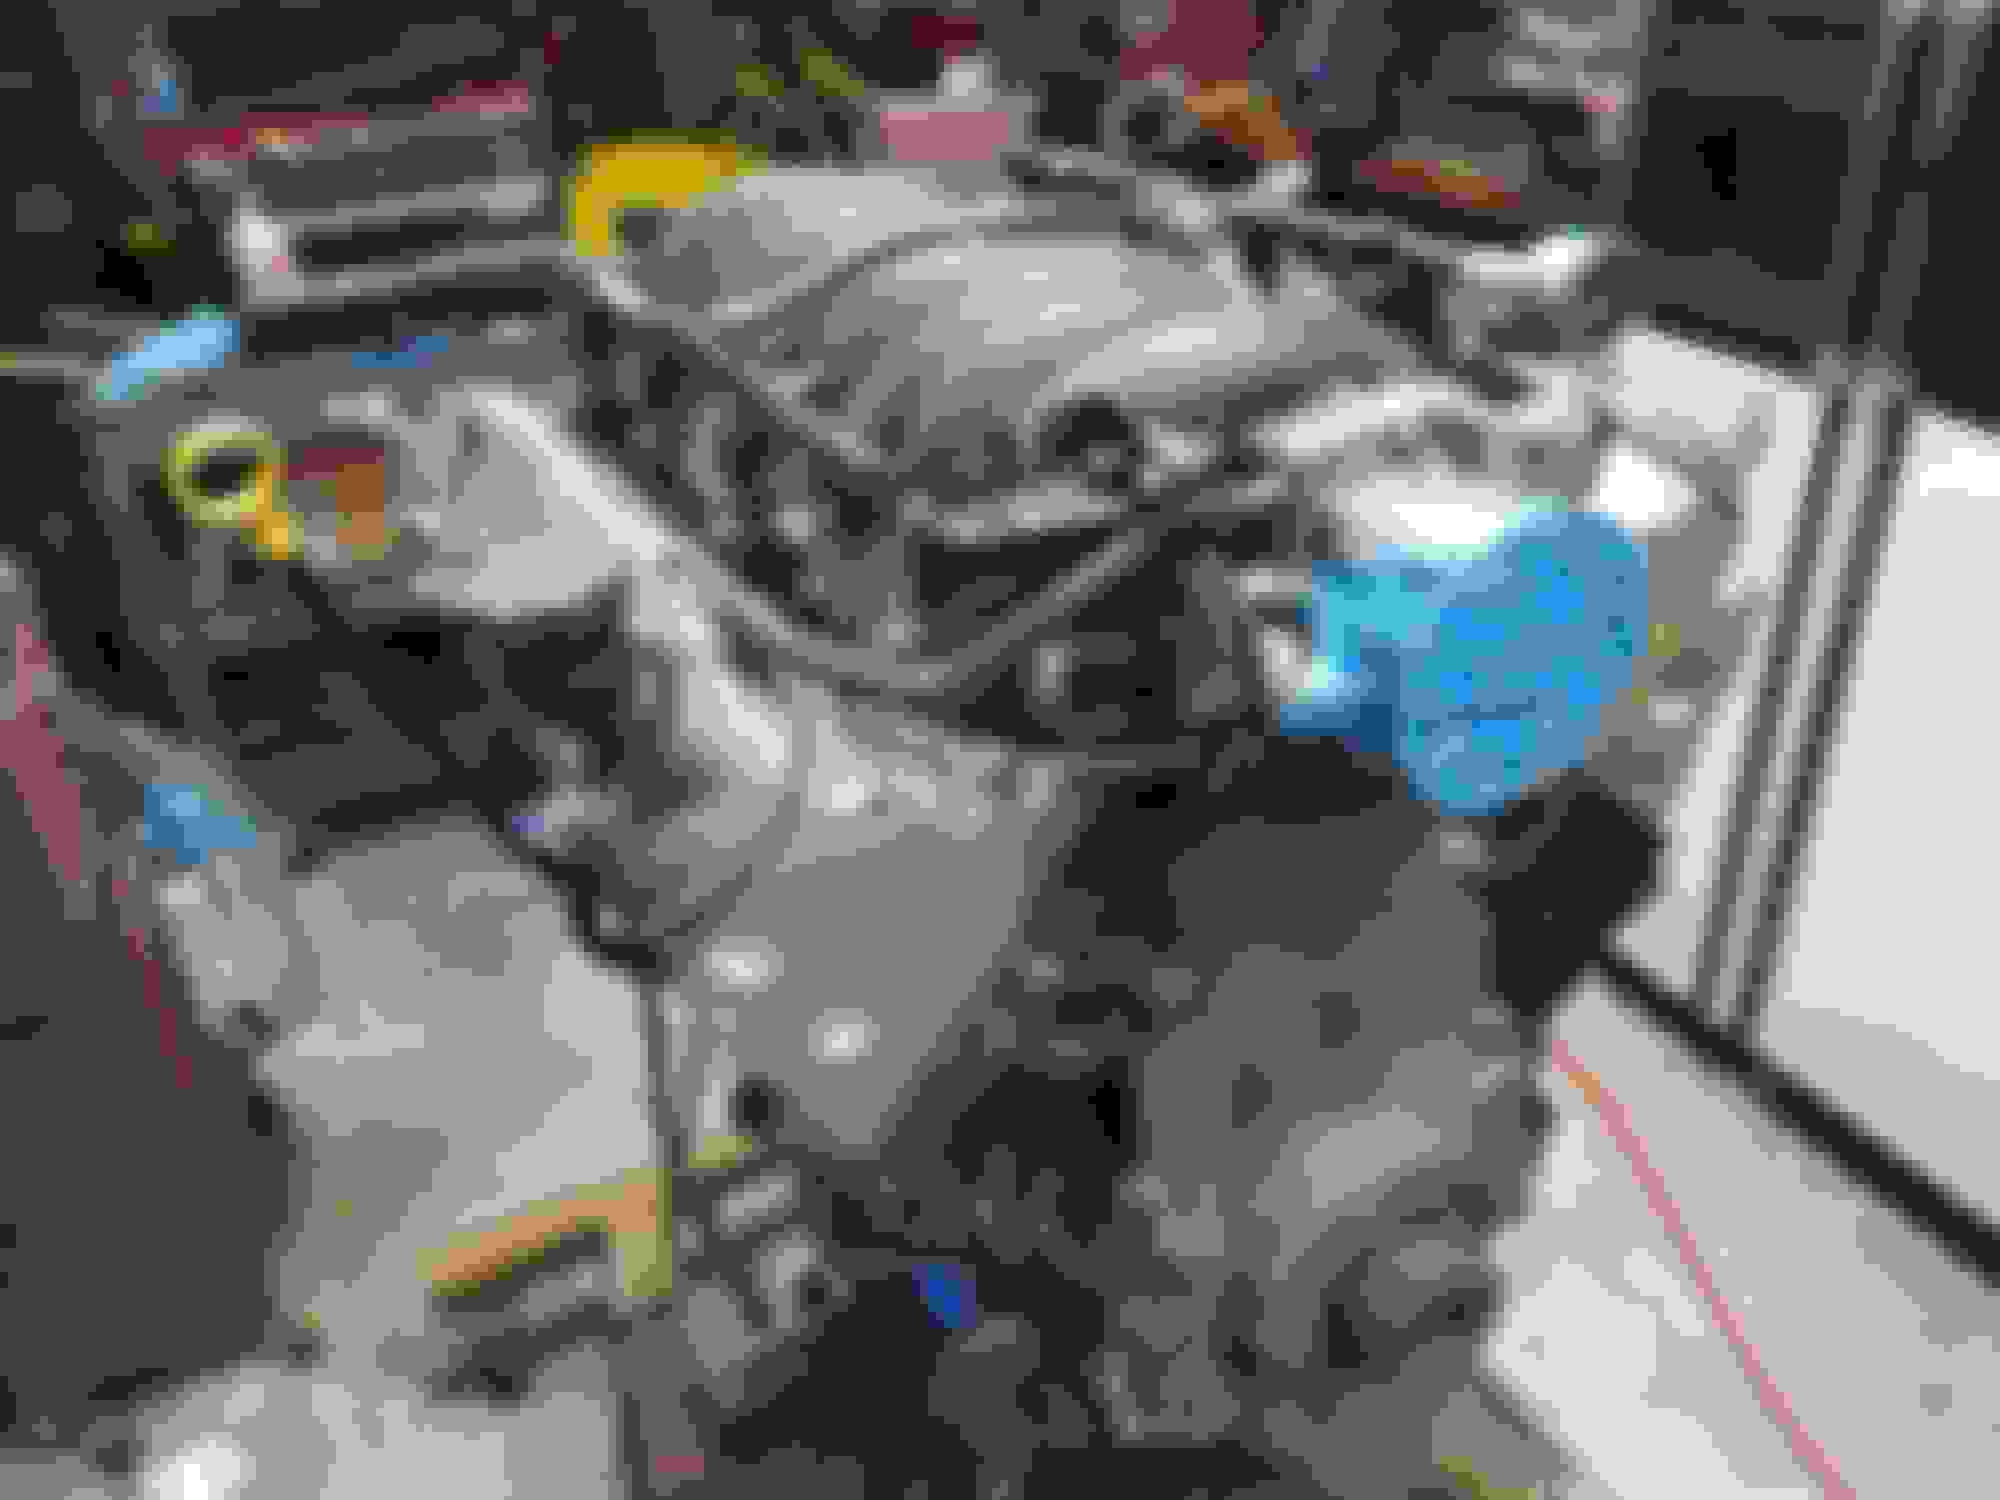
Too busy to keep this updated. I gave myself a deadline to get the car running and driving and it burnt me out, but I got it done. Pulled everything out and went through the motor first. Installed MS4 cam, new Ls2 timing chain, LS7 lifters and Ls2 trays. Slapped some stock 799 heads on with TSP dual spring kit and hardened pushrods. Upgraded the trunions with a Straub bushing kit. Bolted the motor in using UMI solid aluminum engine mounts. I had to modify them to get them to work right. They kept kicking the trandmission to the passenger side.
Next I tore the T-56 apart. It has been making a whining noise since I rebuilt it a while back. It had some bearing material stuck to the magnets. So I ordered and new Timken bearing kit and proceeded to replace every single bearing. It was a little bit of a pita, but my press got it done. Also my tailhousing seal kept leaking and I didn't like the slop the yoke had in the transmission. So I ordered a new bushing and read horror stories of replacing this part. I put it in the freezer for a day or so and had no issue installing it. Of course I also replaced all of the seals and topped it off with Redline D4 ATF. I bolted on a poly trans mount and bolted that to a UMI T56 crossmember with torque arm relocation. For some reason I had to use aluminum spacer to get the trans mounted right.
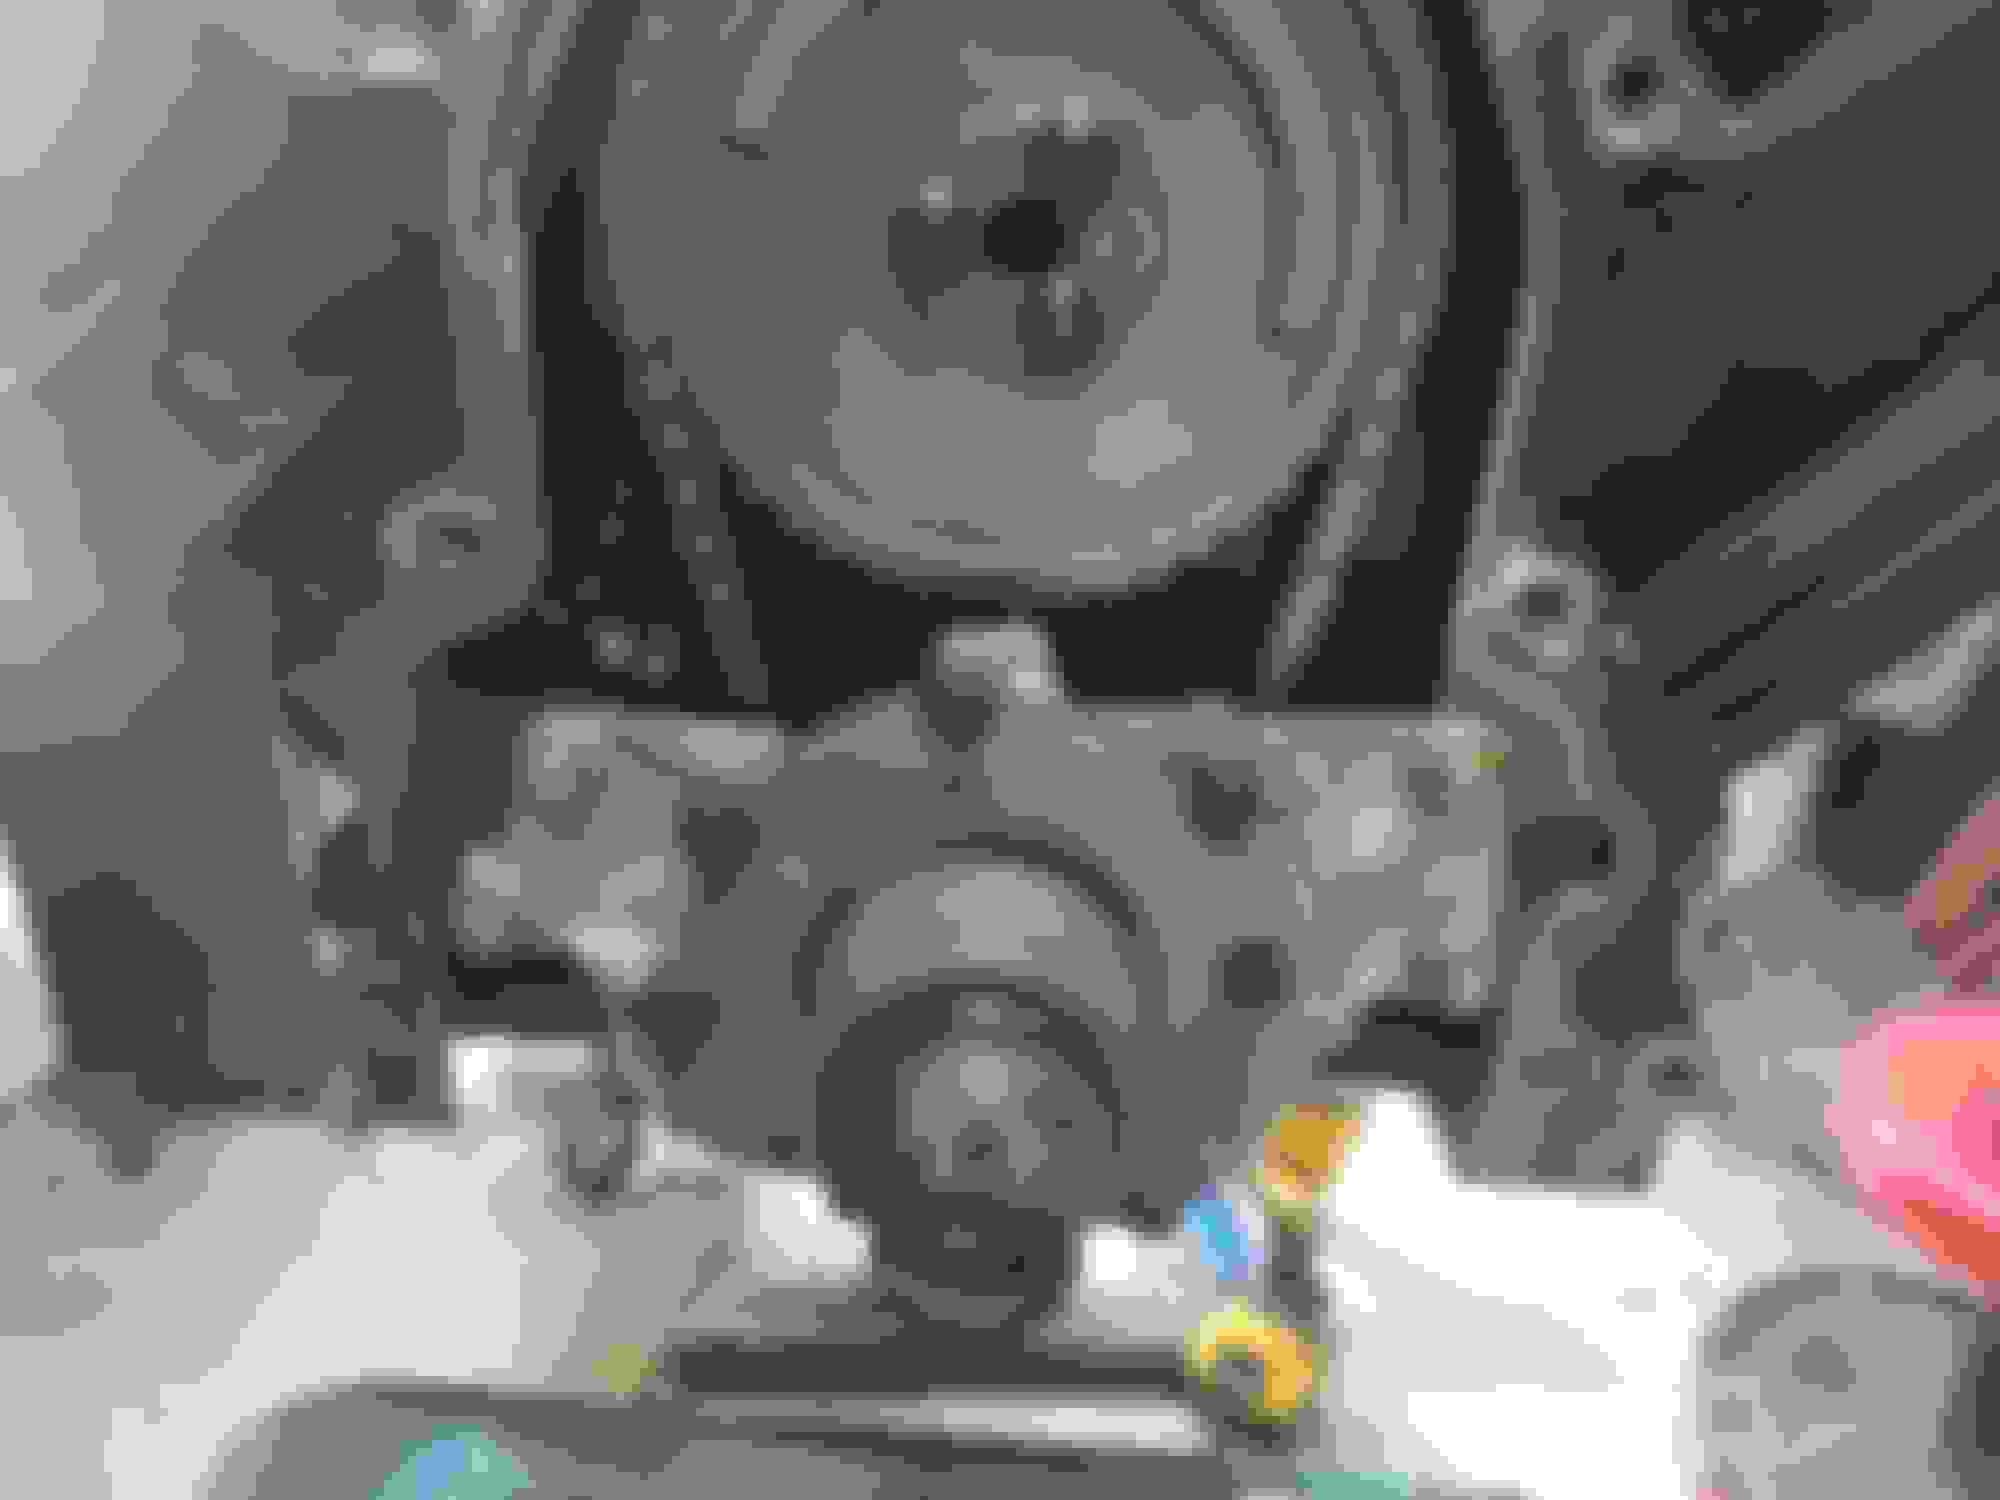
Next was the stock 10 bolt. I knew I was going to have newfound power so I decided to do some small upgrades. First I decided to replace the pinion yoke as the new seal I installed still leaked. So i picked up a brand new Yukon Gear pinion yoke and 2 piece triple lip seal. Then I got rid of the stock sheet metal diff cover in favor of a Moser girdle cover. Also I replaced the bearing cap bolts with a Moser stud ATE. Topped it off with Redline diff fluid.
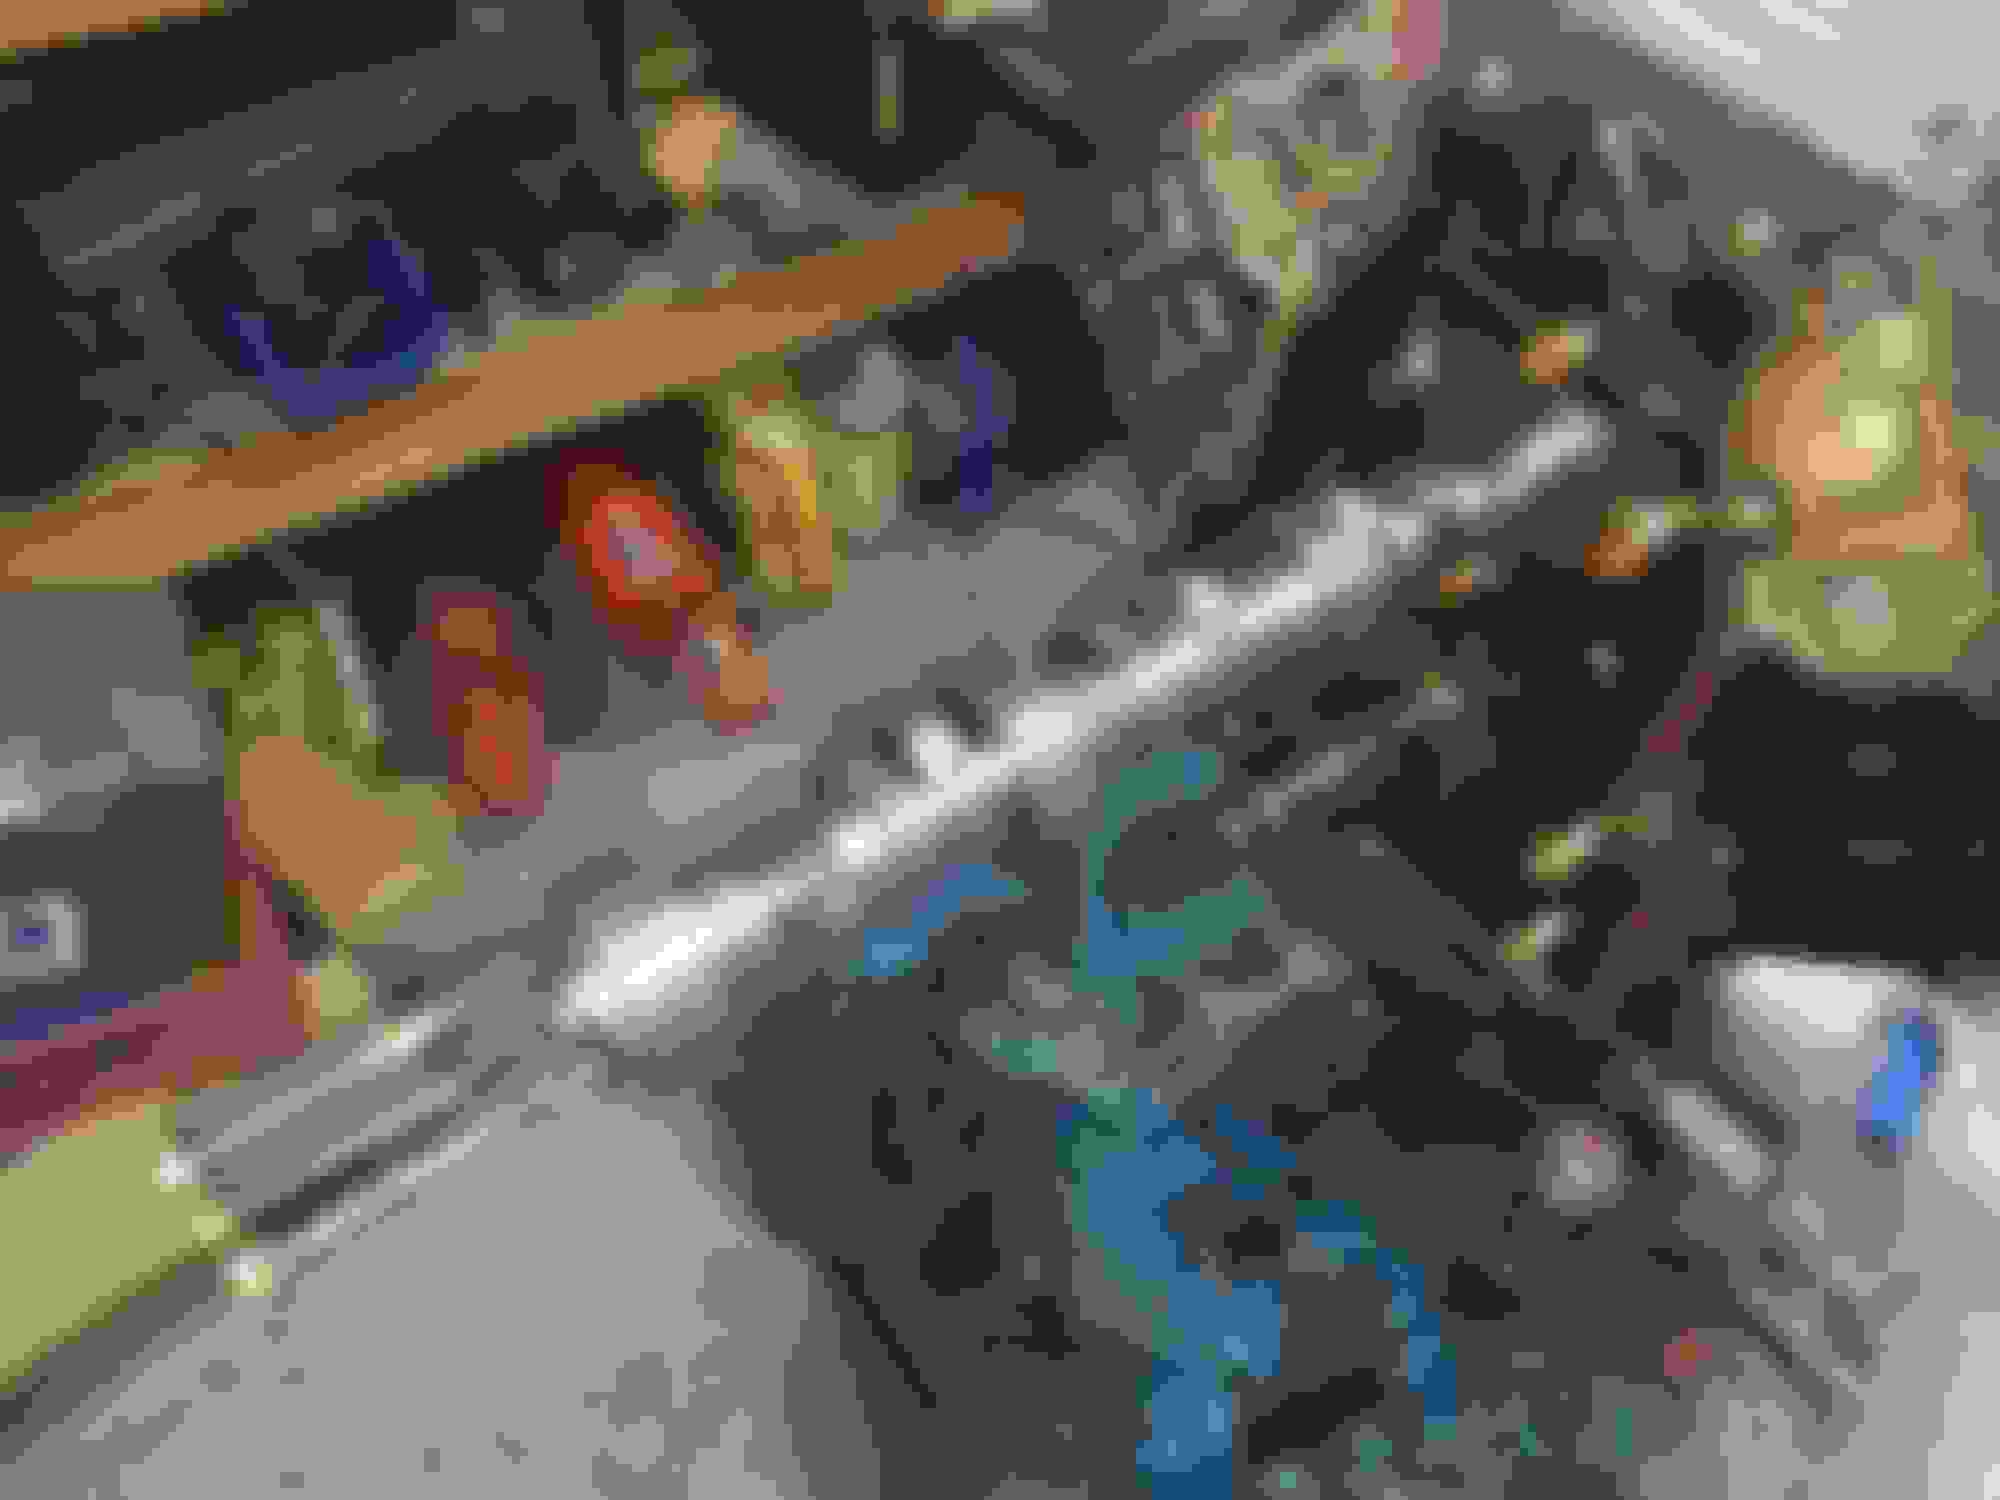
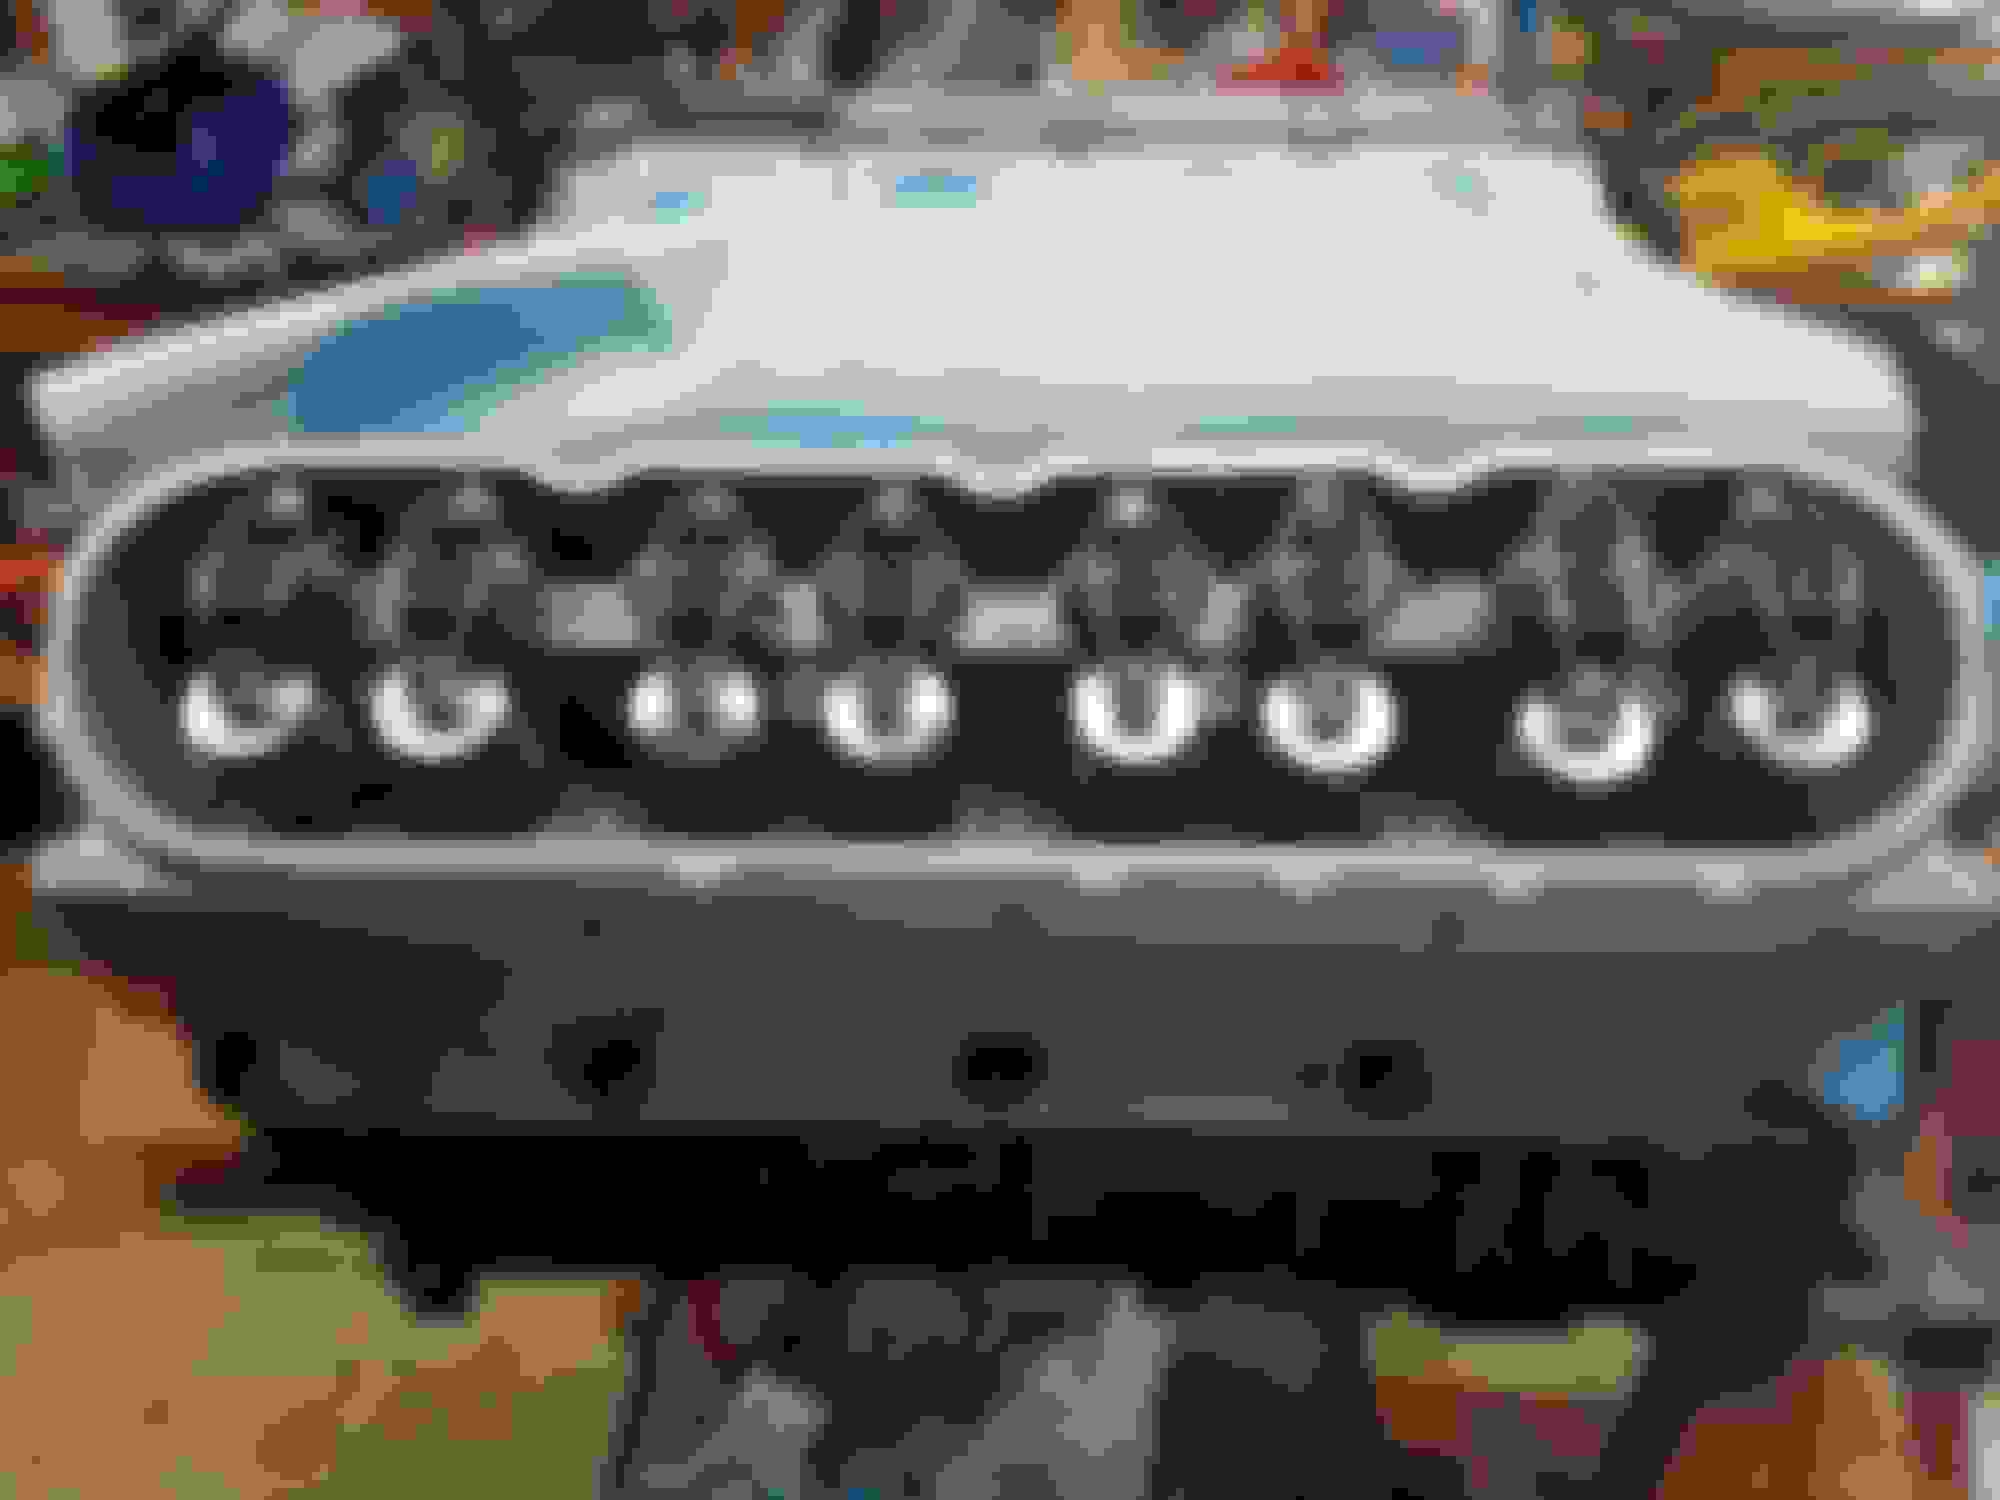
Next was the front brakes. Well the 11" rotors suck. Did some research and found a video on YouTube on installing 4 piston CTS-V calipers and 2010 Camaro SS rotors. I already have 18" wheels so no problems with that. Ran into a issue finding a machine shop willing to open up the center bores to fit my hubs. Found a shop to do it, but they charged me $180 to do it. I felt like I was overcharged, but I needed it done. Next I installed longer ARP studs in the hubs as I needed a small spacer to make the wheels clear the calipers. I called Kore3 to get some custom braided lines to work with my brakes. Also I installed a SLP linelock as I had to bleed the brakes anyway. New cam retainer plate and bolts. ARP cam bolts. Bought this cheap Arbor press just for the trunions. Made life easy. Using the Comp Cams spring compressor tool. Works great!
 01-16-2017, 07:11 PM