Need some exhaust advise
#161
There's a single M6 or equivalent screw halfway up the steering shaft that has to be removed. Once you do that, push the thicker half of the shaft toward the firewall/steering wheel. It's usually stuck and I almost always have to hit the lip with a screwdriver and hammer. One or two taps and the halves of the shaft will separate.
#162
TECH Apprentice
Thread Starter

Here is a pic from the engine bay, i removed both them screws. But do i only need to loosen just the top or the bottom one? But its starting to budge a lil bit with a hammer and screw driver, u can see in the pic its wanting to move. Plus u can see a clip looking thing on the shaft above the upper bolt, what is that?
#163
TECH Apprentice
Thread Starter
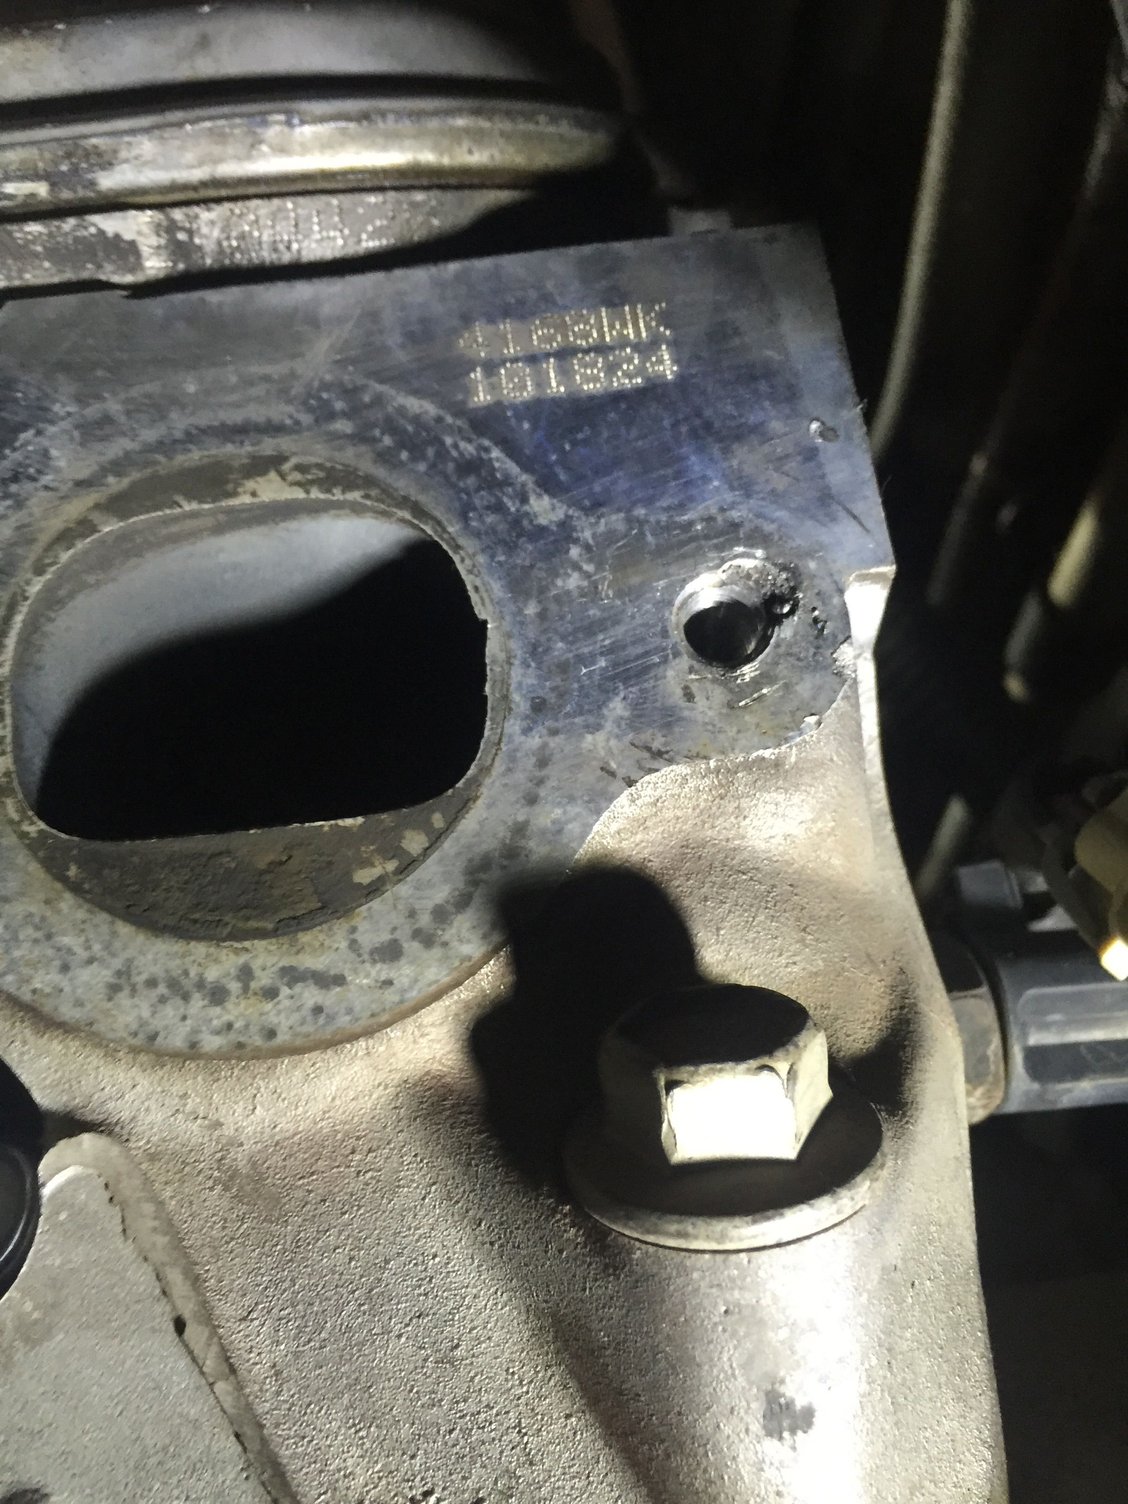
Hopefully i dont have an exhaust leak there, thats the driver side rear, where it took 4 or 5 trys to get the nut to stay stuck, the weld ate into the aluminum, but the threads are fine and the new bolt went all the way in with no problem
#164
TECH Apprentice
Thread Starter

Ok i got the shaft to move by removeing the lower nut and useing a lil wd 40 and a hammer and screw driver, i tucked the boytom peice of the shaft outta the way and made sure i didnt turn it.
Now time to see if this side will fit without haveing to dent the headers, hopefully these creative steal motor mounts keep the motor up high enough to not have any clearance issues
#165
TECH Apprentice
Thread Starter
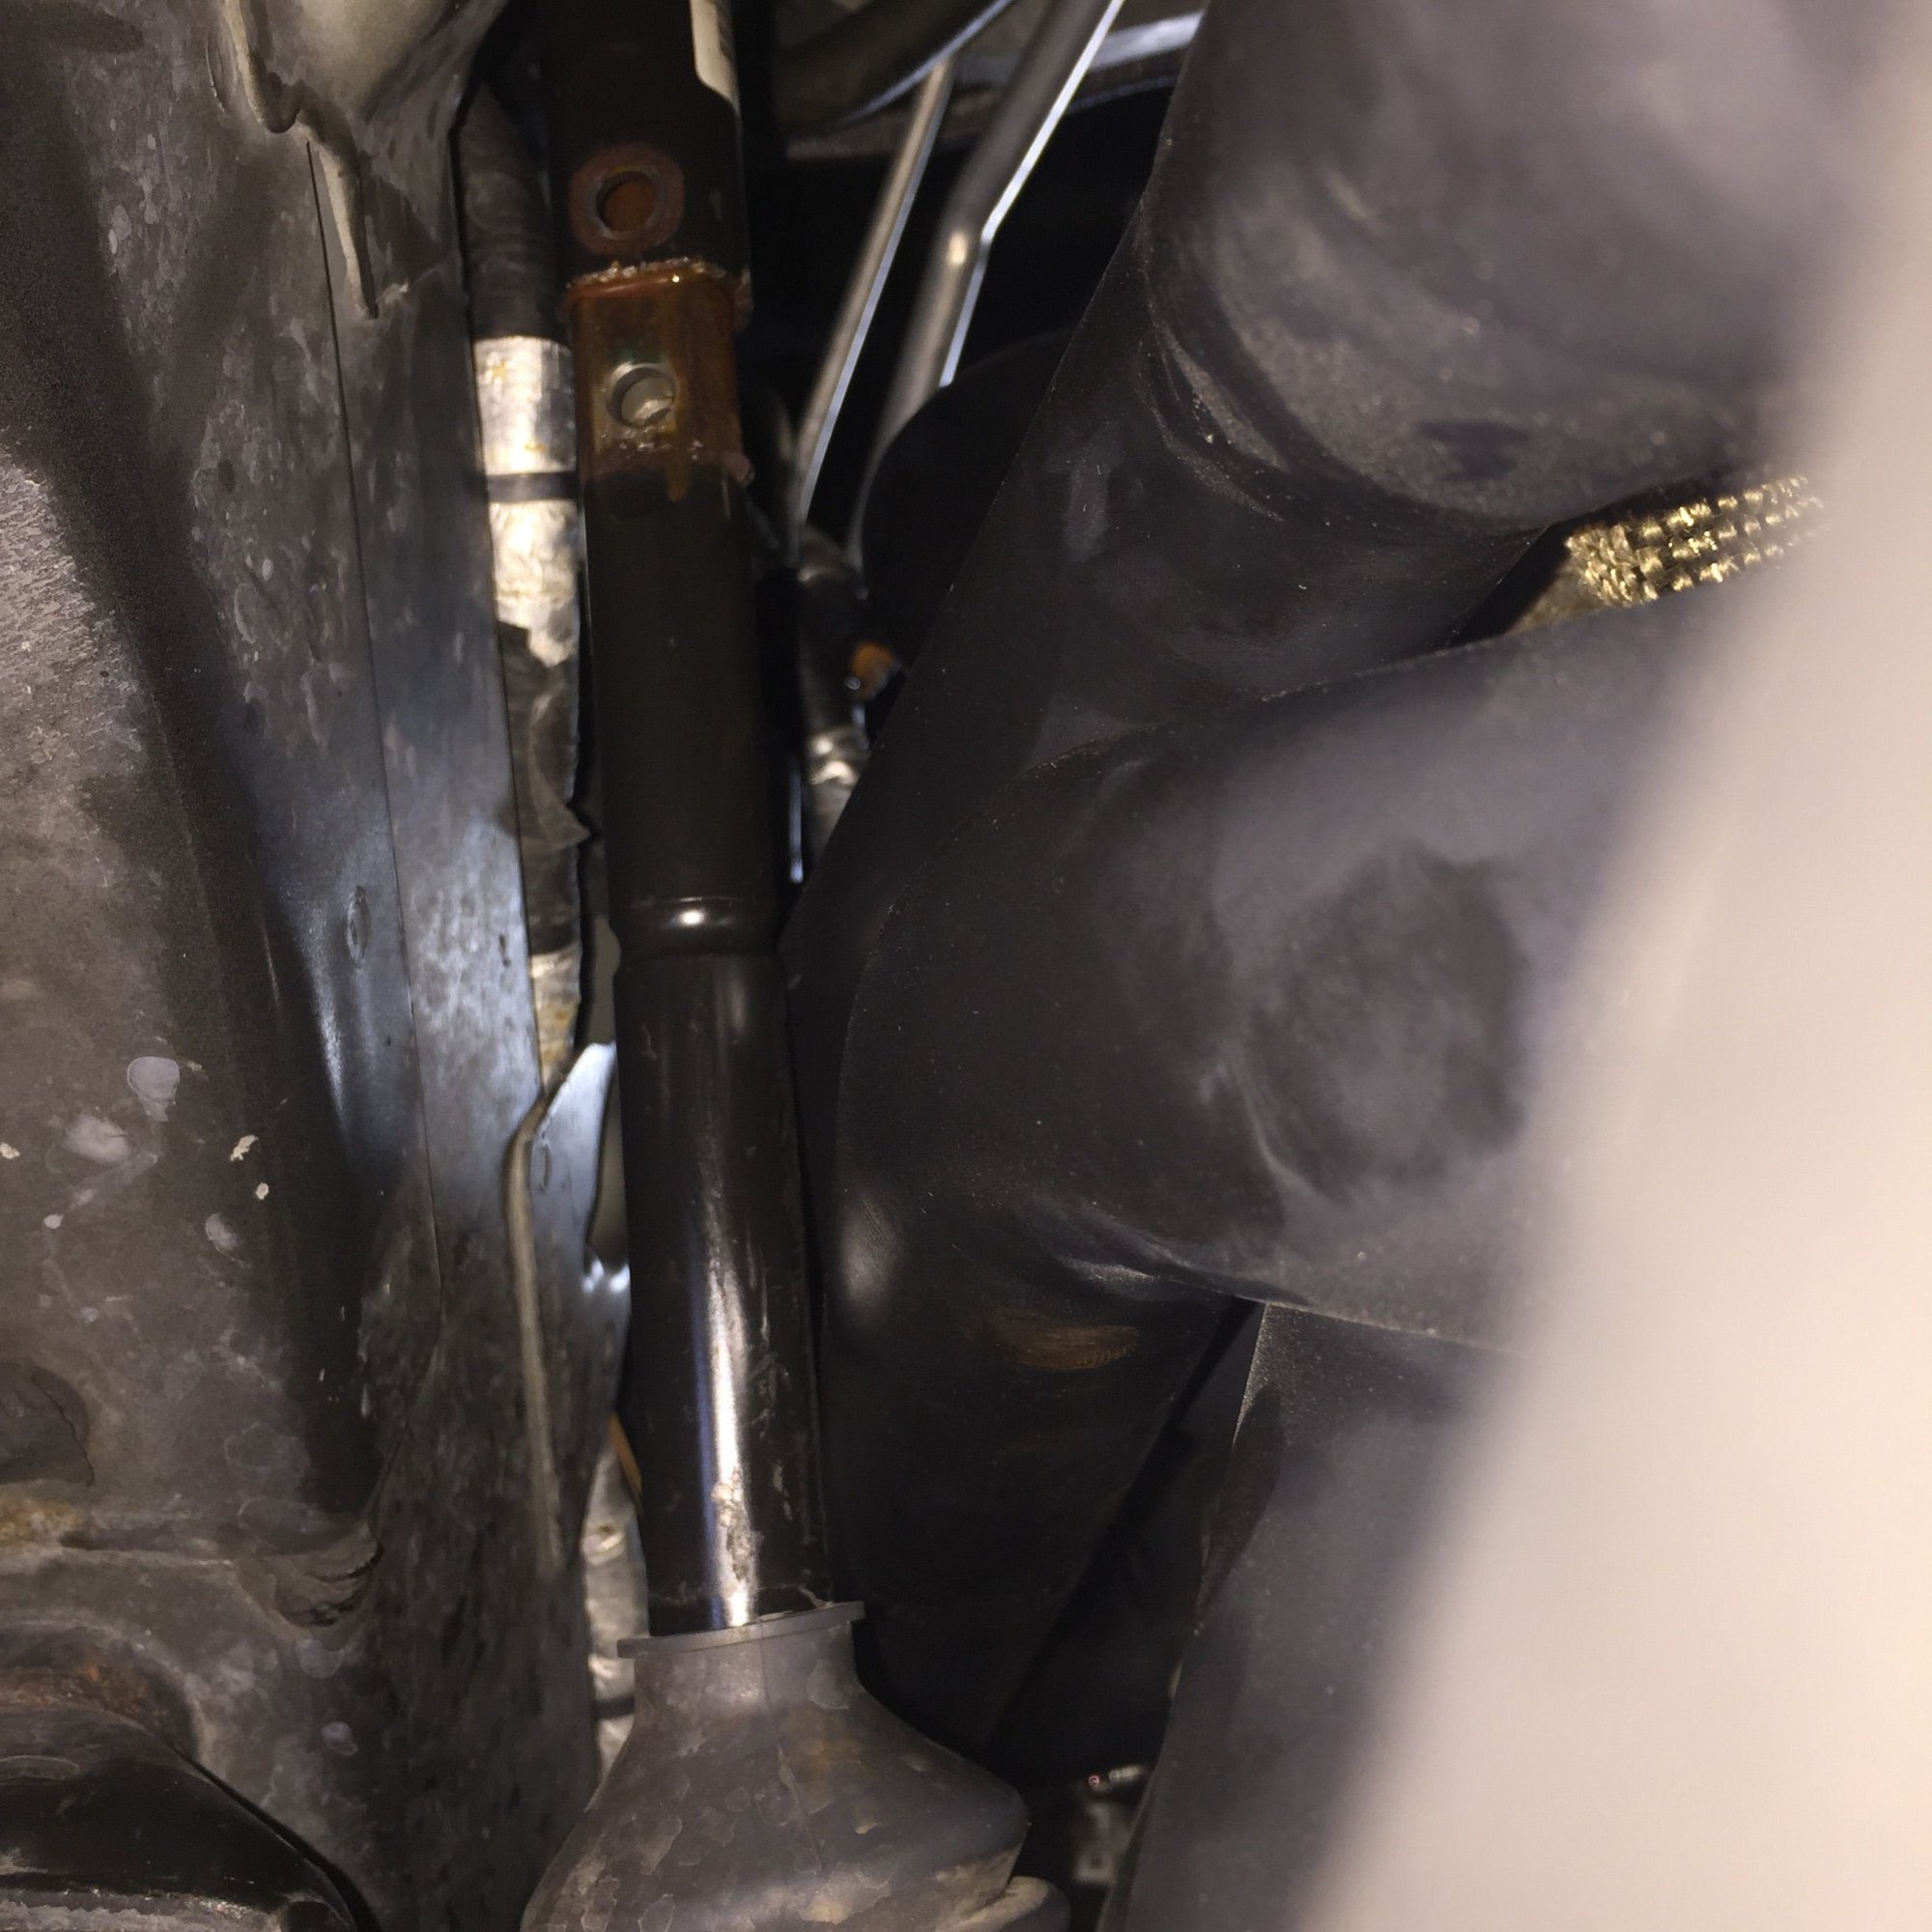
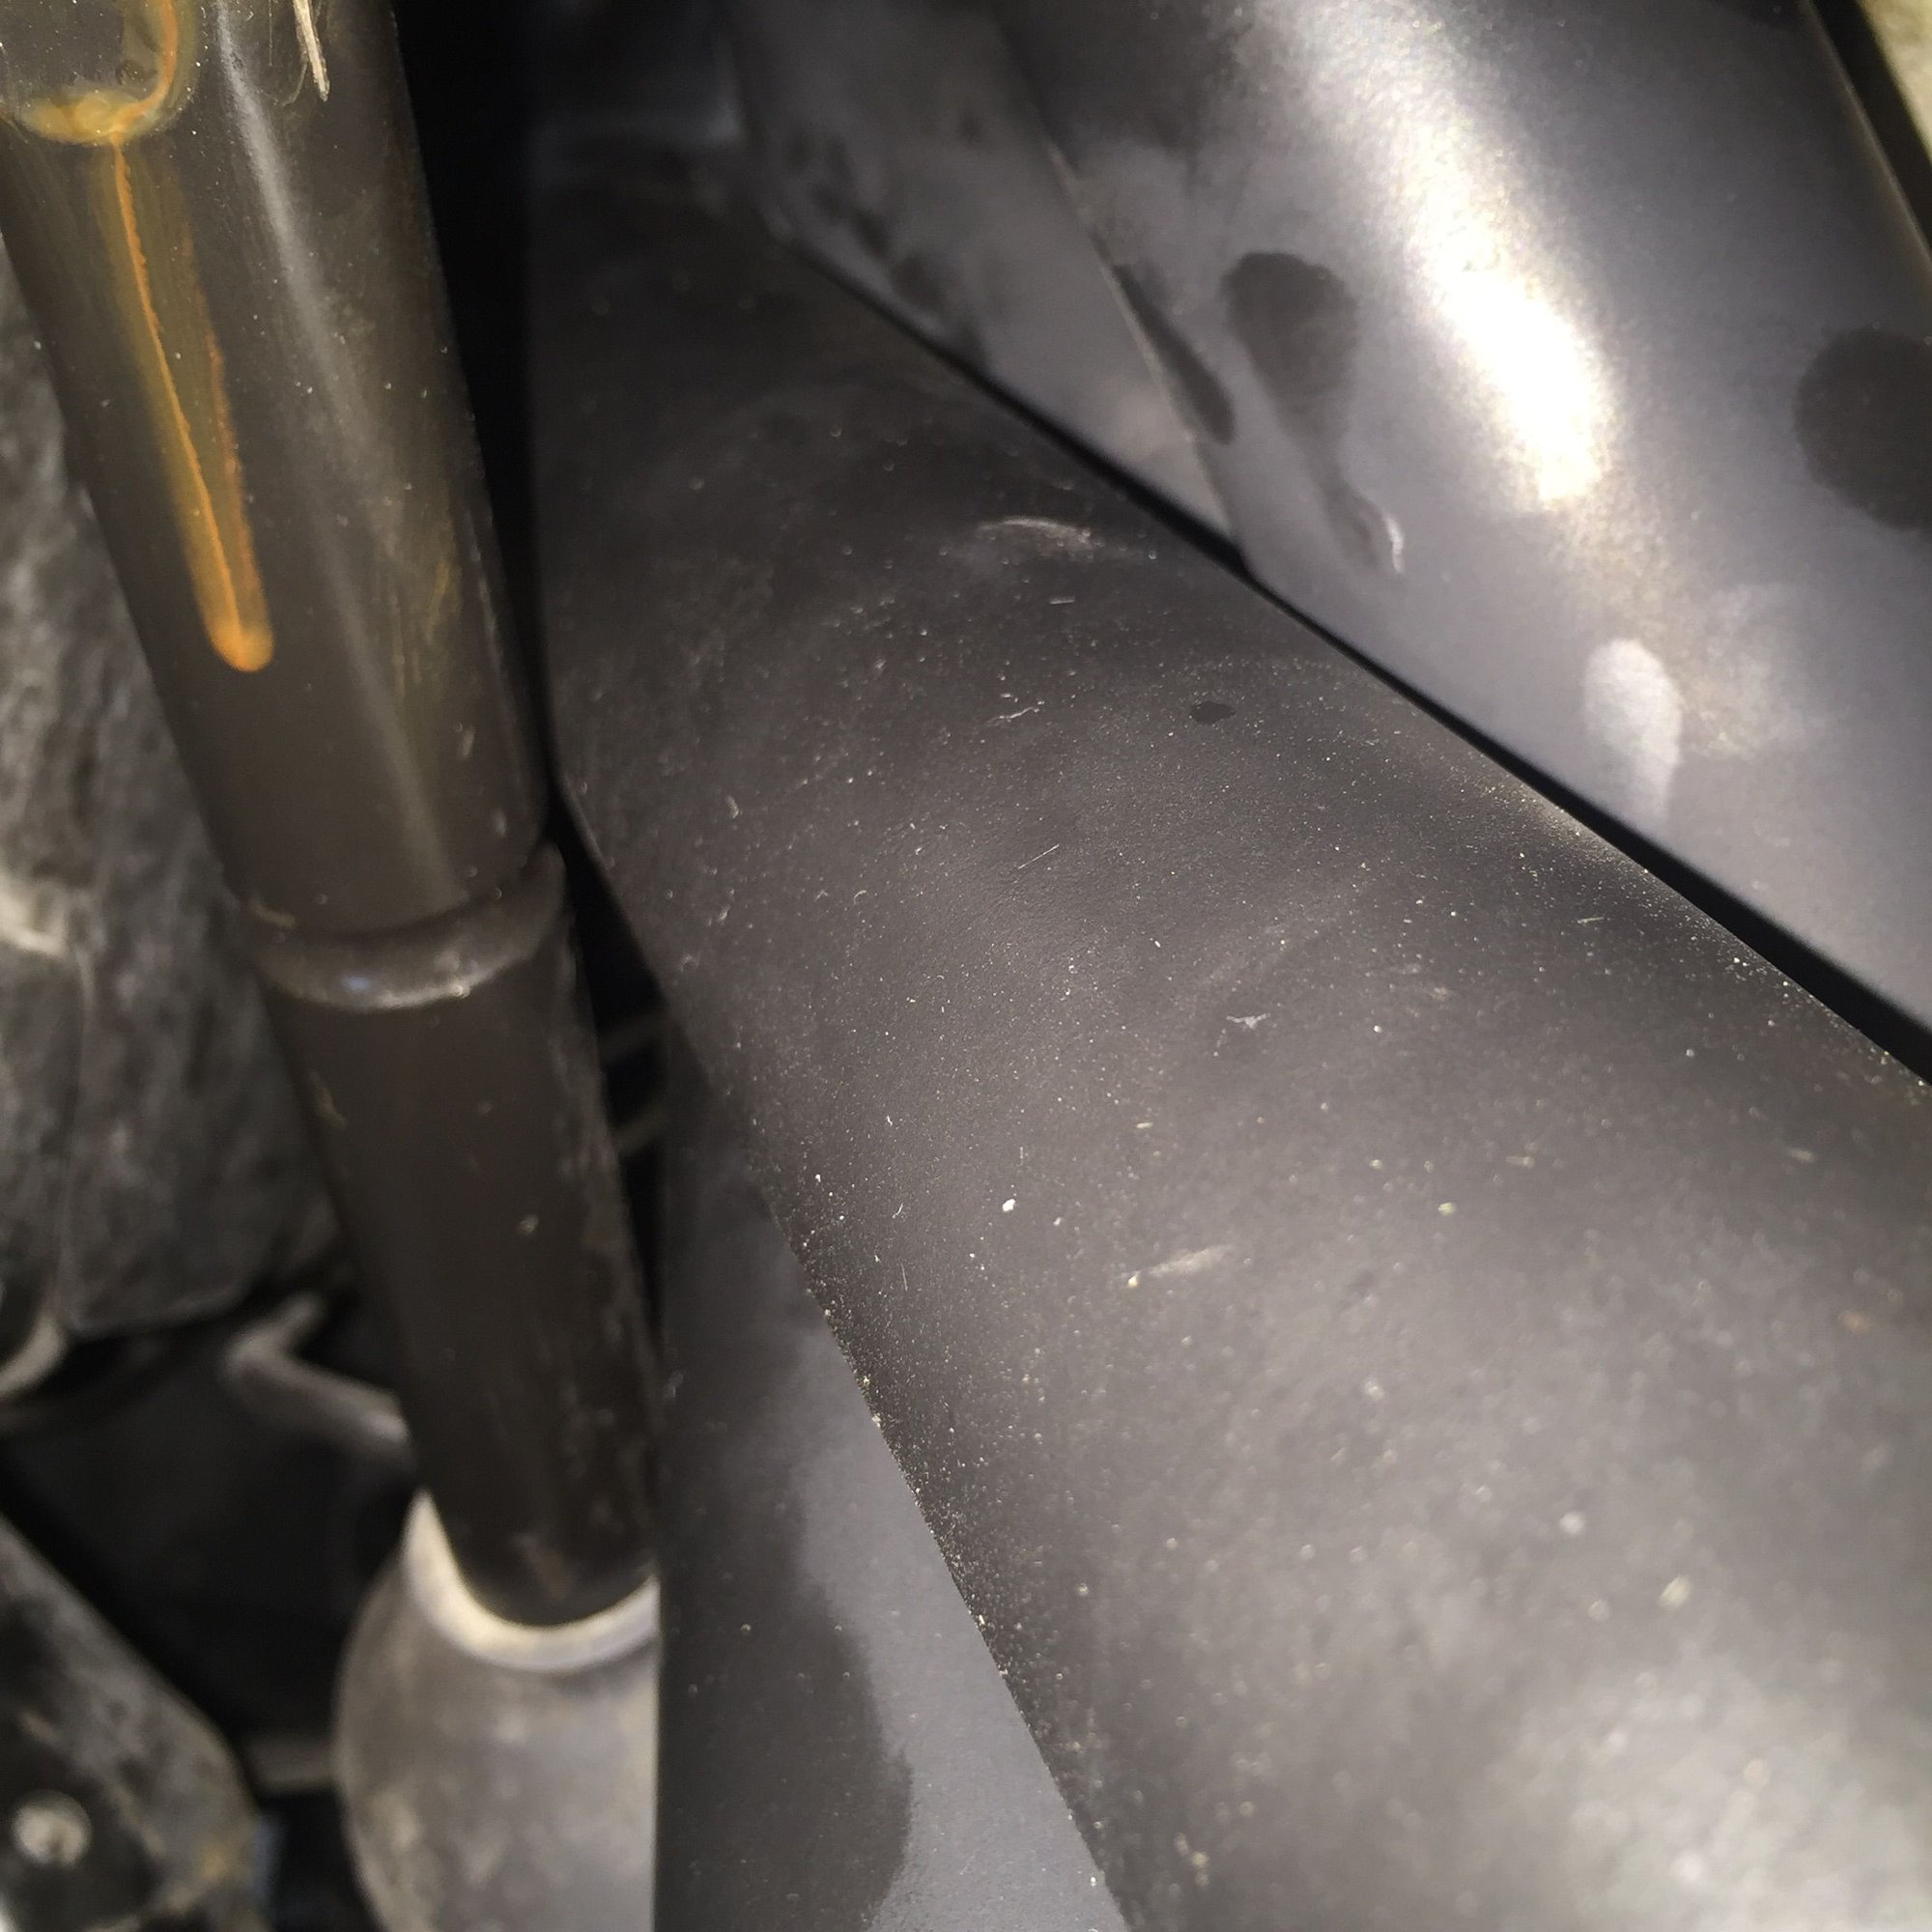
Ok its gonna be close but i dont think i have to dent the headers to clear the shaft. But should i dent them anyways just incase they swell up when hott ans then they might rub? Or just leave it alone?<br/>But how do i coneect the shaft back together? It wont slide back down now
Last edited by Mike ctsV; 08-24-2017 at 06:01 PM.
#166
Just yank it down. It's a slip fit so it's not going to slide unless you put some power into it. If it was able to slide freely your steering wheel would have a bunch of slop in it.
#168
Keep in mind that once the upper and lower half shafts meet they're not going to want to go together unless they're nicely aligned. One way you can get more power on the upper shaft is to stick a narrow screwdriver into the hole and give the screwdriver shaft a couple of gentle taps. Be careful not to the damage the threads.
#170
TECH Apprentice
Thread Starter
Now just got to wait to do the pass side, still waiting on my damn wire from autozone. I dont want to put that header on if i still have to splice that wire in and then wrap it.
Hopefully i can get everything done tomorrow.
Any certian way to do a coolant flush? Since i gotta refill it anyways since i took the ect sensor out i lost coolant, so i myswell go ahead and change all the coolant. Do i ust pull the lower rad hose or do we have a valve on our rads?
I didnt have to use a o2 extension harness on the driver side front sensor. It was able to reach after i pulled the plug clip off the bolt it gave it more room
#171
Just pull the lower hose. If you really want to clean it out, put a gallon of Simple Green HD in it and run it with the heater on for a couple of hours or days. If you're still running the original hoses and your reservoir is all brown, you could also replace all of those for about $115 on Amazon after the crud is all gone.
#172
TECH Apprentice
Thread Starter
Ok thanks, ill pull the lower hose and drain, it looks clean so i should be good there.
And i got a few gallons of peak 50/50 laying around, can i use that?
And i got a few gallons of peak 50/50 laying around, can i use that?
#173
TECH Apprentice
Thread Starter
Whats the torque specs for the manifold bolts and spark plugs? Seen on cadillac faq it says spark plugs are 11ft lbs, and the bolts are 11 ft lbs first pass and then 18 ft lbs on the final pass? But no thread lock on the bolts right? Just use anti seize?
#174
TECH Junkie
iTrader: (3)
Yes, antiseize on the plugs. The exact torque specs on the plugs aren't as important to be precise. Just a good snug is all they need to seal.
You're going to want to dent the primaries for sure. I have the CS mounts as well and ended up pulling that side down later because I dented too conservatively the first time. It's painful to take a hammer to fresh pipes, but you don't want it vibrating against the steering column. It will absolutely ruin your driving experience, especially in hard turns.
The little heat gouge in the rear bolt hole shouldn't affect the seal as long as it doesn't have anything protruding from the face of the head that would hold the header flange out. The seal comes around the circumference of the exhaust hole due to the clamping pressure from that bolt.
#176
TECH Apprentice
Thread Starter
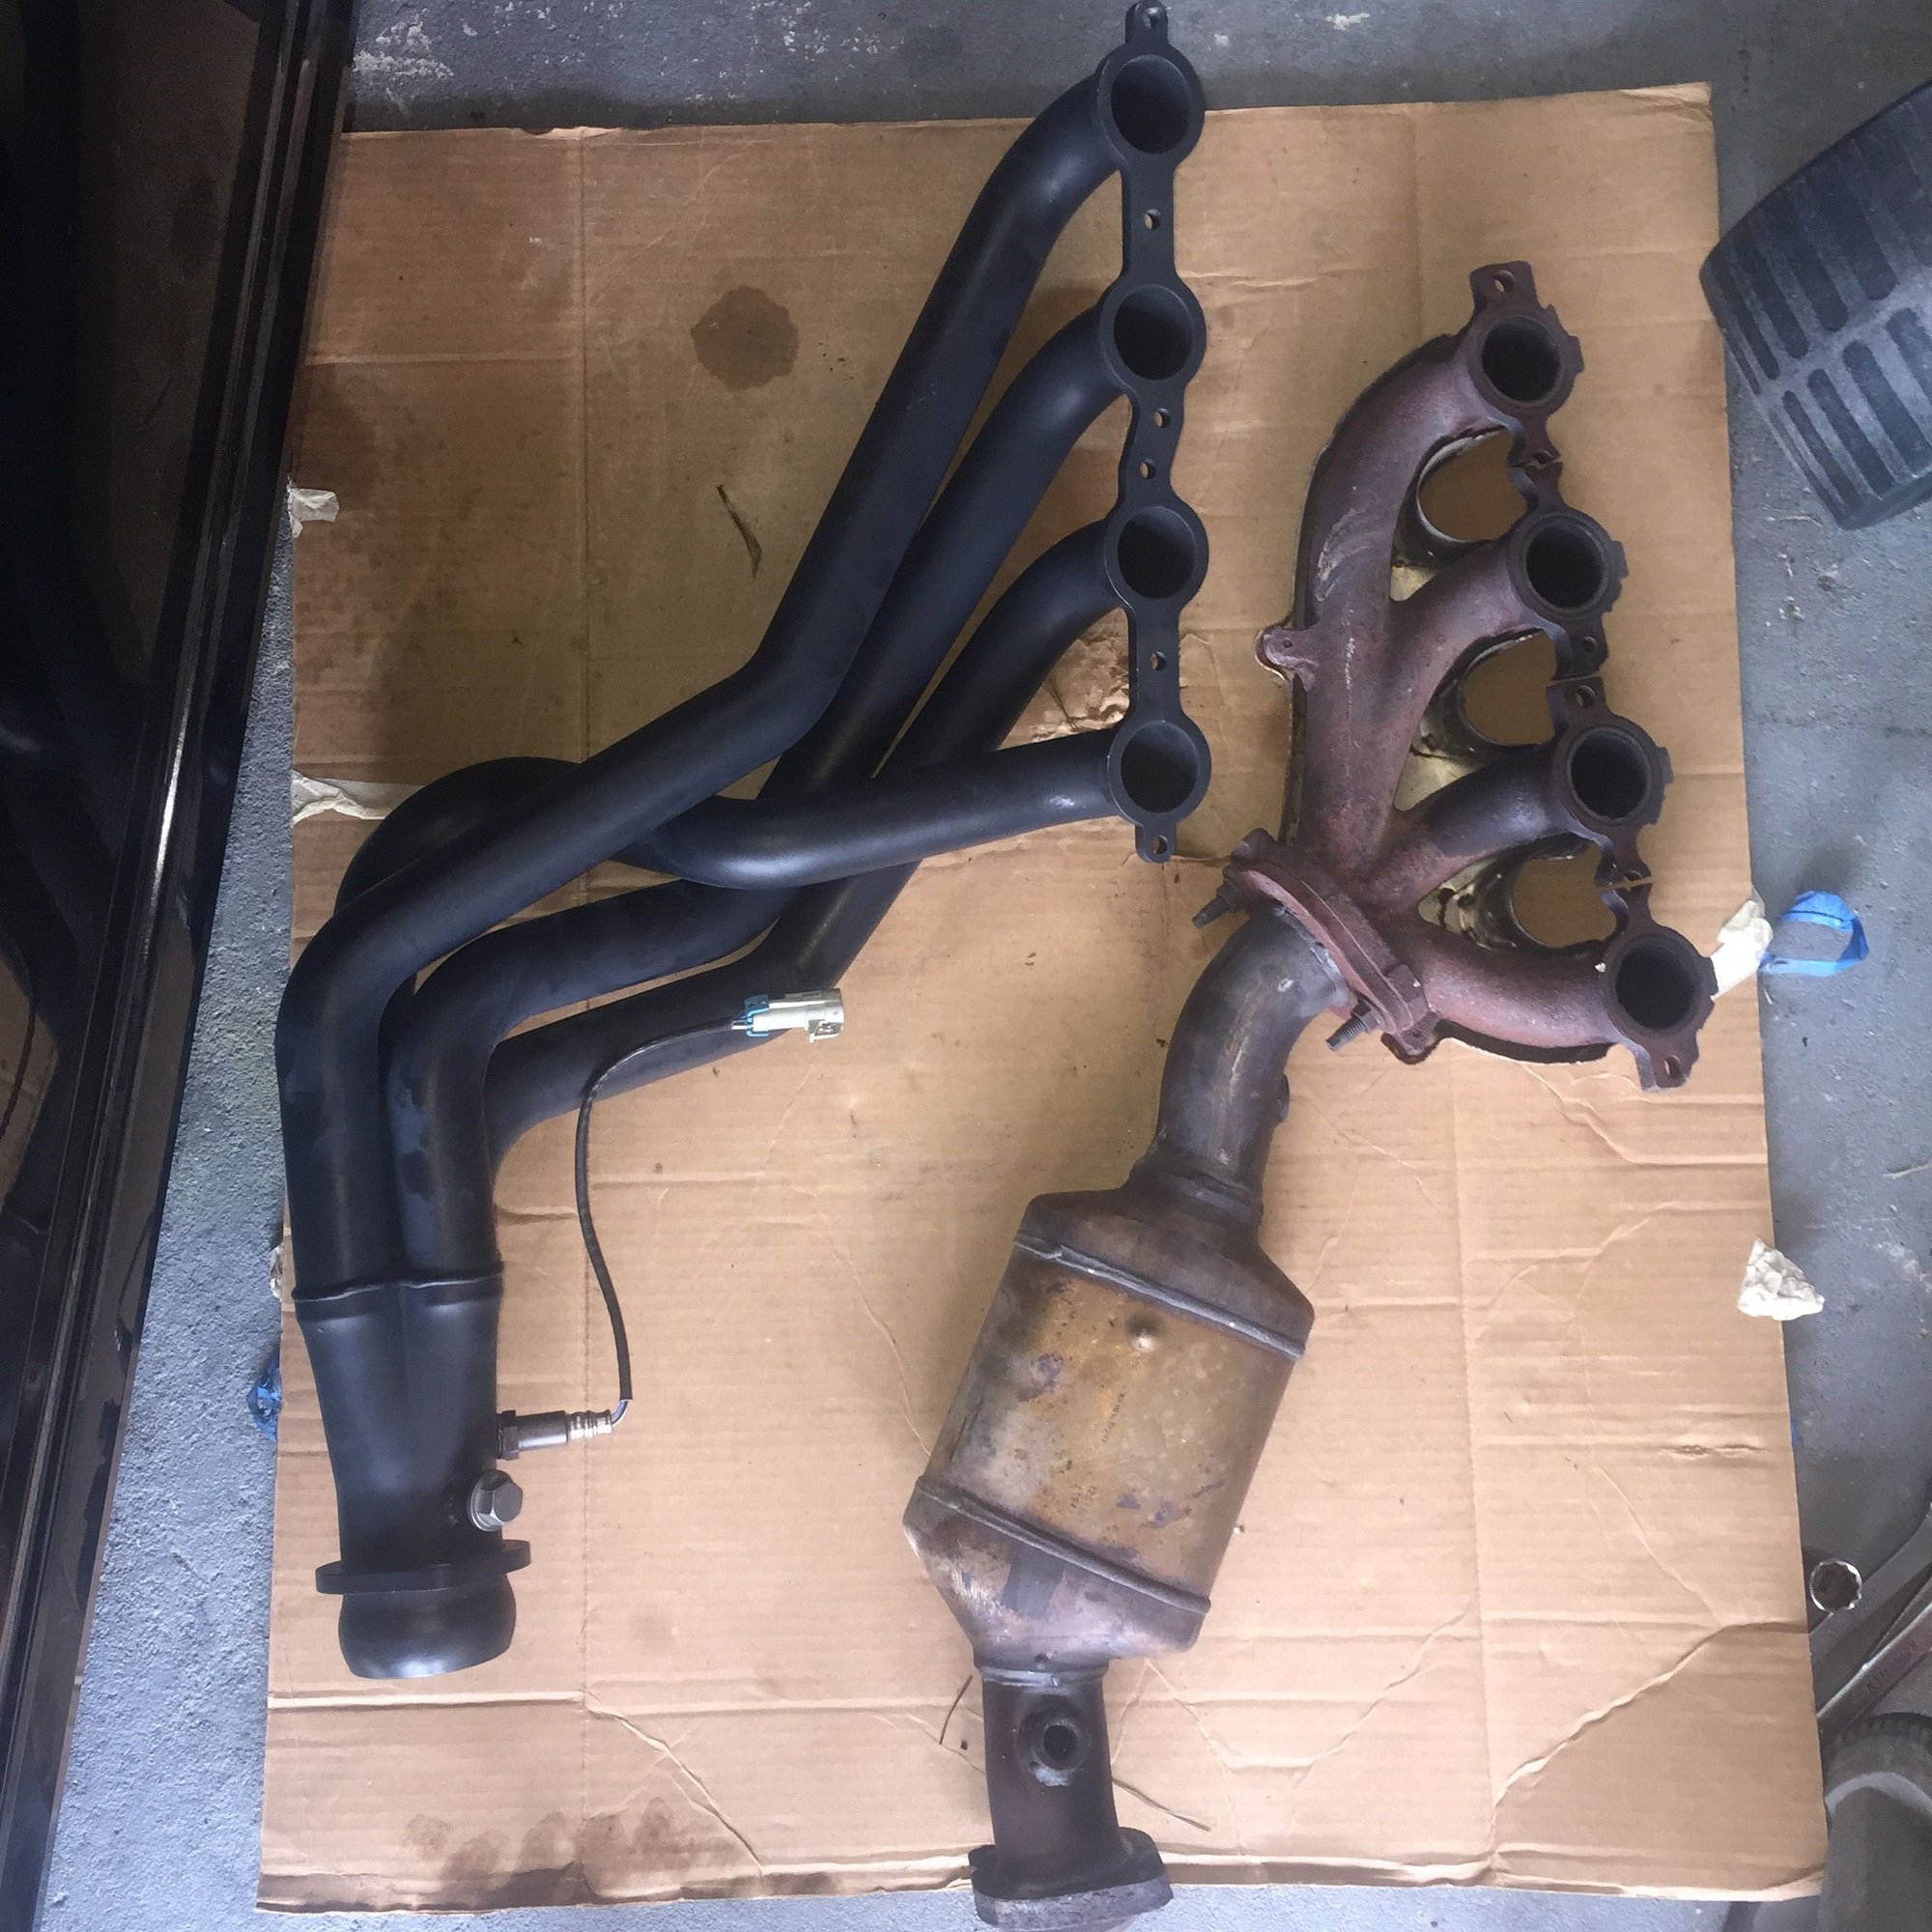
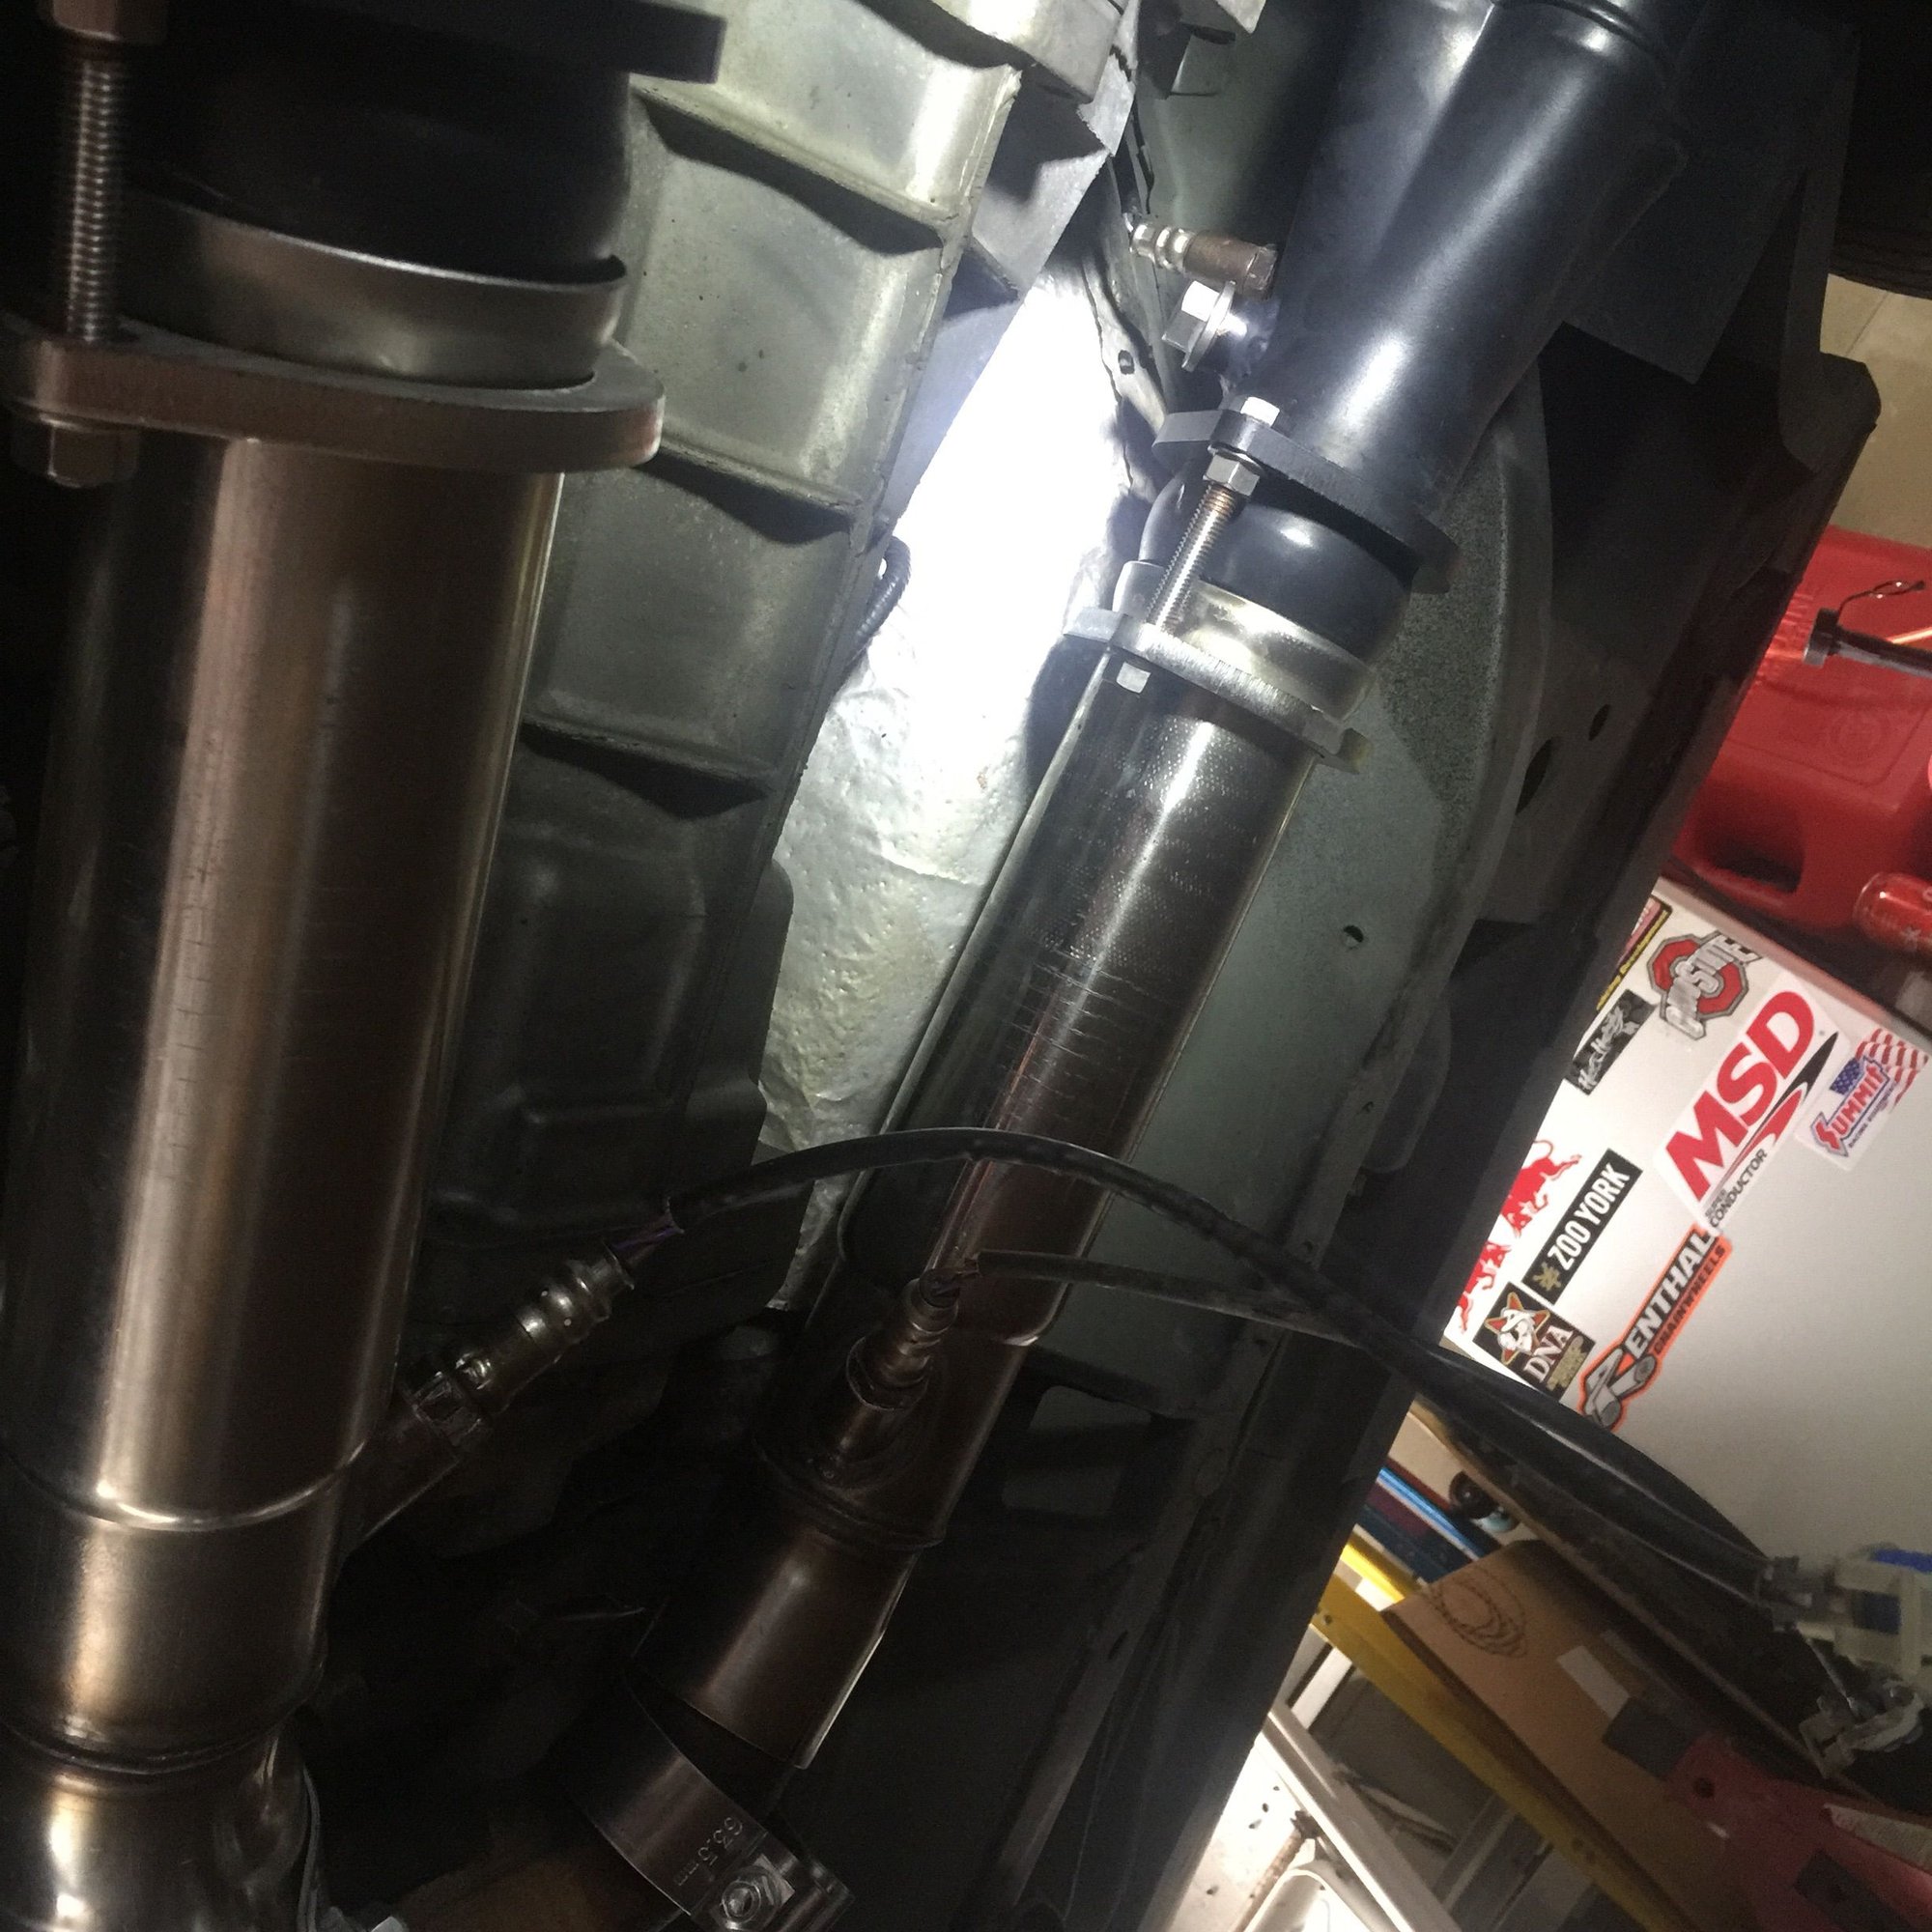
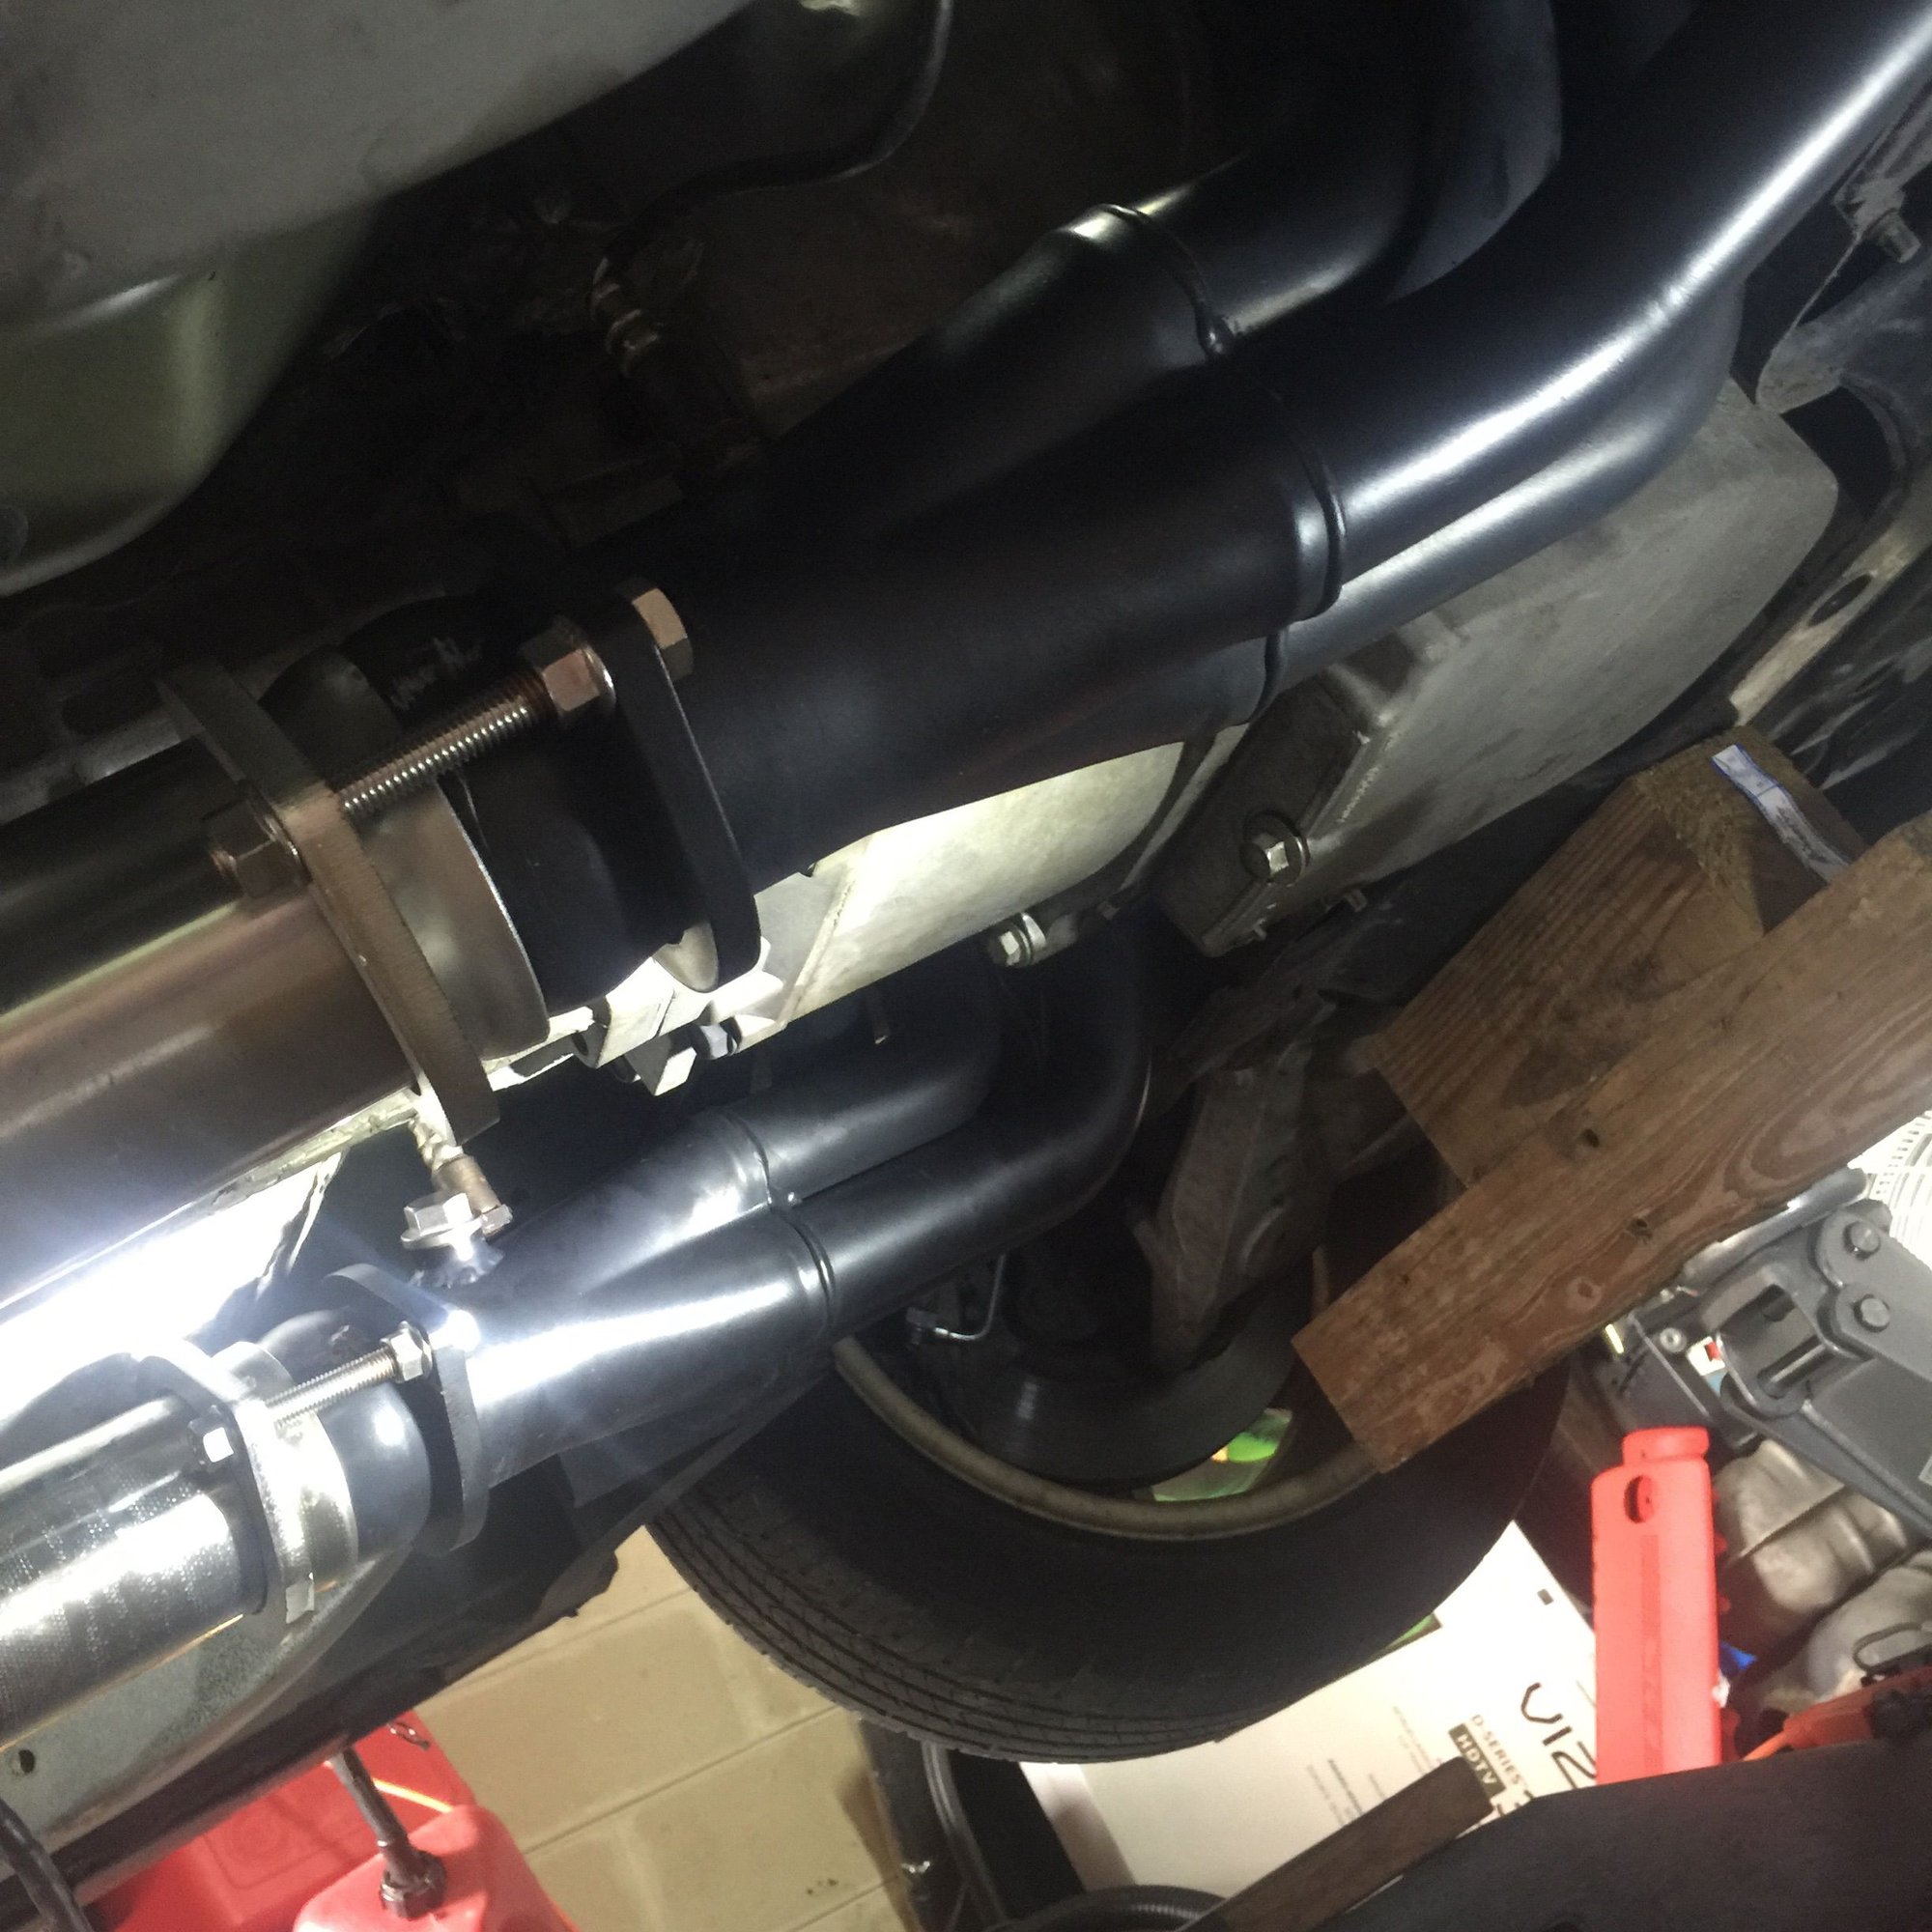
Now just got to do a coolant flush, and then go underneath and tighten up the connection pipes and make sure they fit right, there only hand tight in the pics. And then that should be it

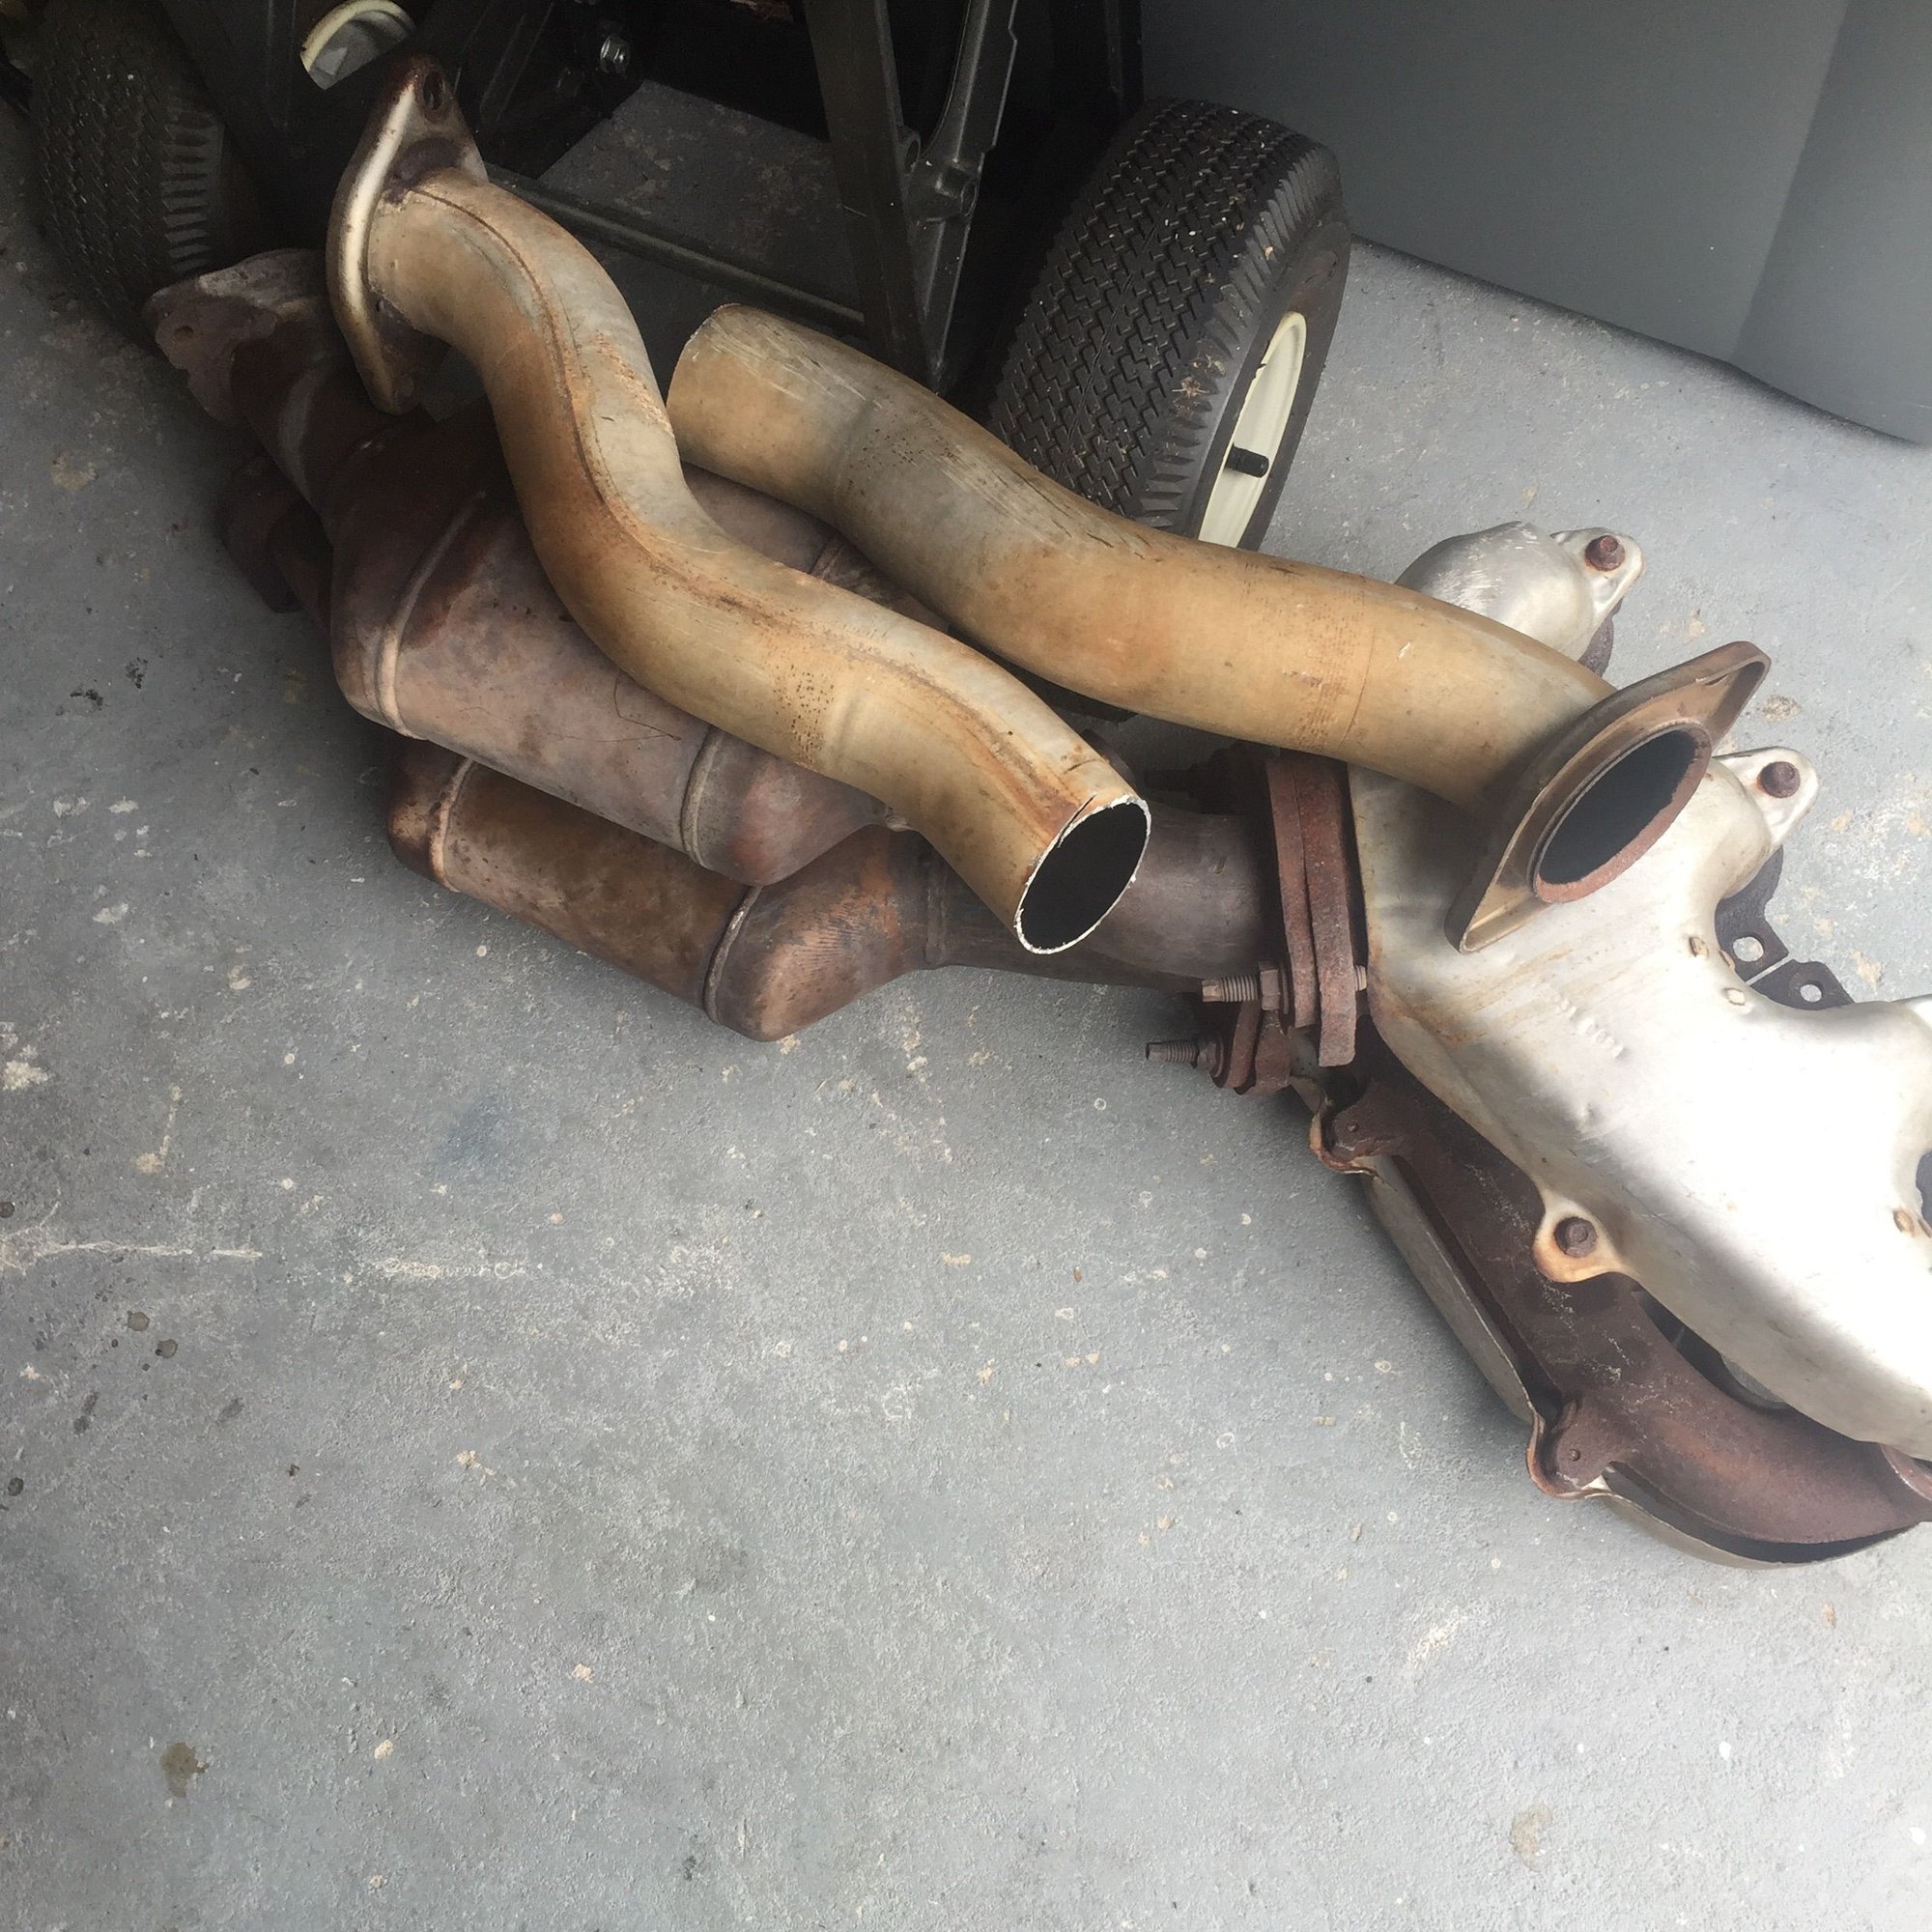
I cut them where that line was in the pipes.
#177
There's a notch for the dipstick in passenger side motor mount that can be seen from engine bay. Set the tube in the notch, rotate the dipstick so that the plate at the top (where the bolt goes through) is parallel to the head, and jam the dipstick down at slightly different angles until you feel it engage. It's a learned skill.
#178
TECH Apprentice
Thread Starter
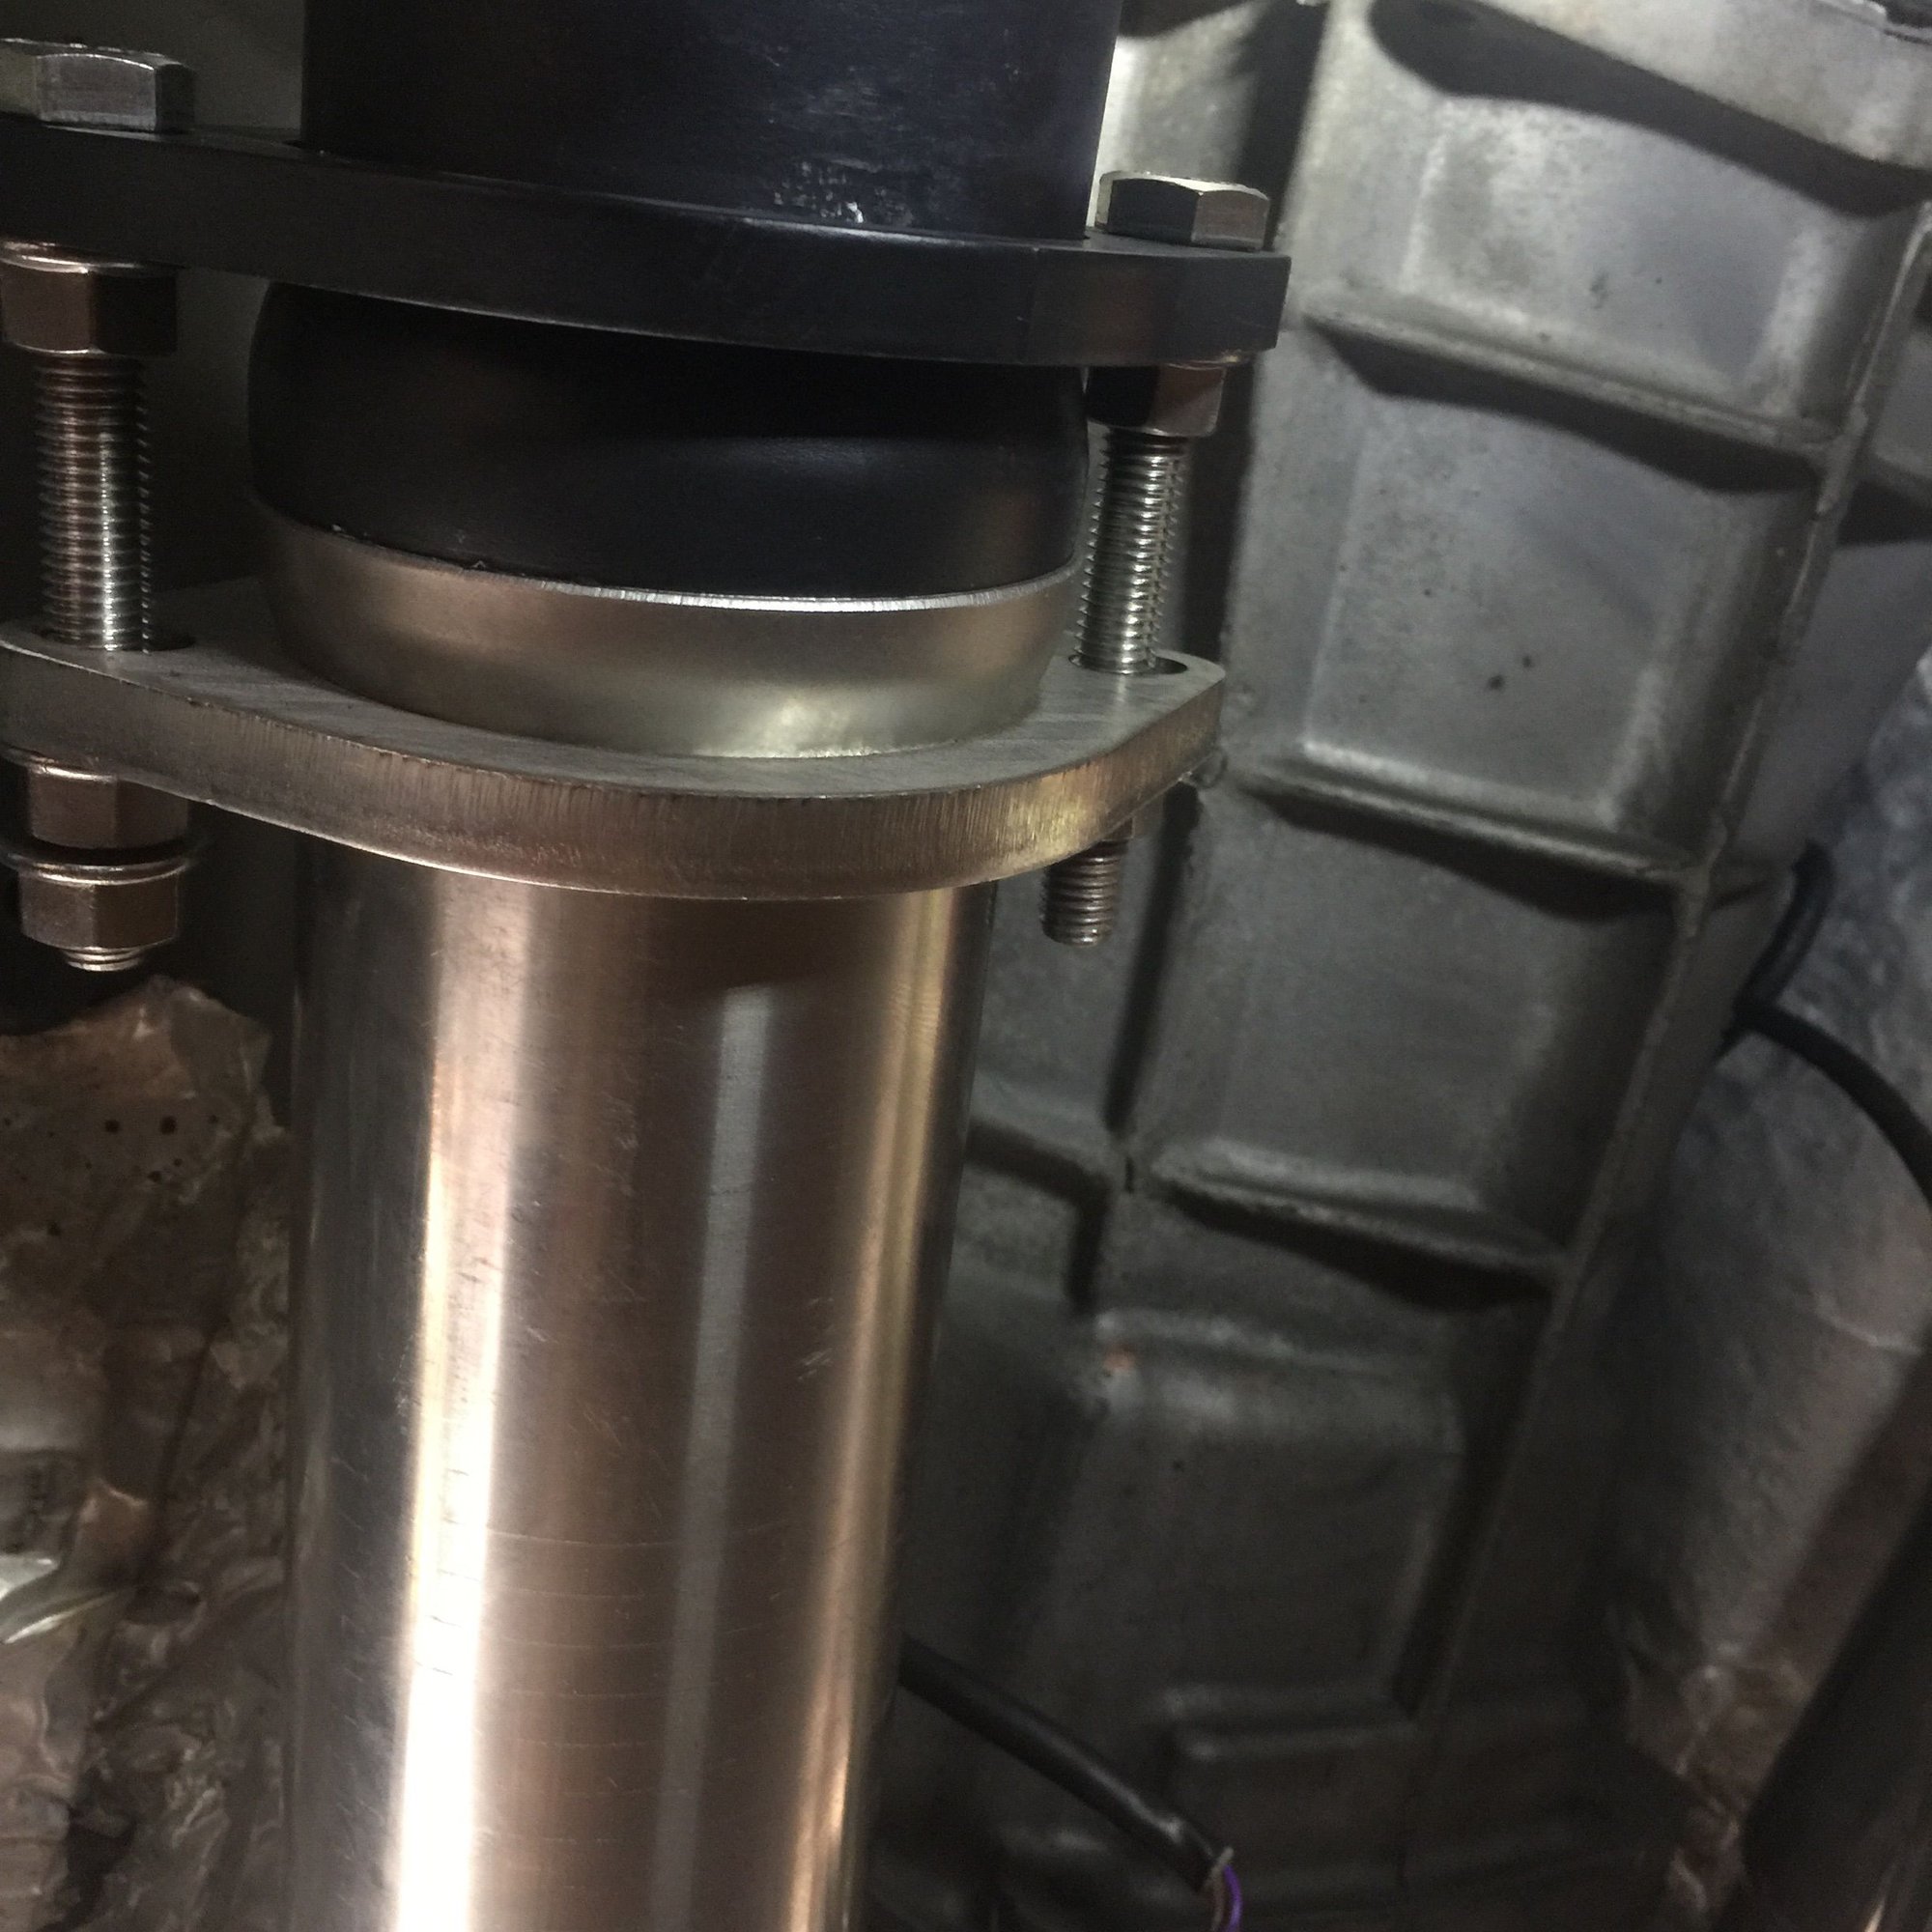
Fuzzy. Do i use them like in this pic on the left side to lock it together after i tighten it. Or do i have it right on the right side of the pic? Also how tight should i tighten these thing?
Alsoi got the dipstick tube, once i got under it and seen where it went over the starter, i got it right in no problem, thanks
Last edited by Mike ctsV; 08-25-2017 at 02:03 PM.


