When you click on links to various merchants on this site and make a purchase, this can result in this site earning a commission. Affiliate programs and affiliations include, but are not limited to, the eBay Partner Network.
I've been away for a while, but after 9 days/nights of work, 2 hours of sleep this morning and 8.5 hours of driving today I'm finally back home again. I only get three days this time but I'm hoping to be productive. Fortunately, as usual, I came home to a decent amount of parts, the most important of which is the new transmission. It's borderline a work of art.
Unlike the last one, this one looks fantastic. Shipping on a pallet is definitely the way to go.
[url=https://flic.kr/p/XMXJCR]
I also found a BTO convertible crossmember on ebay. It's made for a 4l60 or whatever else, but I'm confident I can make it work with a T56 (I just need to figure out whether the perch needs to go up or down).
[url=https://flic.kr/p/Xx28EU]
Among the other things are some UMI tie rod sleeves, a linear actuator to tilt the back seat forward when I'm raising or lowering the top, some coilover spring caps to raise the car and allow me to back some height off the coil perch and some various other trinkets.
This is what the caps look like. $25 a piece, but it seemed like a decent option to hold me over until I eventually go with the Global West extended travel coil setup.
[url=https://flic.kr/p/Ww9RyW]
The black mirror is off a newer Camaro and those white rings are mounts I had 3D printed. I'm not sure how it will work out but eventually I'm going to try to get the mirrors on the car. The stock ones are just way too small to be of any use. The guy over on Chevelles.com with the "Pro-touring on a high school budget" put some on his car without that plastic piece, but thanks to Photobucket I can't see how anymore. I realize the mirrors are big but that's kind of the point, plus they are power.
[url=https://flic.kr/p/Xx26u1]
Anyway, with any luck I'll have the important things together by lunchtime tomorrow. Fingers crossed.
Other than the crossmember and exhaust fighting each other getting the transmission itself and was pretty straightforward. It slid right in no problem. Once it was in I hooked everything back up and started the car only to find that the clutch pedal would not move. It is fully extended and hard as a rock. It will not press in at all.
When I took the slave off the old T56 I left all the hydraulic lines hooked up so I'm not sure if that is related at all. The slave itself lined up and was bolted in where it should be and there is no leaking of fluid anywhere. I will try to mess with it more tomorrow but it seems like an odd problem. I can think of reasons for a pedal to be stuck in but stuck out is leaving me at a loss.
chuckd Have you seen any pictures of the T56 mounted with the Holley/Hooker cross member into any Chevelles ? I am in the same boat as you waiting on the cross member for the boxed frame .
There are a couple of pics of a T56 Magnum installed on the Hooker crossmember in an El Camino on page 26 of the Hooker 68-72 A-body thread. Although it's not a production crossmember, it's so close to the production piece that it would be hard for you to tell the difference.
Just the picture posted in that thread by Todd about Hooker parts. For now my flipped and cut factory one will work, but I'd like to replace it with something easier to remove.
Regarding my clutch issue, I got under and took another look and the master line disconnect popped right out. What's strange is that there is no plastic ring on the master side or that fing of metal clips inside the slave side. No clue how that came to be but I guess I'm stuck until I can find those pieces and replace them.
There are a couple of pics of a T56 Magnum installed on the Hooker crossmember in an El Camino on page 26 of the Hooker 68-72 A-body thread. Although it's not a production crossmember, it's so close to the production piece that it would be hard for you to tell the difference.
If it was my personal property I'd gladly sell it to you, but since it's not, I don't have the authority to sell it. Is the crossmember you picked-up giving you issues?
The one I bought was bent in such a way that there was nothing I could do to make it avoid my exhaust. Since time isn't something I have much of I just ended up reusing my stock one. My drive line angles are ok but all things considered I'd rather just get a new crossmember than rely on my welding skills for this particular part of the car.
I got lucky enough to secure a couple extra days off this month so I spent most of this weekend working on the car and messing around downtown Nashville.
Based on a conversation with G-force I bought one of their convertible crossmembers, thinking it would work with my setup. Turns out it does not, and even using the shortest Energy Suspension trans mount it raises the tail too high for my tunnel. I was considering raising my tunnel a half inch or so to make room for it but I don't have time this trip. I ended up reusing my stock modded crossmember for now. The exhaust clearance on this thing is awesome, and it's super heavy-duty, so if Holley's part never comes around I'm going to get this in next time I'm home.
I also made some changes to my cooling setup. The stock radiator and Windstar fans were fine, but after picking up the Flex a lite 295s at Summit I figured I might as well get a new radiator to go with it. The Alumitech guy still had a few of his on hand so I bought one of their 2 row US-made radiators. As expected, the fans and the radiator match up perfectly and the install was pretty straightforward. The only thing I don't like about the radiator is that the fill neck is sort just stuck on like most other radiators; this is purely an aesthetic thing but I was hoping it would have been welded on. I'm still adjusting the temp at which the fan comes on (one fan is still controlled by the DCC module) but so far even with the fans off it's running around 190 on the interstate on a hot day and one fan running is enough to keep it 210 in traffic. Not bad at all.
Got a MM catch can hooked up. It's not shown in the pics, but I connected it to my oil fill cap by drilling a hole in it and sticking a gasketed AN fitting in it. Saved $25 vs the official MM oil cap.
The can itself is of much higher quality than the several others I've come across and the guy who runs the place is very responsive to emails. Worth considering if you are shopping for a can I'd say.
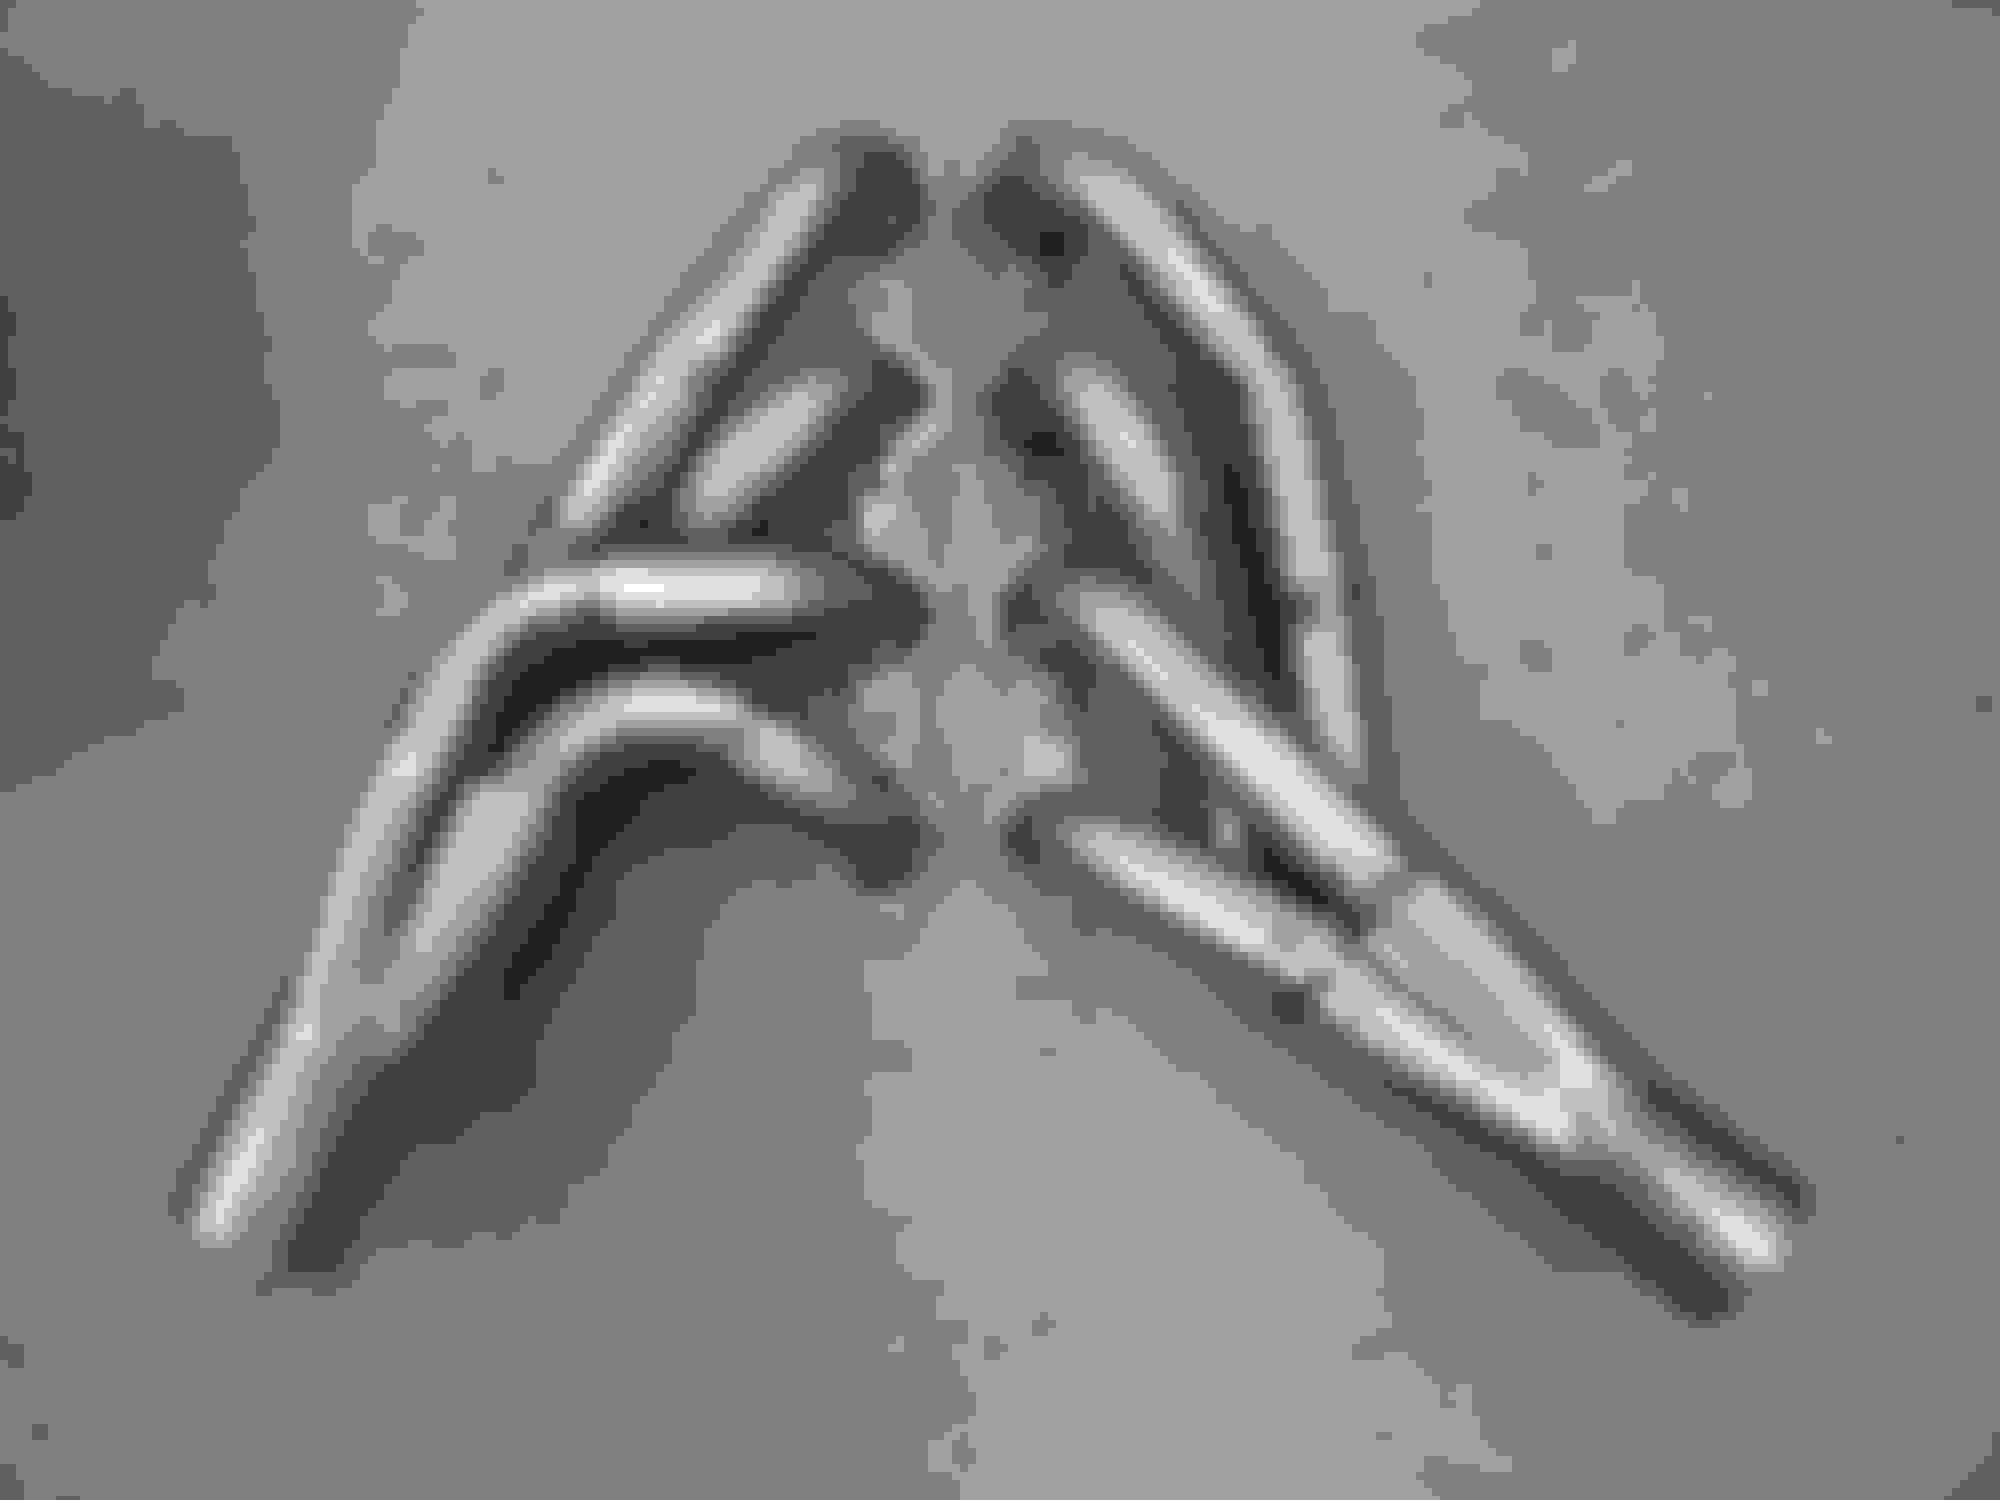
While browsing the forums and various FB groups I have seen it mentioned multiple times that 4th gen Fbody headers actually fit Chevelle swaps pretty well, with people reporting everything from basically plug n play simplicity to having to do minor mods on one side or the other. I found a cheap set of stainless blackhearts for sale in Bowling Green so I picked them up and will try them out next time I'm home. They look good, and for 1/3 what the Chevelle version cost I'm prepared to cut and weld a tad if needed.
Last but not least I gave it a brief shakedown on the road. No WOT pulls until after I get it properly tuned, but I put 300 miles on it today without incident. Roughly 24 mpg, 1900 rpm @ 75mph and only a small but variable amount of vibration which I'm thinking is more related to wheels/tires than the driveline. It seems to be speed and not rpm related, so for now I'm chalking it up to having set the car on wooden stands for months on end. The driveline angles are not perfect, but if I can lower the engine a tad I think I'll be right on target.
Hey Chuckd71, looks like you're staying at it in a dedicated fashion. I've never been fortunate enough to have one set of Hooker Blackheart LS swap headers fit a different vehicle application, so don't feel singled out if those 4th-gen F-body mid-lengths don't fit your car. I've attached a few images of the Hooker 1968-72 A-body specific mid-length headers for you here so you can use them for reference if you need. I can report that the Hooker El Camino crossmember has made it through the documentation process and the production run is on order.
That might very well be the case with the headers, but I came across a dozen or so people using other brands with good results so figured it is worth a shot. If they don't fit, or if someone wants to buy them, I'll just go a different direction. Thanks for the pics.
That's good news about the crossmember. Might be too late for me but if it's out by the next time I'm home I might give it a go.
The black mirror is off a newer Camaro and those white rings are mounts I had 3D printed. I'm not sure how it will work out but eventually I'm going to try to get the mirrors on the car. The stock ones are just way too small to be of any use. The guy over on Chevelles.com with the "Pro-touring on a high school budget" put some on his car without that plastic piece, but thanks to Photobucket I can't see how anymore. I realize the mirrors are big but that's kind of the point, plus they are power.
[url=https://flic.kr/p/Xx26u1]
I'm glad I came across this. I have been kicking around the idea of putting these on the Firebird. I had been looking for a cheap/junk mirror so I could see how it might mount in my application. That being said, I also have the wagon, which I want new mirrors on and this might be the ticket.
Where did you get the mirror(s)? Are the aftermarket, salvage or OEM?
About how tall is that printed spacer? Not sure how far off the door would look out of place.
The mirrors are oem. The spacers are kind of big, but it looks like they might not be needed. Here is what a guy on Facebook sent me about how he did his:
"I didn't take pictures while I was doing it. Only after I finished. When you get the mirriors they will have a lot of extra plastic on the mounting part. Take off the gasket that on the mirrors, take out the studs and remember where they go. Then take a angle grinder and shave down the mounting surface of the mirrors. Once thats done drill the mounting studs back in the same location on the mirrors, the mounting studs are pretty close to the factory chevelle mirror holes, you will have to widen one of the holes on the car and widen one for your mirror power cables of you want that feature to work. If your car doesn't have a factory mirror on the passenger side like mine didn't then drill some new holes. Its pretty easy and didn't take long at all. My mirror are heated and tint too. I wired up everything but the tint feature but did mess around with the tint wire . I put power to it too long on thr tint wire and it stained my driver mirror from staying on too long. Not all camaro mirriors will have a tint option. Some wont have heat either. Make sure you get the factory control button because the wire are color coded. You can use any control button tho. The control button doesnt control the heat feature in the car. I wired a separate on/off switch to control the heat function. Hope that helps"
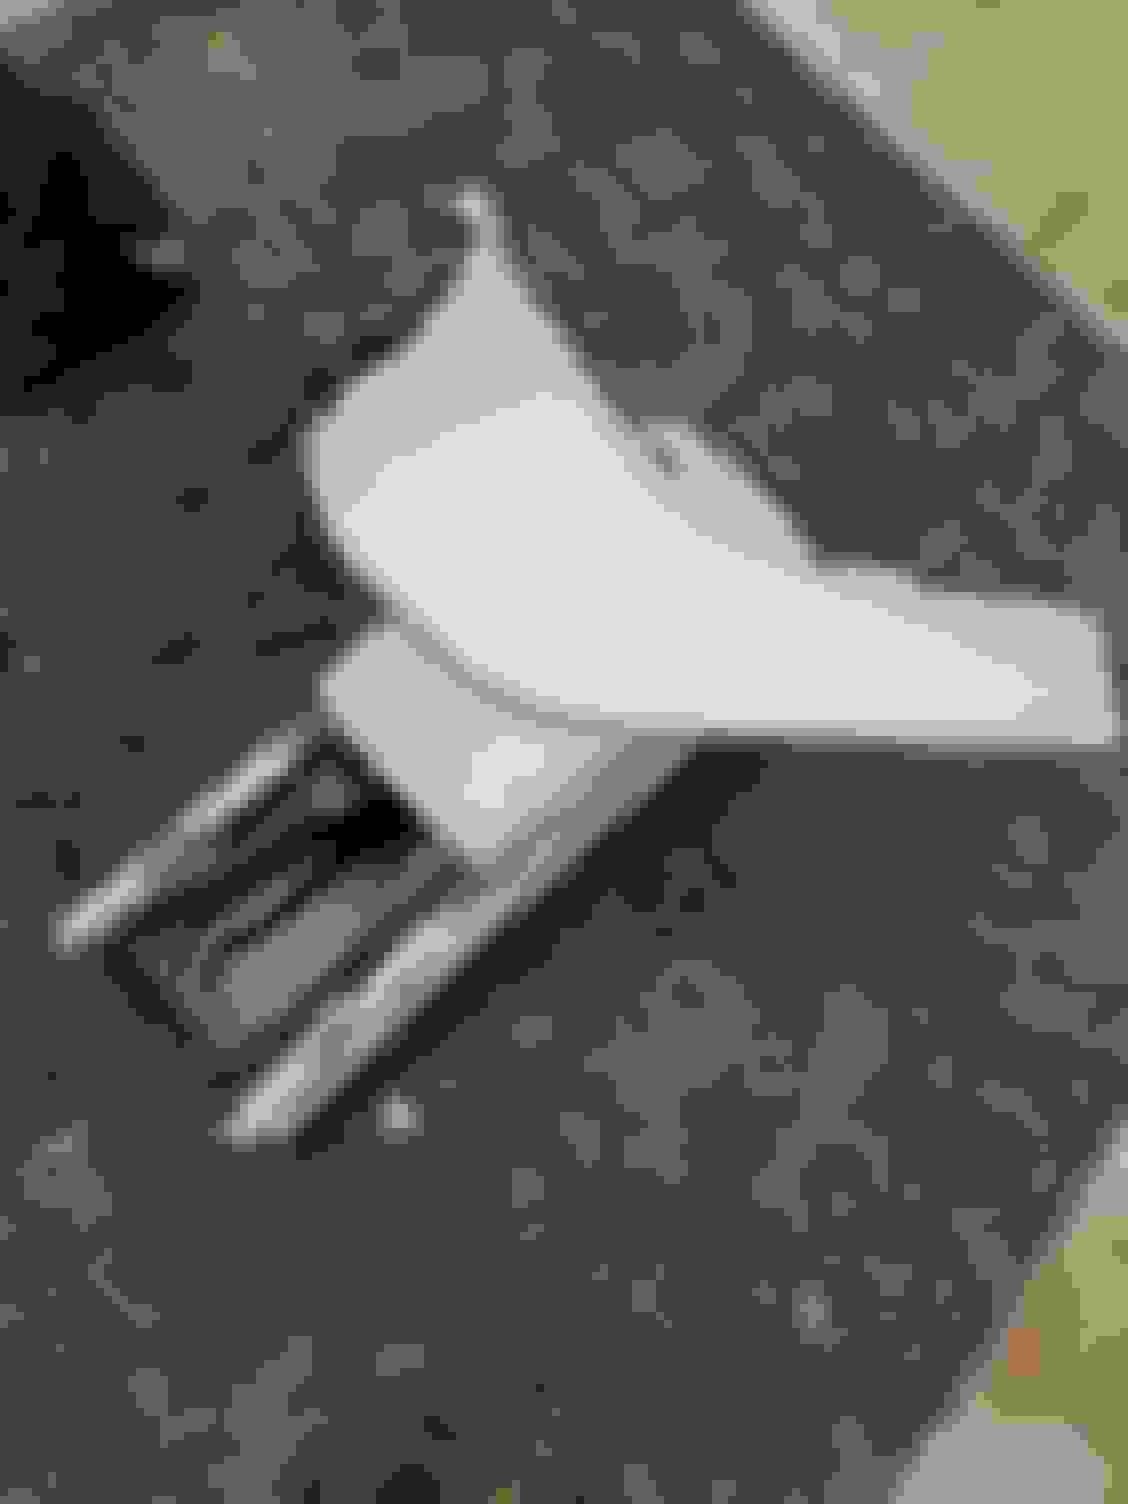
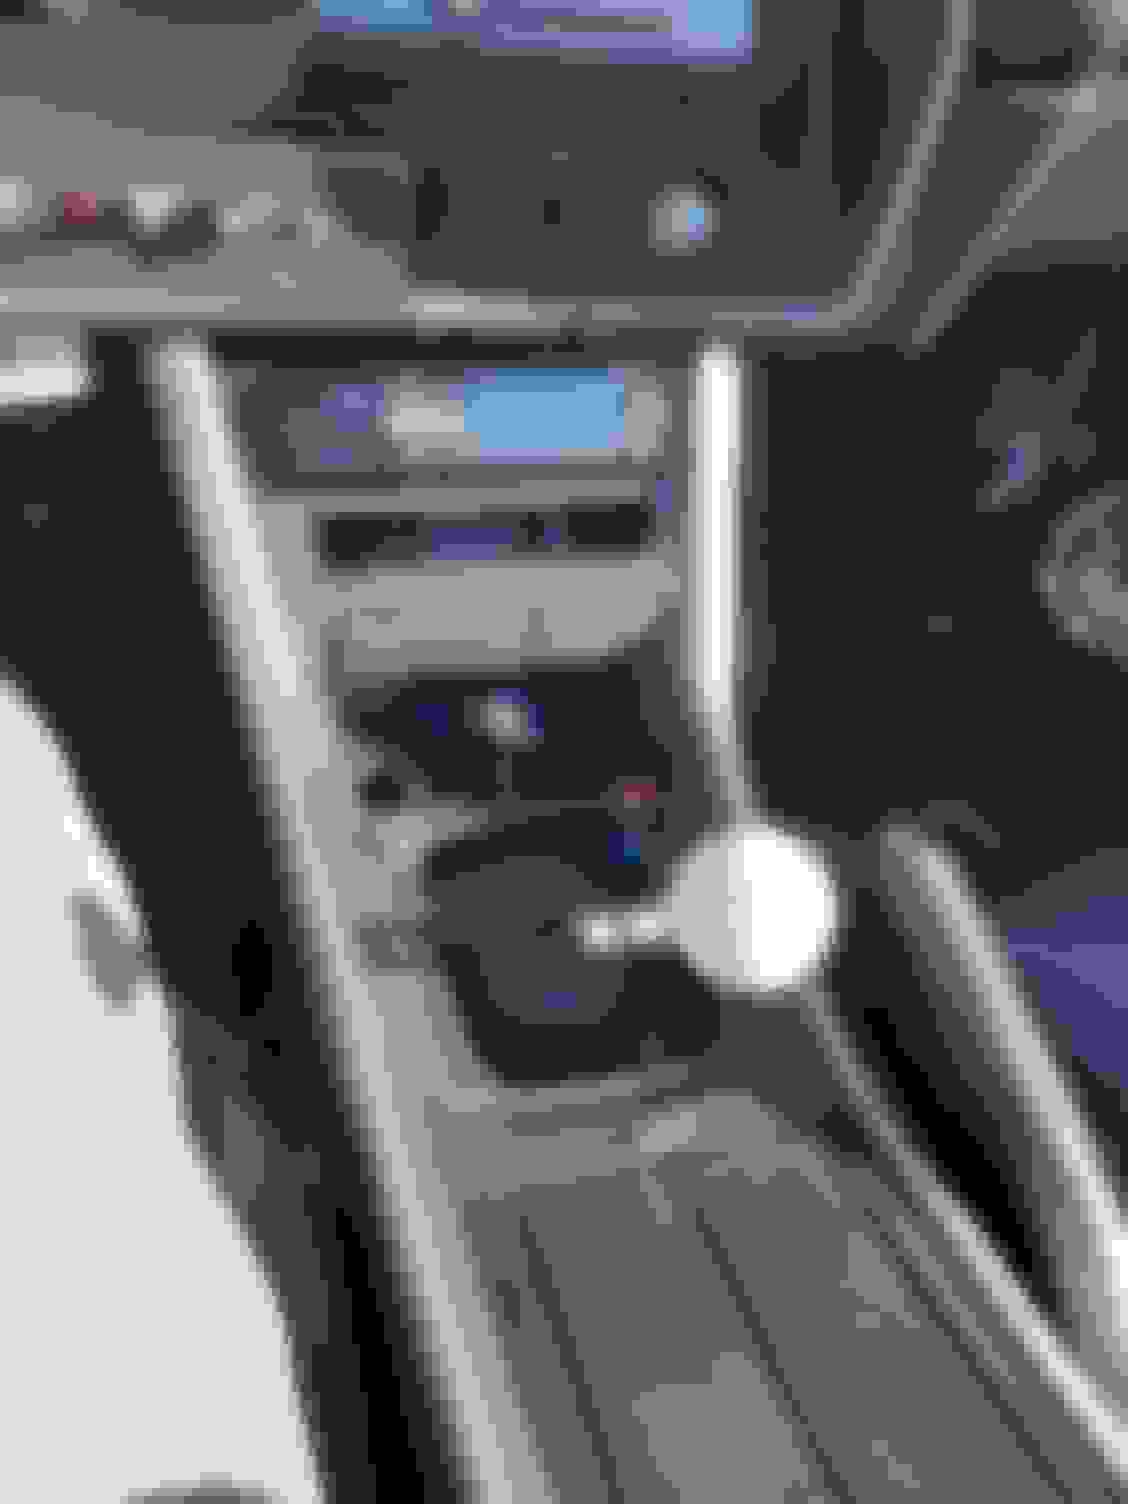
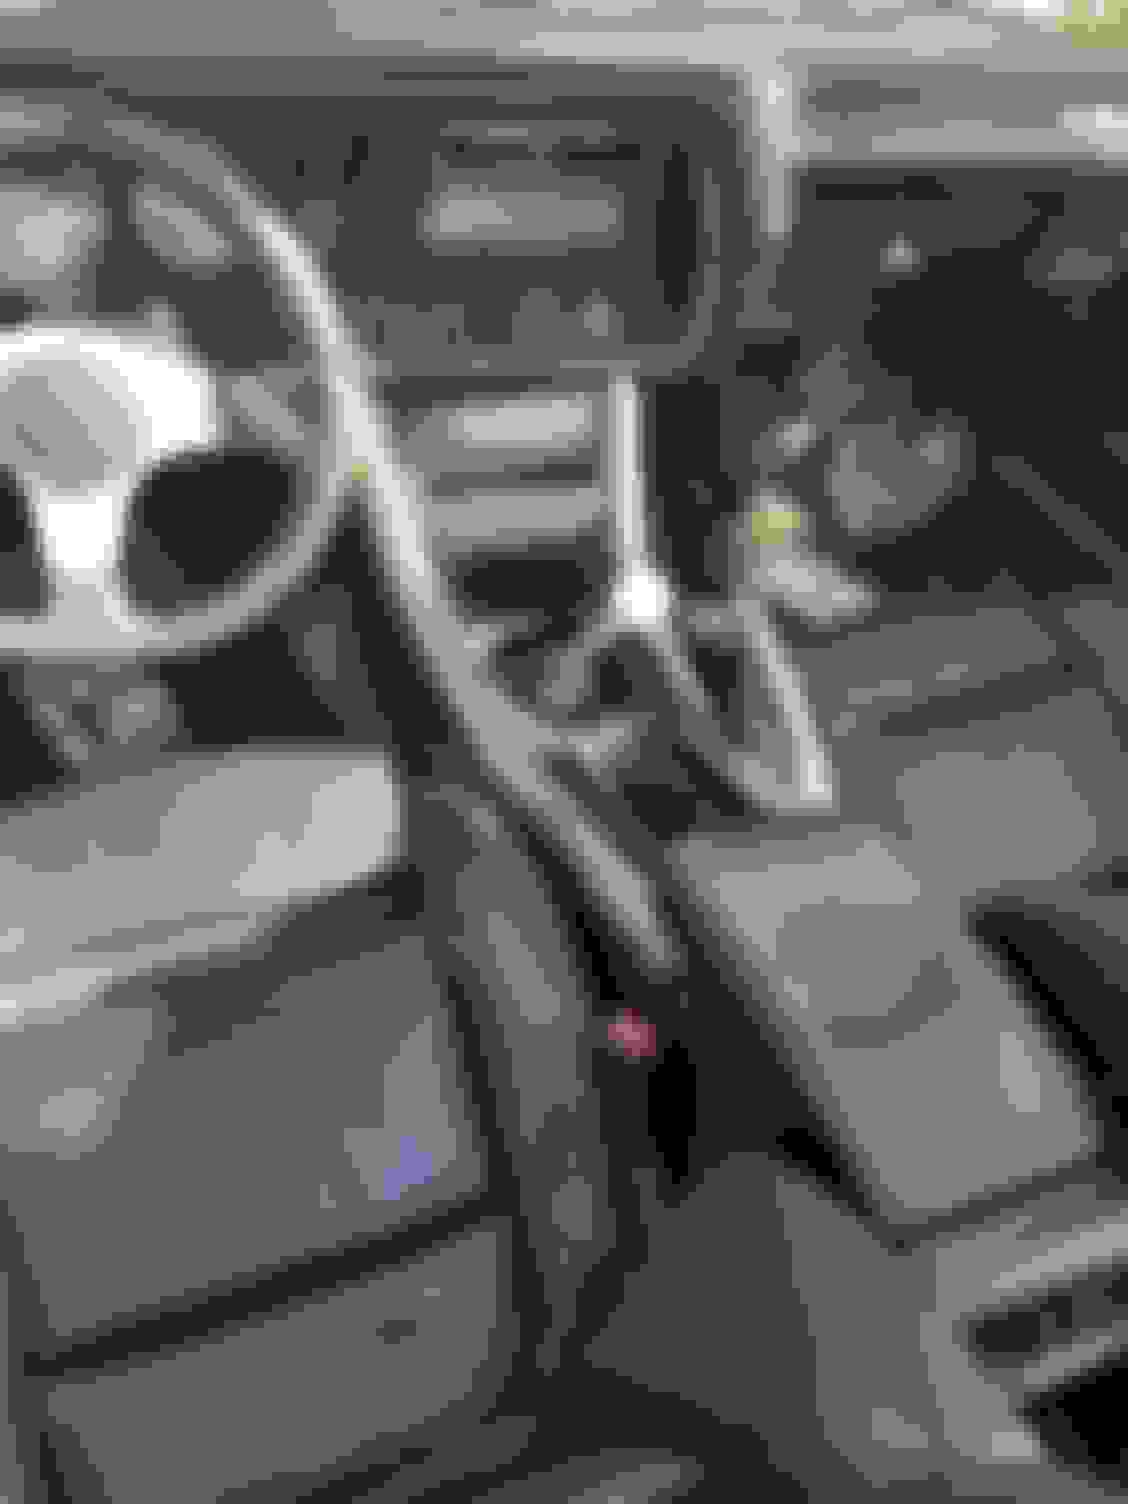
I've been out of the state for a few months but I was fortunate enough to get a few days off for the holiday. It's been pretty warm here so I was able to get a little bit done on the interior, and after seeing this post on FB I decided to give this console a try.
Console is from a 2003 or so Acura TL, and with a bit of trimming fits rather well. My trans tunnel is high and from the FB thread it looks like the trimming would not be required on a lower one. I have to run back to the salvage yard to grab a new piece of trim for the right, but that's $2 or so, not a huge deal. All told this cost me $80, including paint and the new Dremel with the flex attachment I bought to trim it down.
I was surprised to find that someone had already totally removed one of these from a car and had just left 99% of it sitting there inside, I suppose they just wanted the radio. All I had to do was remove a couple brackets on the bottom and I was set. The right side where the Ebrake is had to be opened up a bit, but once I figure out what I'm doing with the brake I might get a new console. For now though it's fine. Not the best lighting in the pictures but you get the general idea. This this is super solid and the armrest is a welcome addition to the interior. The only things I really need to change now is to get a straight shift handle and a new shift boot.
After I got this in I spent the evening playing tour guide for a friend from out of town. Solid day overall.
I kid you not, I looked at the pics BEFORE I read the text, and thought the console was OEM! It looks that good! Keep up the work, it's gonna be a cool ride when done! (Does "getting done" EVER really happen?? lol)
Cool, thanks. I'll count that as a win then. Just got back from the yard and spent $8 on a new trim piece, shift boot and rubber boot to seal up the trans tunnel hole. Now I just need to get the heater hooked back up.
As for being done, maybe after I get the 9 inch in it will be. Maybe not though...?

 08-16-2017, 09:12 PM