When you click on links to various merchants on this site and make a purchase, this can result in this site earning a commission. Affiliate programs and affiliations include, but are not limited to, the eBay Partner Network.
You got skill. I'm interested in seeing if you like the 12.7:1 ratio steering box. That's a little too tight/twitchy for my liking. I think the 14.:1 box (3.5 L to L) is much more comfortable.
Thanks guys, it's getting there. There is more to be done to the enclosure/console but it looks like it's going to turn out ok. Only too late did I discover glazing putty.
About the steering, I already have the Grand Cherokee box which I think it 12.7:1, but both it and my rag joint have a bit of slop in them which is not super reassuring at 80mph on the interstate. Rather than gamble on another used JGC box I figured I might as well try swapping to a decent brand of box and replacing the rag with a U joint (or whatever it's called). Plus I got it brand new for $150 so it was kind of a no-brainer.
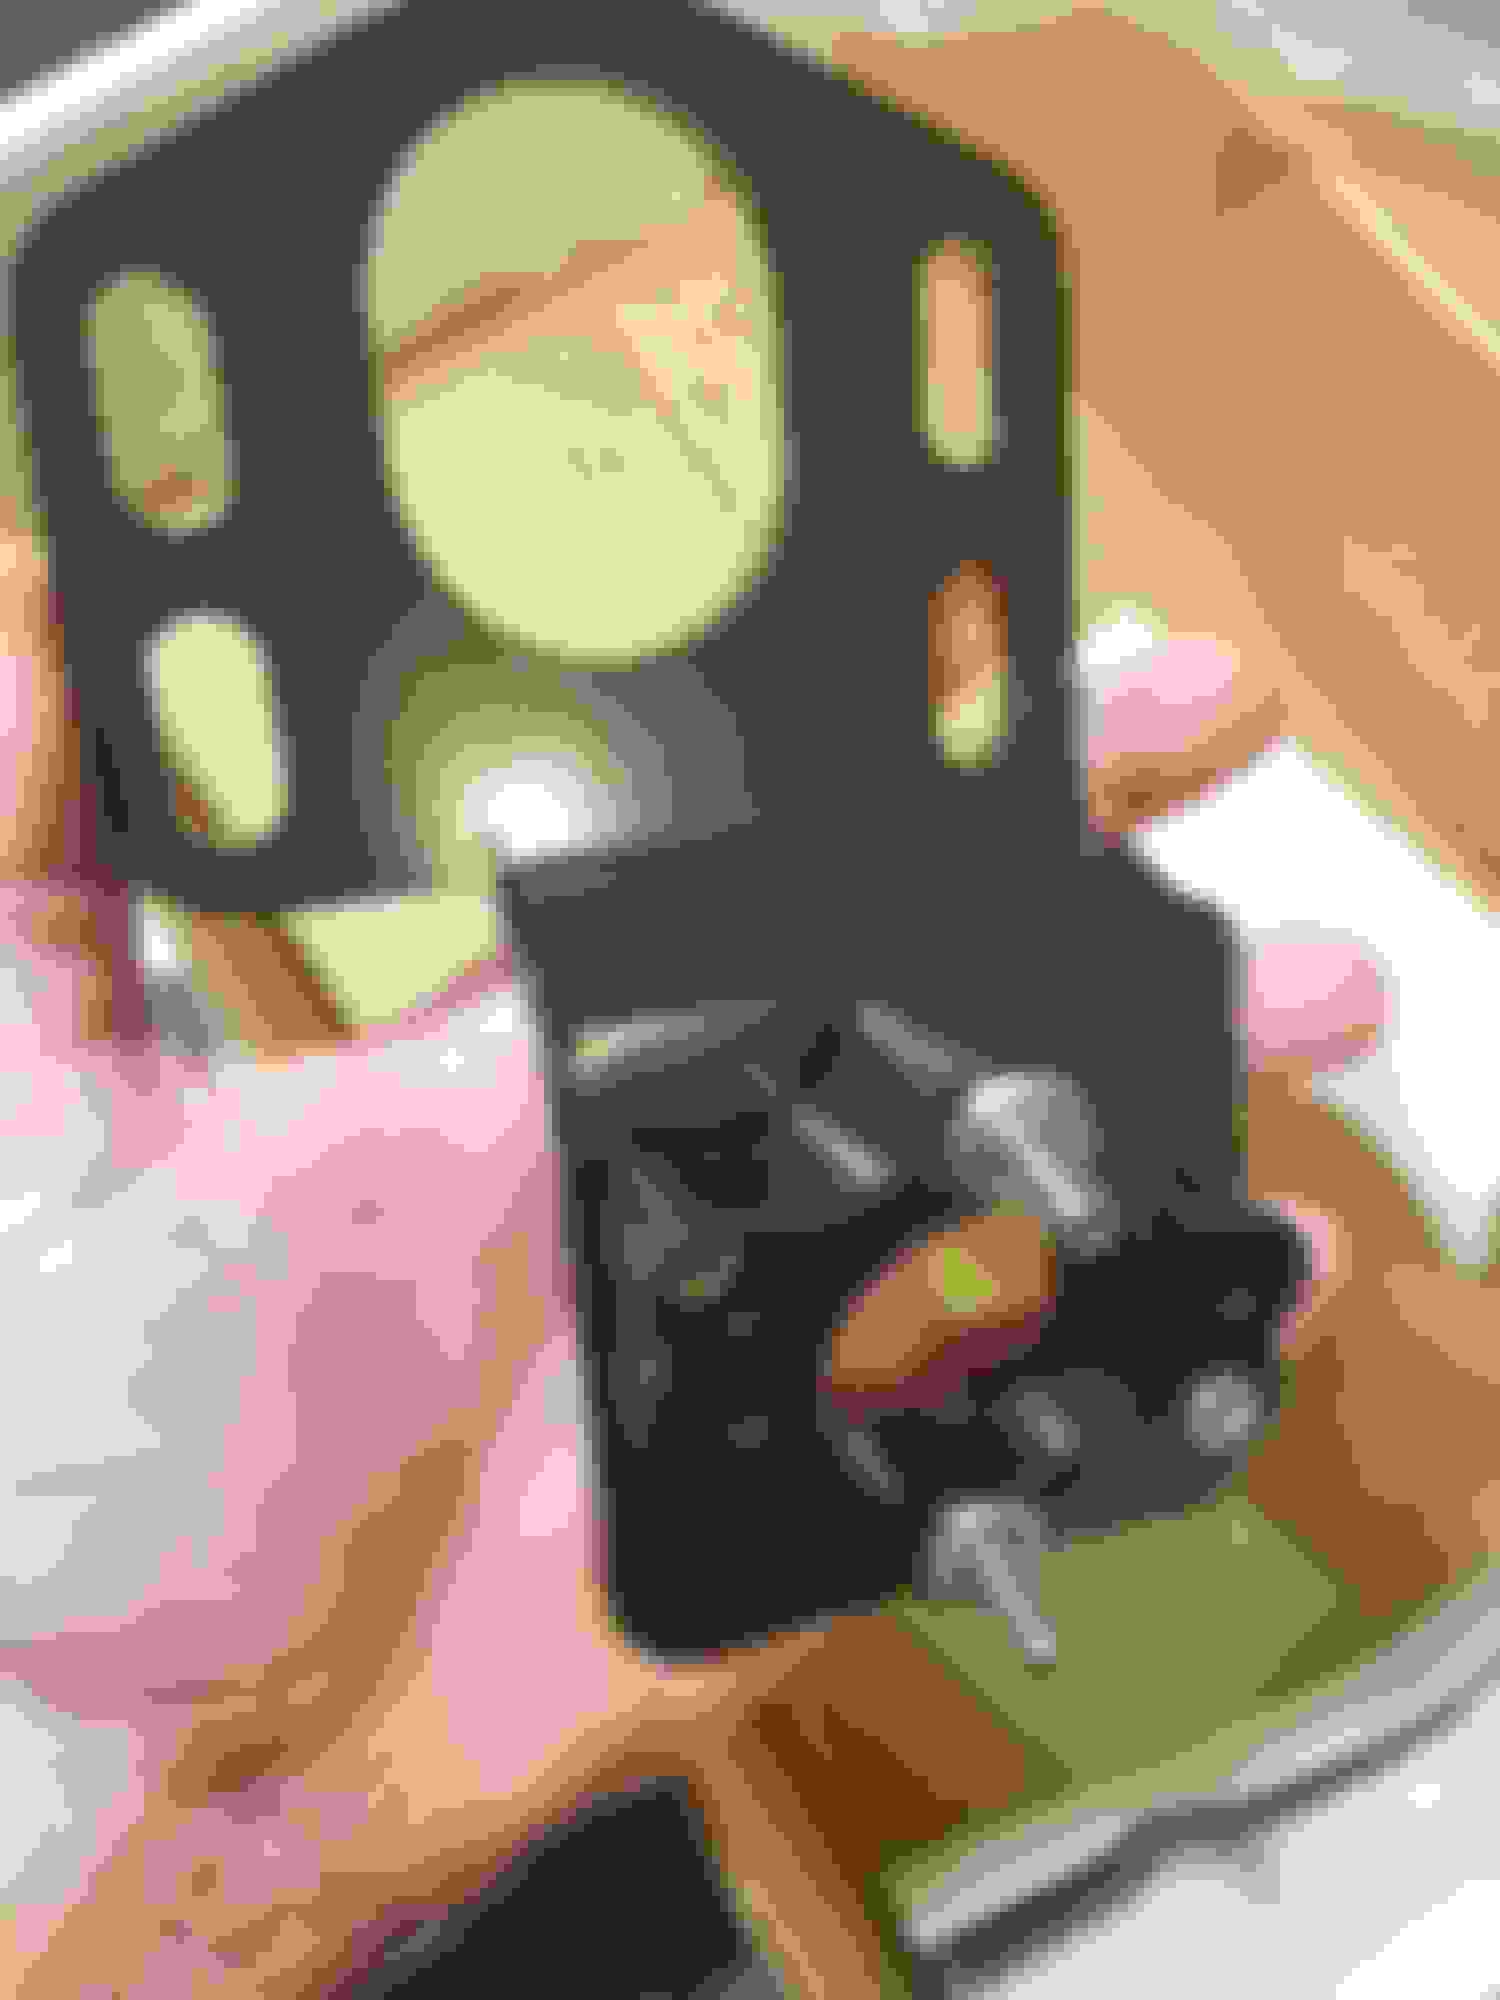
The seat modification was a small thing, but it was a long time coming and something I should've done way earlier. As it was, the backs were just high enough to mess with the top going up and down so I've had to lean the seats forward to open/close it. I bought a linear actuator to do that for me, but now it's no longer necessary. The headrests are staying since they are out of the way and pretty important from a safety perspective. Once I get the seats to an upholsterer they'll be ready to mount more securely and I can try to use the actuator for a power trunk opener/closer. I'm thinking that black box might be able to help with that.
I have a ton of cool stuff coming in on Monday or Tuesday so once it does I'll have a lot to figure out. FedEx still has a chance to destroy it all so I won't get my hopes up just yet.
After a long wait the Fesler parts finally showed up and I was able to get the driver's door nearly finished. Part of the install process involves bending rods to connect the latches, which sounds great in theory, but of course the rods they provide don't actually fit into the parts they make (and their parts don't actually fit over the factory door opening rod in the car). Fortunately I had an old-school heavy duty coat hanger on hand which works just fine. Picture is of their bend-your-own piece, trying to connect this with the door one would've been impossible anyway. Not shown is their door handle mounting bold being too long and being hit by the window mechanism as I try to roll it up. Complaints aside, everything does work and the handles are actually easier to use and in a more natural position to reach than the originals. My old loose stuff often took multiple attempts to open so this is a functionality upgrade for sure.
[
The weather here still sucks so I'm going to have to take the panels to an upholsterer with the seats to give me time to work on other things.
My outer door handles were looking rough, but rather than messing with painting them black and having it eventually flake off I went with some Ring Bros instead.
These next things I'm not 100% certain about using now that I have them, mainly because I'm not sure I want to start any more projects since spring is here. The Haymaker II bluetooth setup from Restomod Air isn't really anything work taking a picture of, but it's something I'm going to have to install if I decide to use this new dash.
From reading the instructions the dash itself looks pretty easy to put in- it's reworking the nest of wires currently in there that is putting me off. It's a mess under there that needs redone, but I really don't feel like getting into it.
These kick panels would be much easier to throw in but I'm not sure if I'm ready to give up my fresh air vents, even if I do only use them a few times a year. Speakers that far under the dash seem kind of pointless so I think I'll just leave them empty. Took a little work to fit them in but once in place all the imperfections are totally hidden.
The Haymaker did come with a lot of polished and shiny fittings which I'm thinking might look a tad better than my rusty and crappy looking old ones.
Using this dash would also mean doing something about my top and various other switches, one option being to use these Watson Street Works switches in conjunction with the RF black box. These look pretty cool, but I'm kind of thinking it might just be easier to move my old stuff under the dash and out of sight and then put this bank of switches and the box on ebay.
Progress, but slow progress. The switches are pretty cool but I'm not sure where I'd put them. These door panels are taking forever, but there is a lot involved when you factor in all the trial fitting, cutting and etc. I went by an upholstery shop and they pretty much told me it would be $600 to slap the rest of the leather on, but they suggested I just keep my money and finish it myself. They gave me some pointers so I came home and did it. It's not perfect but it's good enough for my purposes.
I spent all day and a decent part of the night working but there is very little overtly obvious things to show for it. The only real visible things are the window felts I added to the tops of the door panels and getting the Ring Brothers handles on. A while back I ordered some black door locks from Summit to push me into the free shipping zone and I tossed them on as well.
The sub box should be finished as well so hopefully I'll be able to get the amps and speakers wired up. Other than that I just have to drain the break in round of gear oil from the rear and go over everything to make sure it's road worthy enough to make it to Atlanta for tuning on Saturday.
It's been a hectic month since the last post; had to go back to NC for a bit then down to Florida to buy a house and all that nonsense that goes with it. There has been a decent bit of progress on the car, though much of it was undoing old things or making little changes here or there for functionality/ durability that nobody will notice. With that said I'll just go in order of the pics I have.
First is new headlights, the JW Speakers J2s, the fake "carbon fiber" ones, meant for Jeeps but I liked the half-halo and everything else but Dapper is basically Chinese garbage. These took quite a lot of cutting but the end result is what I was going for.
Then I took the old dash out and consolidated what wiring I could here and under the hood. Two giant messes, largely resolved now. I also cut out the sides of the dash support and ground that triangle hole rim down smooth.
Next step was test fitting and then bolting in the dash. Fairly simple, just time consuming. Doing it and putting in the AC at the same time was not fun.
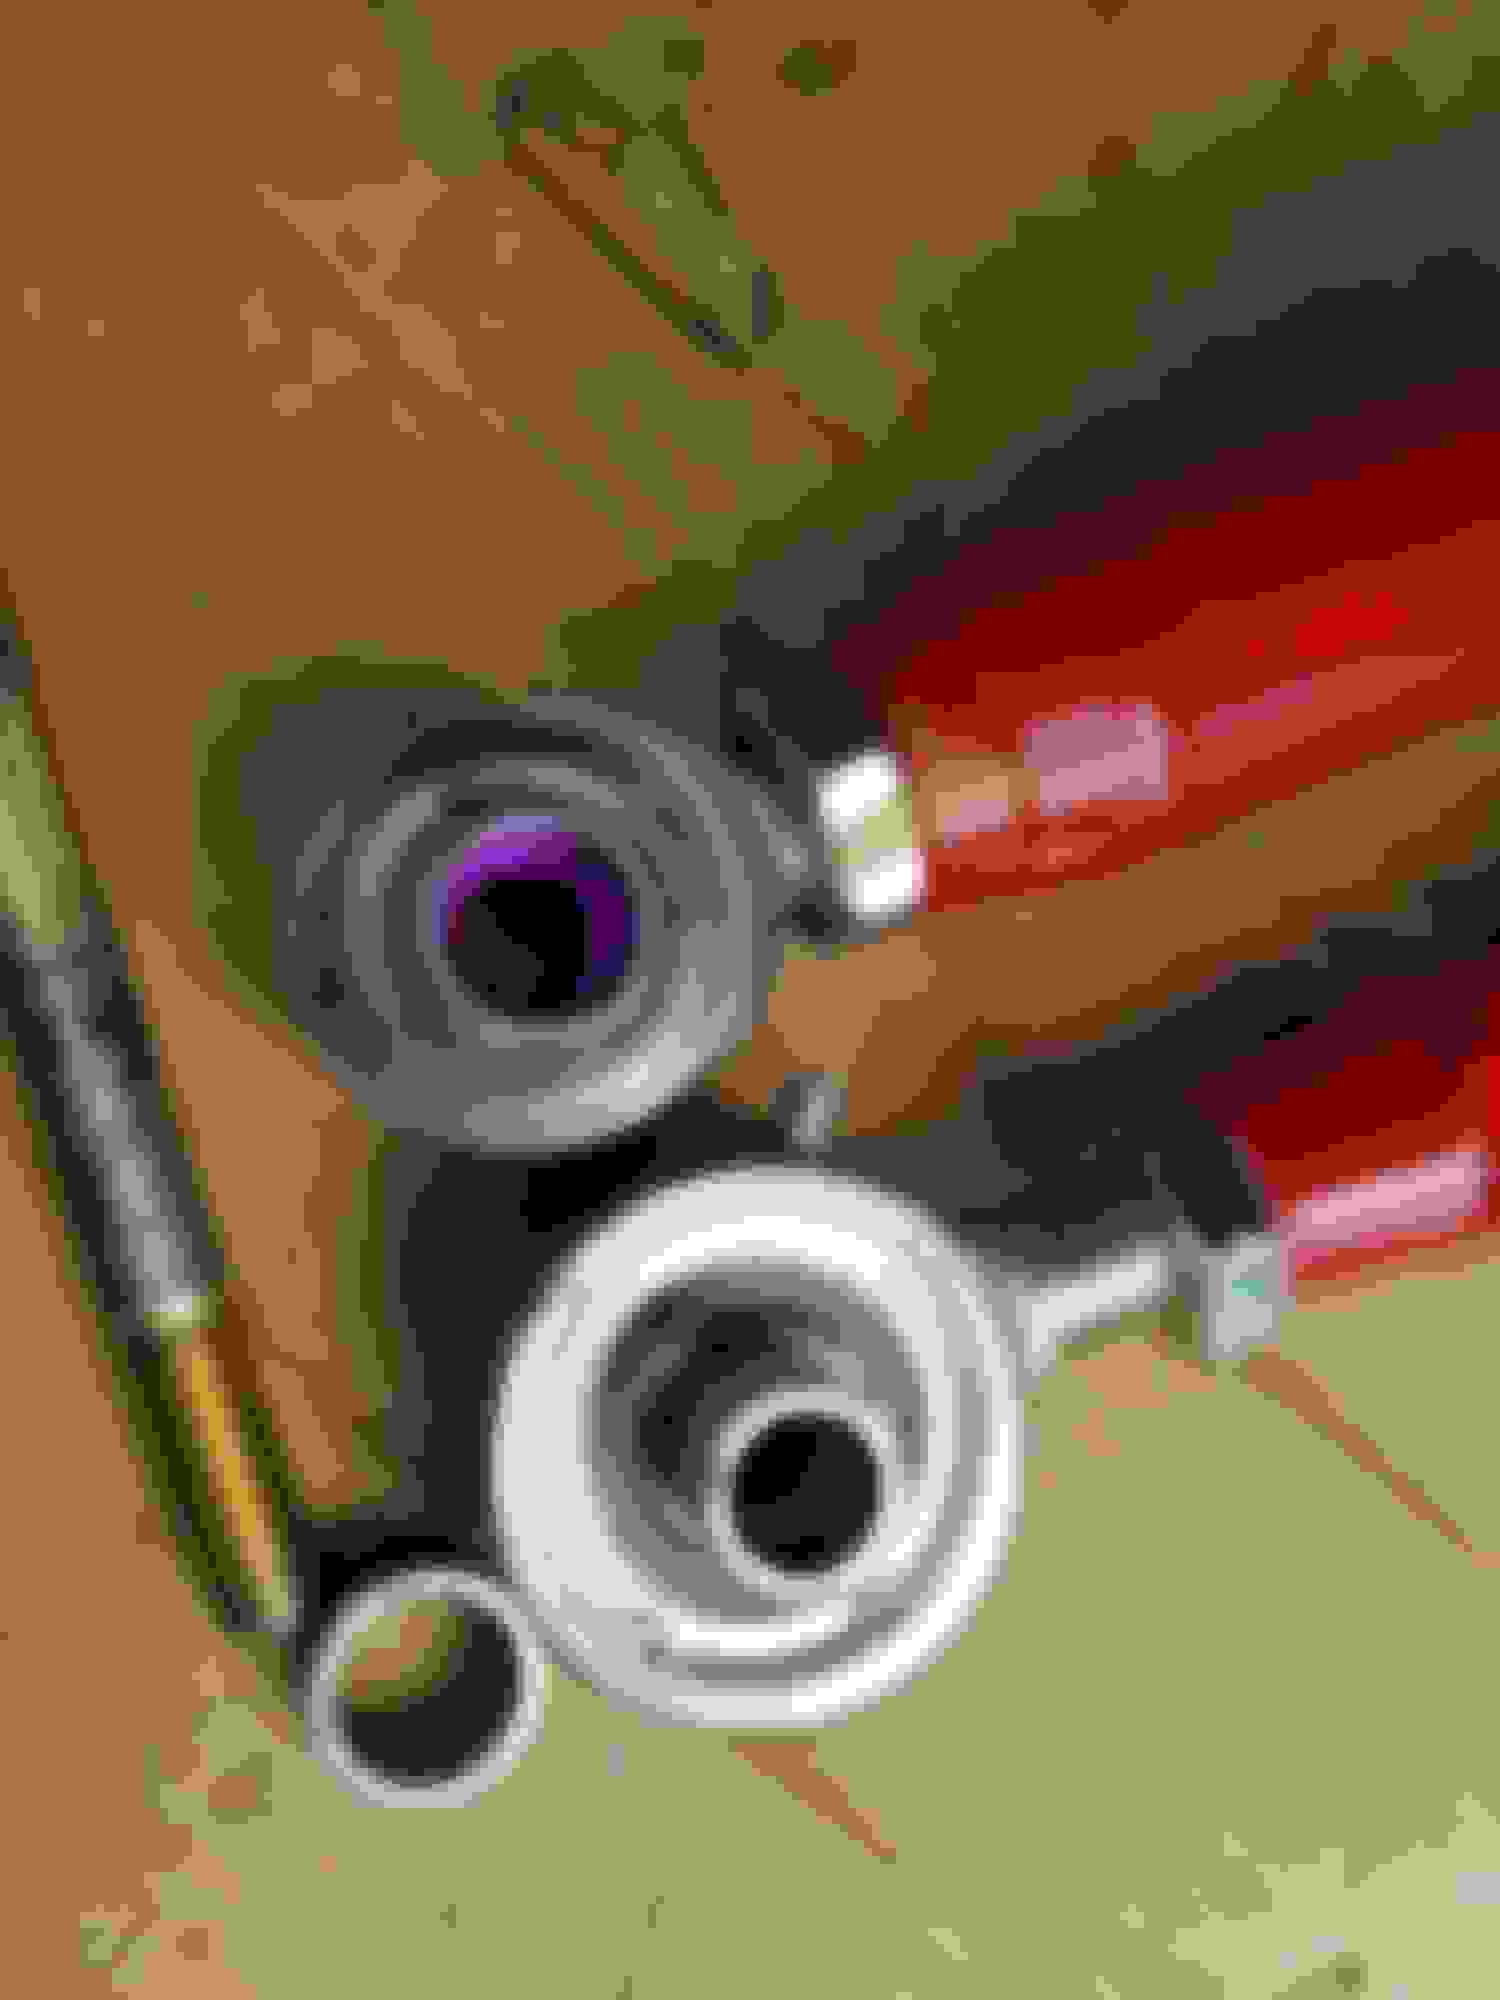
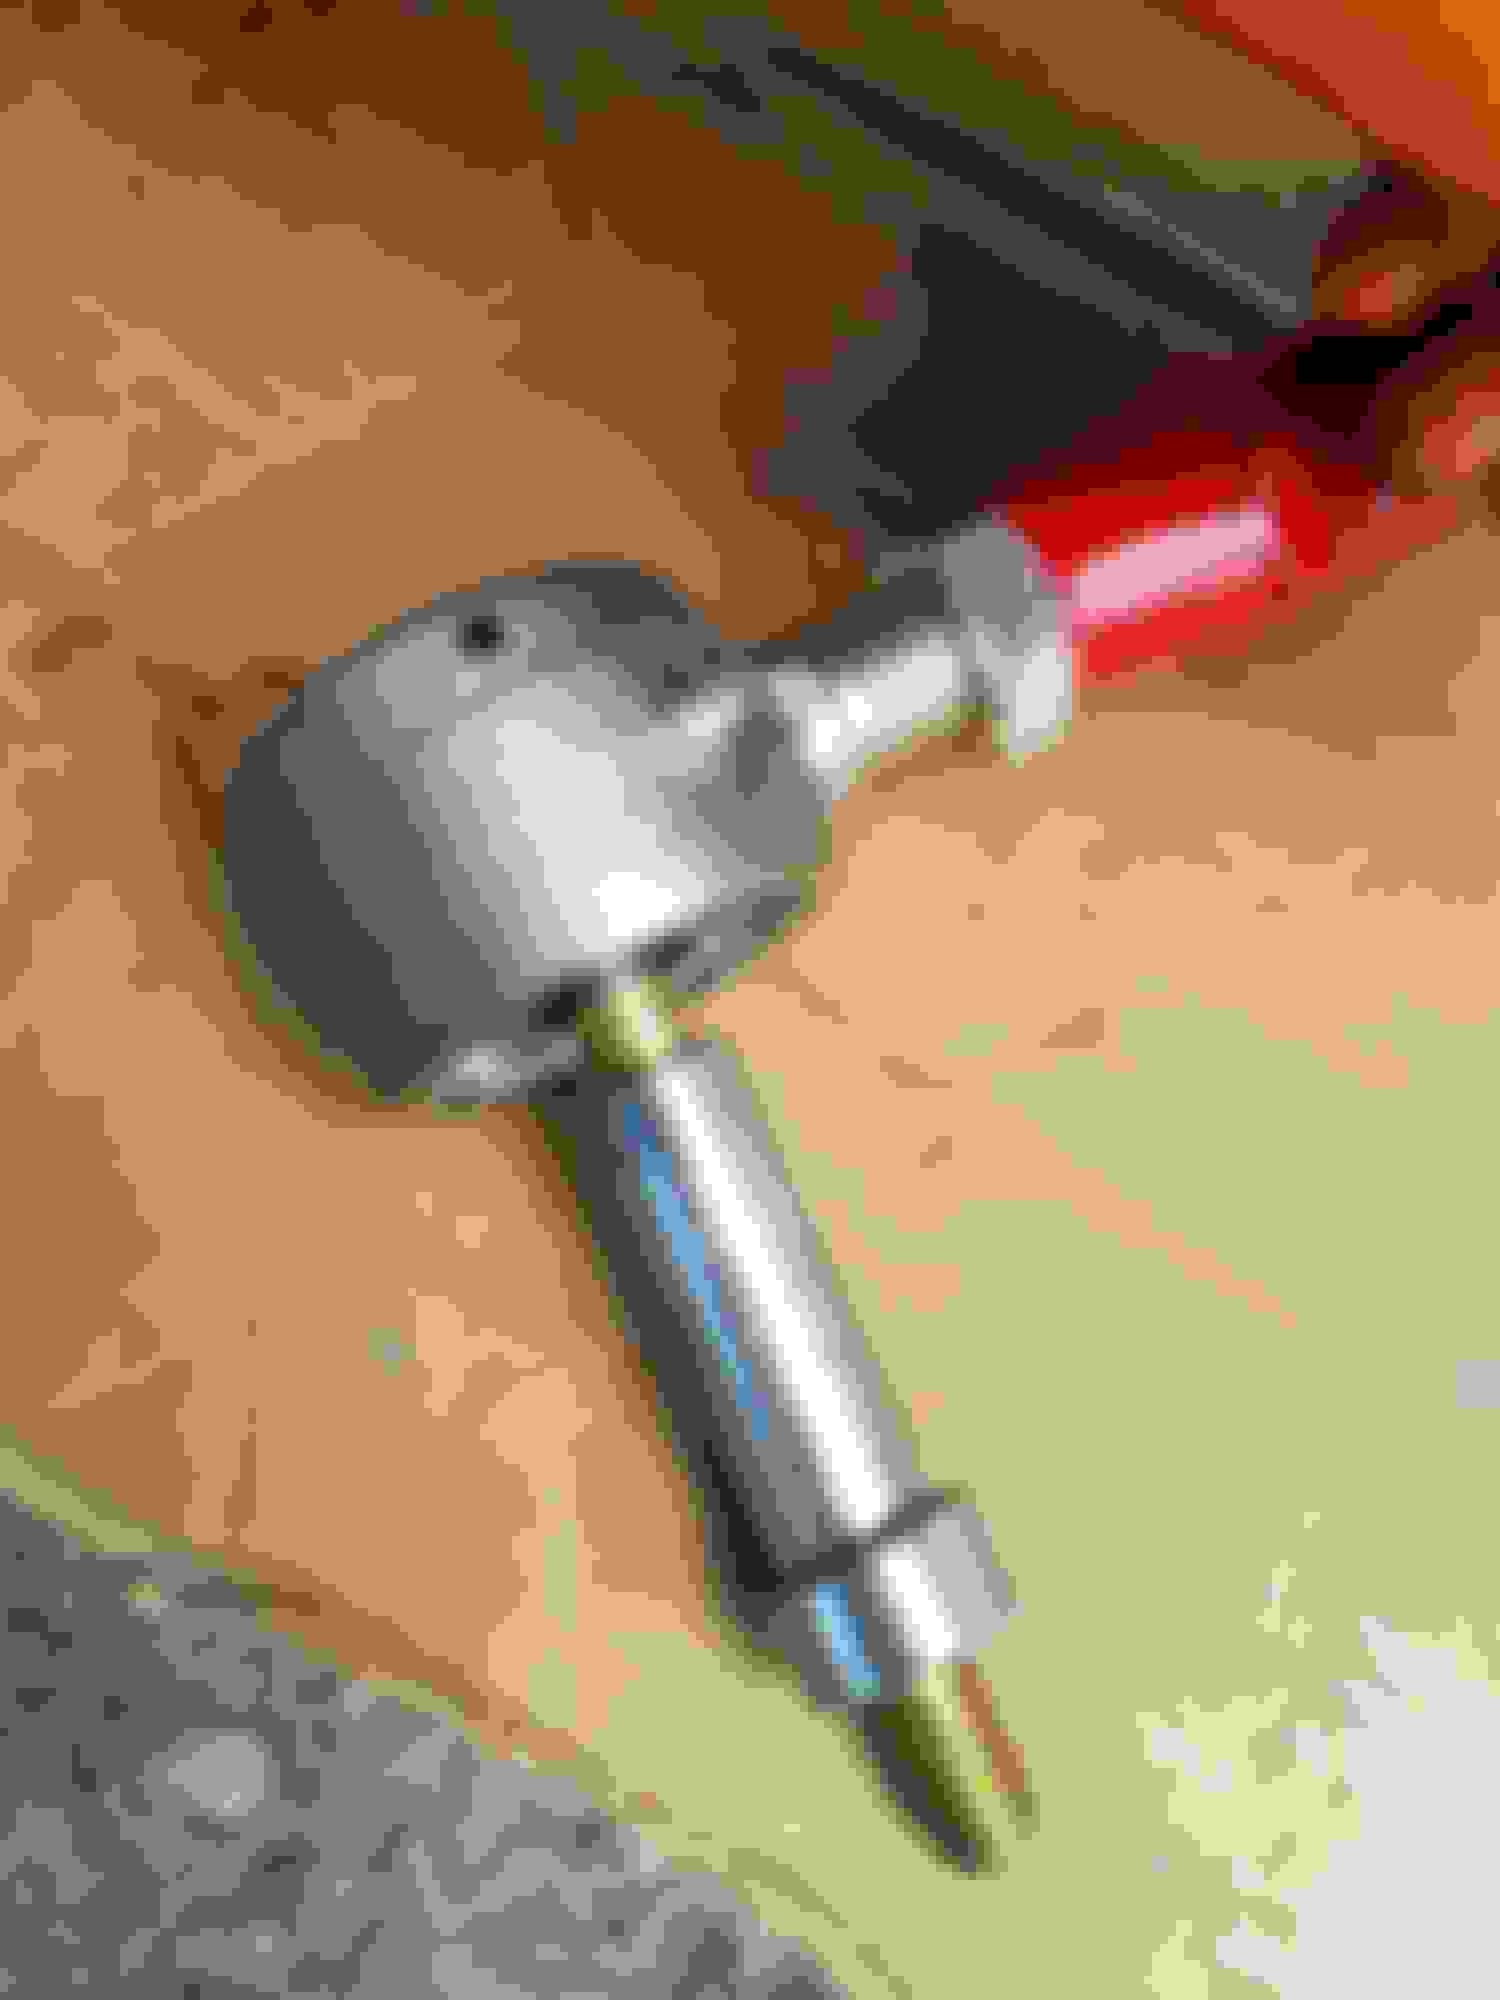
I'm waiting on a piece of harness to come in from Restomod air but it should be here in a couple days. Also need to mount my manual control ***** somewhere. In the mean time I've finished up the gauges, replaced my Sanden compressor and old power steering pump with a new one and a new "Holley" aka Corvette pump, respectively. I used the Holley brackets. https://www.holley.com/products/ls_p...s/parts/20-135
It's hard to tell in the pic but whereas some brackets cut it close between the steering box and pulley this has tons of room. I also slapped on my Lee steering box.
Have to run to dinner but will add more pics and details later.
It's a little bit closer to finished every day. After changing my front accessory drive on the driver's side it turned out I could no longer route my intake tube to that side so I had to cut and flip it to the passenger. While doing this I also pulled the 2 Speedhut classic or legacy or whatever gauges I was using because I hate the crap senders that need to ground to something; I sent them back to exchange for Revolution series gauges which are much better. It's not pretty but it works.
Next I got to work removing the Massive rear control arms and replacing them with Spohn arms. The Massive arms come with those purple spacers that for reasons that escape me are too large to fit around the bolts tightly. Spohn does something similar, but they use a thin spacer through the arm with slightly larger pieces around it on either side. The spacers that go through the eyelet also fit the Massive arms and fit the bolts without slack so I don't see why Massive don't ditch the purple things and use what works better. ? Regardless, while I suspect the parts fit a stock width frame or axle mount, since I don't have a stock-width attachment point on my axle I had to cut the eyelet spacer down and then use thick washers on each side to position it. No slack at all now and there is no more slop when getting on or letting off the gas abruptly. Prior to this you could feel the rear deflecting due to all the play in the gaps.
If using larger bolts and ditching the spacers then the Massive arms would be fine, as they are heavy-duty and well made. Their post-sale customer service is trash however.
This picture is blurry but you can see that things did not fit into the Ridetech bracket as shipped, but then neither did the Massive or stock ones. The inner spacer sticking through is what I had to cut down.
While I was down there I went ahead and dropped the car an inch or so.
For the longest time I had been wanting to redo my exhaust and put the Holley motor and trans mounts in, but I kept procrastinating due to the cost of the headers. On Monday I had finally decided to just bite the bullet and get them when a set of new "stainless A body headers" popped up on FB marketplace for $160. Given that I needed headers ASAP and couldn't get the Hookers fast enough I figured I would take a gamble and see what happened. Turns out they were the Speed Engineering headers which get mixed reviews on forums but turned out to be (almost) ideal.
Before I go any further I'll show a height comparison between the Dirty Dingo slider mounts and the Hooker ones. The dirty dingo don't sit flush on the ground since they have bolt heads welded to the back, but even so it is clear that the Hooker mounts are a decent chunk shorter. The pic distorts it but it's 1/4-3/8 inch or so.
The height of the dirty dingo mounts made the Speed Engineering headers fit fine, but with the Hooker mounts being lower there is no way they would clear the crossmember if the engine were any more forward. Fortunately for me the Hooker mounts left the engine basically exactly where it already was in terms of front to back placement.
The O2 sensors point up and in, barely clearing the floor. If I hadn't recently replaced body mounts it would've taken a BFH to make room.
They also clear a T56
Looking down the driver's side
The only real downside is that they do hang sort of low. For now, until I get moved to FL and save up some money for the Hooker parts this should do just fine.
Swapping the exhaust sort of committed me to swapping the motor and trans mounts, and with much cursing over a period of hours I managed to do so without pulling the motor. I would not recommend this approach, but I had painted myself into a corner so to speak. The whole process was a nightmare, especially given the design of the slider mounts, but eventually I got all the old stuff out and the new stuff went in fairly painlessly. I still have one bolt on each side to put in but I'm not too terribly worried about it failing before I can fix it. No real pics of anything here, but I'd suggest either pulling the motor to do this or have a proper lift and jack to make it easier.
With the exhaust butchered and mostly out of the car getting the old trans crossmember out and the Hooker one is was a straightforward affair.
Prior to this swap, and having just guessed at things with the DD sliders and my home made trans mount, I had almost zero vibration in my drivetrain. This swap did not change or improve that, so in hindsight I don't know that there was much point to it. Had I just kept my old stuff the headers would also be up a tad bit closer to the floor and I'd have an extra $500 in my pocket, but then again I wasn't 100% my motor and trans were straight (since the sliders can slide and my crossmember welding was suspect at best) and now I won't have to worry about that stuff when I go back for the dyno tune.
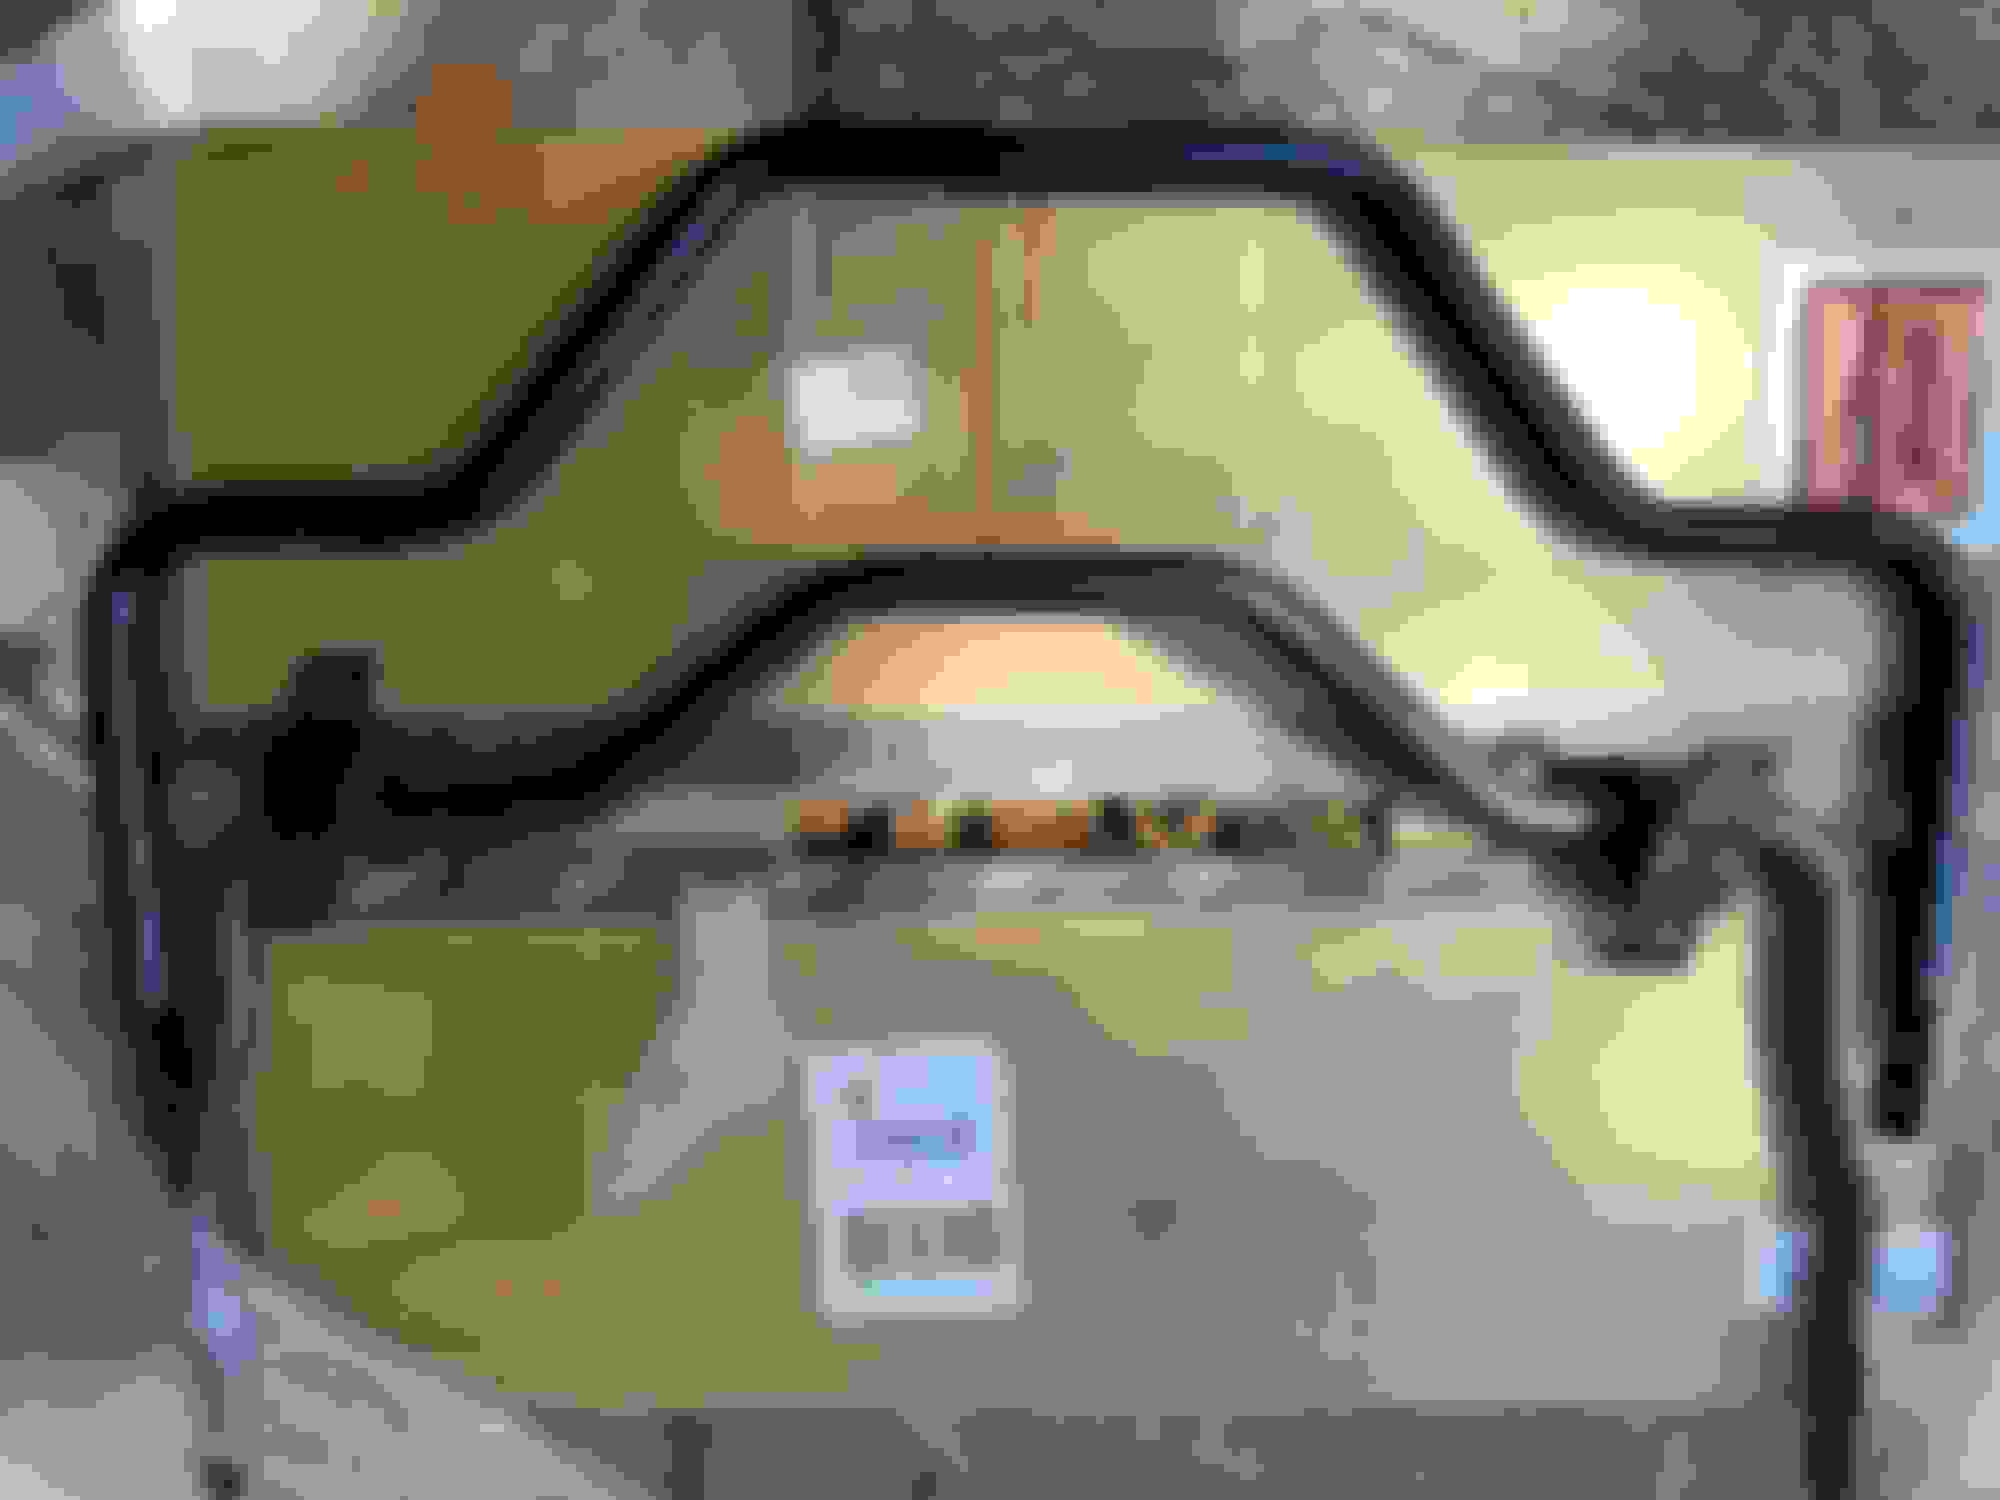
The last thing I did (as I wait for my Restomod Air power harness to come in) was to pull my Hellwig rear sway bar and replace it with the Detroit Speed one. The Hellwig bar is nice and would work for 99% of people; it doesn't work well for me though since my 9 inch housing has the ZL1 cooler welded onto it. The Hellwig bar clears it, but only by a hair. If you don't have one then the Hellwig would be a good (and much cheaper) choice. Anyway, I came across the DSE bar on accident while looking a frame display last time I was at Summit in GA and had a hunch it would work.
While roughly the same as the Hellwig in overall size, the Detroit Speed bar's center bend is a little deeper and wider than the Hellwig so it gives me plenty of room.
DSE at top
It's the same basic design as the Hellwig and it tucks up pretty well. It clears everything it needs to clear.
And a shot looking up at the rear housing from below.
My AC parts come tomorrow and after that I'll just be waiting on my Spintechs to get here so I can "finish" the car. Redoing everything prettier will have to happen sometime once I get to FL.
A lot of changes in the last two posts, so I'll just try to summarize the comparisons I can make.
Hooker vs Slider mounts - Hookers are lower, the stock Fbody motor mounts feel "softer" so to speak and allow the motor to move a bit more, which feels old school and I like it. The poly stuff with the DD sliders seemed to anchor the motor directly to the car. Could be placebo though, I dunno.
Spohn vs Massive rear arms - If using larger bolts I suppose either would be fine. They are both sturdy but overall my experience with the Spohn makes it the winner for me. Plus their rod ends are cool.
Overall DD slider/ ghetto trans crossmember combo vs Hooker stuff - no difference that I can tell.
Speed Engineering headers vs 1st gen Hooker Supercomps - SE wins for sure. I still plan to get the Blackheart stuff at some point.
Hellwig vs DSE rear bar - totally interchangeable for the vast majority of people. I'd let price dictate in this case (I'm not just saying that because I have a Hellwig bar to sell). The Hellwig has a much nicer and more durable coating on it and it offers more in terms of adjustability than the DSE since you can raise and lower the height of the end links by a decent amount. The DSE offers no such adjustments; you set it and forget it.
Hooker Alt/ PS bracket vs Speed Engineering - SE is probably good enough for most people (it worked for me without issue) if you have the smaller pulley for your PS pump to clear the steering box. The Holley stuff is really solid but, as is always the case with Holley, costs more, plus you need to spend $$$ on the GM pump and reservoir. At Summit retail prices that's $600 vs using a cheap stock PS pump and $100 for the SE bracket. You could always get a reman pump for the Holley bracket, but those are hit or miss.
Speedhut Legacy vs Speedhut Revolution - other than a button on the face the gauges look the same but the big difference is in the senders and wiring. The Revolution stuff is more modern and easy to work with. Worth the premium, IMO.
Thanks, it's was about to the point where I was confident in taking it on longer (8-10 hr drives) but yesterday my clutch master rod bent. I straightened it and got a few more miles out of it but with that stupid ebay bracket I suspect this will be an ongoing issue so I'm going to replace it. Below are the options I'm considering, it's just a copy/past of a post over on P-T. I'm leaning toward the Hydramax one since there is conceivably some pivot to it but the Bowler might work better and be more solid against the rather flimsy firewall.
Other than that I got the AC in and charged, though the bluetooth stuff leaves much to be desired and I would not ever purchase such a setup again. Fortunately I bought some manual controls, but unfortunately the A/C ECU controlling everything doesn't seem to recognize them, meaning I have to use the app, which might or might not work (assuming it connects). On top of that if you are using android auto, which I am, you have to unplug the phone first or the app just stays in an endless boot up / restart loop, which is obnoxious. Long story short, the BT stuff is one of my least favorite "upgrades" to date and it makes me miss my old mechanical linkages. To their credit Restomod Air support has been great though, really going above and beyond to get me sorted out and they are sending me a new ECU so that's cool. My disdain for the BT stands, but that aside I'd definitely buy a more proven system from them in the future. Their vents and ***** are really nice as well.
Back to the clutch bracket-
Mean Street's website doesn't work so I'm not sure if they still make theirs or not, but these look like the options for now. Hard to find much info from people who have actually used one (esp w/ hydroboost).
Then there is another Bowler that says it's for 67-72, which seems odd because some other places split the 67 and down from 68 and up. https://www.bowlertransmissions.com/...kit-gma-68-72/ Edit- this looks to be a typo as they list it for both 67+ and 68+, I'm betting it's supposed to be 68+.
Of these the options the cheapest is just getting the bowler bracket and using a stock master, which might be the way to go since I don't want to pull my trans and do a whole new master/slave if I don't have to.
Edit- It looks like you can duplicate the American Powertrain kit - but with a quick disconnect - for $370. With ebay bucks or a coupon you could knock that down to $330ish. Or get it from Summit for $375. Being able to return it to Summit if it sucks is pretty hard to argue with.
Long time no post but just some updates on the clutch and other things.
I got the new manual control ECU from Restomod air and, like the first one I had the controls did not work, so that makes two ECUs I've had from them that haven't worked. As it stands I can only have air coming out of the dash vents. Better than nothing but worse than the old-fashioned system I had before. There really is no way to mess up the installation of this thing so I'm guessing the issue must be somewhere inside the main suitcase. It has never once completed or passed it's initial calibration test regardless of what I'm using to control it. The customer support has been great, and they have reached out again to help me sort this out.
After I posted that stuff above about the clutch pedal, but before I got the new stuff installed, the quick connect to my slave popped out as I was running errands one night. This was awesome. Fortunately I was at O'Reilly at the time and the parking lot was flat so getting it onto a truck was fairly painless.
Another flatbed trip, yay.
The slave in the car has the kind of quick-release with that stupid metal clip, instead of the plastic ring on the inside, and if you've ever messed with one you might appreciate how difficult the clip is to remove and/or install with the trans in the car. I was about to say screw it and just pull the trans, but at the last minute I decided to see what Mr.Dremel might have to say about it and simply enlarged the hole a little bit. Way easier, much faster, fewer profanities.
The Bowler stuff came and fit really well, the only issue was that the "original style" pedal I bought that it is supposed to work with was way, way off and did not work at all. What I ended up having to do was take my original McLeod pedal that I had welded a new tab on and drill a new hole (not shown) in the tab, closer to the pedal body. After I did that it worked perfectly, bottoms out right where I want it to and is super smooth. A huge improvement over the ebay bracket and stock master.
With that out of the way I got some new mufflers put on, which sound awesome, and tossed in a flip-up head unit with android auto, which is one of the coolest and most useful additions I've made to the car. It's amazing how simple it makes just about everything navigation, stereo and phone related. The future is now and all that jazz.
During this time I was prepping to move to Florida and had the car in the shop a couple times to have adjustments made to the front end and alignment and all that, and I was hoping things were pretty much getting wrapped up. This was of course not to be, and as I was running errands on my last day in Nashville I ended putting the car through an old wire fence.
Fortunately for me I had just gotten off the interstate and was on a back road with no oncoming traffic, so nobody was hurt, but the car sustained a bit of damage.
I was only doing 40 and I managed to avoid the tree stump a few feet to my left, so there wasn't a huge disaster, but it was enough to make the car inoperable. The fence was pretty old and the post I hit dead-on snapped like a soggy banana, tearing my front spoiler off but leaving my power steering cooler intact. Looking under the car (after a passerby stopped and pulled me out) it quickly became apparent (based on the lack of a castle nut and the intact ball joint threads) that a cotter pin had either come out or not been replaced, causing me to lose control when the nut finally worked its way off. Hard to prove something like would be shop's fault, so I just focused on fixing it rather than trying to place blame. Amazingly, one of the guys who stopped to help lived just down the street, had some old Camaros and happened to find a castle nut in his tool box. The tow truck driver let me use his jack, so between the two of them I had enough parts and tools to get the wheel back in place so I could roll, rather than drag, my lifeless car onto the truck and then into my garage. The brake line is stretched super taught, but it still holds pressure. Replacing it for sure though.
Mirror and vinyl wrap are toast, but to its credit the carbon hood help up well and does not appear to have cracked. It has some scratches, but not a huge deal overall.
There is some bodywork to do, but the insurance claim guy actually gave me a fair deal in terms of the check he cut me, so that will be handled soon enough. As the car is too low to see much under (and I'm in Florida), he opted not to mess with it and the insurance co says they'll send a supplemental check for whatever needs to be replaced under the car whenever I get home to determine what that might be. The guy who looked at it said a new spoiler and brake lines and probably control arms just to be safe. Works for me.
Glad I had this thing and an oil pan that doesn't hang below the crossmember.
Wrecking the car and leaving it in TN sucks, but I got super, super lucky in a dozen ways with this, as it could have been so much worse from start to finish. Nobody got hurt, I was off the interstate, a flexible fence broke my fall so to speak, people stopping to help had the things I needed and the tow truck driver was super cool and patient. Anyway, that's the last update until I get to come home in Thanksgiving, hoping to get the car to a shop ASAP and have the new parts ordered muy pronto.
It sucks that even when tech support helps you still can't figure the problem out.I hope you get it figured out. Is the alternator bracket your using, is that a Holley or GM part? if it's the Holley can you measure the bolt that holds the alt on the top to the first one behind the power steering reservoir? How much room between the alt and the valve cover?
Thanks
Haven't been on much here, but wow.. glad your ok and damage isn't toI o bad. I see you have made a lot of updates to your car since I last read your posts.
I like the many updates.. hope you get the damaged fixed and keep the upgrades going in Florida soon.
Is the alternator bracket your using, is that a Holley or GM part? if it's the Holley can you measure the bolt that holds the alt on the top to the first one behind the power steering reservoir? How much room between the alt and the valve cover?
Thanks
The whole front end drive is Holley stuff. The ps pump, reservoir and pulley are GM pieces that Holley just doubles the price of, but I got them all together with brackets new in boxes from some guy in Bowling Green fairly cheaply. I'm not in a position to measure anything, as the car is in TN and I'm in FL.
Originally Posted by douglee25
Wow, glad to hear you're ok. The pics aren't showing up?
Flickr is garbage, I'm not sure what's going on. I just changed some settings and checked in an incognito window and two browsers; it takes a second but I see them now.
Originally Posted by bczee
Haven't been on much here, but wow.. glad your ok and damage isn't toI o bad. I see you have made a lot of updates to your car since I last read your posts.
I like the many updates.. hope you get the damaged fixed and keep the upgrades going in Florida soon.
BC
Thanks, it did change quite over the last couple months since I had plenty of time off between jobs. Right now I'm getting a list of prices of things that might need replaced and sending it to the shop I go to in TN, then I'll have the car flatbedded there and they can see which things need to be fixed or replaced. Ideally they can have the car done by the time I get back home for a week.


 04-17-2018, 11:17 AM

 [
[