When you click on links to various merchants on this site and make a purchase, this can result in this site earning a commission. Affiliate programs and affiliations include, but are not limited to, the eBay Partner Network.
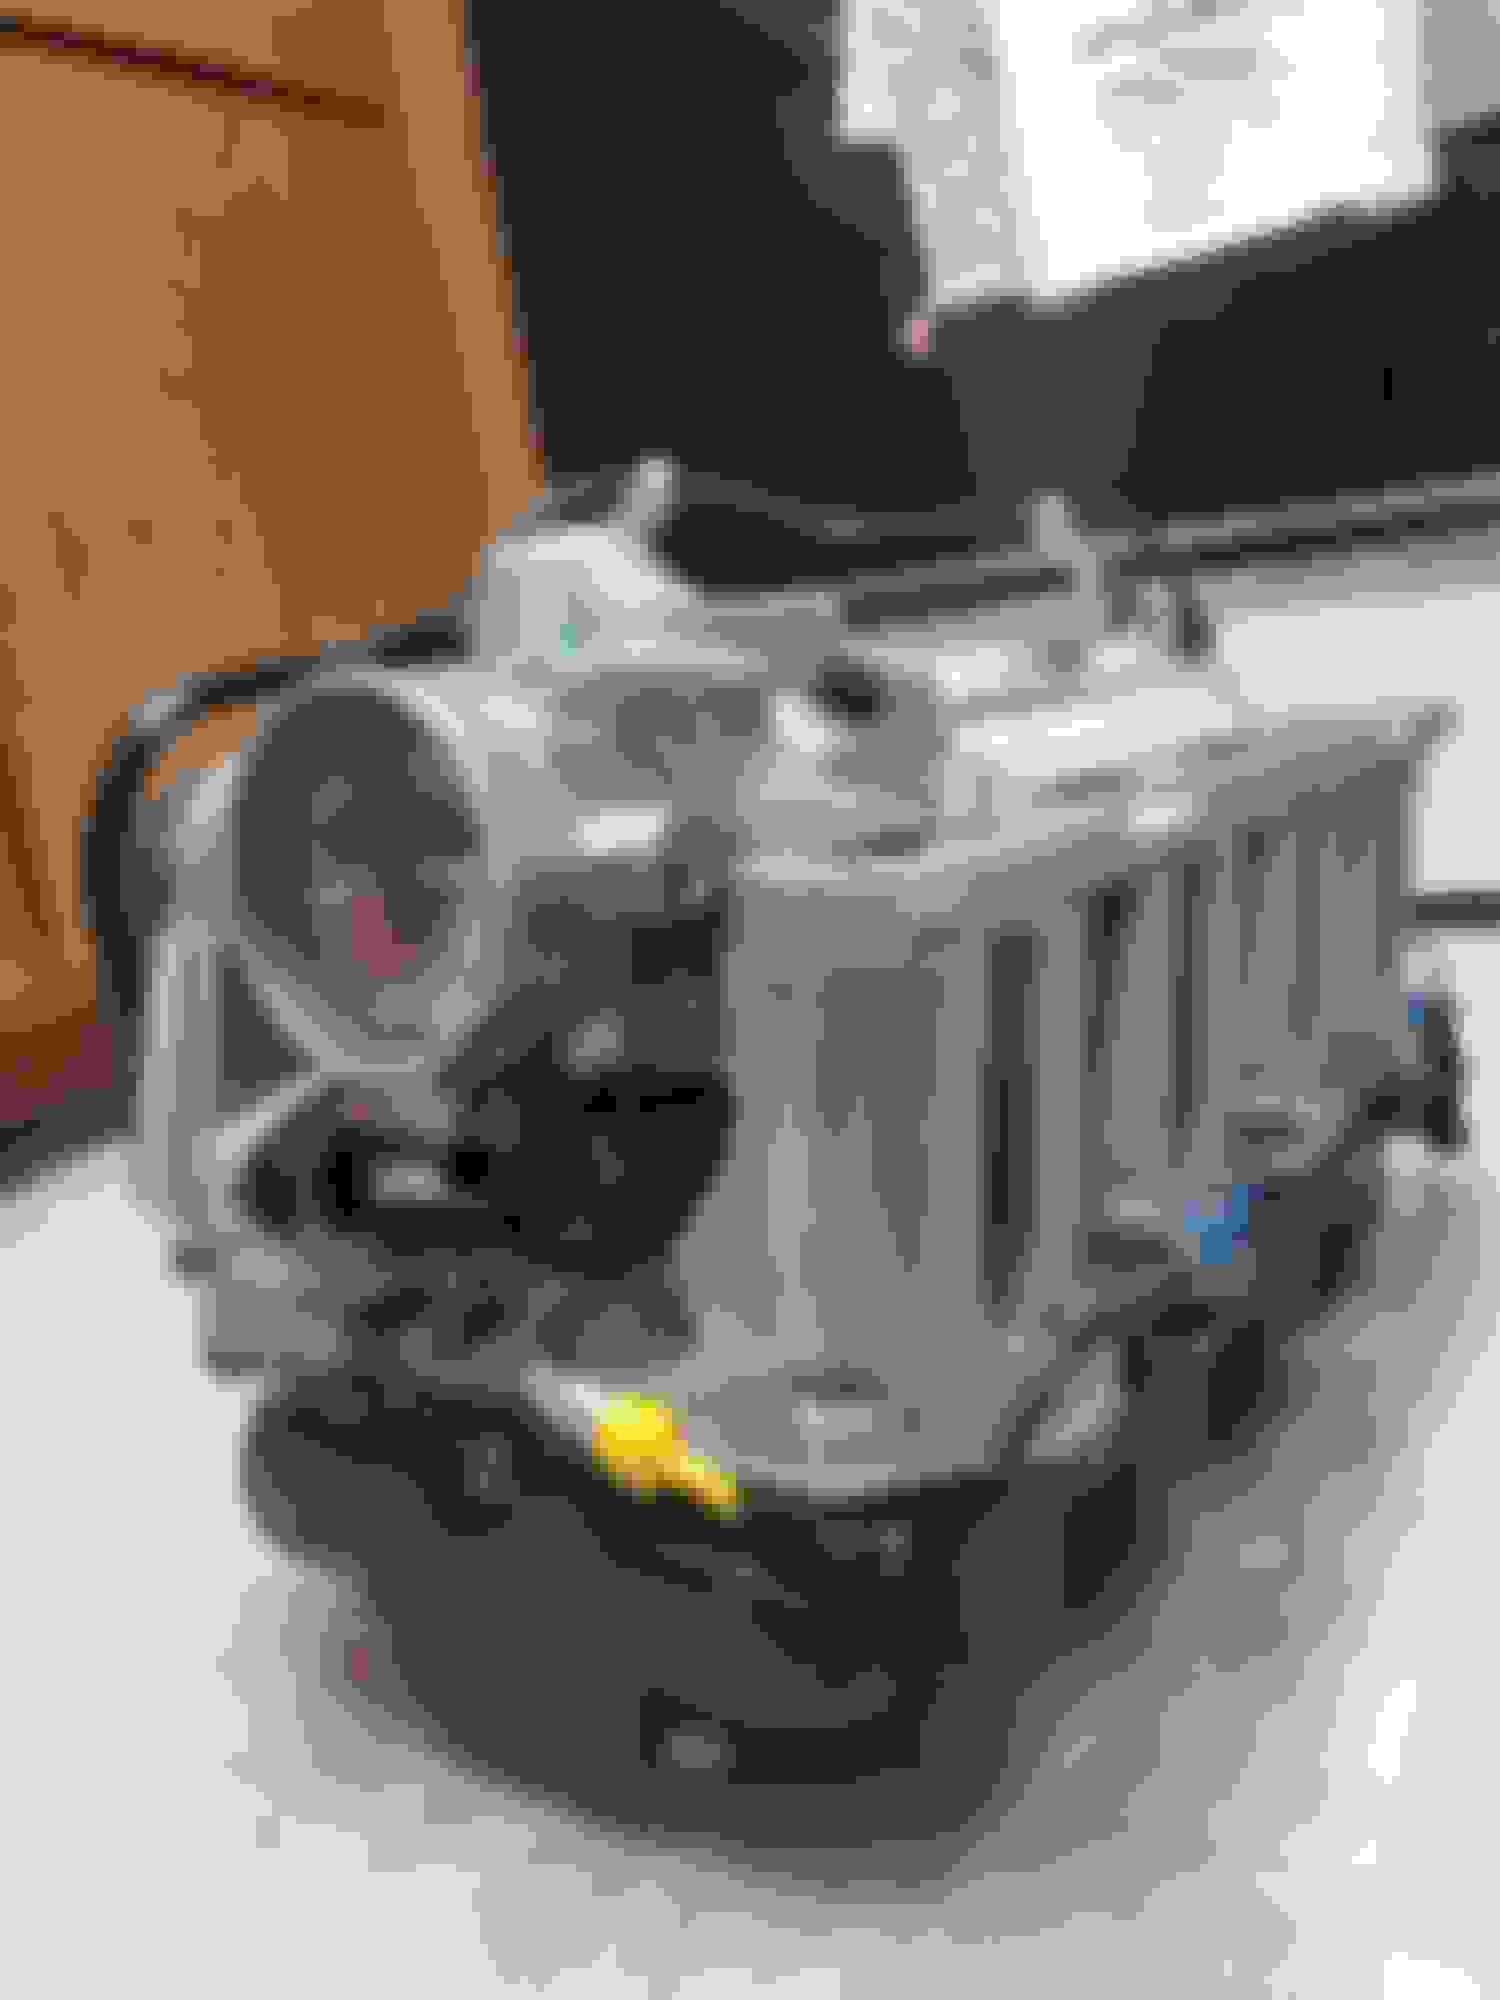
I don't really post a whole lot in forums, but I have started a project that I sort of want to give a little instruction on as I do it. I have an '88 K2500 with a rather sloppy LQ4 swap in it. Recently, Richard Holdner posted a video of him supercharging a 4.8 with an STS-V M122 blower. Well turns out just before that vid the blowers cost like $450. I was able to snag one before the price got too out of hand. Impulse buy like no other , but there it is. I'm going to be putting this blower on my LQ4 in the truck over the next few months. I'll post up the process and any road blocks I encounter, as well as my solutions for them. The truck currently has a bone stock 05 LQ4 from a 2500HD in it. The only after market part on it is the FiTech EFI system controlling it and some headers. It's still mated to the original 700R4 and t-case. (they're tired) So I still need to upgrade the fuel system, route heat exchanger system, modify the blower itself, and figure out a belt drive. I'm going to try and do this as cheaply as possible; that said I have already bought the adapters for the blower from mackdaddyparts.com. They are pricey, but I think its worth it to have a tried and true method of mounting the blower. I have also purchased the fuel rail from them, and I sourced some budget 1500cc injectors from Snake eater Performance. We will have to see how reliable the injectors are, they were pretty cheap for 1500cc. Once the set up is running reliably, I will transfer the blower to my Chevelle that also has an LQ4 swap in it. Truck is just easier to work on. Injecty Boi Injecty Bois Flow Chart This thread may or may not be updated frequently. I don't have a TON of free time most weeks, but I will try to keep the instructions of anything I do in depth. Cheers Total cost so far: LQ4 engine and swap parts - $3,000.00 M122 Blower - $800.00 1500cc Injectors - $400.00 Adapters for Blower - $1400.00 Billet Fuel Rail - $550.00 Blower, upside-down, back
The adapters and fuel rails came in. I did run into a small issue. I bought the wrong height injectors. I couldn't find any reliable info on how tall they were supposed to be. I got around this with #8 ID 5/8" long nylon spacers. I have aluminum ones but I still need to shorten them. The nylon ones proved I could do this instead of buying new injectors. The parts look and feel pretty nice. If you get them, make sure you give them a good wash, theres still some metal shavings and sharp edges. I haven't found a machine shop to mill the intake down, so I'll probably have to hack it myself. Once everything is assembled, its over 100lb I'm pretty sure. That much closer to installing it. Still need to get some pulley idlers and relocation.
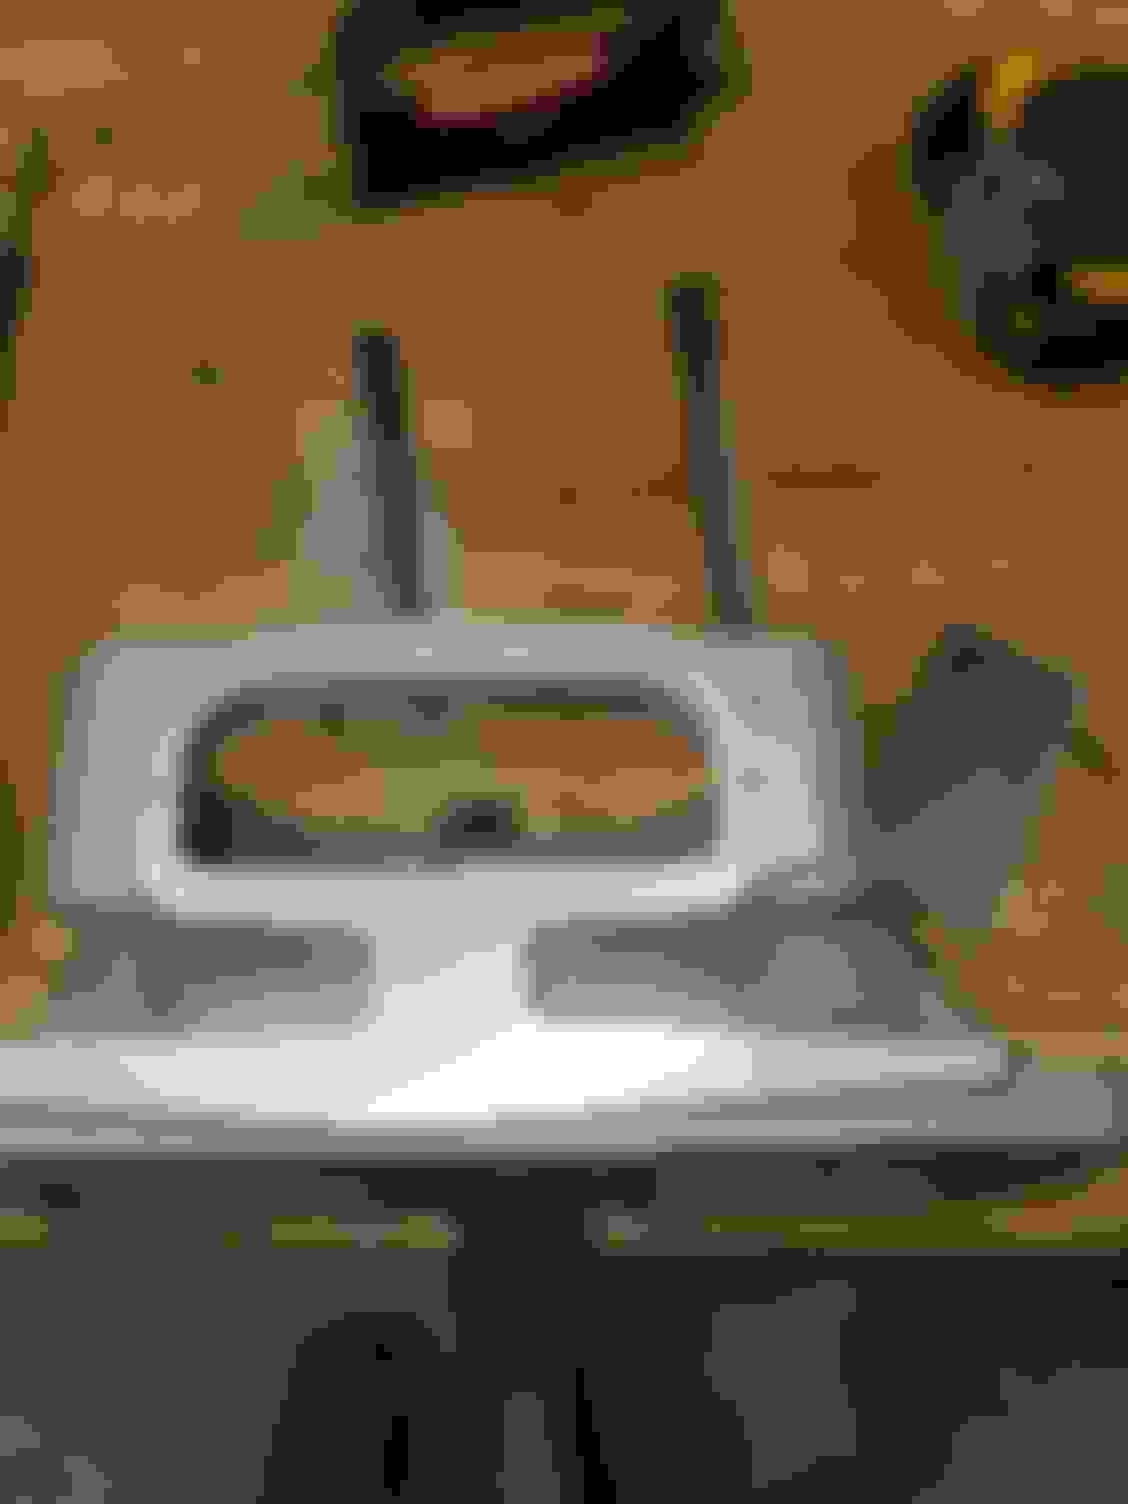
I couldnt find a shop to cut the throttle body mount for me, so I did it myself with a hacksaw and some sand paper. Measure 1.25 from the bottom up and make a cut with your prefered meathod. Then, glue or clamp some p50 paper down and lap it flat. Then use p150. You should be left with a machine flat surface. Now i was going to bolt my plate to it, but decided using EA9394 adhesive would be better. You can bolt it down if you want. But this saved me time and having to use a gasket. This will make clearance for the blower and the valley cover. Before cut After cut Raw cut surface Lapped surface with drilled holes 6061-T6 .100" plate. 1.5"w x 3" LOCTITE EA9394 Solid bead all the way around Applied
I re-installed the throttle body / relief valve mount. Shown is the added clearance by removing the lower PCV connection. I have also re-installed and bent the cable for the valve. It must bent to clear the valley cover as well. I did this with a pair of large vice grip plyers and channel lock plyers. Once bent, the valve must remain closed when no vacuum is applied to the cable control canister. With vacuum. the valve must be fully open. Bend your cable retainers accordingly. Re-installed adapter Modified cable retainer 'rear' Modified cable retainer 'front'
I�m currently building the engine for my setup with the caddy blower. Looking at an under driven pulley setup also. I�m putting this into my 51 lead sled. Lowering the compression in the 5.3 to accommodate the 14 psi I�m shooting for. Did you ever figure out what heigh injector you were suppose to run? I�m trying to buy parts now but definitely shooting in the dark. What EFI system are you running? I�m looking into interchilling the coolant for this thing. 51 Ford
Any updates? I have the same sc & adapter setup, planned for a LS2 swap into my C10. Since I can't install until the spring (truck's in storage for the winter), I've been looking for threads like this to help when the time comes.
Hey, long time no update. Life and such.
Any who, the engine for my build has changed. I have an L76 from a G8 now, but this blower is still going on. Right now I'm trying to figure out the throttle body. Most people (mackdaddyparts included) use an adapter and pipe to make a 90* turn and attach the throttle body remotely. I don't want to do that. I think its ugly. Problem is I also want a 102mm throttle body. LARGE. I'm having some fitment issues. Right now I don't think I'll have the clearance between the body and the valley cover. Right now what I'm thinking is either spacers to raise the blower up 1/2", or chopping the body linkage up and moving it closer to the bore of the throttle body. Not sure yet. Also, the adapter plate I made for the throttle body has been rotated 90* to fit it sideways. It's too wide to sit normally. Clearance me no have. I'm going to bevel the adapter plate inward. BIG
Moving to the L76, you'll need adapters for to go from cathedral to rec port anyways, right? Which would give you the height to clear the TB linkage?
I'd considered going 102mm until I measured the blower intake flange, which would be about non-existent if taken all the way out to match, so running a ported 90mm. I just finished porting my blower, nothing too crazy, but since it looks like you're trying improve flow too, I can share a few pics if you're interested.
I suppose I should have specified more clearly. I am using an L76 short block. I'm still using my reworked 317 heads, so there is no square to catherdral adapter in the mix. Any photos or ideas are welcome. Thanks
When I had the TB adapter off to shorten in as you've already outlined, I opened up the inlet side from 84mm to 90mm to match the throttle body (+12% open vs stock), no pic
Then I pulled the lid and taped everything off so I could match the SC outlet ports to the adapters. I'm sure you've seen there's some room for improvement, I cut back to the upper and side scribe lines (adapters) and also took off about a third of the injector boss. I tapered down into the plenum as far as normal length bits would allow (+15% open vs stock)
Laminova slots. The inlet slots (red arrows) are already about 15mm, so I left them alone, but the outlet slots are small, the two slots on one side were 8mm while two slots on the other were closer to 10mm. I thought the mismatch was a little weird. I'm sure GM did what they did for a reason, but Laminova designed them for 15mm in and out, so that's what I went for. You'll need long bits or a bit extender (what I used). This pic shows the progression,
1. an inch or so of the stock 8mm slot
2. 3/8" burr
3. plunging in with 1/2" cone burr (casting thickens up a bit the wider you go)
4. connecting the dots on the way to 15mm. (+75% open vs stock)
The TB adapter, port matching, and slots were time consuming but simple enough.. remove the lid, tape accordingly and get to work.
The SC outlet is another story... requires draining oil, removing rotor assy (bring a hammer), and taping off needle bearings before doing anything else
You can see marks where I was going to open the triangle further, but I got comfortable with this after looking at a lot of GT500 porting pics. I'm missing the secondary port a lot of folks were adding, but I'm ok with that. (+ 10%ish open vs stock)
I've been doing some drawing in Fusion 360 to come up with ideas. If I make a spacer it will look something like what I have attached as a photo. I sent it to a CNC shop to have an estimate done. If it's not super pricey, I'll have them made and move on with the project like that. If anyone was curious about the blower mount venturi dimensions, I suppose you have them now. In a rough sense. Considering I need them to be so thick, the price of material is going to be pretty steep. CAD drawing for my spacer idea.
Looks good, agree that's going to get a little pricey at that thickness, but admire the effort to make it what you want, should be cool. I tried to upload a few pics and descriptions of what I did with porting mine, but looks like my post count isn't high enough yet (?).
I'm currently waiting on spacers to be made. I don't have a lot of reliable machine shops near me. I'm also about to transition out of the Marine Corps, and that process is taking a lot of my time. I have re done my Holley Terminator harness for the car, finished the intercooler and routed the fuel system, but that's about it for now. dead-head return side fuel rail -8an dead-head pressure side fuel rail -8an filter Holley Terminator Wiring and remote Oil filters Extended throttle body harness Routed intercooler and res
I got bored and frankly frustrated today. The machine shops local to me are dragging *** at a rate niegh-to-unthinkable. So I decided to try and shorten my throttle body instead of lifting the blower to solve the space issue. I believe I may have succeeded. I removed the shaft from the TB and ground down the section that was previously incased in a nylon bushing to space out the arm for a return spring. I ditched the spring, bushing and washer. I then extended the flat spots inward and now the linkage arm slides nicely all the way to the bearing. Once I've trimmed the nut and shaft off with a death wheel, I should have gained the necessary space to mount the TB directly to the blower without hitting the valley cover. Notice in the pic how close the arm is to the body now. Win I know a return spring function is nice in a TB, but does it really have to make it SO MUCH WIDER? I'll just a spring somewhere off the bottom of the arm. Shortened throttle body.
Well.... that didn't work. After installing it on the blower it looks like it is still about .250" too low. The adapter to the valley cover is about 3.125". I'm clearly more than that here... I'm running out of things to shave down at this point. It seems that if you want to mount a 102mm throttle body to these you HAVE to raise the blower some. I just wish machine shops were more reliable. Anyone have any ideas? I could tray to make risers myself that are only .250" thick; plus gaskets that might give enough... but it'll be hard with only drill bits and burrs. I'm just throwing tools right now.
I went and got 3 feet of 6061 3/8 by 2.5" at my local Industrial Metal Supply. I cut 2 pieces from it 16.25" long. I lined the pieces up to the outside edge of the blower body and roughly centered length wise. I clamped them in place and used a 12" long 3/8 drill bit to gently center mark the hole locations in both pieces. Once the center marks were in the metal, I pilot drilled and final sized them up to .377" just using a hand drill. I took off one of the adapters from the engine to use as a guide to mark out the inlet holes. I just bolted the risers straight to the adapters and scribed a line on them from the other side. I am going to use drill bits and burrs to hog out the material from the risers. I may use a small dia bit and make a line of holes around the scribe line to make the hole. If I do it that way, I will use a drill press to make more accurate holes quickly. Once the risers are done, I just need to quickly fab a throttle cable mount and install it to the bottom of the blower. Then the blower and be final installed with the throttle cable already attached, it will feed through too the front under the blower. riser blank in position to mark hole centers hole centers marked riser drilled and mounted to adpater view from other side through inlet hole scribing a line the scribed lines
So are you trying to space the supercharger up to gain clearance for the larger TB? If so, have you seen ICT Billet 551959, 1/2" cathedral port intake spacers? Might save you a lot of time running this verse making your own.
So are you trying to space the supercharger up to gain clearance for the larger TB? If so, have you seen ICT Billet 551959, 1/2" cathedral port intake spacers? Might save you a lot of time running this verse making your own.
Yes, I need the extra space for the throttle body. I had not seen or known of those ICT spacers. That might be my golden ticket. Drilling these spacers myself is a pain and slow going. Appreciate that!
 03-23-2021, 01:55 PM
 , but there it is. I'm going to be putting this blower on my LQ4 in the truck over the next few months. I'll post up the process and any road blocks I encounter, as well as my solutions for them. The truck currently has a bone stock 05 LQ4 from a 2500HD in it. The only after market part on it is the FiTech EFI system controlling it and some headers. It's still mated to the original 700R4 and t-case. (they're tired) So I still need to upgrade the fuel system, route heat exchanger system, modify the blower itself, and figure out a belt drive. I'm going to try and do this as cheaply as possible; that said I have already bought the adapters for the blower from mackdaddyparts.com. They are pricey, but I think its worth it to have a tried and true method of mounting the blower. I have also purchased the fuel rail from them, and I sourced some budget 1500cc injectors from Snake eater Performance. We will have to see how reliable the injectors are, they were pretty cheap for 1500cc. Once the set up is running reliably, I will transfer the blower to my Chevelle that also has an LQ4 swap in it. Truck is just easier to work on.


 I know a return spring function is nice in a TB, but does it really have to make it SO MUCH WIDER? I'll just a spring somewhere off the bottom of the arm.