Camaro 1990-2002: How to Replace Your Headlights and Fog Lights
Have your headlights and/or fog lights burned out, leaving you in the dark? Before you shell out the cash to a professional to replace them, check out our step-by-step guide and save yourself a bunch of cash by doing it yourself.
This article applies to the Chevrolet Camaro (1990-2002).
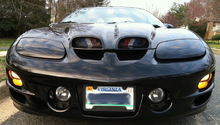
Headlight and fog light bulbs generally last a long time, especially in newer cars. But it's inevitable that they will eventually burn out, making you more susceptible to an accident or a ticket from the local police. Dealerships and other professional shops will gladly replace them for you, but it will come at a cost: labor, and oftentimes a 50% or more markup on the part itself. Because it's so easy to replace a headlight or fog light, there really isn't a valid reason why you would want to pay someone to do it for you. Plus, removing a damaged or old headlight assembly is a great excuse to replace it with a sweet new aftermarket unit. Keep reading and we'll walk you through this simple process.

Materials Needed
- Flat head screwdriver
- Phillips head screwdriver
- 15mm Torx screwdriver
- Needle nose pliers
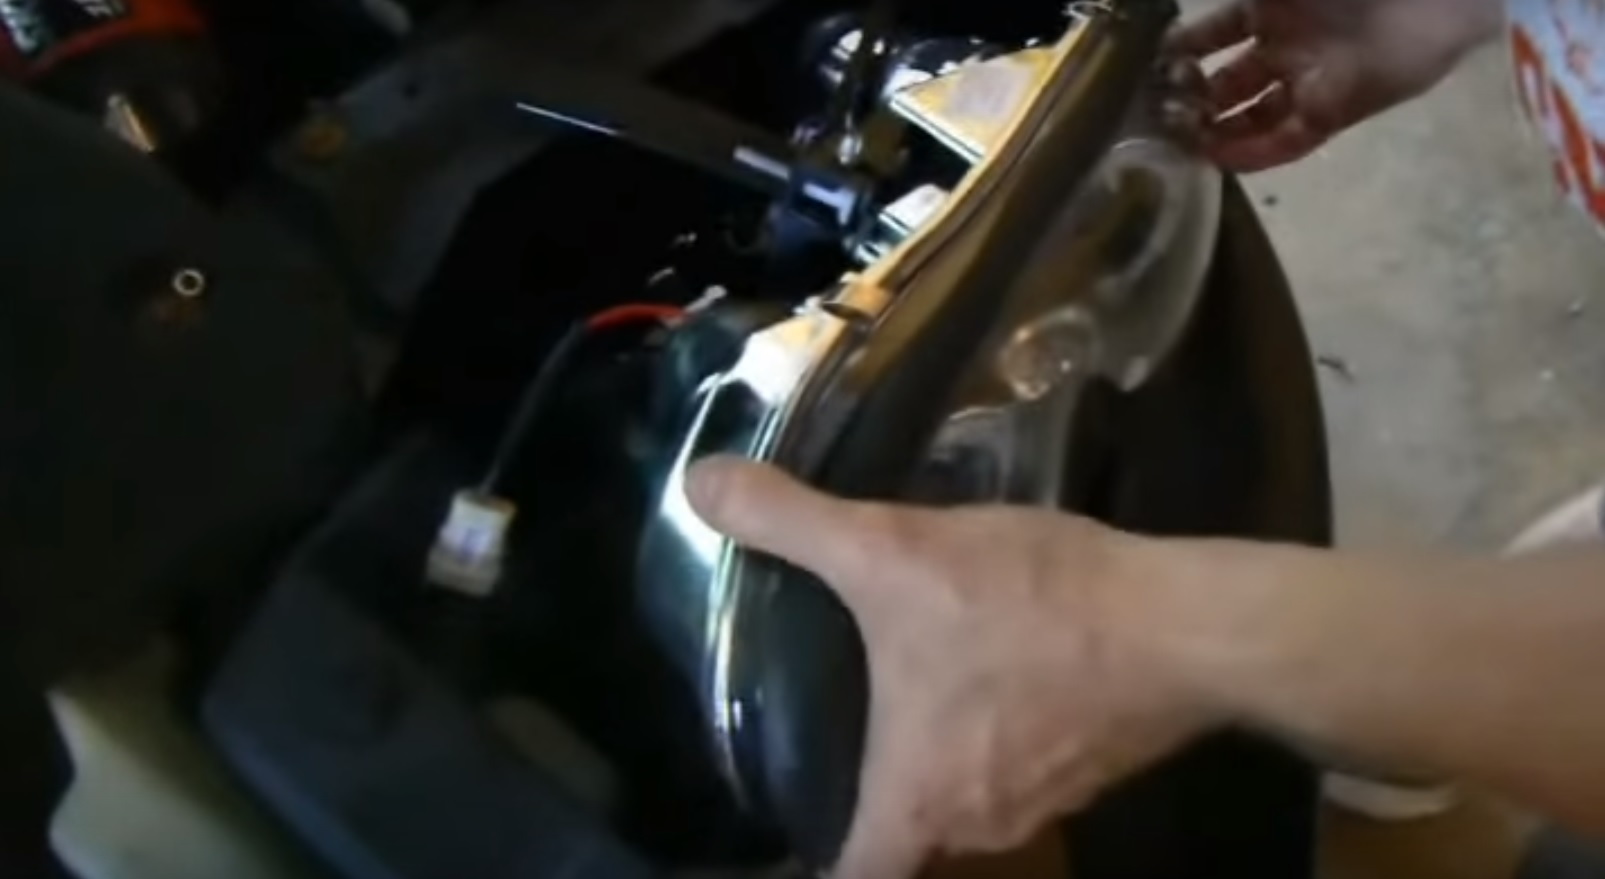
Step 1 – Remove the stock headlight assembly
Begin by opening the hood to gain access to the back of the headlights. Use a flat head screwdriver to pry the connectors off the back of the headlight assembly (two per headlight). Remove the two Phillips head screws on the back of each headlight. There are two plastic tabs located on the back of each headlight. Slide the two tabs over to release the headlight assembly. Pull the headlight assembly out.

Figure 1. Remove the two connectors from the back of each headlight. 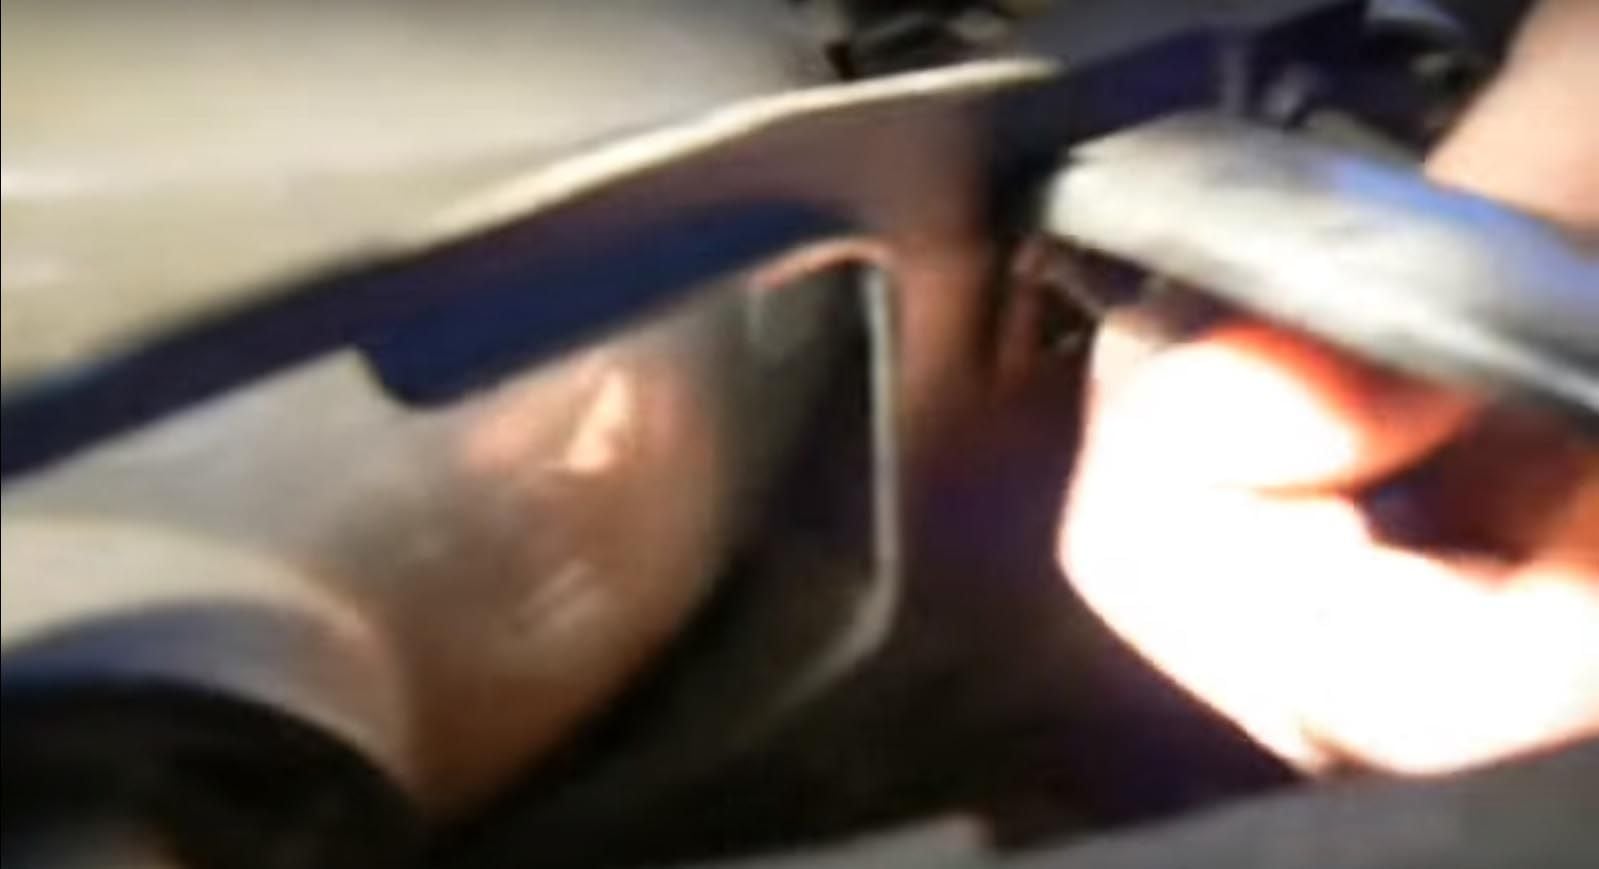
Figure 2. Remove the two screws from the back of each headlight. 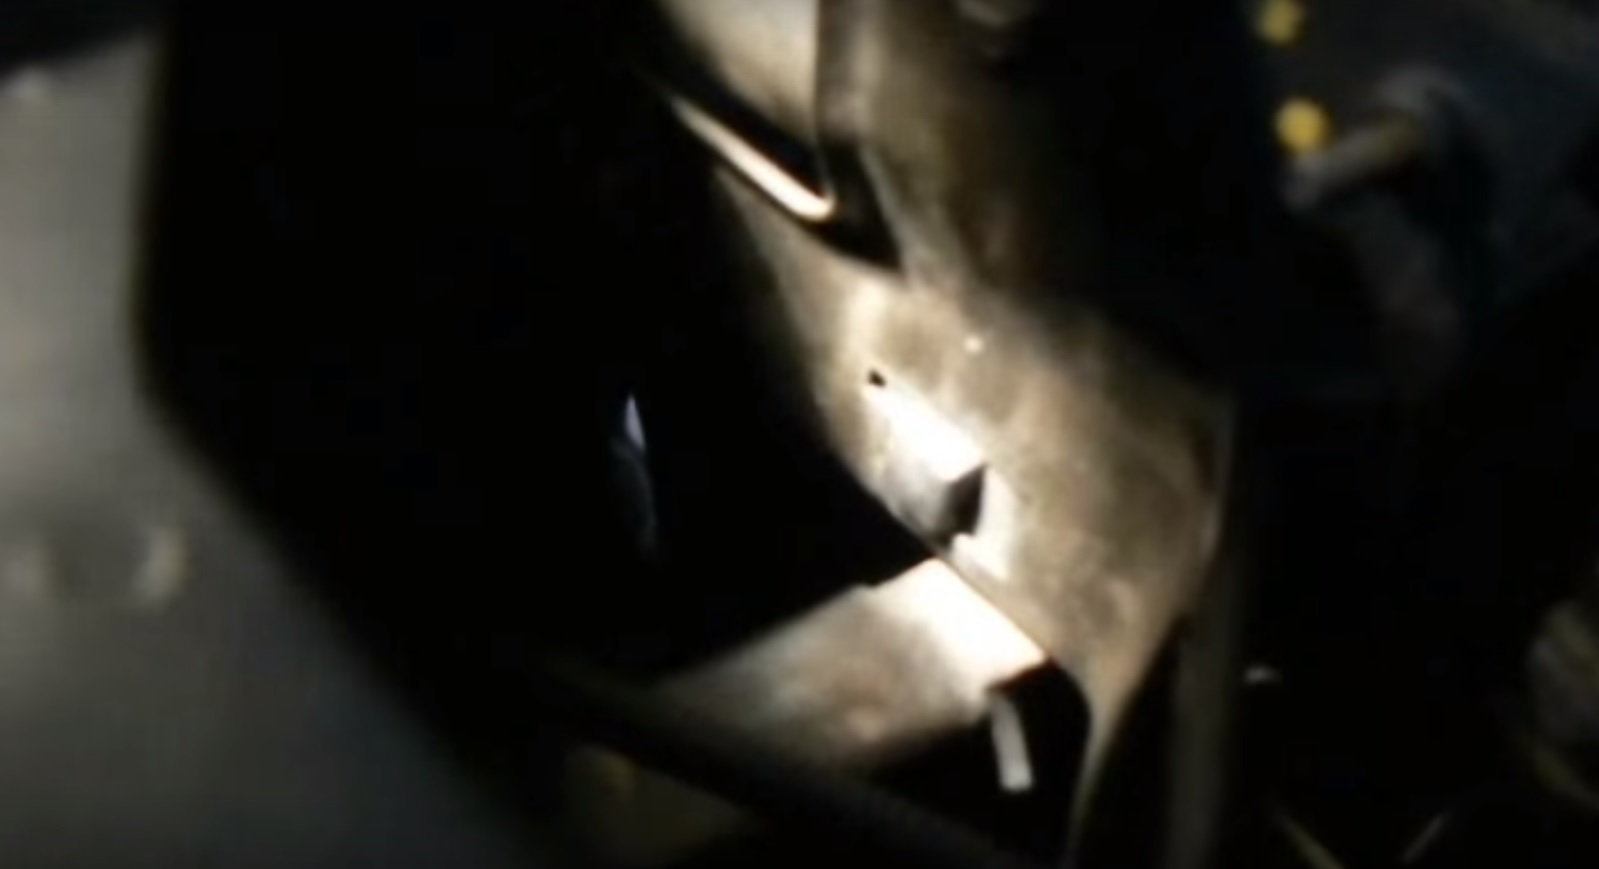
Figure 3. Slide the two tabs over to release the headlight.
Step 2 – Install the new headlight assembly
Slide the new headlight assembly into place and push the two tabs on the back over. Install the two screws and tighten. Plug the two electrical connectors into the back of each headlight. Test to make sure everything is working properly, and you're all set! Be sure and test the lights against a wall while parked on a flat surface to ensure they are angled properly. Adjust if needed.
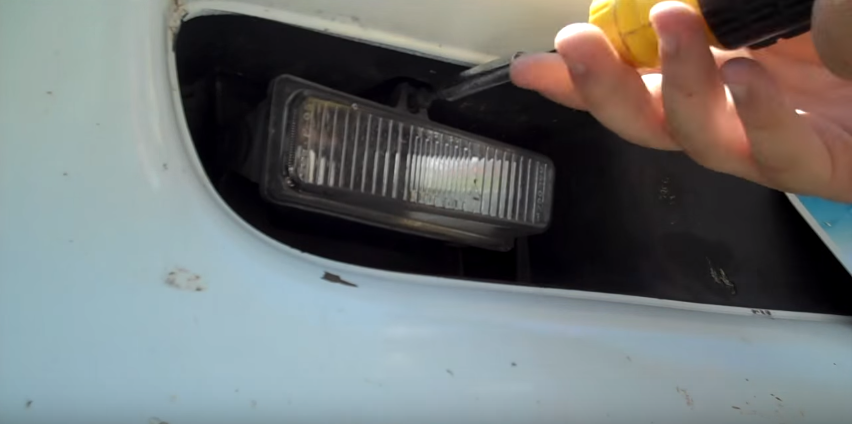
Step 3 – Unhook fog light
Take the 15mm Torx screwdriver and remove the adjustment screw that's in the upper middle portion over the fog light. Then remove the spring after the screw comes out.
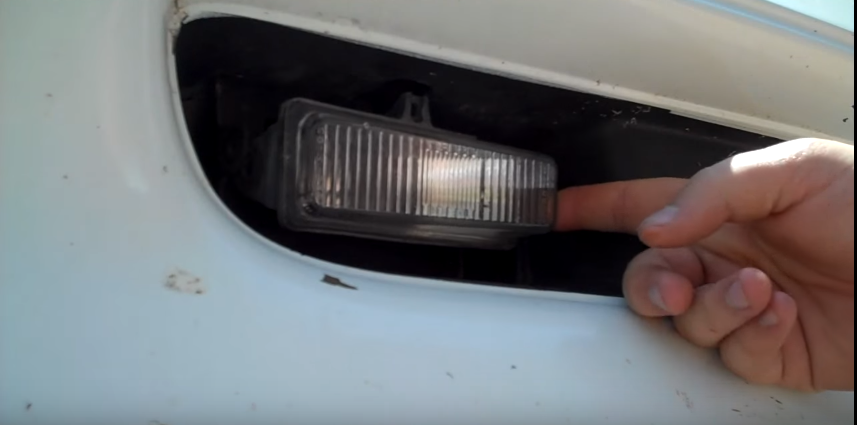
Take the needle nose pliers to carefully remove the plastic pins that are on the left and right side of the fog light. To do this, remove the center portion of the pin that slides into the main clip. Pull the center portion out slightly with the needle nose pliers and remove the clip/fastener. Do not pull the pin all the way out. However, if you accidentally do, be careful not to lose it because they are difficult to replace.
Repeat this step on the other side of the fog light.
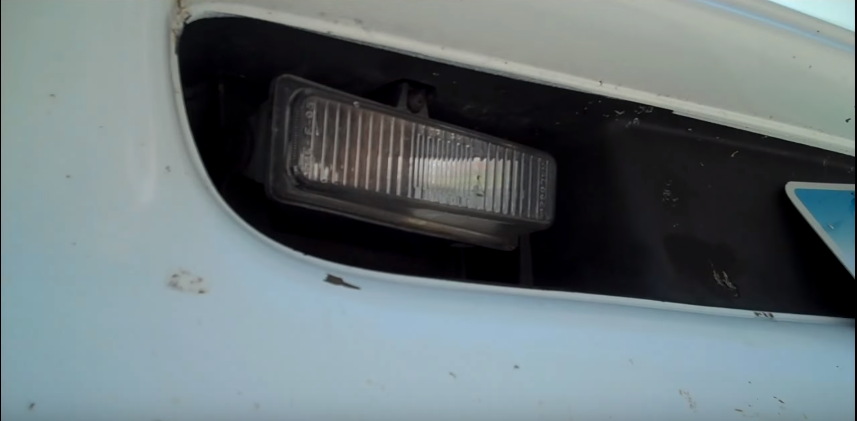
Step 4 – Remove bulb
With the two clips and the adjustment screw removed, you can simply pull the fog light away from the car to access the rear. Turn and pull the light bulb stalk away from the fog light and unscrew the bulb.
Pop in the new bulb, being careful not to let the bulb come into contact with you. You do not want any oil or residue getting onto the bulb, as this will damage the bulb when it gets hot under use.

Step 5 – Reinstall components
With the bulb changed, put the stalk back into the fog light. Secure the fog light by screwing in the adjustment screw that's over the fog light. Re-insert the pin on one side of the fog light and grab the clip with the needle nose pliers. Insert the clip through the fog light bracket and fog light. This is the hardest part of changing the bulb, and it may take a few tries to get it right.
Once the pin is fully inserted, push in the center pin and that's it. Repeat this on the other side of the fog light and you're all done.
Featured Videos: Headlight and Fog Light Install
-
Camaro Headlight Install
-
How to Change Fog Light Bulbs
Related Discussions
- How Do You Go About Changing the Fog Light on a Camaro? - LS1Tech.com
- Official 4th Generation F-Body Light Bulb List - LS1Tech.com