Camaro and Firebird: How to Blackout Headlights
Blacking out your headlights can lead to disaster if done incorrectly. The best way to approach this mod is from the inside out, as explained here.
This article applies to the Chevrolet Camaro and Pontiac Firebird (1990-2015).
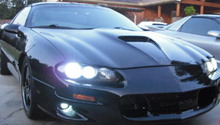
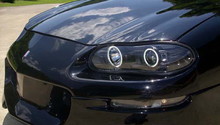
Although there are many different ways to change how your car looks, the most subtle things tend to make the biggest difference. Blacked out headlights, also known as smoked, involve darkening the housing assembly to make the front-end of your car look more sinister and aggressive. Using a completely blacked out plastic housing is not recommended as it will reduce the overall lighting capability of your car and cause you trouble seeing in the dark. The best way to approach smoked headlights is to use the Whistler modification. This procedure focuses on painting the inside of the housings, without messing with the cover. Use the instructions below to safely black out your Camaro or Firebird's headlights.

Materials Needed
- Paint
- Oven or heat gun
- Gloves or hot pads
- Butter knife
- 1000 grit sand paper
- Steel wool
- Tape and printer paper
- Clear RTV
- 1/4" drive with 10mm socket
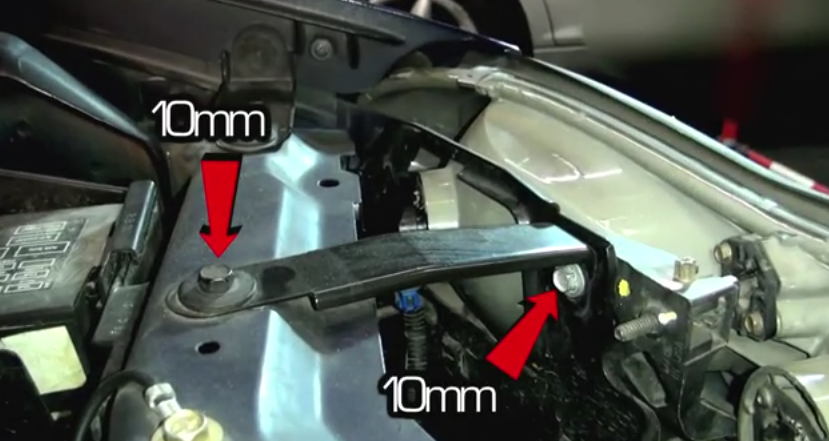
Step 1 – Remove both headlight assemblies
Locate the L-bracket from inside the engine bay and remove the 8mm bolt holding the light in place. With it off, wiggle the headlight assembly off, disconnect the high and low beams, and remove the bulbs. When you remove the bulbs, lay them somewhere safe, and do not touch their fronts with your fingers.
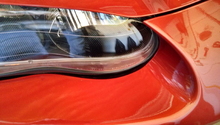
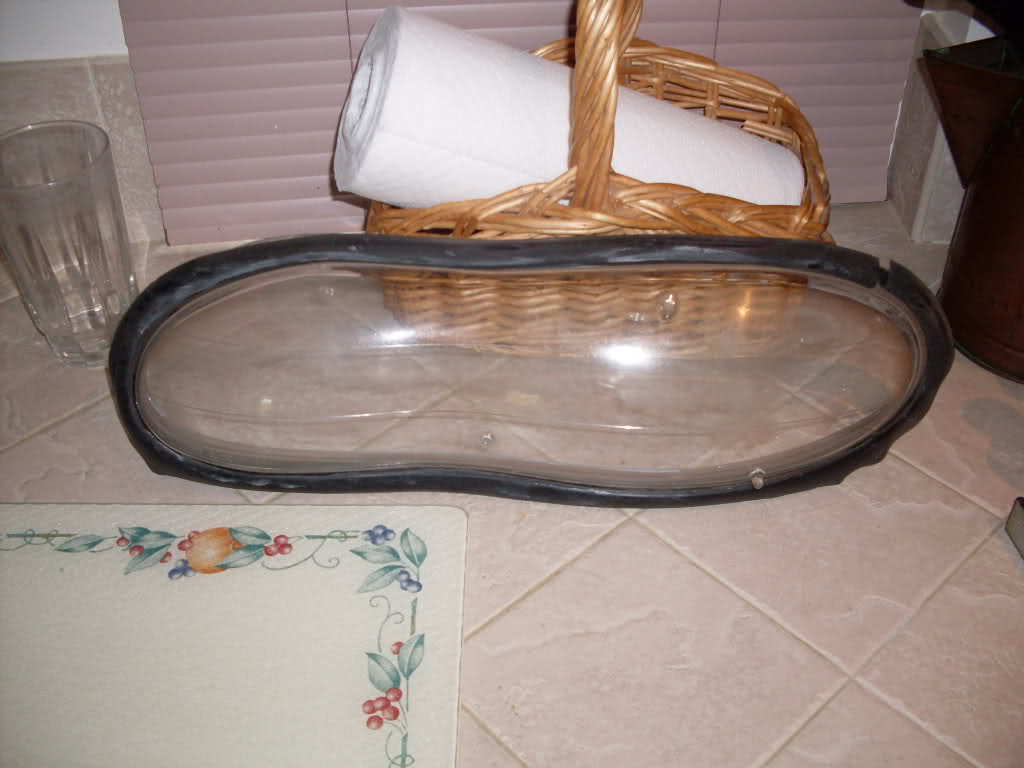
Step 2 – Heat and split the housings
Using either an oven or heat gun, warm up the sealant enough to split the cover off. You can use a heat gun, but it will take a while to heat all of the sealant. When using the oven, set the temperature to 200 degrees (Fahrenheit) and leave them inside for 20 minutes.
- Use some gloves or hot pads to take the headlight assemblies out of the oven.
- Grab your butter knife and begin working around all the edges of the headlight assembly.
- Carefully remove the headlight cover.
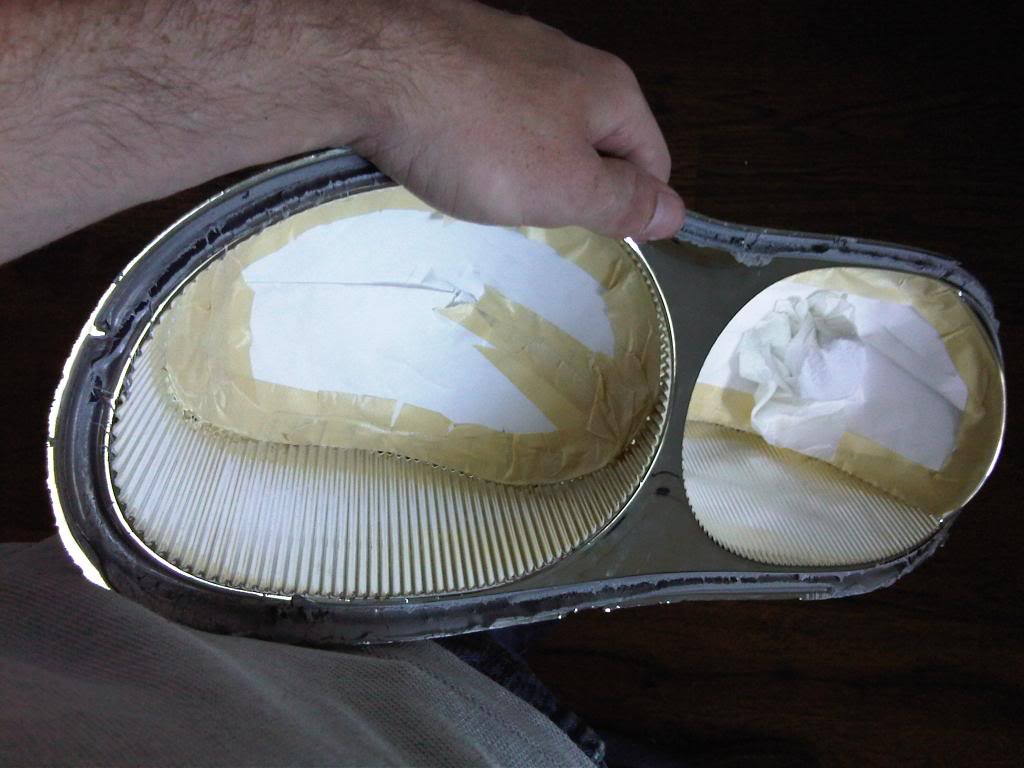
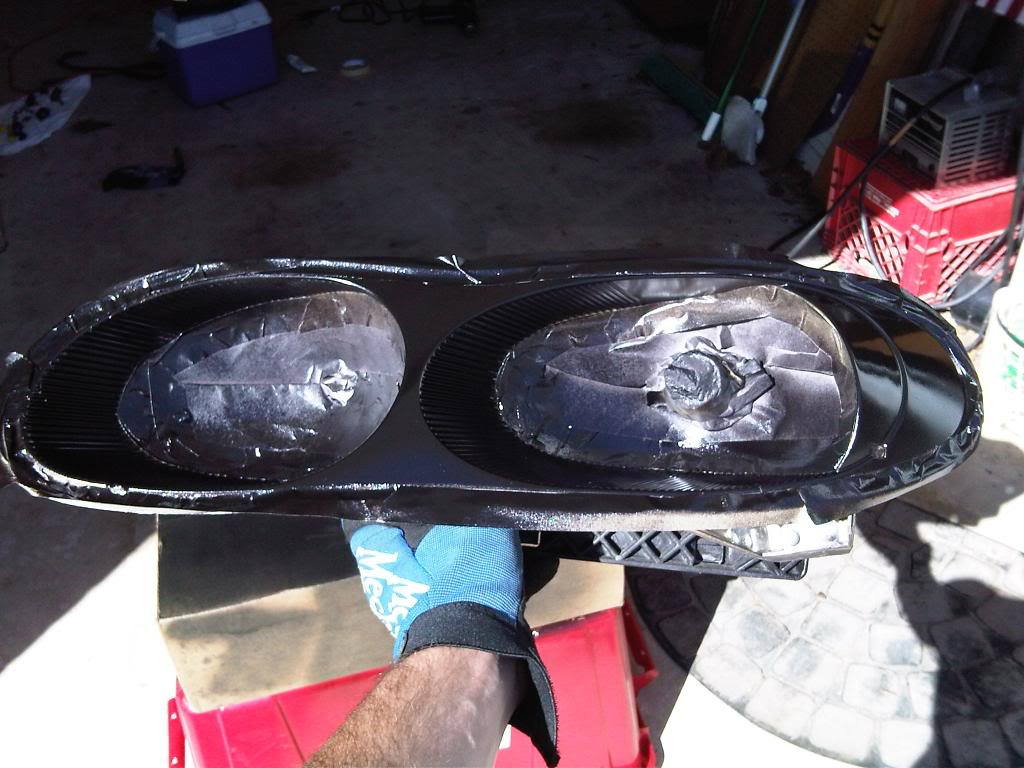
Step 3 – Begin masking the headlight assemblies
Here you can take the construction paper and cut out enough to fit on the rear of the headlight assemblies. Use some masking tape to secure the paper onto the rear of the housing.
Step 4 – Prep the housing for paint
If you are familiar with any sort of body work, the phrase "paint is only as good as its prep" should be familiar to you. Here you want to ensure the housings are ready to handle the paint, so grab that 1000 grit sand paper, add some water, and begin wet sanding the housings. After a few minutes, tape up the outer area of the housing.
Once the surface is smooth enough, grab the spray paint and begin applying layers to each housing. Wait 10-20 minutes between each coat to ensure you get the best application. After applying the coats of paint, allow up to an hour for them to dry.
Step 5 – Assemble and install the headlights
Remove the masking tape, reassemble the headlights, and make sure to carefully apply the clear RTV on the lenses. If you have any trouble sticking the two halves together, you can use the heat gun to warm the adhesive back up and try again. Make sure the headlight assemblies are tightly sealed and reinstall them back onto your car.
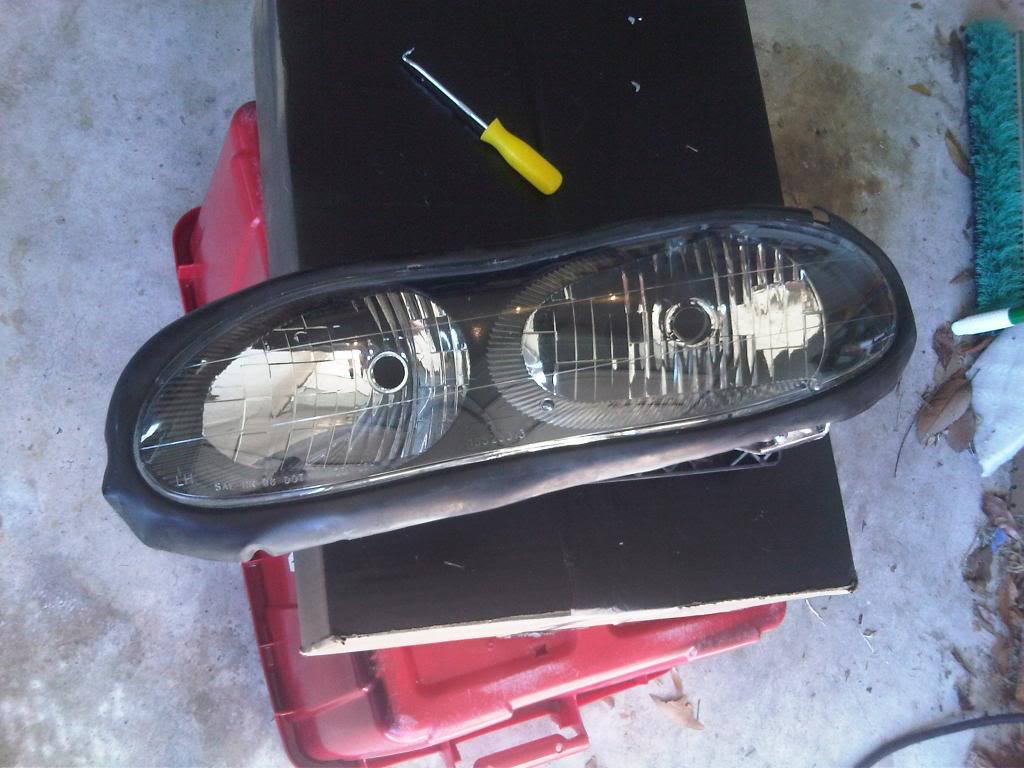
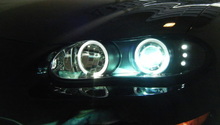
Figure 5. Reassemble the headlight. 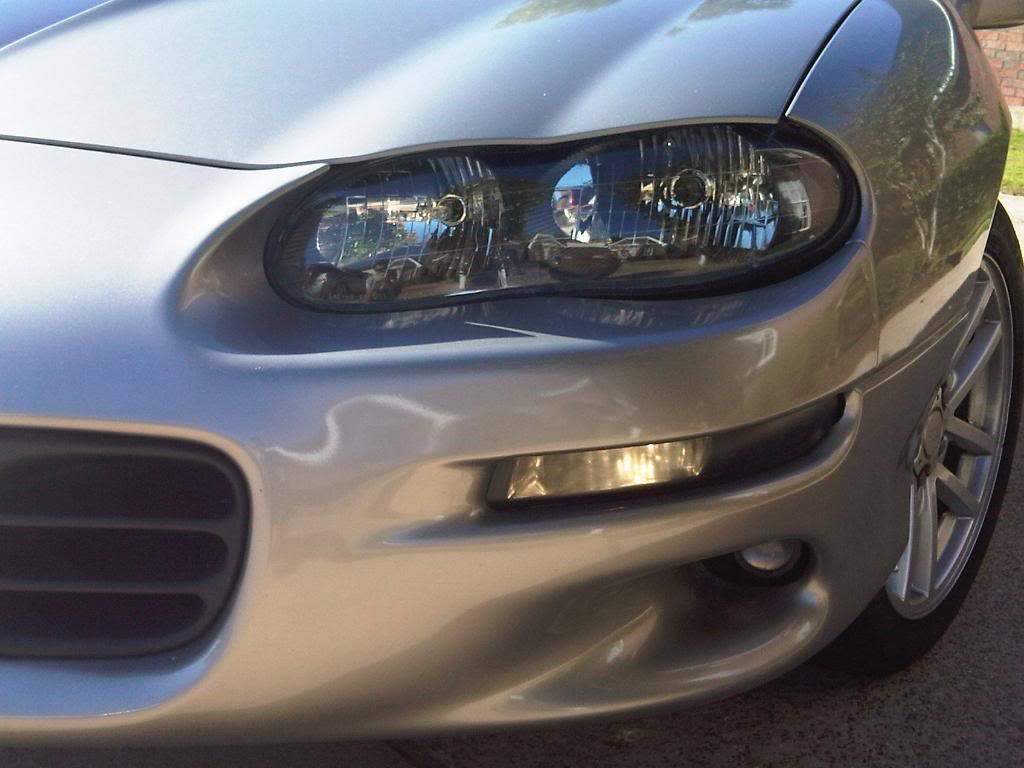
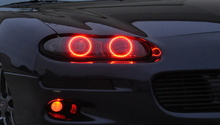
Figure 6. Smoked headlight installed.
Related Discussion
- Whistler came out perfect (pics!) - Ls1tech.com