Camaro and Firebird: How to Repair/Wrap Your Dash
Why spend the extra money to buy a new dash, or you could just give your old dash a new look? This article will show you how to repair and renew an old dash.
This article applies to the Camaro and Firebird (1990-present).
Are you sick of seeing all those cracks on your dash? You don't have to get a new dash, just glue those cracks shut and wrap your dash in vinyl. It'll look good as new and will save you money. Keep reading to learn more.

Materials Needed
- Vinyl wrap
- High strength, high temperature adhesive (3M Trim adhesive or DAP Landau Top adhesive recommended)
- Plastic welding epoxy
- Cardboard
- Tape
- Razor
- Sandpaper
- Clean cloths
For these instructions, we'll be going over wrapping the top dash pad, but you can do this for pretty much any part of the dash.
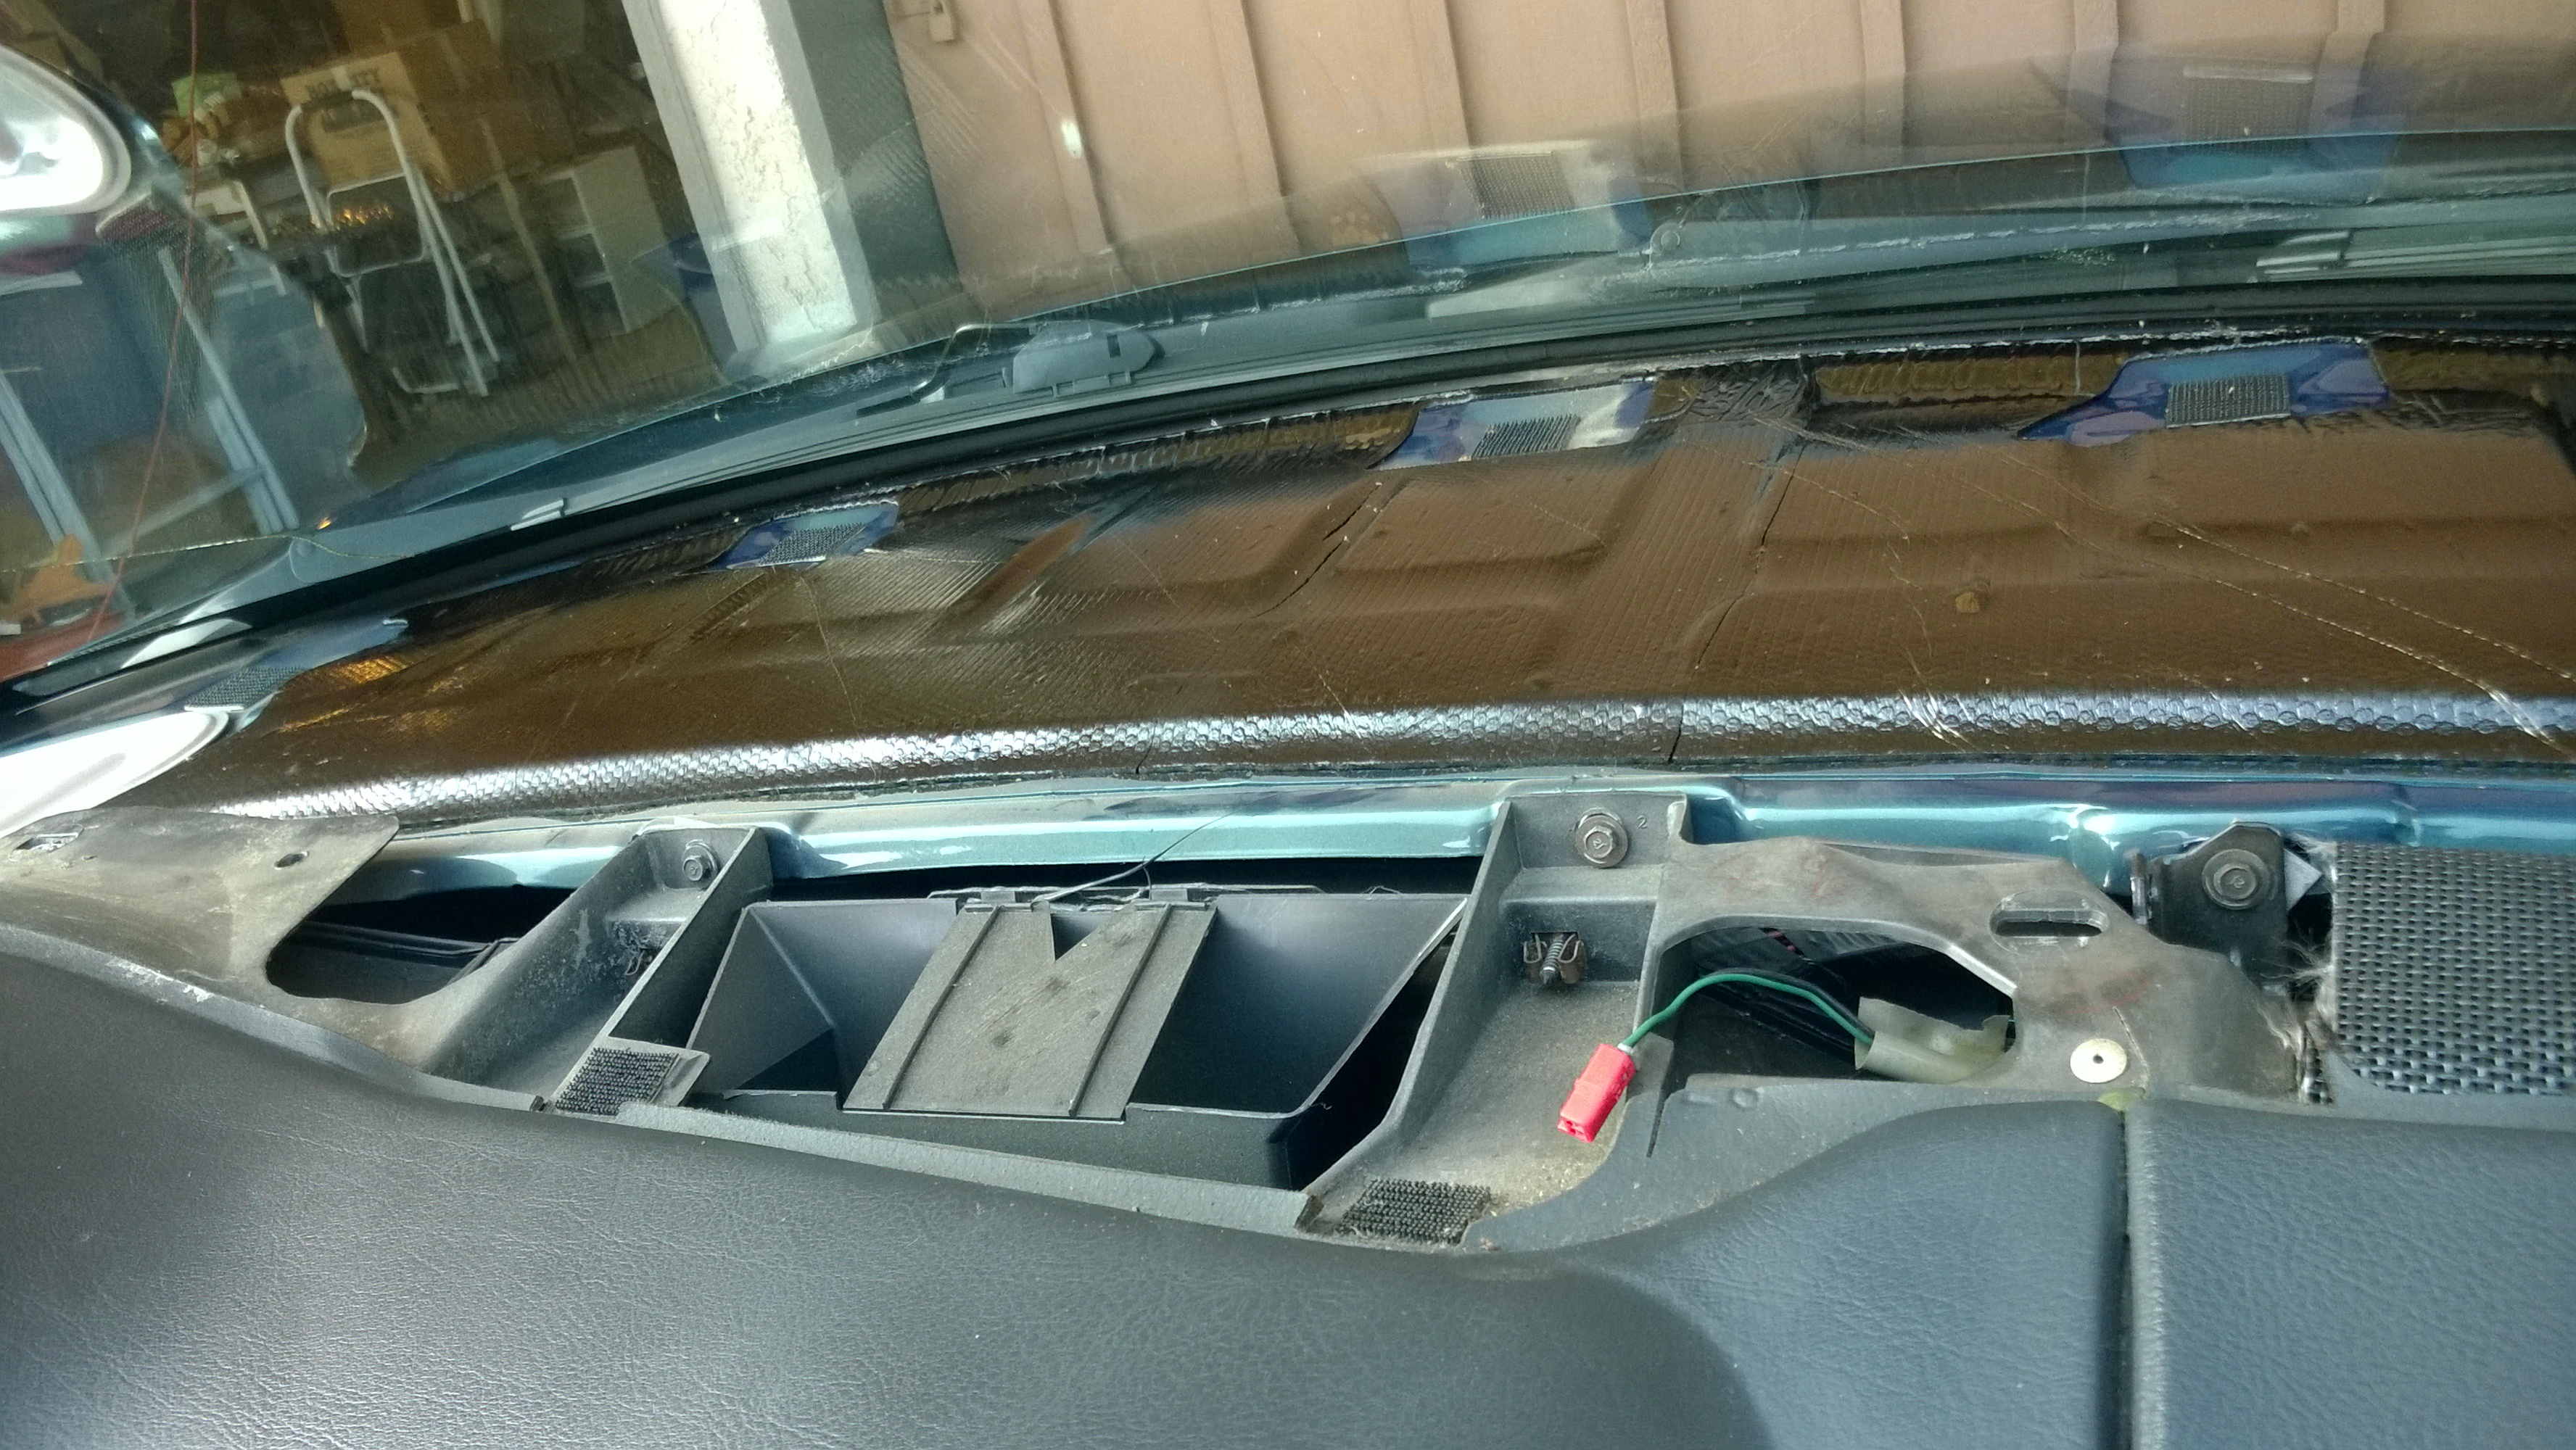
Step 1 – Remove the dash pad
You'll need to be extra careful removing the dash pad to avoid breaking it even further. Dashes become extra brittle after years of use. To get at the dash pad, you'll need to remove the plastic trim pieces from the A-pillars. Then pry the dash pad off along the edges. It'll be fastened down by plastic tabs, so be careful as you pry them loose that they don't break off.
Step 2 – Fix the cracks
Find a nice dry surface to work on. To close the cracks in your dash, you'll need a strong welding epoxy. Apply the epoxy generously to the cracks and then place cardboard on the underside of the dash. This will give some structure to it as the epoxy cures, which can take anywhere from a few hours to a whole day depending on what you use.

Figure 2. Line up the cracks on the dash pad. 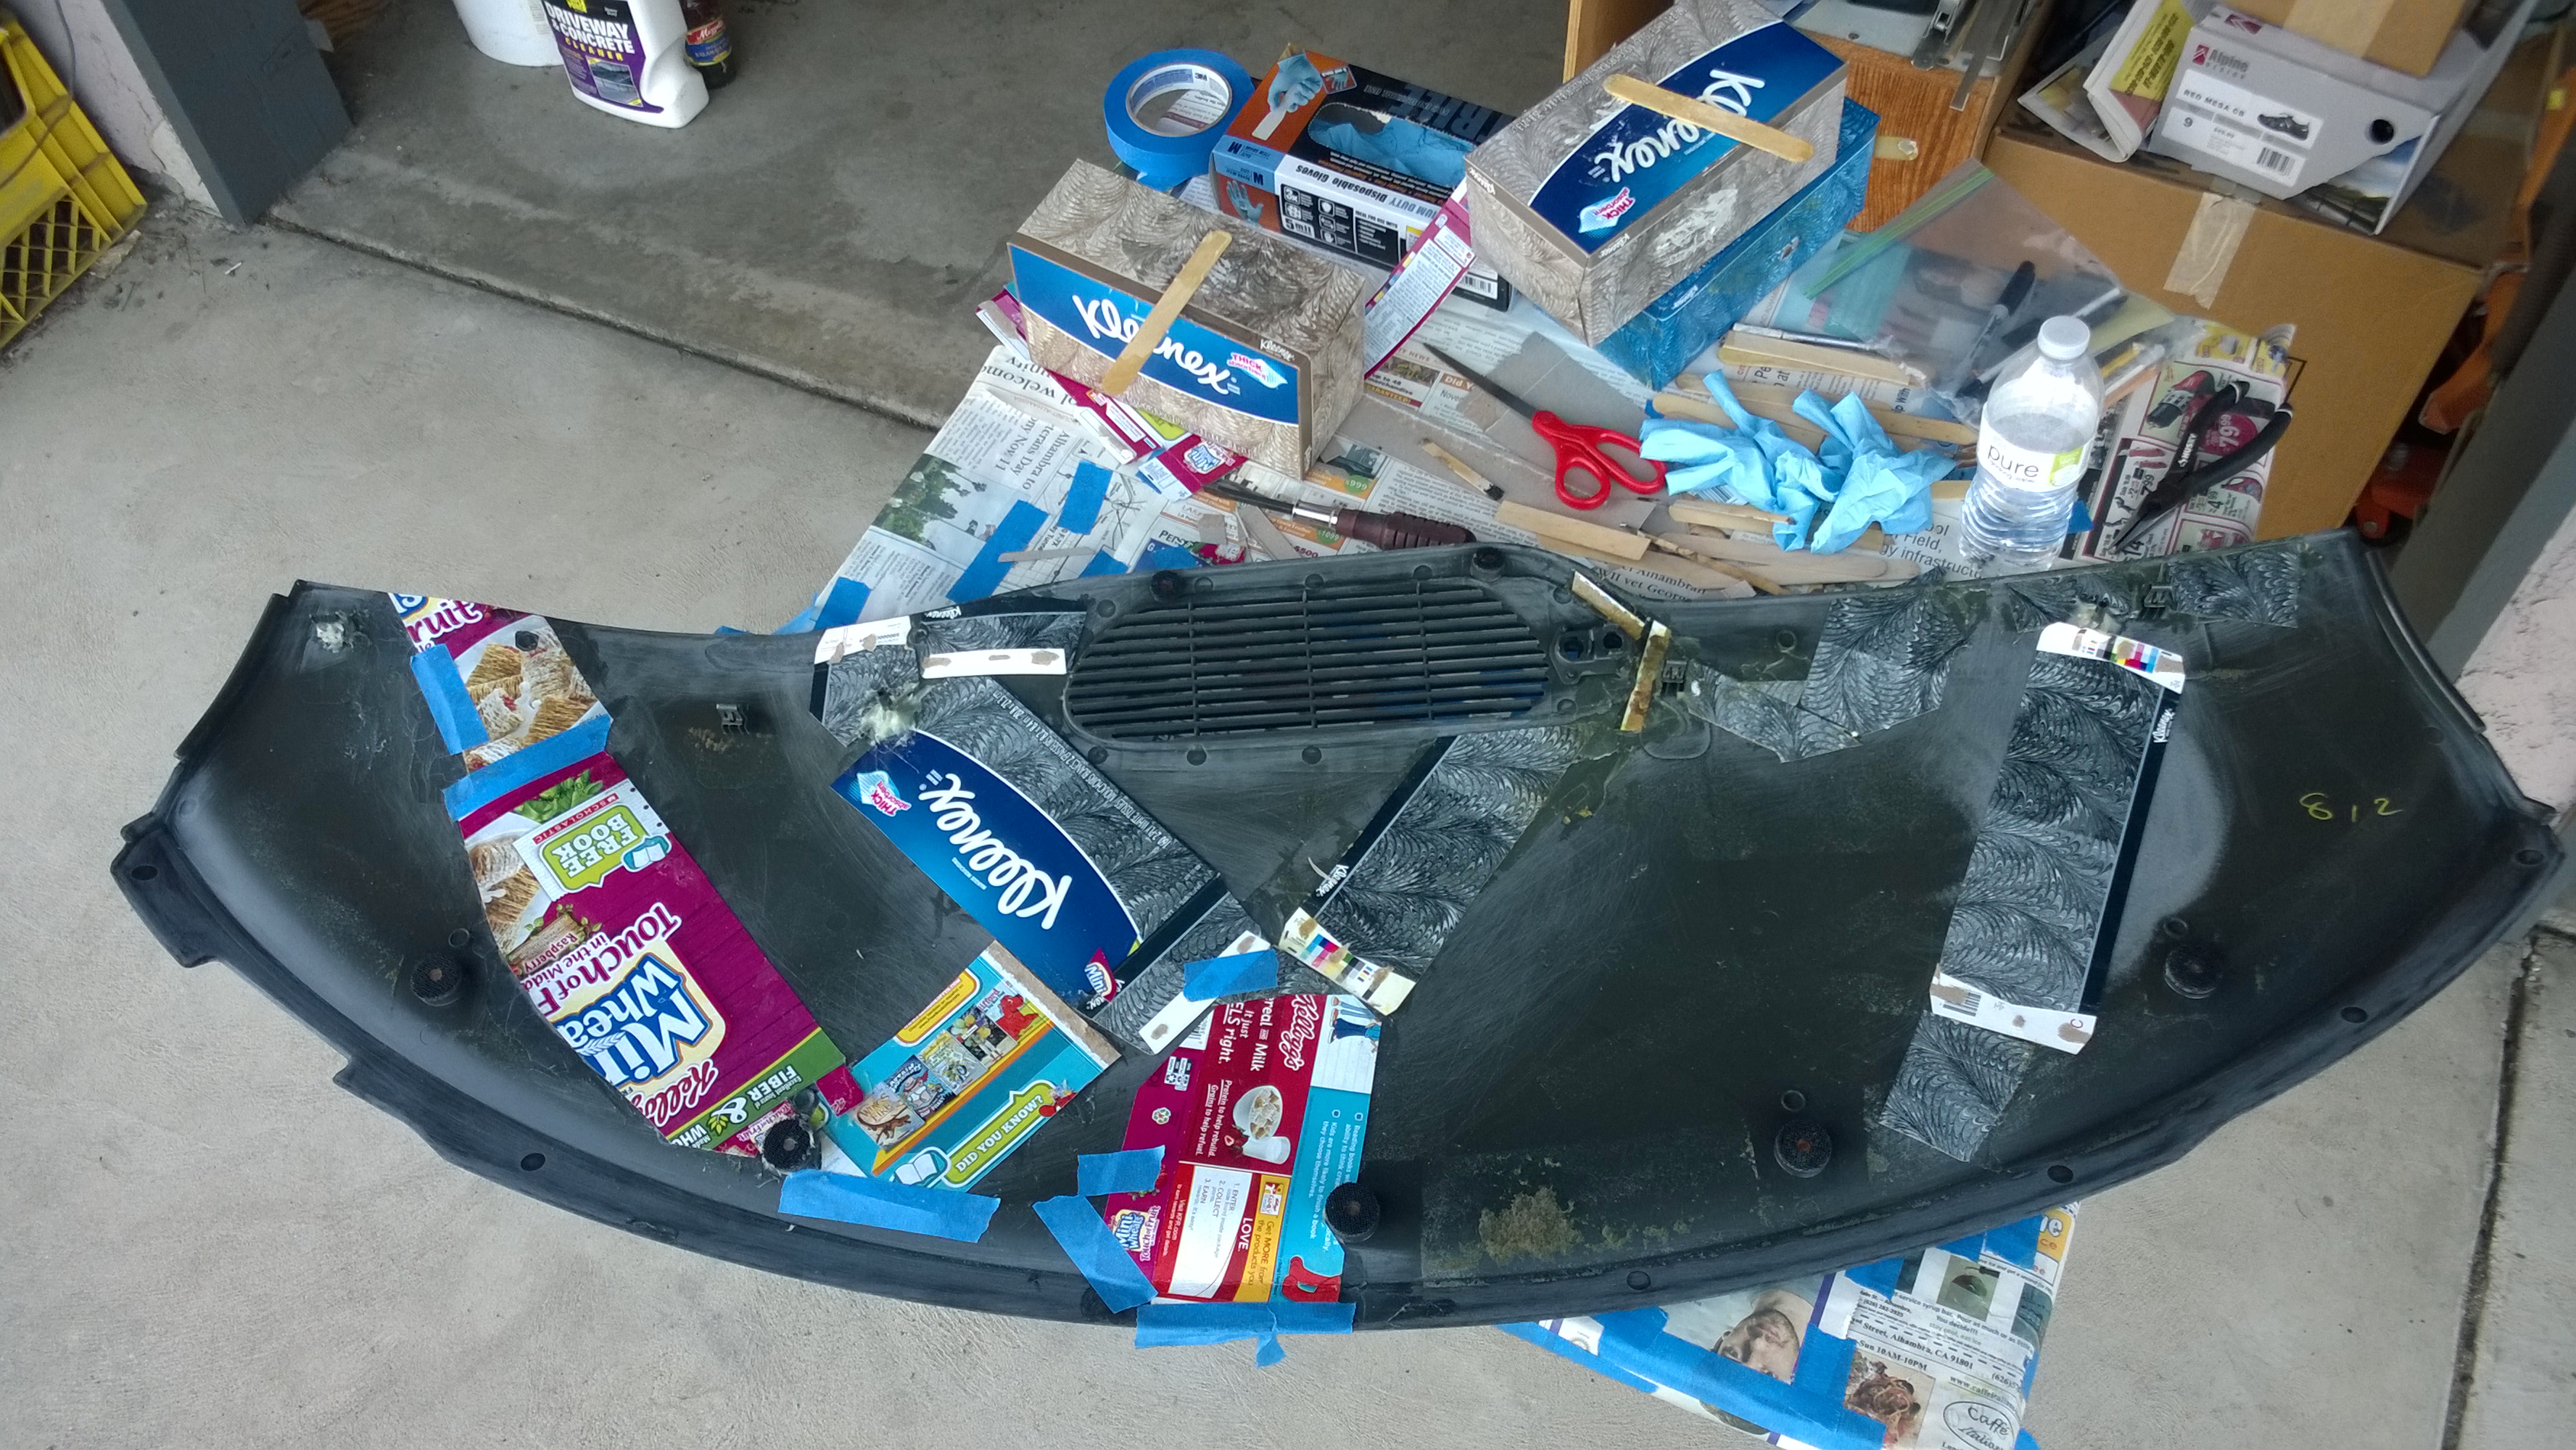
Figure 3. Use cardboard and epoxy to put it back together.
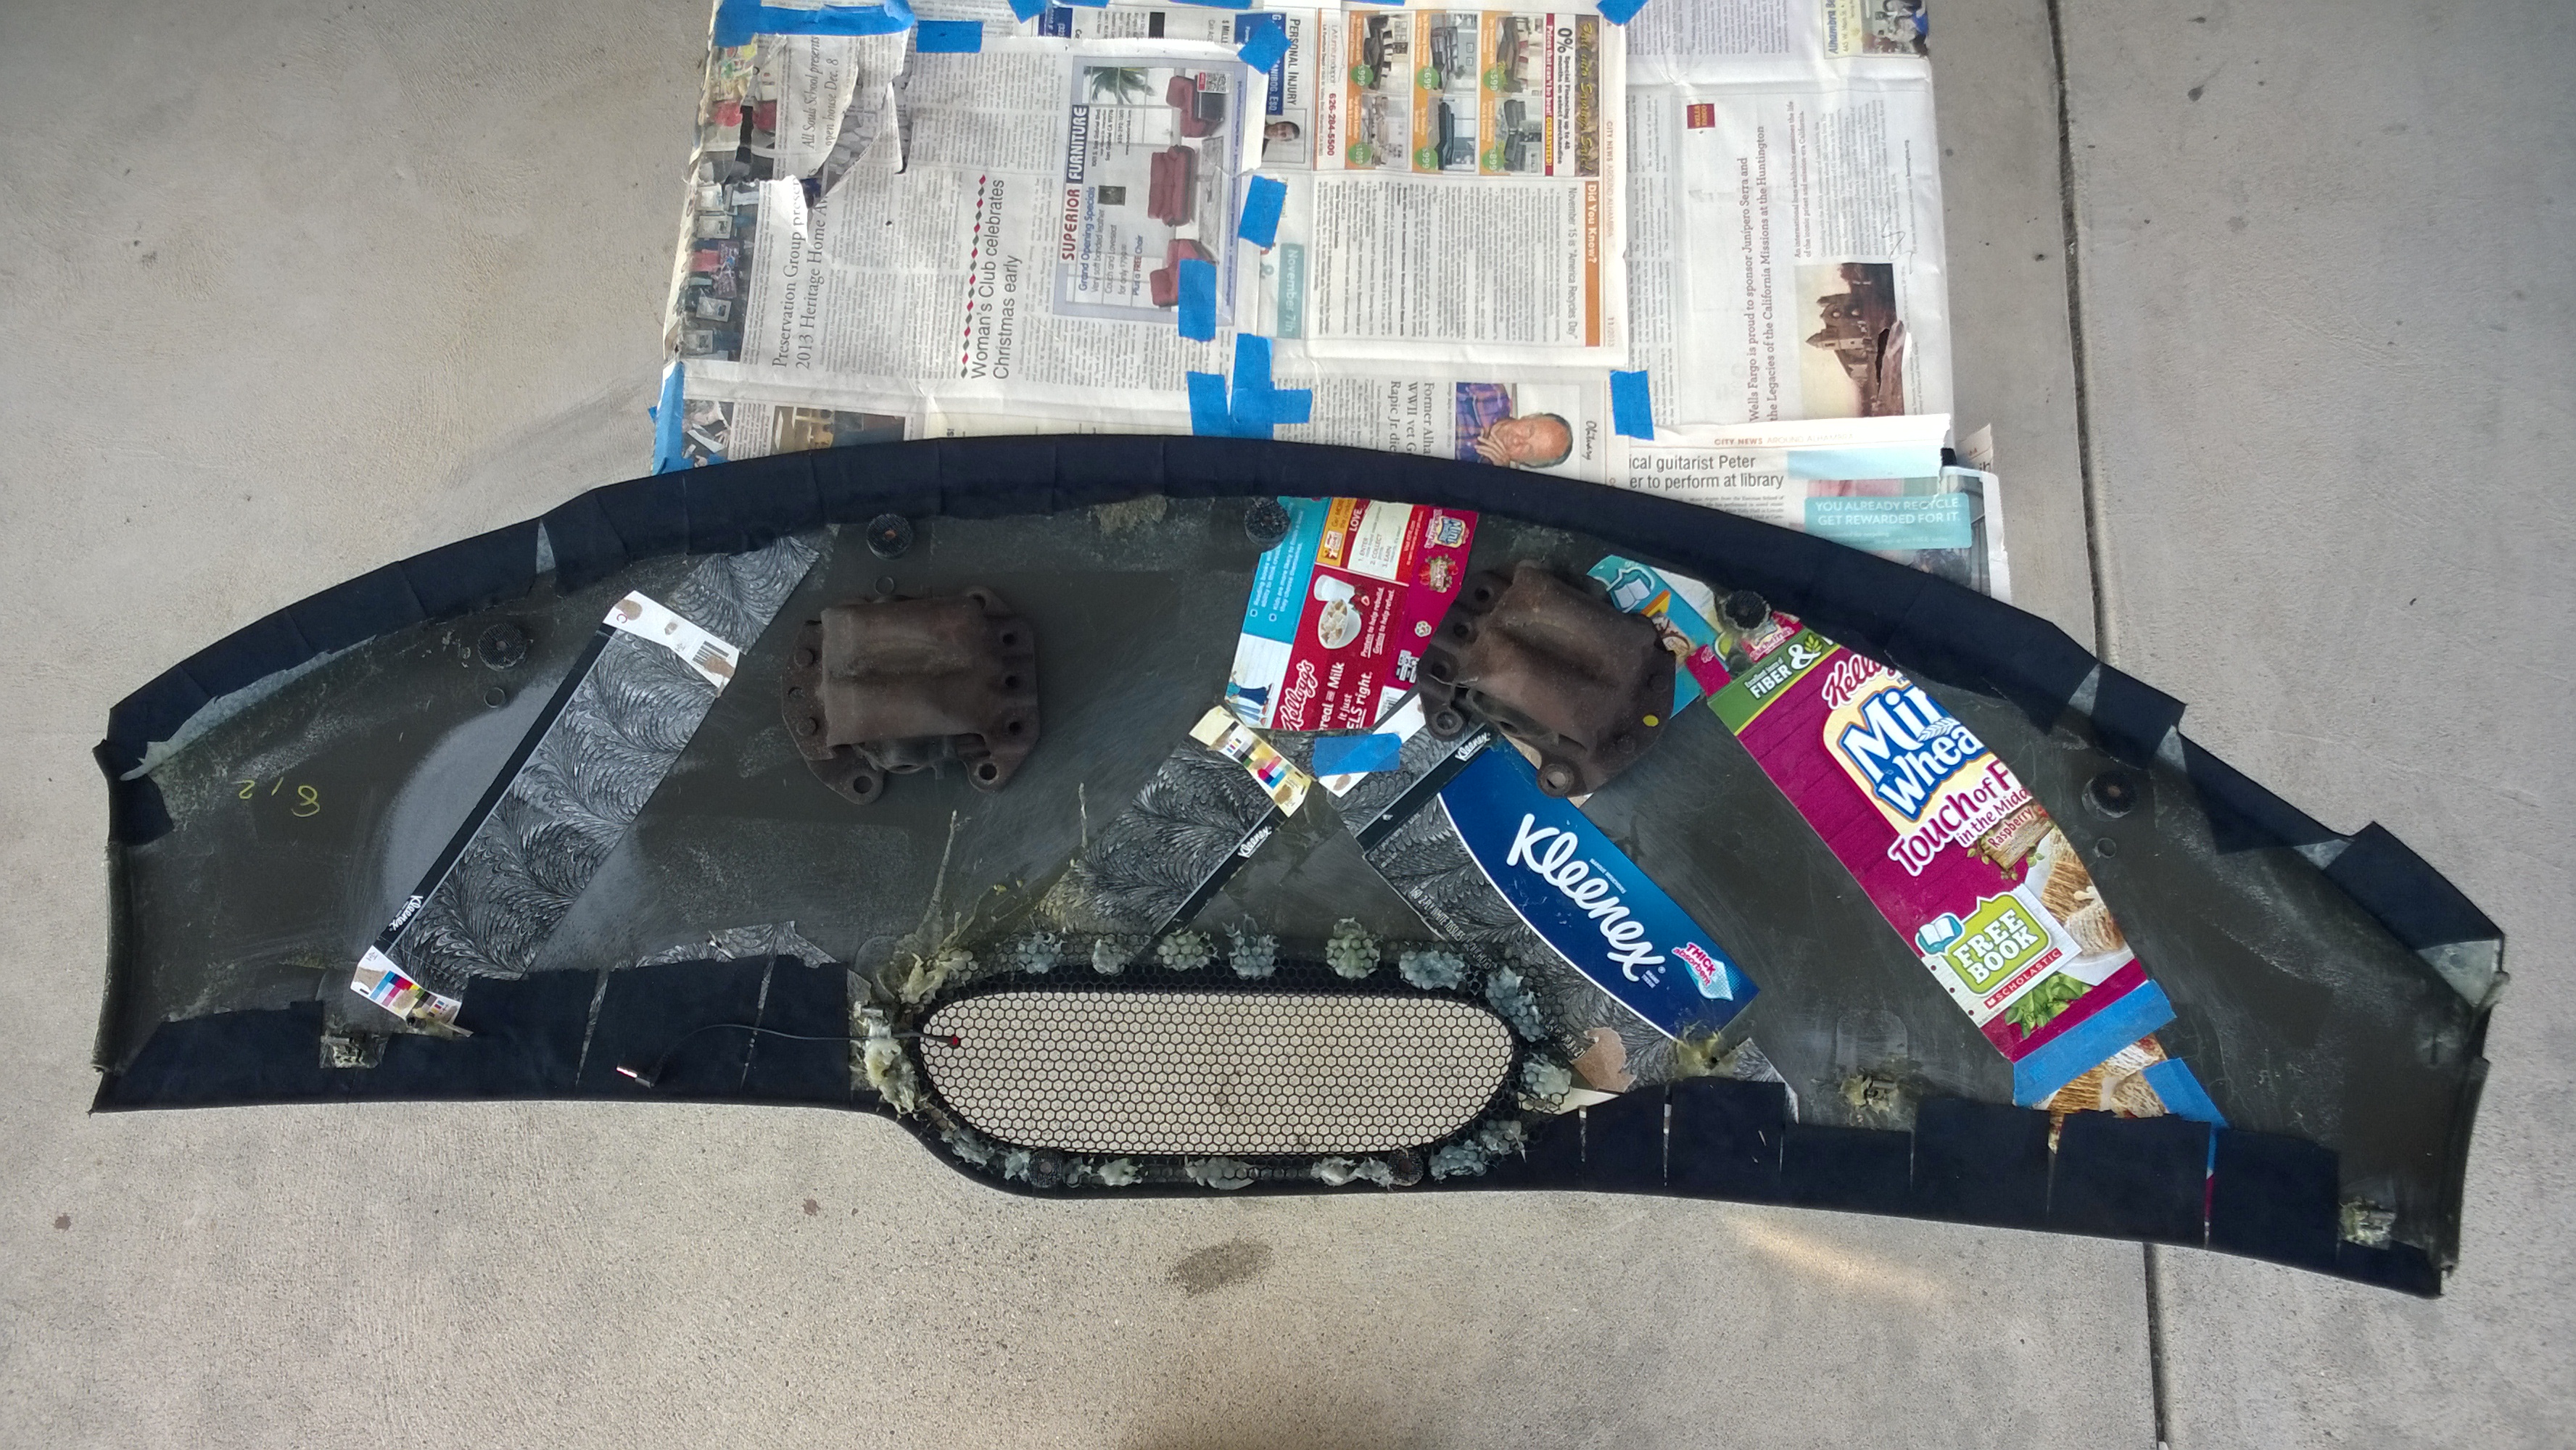
Step 3 – Sand and clean the dash
Check to make sure your epoxy is dry and that the cracks are all closed now. Before you apply the vinyl, you need to make sure the surface of the dash is as clean as possible. Sand down the epoxy so that it doesn't stand out from the surface of the dash. Now scrub down the dash with soap and water, then dry it until there's no residue or grime left.

Step 4 – Apply vinyl wrap
Most store bought vinyl wraps come with an adhesive on the back of the wrap, but this will not be strong enough for the dash pad, which has vents blowing hot and cold air throughout the year. You'll need a high temperature, high strength adhesive. Cut out a section of vinyl to go around your dash pad. Make sure that it will cover the entire surface and a little extra. Apply your adhesive to the dash pad. Don't use too much, just enough to evenly cover the surface of the dash pad. Then apply your vinyl wrap over the dash pad.
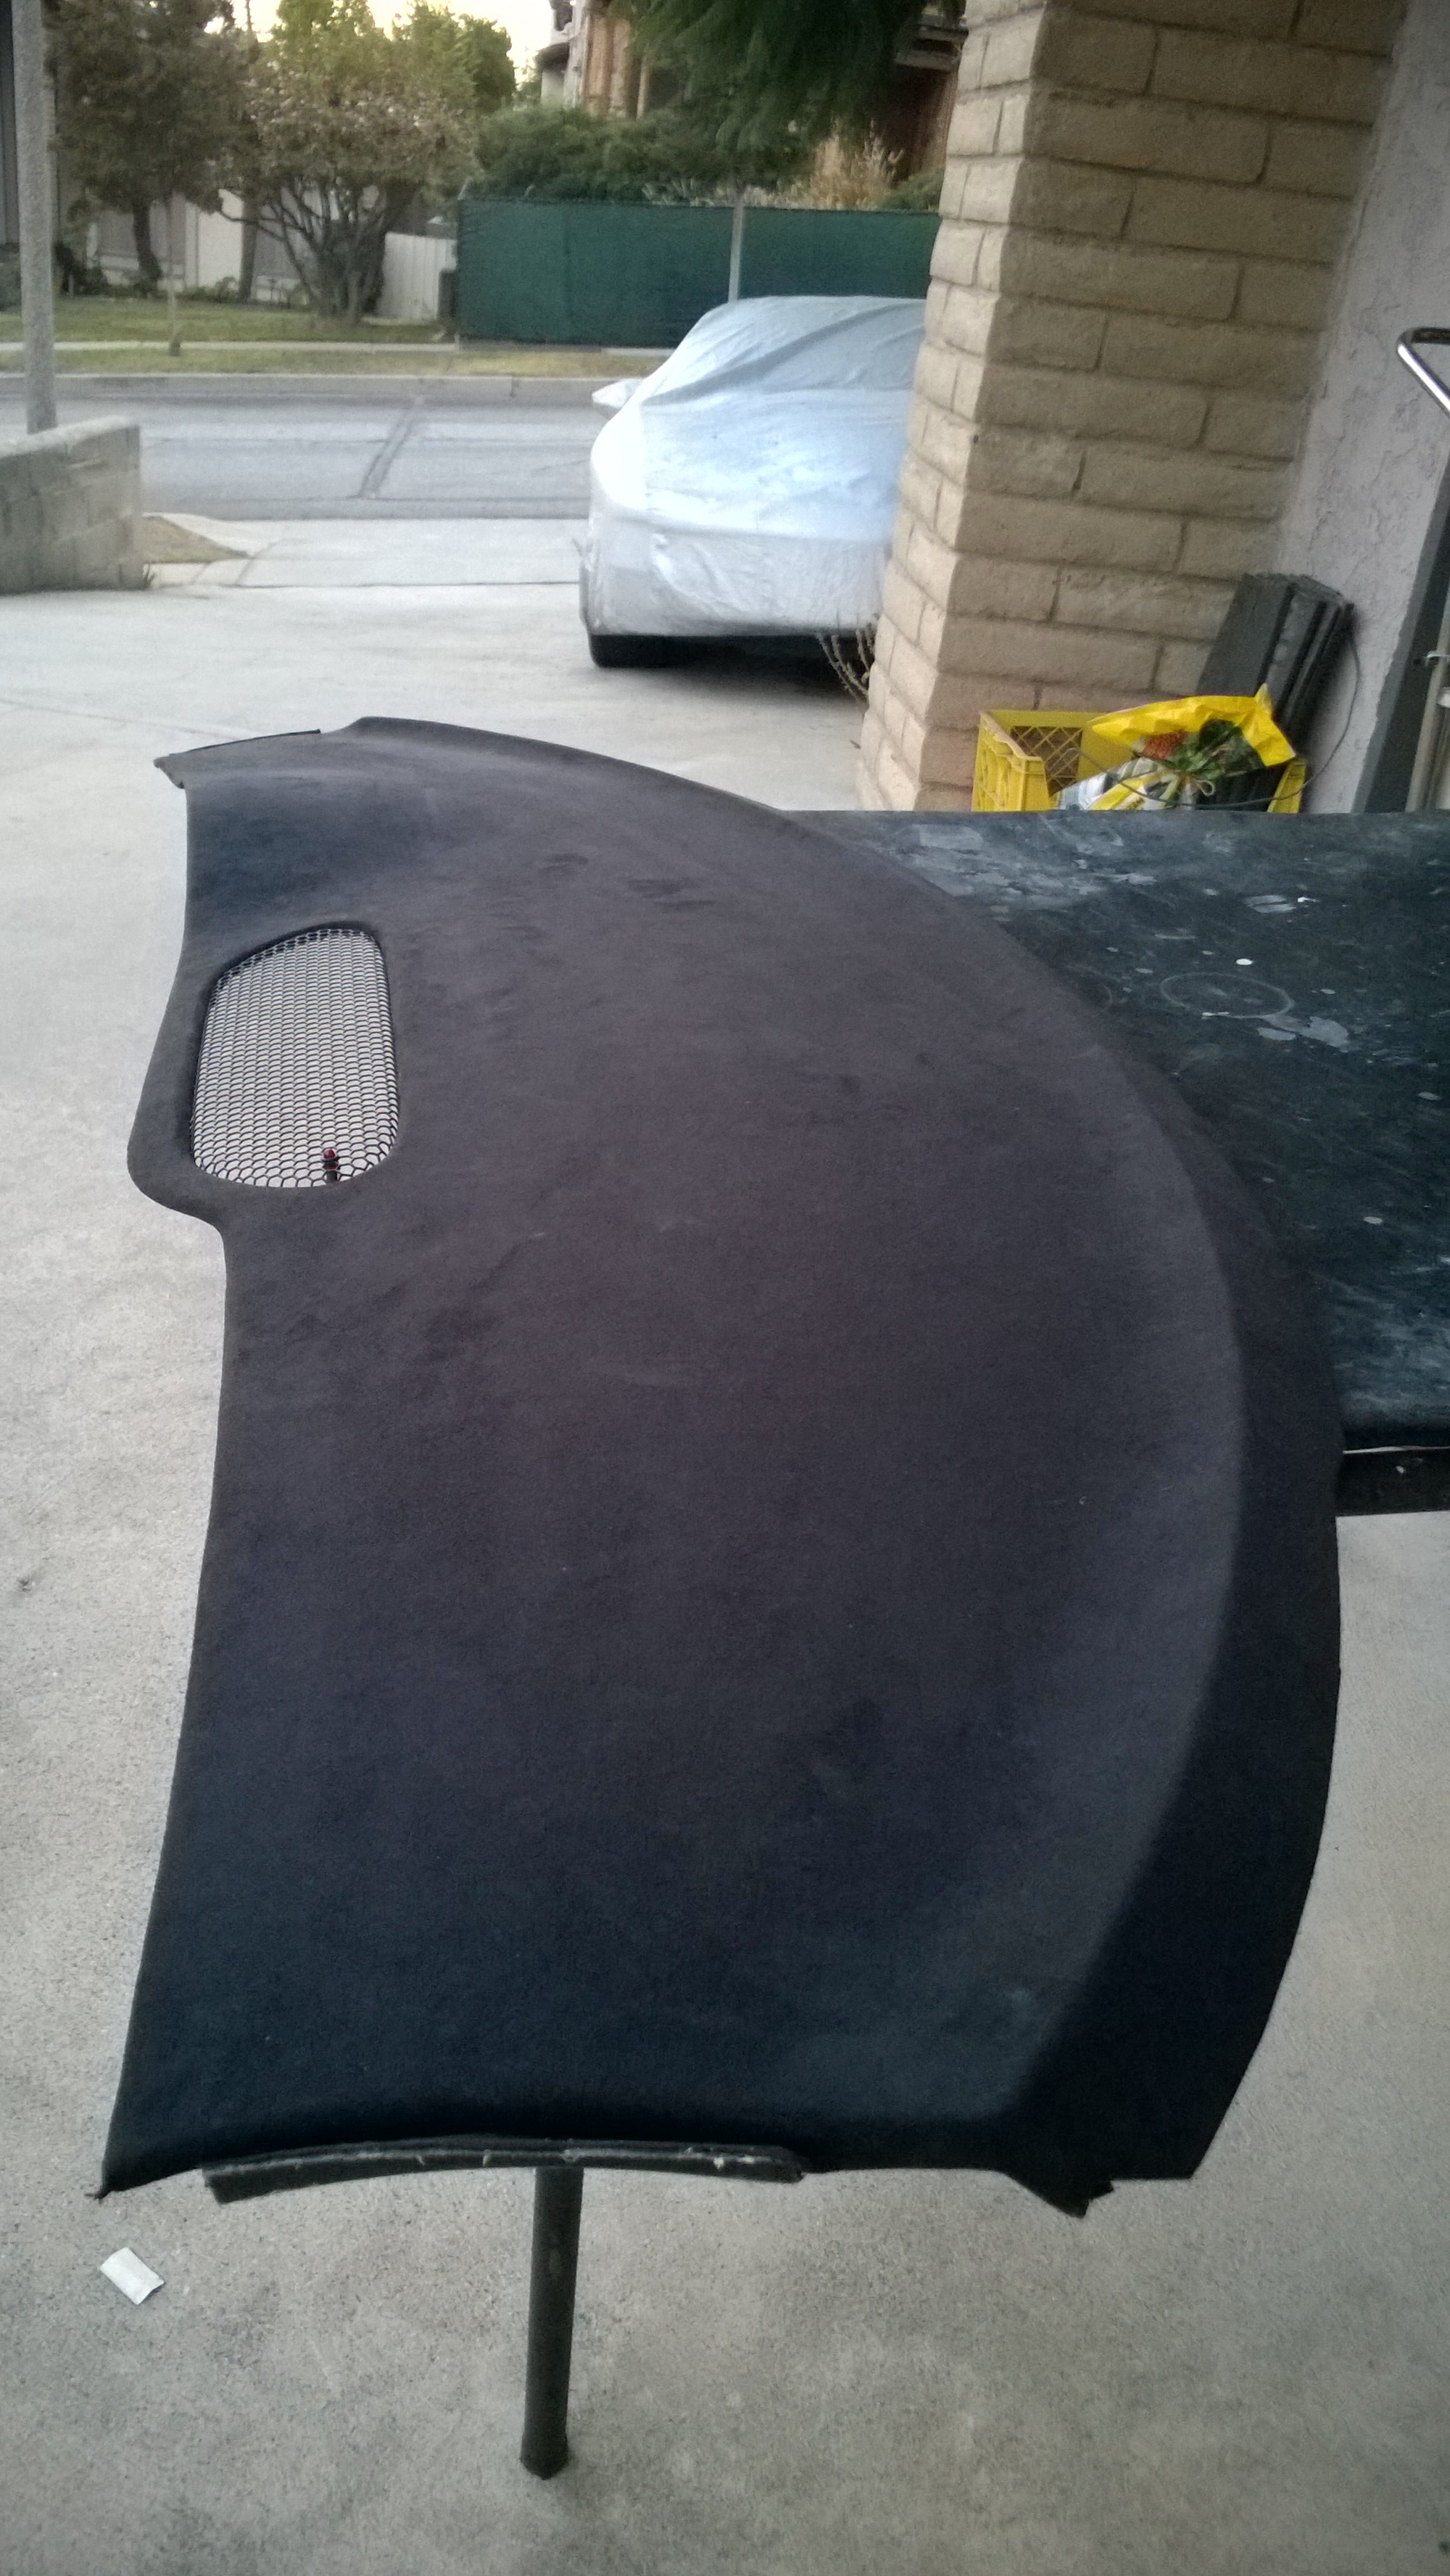
Push out any air bubbles from the wrap and stretch it out to remove any crinkles. On the surface it should look completely taut. Tuck the overhang around the corners. Take your razor and trim off some of the extra overhang. Just leave enough vinyl for a small lip around the edges. Apply a small amount of adhesive to the edges of the vinyl. Then take your razor and cut out the section of vinyl covering the vents. You can cut slits into the vent and then tuck the vinyl inside, or you can cut around the vents.
Wait for the adhesive to dry before you reinstall the dash. If everything worked out, your dash should look much nicer now.
Related Discussion
- How to Fix or Wrap your Dash Pad to Look Brand New - LS1Tech.com