Chevrolet Camaro 2010-Present: How to Replace Your Headlights and Fog Lights
Replacing the headlights and fog lights on your Chevrolet Camaro is a useful DIY to know if you ever want to upgrade them without paying for labor costs.
This article applies to the 5th Gen Chevrolet Camaro (2010-2015).
The headlights and fog lights on your Chevrolet Camaro can burn out overtime, which becomes a hazard eventually if they go out completely. Replacing the front lights on the Chevrolet Camaro requires some extra work, more than your average car. This DIY will show you how to replace the bulbs in your headlights and fog lights, as well as show you how to replace the assemblies themselves. If you feel like you're up to the task, read on to learn how to finish this DIY on your own.

Materials Needed
- Flathead screwdriver
- Socket
- Hex screwdriver
- Replacement bulbs
Step 1 – Remove bumper retainers
Remove the six retainers on the top of the bumper using your flathead screwdriver. Simply pry it up with your screwdriver, then remove it with your hand. Remove the two 10mm bolts on each upper side of the bumper.
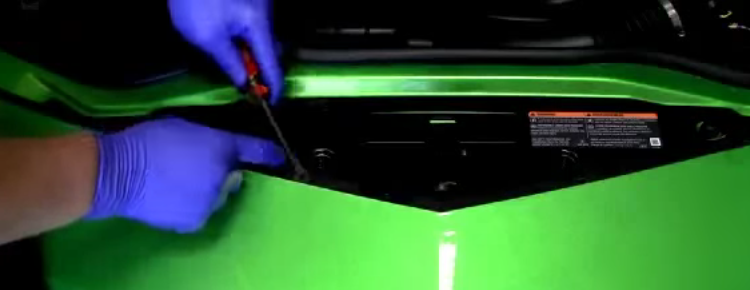
Figure 1. Remove six retainer clips. 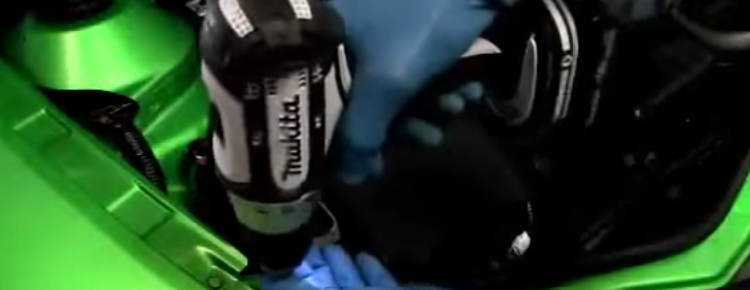
Figure 2. Remove two 10mm bolts on top.
Step 2 – Remove fender liner
Remove the three T20 hex screws holding the fender liner in place, then move the fender liner out of the way. Repeat on both sides.
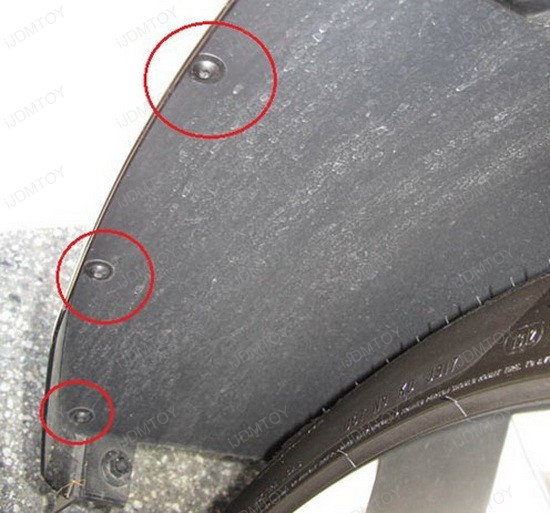
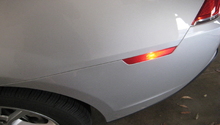
Step 3 – Remove bumper nuts
Remove the three 10mm nuts holding the fender to the bumper. You can access those through the wheel well. Repeat on both sides.
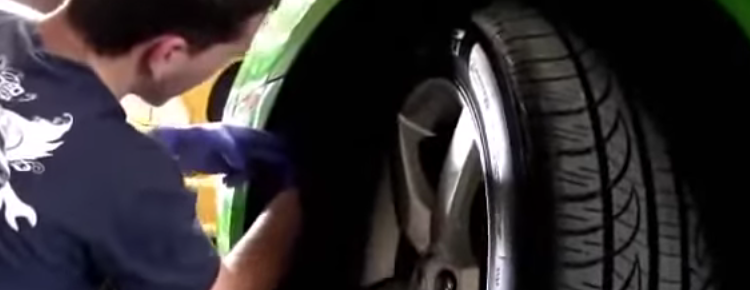
Figure 4. Remove three nuts through wheel well. 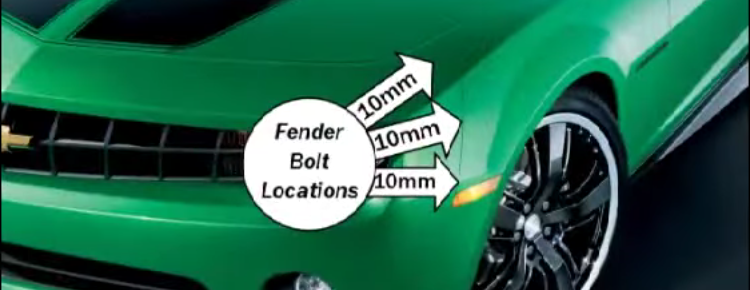
Figure 5. Nuts' location.
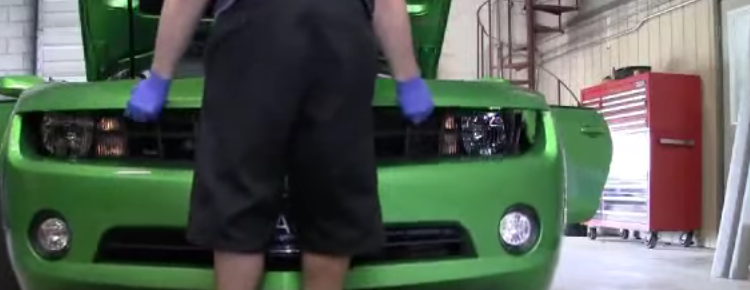
Step 4 – Remove bumper
Finally, remove the two 10mm bolts on the bottom of the bumper. Pull the bumper up and out to remove it. Be sure to place it on towels or something soft so you don't scratch the paint.
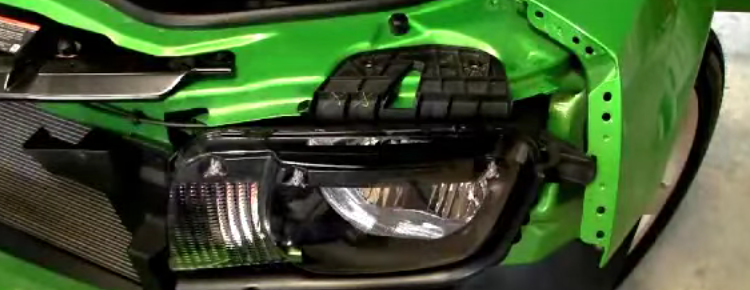
Step 5 – Replace headlight bulb
The headlight assembly is held in place with four 7mm screws. Remove those, then pull the headlight assembly up, then out. Don't pull it too far from the vehicle, as the electrical harness is still connected. Squeeze the tabs on the electrical harness, then pull it off the bulb. Turn the bulb counter-clockwise to remove, then install the new one, and turn it clockwise to lock it in place. Connect the electrical harness, then reverse the steps above to reinstall.
Step 6 – Replace fog lights
The fog light bulbs can be accessed with the fog light in place. Simply reach on the back of the fog light, then remove the electrical harness. Turn the bulb counter-clockwise, then pull it out. Install the new bulb in place, turn it clockwise to lock, then install the electrical harness.

Figure 8. Remove fog light bulb. 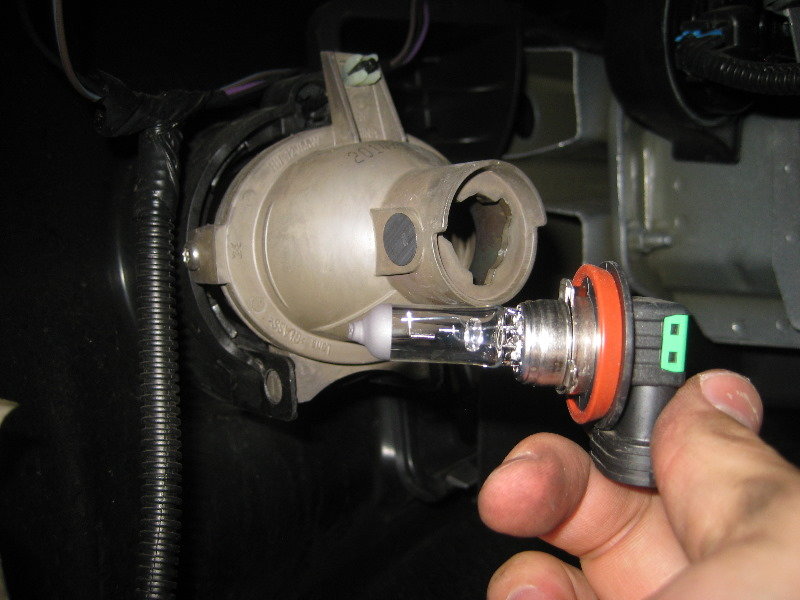
Figure 9. Replace fog light bulb.
Featured Video: Headlight Removal
Related Discussion
- Best Headlight Bulb - LS1tech.com