
Intake not turning out right?
 06-11-2011, 12:25 PM
#1
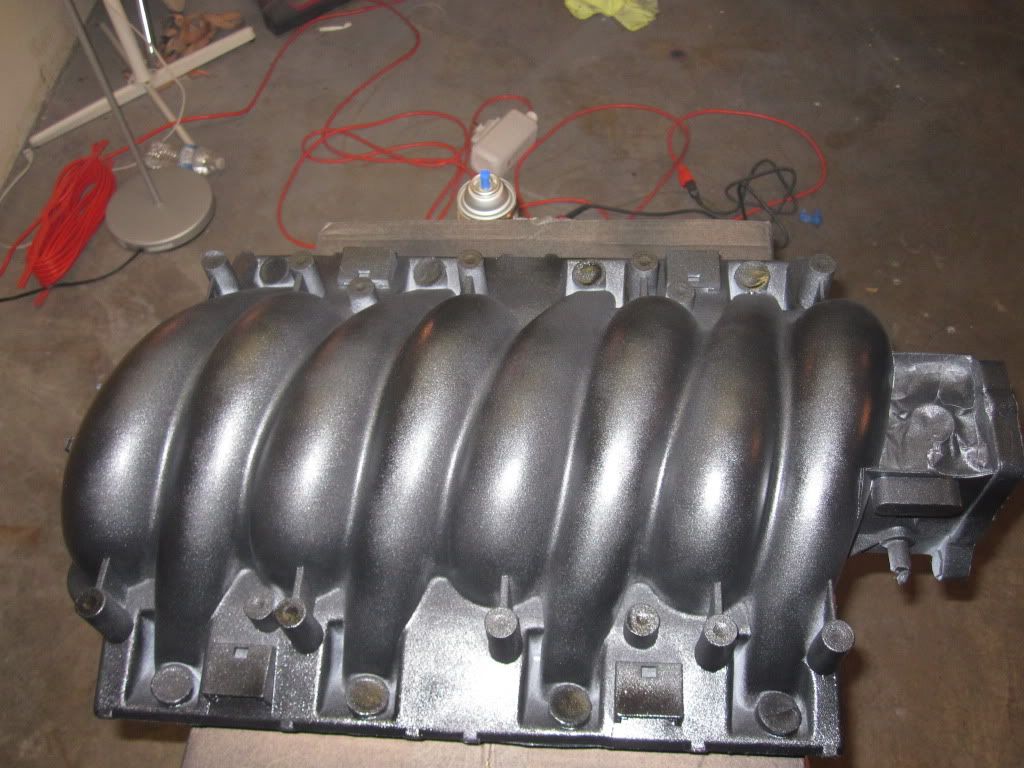
Im painting an intake right now and at first it was turning out perfect but after a few more coats it keeps drying almost like a flat color or just really dull in certain spots. I primered it and did everything correctly. I havent put any clear on it yet. If I clear it would that take away the dull slots? Any ideas?
 06-11-2011, 12:40 PM
#2
 06-11-2011, 01:34 PM
#3
Teching In
Join Date: May 2011
Location: Chula Vista
Posts: 19
Likes: 0
Received 0 Likes
on
0 Posts
Does it look like this ?:
After that, I had wet-sanded w/2000gt before clear, then sanded again after clear, used some fine cut cleaner & then a glaze polish & got this :
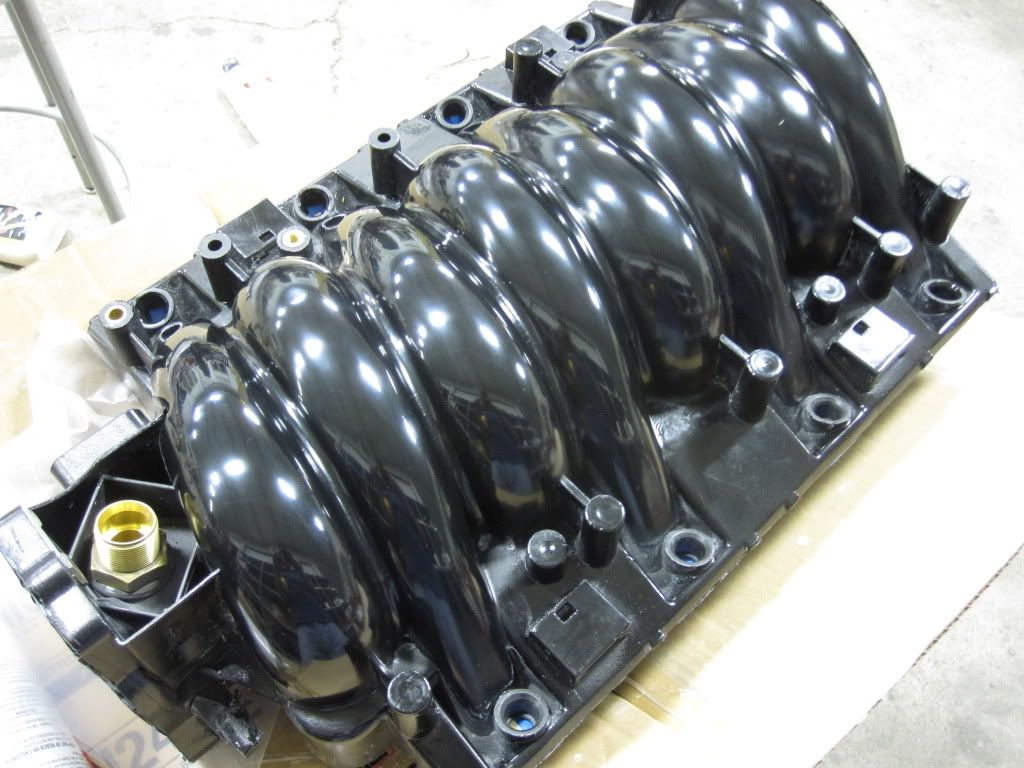
Since I am getting ready to add FRC's, I didn't focus on the anything else but the runners... After I get the FRC's, install them together, I'll be posting up all the pics..
After that, I had wet-sanded w/2000gt before clear, then sanded again after clear, used some fine cut cleaner & then a glaze polish & got this :
Since I am getting ready to add FRC's, I didn't focus on the anything else but the runners... After I get the FRC's, install them together, I'll be posting up all the pics..


Trending Topics
06-11-2011, 03:30 PM
#8
Teching In
Join Date: May 2011
Location: Chula Vista
Posts: 19
Likes: 0
Received 0 Likes
on
0 Posts
Thanks, gonna be alot better here REAL soon! I'll post it all up here soon.
Aside from the casting marks on the runners, looking good so far..How many color coats are you up to? I put 4 color coats on mine prior to wet sanding w/the 2000gt before the clear, & my 4th was so thick I got scared I was gonna get runs....
Aside from the casting marks on the runners, looking good so far..How many color coats are you up to? I put 4 color coats on mine prior to wet sanding w/the 2000gt before the clear, & my 4th was so thick I got scared I was gonna get runs....
06-11-2011, 06:08 PM
#9
Theirs five on it in the pic I just wet sanded it and hit a few spots of primer mostly on the top where the casting marks are and it smeared. The primer wasnt even dry completely. Should I wait a few days to let it dry completly then throw a coat to cover the white on it then clear. Or just paint it now and clear it then let it dry?
 06-11-2011, 06:47 PM
#11
Teching In
Join Date: May 2011
Location: Chula Vista
Posts: 19
Likes: 0
Received 0 Likes
on
0 Posts
Yeah, the casting high spots can get ya. How much time was between primer & color? Not sure what to say, give it at least another day or 2 to "cure", smooth out the smears, GET some new paint just to be safe, touch spray it up.. hope they smooth in, give a night to set, & sand/clean/paint the clear???
Patience, something I don't have, is so needed.. When I rushed a bit, I f-d up, but got lucky at the same time...
BTW, did you use an adhesion promoter before priming?
Patience, something I don't have, is so needed.. When I rushed a bit, I f-d up, but got lucky at the same time...
BTW, did you use an adhesion promoter before priming?
06-11-2011, 10:07 PM
#14
Teching In
Join Date: May 2011
Location: Chula Vista
Posts: 19
Likes: 0
Received 0 Likes
on
0 Posts
Yeah, thats the EGR fitting. California emissions BS... I think I found the last existing brand new LS6 SLP modified intake in the country. Didn't want to modify one myself, & couldn't find anyone to do either. Took forever to find a company with it. Had cobwebs inside it too... Got pics of it, so when I post up all the photos after install, you'll see..
Good luck on the finish, can't wait to see the final pics.. with patience on this, it'll come out sweet. Don't sweat the casting marks on the top either, seen a few on here with them after finish, & they still look really good, it's all in the finish. I was still in a sanding frenzy after doing my brake calipers & figured why not.... If you get pissed with the finishing, search around on here, I remember seeing someone that I think powdercoats them, just not sure about stripping any paint off.