
Car Update 2/21/06 PICS!!! (56k Ehhh how bout no)
 02-21-2006, 11:44 AM
#1
TECH Resident
Thread Starter
iTrader: (12)
Join Date: Jul 2004
Location: Georgetown, IL 61846-1105
Posts: 987
Likes: 0
Received 1 Like
on
1 Post

Hey guys,
Well I know you'll be pissed, but not as much as I am, for I drive 95 miles one way late on Thursday night, to come home to work, and get up early on Monday to drive the 95 back to school....Not all of my stuff is in, the majority of the stereo is in, but 2 key pieces are not...the company I got them through dealt me WRONG BIG TIME....Since then I've re-rdered through someone else, and it was on it's way on Friday and will be dropped of @ home on Wed. So hopefully I can get you assembled pics...however I did take some pics for you for a lil teaser to tide you over, as well as the Breathless headlights came in, and I will talk about them too..
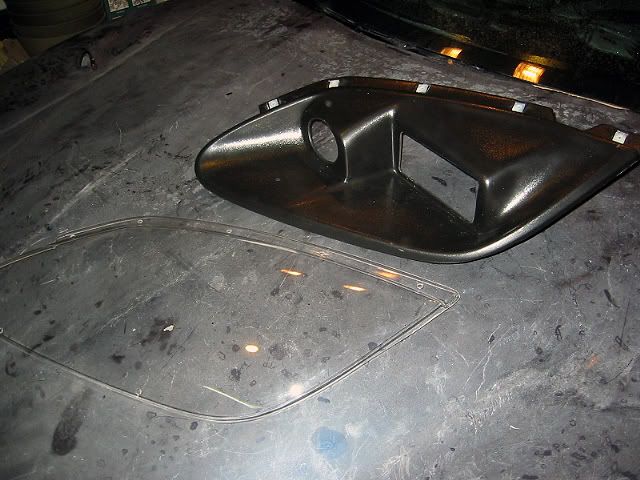
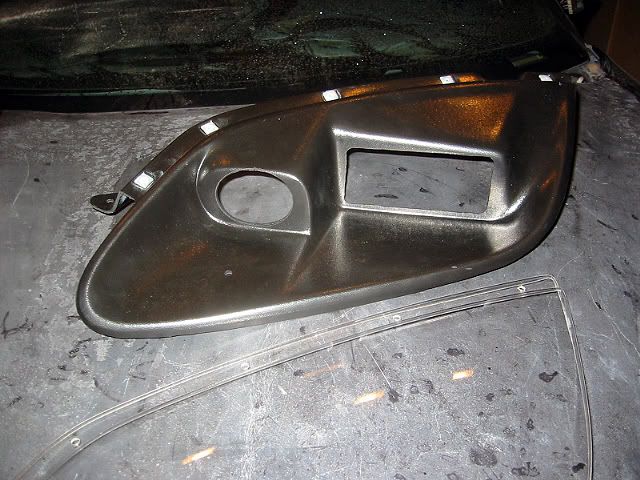
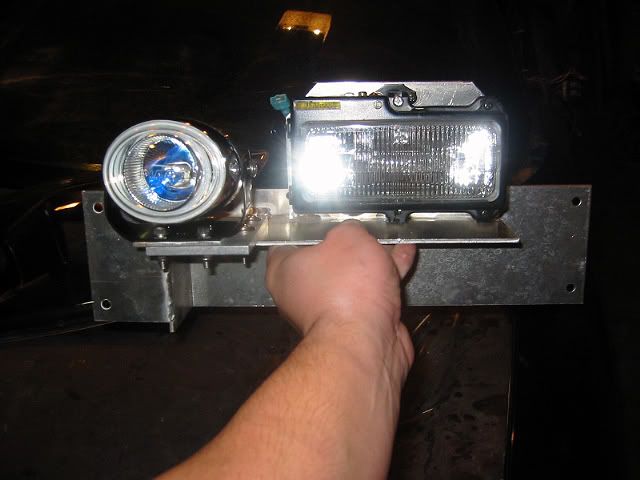
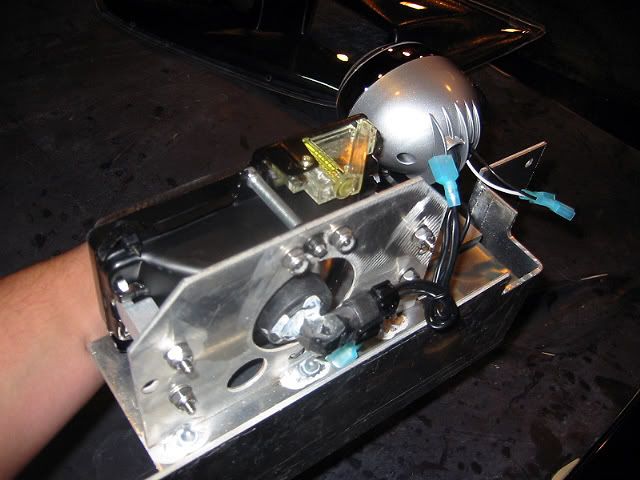
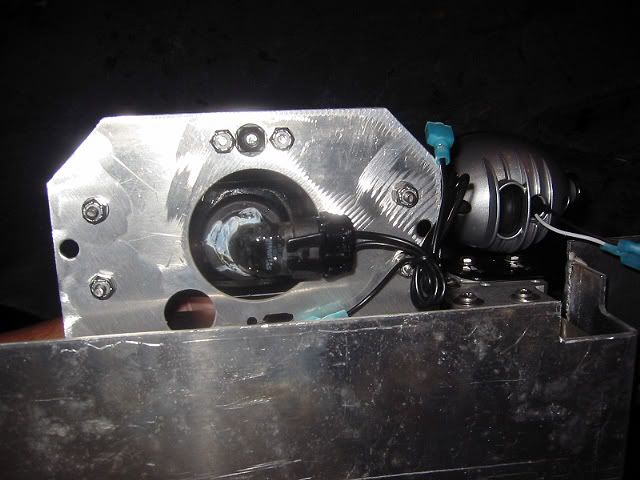
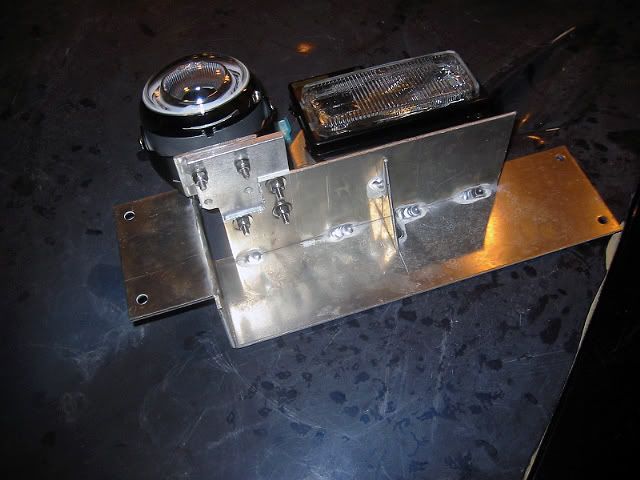
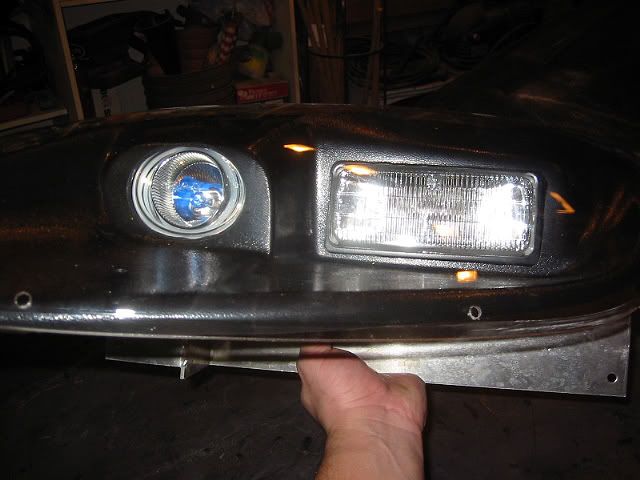
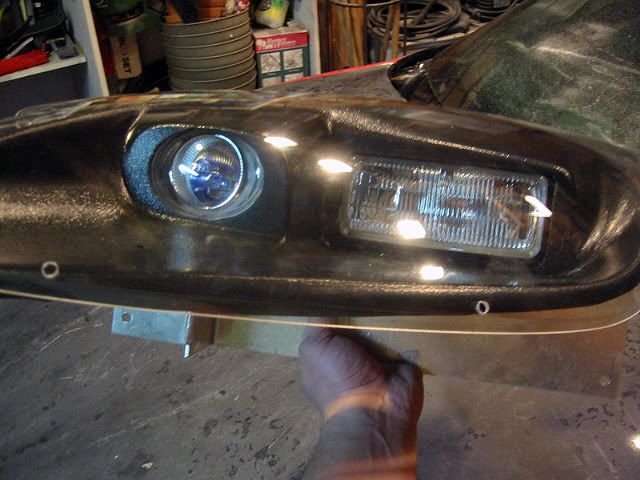
First off the Breathless Performance Lights for the 98-02 TransAm. People say the quality is bad, however I can't see where they are getting this from, welds, and everything is top notch in my book, the High Beam they started using a PIAA 1000X Extreme White for, and the low beams is a Sylvania H-4351 assembly like on the LT1 Camaro's...So I am looking for a conversion housing for the lows so I can get the HID setup rolling, I already know the projectors I am going with, and have the foglights squared away...so if anyone knows of the housing let me know it's 50mm x 135mm...ALL PARTS can be individually ordered from breathless...Instructions are really well done as well, with pictures and the whole 9!! The tub (black part) is seperate and can be painted to match any car color, as mine will be a better black...Now here is time for pics!!

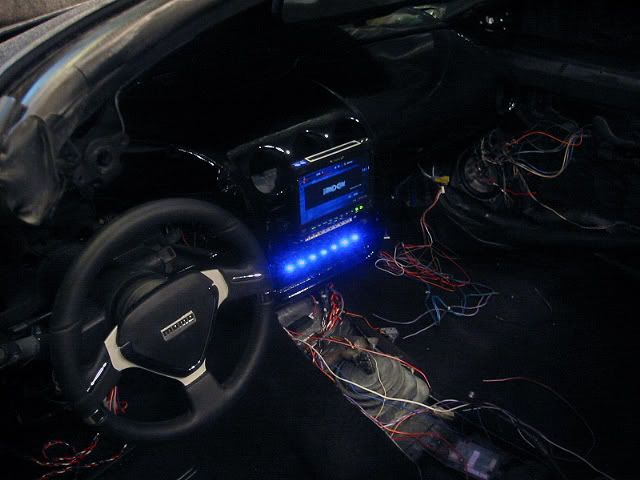
Now here's the MOMO Millenium EVO Steering Wheel
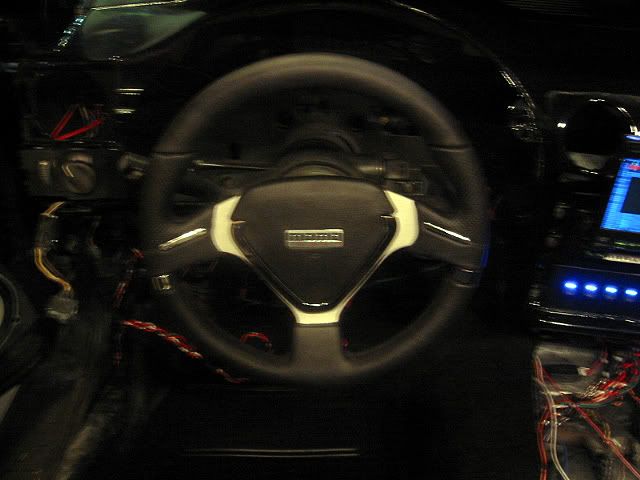
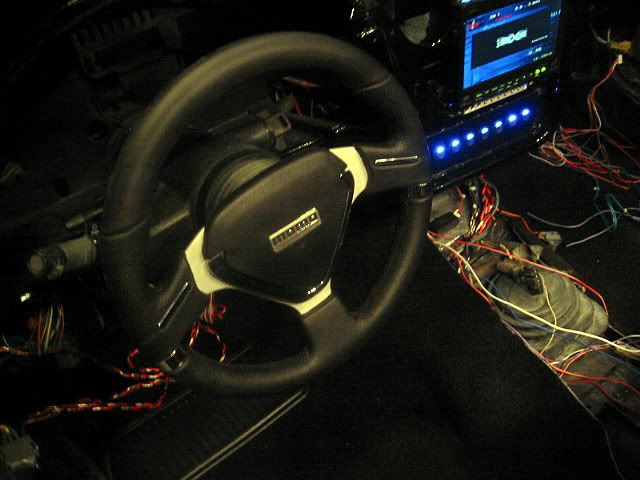
Custom 7 LED Round 12v Rocker HVAC Switch Panel
Well I know you'll be pissed, but not as much as I am, for I drive 95 miles one way late on Thursday night, to come home to work, and get up early on Monday to drive the 95 back to school....Not all of my stuff is in, the majority of the stereo is in, but 2 key pieces are not...the company I got them through dealt me WRONG BIG TIME....Since then I've re-rdered through someone else, and it was on it's way on Friday and will be dropped of @ home on Wed. So hopefully I can get you assembled pics...however I did take some pics for you for a lil teaser to tide you over, as well as the Breathless headlights came in, and I will talk about them too..
First off the Breathless Performance Lights for the 98-02 TransAm. People say the quality is bad, however I can't see where they are getting this from, welds, and everything is top notch in my book, the High Beam they started using a PIAA 1000X Extreme White for, and the low beams is a Sylvania H-4351 assembly like on the LT1 Camaro's...So I am looking for a conversion housing for the lows so I can get the HID setup rolling, I already know the projectors I am going with, and have the foglights squared away...so if anyone knows of the housing let me know it's 50mm x 135mm...ALL PARTS can be individually ordered from breathless...Instructions are really well done as well, with pictures and the whole 9!! The tub (black part) is seperate and can be painted to match any car color, as mine will be a better black...Now here is time for pics!!
Now here's the MOMO Millenium EVO Steering Wheel
Custom 7 LED Round 12v Rocker HVAC Switch Panel
 02-21-2006, 11:45 AM
#2
TECH Resident
Thread Starter
iTrader: (12)
Join Date: Jul 2004
Location: Georgetown, IL 61846-1105
Posts: 987
Likes: 0
Received 1 Like
on
1 Post
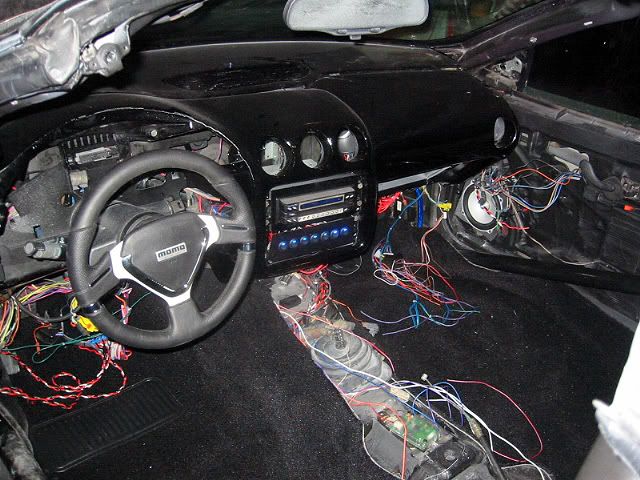
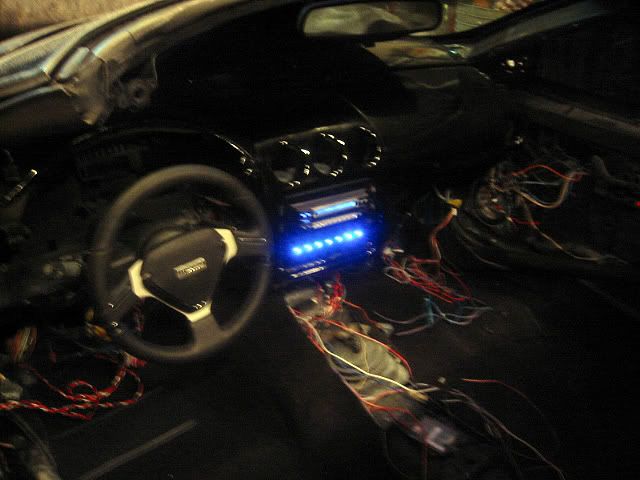
Last but not least, some teaser pics of the interior panels...
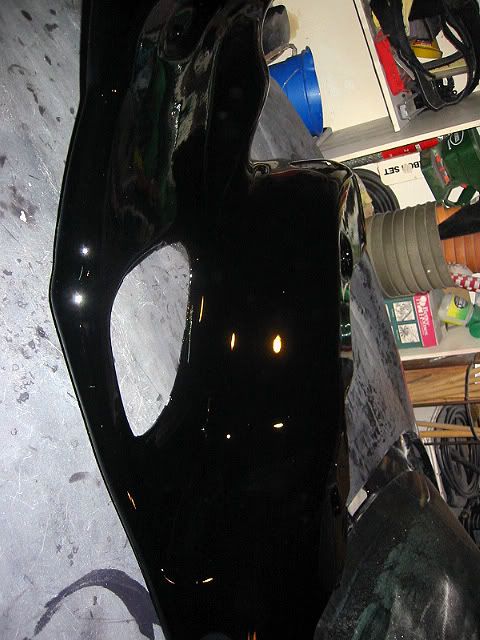
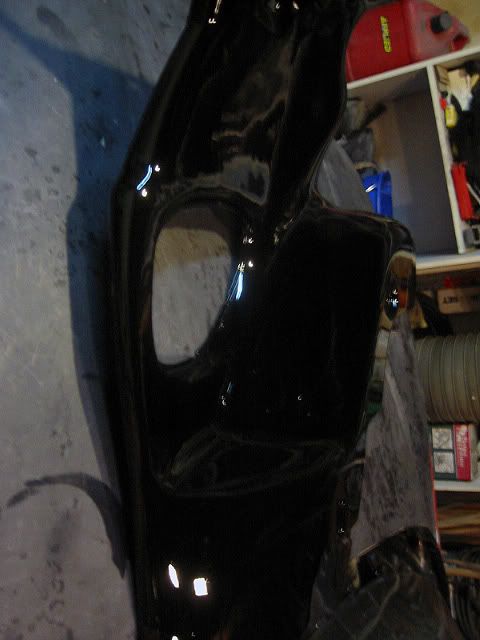
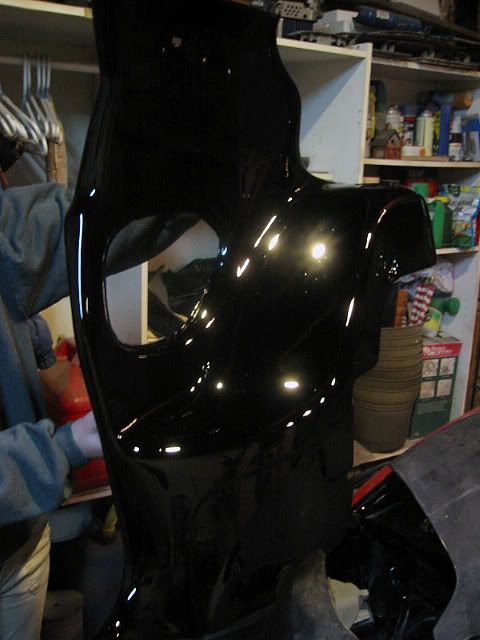
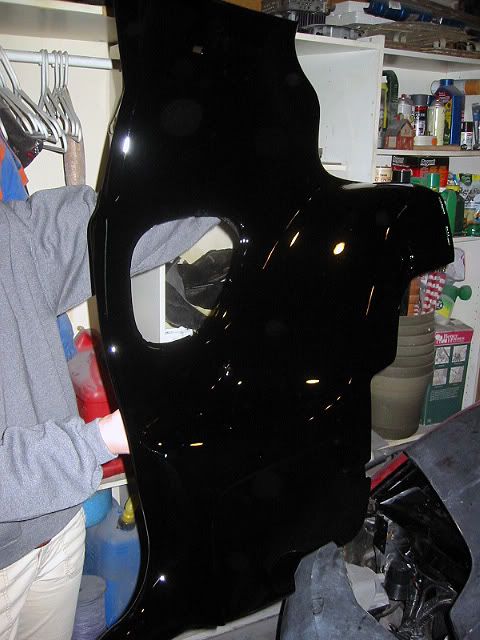

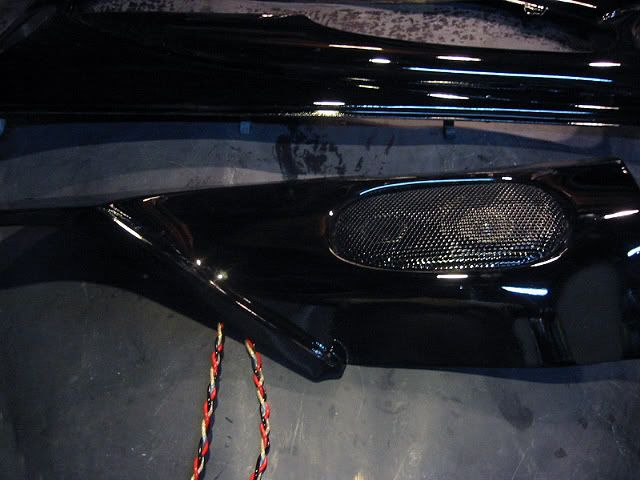
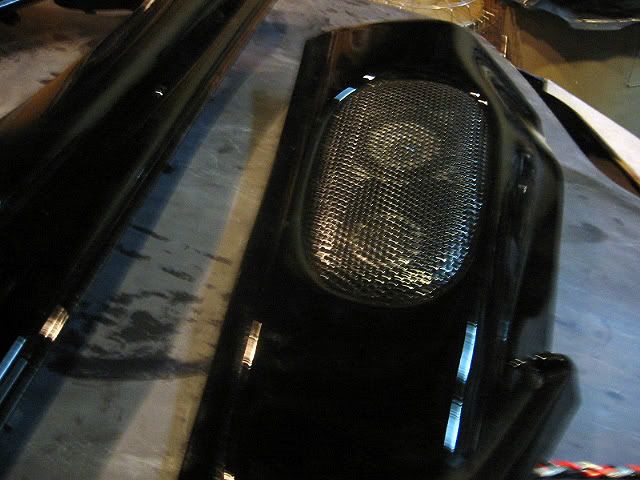
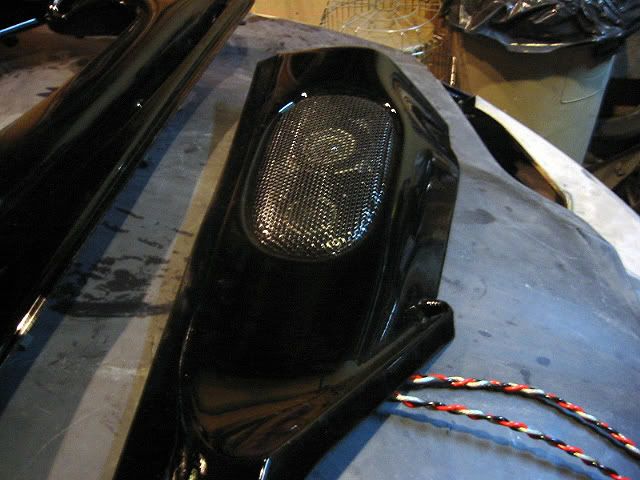
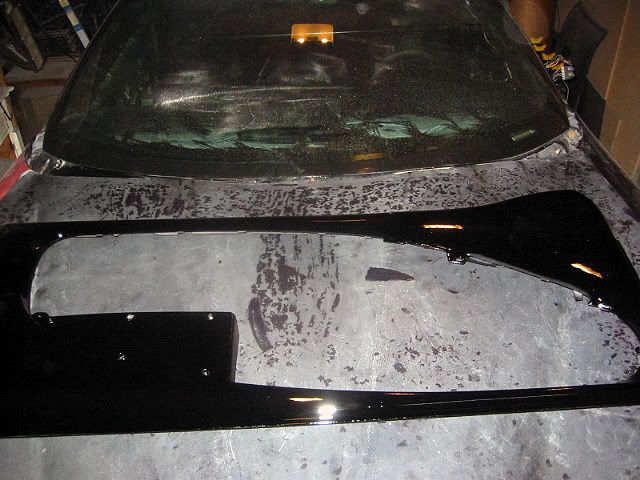
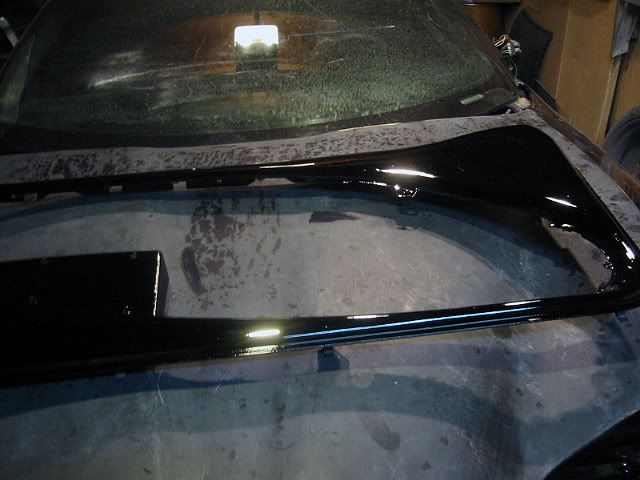
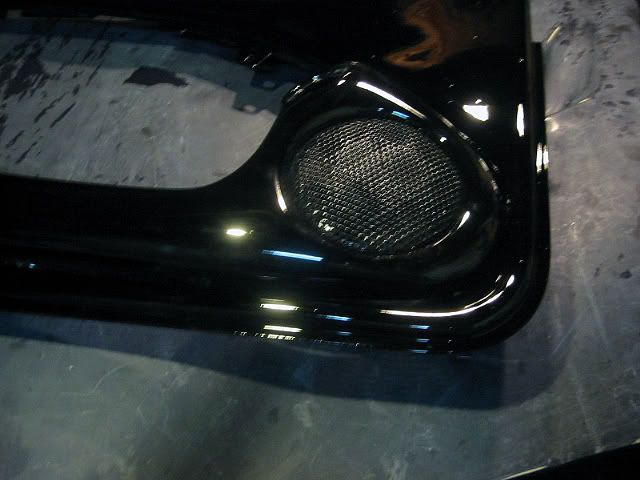
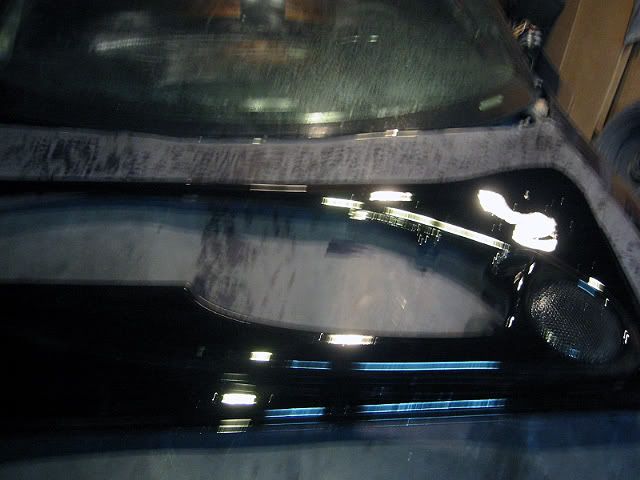
Sorry for a few blurry pics, all the halogen lighting that I have in the garage screws with the camera sometimes...As you can see I have started to fit the carpet into the car as well...Hopefully this coming weekend I can fit the headlights, and start the interior install..I will probably paint the headlight brackets black, but I wanted you to see the construction easier....Everyone keep your fingers crossed!!
Sorry for a few blurry pics, all the halogen lighting that I have in the garage screws with the camera sometimes...As you can see I have started to fit the carpet into the car as well...Hopefully this coming weekend I can fit the headlights, and start the interior install..I will probably paint the headlight brackets black, but I wanted you to see the construction easier....Everyone keep your fingers crossed!!

Trending Topics


 02-21-2006, 04:00 PM
#16
On The Tree
Join Date: Aug 2005
Location: Texas
Posts: 110
Likes: 0
Received 0 Likes
on
0 Posts
Looks like it is going to turn out really well. The best part about is that you did most of it yourself. It always seems more satisfying and you appreciate it more when you do it yourself. Good Luck!!
02-21-2006, 04:08 PM
#17
TECH Junkie
iTrader: (7)
Join Date: Aug 2004
Location: Prairie de Femme, LA
Posts: 3,809
Likes: 0
Received 0 Likes
on
0 Posts
very nice. seems that everything is coming along good. the biggest issue i have heard with the breathless is in the clear plastic cover. it yellows and cracks easy, something a 1k kit shouldn't do. what do the switches control?
02-21-2006, 04:47 PM
#19

Since you have done so much work, I think it may be a good idea to Copy the Breathless kit. Sell it on LS1Tech later on down the road and make some profit and at a good price.
02-21-2006, 05:07 PM
#20

This'll take a little fenagling, but I've always thought the Breathless lights would look SO much better if they would have just put two 1000x's in them instead of one 1000x and one stock headlight. It just doesn't flow too well. I think if you were to put another 1000x in the same place as the stock headlight, but move the other 1000x over just a tad bit so that both lights were more centered inside the housing, that would look pretty sweet.
It would require a little bit of cutting and re-glassing, but that doesn't seem to be a problem for you. Just an idea.
The rest of the interior looks spectacular. Did you hit it with spray-on body filler or just lay the paint on really thick?
It would require a little bit of cutting and re-glassing, but that doesn't seem to be a problem for you. Just an idea.
The rest of the interior looks spectacular. Did you hit it with spray-on body filler or just lay the paint on really thick?