
Engine bay photos...
 12-16-2006, 01:58 PM
#1
FormerVendor
Thread Starter
iTrader: (15)

Join Date: Jun 2006
Location: Los Angeles, CA
Posts: 2,689
Likes: 0
Received 0 Likes
on
0 Posts
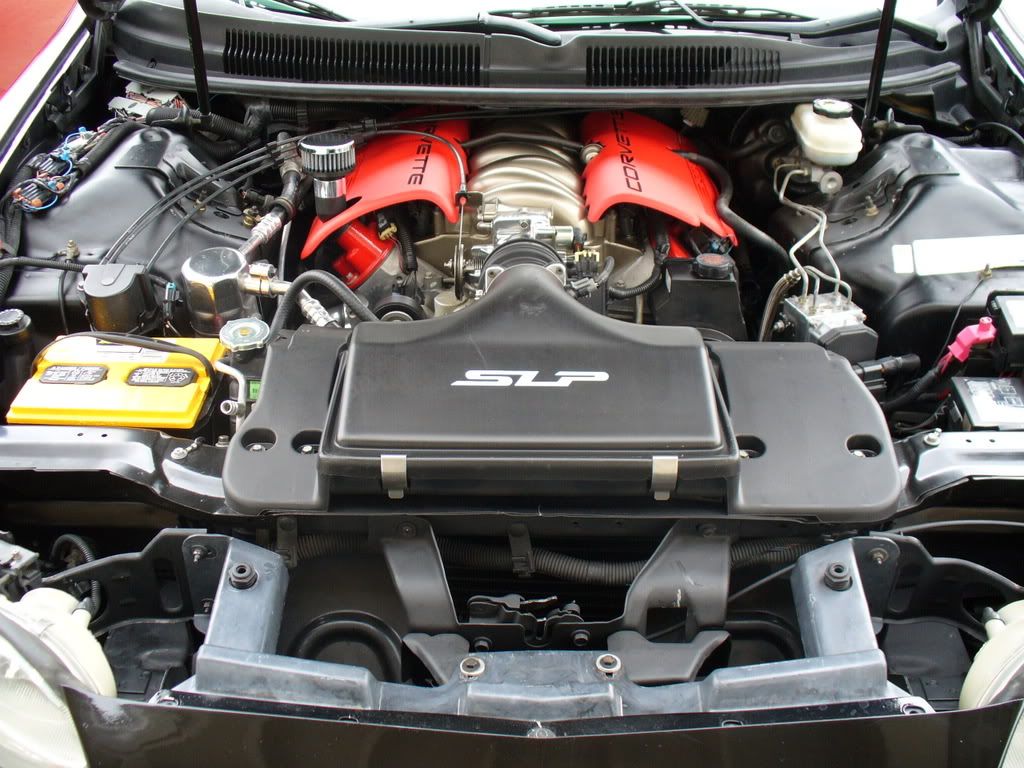
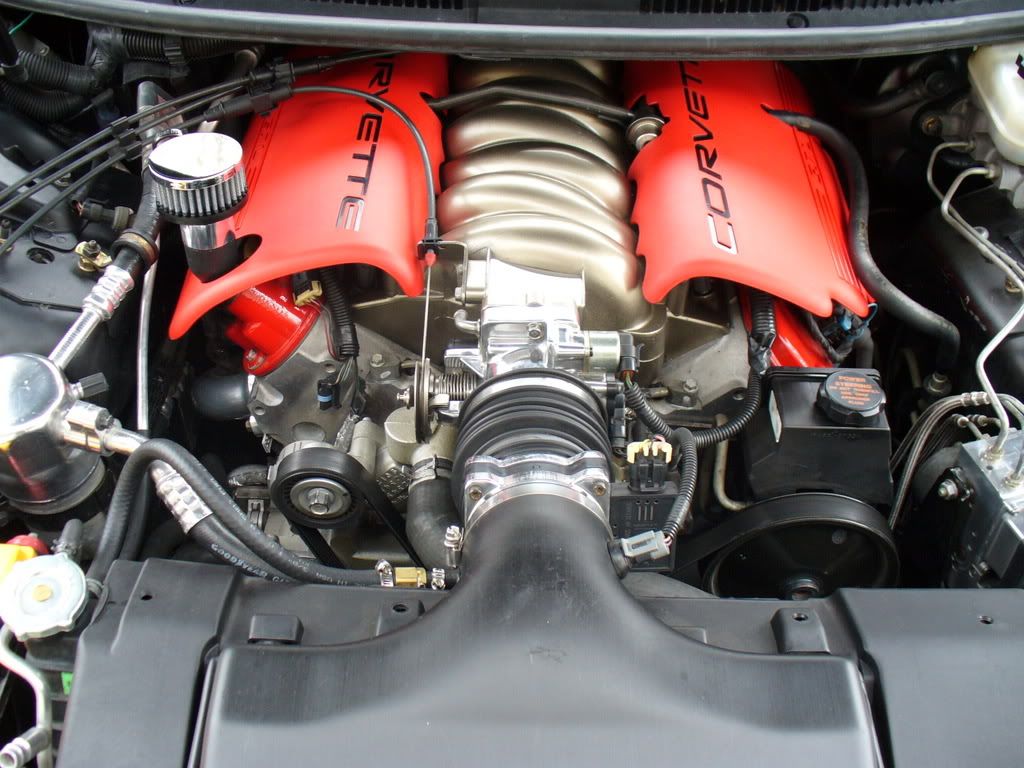
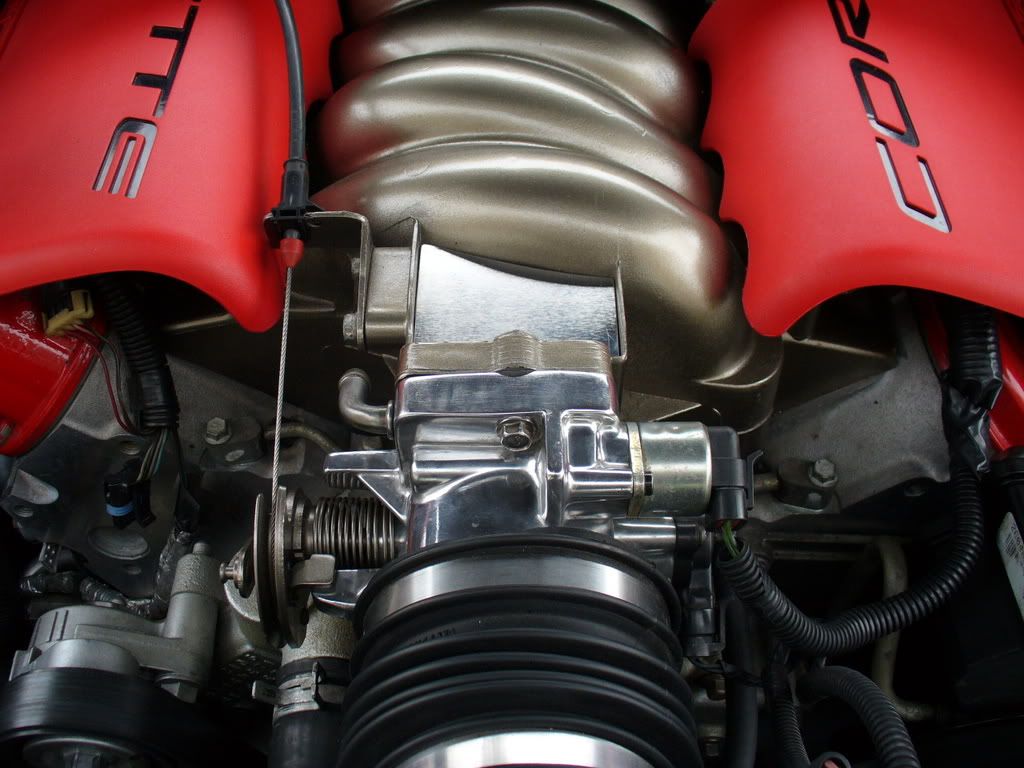
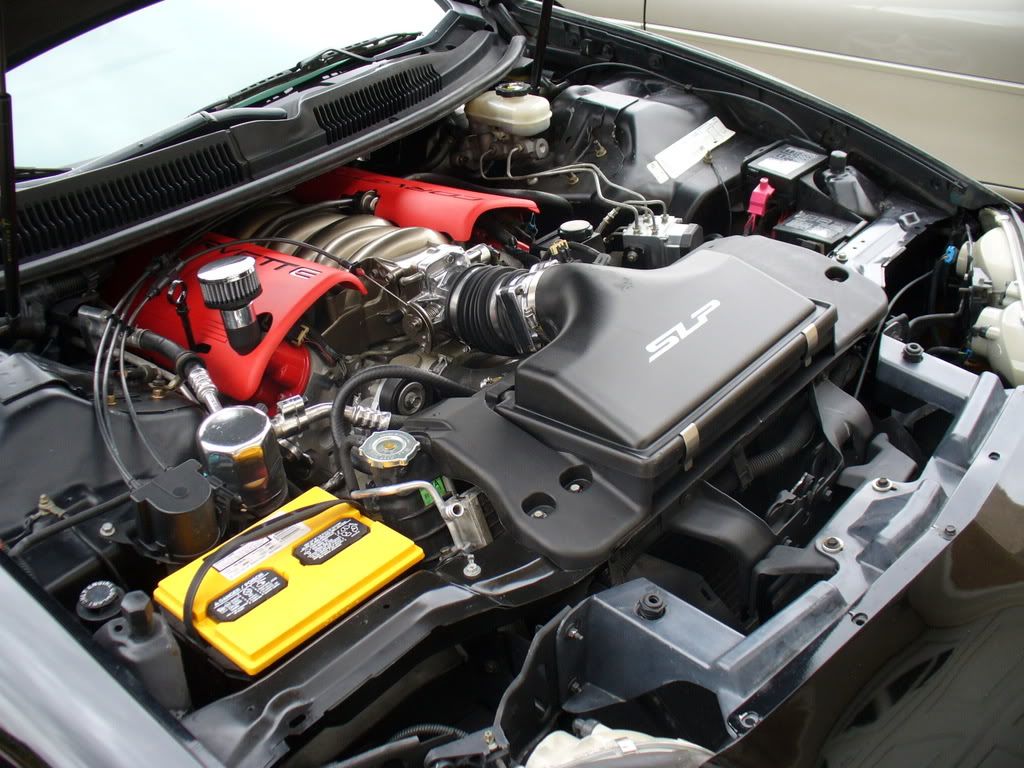
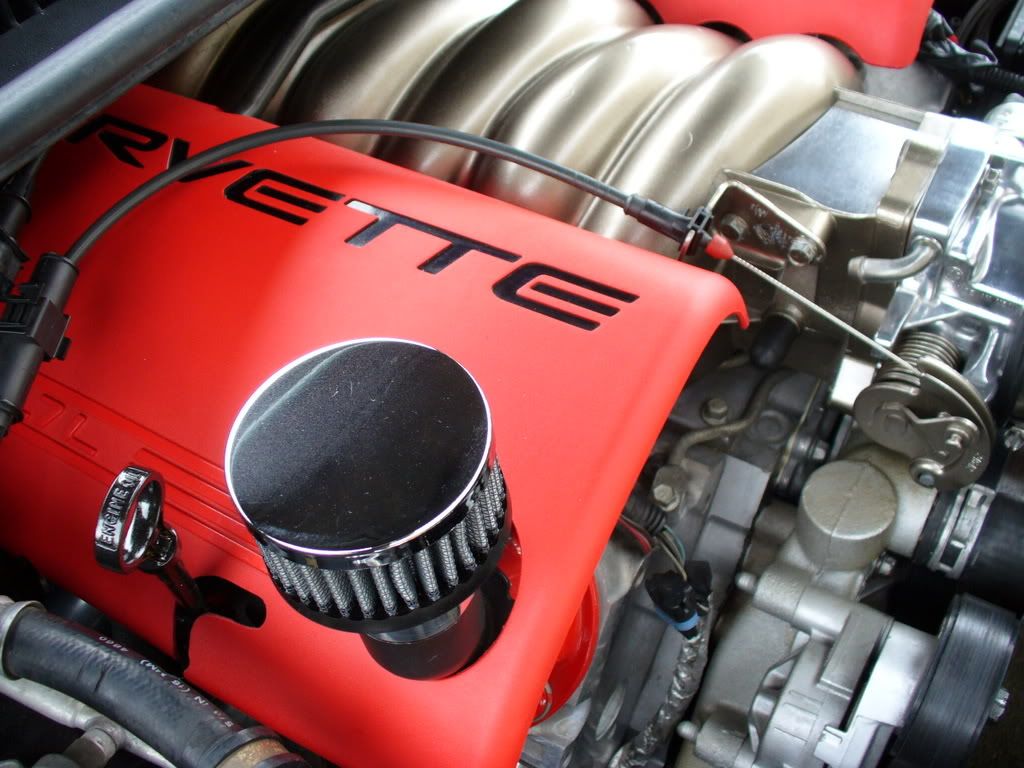
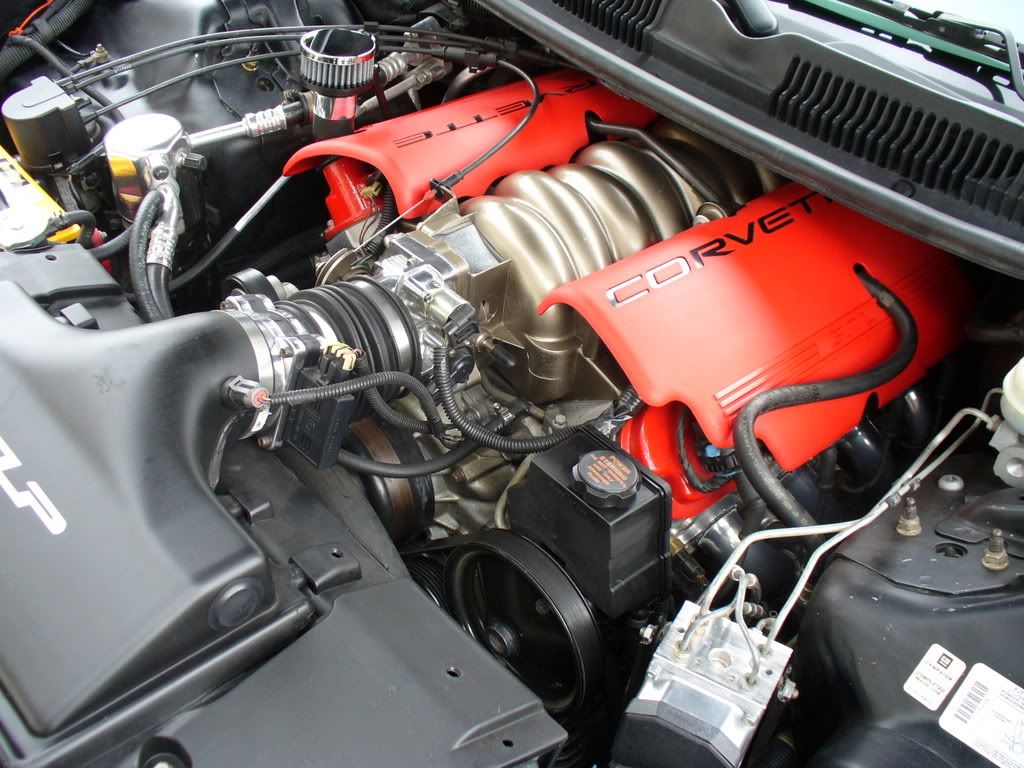
Cleaned up my engine bay a little. Added a Metco breather, painted my dipstick, and aluminum plate to cover that gap on the intake manifold. I am making covers and caps for everything in my engine bay very soon. Let me know what you think 

Last edited by SPECIALIZED STAINLESS; 12-16-2006 at 02:12 PM.

 12-16-2006, 02:09 PM
#3
FormerVendor
Thread Starter
iTrader: (15)
Join Date: Jun 2006
Location: Los Angeles, CA
Posts: 2,689
Likes: 0
Received 0 Likes
on
0 Posts
Originally Posted by skifast87
that looks really good man. Is that breather on top of your oil fill cap? how does that work
12-16-2006, 04:31 PM
#5
FormerVendor
Thread Starter
iTrader: (15)
Join Date: Jun 2006
Location: Los Angeles, CA
Posts: 2,689
Likes: 0
Received 0 Likes
on
0 Posts
Originally Posted by Y2K Pewter SS
Do yourself a huge favor and paint that front bumper support
12-16-2006, 04:33 PM
#6
TECH Fanatic
iTrader: (18)
Join Date: Aug 2003
Location: Tulsa, OK
Posts: 1,268
Likes: 0
Received 0 Likes
on
0 Posts

Originally Posted by toofazt
I know... I'm gonna do all that stuff when I replace the bolts with stainless steel ones


Trending Topics
12-16-2006, 05:18 PM
#8
FormerVendor
Thread Starter
iTrader: (15)
Join Date: Jun 2006
Location: Los Angeles, CA
Posts: 2,689
Likes: 0
Received 0 Likes
on
0 Posts
Originally Posted by SVC707
do the wire mod on that harness on passenger side
12-16-2006, 05:22 PM
#10
FormerVendor
Thread Starter
iTrader: (15)
Join Date: Jun 2006
Location: Los Angeles, CA
Posts: 2,689
Likes: 0
Received 0 Likes
on
0 Posts
Originally Posted by SVC707
you dont have to cut or extend the wires.. i did not.
on the last page on the thread in my link you can kind of see mine.
on the last page on the thread in my link you can kind of see mine.
12-16-2006, 05:25 PM
#11
TECH Junkie
iTrader: (7)
Join Date: Aug 2004
Location: Prairie de Femme, LA
Posts: 3,809
Likes: 0
Received 0 Likes
on
0 Posts
what did u do for the EVAP? doesn't look relocated, jsut gone.
!wire and !hood cable for sure, and adjust ur ASR wiring to below the solenoid.
also, simple things like polishing the IAC make the difference. lookin great. what color is ur intake mani?
and the !wire mod doesn;t have to cut any wires. the only cutting is a small 1 3/4(i think, don;t quote me on that) hole that u won;t even notice. look in the sticky.
Last edited by Phoenix 5.7; 12-16-2006 at 05:32 PM.
12-16-2006, 05:25 PM
#12
take your time in routing the wires just right. and instead of just cutting a big round hole. take your time in making an oval or square and then the harnesses slide right in. as you can see time pays off. my car is no show car but i will not rush it to find myself doing it again because i wanted to see it done.
12-16-2006, 05:28 PM
#13
FormerVendor
Thread Starter
iTrader: (15)
Join Date: Jun 2006
Location: Los Angeles, CA
Posts: 2,689
Likes: 0
Received 0 Likes
on
0 Posts
Originally Posted by Phoenix 5.7
what did u do for the EVAP? doesn't look relocated, jsut gone.
!wire and !hood cable for sure, and adjust ur ASR wiring to below the solenoid.
also, simple things like polishing the IAC make the difference. lookin great. what color is ur intake mani?
!wire and !hood cable for sure, and adjust ur ASR wiring to below the solenoid.
also, simple things like polishing the IAC make the difference. lookin great. what color is ur intake mani?
 lol
lolDamn, you guys need to tell me how to do these things! With the hood cable where do you relocate it to? Same with the ASR wiring, how do you move it? Thanks
12-16-2006, 05:34 PM
#14
TECH Junkie
iTrader: (7)
Join Date: Aug 2004
Location: Prairie de Femme, LA
Posts: 3,809
Likes: 0
Received 0 Likes
on
0 Posts
for the !wire and !hood cable, its all in the sticky(that nobody reads apparently)
for the asr, simply unclip the holder on the ASR and flip it(or break it off and just let it hang) so the wiring goes under the ASR. u won't really notice this till u do the !wire tho
for the asr, simply unclip the holder on the ASR and flip it(or break it off and just let it hang) so the wiring goes under the ASR. u won't really notice this till u do the !wire tho
 12-16-2006, 06:55 PM
#17
TECH Fanatic
iTrader: (18)
Join Date: Aug 2003
Location: Tulsa, OK
Posts: 1,268
Likes: 0
Received 0 Likes
on
0 Posts
Originally Posted by toofazt
I know... I just don't like the idea of cutting and extending all the wires. If I ever sold it, don't think that would be good!


