
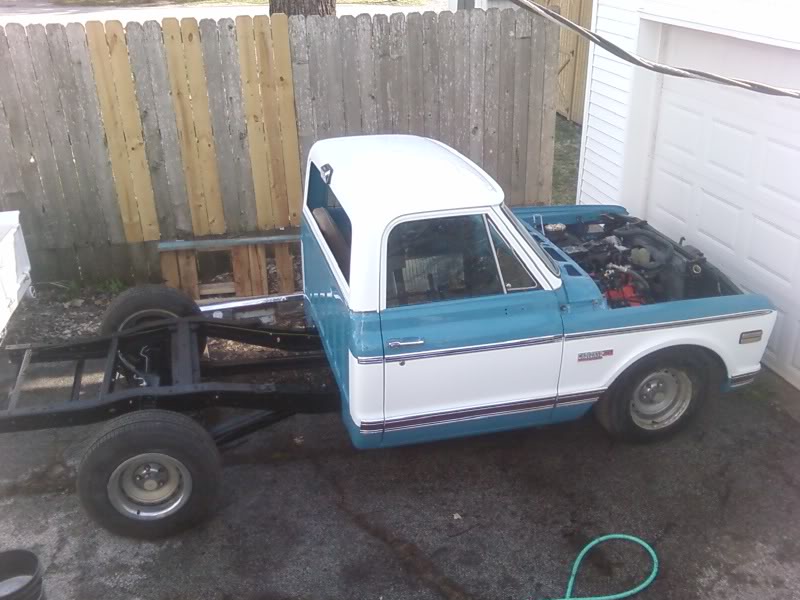
1972 Short bed 6.0/4l80e
 03-04-2010, 05:55 AM
#101
TECH Apprentice

Join Date: Aug 2005
Location: Dover Arkansas
Posts: 347
Likes: 0
Received 0 Likes
on
0 Posts
What a pain in the a!! that was. Putting the return line on the sender, didn't get it close enough to the suction and box for level sender. Wouldn't fit. Took tank out of truck to get more clearance,still couldn't get it in. Had to redue. Looking at yours, you bent thereturn to tuck in real tight with the suction. Thanks for the pics. Still working on mine. Keepin the neighbors talkin with all my cussin. Also had to take my tank out to retrieve my only 1/2 deep well socket that I managed to drop and roll into the drivers side cab corner. What a day.LOL


 03-09-2010, 05:58 AM
#103
Registered User
Join Date: Mar 2010
Location: Dover
Posts: 4
Likes: 0
Received 0 Likes
on
0 Posts
What a pain in the a!! that was. Putting the return line on the sender, didn't get it close enough to the suction and box for level sender. Wouldn't fit. Took tank out of truck to get more clearance,still couldn't get it in. Had to redue. Looking at yours, you bent thereturn to tuck in real tight with the suction. Thanks for the pics. Still working on mine. Keepin the neighbors talkin with all my cussin. Also had to take my tank out to retrieve my only 1/2 deep well socket that I managed to drop and roll into the drivers side cab corner. What a day.LOL
I have the white and orange 72' that occasionally is seen here. I also have a 6.0/4L80E in it. Just curious is all....
Been lurking around on the LS1internal engines post most of the time and have not been back here since i finished mine last year...
Rob
03-15-2010, 10:34 PM
#105
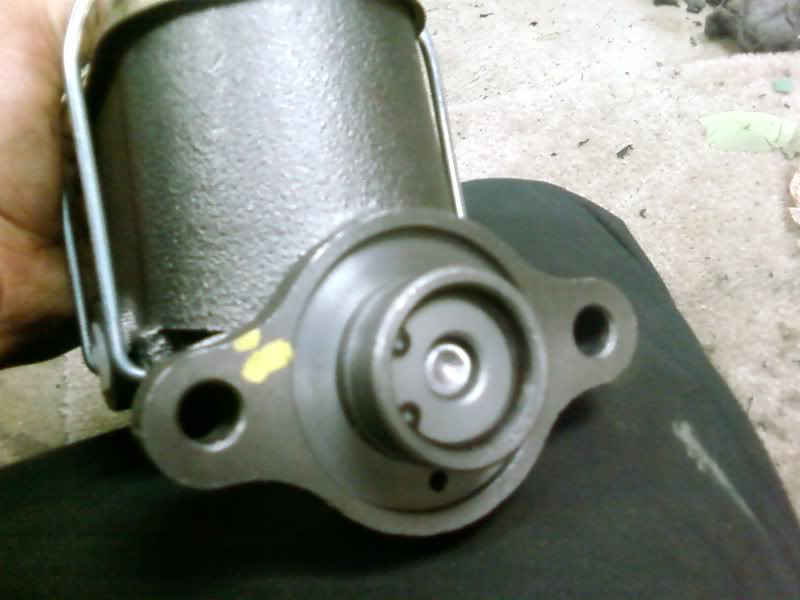
Got some more work done, but I had forgot about the master cylinder problem. The hole in the end of the 1972 master cylinder has a hole in in that is about 1 1/4" or so deep, where as the 2003 has a hole about 3/8" deep.
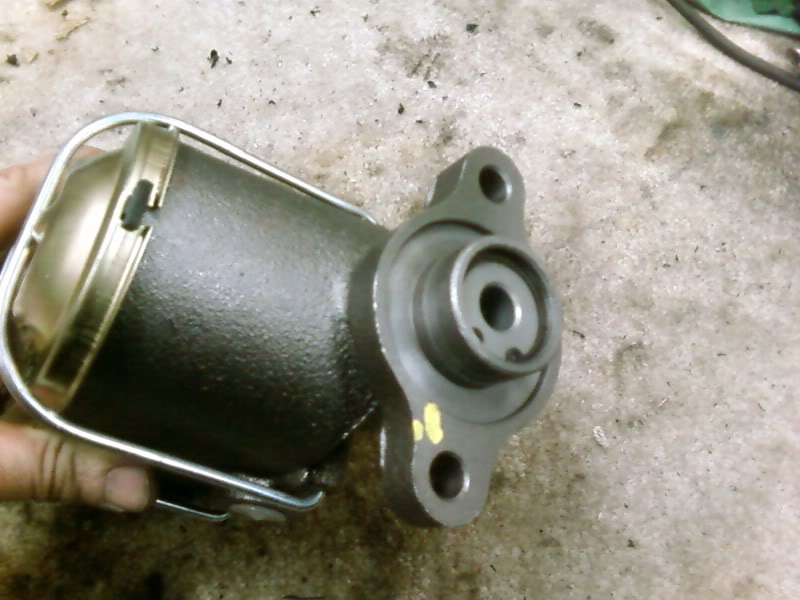
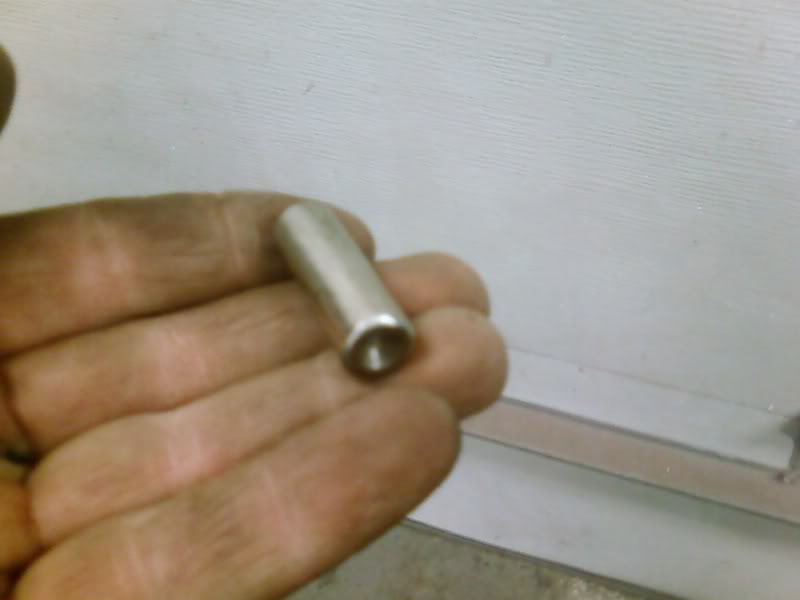
So I needed to make a spacer to go in the hole to take up some space. Well, looking around the garage, I found that a cheapo extention was just the right size to make it out of.
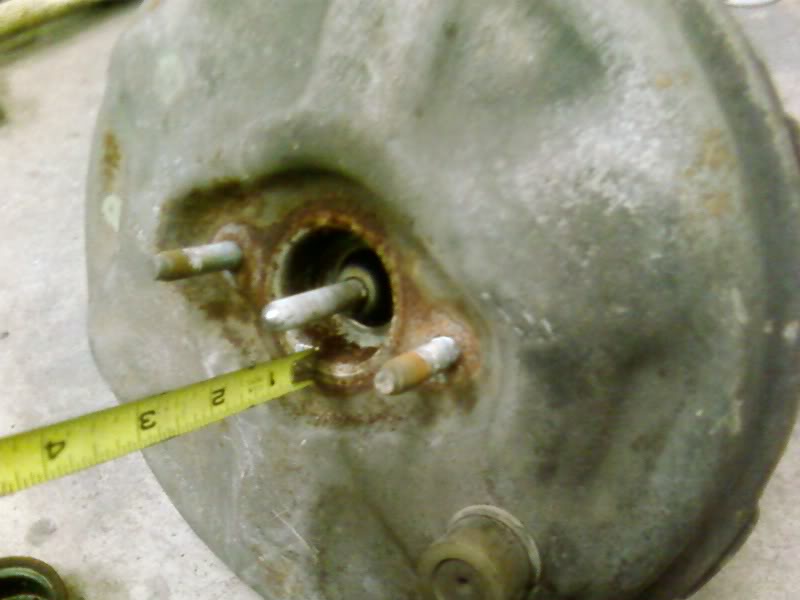
Then I measured the distance on the old booster and the hydroboost to get the length right.
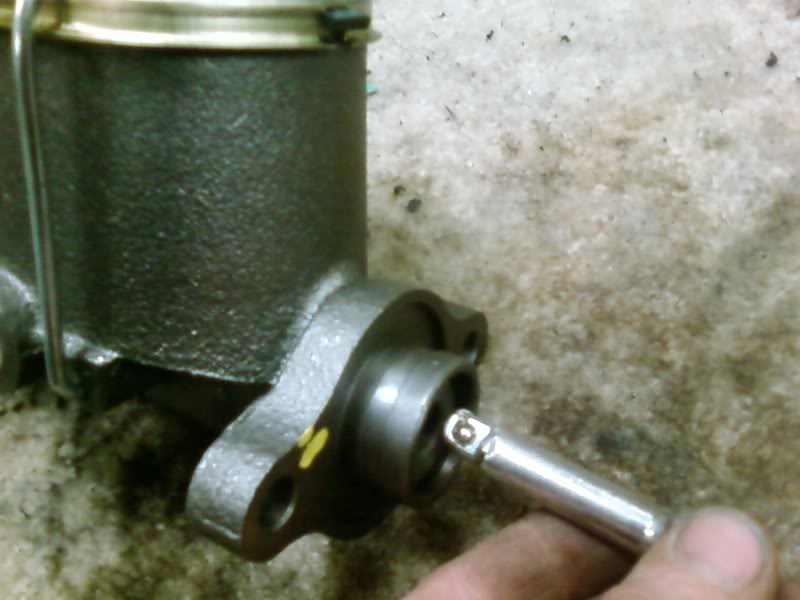
Cut it to length, and then drilled a small indention in the end for the rod in the hydroboost to fit into.

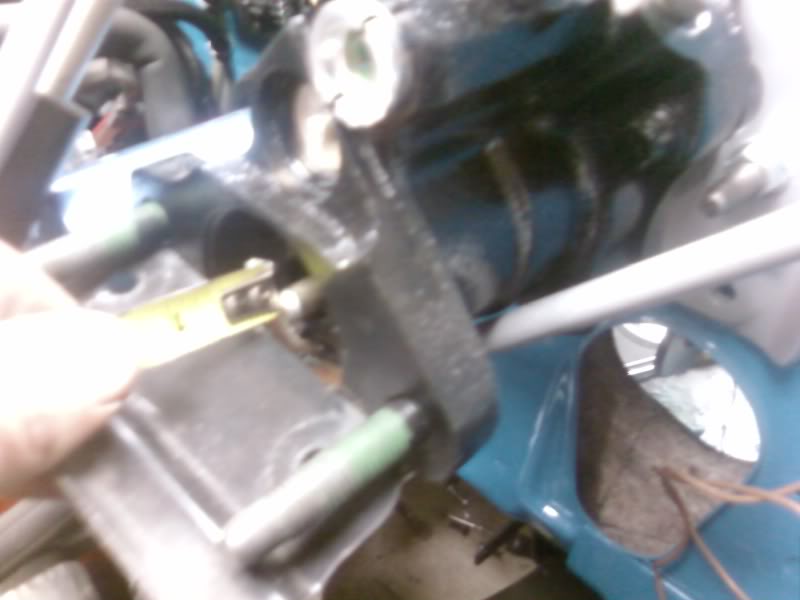
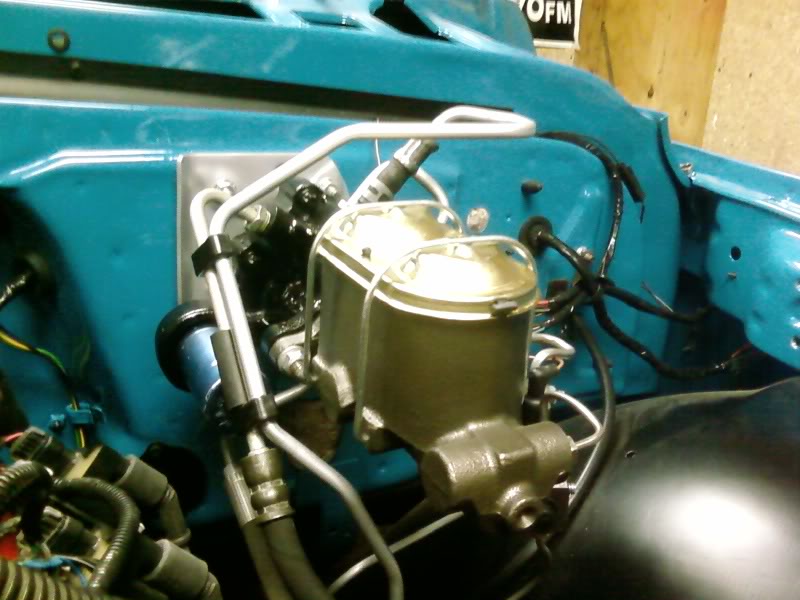
This is what it looked like when finished and installed.
Then I just cleaned everything up and got it all installed. One more thing done, about a million more to go.....
So I needed to make a spacer to go in the hole to take up some space. Well, looking around the garage, I found that a cheapo extention was just the right size to make it out of.
Then I measured the distance on the old booster and the hydroboost to get the length right.
Cut it to length, and then drilled a small indention in the end for the rod in the hydroboost to fit into.
This is what it looked like when finished and installed.
Then I just cleaned everything up and got it all installed. One more thing done, about a million more to go.....
03-18-2010, 07:42 AM
#107
TECH Apprentice
Join Date: Aug 2005
Location: Dover Arkansas
Posts: 347
Likes: 0
Received 0 Likes
on
0 Posts
Looking real good. Is that an aftremarket hydraboost or one off a vehicle. I saw a nice looking setup at the salvage yard the other day on a Silverado, but all the hoses were gone. I'm on Linker Mountain.
03-19-2010, 05:54 AM
#109
TECH Apprentice
Join Date: Aug 2005
Location: Dover Arkansas
Posts: 347
Likes: 0
Received 0 Likes
on
0 Posts
Thanks. Might go back and pickup the one I saw. The truck had just come into the yard, so it wasn't all rusty yet. My headers came in yesterday evening, so I might start to make some progress on mine today. They sure do look pretty.
04-01-2010, 10:15 PM
#111
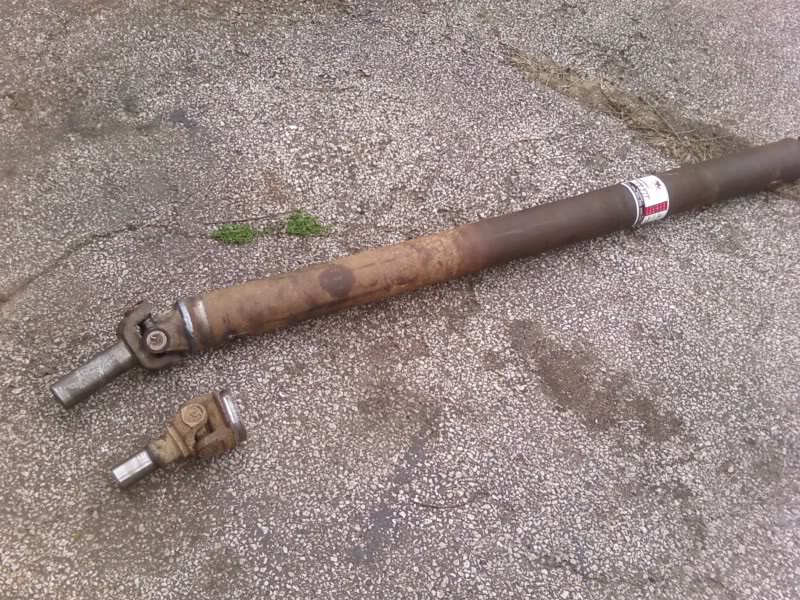
Well it finally got warm enough to push thu truck outside and give it a good bath, it's getting real dusty while I work on it. Also got my drive shaft done, had to have the 2003 yolk welded to my 1972 driveshaft. The length was fine, but I couldn't get a combination u joint that would work. The 4l80e slip yolk is alot bigger than the 4l60e. Now if I only knew what I did with the straps that hold in the rear u joint to the rear end. 
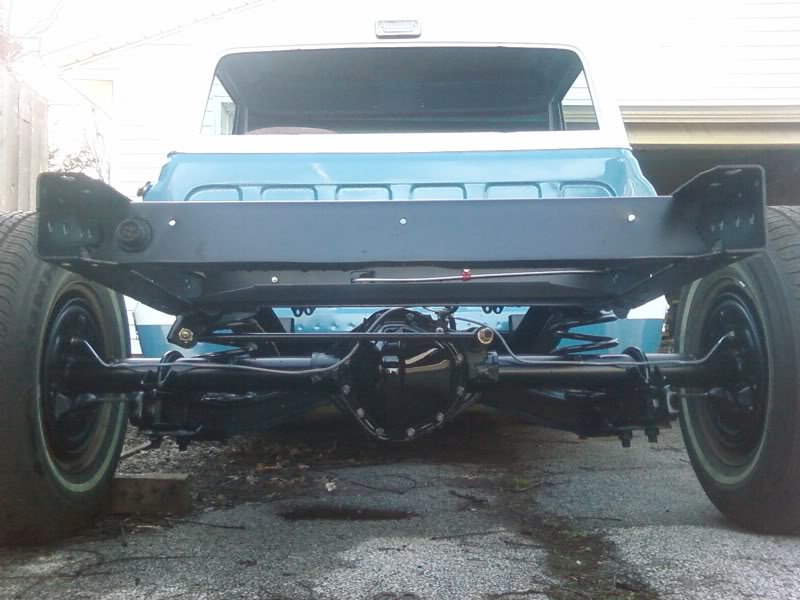
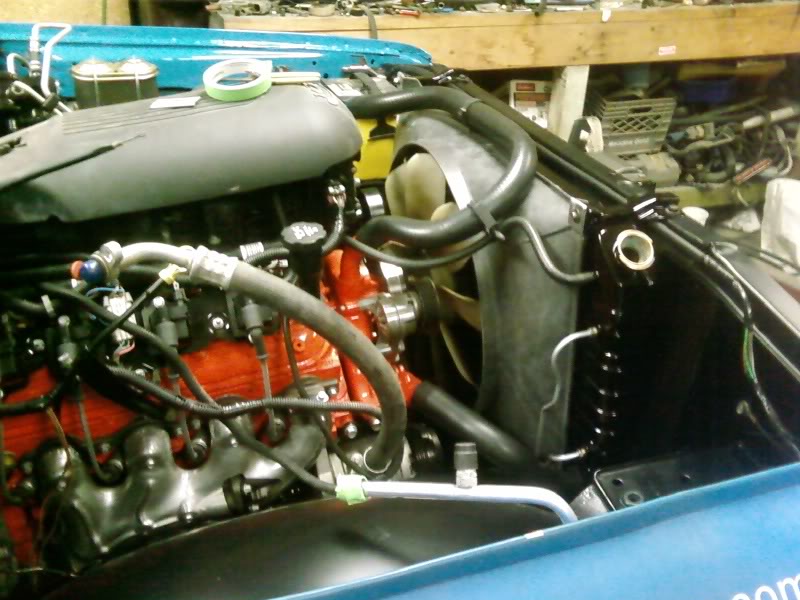
Also got the radiator, fan and shroud, power steering cooler, auxillary trans cooler, and A/C condenser mounted for the last time.
Also got the radiator, fan and shroud, power steering cooler, auxillary trans cooler, and A/C condenser mounted for the last time.
 04-17-2010, 08:26 PM
#114

Great Job!!...............See you on the Power Tour............
Ken
Ken


 04-26-2010, 09:55 PM
#119
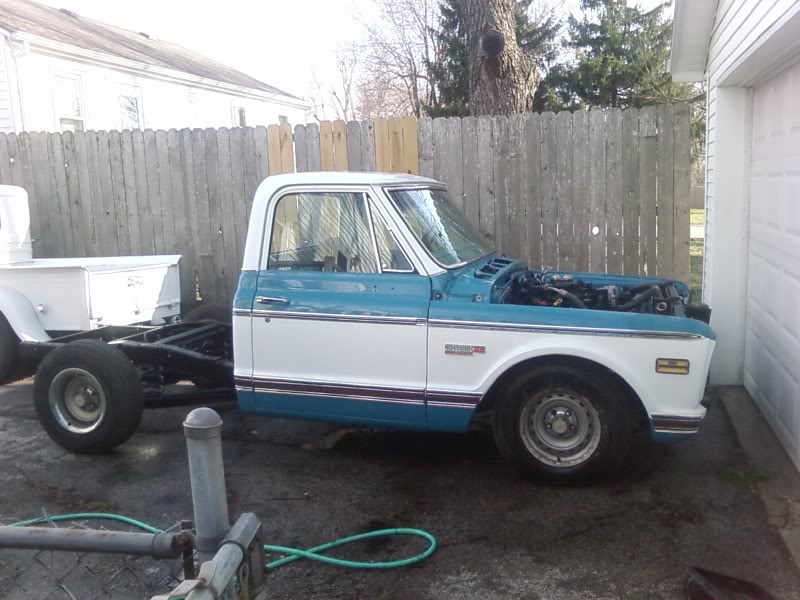
Well it's been a year tomorrow that I started this thread, where the hell does the time go???? Anyway, today was a good day, it moved under it's own power for the first time with the 6.0, I drove it up the street a couple of times, but didn't go too far because there's no exhaust, and my neighbor is always just waiting for a reason to call the cops! 
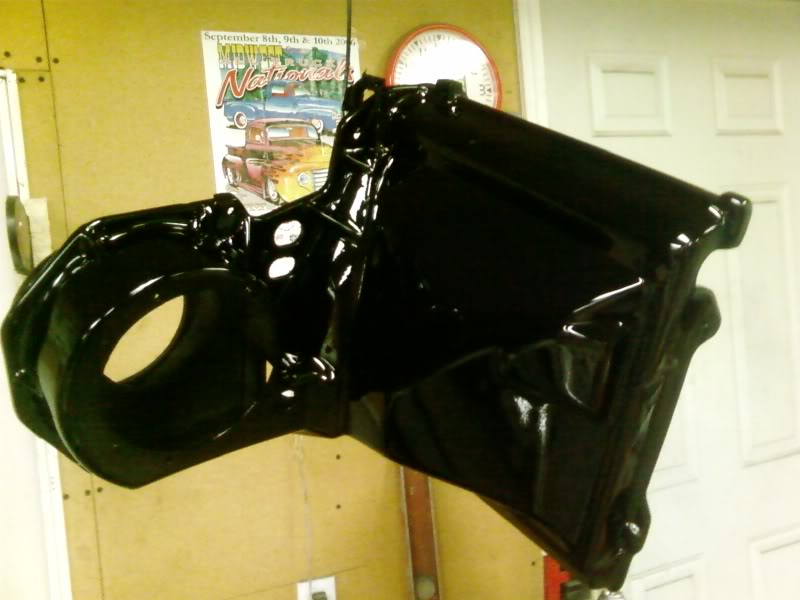
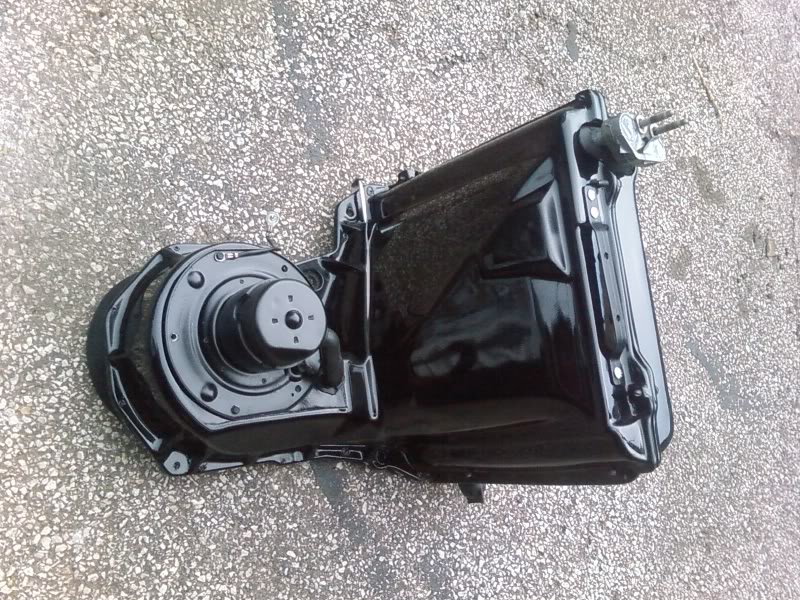
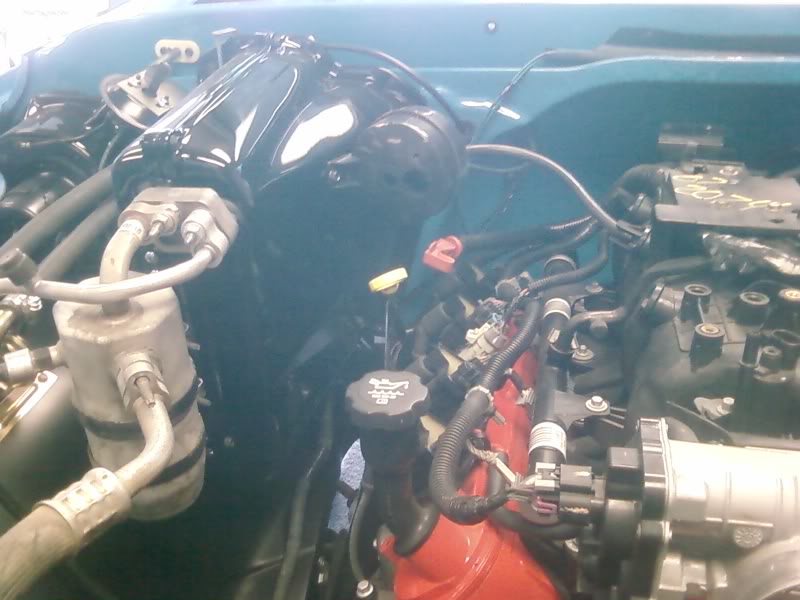
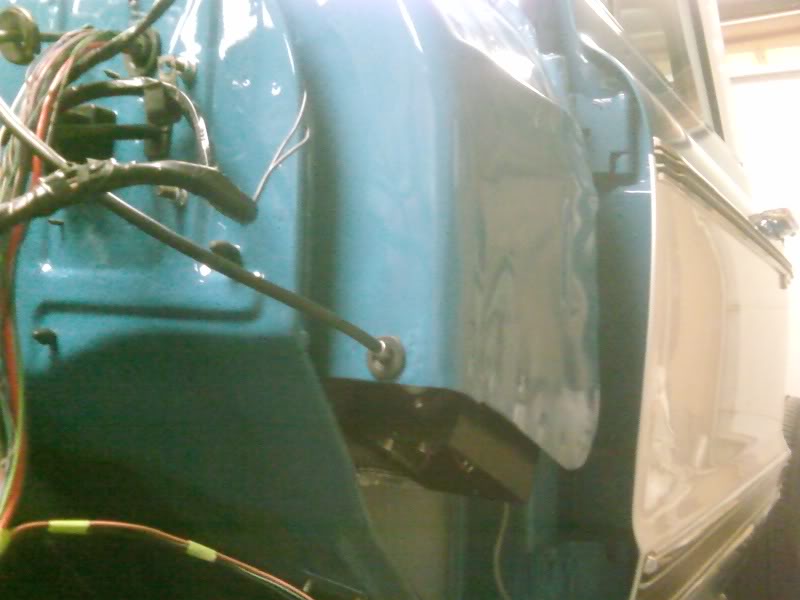
I modified the A/C box to accept the evaporator from the 2003, not the easiest way to get A/C, but I'm hoping since I used every piece of the A/C from the 2003, that it will work as good as a 2003. I've tried converting original systems to 134a, but have never been really happy with their performance.

Then I got the Cable-x for the speedo mounted.
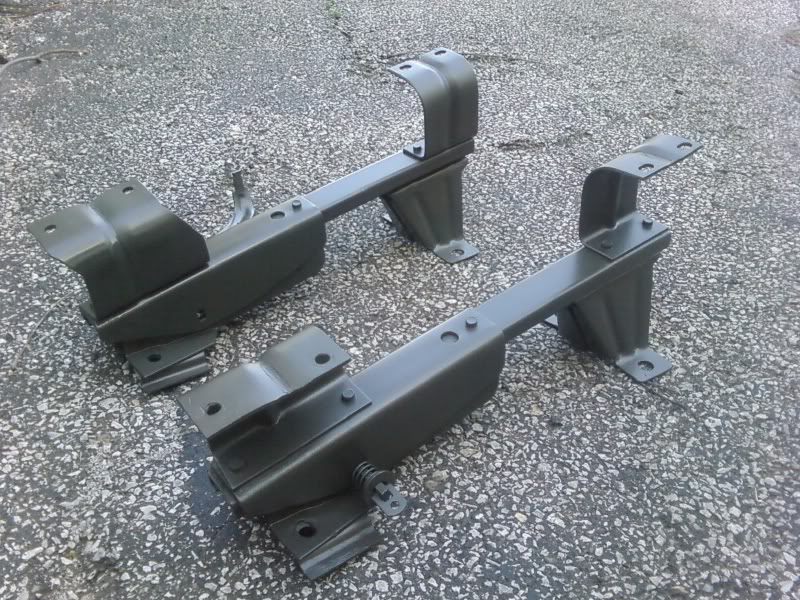
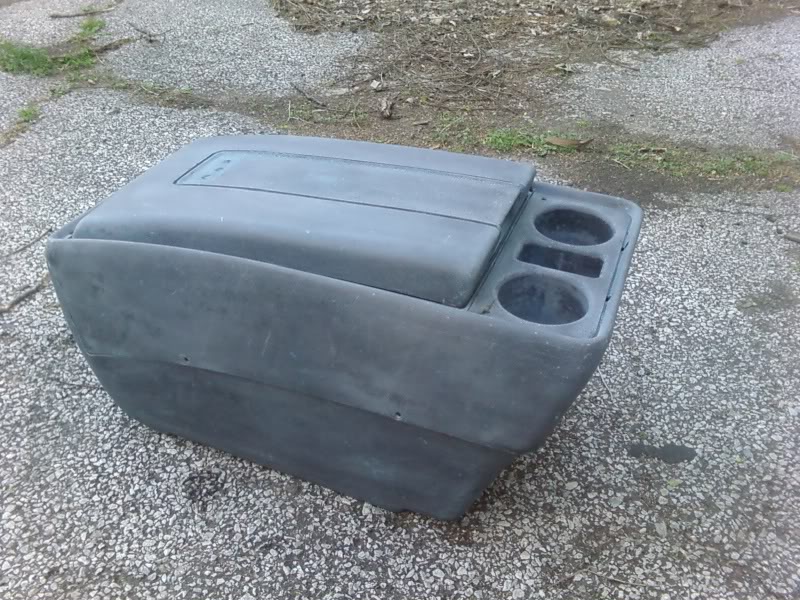
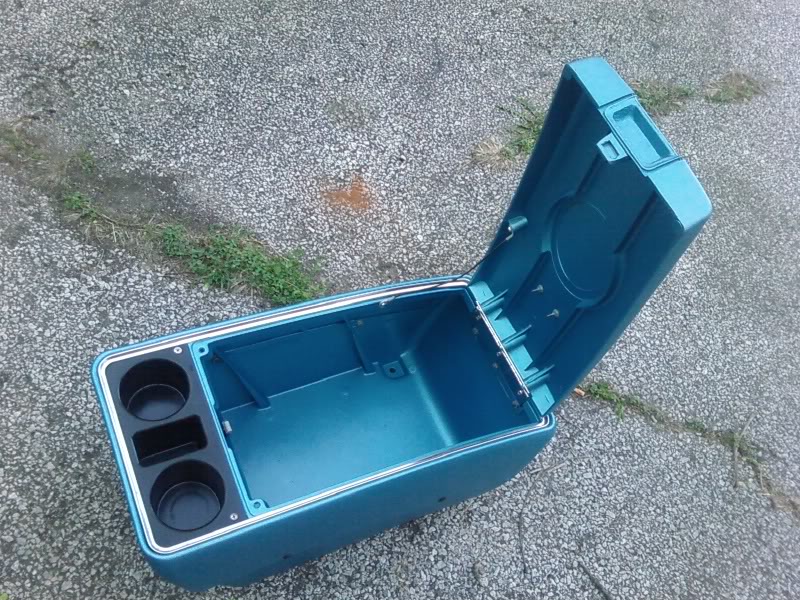
Started working on the interior, cleaned up the seat tracks, then stripped all the old paint off of the center console. It needed alot of work, but turned out pretty good. I had an original console, but I thought that a later model one with cup holders would be more practical.
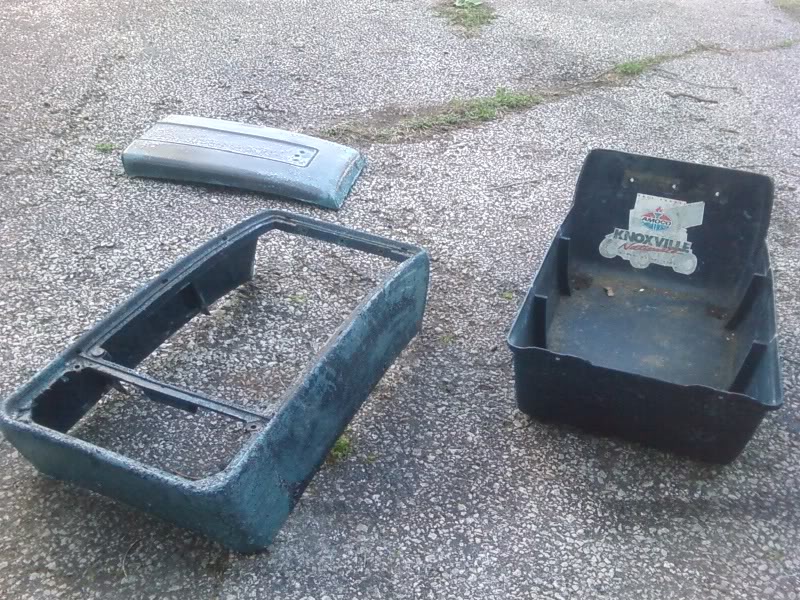
Original console
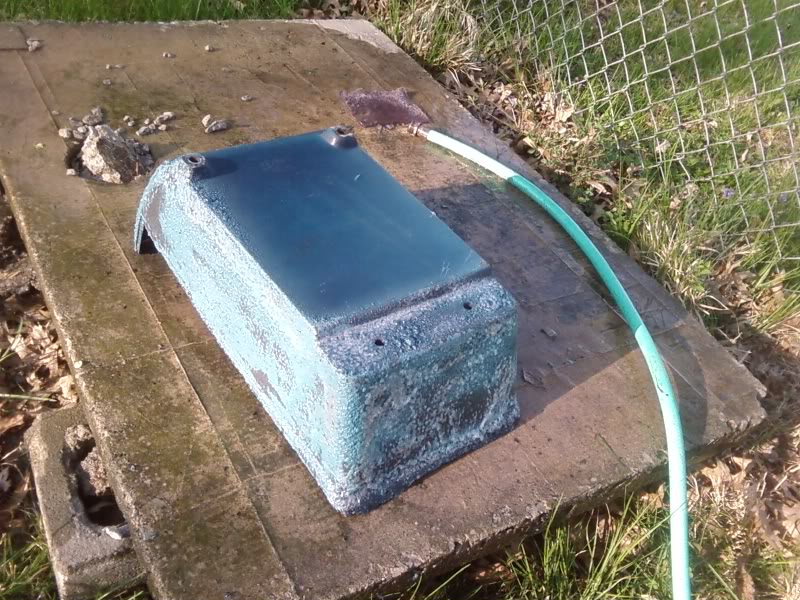
Console completely stripped.
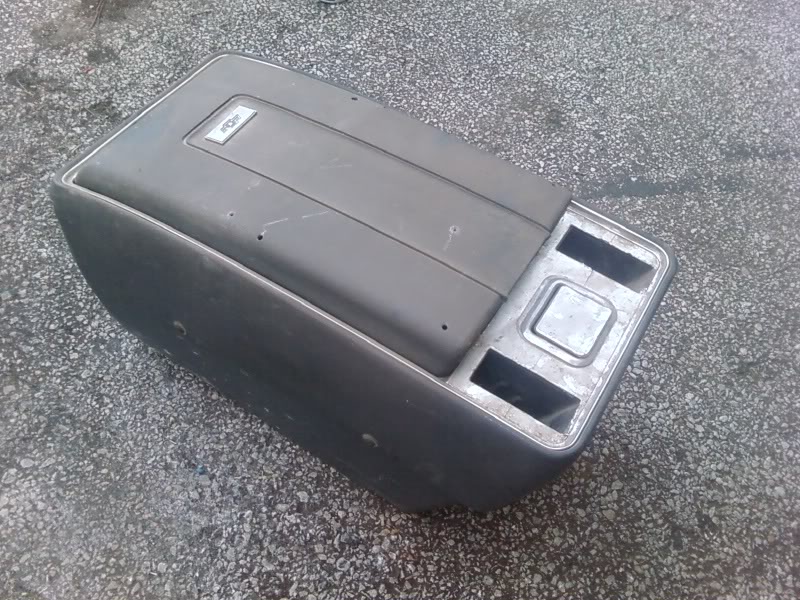
And painted.

Seats recovered, just got to get them installed.

And a couple of shots from the first drive!

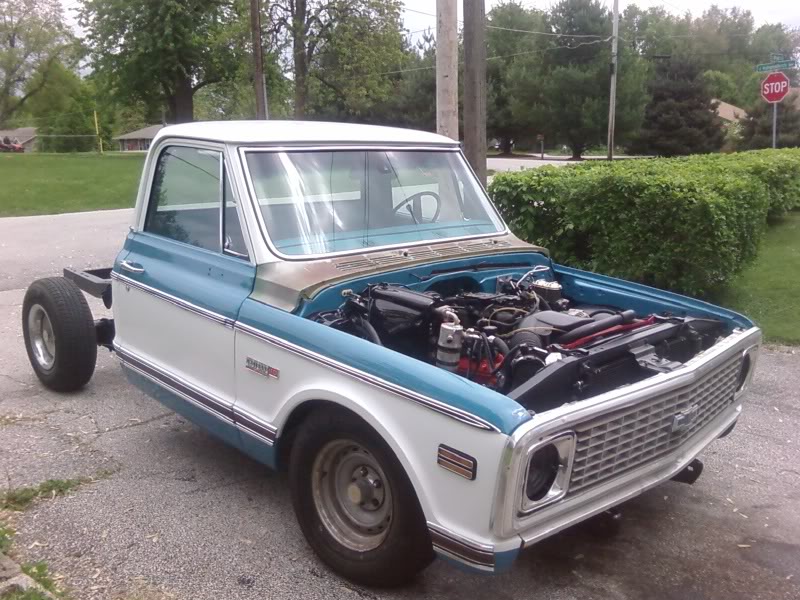
It runs and drives, but does have some issues that will hopefully get sorted out on friday.
I modified the A/C box to accept the evaporator from the 2003, not the easiest way to get A/C, but I'm hoping since I used every piece of the A/C from the 2003, that it will work as good as a 2003. I've tried converting original systems to 134a, but have never been really happy with their performance.
Then I got the Cable-x for the speedo mounted.
Started working on the interior, cleaned up the seat tracks, then stripped all the old paint off of the center console. It needed alot of work, but turned out pretty good. I had an original console, but I thought that a later model one with cup holders would be more practical.
Original console
Console completely stripped.
And painted.
Seats recovered, just got to get them installed.
And a couple of shots from the first drive!
It runs and drives, but does have some issues that will hopefully get sorted out on friday.