
1972 Short bed 6.0/4l80e


 04-30-2010, 06:36 AM
#123

Great Job!!..................Love the attention to detail!!........
Ken
Ken
 05-12-2010, 09:57 PM
#126
I would, but I'd have to dig it out of my parts mess.
Thanks Ken.
Yes we do. But I probably won't be going to many until this truck is done, but then it's game on!
Thanks, and I'll be at most the local cruises at least a couple of times this summer.
Thanks Ken.
Thanks, and I'll be at most the local cruises at least a couple of times this summer.
05-12-2010, 10:28 PM
#127
Well the other day the bed I bought before I bought this truck was delivered. It's almost completely rust free, but unfortunately it's not dent free. After doing some number crunching, it became obvious that new bedsides and floor was going to be the way to go.
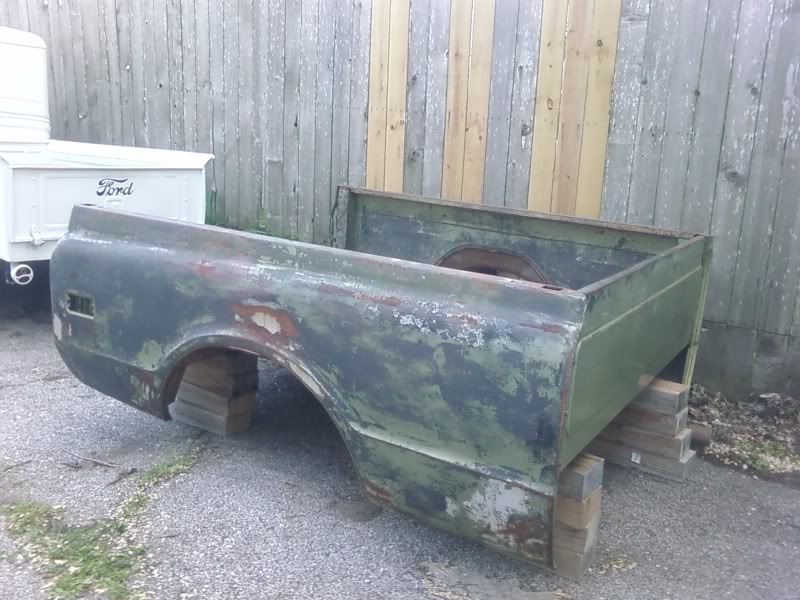
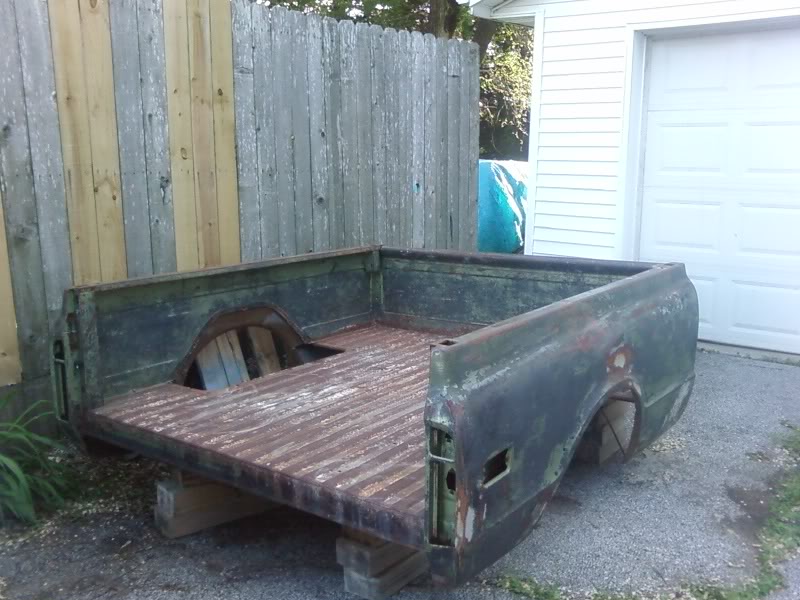
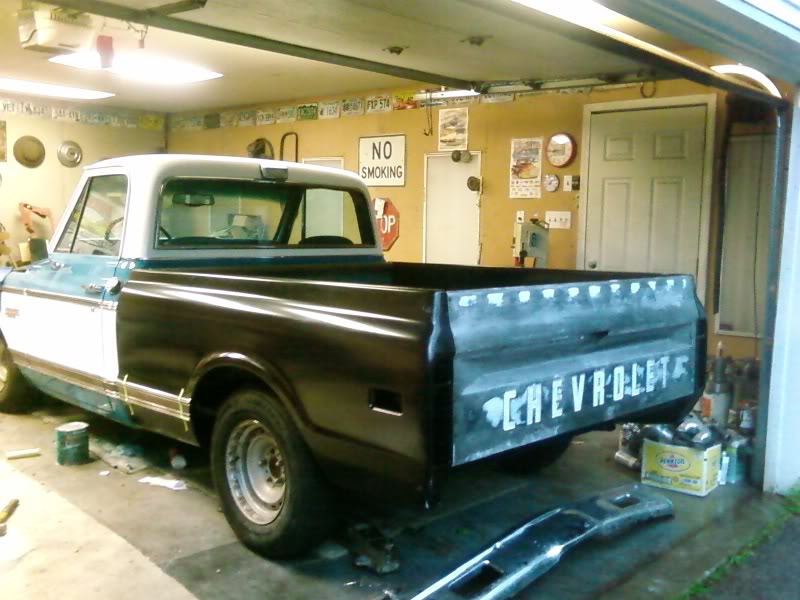
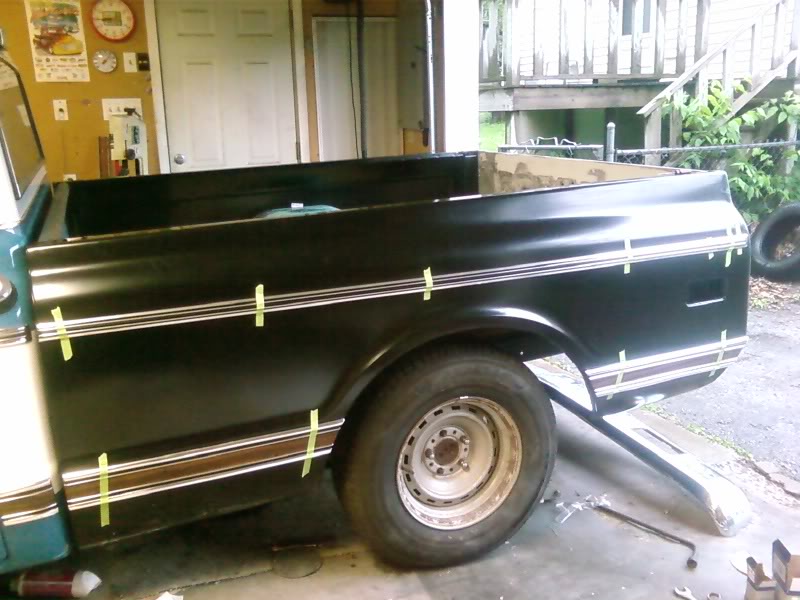
So this is where I'm at now, should go pretty quick now since I don't have to do a months worth of body work.
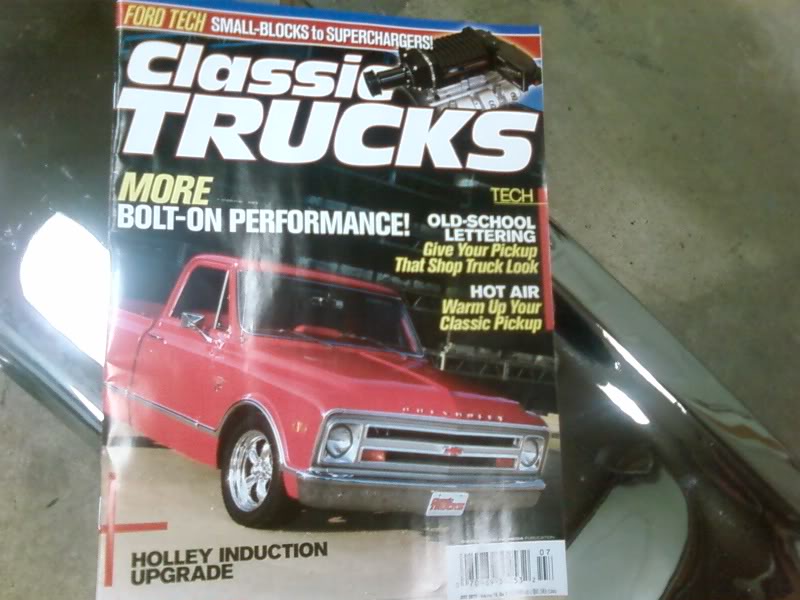
Also got some good news, the red '68 with the 5.3 4l60e that I built for a friend back in 2005 made the cover/feature of the new Classic Trucks magazine. I knew it was shot for the feature, but the cover was a suprise!
So this is where I'm at now, should go pretty quick now since I don't have to do a months worth of body work.
Also got some good news, the red '68 with the 5.3 4l60e that I built for a friend back in 2005 made the cover/feature of the new Classic Trucks magazine. I knew it was shot for the feature, but the cover was a suprise!
 05-25-2010, 06:11 AM
#130
Which car are you taking on the Power Tour this year??
Ken
Ken
06-07-2010, 10:53 PM
#133

Nice work! Would you happen to have anymore pictures or info on the mods you did to get the 2003 ac into the 72 suite case? Are you using the 2003 condenser as well?
Thanks!
Thanks!
06-08-2010, 07:13 AM
#134
I do have more pictures, but I'm not at home right now, so I'll have to find them when I get back. But basically it's two A/C boxes that I combined to make one. It needed to be made about 2 inches longer to get the 2003 evaporator to fit in the box. I'm also using the 2003 condenser and hoses, so in theory it should work as good as a 2003, but I have not tested it yet. I'm keeping my fingers crossed that the '72 box doesnt affect the airflow over the evaporator too much.
06-09-2010, 11:21 AM
#136
Teching In

Join Date: May 2010
Posts: 5
Likes: 0
Received 0 Likes
on
0 Posts
the reason im asking is i am putting in a 00 lq4/4l80e in a 85 and having problems on the wires out of the stock underthe hood fuse/relay box,need to know or find a pinout from the fusebox to the cab....and without the bcm in the picture will i still have passlock issues? renewedthoughts@gmail.com
Last edited by bowtie-r-die; 06-09-2010 at 11:23 AM. Reason: forgot something
06-16-2010, 11:16 PM
#137
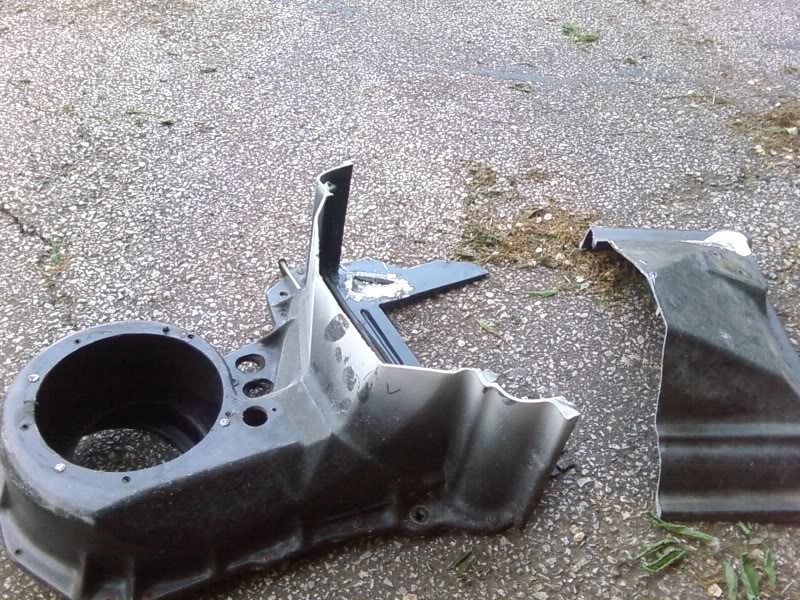
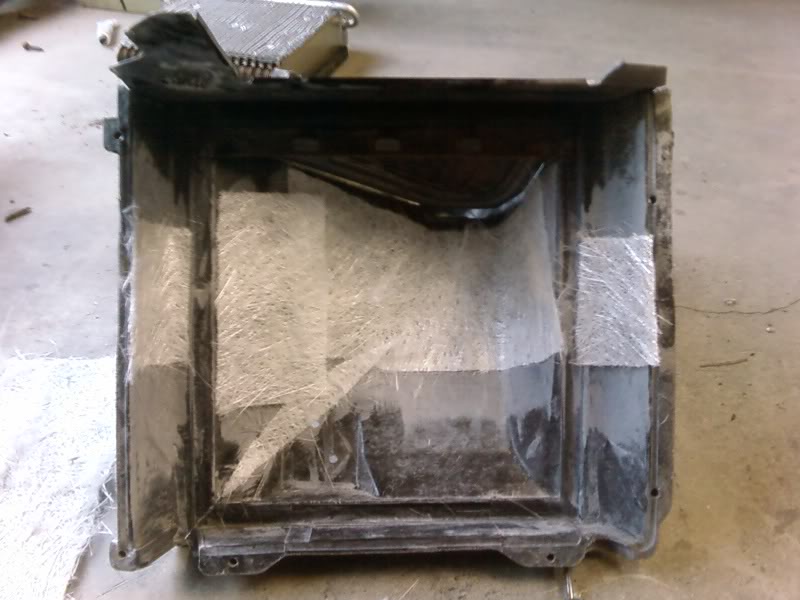
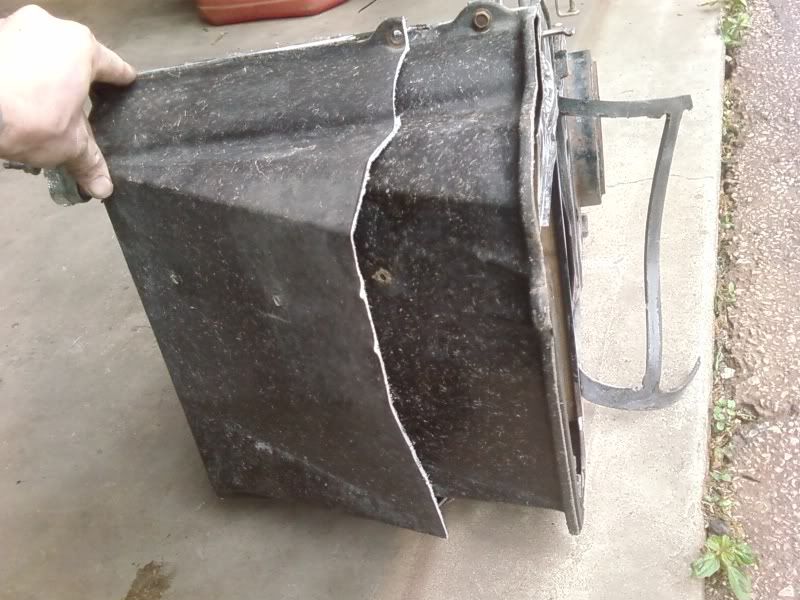
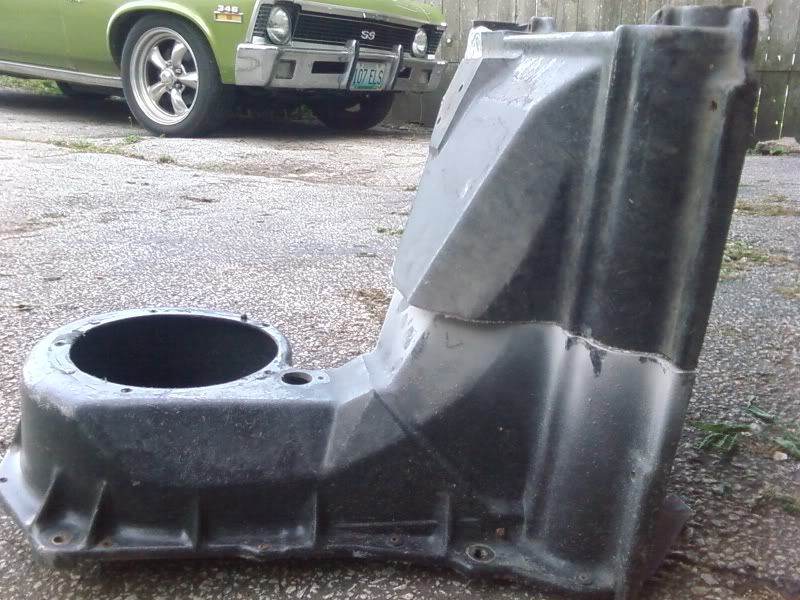
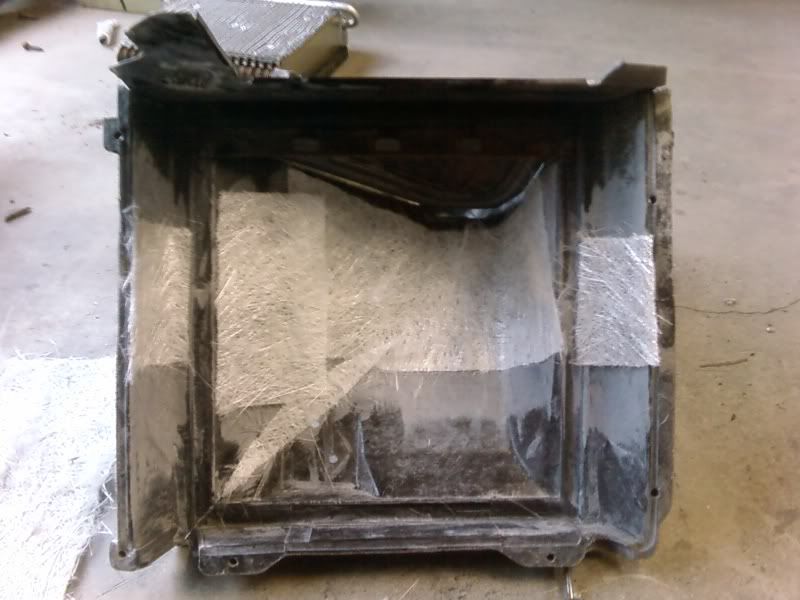
The box needed to be lengthened a couple of inches, so I started by cutting two A/C boxes in two.
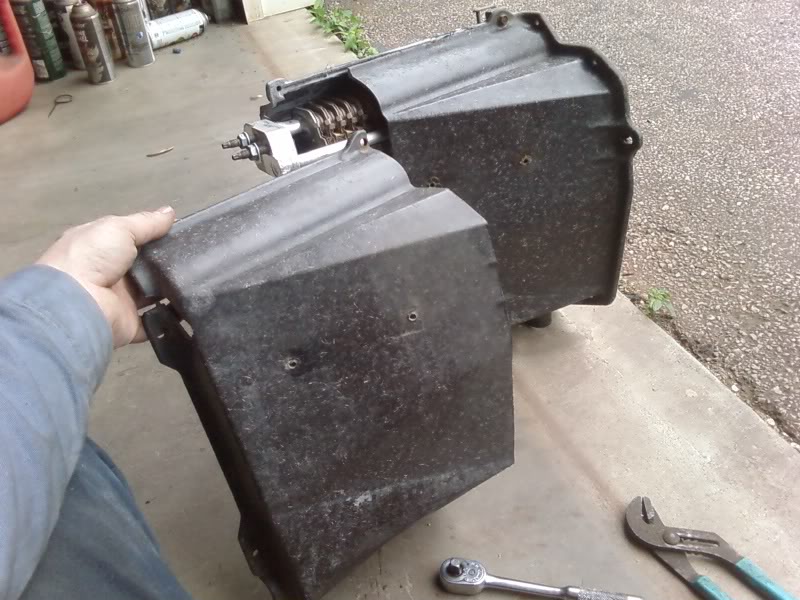
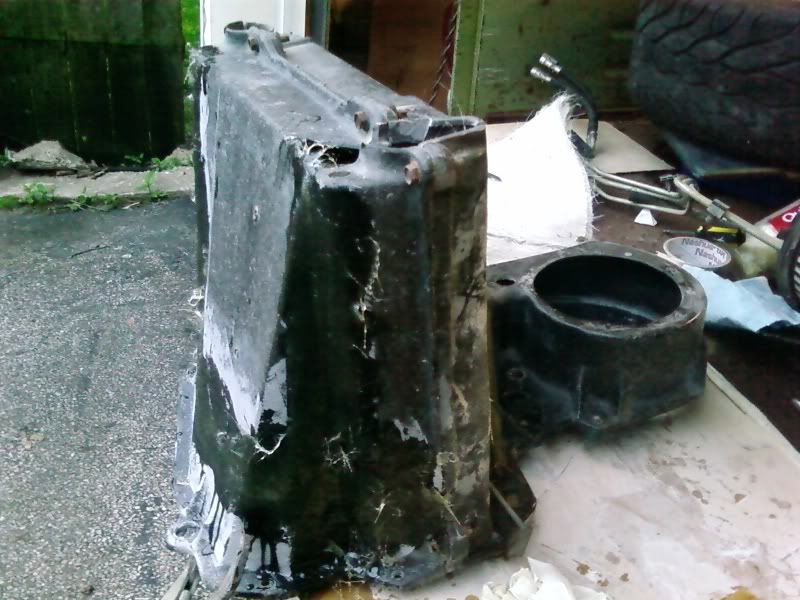
Then over layed the two to get an idea of where to mate them together. By using two boxes I only had one seam, versus using one box and adding a piece down the middle.


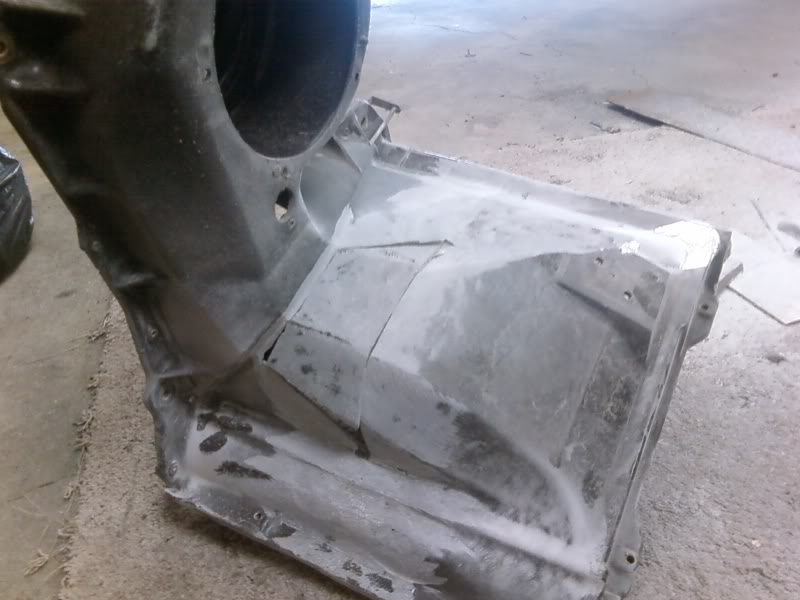
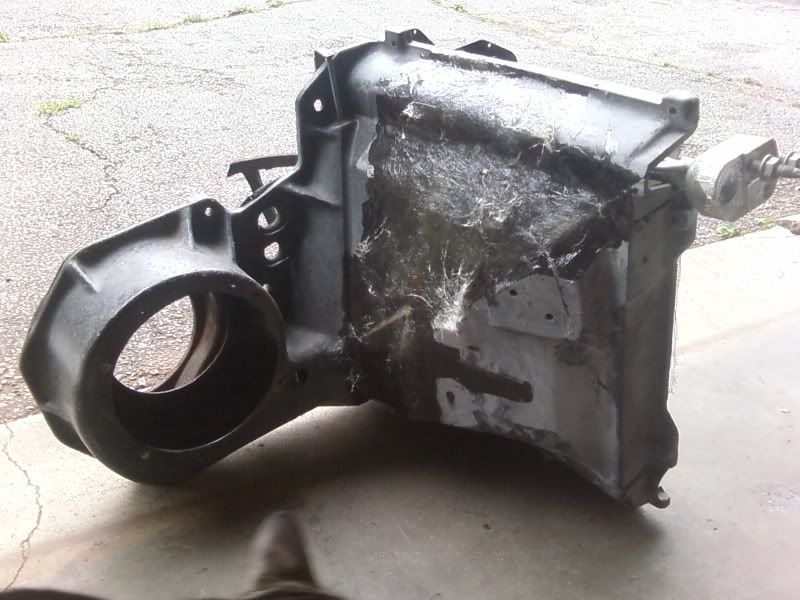
Then I fiberglassed the two halves together.
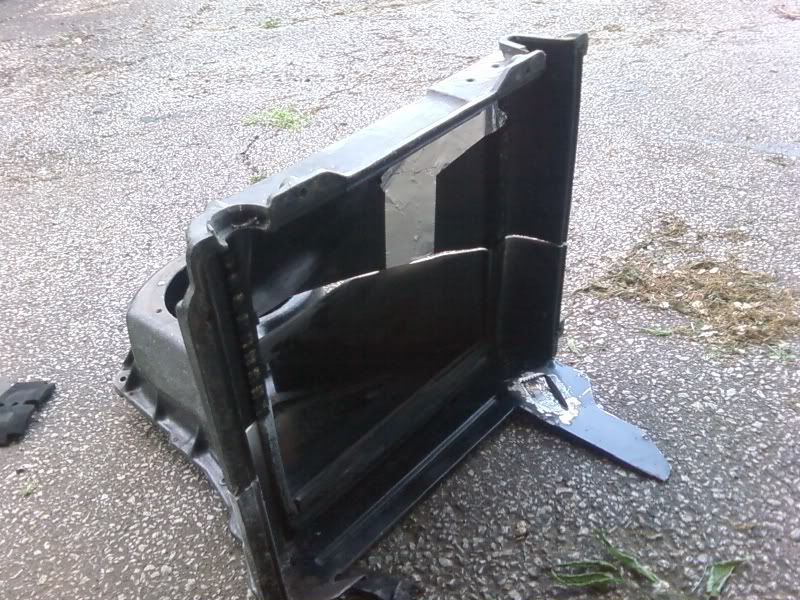


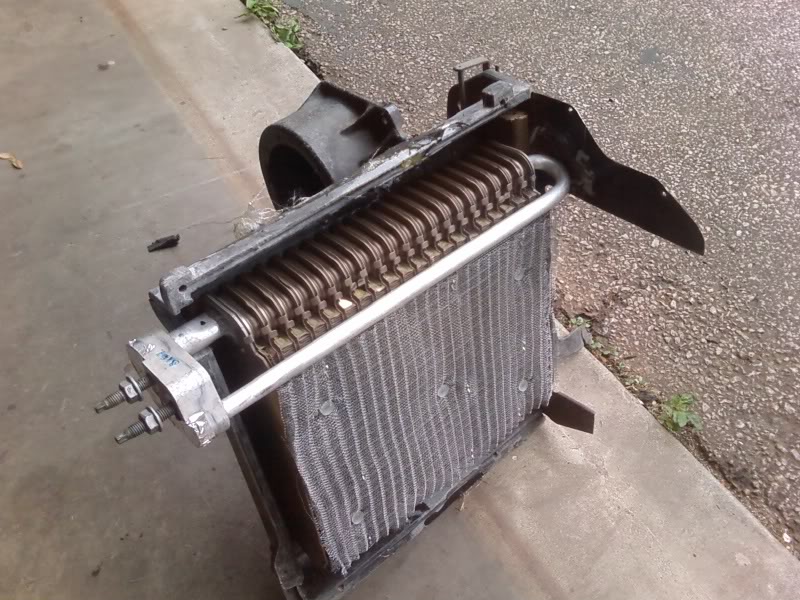
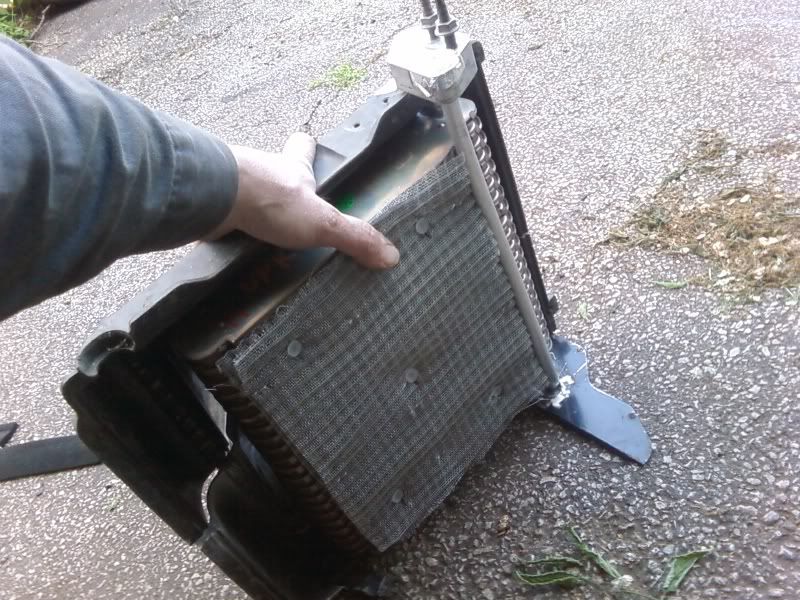
This is with the evaporator installed to make sure everything would fit.

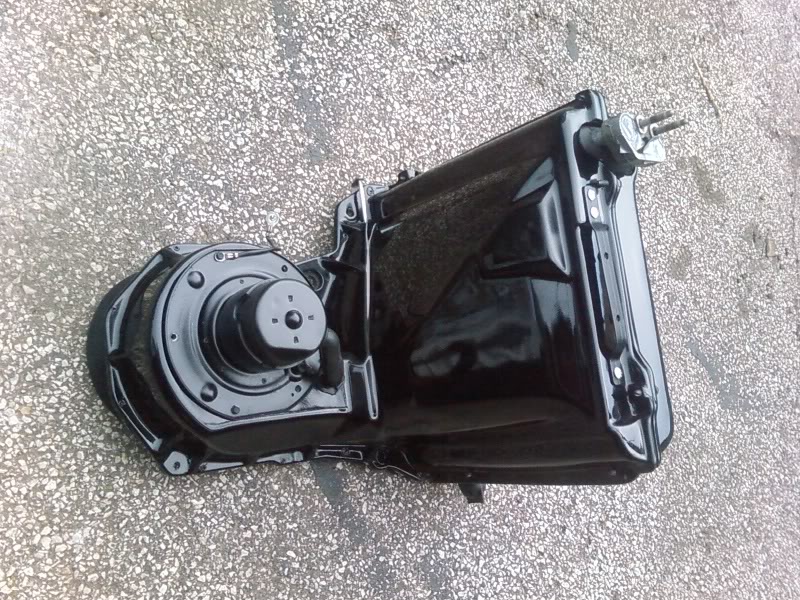
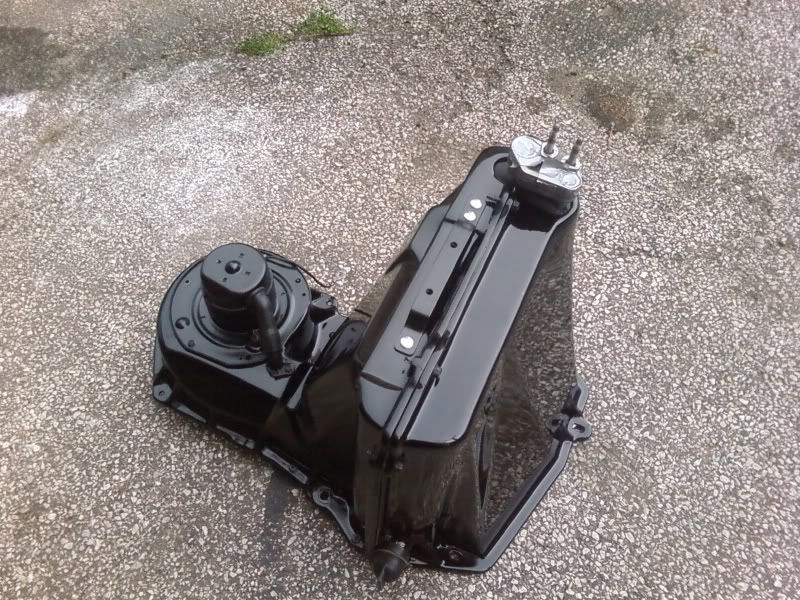
From there it's just a matter of doing some body work to smooth everything up and then paint.

 06-17-2010, 04:10 PM
#140
Here are the pics of the A/C box modifications. Was alot of work, and is untested but I think it's going to work.
The box needed to be lengthened a couple of inches, so I started by cutting two A/C boxes in two.


Then over layed the two to get an idea of where to mate them together. By using two boxes I only had one seam, versus using one box and adding a piece down the middle.
Then I fiberglassed the two halves together.
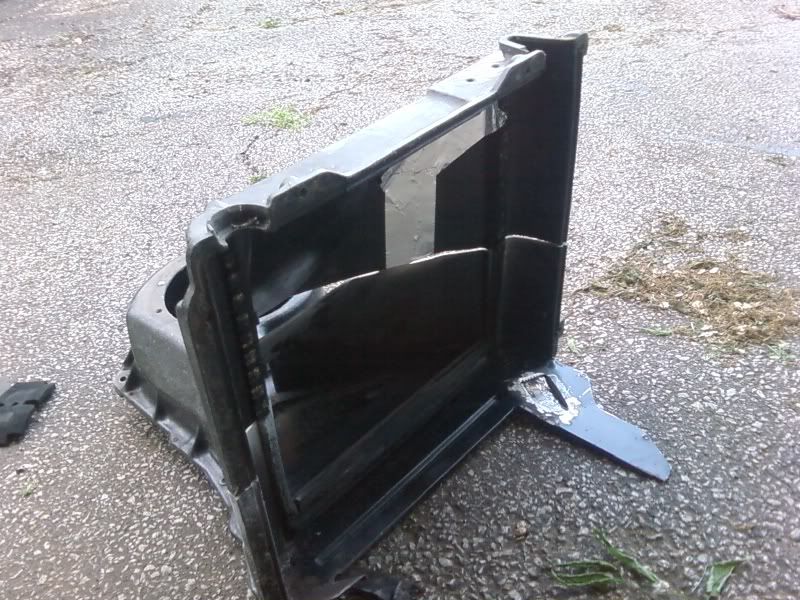


This is with the evaporator installed to make sure everything would fit.

From there it's just a matter of doing some body work to smooth everything up and then paint.

The box needed to be lengthened a couple of inches, so I started by cutting two A/C boxes in two.
Then over layed the two to get an idea of where to mate them together. By using two boxes I only had one seam, versus using one box and adding a piece down the middle.
Then I fiberglassed the two halves together.
This is with the evaporator installed to make sure everything would fit.
From there it's just a matter of doing some body work to smooth everything up and then paint.
Thanks for updating your pics, very clever way of doing this.. I think it should work just like it did in the 2003! Now I need to get busy with mine.. Where to find another ac suite case for a 67-72 pickup in Canada?