

GM A body swaps....need cold air intake pics......
 05-03-2010, 09:00 PM
#1
On The Tree
Thread Starter
iTrader: (1)

Join Date: Aug 2009
Posts: 108
Likes: 0
Received 0 Likes
on
0 Posts
Im not happy with the way my cold air intake is now.....anybody have pics of theirs in a 68-72 Chevelle or El camino......im just curious how it can be done different......
thanks.......
thanks.......
 05-03-2010, 09:15 PM
#2
On The Tree
Let's see a picture of what you are running right now. Also, do you know what your intake air temperature is? On a normal summer day (~27 C) cruising down the highway anything below 35 C is pretty good.
05-03-2010, 09:47 PM
#3
On The Tree
Thread Starter
iTrader: (1)
Join Date: Aug 2009
Posts: 108
Likes: 0
Received 0 Likes
on
0 Posts
heres kinda a crappy picture but you get the idea....a cone filter on the end down by where i have the ecu mounted....the battery is in the factory a body location on the passenger side.....
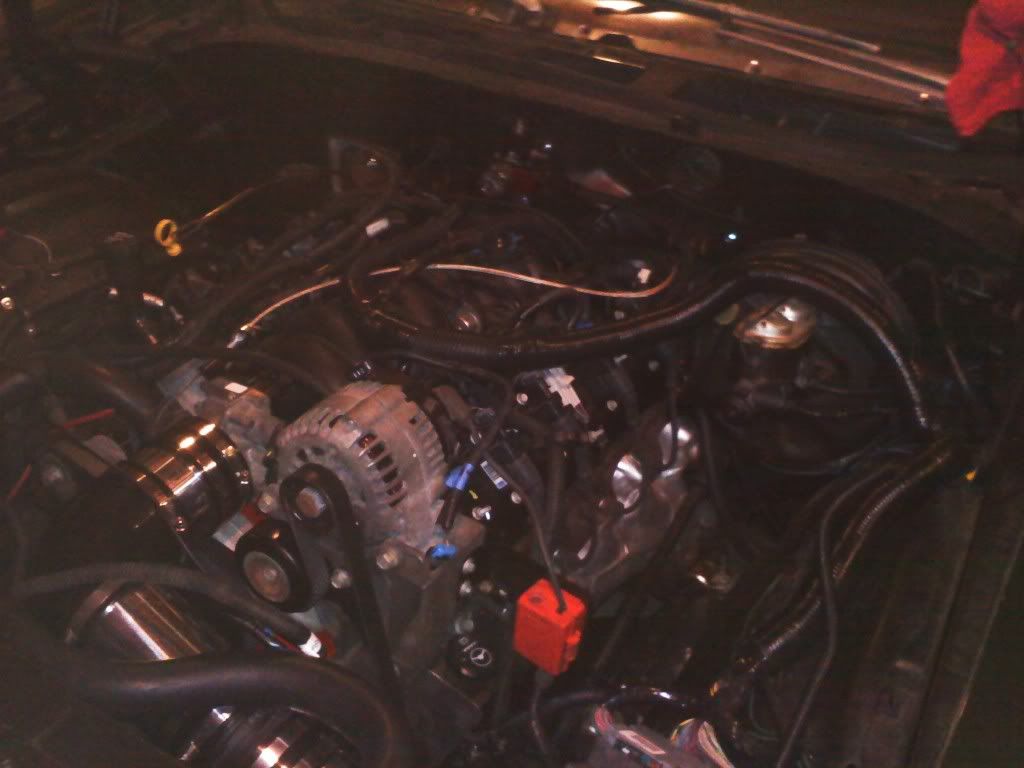
it wont run right with the maf sensor plugged in so im taking it to get looked at cause i dont have efi live yet just wanted to maybe change my setup...?
it wont run right with the maf sensor plugged in so im taking it to get looked at cause i dont have efi live yet
just wanted to maybe change my setup...?
05-03-2010, 09:52 PM
#4
TECH Resident
iTrader: (10)
Join Date: Oct 2005
Location: Cincinnati, Ohio
Posts: 948
Likes: 0
Received 0 Likes
on
0 Posts

The best one I have seen is a air cleaner that someone made that goes on top of the intake and ducts into the throttle body. It is for a functional cowl induction car. I am planning on doing something like that.
05-04-2010, 12:37 AM
#5
I think if you seach some, there well be a lot of pictures. but here is my custom Cowl Induction CAI... It is a Fully functional Chevelle Cowl Induction hood, flapper and valves, etc.. You can see more of it in my Car Domain project, just use the Link in my Sig...


 05-04-2010, 05:54 AM
#7
TECH Resident
iTrader: (10)
Join Date: Oct 2005
Location: Cincinnati, Ohio
Posts: 948
Likes: 0
Received 0 Likes
on
0 Posts
Hey Bczee, I think you need a new air cleaner, that one looks old you should sell it to me LOL. Seriously you should sell those I would buy one. I remember looking at the pics, there was a lot of work that went into that.
Trending Topics
05-04-2010, 11:25 AM
#8
I am thinking of making a newer version out of Alum this time for my 71 Nova that I am currently worrking on.. with alum tubing also.. I also think it would look great to stick a Supercharger in there !.. (what do you think?)
I asked some of my Welder's what they would charge to fab one up and market it.. they said they think it would be in the $300+ range for the steel or alum plus labor.. If I loose my job, I guess I could go in to business LOL..
One of the problem in selling a generic one would be that most swap have different engine mounting heights..
05-04-2010, 04:11 PM
#9
TECH Resident
iTrader: (10)
Join Date: Oct 2005
Location: Cincinnati, Ohio
Posts: 948
Likes: 0
Received 0 Likes
on
0 Posts
That setup you have I would say could easily bring $500...heck they want $300 for a air intake to fit a stock Silverado and it is not nearly as cool as yours.
05-05-2010, 12:31 AM
#10
Hmmm , guess I better get a patten soon ! LOL..
I do know that It is one of a kind.. other have connect air box to the cowl or scopes on there hoods, but have used either cones or flat air filters.. mine is made to match up to and function like the original Cowl Induction Hoods.
I do know that It is one of a kind.. other have connect air box to the cowl or scopes on there hoods, but have used either cones or flat air filters.. mine is made to match up to and function like the original Cowl Induction Hoods.
05-05-2010, 11:35 AM
#11
Teching In

Join Date: Jul 2007
Posts: 35
Likes: 0
Received 0 Likes
on
0 Posts
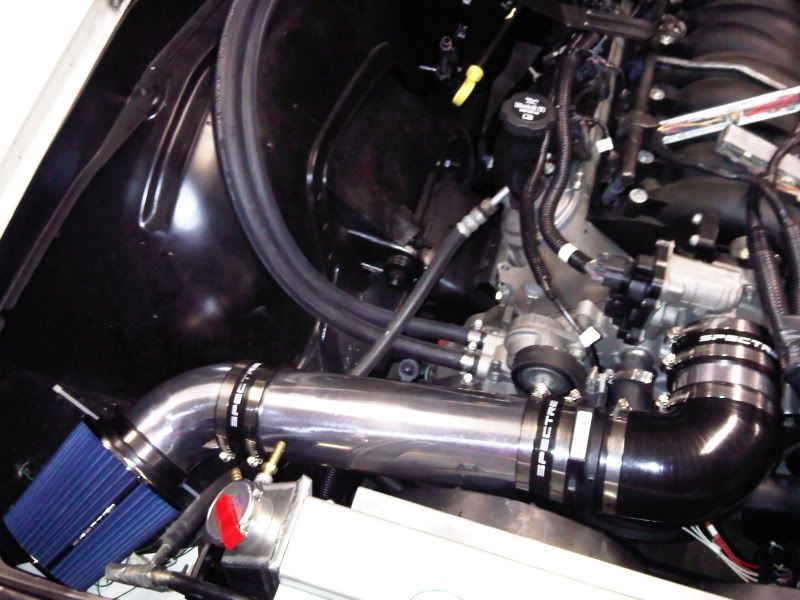
Here's a picture of my buddy,s 70. I am planning on doing my 69 the same way. BTW we found about 5-10 HP by moving the filter into weel well area and taking cool air from under car.
05-05-2010, 01:19 PM
#12
TECH Resident
Join Date: Nov 2007
Location: Texas
Posts: 816
Likes: 0
Received 0 Likes
on
0 Posts
For you dual head light guys you can ram air thru the front lights and really cool things down. Thats what I did with components from these guys.
http://www.ramairbox.com/product.html
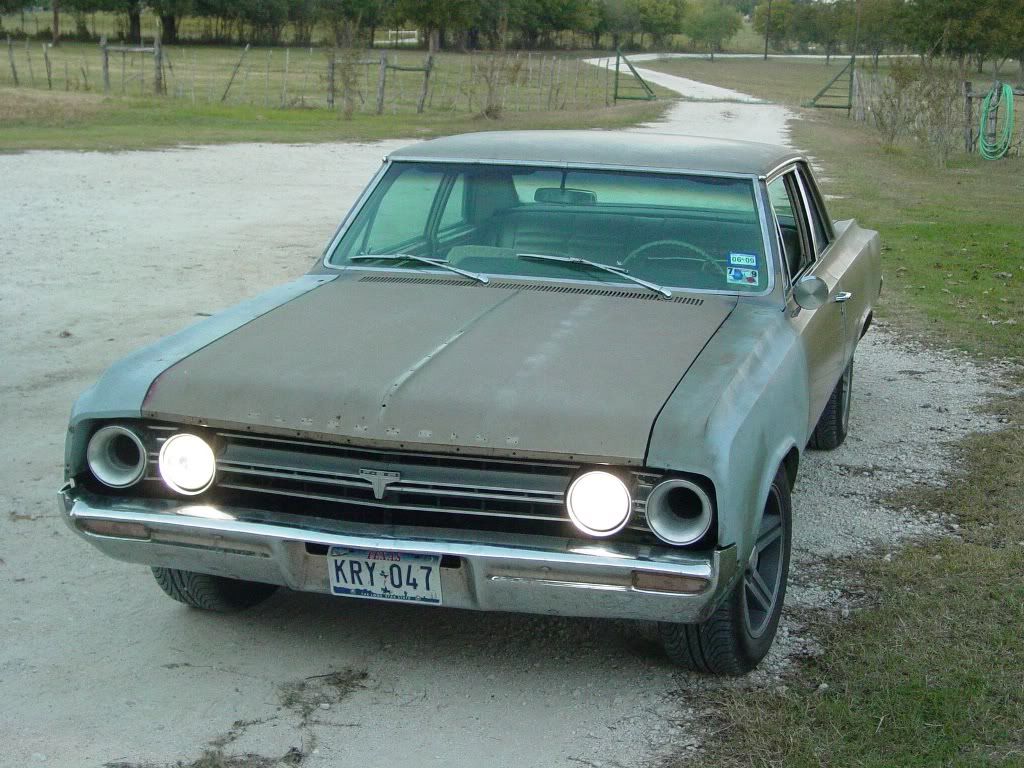
http://www.ramairbox.com/product.html
05-05-2010, 03:08 PM
#13

[COLOrockytopper R="Red"][/COLOR]
How about some pics-please
How about some pics-please
 05-10-2010, 04:50 PM
#15
On The Tree
That's a neat look for the car, but where does the filter go on that?
I would also be interested to see how the MAF sensor reading is affected if you remove the passenger side tube to try to get more linear flow across it. Probably not a very big difference, but maybe worth mentioning.
I would also be interested to see how the MAF sensor reading is affected if you remove the passenger side tube to try to get more linear flow across it. Probably not a very big difference, but maybe worth mentioning.
05-11-2010, 08:32 AM
#16
TECH Resident
Join Date: Nov 2007
Location: Texas
Posts: 816
Likes: 0
Received 0 Likes
on
0 Posts
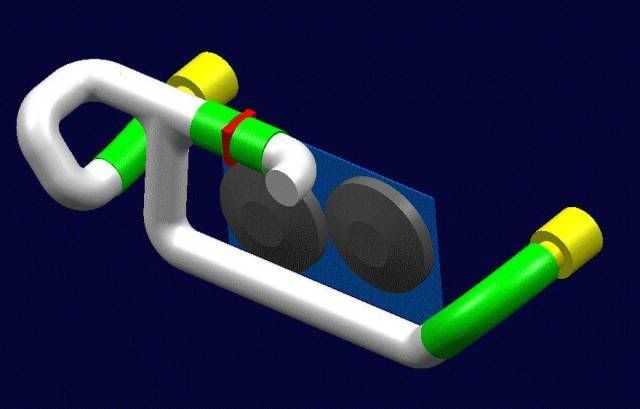
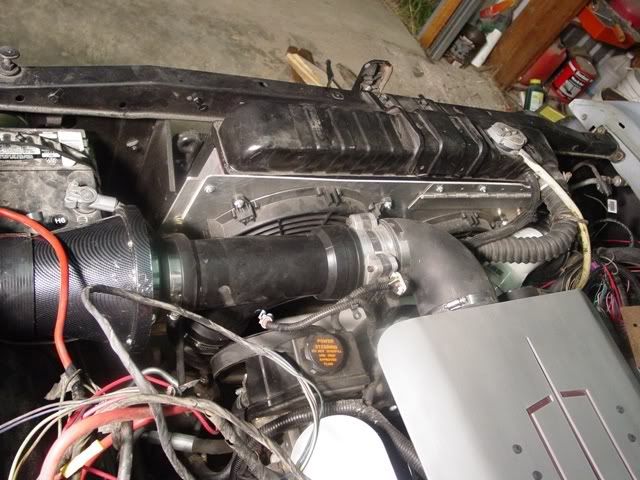
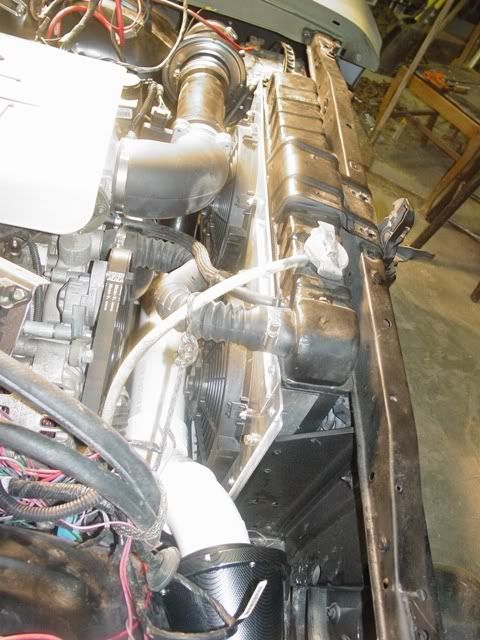
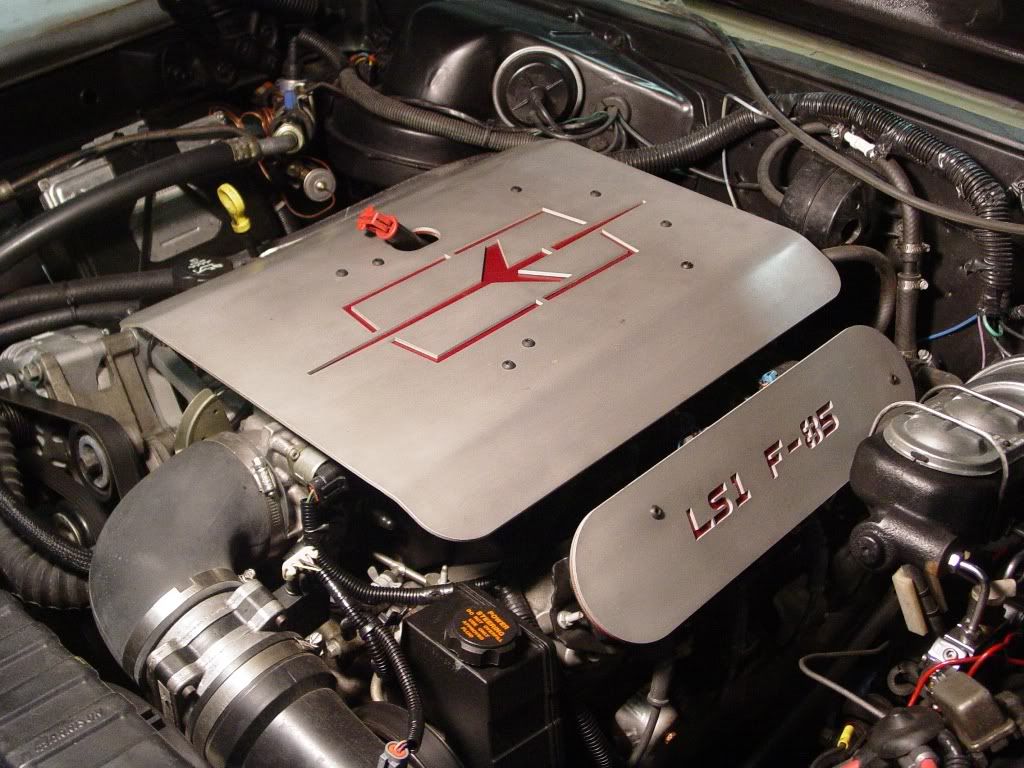
This is the original thread I started when I first started looking at the idea of ramming air thru the head lights. I originally wanted to use a dual chrome intake tube as shown which would have made it easy to accomplish. You can find them on E-bay all day long dirt cheap. Problem was I did not have room enough to fit the dual intake tube between the intake and radiator on my swap so I went to plan b. The filters that I had planned to use are also seen in this thread. I had planned to just mount them directly behind the head lights that is how it is shown 3d model layout.
https://ls1tech.com/forums/conversio...-car-swap.html
As it turn out I found another type enclosed cone filter that fit a 3.5 dia tube and had a 4 inch opening on the enclosed housing. The aluminum bezels in the head light rings have a 4 inch dia. I ended up using pvc pipe because it was cheap and easy to work with. I used 4 inch flex tubing from the filter housings to the headlight bezels. I painted the pvc satin black and it looks pretty OEM which is what I was going for anyway. These pictures show how I ended up doing it. The crapper vent rubber fitting worked out great and gave me a place to install my IAT sensor.