
'47 Chevy COE, '03 Silverado, LR4/4L60E


 06-26-2014, 04:43 PM
#42
Staging Lane
Thread Starter

Join Date: Feb 2013
Location: Westminster, SC
Posts: 73
Likes: 0
Received 0 Likes
on
0 Posts
So I've made a little progress, I decided to build an electronic shifter for the transmission. I ordered an linear actuator and some other parts, built a resistor board and put it all together. It seems to work good. I will switch the **** and use the "T" (throttle) **** original to the truck. You can click on the picture for a crappy video. The actuator looks a bit small but has 15 lbs. of pull or push force so it should move the shift lever just fine.


 Seriously though, if you have time you should do a detailed write up.
08-16-2014, 07:47 PM
Seriously though, if you have time you should do a detailed write up.
08-16-2014, 07:47 PM
#46
Staging Lane
Thread Starter
Join Date: Feb 2013
Location: Westminster, SC
Posts: 73
Likes: 0
Received 0 Likes
on
0 Posts
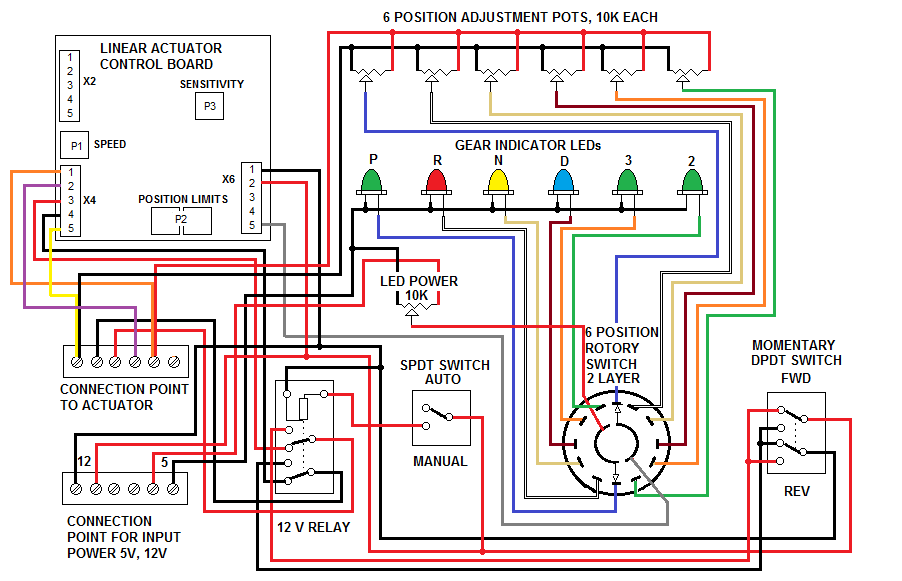
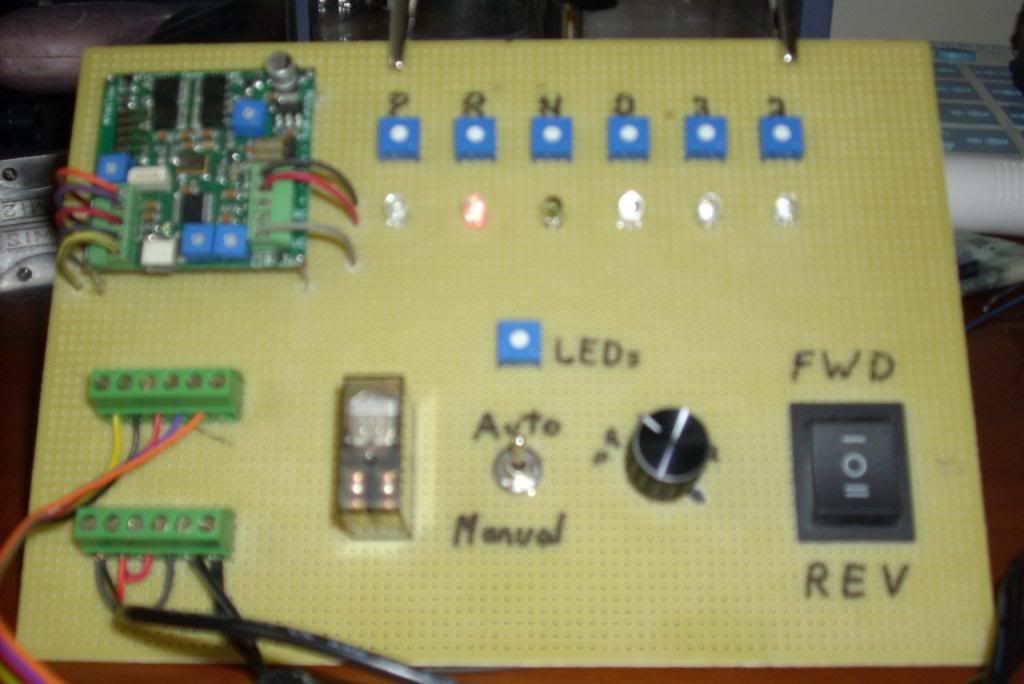
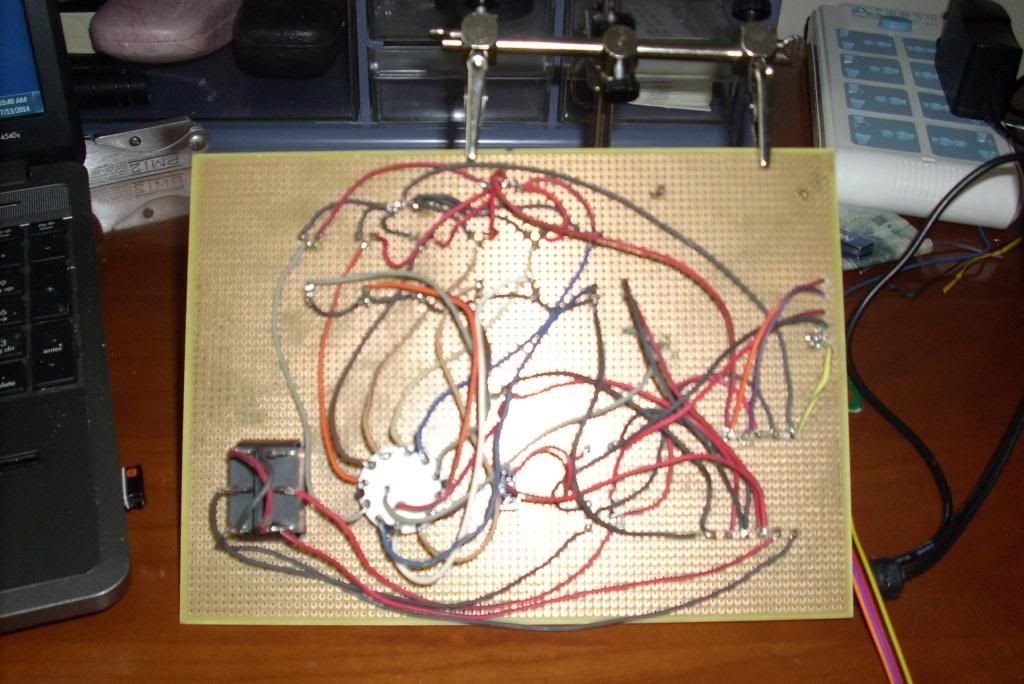
So I've made a little progress on my shifter project. Below is a wiring diagram I've come up with as well as some pictures and a short video.

Rob


Rob
 10-18-2014, 04:55 PM
#48

I saw this at the Lake Mirror Classic in Lakeland, FL today. It reminded me of this thread. Sorry I couldn't get a better photo. Too many people walking into the shot.
Tipsy

Tipsy
10-18-2014, 07:54 PM
#49

Used to live in Lakeland...That looks like Greg's COE. He also has a well traveled 34 Sedan. Got a soft spot for COEs and following the thread. Like the idea of an extended cab with seating for the whole famn damly with maybe a roadster on the bed.
10-18-2014, 10:07 PM
#50

I was down at Specialized Coatings in Huntington Beach Calif. and they are working on a similar project only using an early Ford cab. It is going to be there shop truck. They managed to get a 2012 Van for cheap and will be using that for the frame, engine and running gear. It will be a stake bed. I will try and take some pictures and post them up. I thought of this thread when seeing it.
11-17-2014, 05:23 PM
#51
Staging Lane
Thread Starter
Join Date: Feb 2013
Location: Westminster, SC
Posts: 73
Likes: 0
Received 0 Likes
on
0 Posts
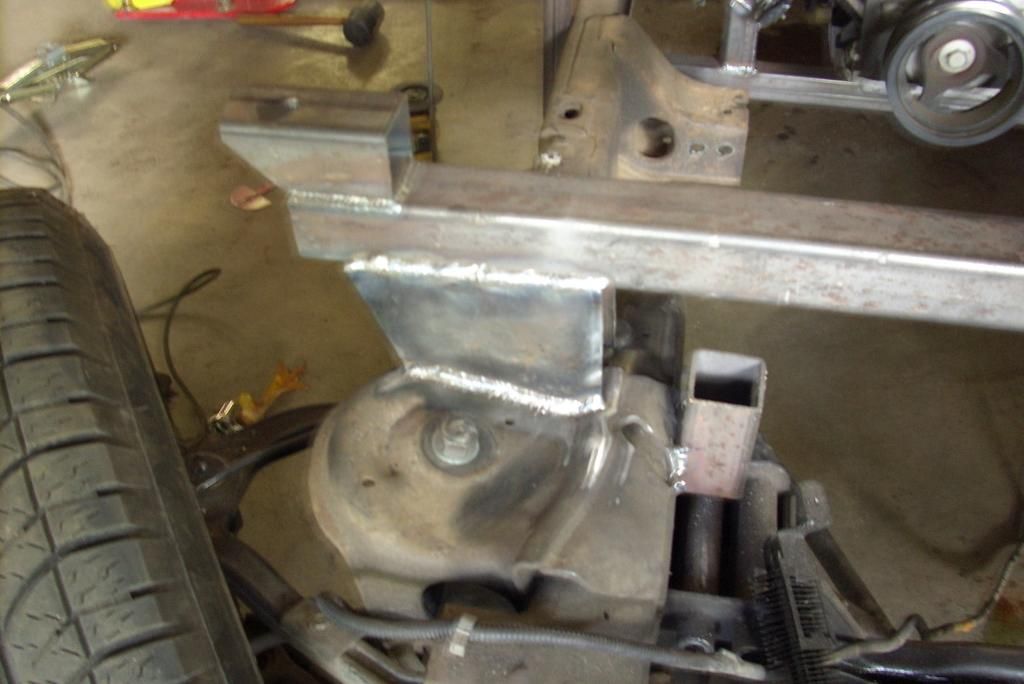
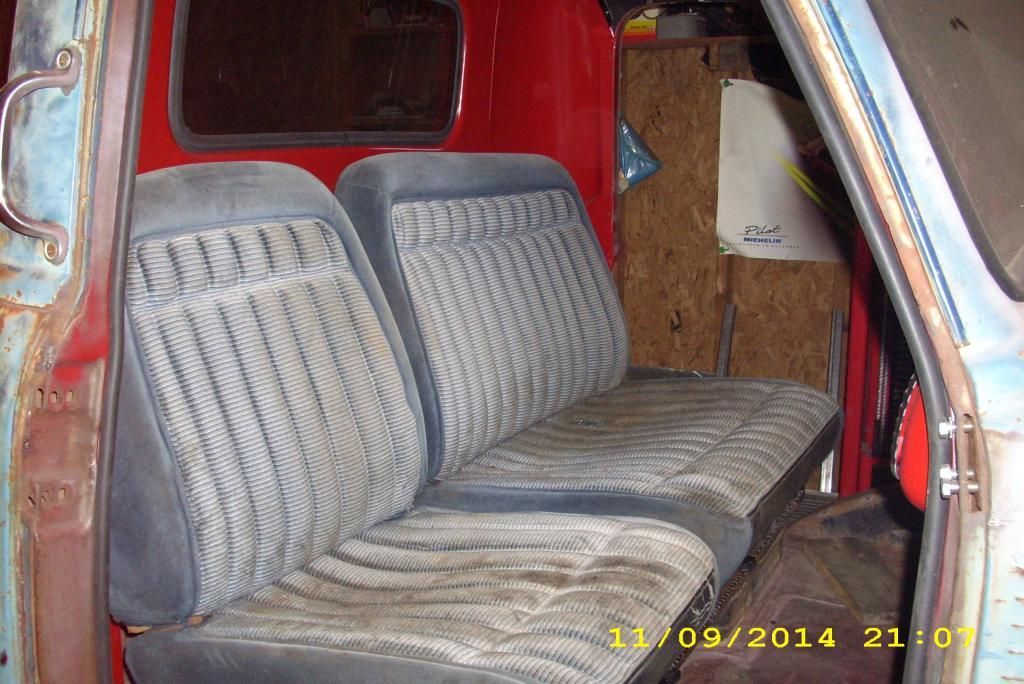
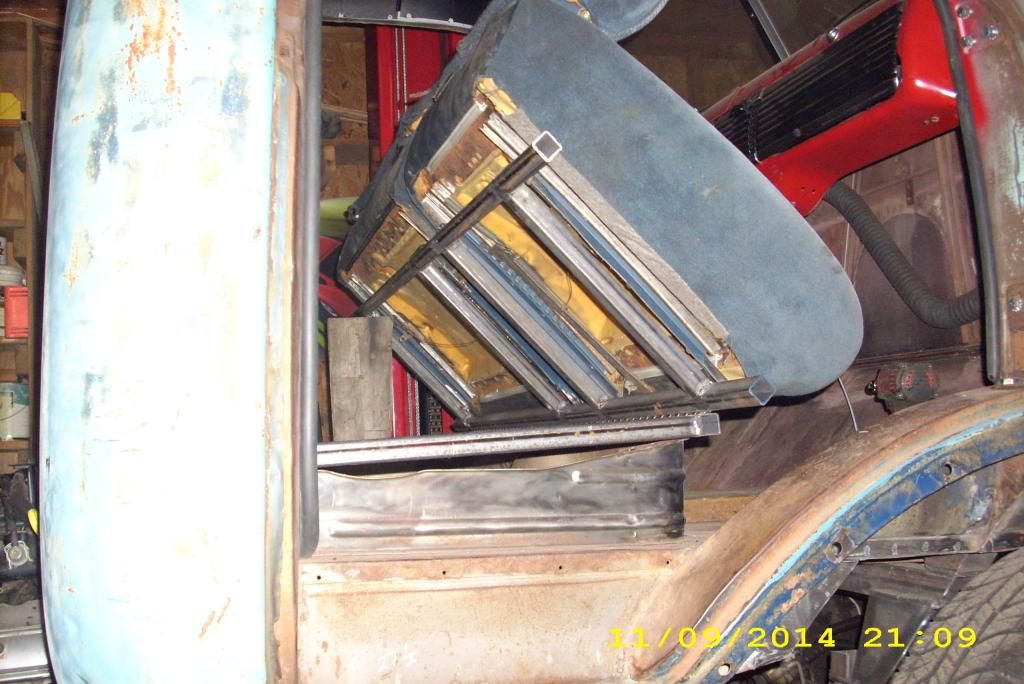
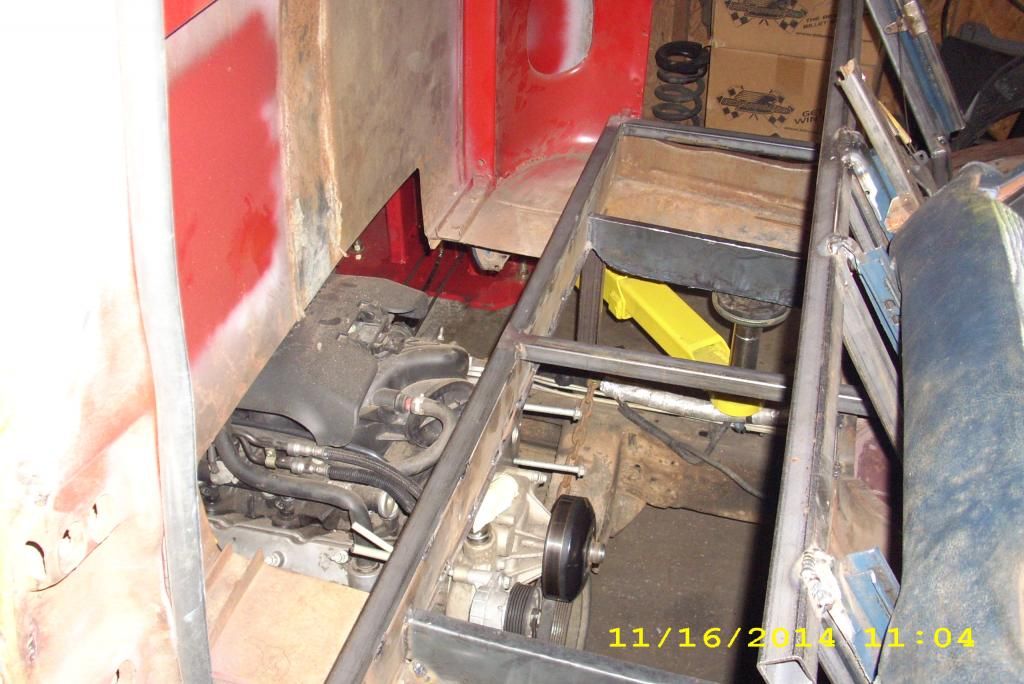
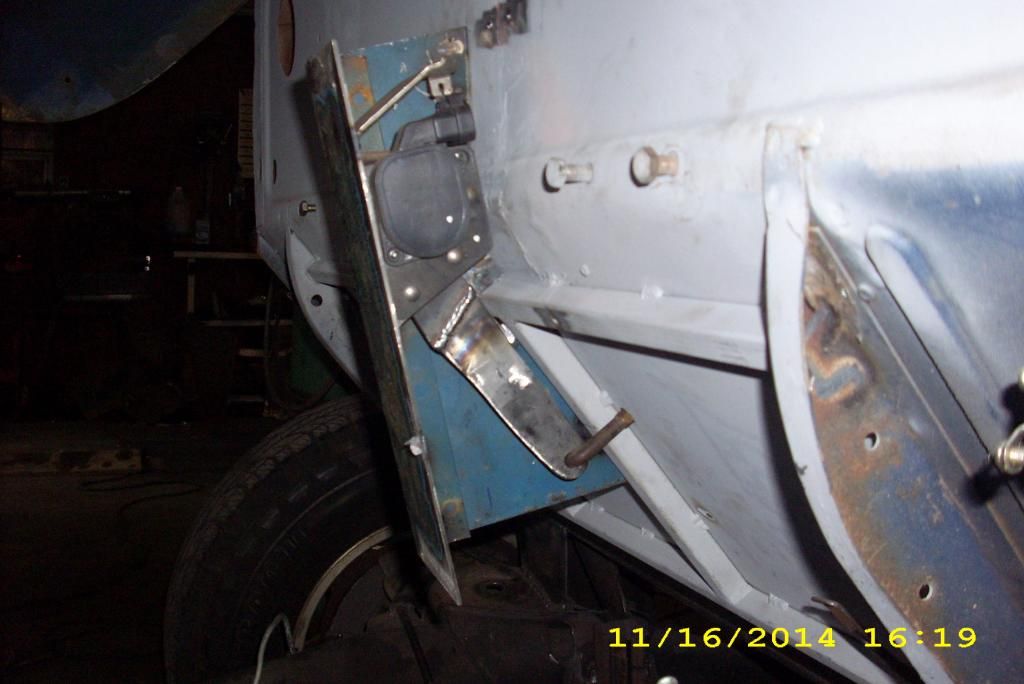
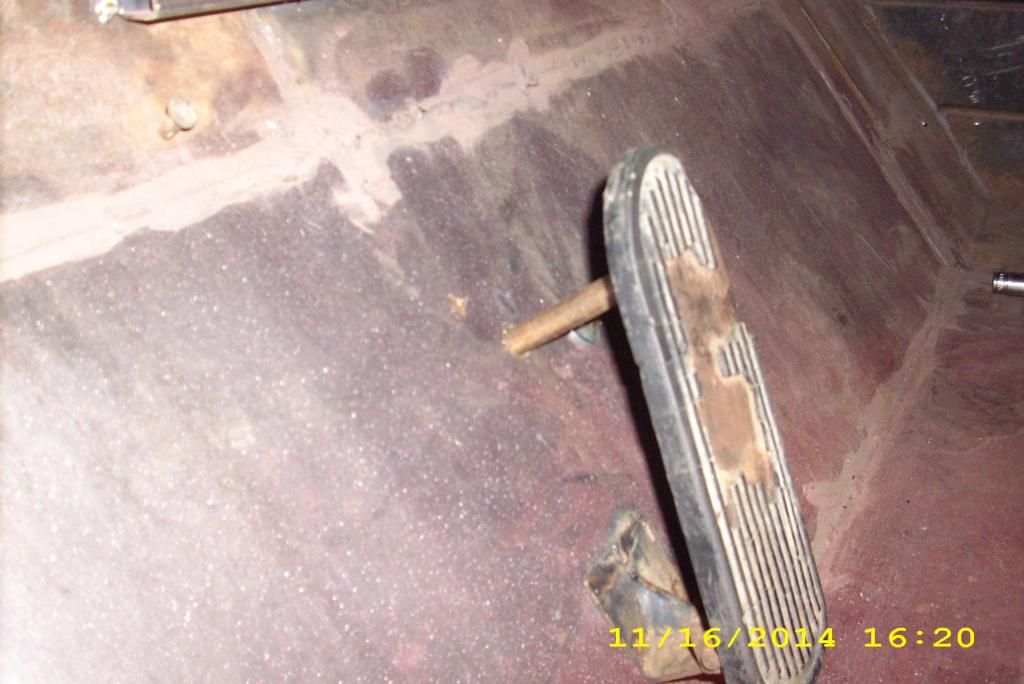
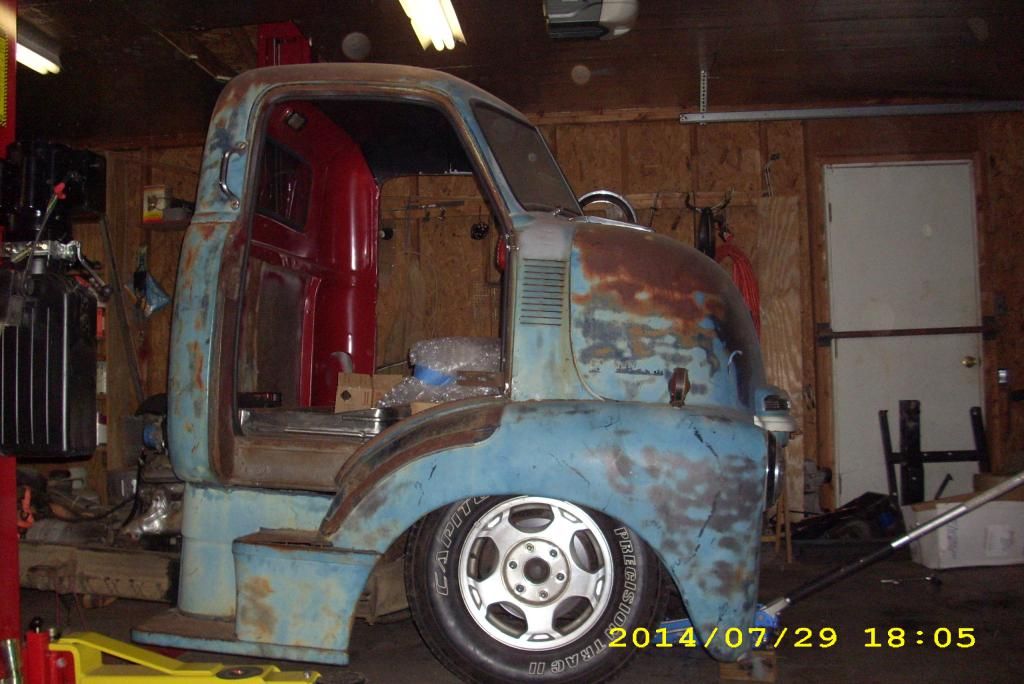
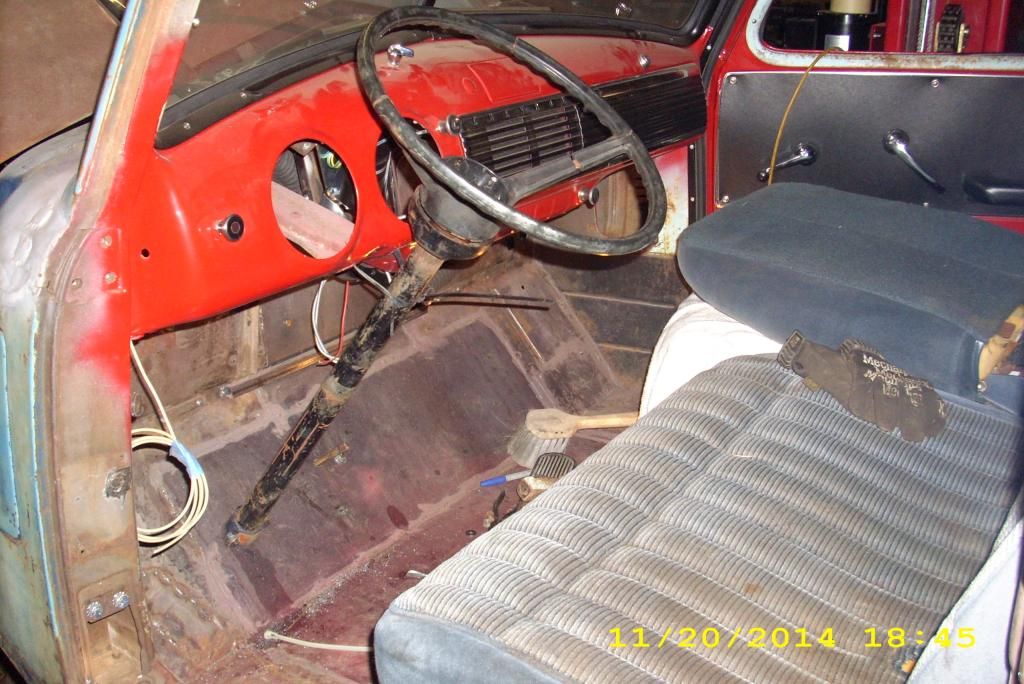
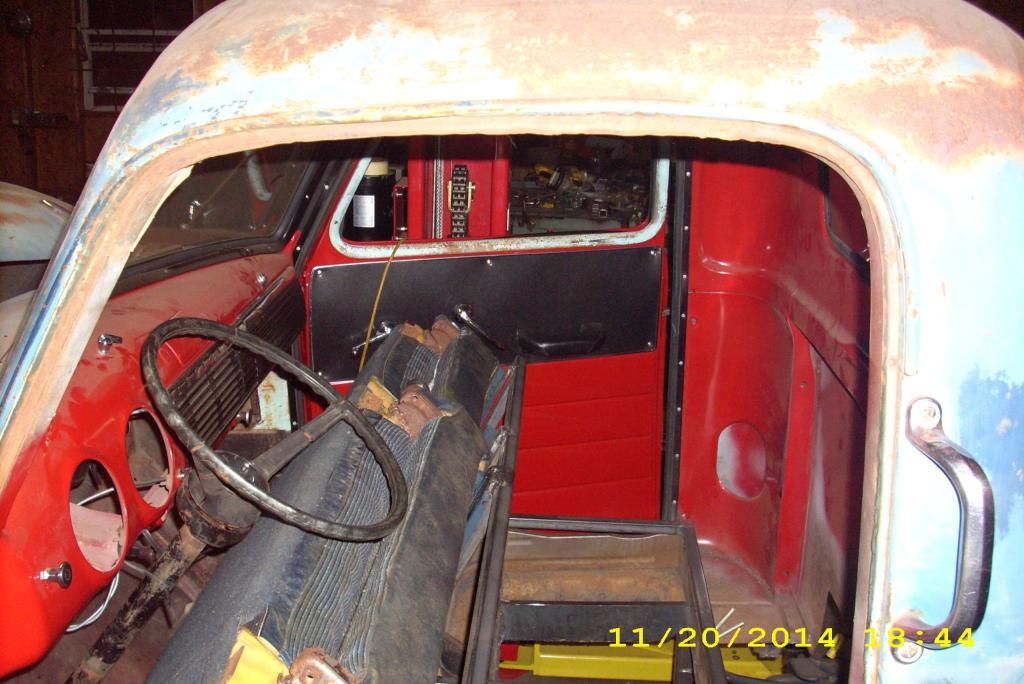
OK, so I have a few updates: I'm back in the states for good. So on the truck: I remade the body mounts, built a trans mount, installed the drive shaft, installed a 60/40 bench seat from a 1990 Silverado, made the seat mount tilt, cut a big hole in the floor (after adding some supports) for front engine access, started work on the gas pedal (DBW+original), also removed the spring set-up tubes to have a look at how low I could go with 245/75/16 tires. Have a look.
Rob
Rob


 11-18-2014, 03:08 PM
#53
Teching In

Join Date: Nov 2014
Posts: 29
Likes: 0
Received 0 Likes
on
0 Posts
Very cool project. Check out this thread on The Hamb for more ideas for your COE if you haven't already.
http://www.jalopyjournal.com/forum/t...thread.219018/
http://www.jalopyjournal.com/forum/t...thread.219018/
11-18-2014, 06:55 PM
#54
Very cool project. Check out this thread on The Hamb for more ideas for your COE if you haven't already.
http://www.jalopyjournal.com/forum/t...thread.219018/
http://www.jalopyjournal.com/forum/t...thread.219018/
11-22-2014, 06:10 PM
#55
Staging Lane
Thread Starter
Join Date: Feb 2013
Location: Westminster, SC
Posts: 73
Likes: 0
Received 0 Likes
on
0 Posts
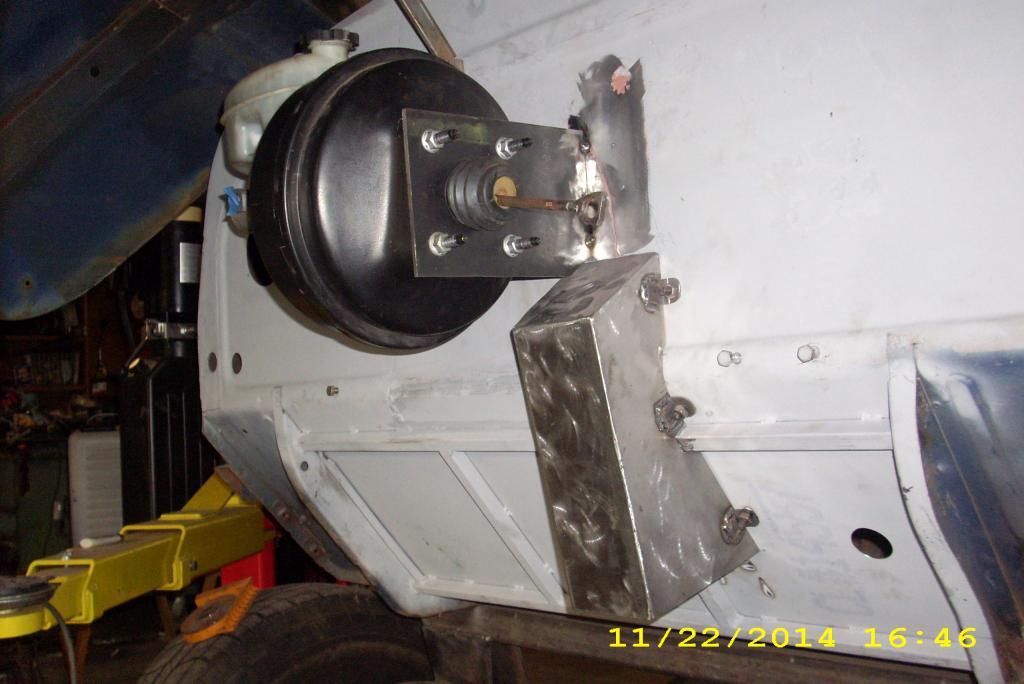
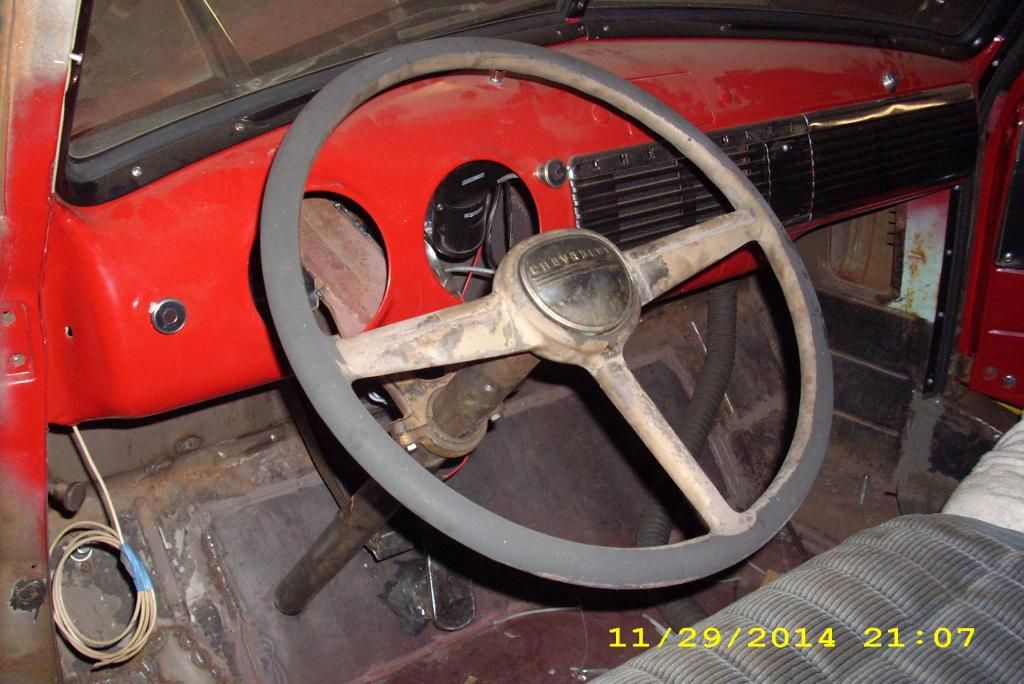
Yea, I have checked out the COE thread, I think I may have posted there at one point. Updates: Test fit a column a friend gave me, It has a 14" wheel and works well for the tilt seat plan. About 90% done on the gas pedal mod and started on the master cylinder and booster mount.
Rob
Rob


 12-03-2014, 05:50 PM
#58
Staging Lane
Thread Starter
Join Date: Feb 2013
Location: Westminster, SC
Posts: 73
Likes: 0
Received 0 Likes
on
0 Posts
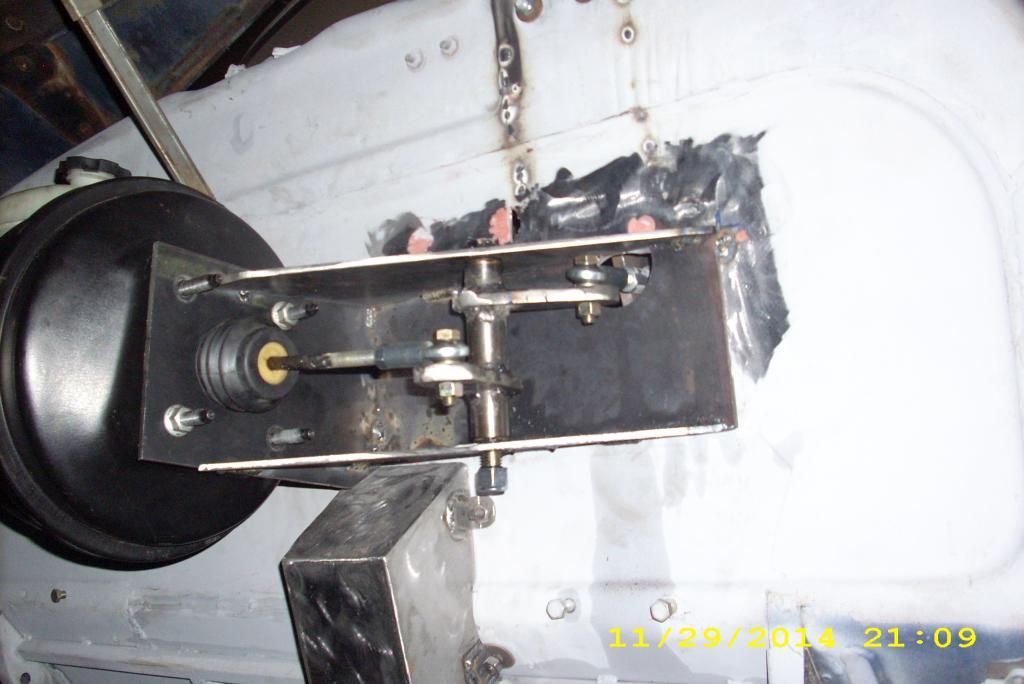
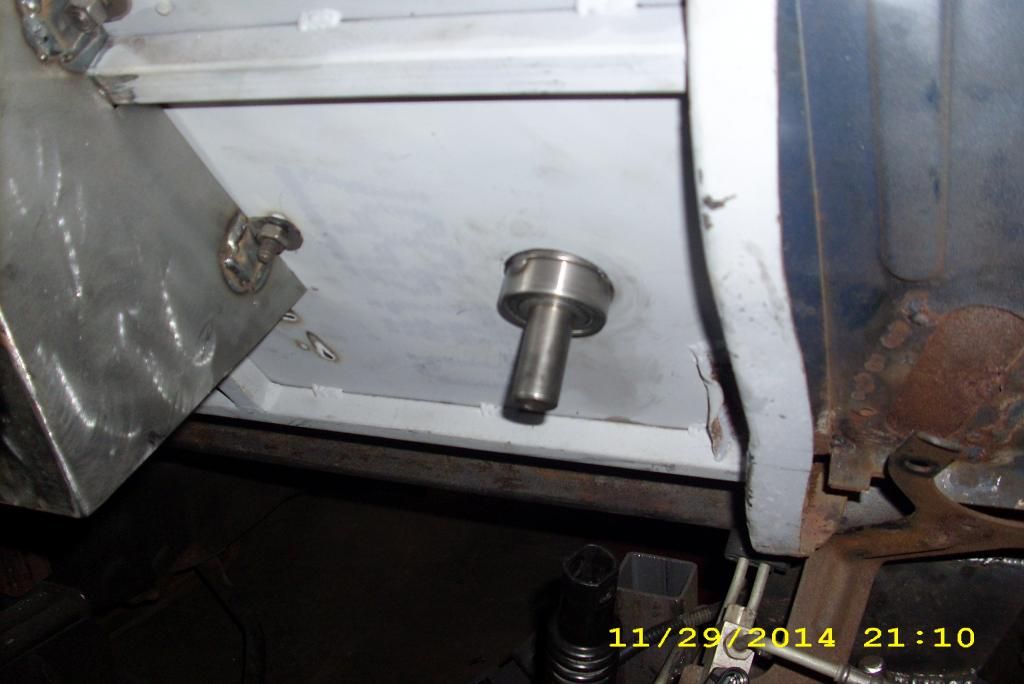
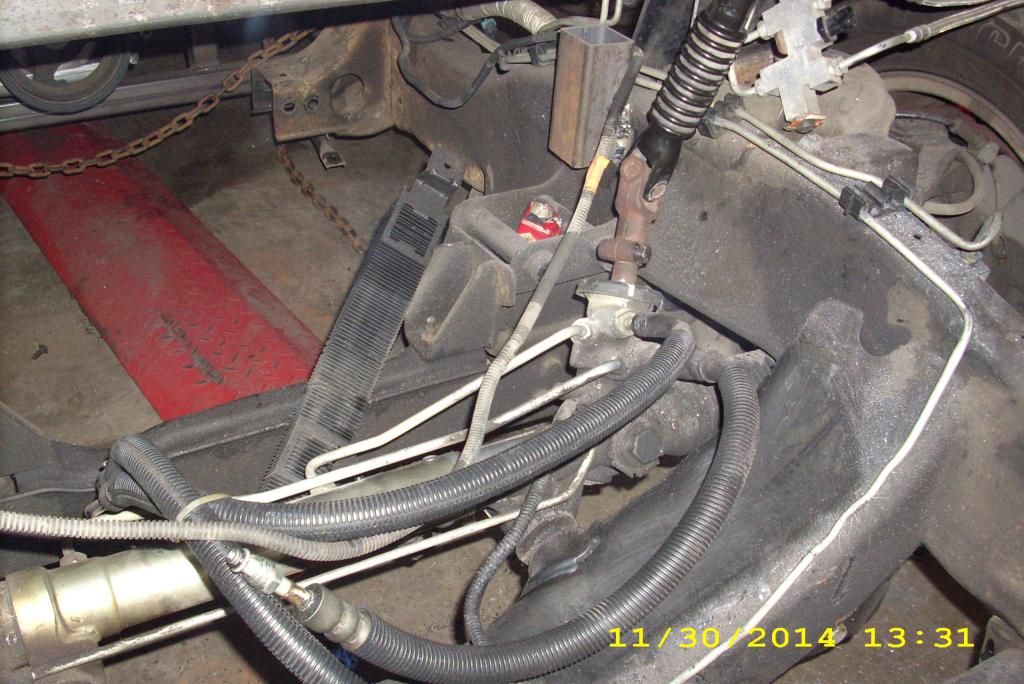
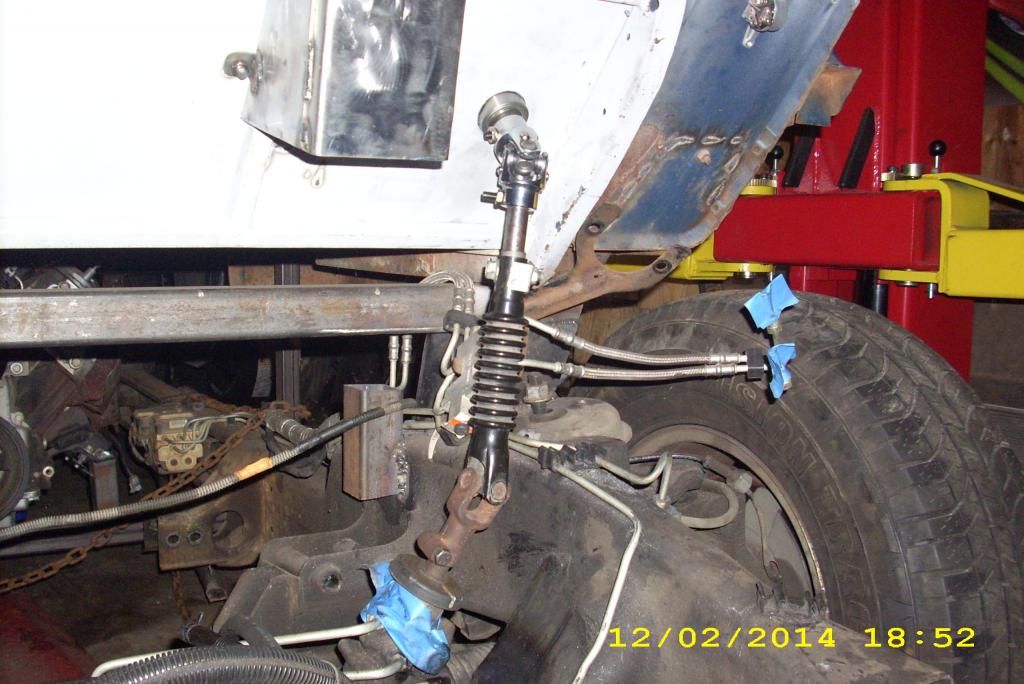
Been making a little more progress on the COE, Brake mount is complete. I rotated the rack and am working on a new mount set up. Test fit the U joints and looks like all will work out there. I also found an original column and wheel to use instead of the Ford stuff. Next is a little more work in the rear of the cab and then the cab will come off for the last time (I hope).
Rob
Rob


 12-04-2014, 04:02 PM
#60
Staging Lane
Thread Starter
Join Date: Feb 2013
Location: Westminster, SC
Posts: 73
Likes: 0
Received 0 Likes
on
0 Posts
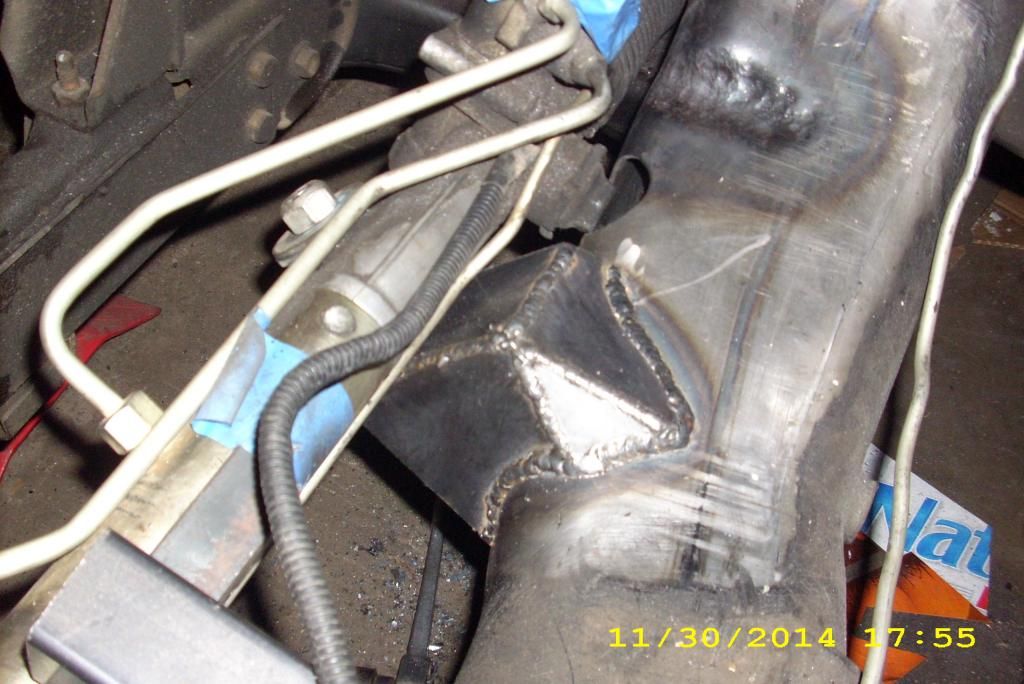
Yes, for the MC and booster I only had like 11 inches from fire wall to hood (COE) the unit is 13 inches long. For the bell crank set-up I have 3/8" flat bars welded to 1/4" inch wall tubing which runs on brass bushing and a grade 8 bolt. I also used 7018 welding rod with good penetration. I am more concerned about the fire wall flexing then the bell crank. Remember this is also a power unit so force applied to the bell crank should only be in the 600 to 800 hundred pound range, taking into account the mechanical advantage of the pedal pivot, in a full panic stop.
Rob
Rob