When you click on links to various merchants on this site and make a purchase, this can result in this site earning a commission. Affiliate programs and affiliations include, but are not limited to, the eBay Partner Network.
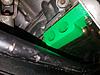
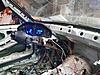
The collector dumps right into the steering rack and subframe and leaves zero room to turn it.<br/><br/>Ideas?
Looks like it's time to fire up the welder and make some headers!
Originally Posted by SgtSkid
I tried one but the smaller water pump pulley wouldn't line up with the crank pulley because the motor plate adds 1/4".
The larger ls1 pulley was easier to line the belt up with a few spacers behind the alternator and tensioner.
Top ten reasons to not use an engine plate with belt driven accessories...
Remind me why you didn't want traditional style mounts again. If it's not a 6000 HP racecar I really don't see a reason.
Looks like it's time to fire up the welder and make some headers!
I am trying to find a set of factory C5 manifolds - shorty style with center collector. Those may fit. Once I mounted the radiator and radiator support I ended up closer to 1/2" of clearance.
Top ten reasons to not use an engine plate with belt driven accessories...
Remind me why you didn't want traditional style mounts again. If it's not a 6000 HP racecar I really don't see a reason.
The BMW sub frames are notoriously weak and often require reinforcements for a stock m20 engine. On top of that, the traditional side engine mounts would make header selection a bigger challenge.
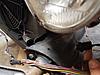
The motor plate allows for more room to access the steering linkage and install headers. I was hoping to be able to run the stock manifolds but, when that didn't work I found a set of block huggers and gave those a shot.
Another reason I went with a motor plate - why not? I wanted to see if I could do it and the benefits out weighed the trouble of having to space accessories.
Anything that collects at the rear of the header/manifold is a no go because of the fire wall and steering linkage. I believe my next move will be a set of factory c5/c6 manifolds. Short, center collector, easily modified.
Anything that collects at the rear of the header/manifold is a no go because of the fire wall and steering linkage. I believe my next move will be a set of factory c5/c6 manifolds. Short, center collector, easily modified.
C5 and C6 are very different. I think LS2/3 C6 might do the trick.
The BMW sub frames are notoriously weak and often require reinforcements for a stock m20 engine. On top of that, the traditional side engine mounts would make header selection a bigger challenge.
The motor plate allows for more room to access the steering linkage and install headers. I was hoping to be able to run the stock manifolds but, when that didn't work I found a set of block huggers and gave those a shot.
Another reason I went with a motor plate - why not? I wanted to see if I could do it and the benefits out weighed the trouble of having to space accessories.
I realize you said the sub frames are weak, however my logic is two fold. 1. reinforce the subframe to mount the engine and 2. placing the mount point farther forward is weaker than closer to the firewall (lever theory). I mean no offense, this is just my engineering mind sitting at my laptop viewing your build and not having physically inspected one of these cars from the angle of an engine swap. The engine plate is cool, you don't see that very often.
Depending on your fabrication skills, the inability to run stock or generic manifolds can be a deal breaker. I forget not everyone can or is willing to build or modify a set of headers.
C5 and C6 are very different. I think LS2/3 C6 might do the trick.
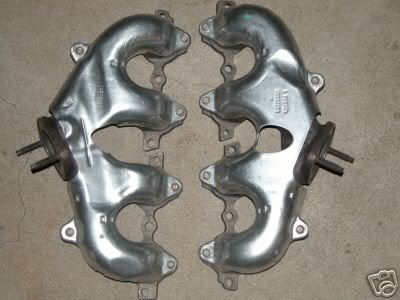
C5
C6
Andrew
They are different but either should work. The C5 manifolds I can cut the collector ends off and add bends accordingly to get around the steering linkage. The C6 manifolds are short enough I can just add a bend from the beginning. We'll see what happens.
I can, but really don't want to, fabricate custom headers. Trying to do this on some semblance of a budget.
I realize you said the sub frames are weak, however my logic is two fold. 1. reinforce the subframe to mount the engine and 2. placing the mount point farther forward is weaker than closer to the firewall (lever theory). I mean no offense, this is just my engineering mind sitting at my laptop viewing your build and not having physically inspected one of these cars from the angle of an engine swap. The engine plate is cool, you don't see that very often.
Depending on your fabrication skills, the inability to run stock or generic manifolds can be a deal breaker. I forget not everyone can or is willing to build or modify a set of headers.
The C6 manifolds Andrew look like a good plan.
With the transmission properly supported, the lever effect on the plate is negligible. Safe to say, I won't be pulling the transmission and letting just the engine hang out in the bay. The motor plate is most common on drag cars and is where I took the idea from. A good friend has an old Nova that runs in the 4.70 class - his plate is what gave me the idea to try it in mine. I walked around the pits and most cars use only one plate in the front although some use a second plate sandwiched between the bell housing and block. Granted his car is tube chassis but the ease at which everything comes apart and is serviceable is amazing. Engine and trans out and on a stand in minutes.
The largest loads on the plate will come from the torque of the motor trying to rotate everything in the engine bay. Assuming my engine makes 500 ft-lbs of torque (), I ran FEA on the plate and the stress/strain/distortion were all incredibly small.
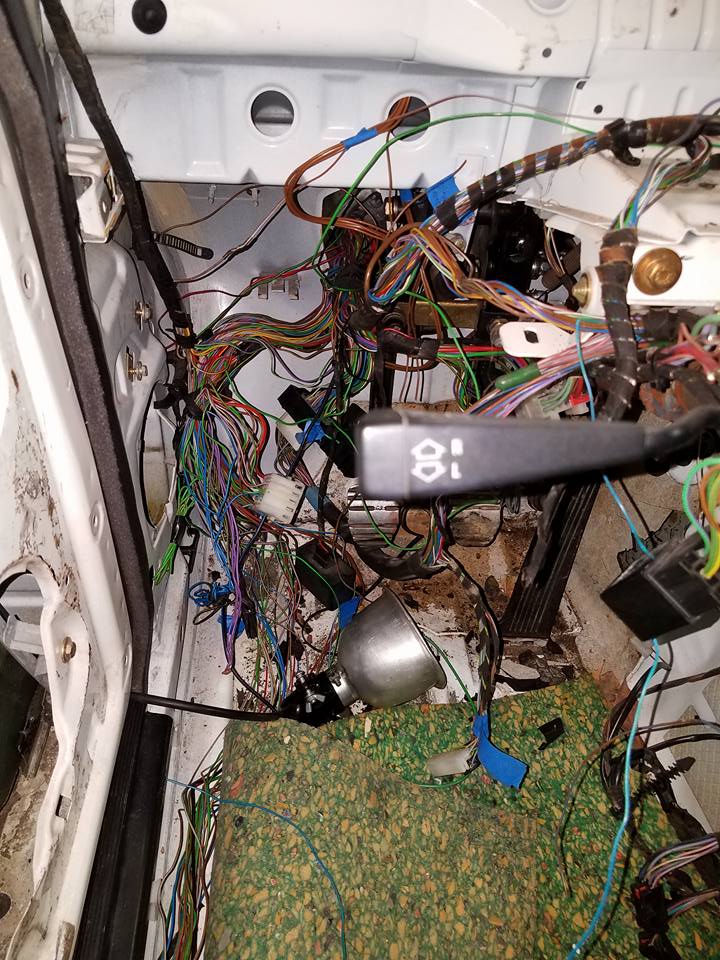
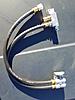
Worked on the wiring some more this weekend. The harness is installed on the engine and in the car. Next step is to integrate the engine harness with the car's harness.
I had to extend all the wires coming from the driver side since the computer will be located on the passenger side.
All the connections needed were bundled together and separated
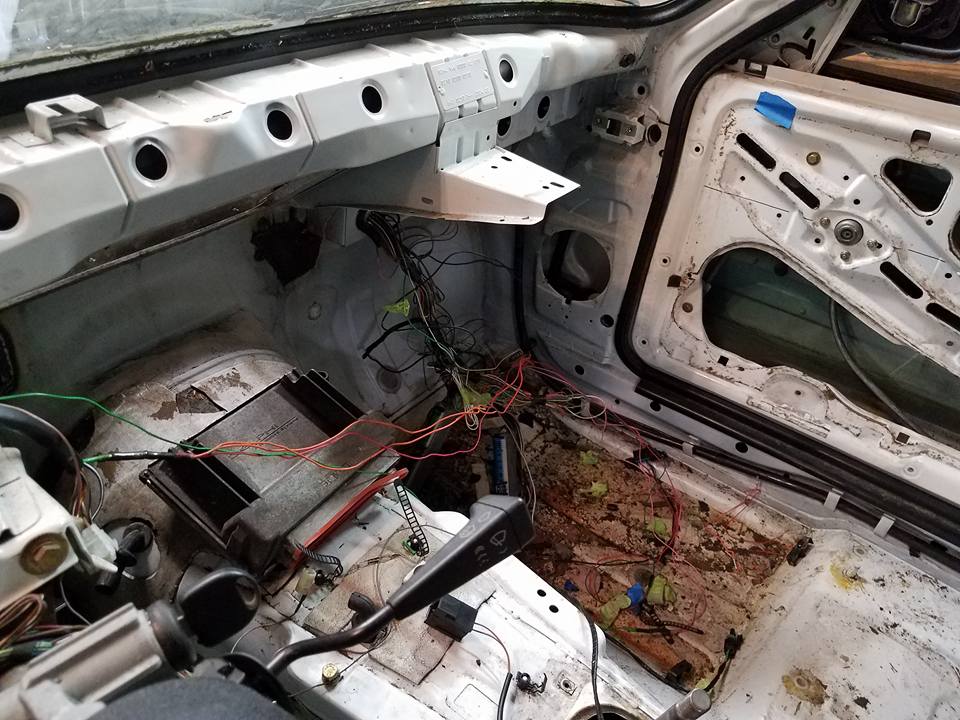
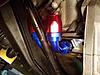
While running the harness to the trans, I noticed that there was brake fluid dripping from the bell housing.
Looks like I'll be pulling everything back out.
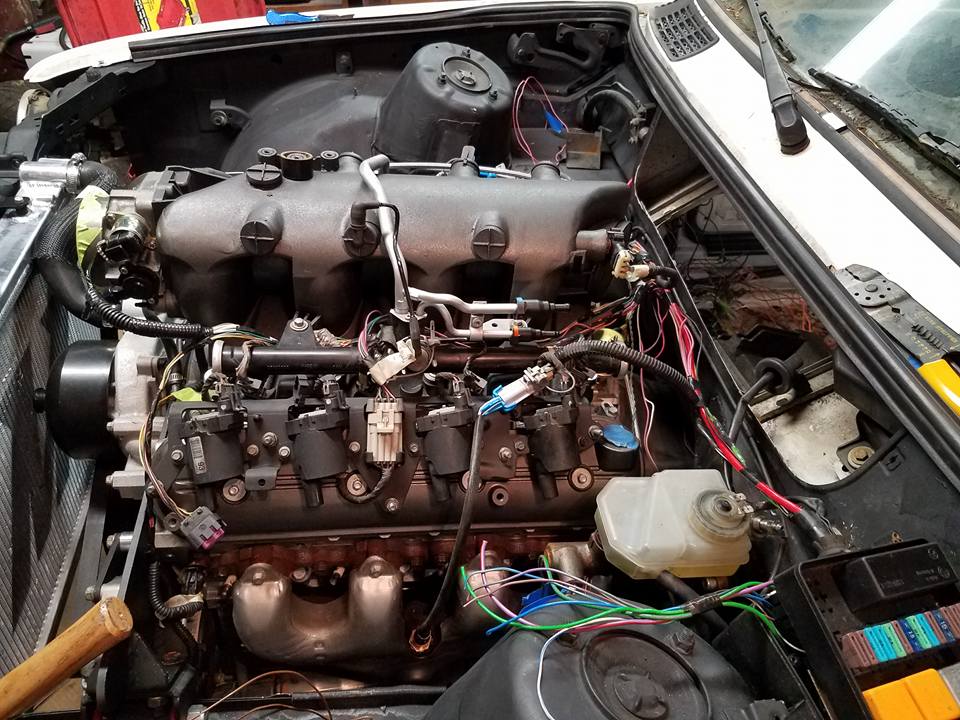
I got the exhaust done this weekend. LS2 manifolds from a C6 Corvette fit perfectly and afforded all the room needed to route the exhaust anywhere. So, I tried something a little different; the factory BMW exhaust routes down the passenger side and the floor board is slightly raised to increase the ground clearance. To maintain ground clearance, we routed the driver side exhaust around the front of the motor and connected it to the passenger side. From there, the exhaust was flanged at the fire wall and straight piped through the OEM routing back to a Flowmaster Delta 40.
I used that method on my 33 ******, worried about the heat going into the oil pan but found out that GM did that routing on several cars. On my '39 I ran it between the engine and trans. Both pipes down the pass side then split into two flowmasters and out. Works well for me.
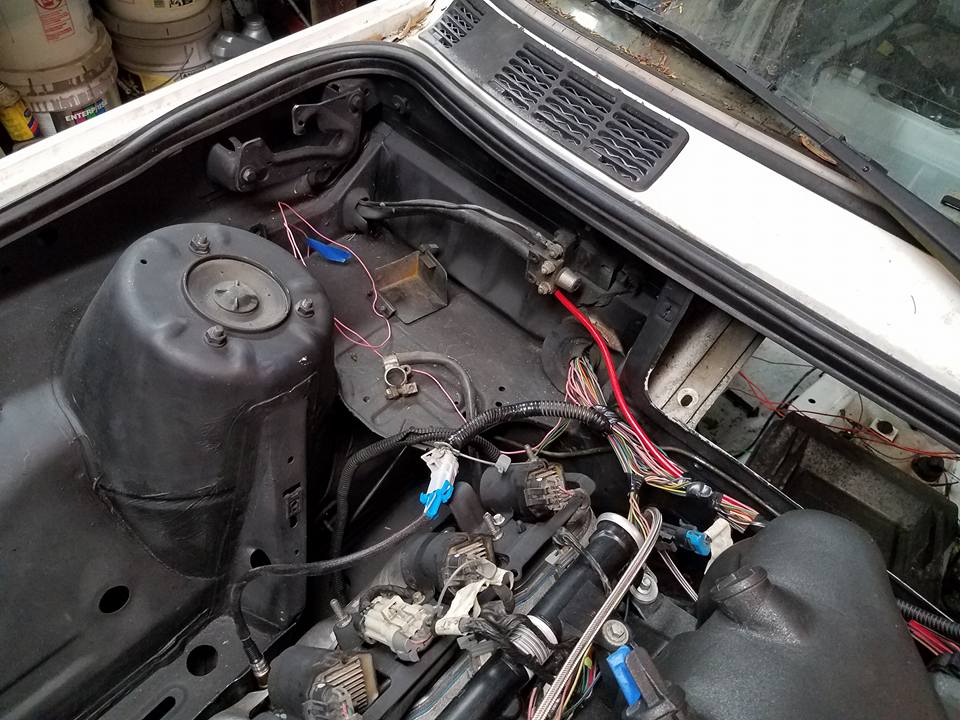
Still waiting on some machine shop parts to come in. All the wiring needed to start the car should be complete now...knock on wood. I still need to clean the harness and bundle everything but all the connections have been made.
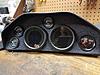
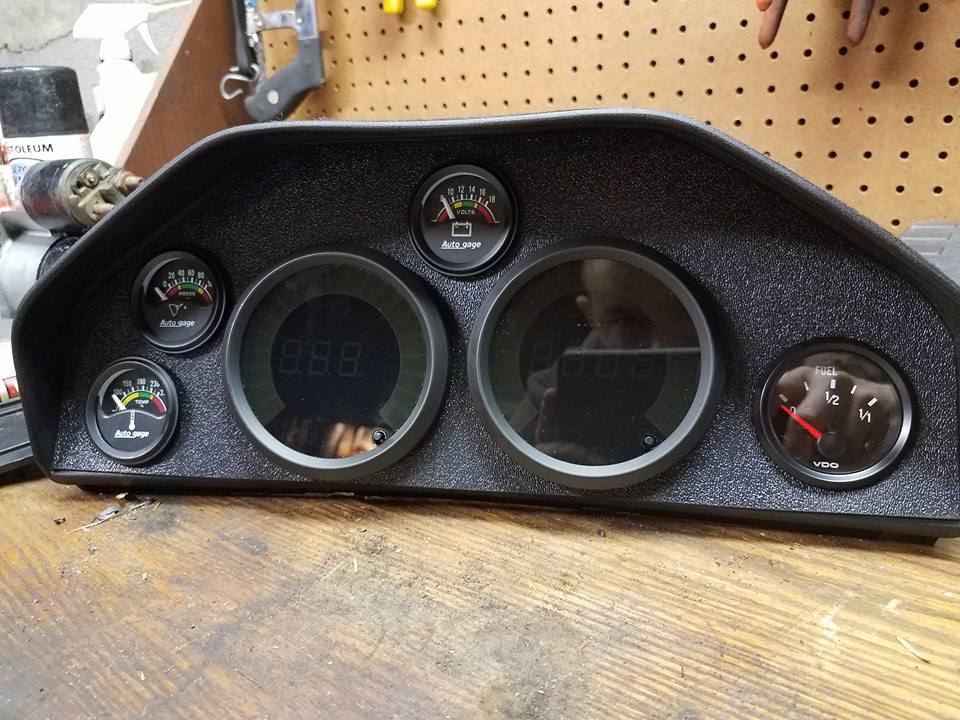
I bit the bullet and ordered new guages and spent some time last night mounting and wiring them up.
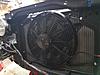
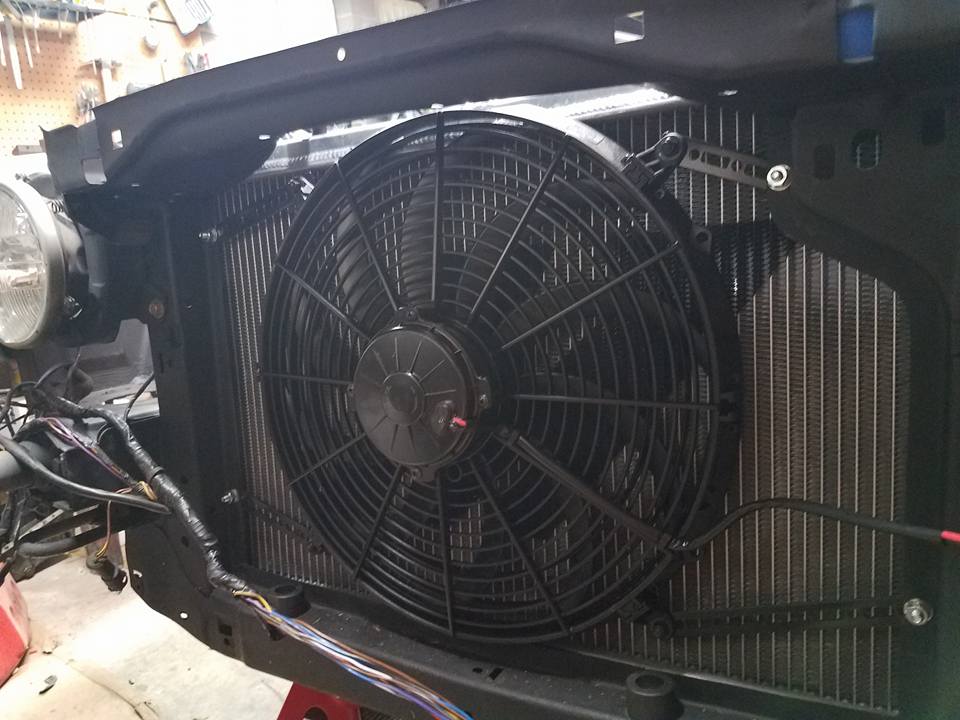
I also took the time to mount the fan but the wiring harness is too short..
On my Subaru running an aftermarket header (pic), I had issues with the boots on the steering rack getting baked by the header. I would say the separation was similar to the distance you've got with your setup. I used a couple Thermo-Tec bolt-on heat shields (like so) to protect the boots and never had an issue again.
On my Subaru running an aftermarket header (pic), I had issues with the boots on the steering rack getting baked by the header. I would say the separation was similar to the distance you've got with your setup. I used a couple Thermo-Tec bolt-on heat shields (like so) to protect the boots and never had an issue again.
I'll have to watch that and see. Thanks for the heat shield link those may be exactly what I need. I was leaning towards heat wrap if it became an issue but I like the shields better.
Oil lines have been plumbed and she's full of oil. Hopefully getting closer than ever to cranking/starting her up for the first time.
Like a lot of stuff on this build, the oil lines didn't come without a challenge. I am running a Canton 15-276 front sump oil pan. The pan doesn't come with provision for a filter and an adapter of some sort has to be purchased as well. So, I bought Canton 22-630 to go with it.
The Issues:
1. The fittings for the adapter are -12 O-ring and cost nearly $40 each.
2. The hose for the fittings was $10/ft
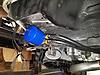
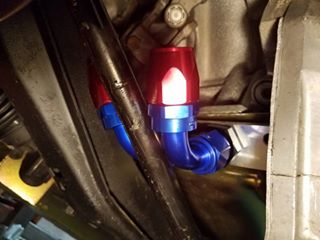
3. The 90 degree elbows needed wouldn't clear my sway bar
4. The 1 1/16" holes on the adapter are so close together it is nearly impossible to actually thread the -12 fittings into it. The hex heads contact one another make tightening the fittings a real chore.
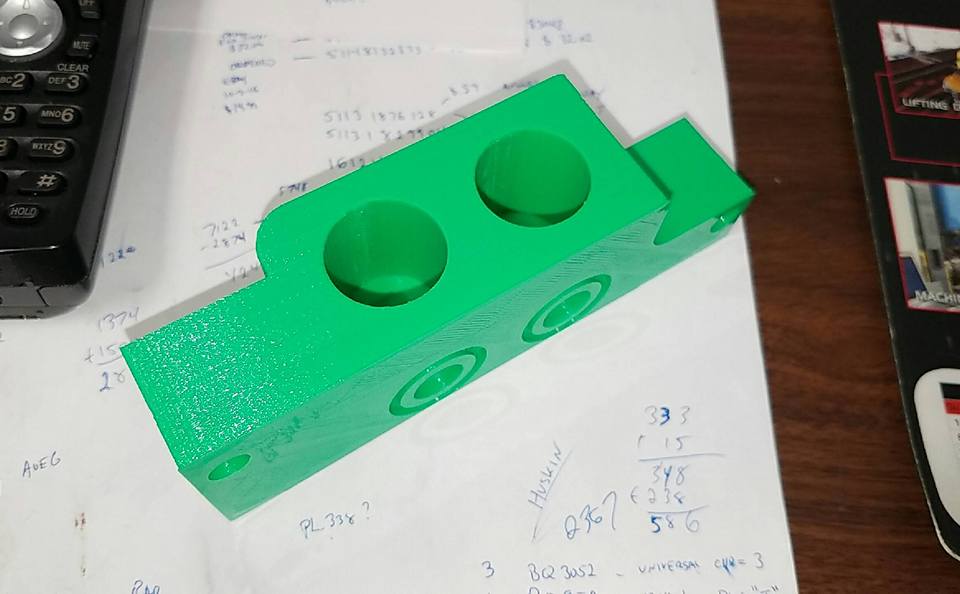
The Solution: Make my own
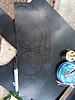
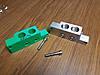
I needed the oil line ports coming out 90 degrees from the block. I drew up a block with the holes where I needed them and changed the threads from -12 O-ring to 3/4 NPT. Now, I can use barbed hose fittings, AN fittings, or a slew of other fittings all easily purchased at the local hardware or hydraulic store. The distance between the fittings is slightly greater which makes threading them into the adapter no problem.
The high dollar AN fittings interfered to the point I couldn't even bolt the adapter back to the bottom of the pan.
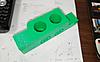
I started with a drawing and a prototype
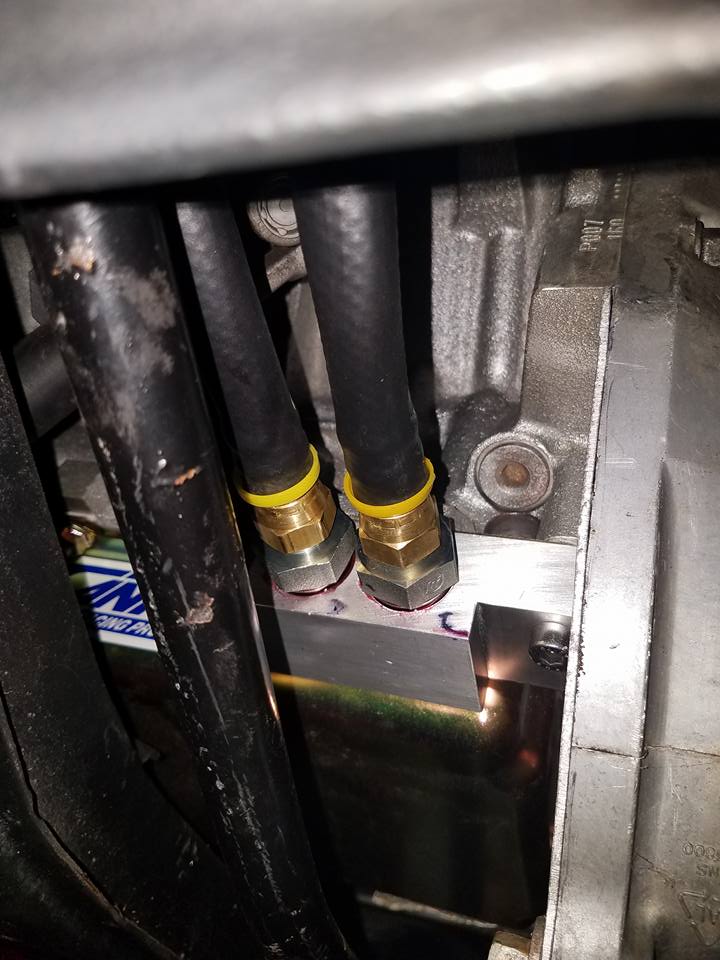
I test fit the prototype to make sure it would clear everything like I wanted.
Then off to the machine shop to have one made
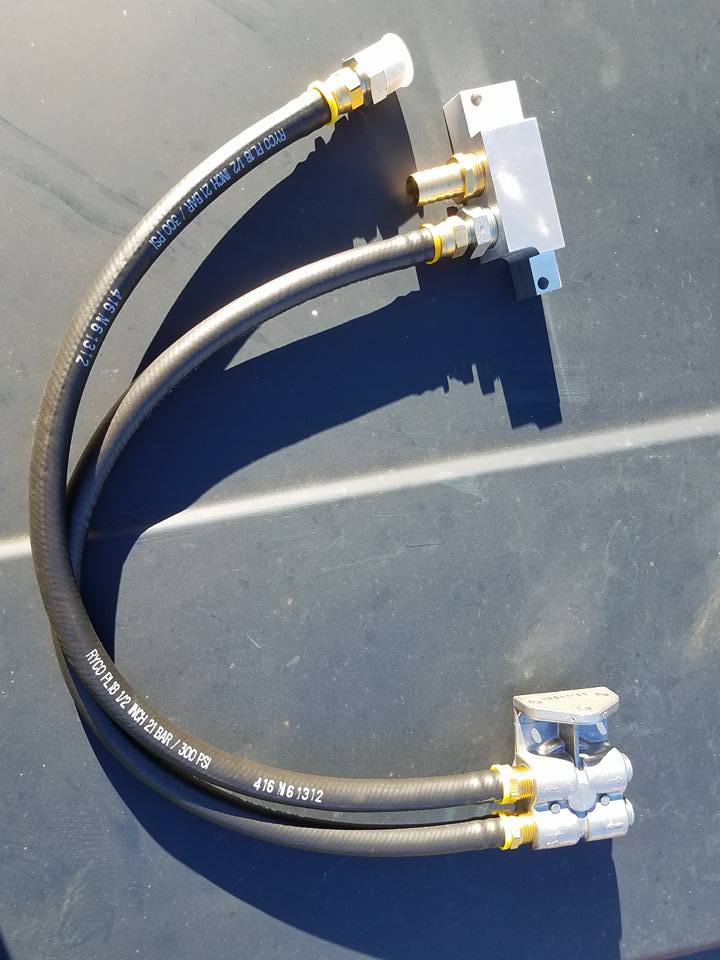
I chose to go with push lock hose rated for 300psi. Purchased 7ft of hose and fittings from local hydraulic store for a little over $30! The hose barb is screwed in for comparison sake.
I used a little Loctite 545 thread sealer on the threads.
Remote filter all plumbed up
On a side note, I may start offering the adapters if there is any interest.
First time, in God only knows how long, a battery has been connected. First test of wiring was my gauges. I left the computer unhooked turned the ignition and the gauges lit up! I turned the light switch on and everything dimmed like it was suppose to. I absolutely hate wiring so this was a major feet!


 11-27-2016, 06:57 AM


 ), I ran FEA on the plate and the stress/strain/distortion were all incredibly small.