When you click on links to various merchants on this site and make a purchase, this can result in this site earning a commission. Affiliate programs and affiliations include, but are not limited to, the eBay Partner Network.
My buddy from RM Motorwerks came over and flashed the ECU for me. He couldn't stick around for the start up but I spent the rest of the evening installing plugs, wires, coolant, intake...etc. All the little stuff needed for her to start.
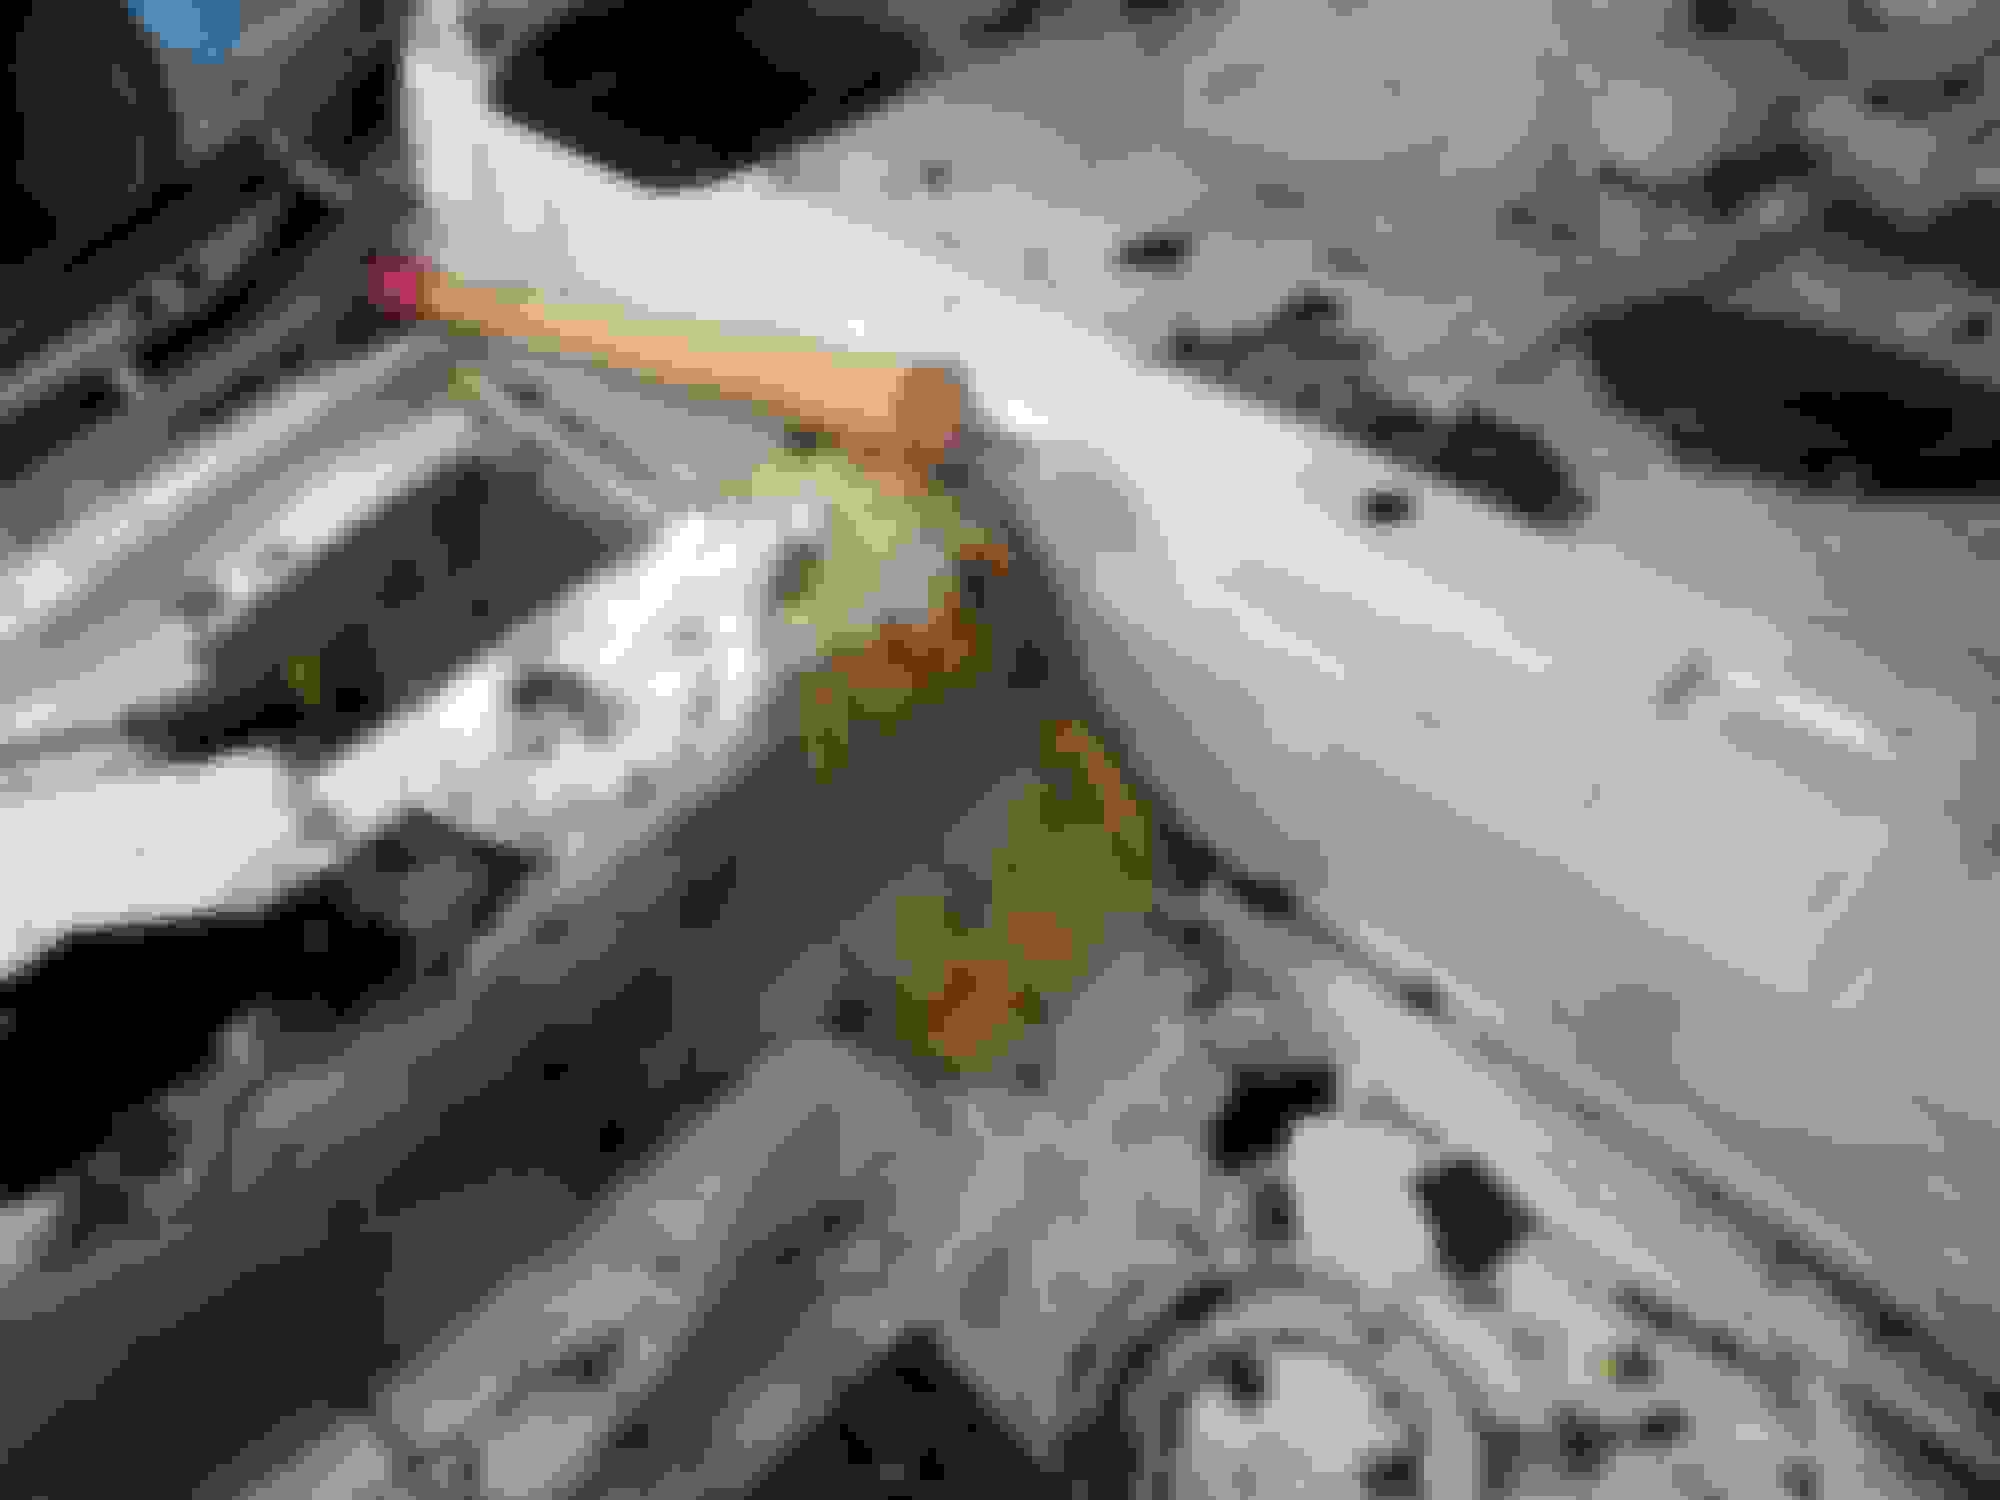
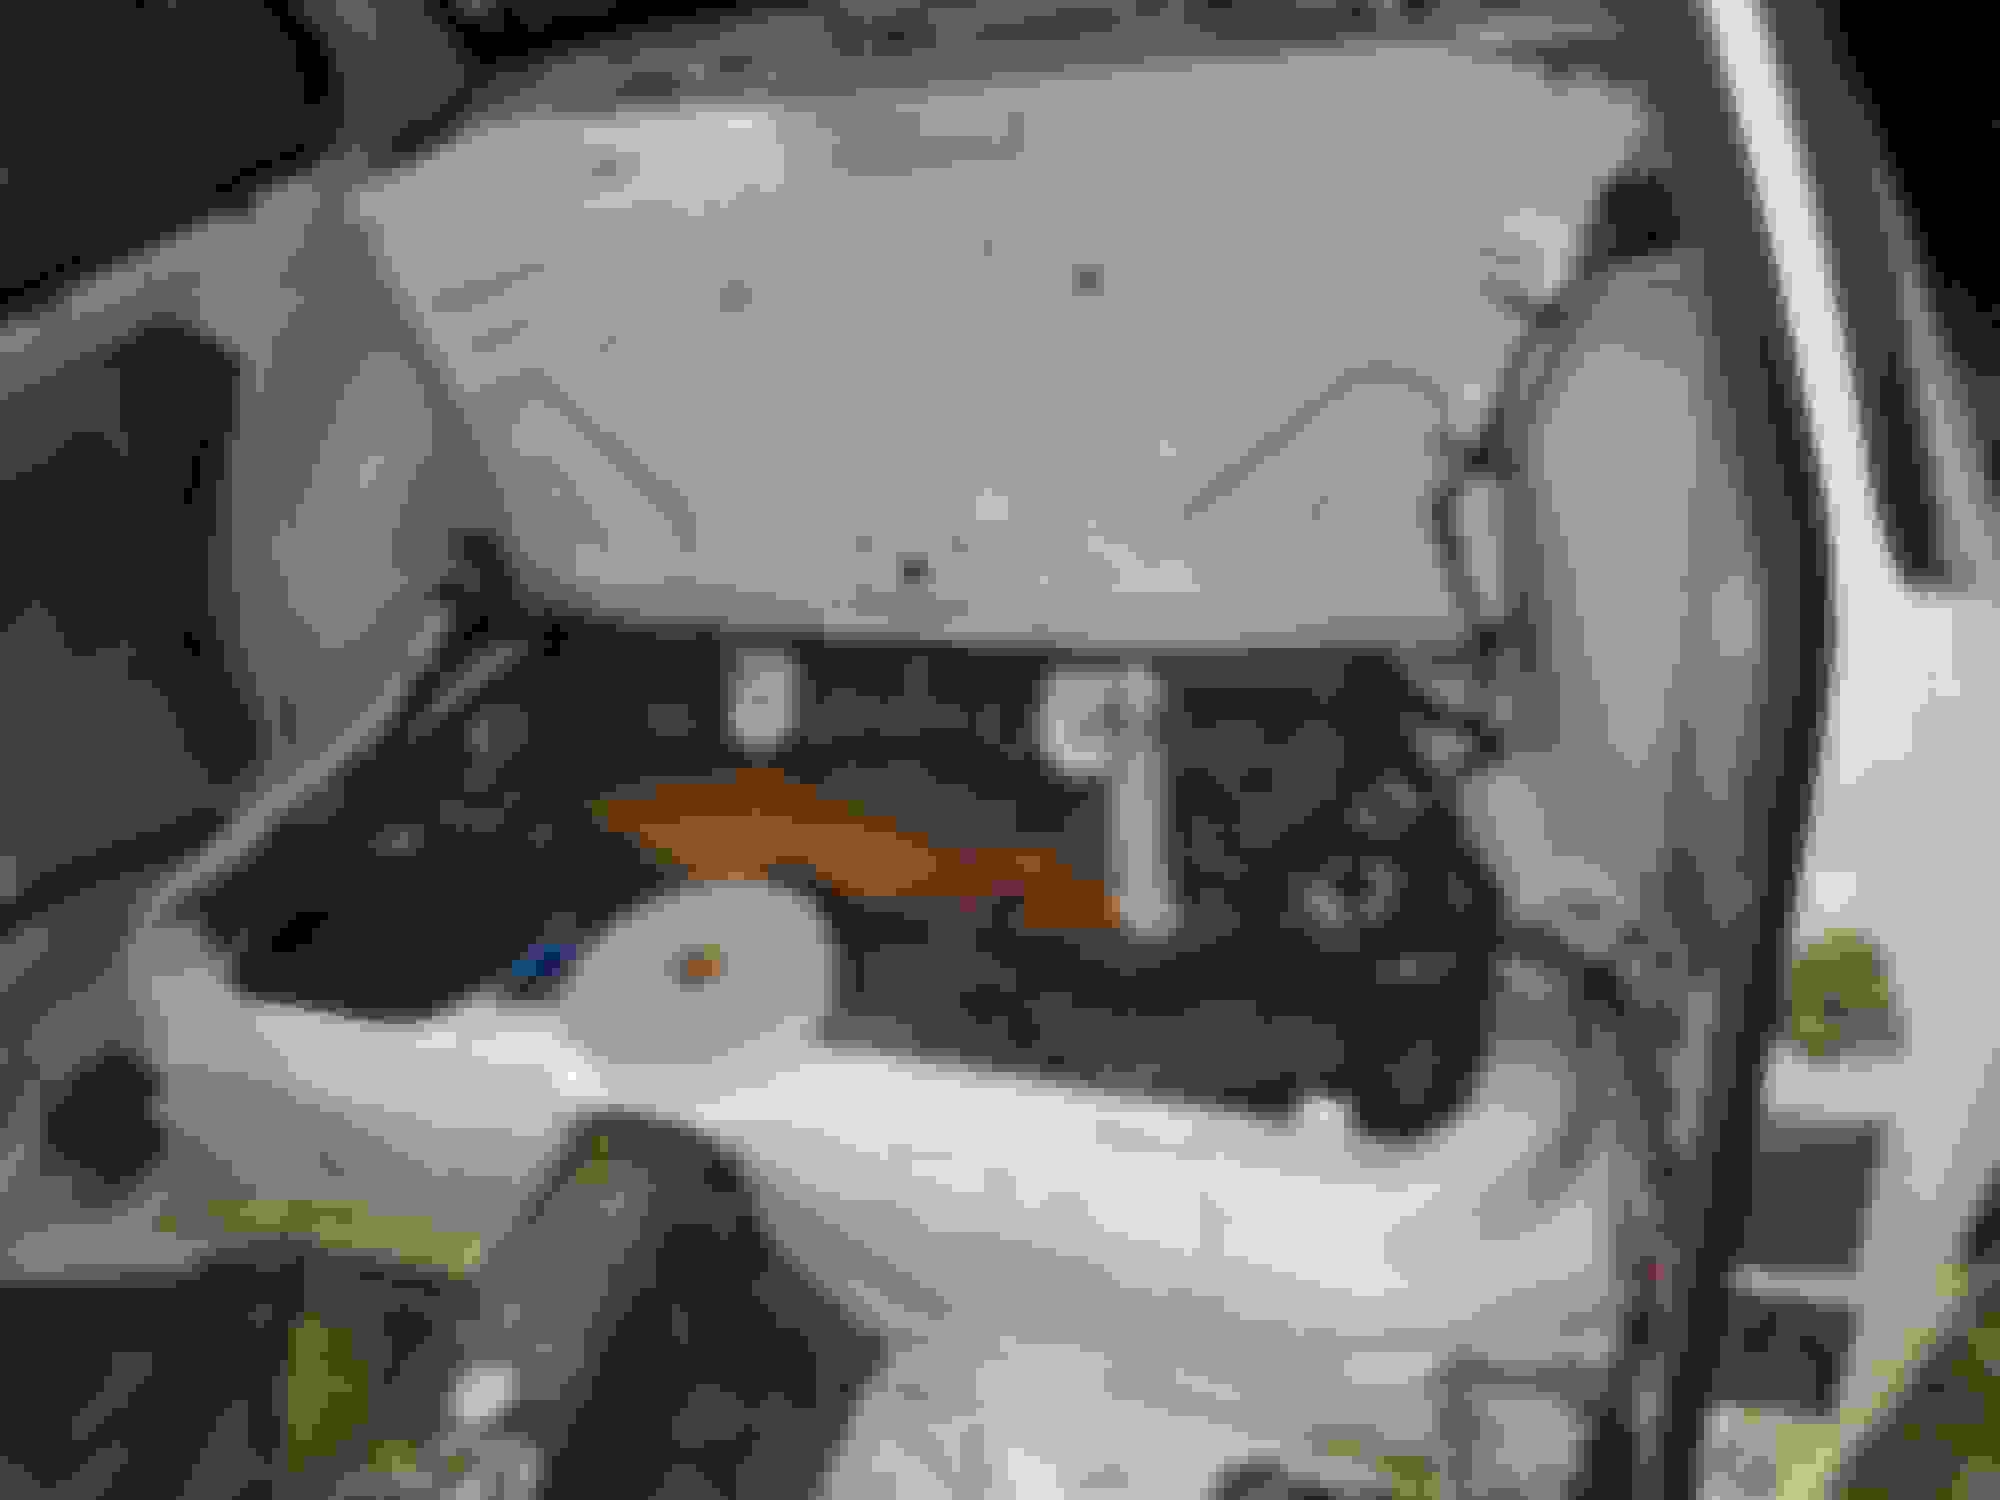
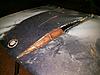
I had installed 7 of the 8 plugs and when I went to install the #1 wire, I noticed the plug was sticking out further than what it should be. I removed the plug and re-installed it with the same result. The plug easily threaded by hand but would only thread about half way into the hole. The LS plug threads are 14x1.25 which is a bastard of a tap to find locally. I wasn't to fond of using a tap because they cut new threads and if the tap started in crooked all the threads would be damaged. Since the first few threads were the issue, having the tap start off wrong was a real possibility. There are thread chasers but again, they rely on good threads to start the chaser and are mostly for cleaning corrosion or junk out of the threads.
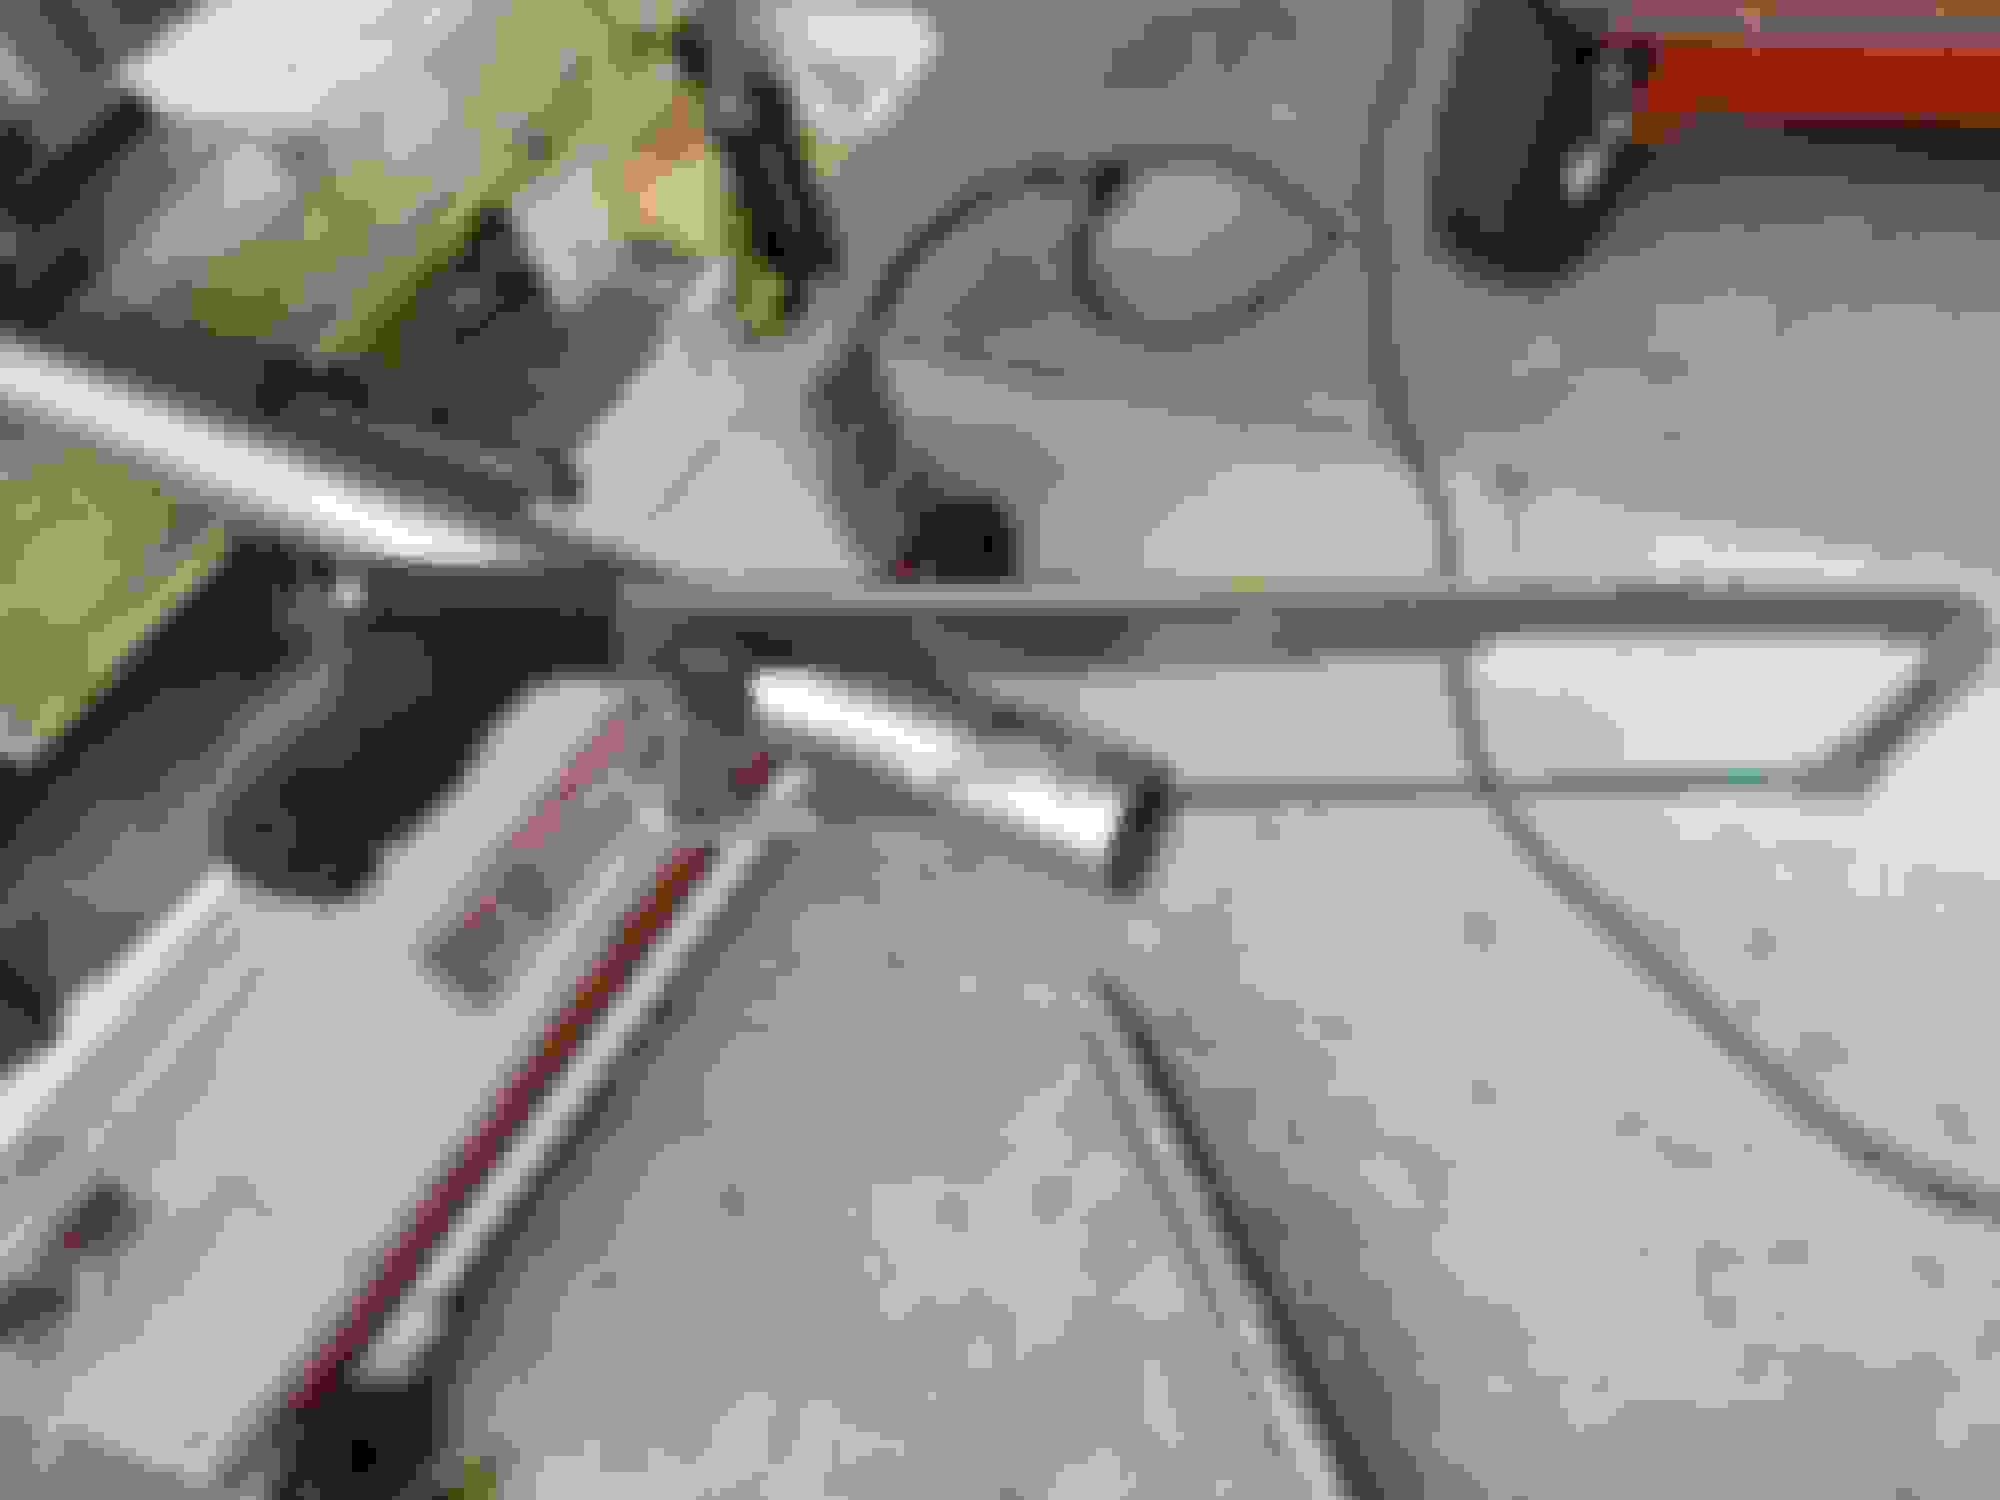
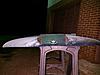
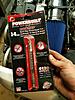
Then I found this little guy
It collapses, goes into the cylinder head and then backs out straightening the threads as it comes out. Since I knew the threads on the inside were good I figured I'd give it a shot. I was able to thread the tool into the good threads and use them as a guide to straighten out the bad ones. This little guy is worth it's weight in gold! Took probably 20-30 minutes of careful use but it straightened the threads! I coated it in grease before each use and cleaned it after each run. By the time I was finished I was able to screw the plug all the way down by hand before snugging it with the ratchet.
As for how the threads were damaged...I don't know. After I assembled the engine I loosely (by hand) screwed the plugs back into the holes just to keep junk out. The plugs all screwed in fine but I didn't go very far with them. My guess is the threads were jacked up originally (engine had over 200k) and the machine shop missed checking the threads or did the same thing I did and screw a plug in it a little ways to see how it felt.
Either way... no harm no foul - she's all fixed.
Hopefully someone finds the above tool as useful as I did and it saves them from having to put an insert in.
Work, work, work. All work and no play makes Jack a dull boy......
Found some free time to sneak into the garage and I was able to get some more stuff accomplished.
Spent 5.5 hours stripping sound deadening. Using dry ice is a must! The strange thing is, normally the deadening breaks easily into large chunks when struck with a hammer. Not this stuff. The deadening came out with a hammer and chisel, breaking into a million little pieces along the way. I gave myself two gnarly blood blisters after incorrectly placing my hand between the hammer and chisel head.....twice....
I then painted the firewall, made a mount for the ECU, installed the dash and the guages.
Had even more free time so I kept going and started on the 4 point.
Mocked up the plinth boxes with cardboard and then traced the pattern on 1/8" plate. Cut them out and folded them up. I then took measurements for the hoop and cut my first length of pipe.
1. Fix TOB fitting leak - DONE- Pulled engine Sunday and re-installed Monday/Tuesday
2. Tune - Scheduled for Tuesday 5-23-17
3. Install seat and belts - Tonight or tomorrow
4. Tires and alignment - Scheduled for Tuesday same time as tune.
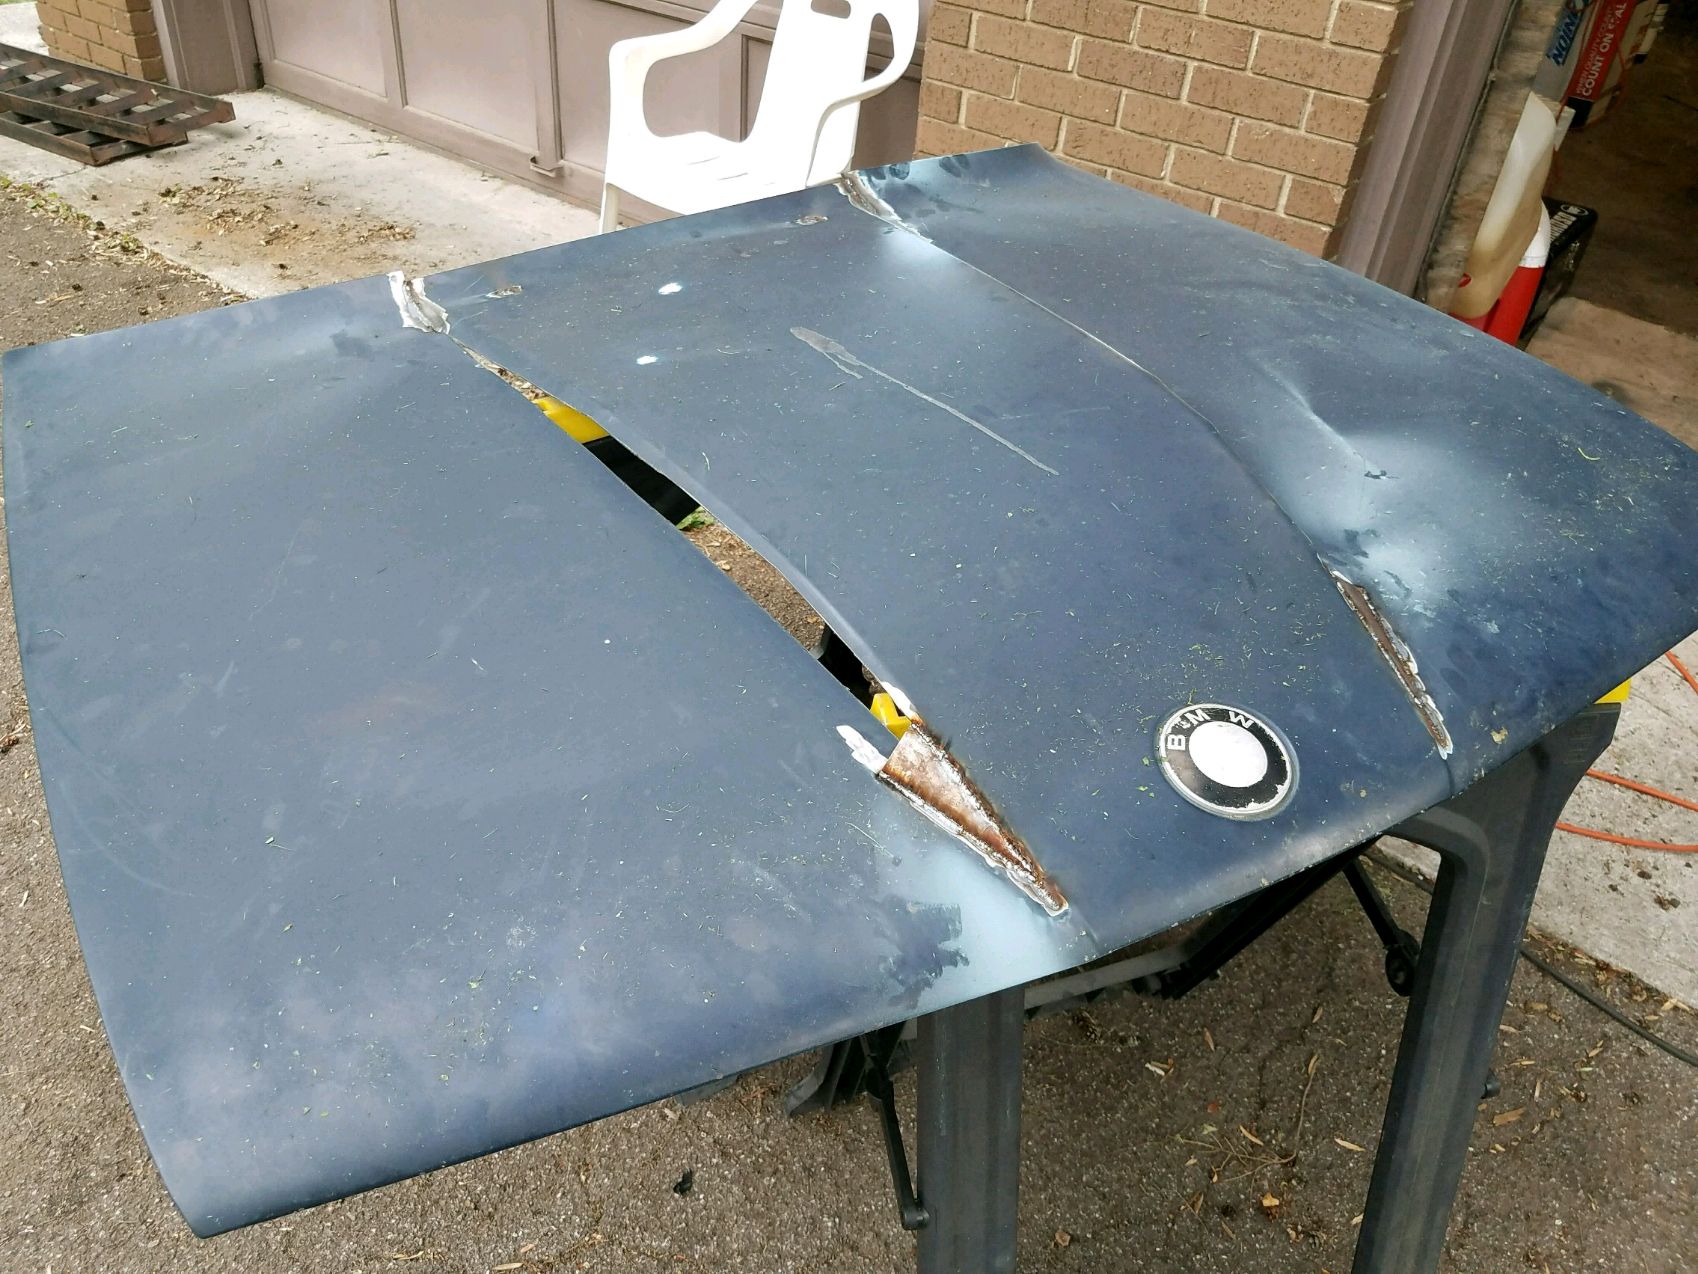
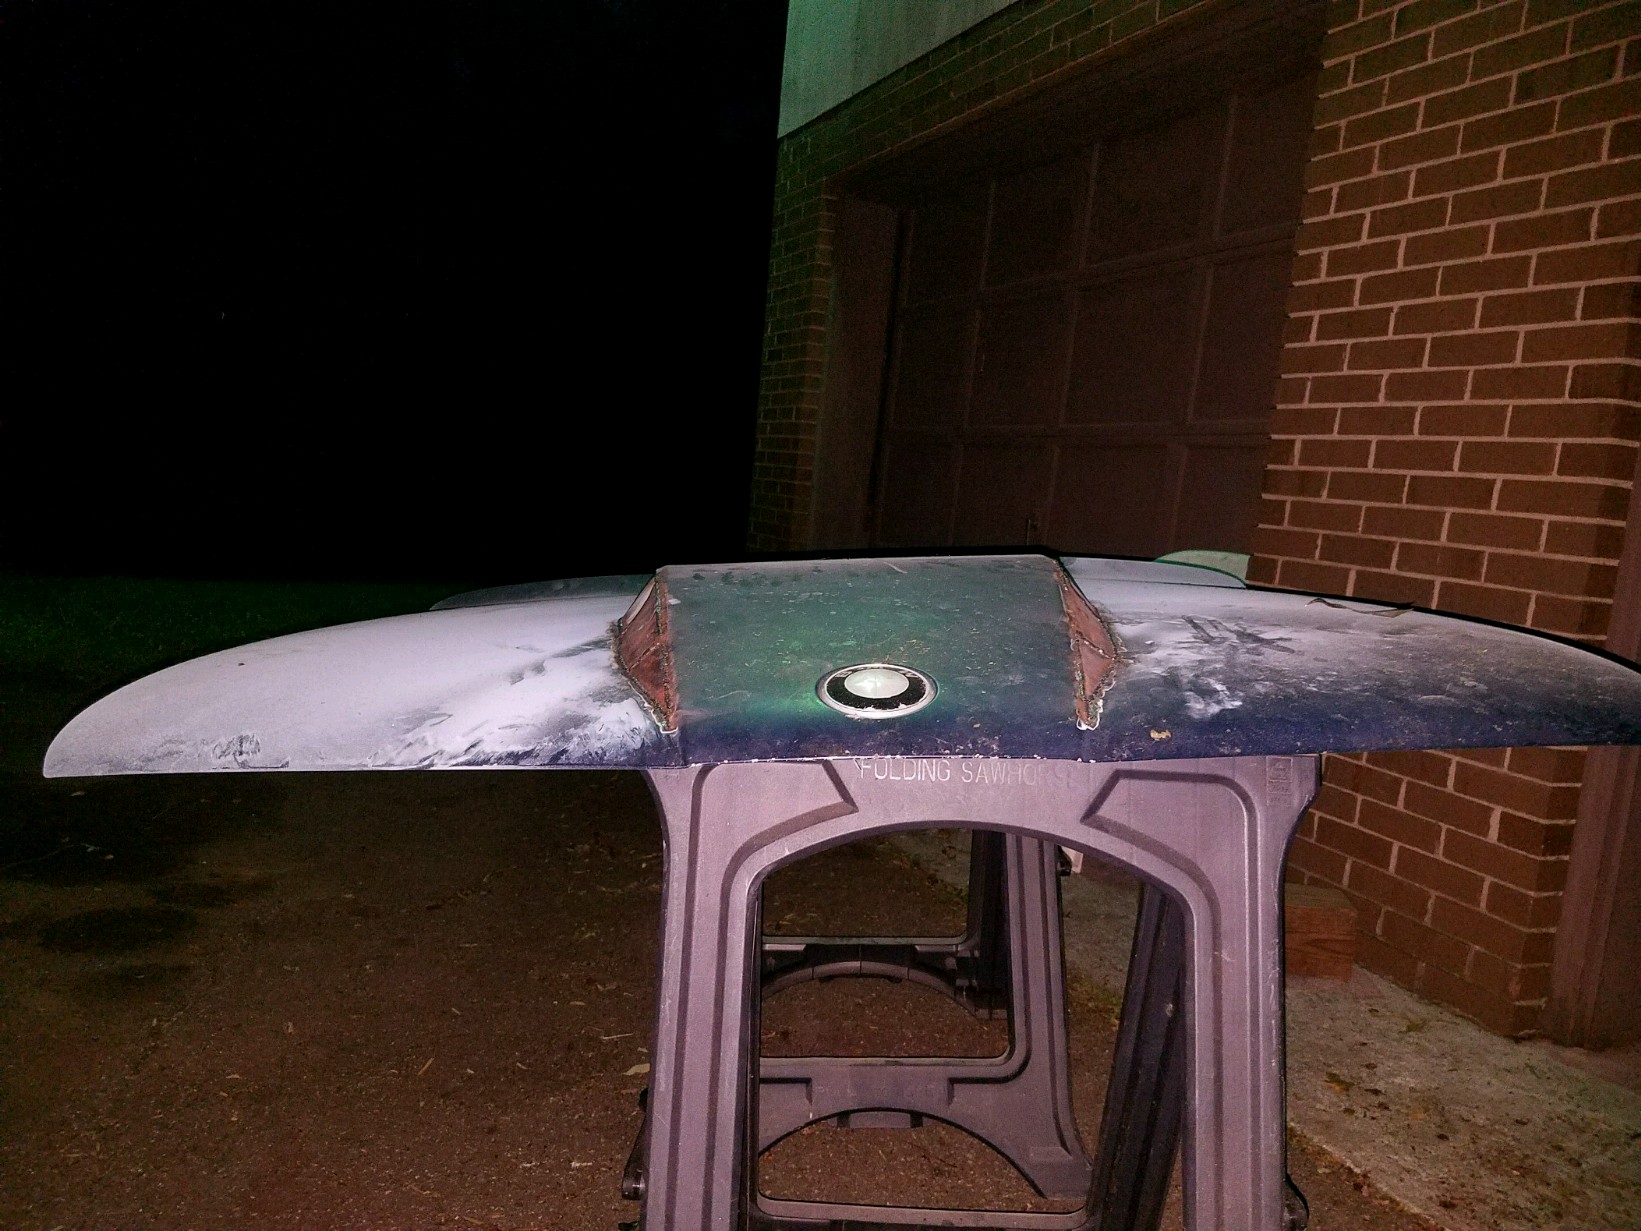
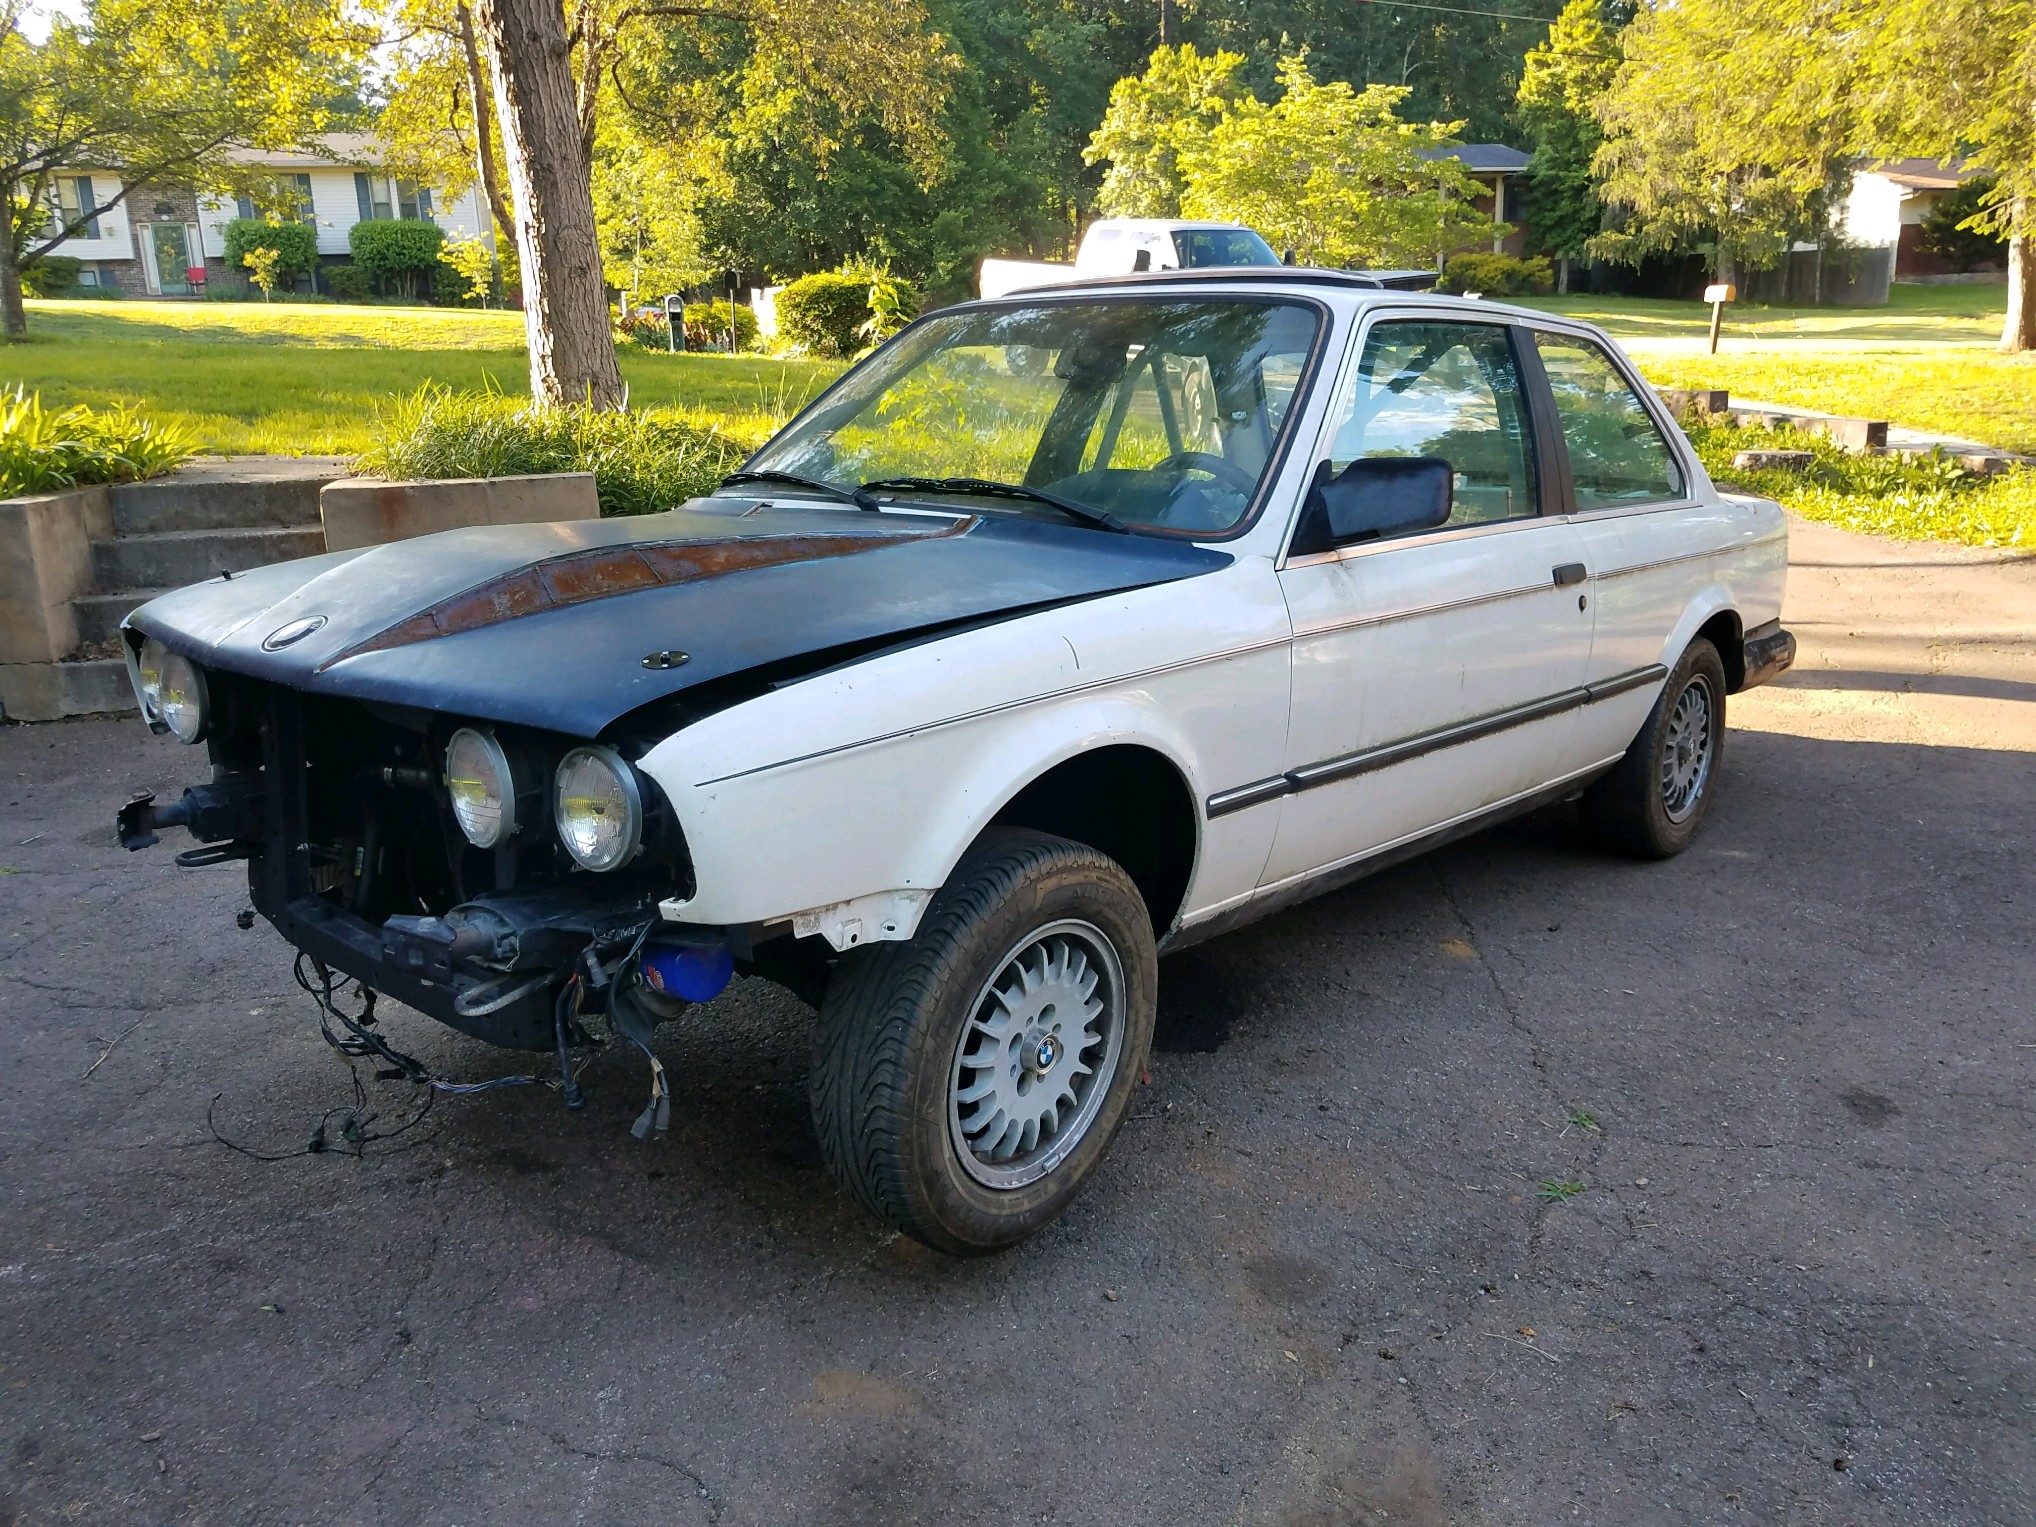
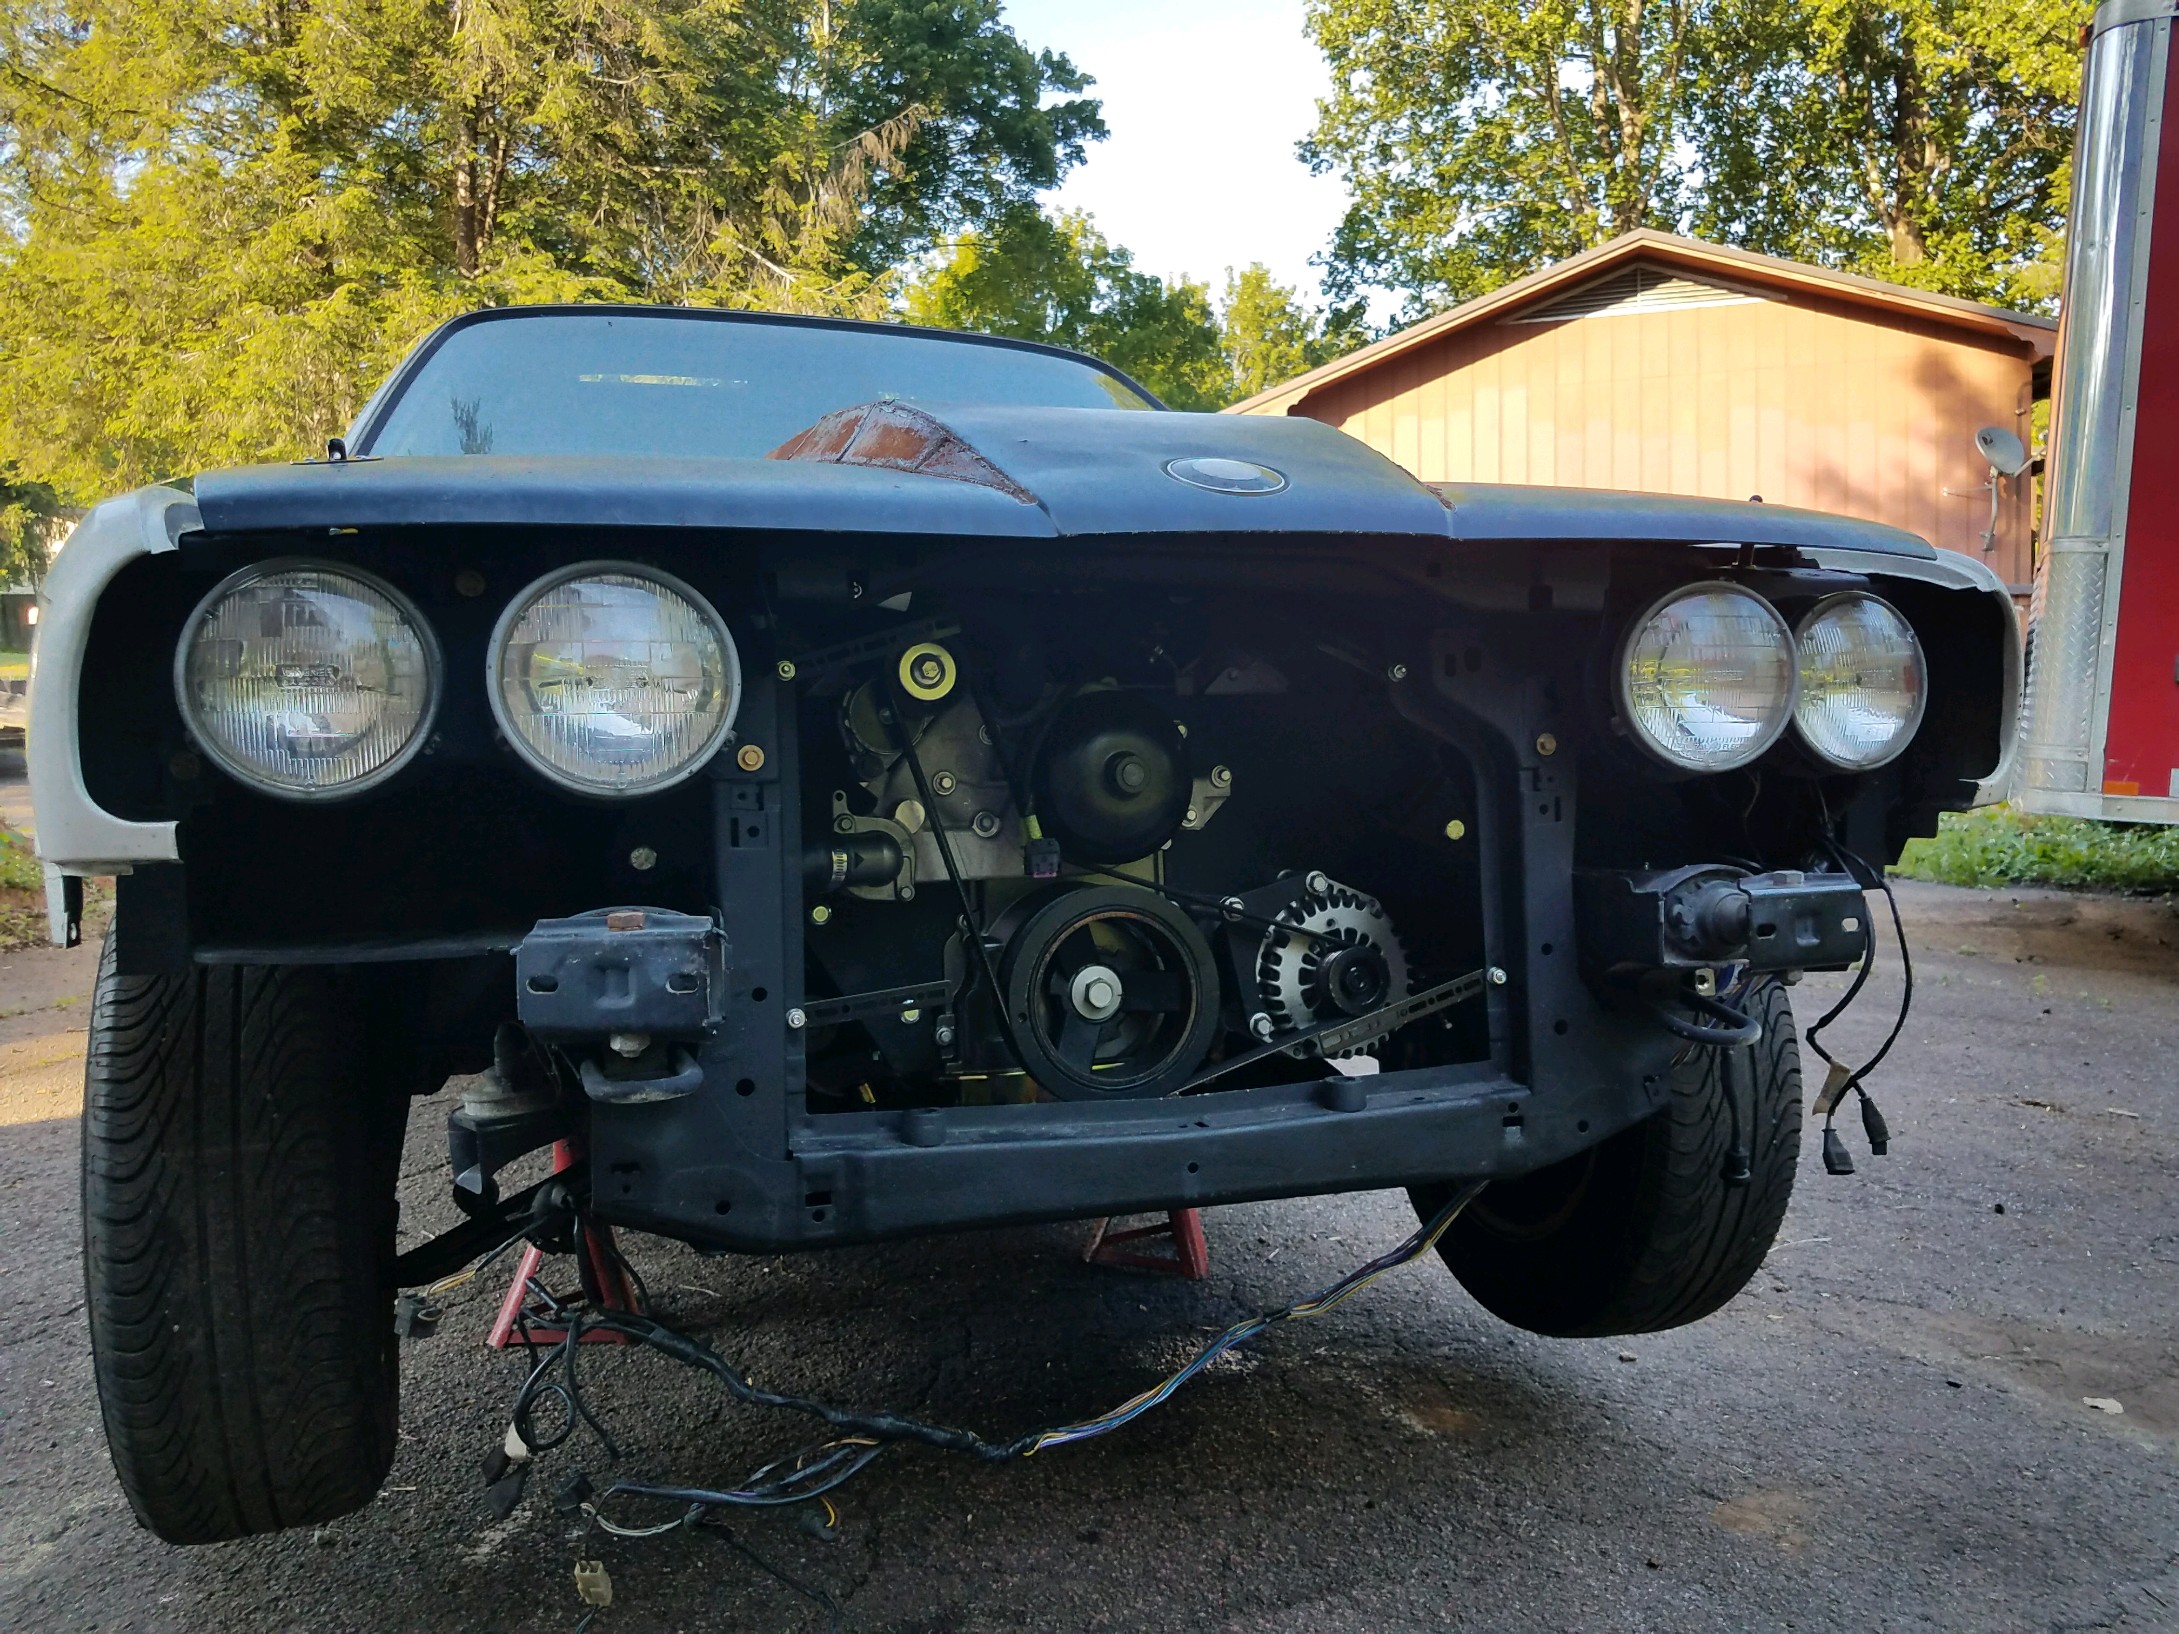
Building the car on a budget of pretty much $0 meant that I had to focus on function over form. The hood wouldn't clear the truck intake and instead of spending the money on an LS intake/rails/injectors...etc. I modified a scrap hood I had from a parts car to fit the truck intake. I have the original white hood stored and at some point in the future I may do something with fiberglass but for now I am digging the Road Warrior look. I'll wash the black tree crud off the car, matt clear it, and call it a day.
Questions:
1. What would cause an iac to be non functional
2. What would cause no tach signal from the ecm
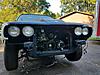
The BMW is 98.2% done.
1.It starts right up but immediately started idling high. Checked parameters in HP Tuners and no matter what the settings for idle are, the iac never moves. I checked that I had the wires correct and initially the connector was pinned backwards. Once corrected it didn't make a difference. I thought maybe I fried the iac with the backwards wiring so I installed a brand new one.
The iac moved freely by hand but stays positioned where it was last. I pulled the iac plunger out and made sure it seated in the throttle body. When I started the car it wouldn't idle. I pushed the plunger in and controlled the idle by blocking the port with my finger, the engine runs fine. I checked continuity between the ecm and connector and all is well. I'm currently stumped as to why the iac isn't controlling the idle.
2. I have no tach signal. My tach didn't work so I thought I needed to boost the signal but after connecting to hp tuners I saw that I have signal from the ecm. Again, I checked continuity on the cmp and it was good.


 03-22-2017, 10:07 AM


 I gave myself two gnarly blood blisters after incorrectly placing my hand between the hammer and chisel head.....twice....