1993 Mustang Coupe LS1 Tremec 3550


 01-07-2017, 09:29 PM
#43
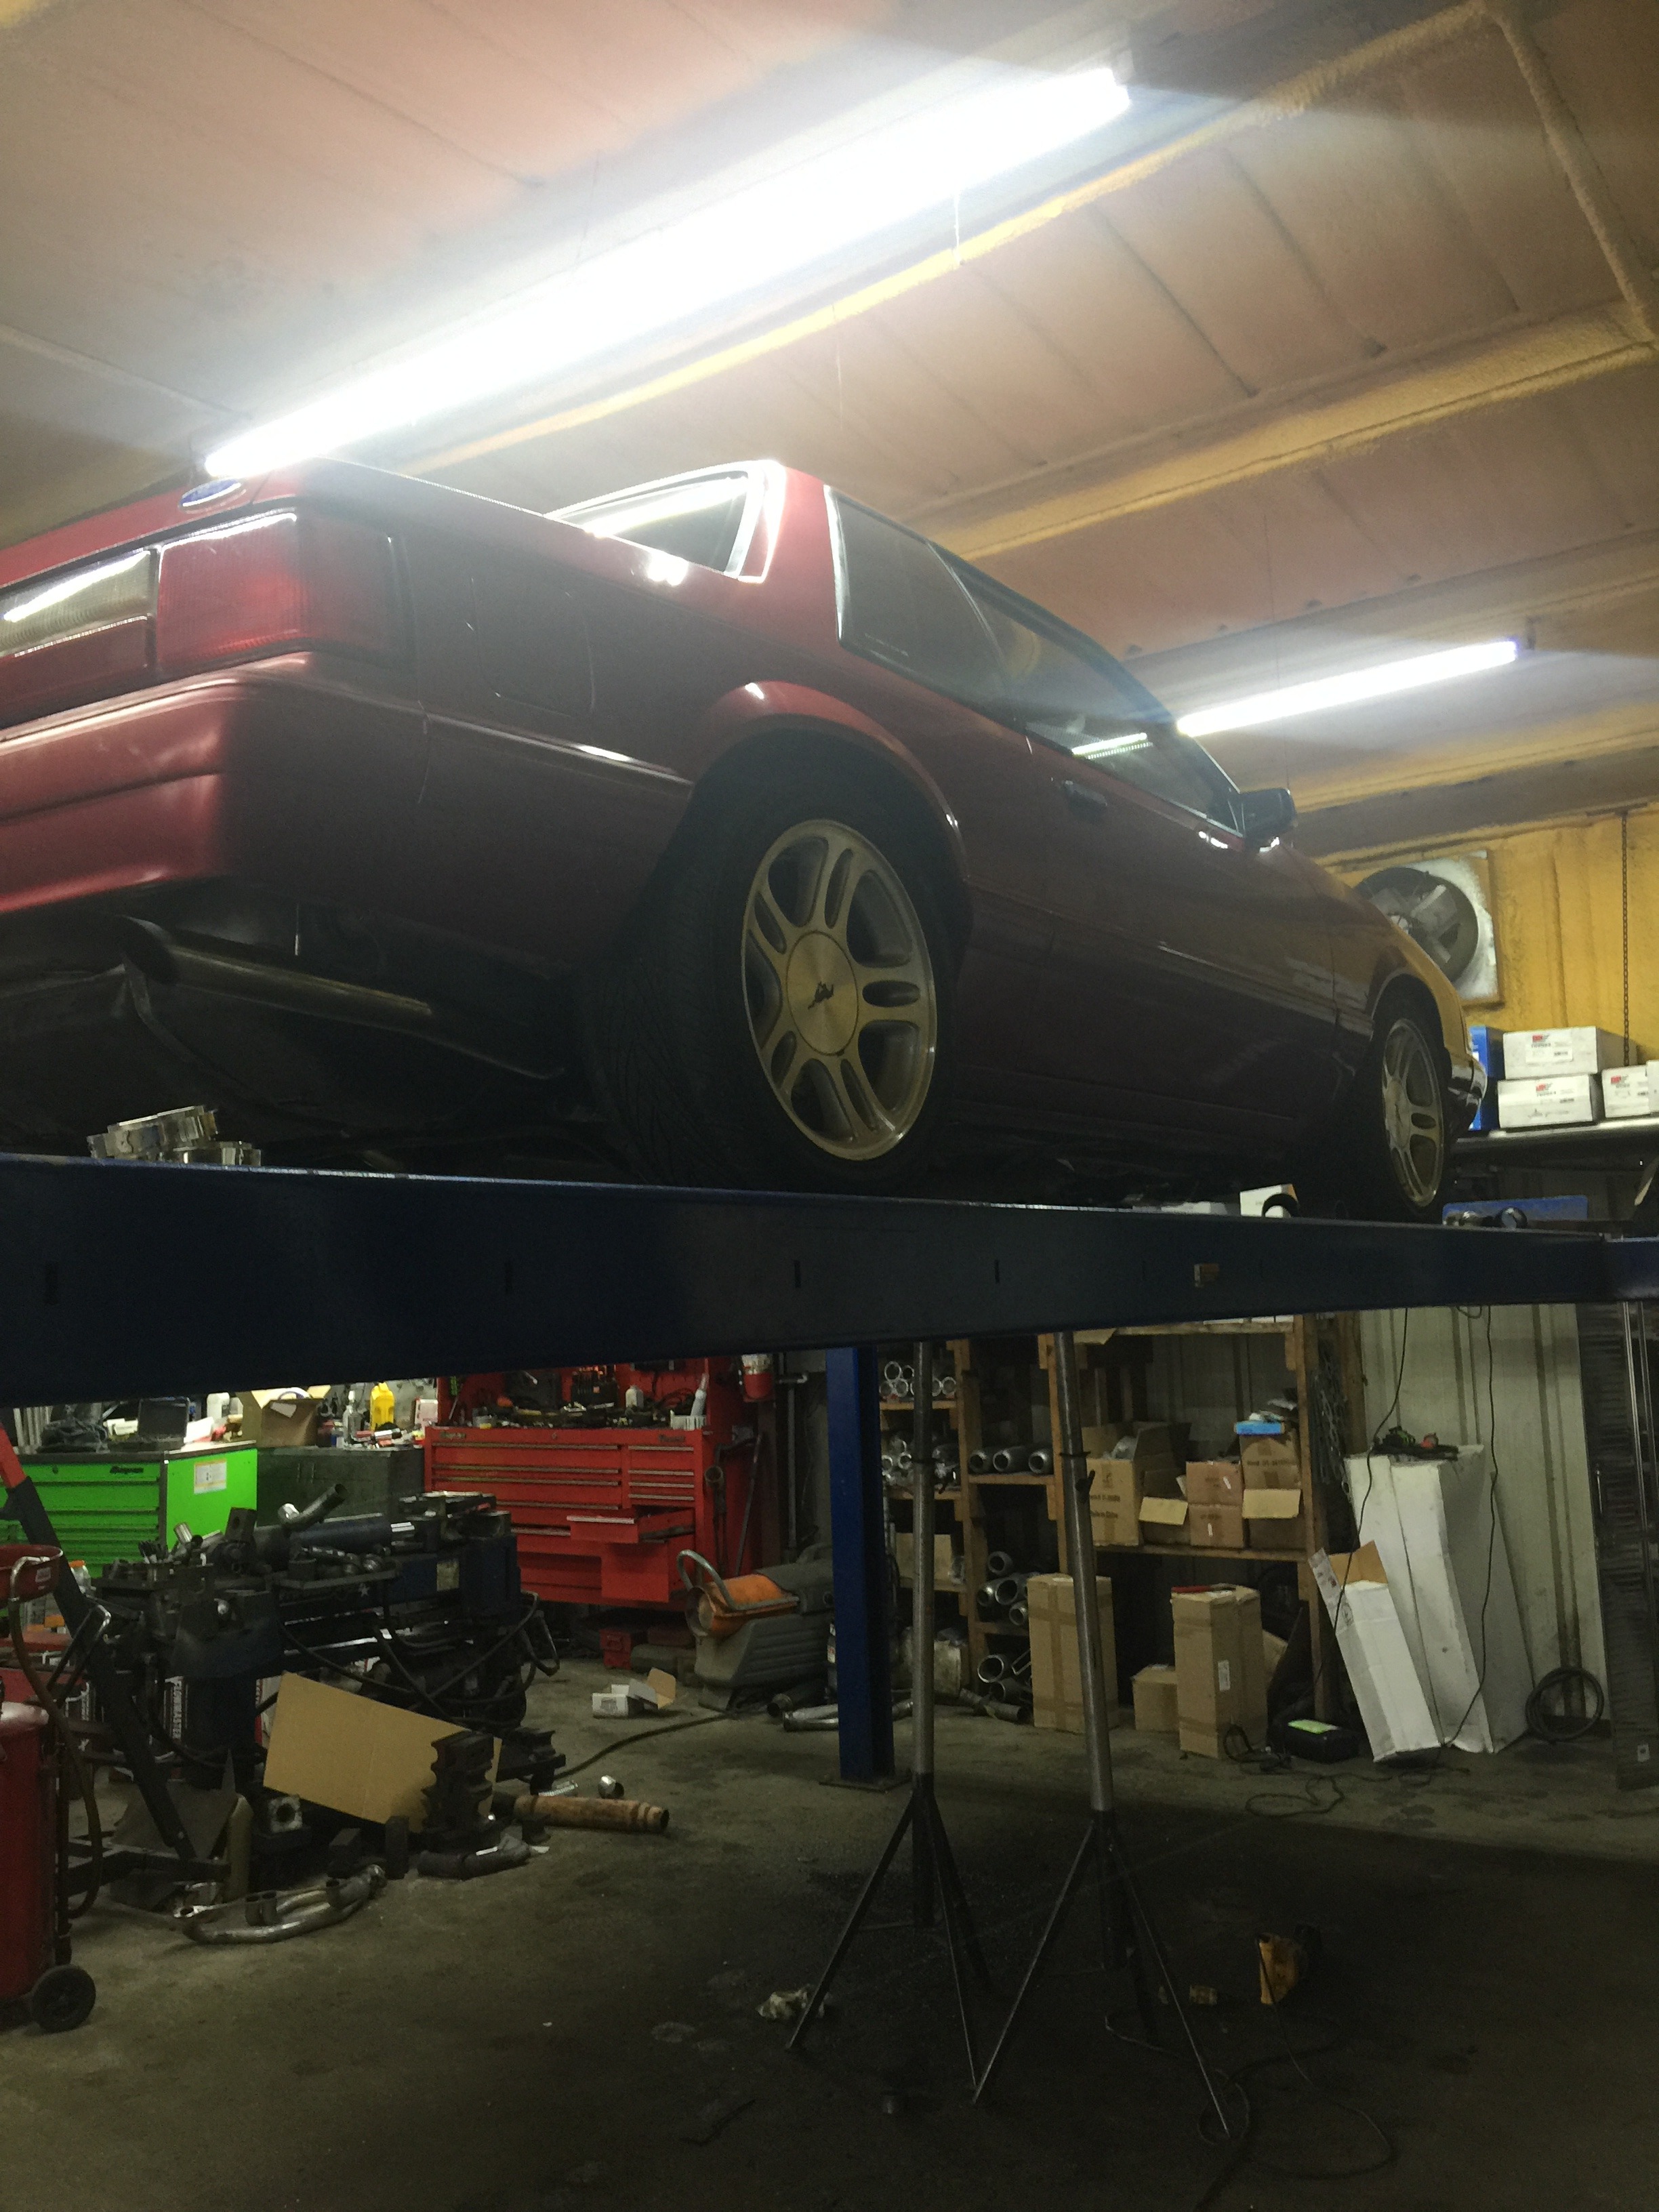
Took it to the exhaust shop.
Basically just had him make a couple of short pipes that connect the V-bands on the end of the headers to the Fox h-pipe I already had. Not sure exactly what I'm going to end up with for exhaust, but this will get me by for now.
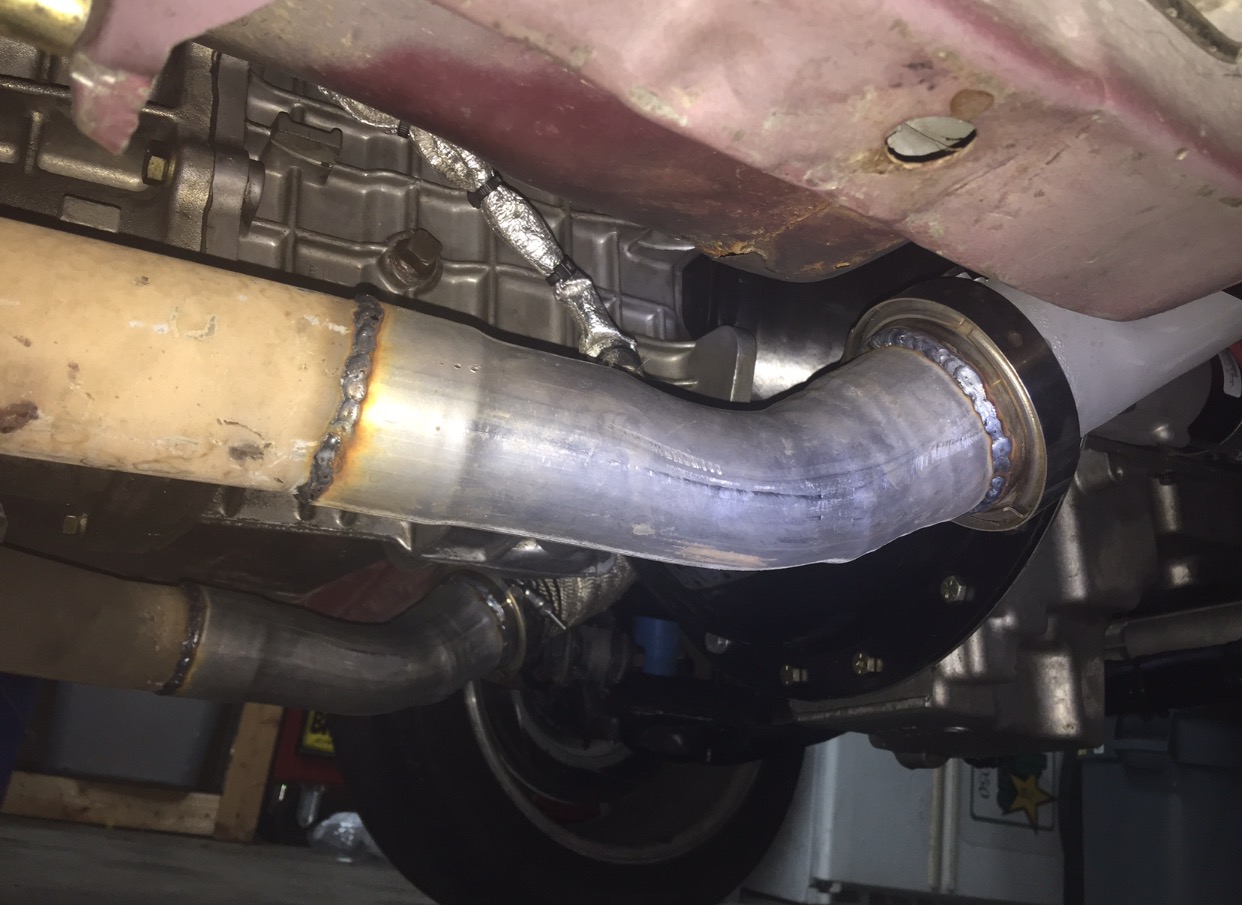
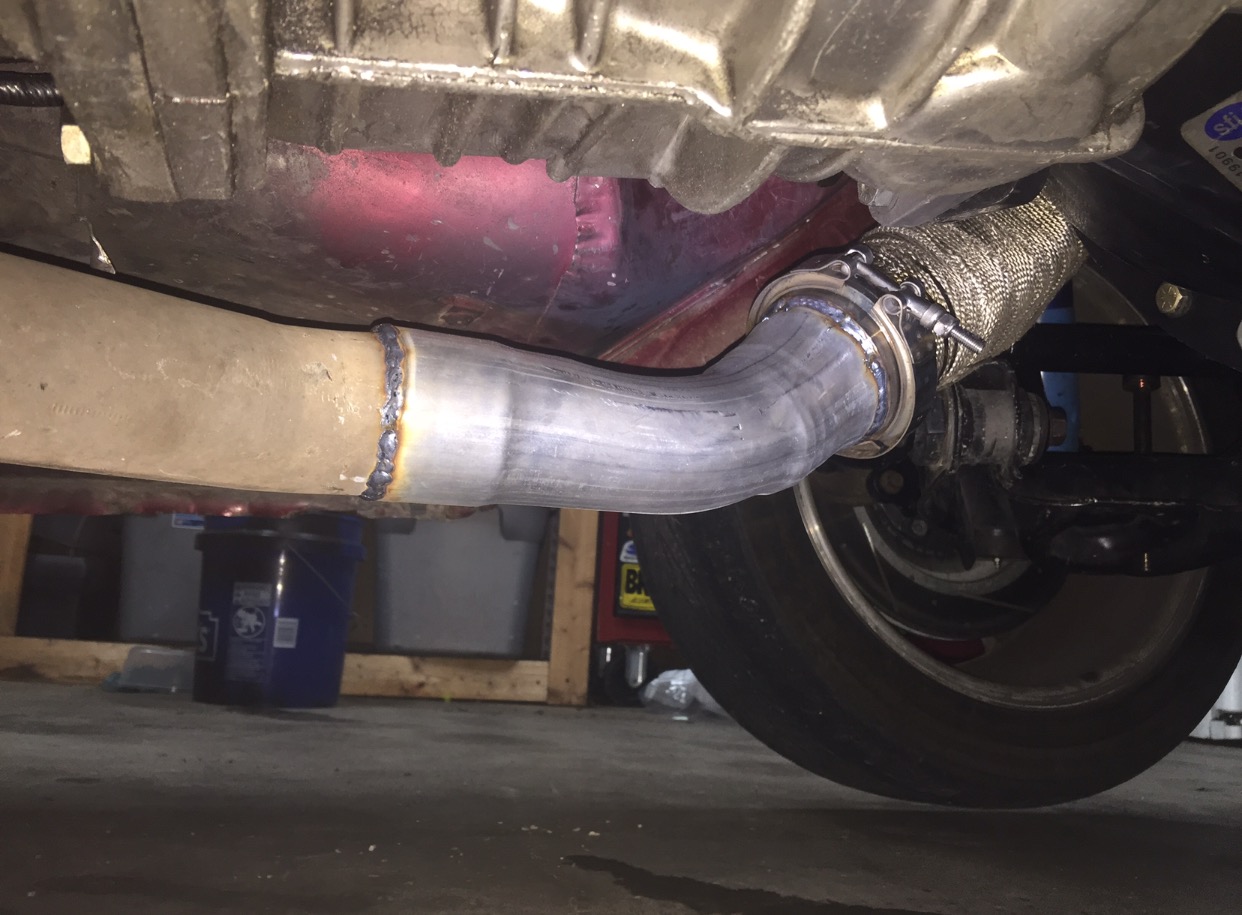
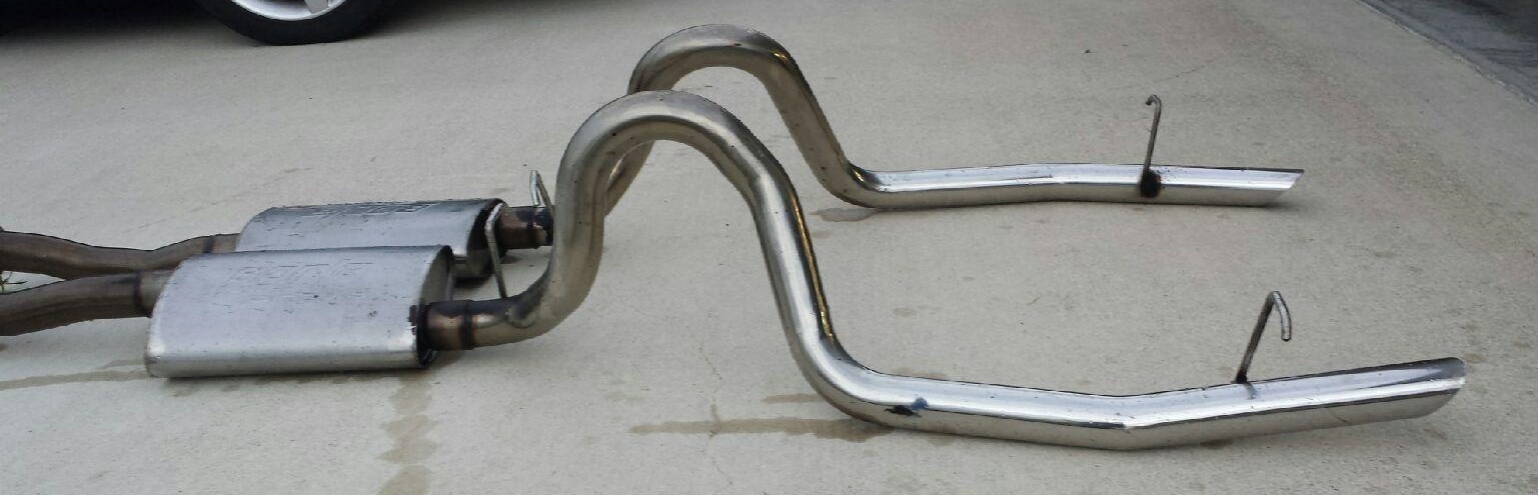
After the H-pipe I have the Borla stainless catback with Borla ProXS mufflers I had on the car already.
Definitely sounds WAY better than the open headers did lol.
Basically just had him make a couple of short pipes that connect the V-bands on the end of the headers to the Fox h-pipe I already had. Not sure exactly what I'm going to end up with for exhaust, but this will get me by for now.
After the H-pipe I have the Borla stainless catback with Borla ProXS mufflers I had on the car already.
Definitely sounds WAY better than the open headers did lol.
 01-09-2017, 08:55 PM
#46
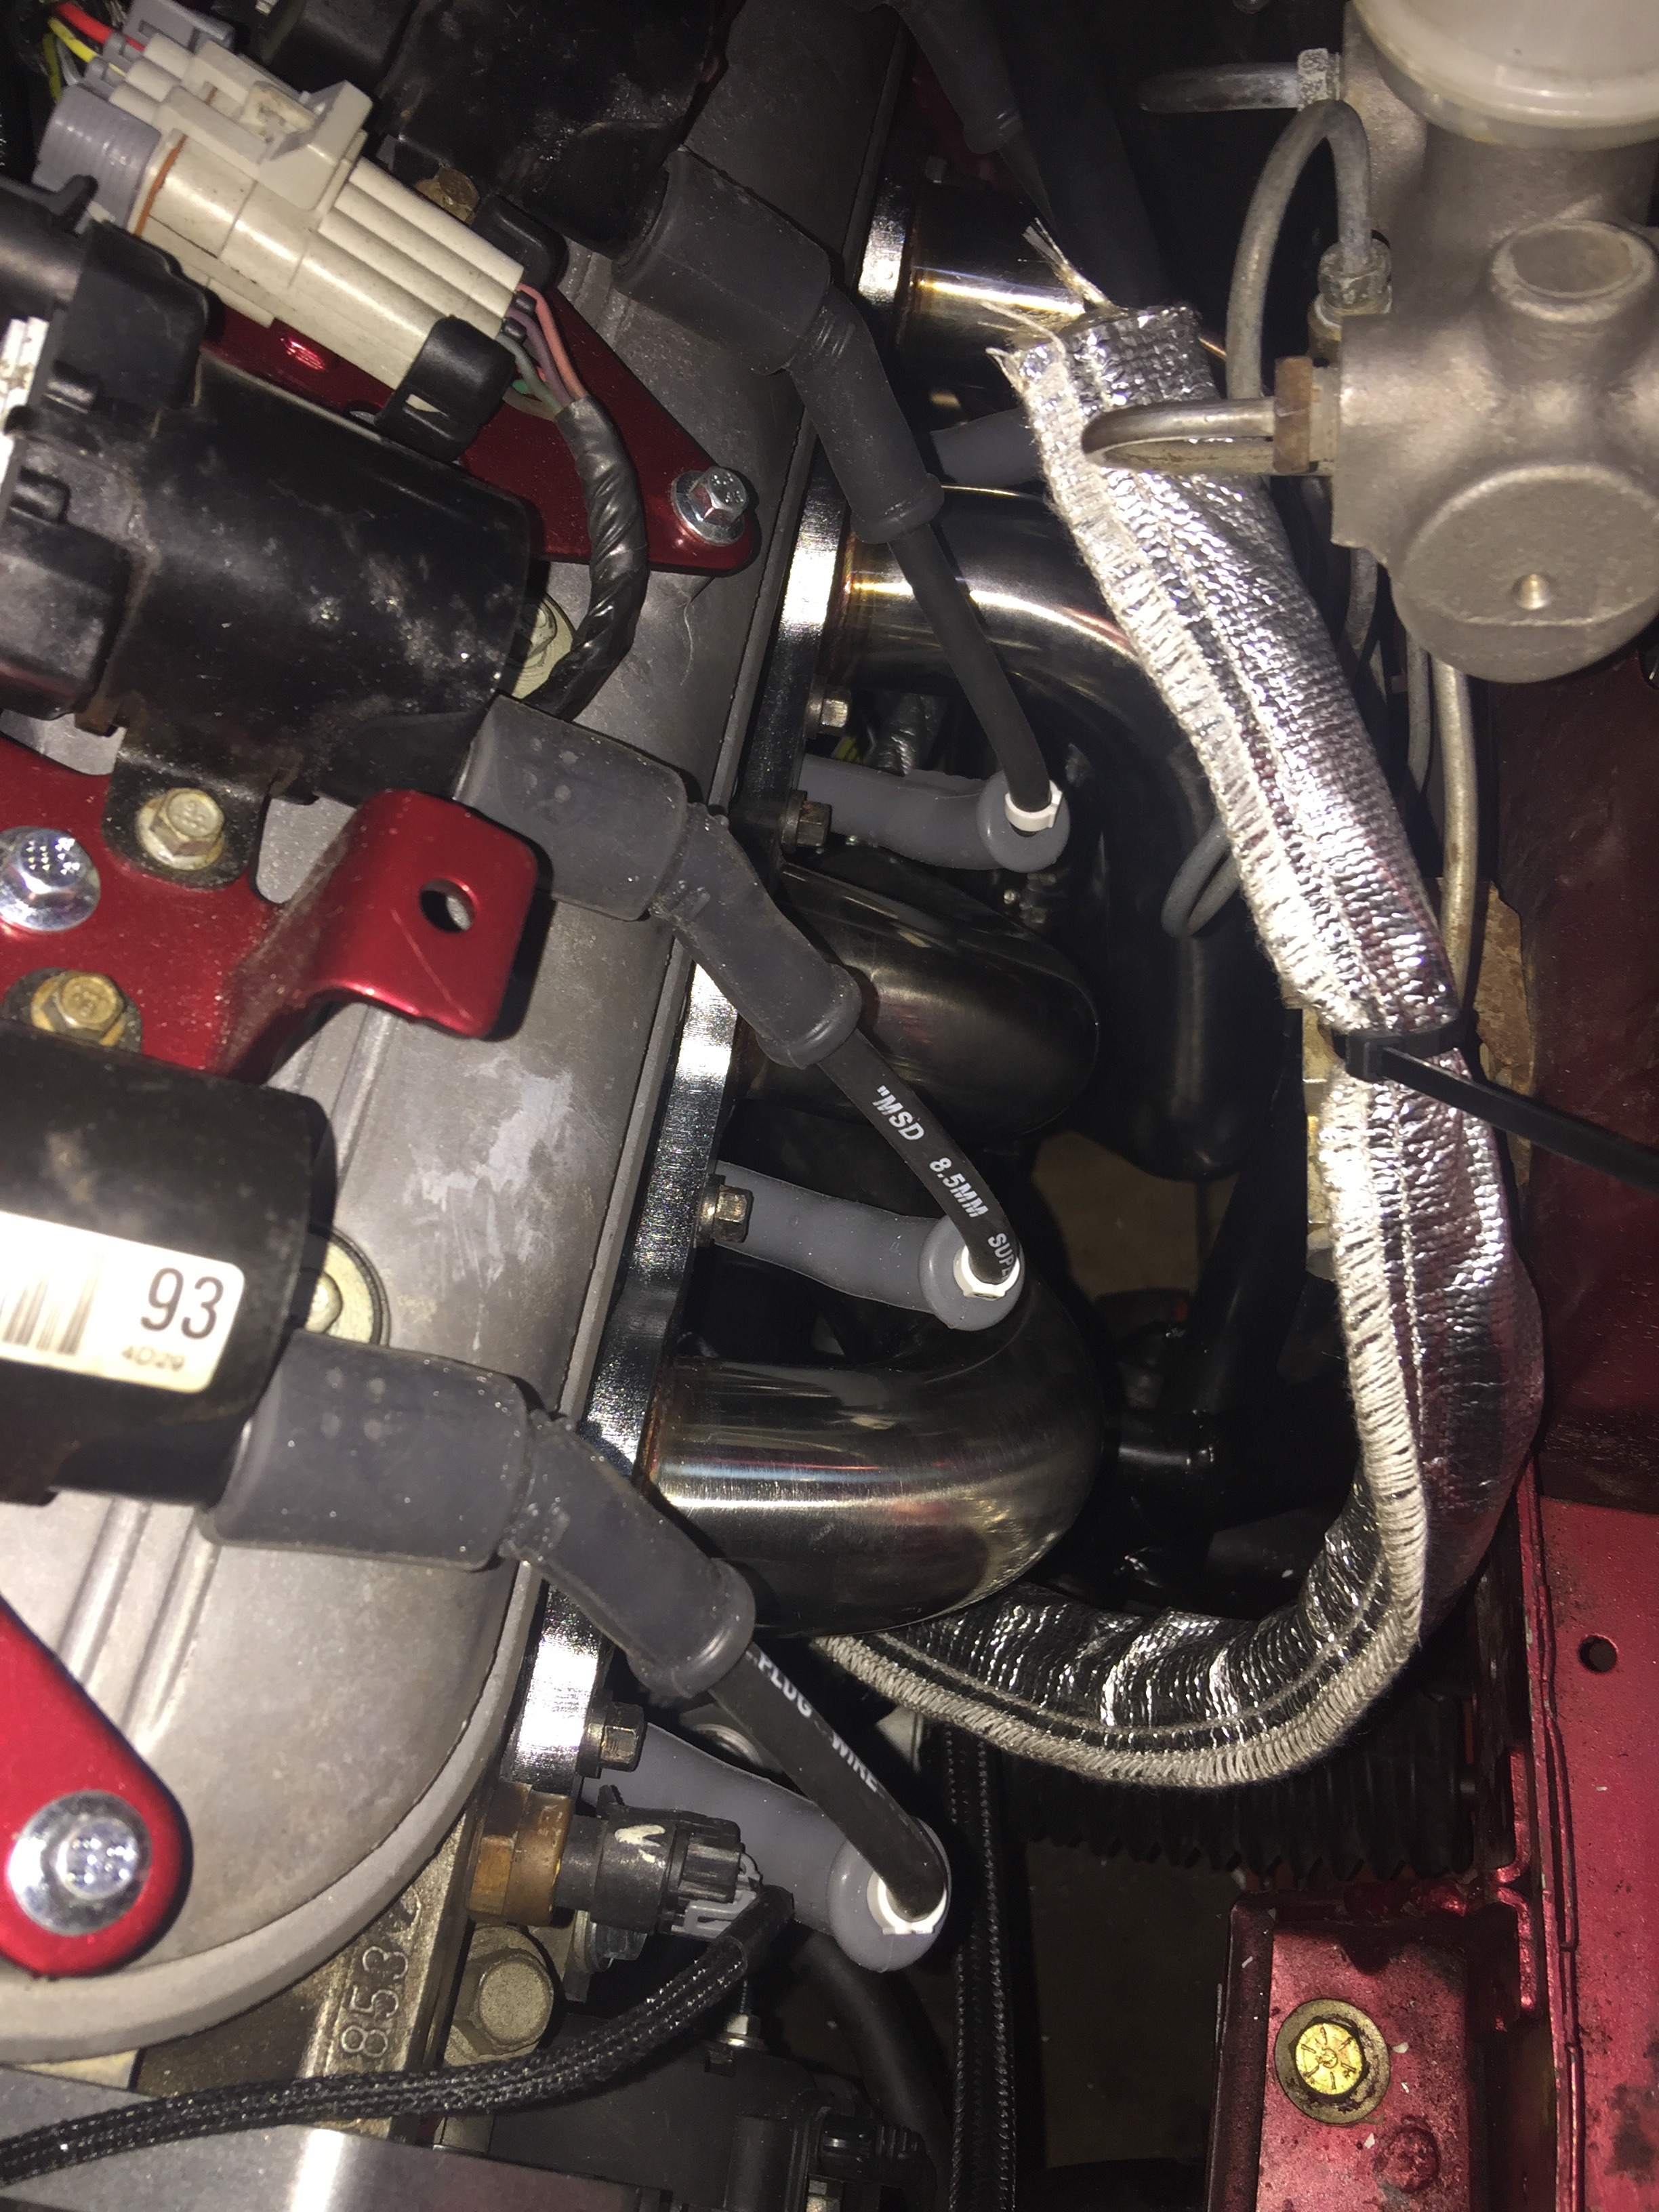
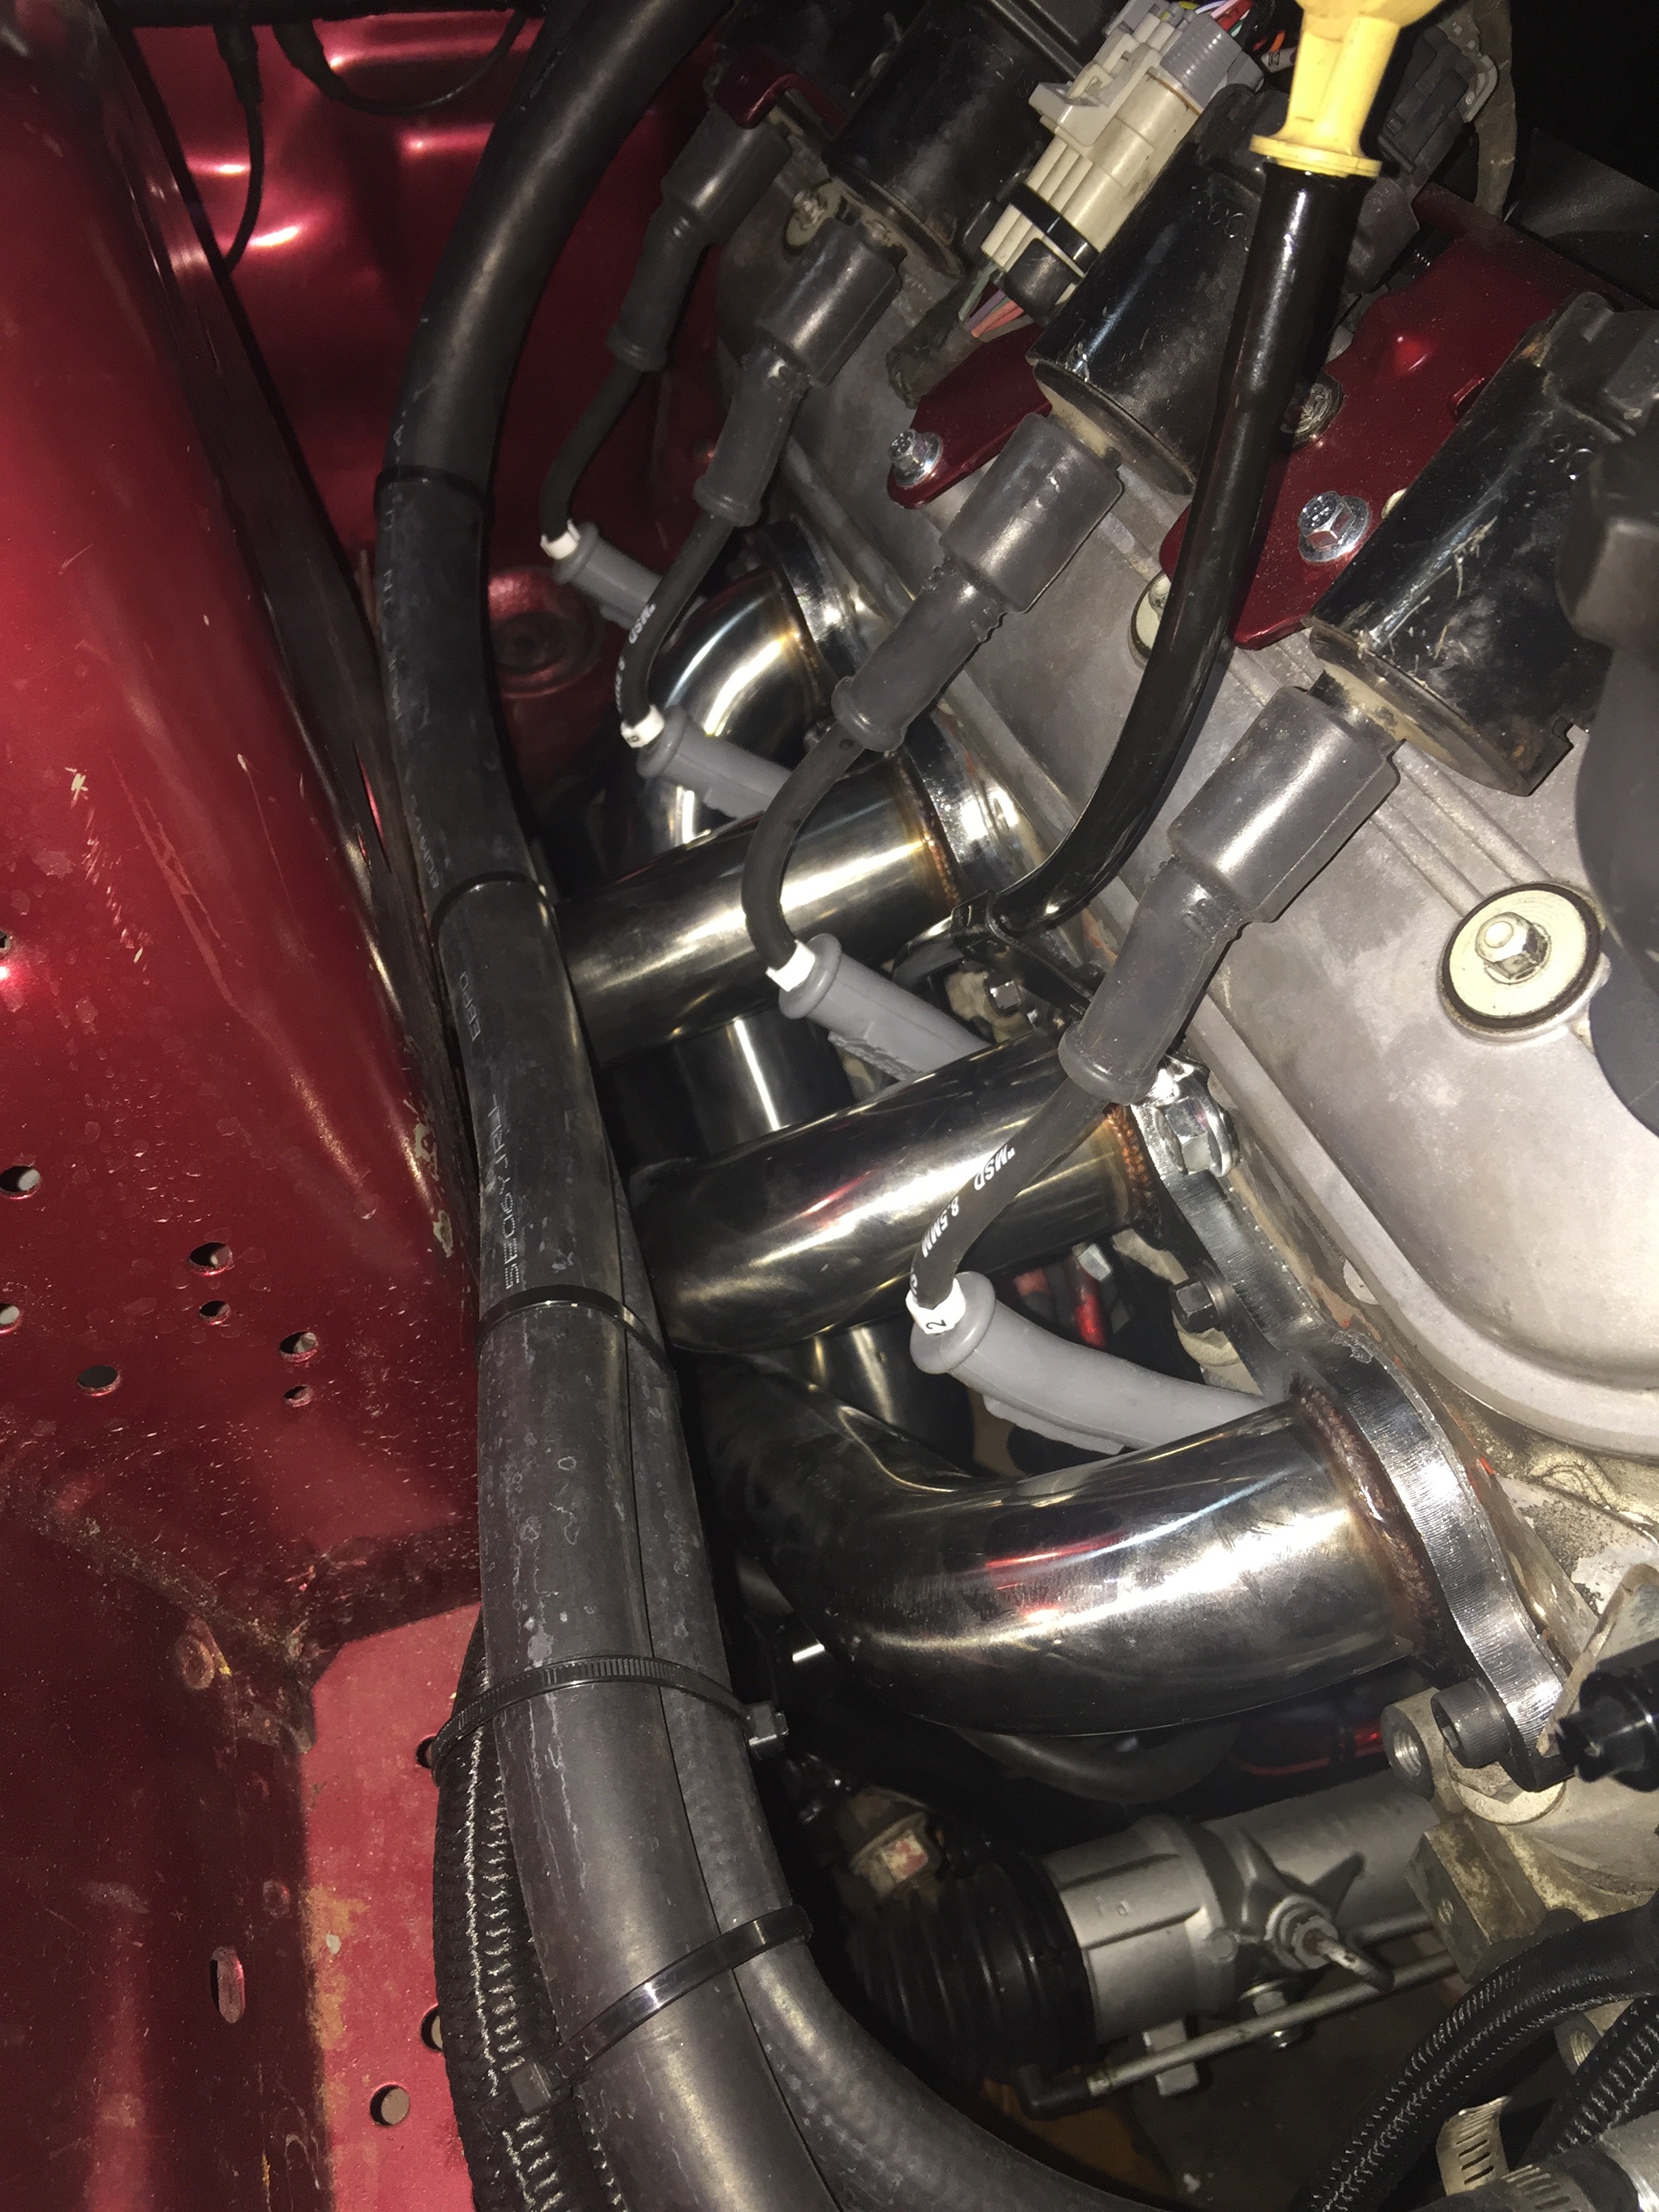
Well the clutch cable didnt last long lol. Its way too close to the header right by the bellhousing. I knew it was going to be an issue but decided to try it anyway because I already had the headers and had already had the v-bands put on. So I had wrapped the drivers side header down low and had also wrapped the clutch cable. Even with both of those wraps in place it melted through the wrap.

But I did get to drive it for a little bit before it went, and it felt REALLY good! Not sure if I'm going to try to mess with these headers anymore or just cut my losses, unload them, and order some full length headers. I really like these mid length headers, but they are just way to close to the clutch cable. I would need to move one of the tubes, and still not completely sure it would work.
They would work great with an automatic, just a PITA for a 5-speed with a clutch cable.
01-11-2017, 03:24 PM
#47
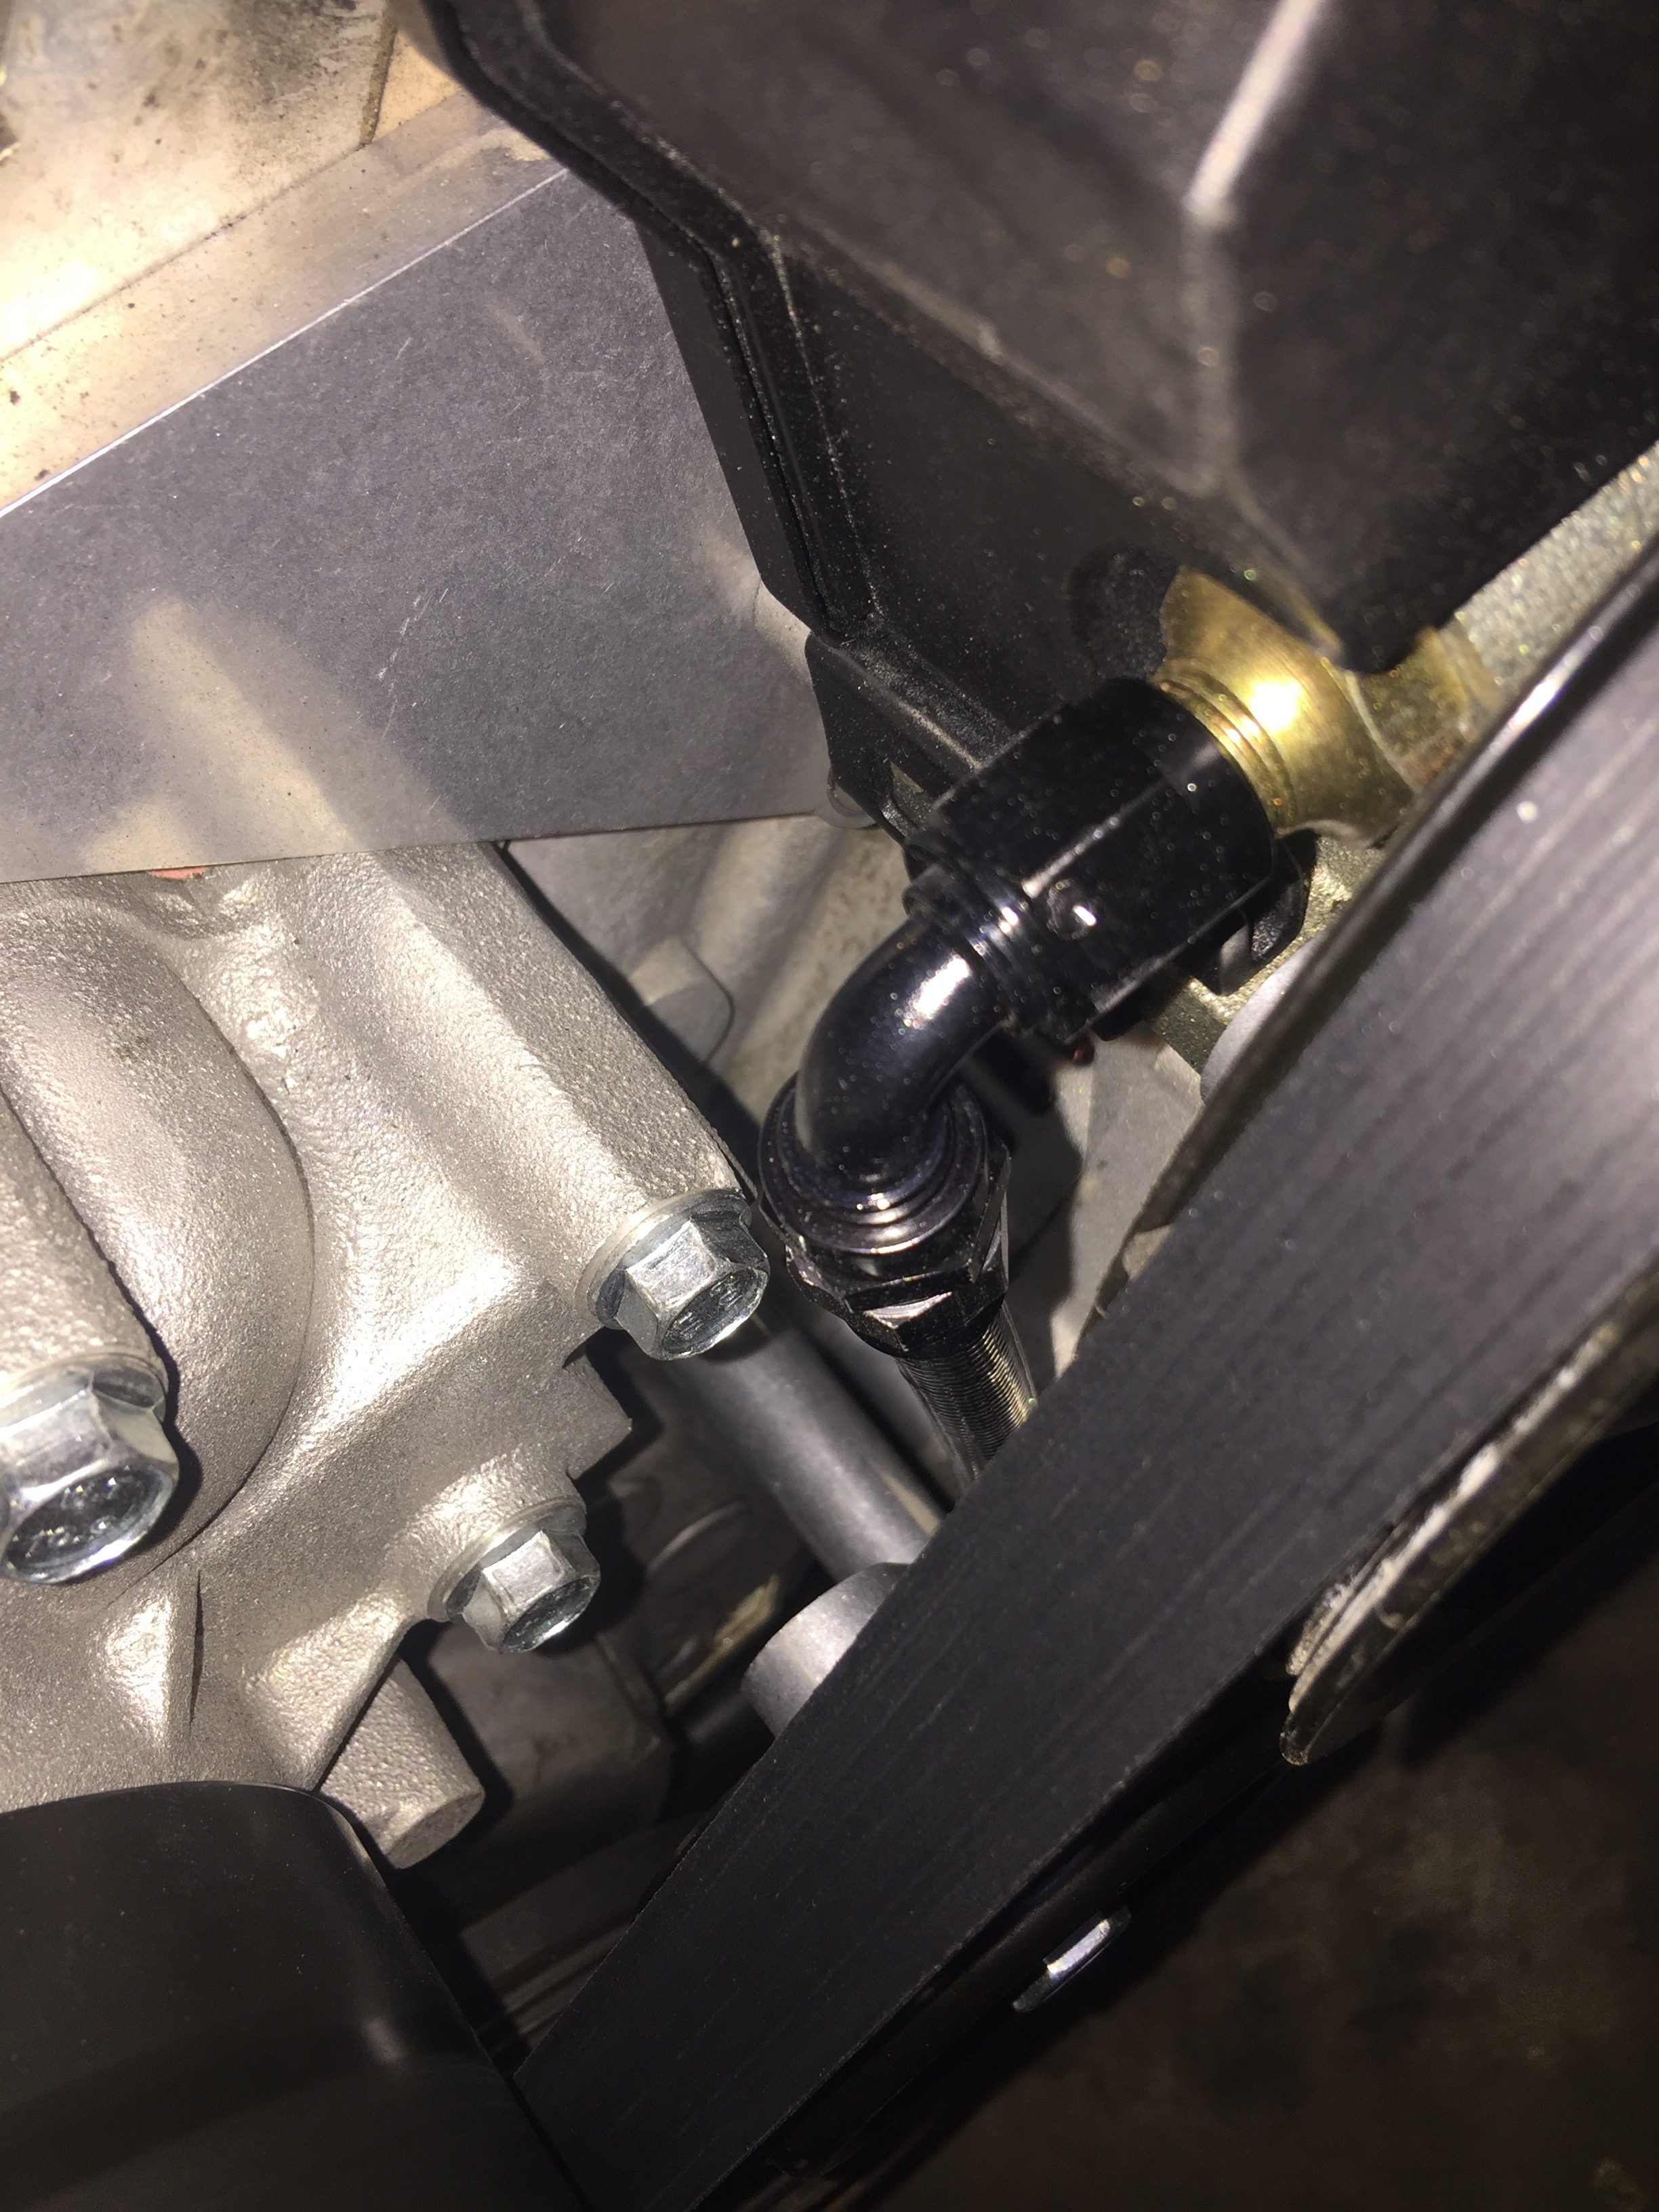
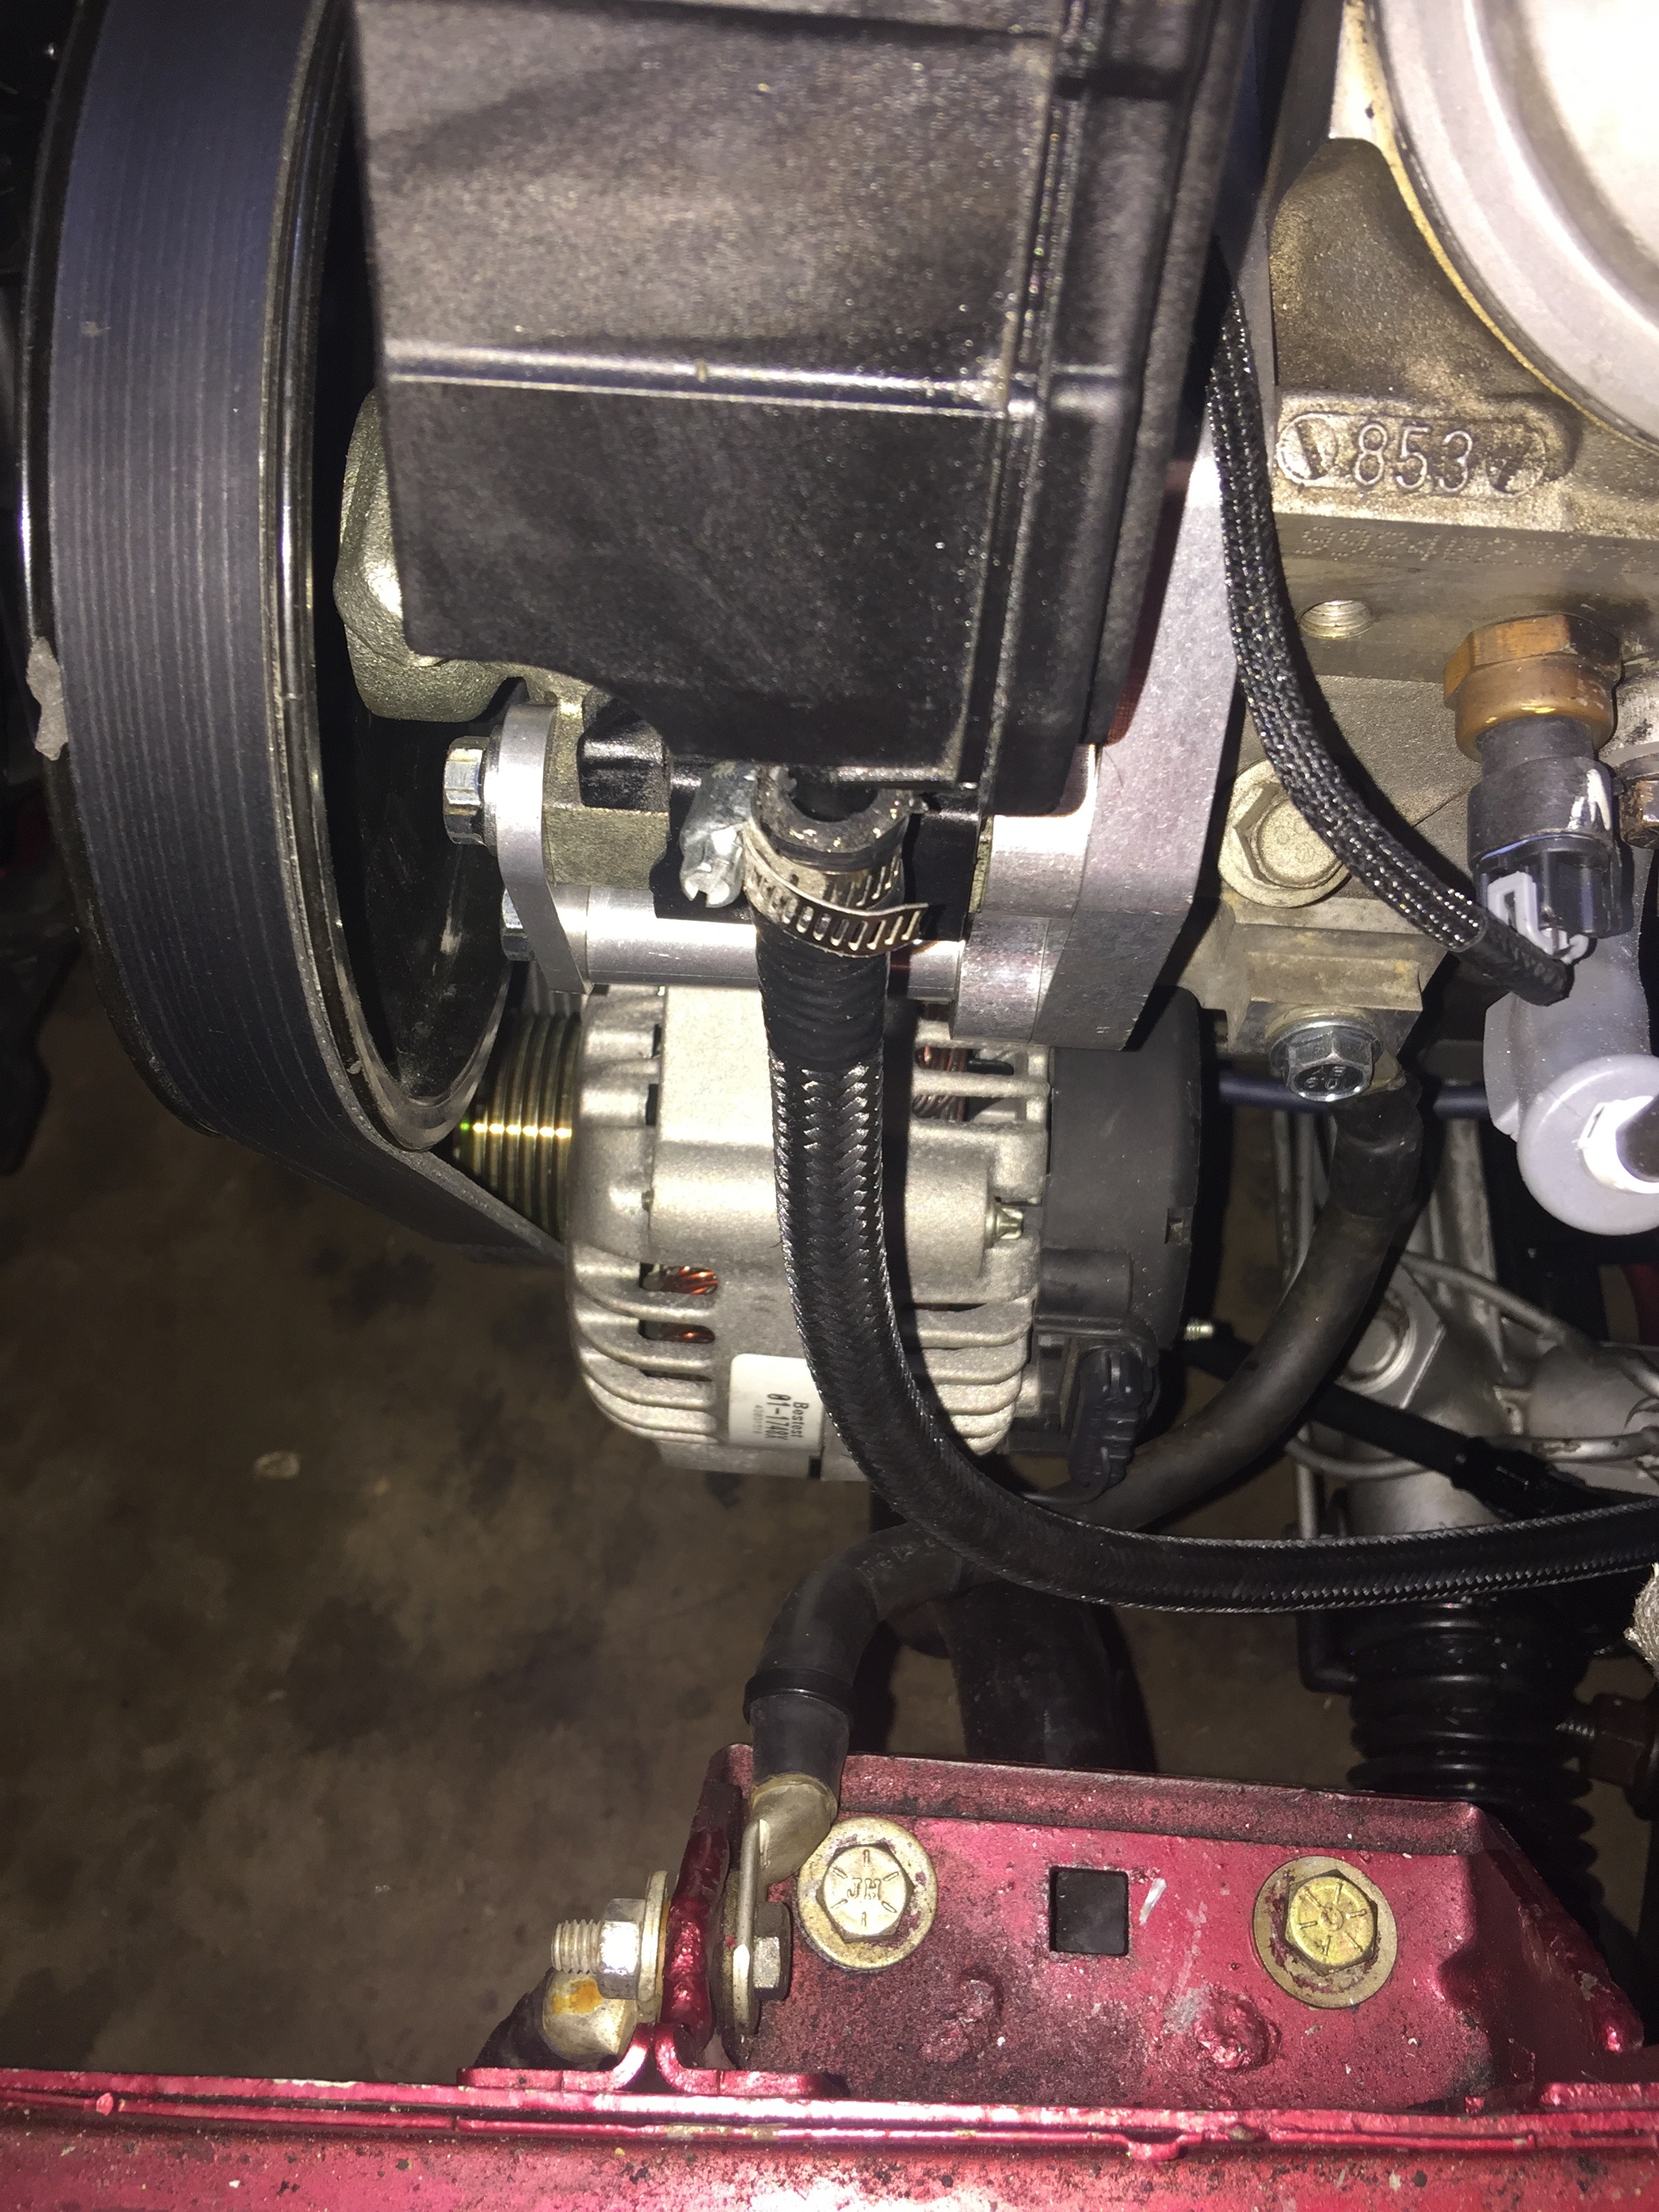
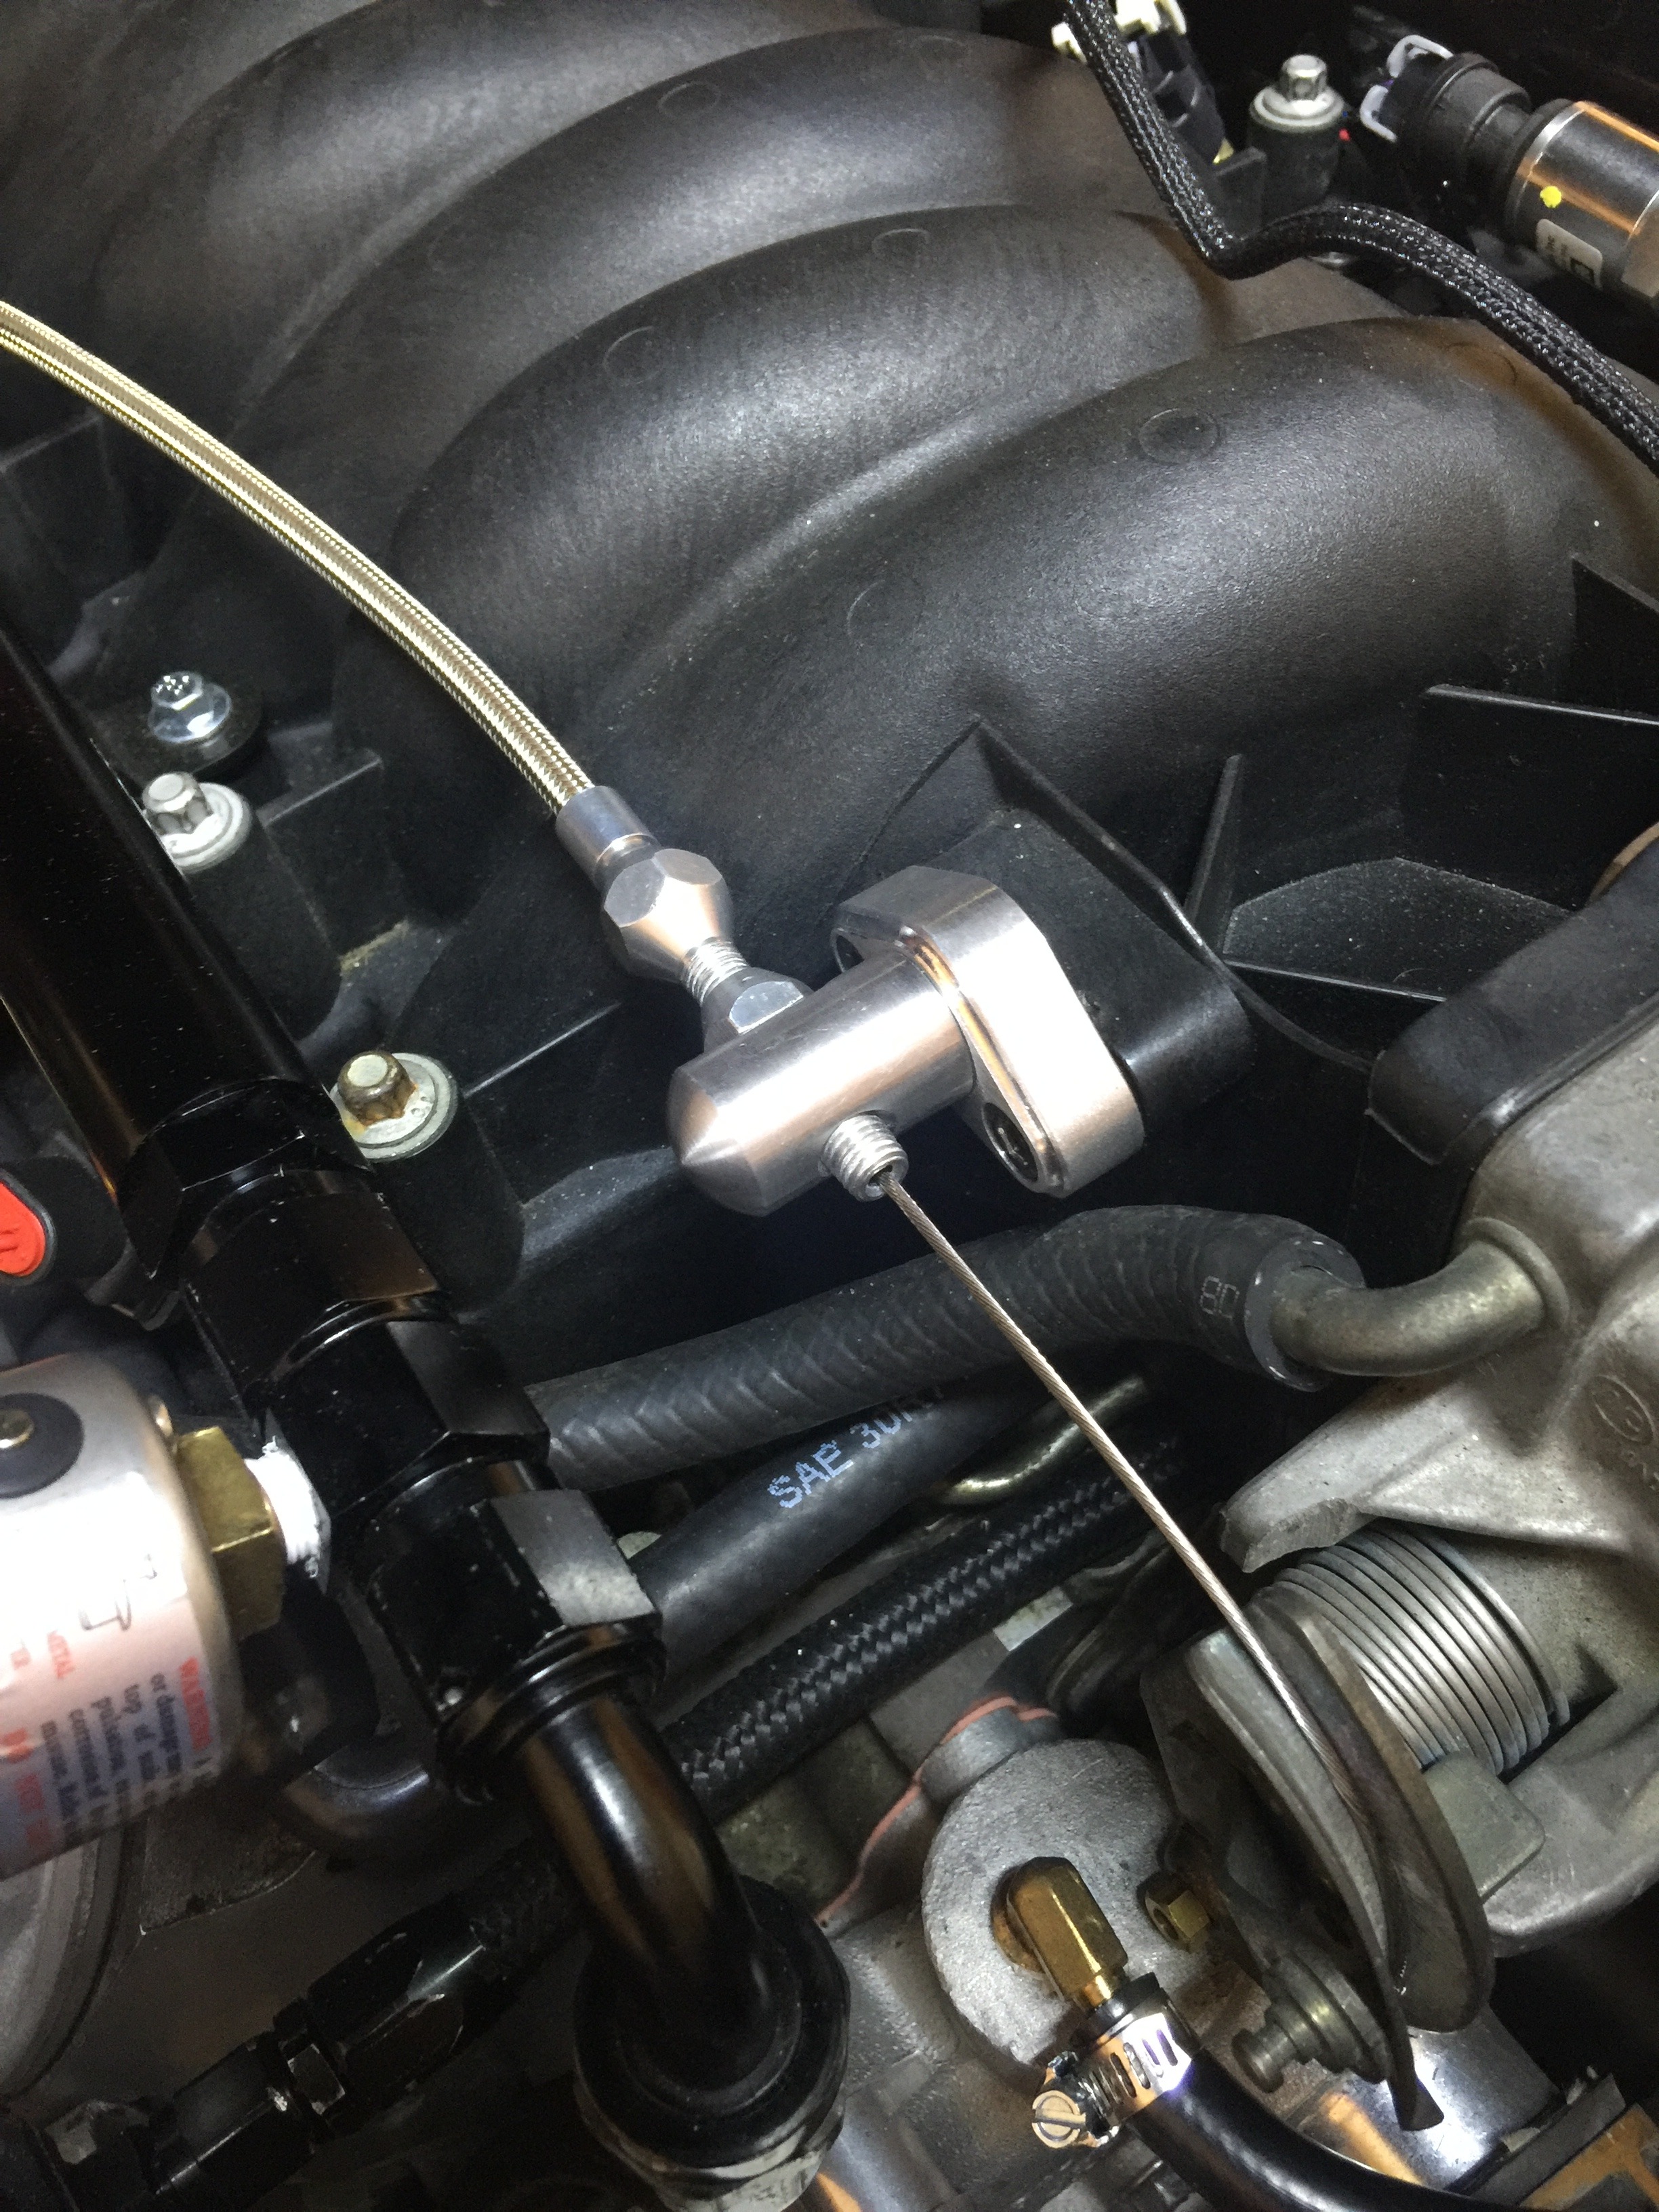
Finished up a few of the little things I had left to do. My parts came in for my power steering.
Maximum Motorsports rack/pinion fittings:
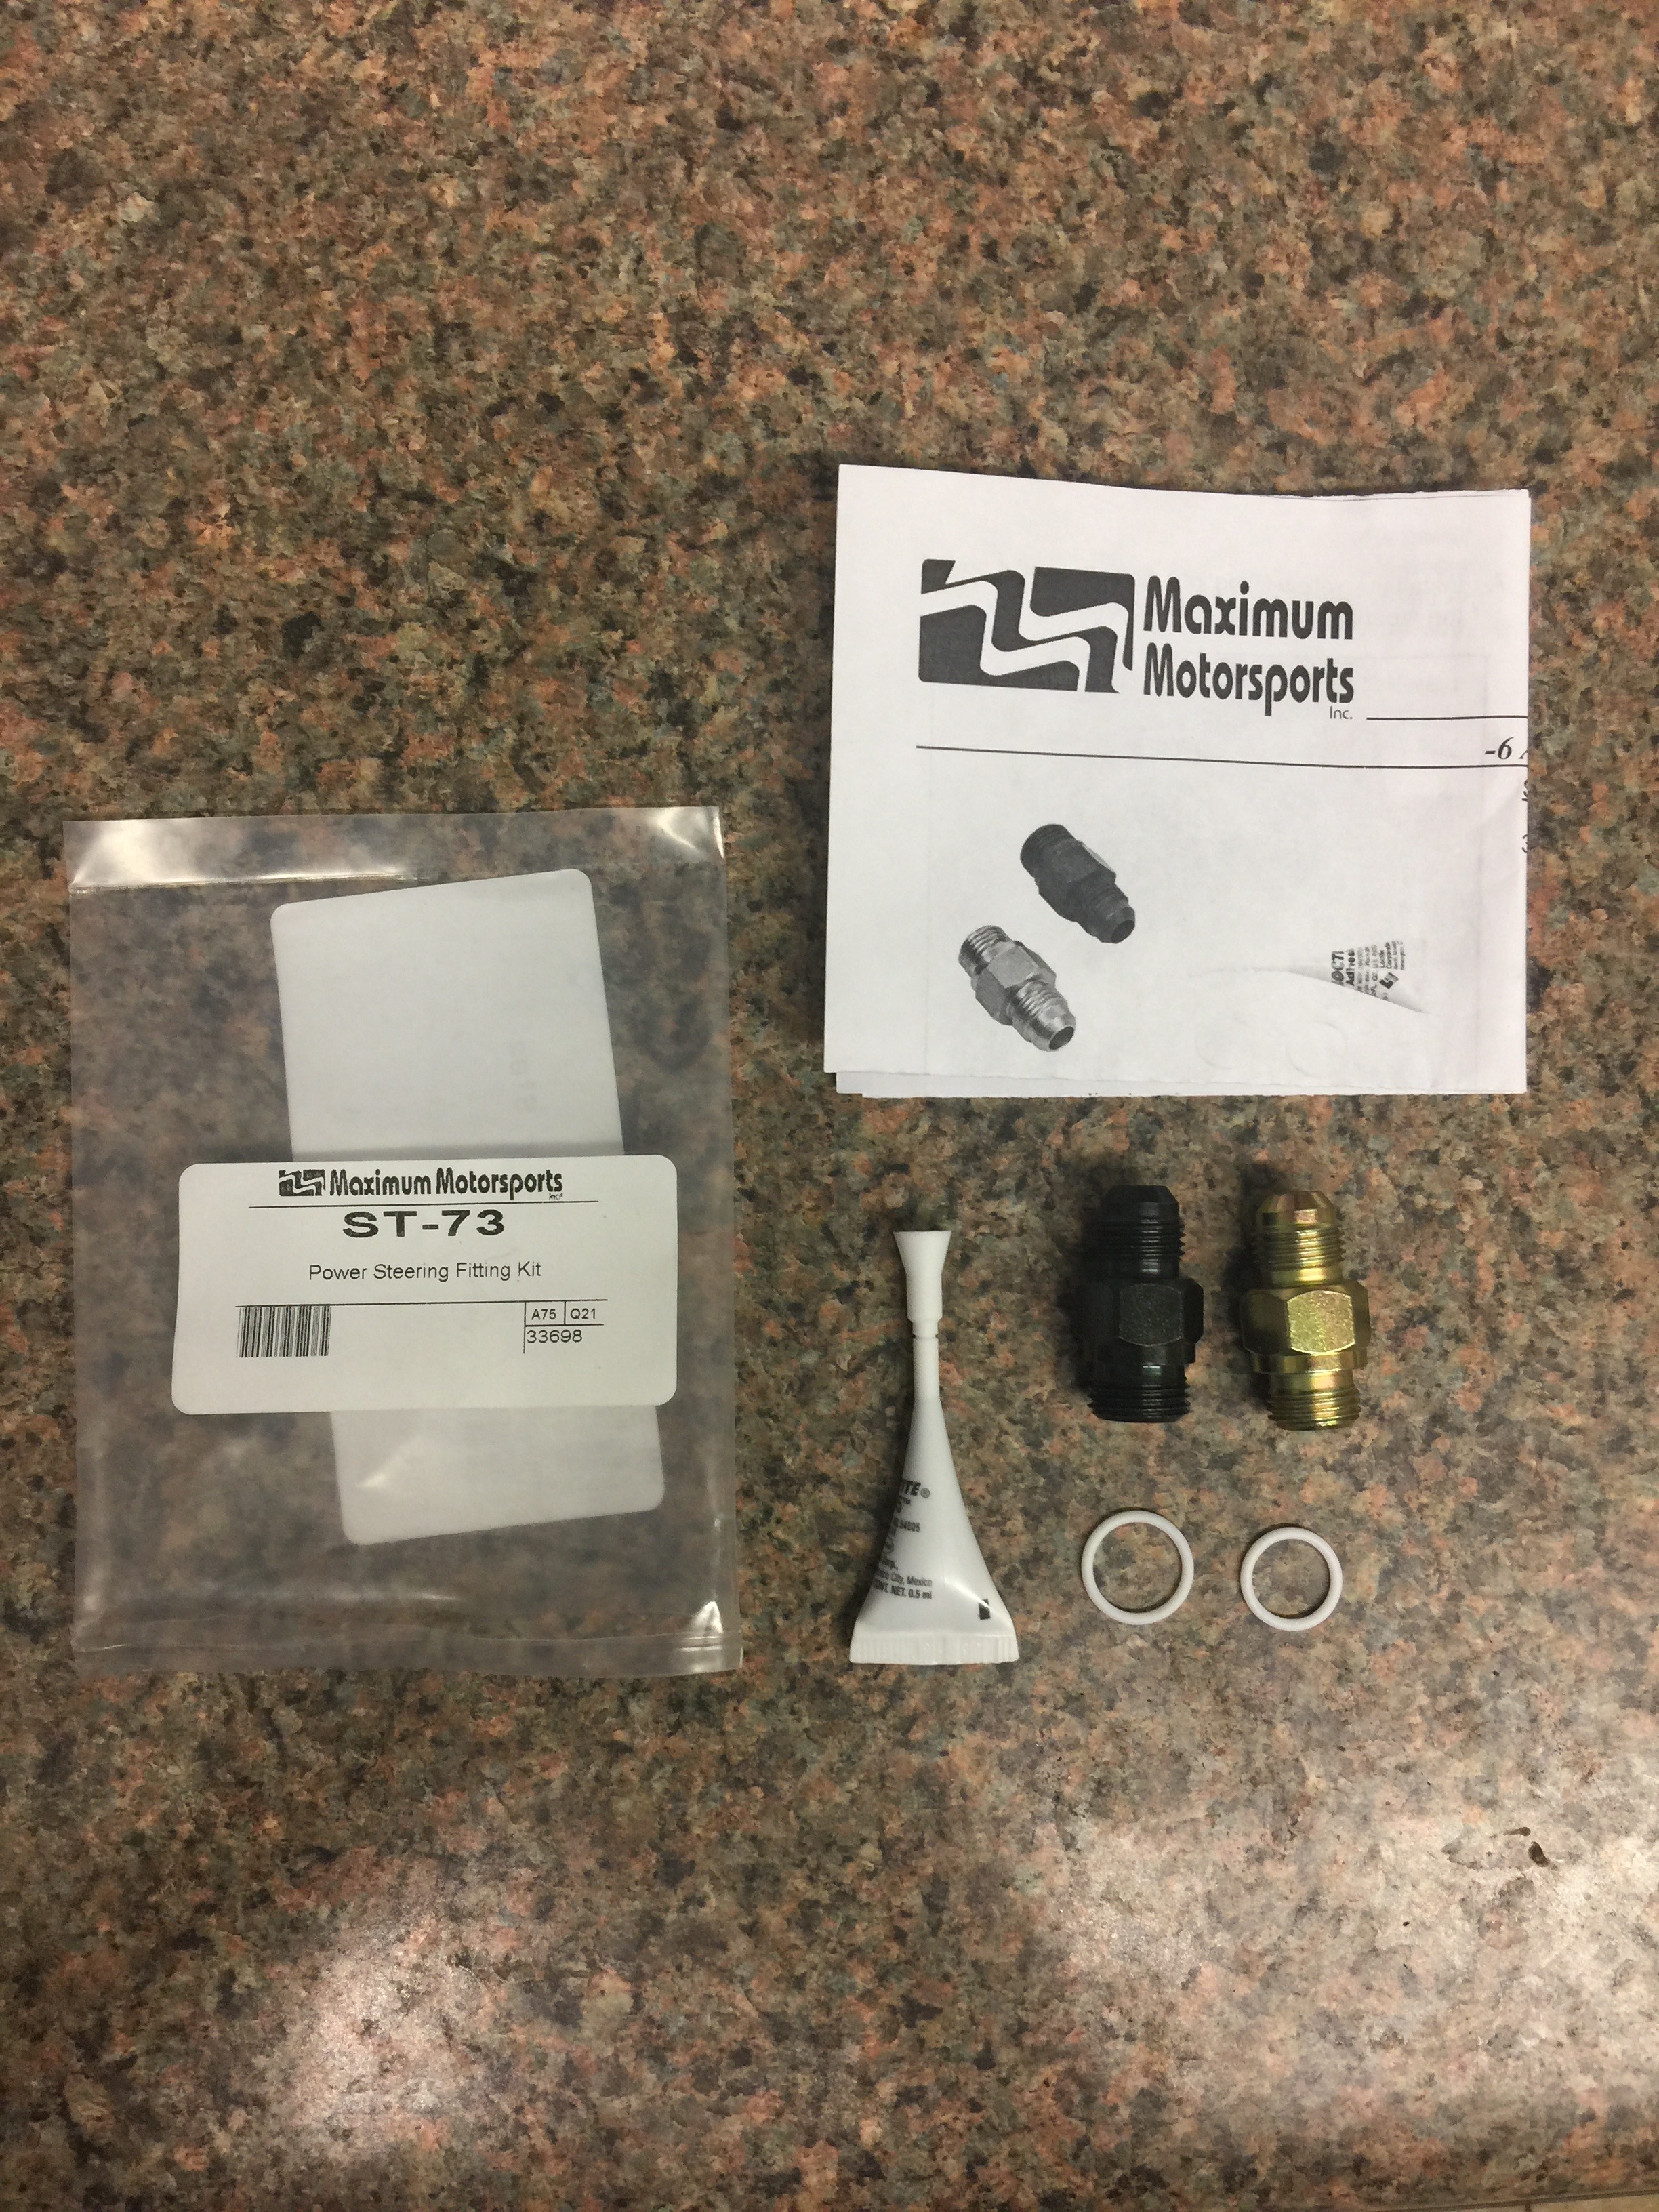
Rack/pinion fittings installed
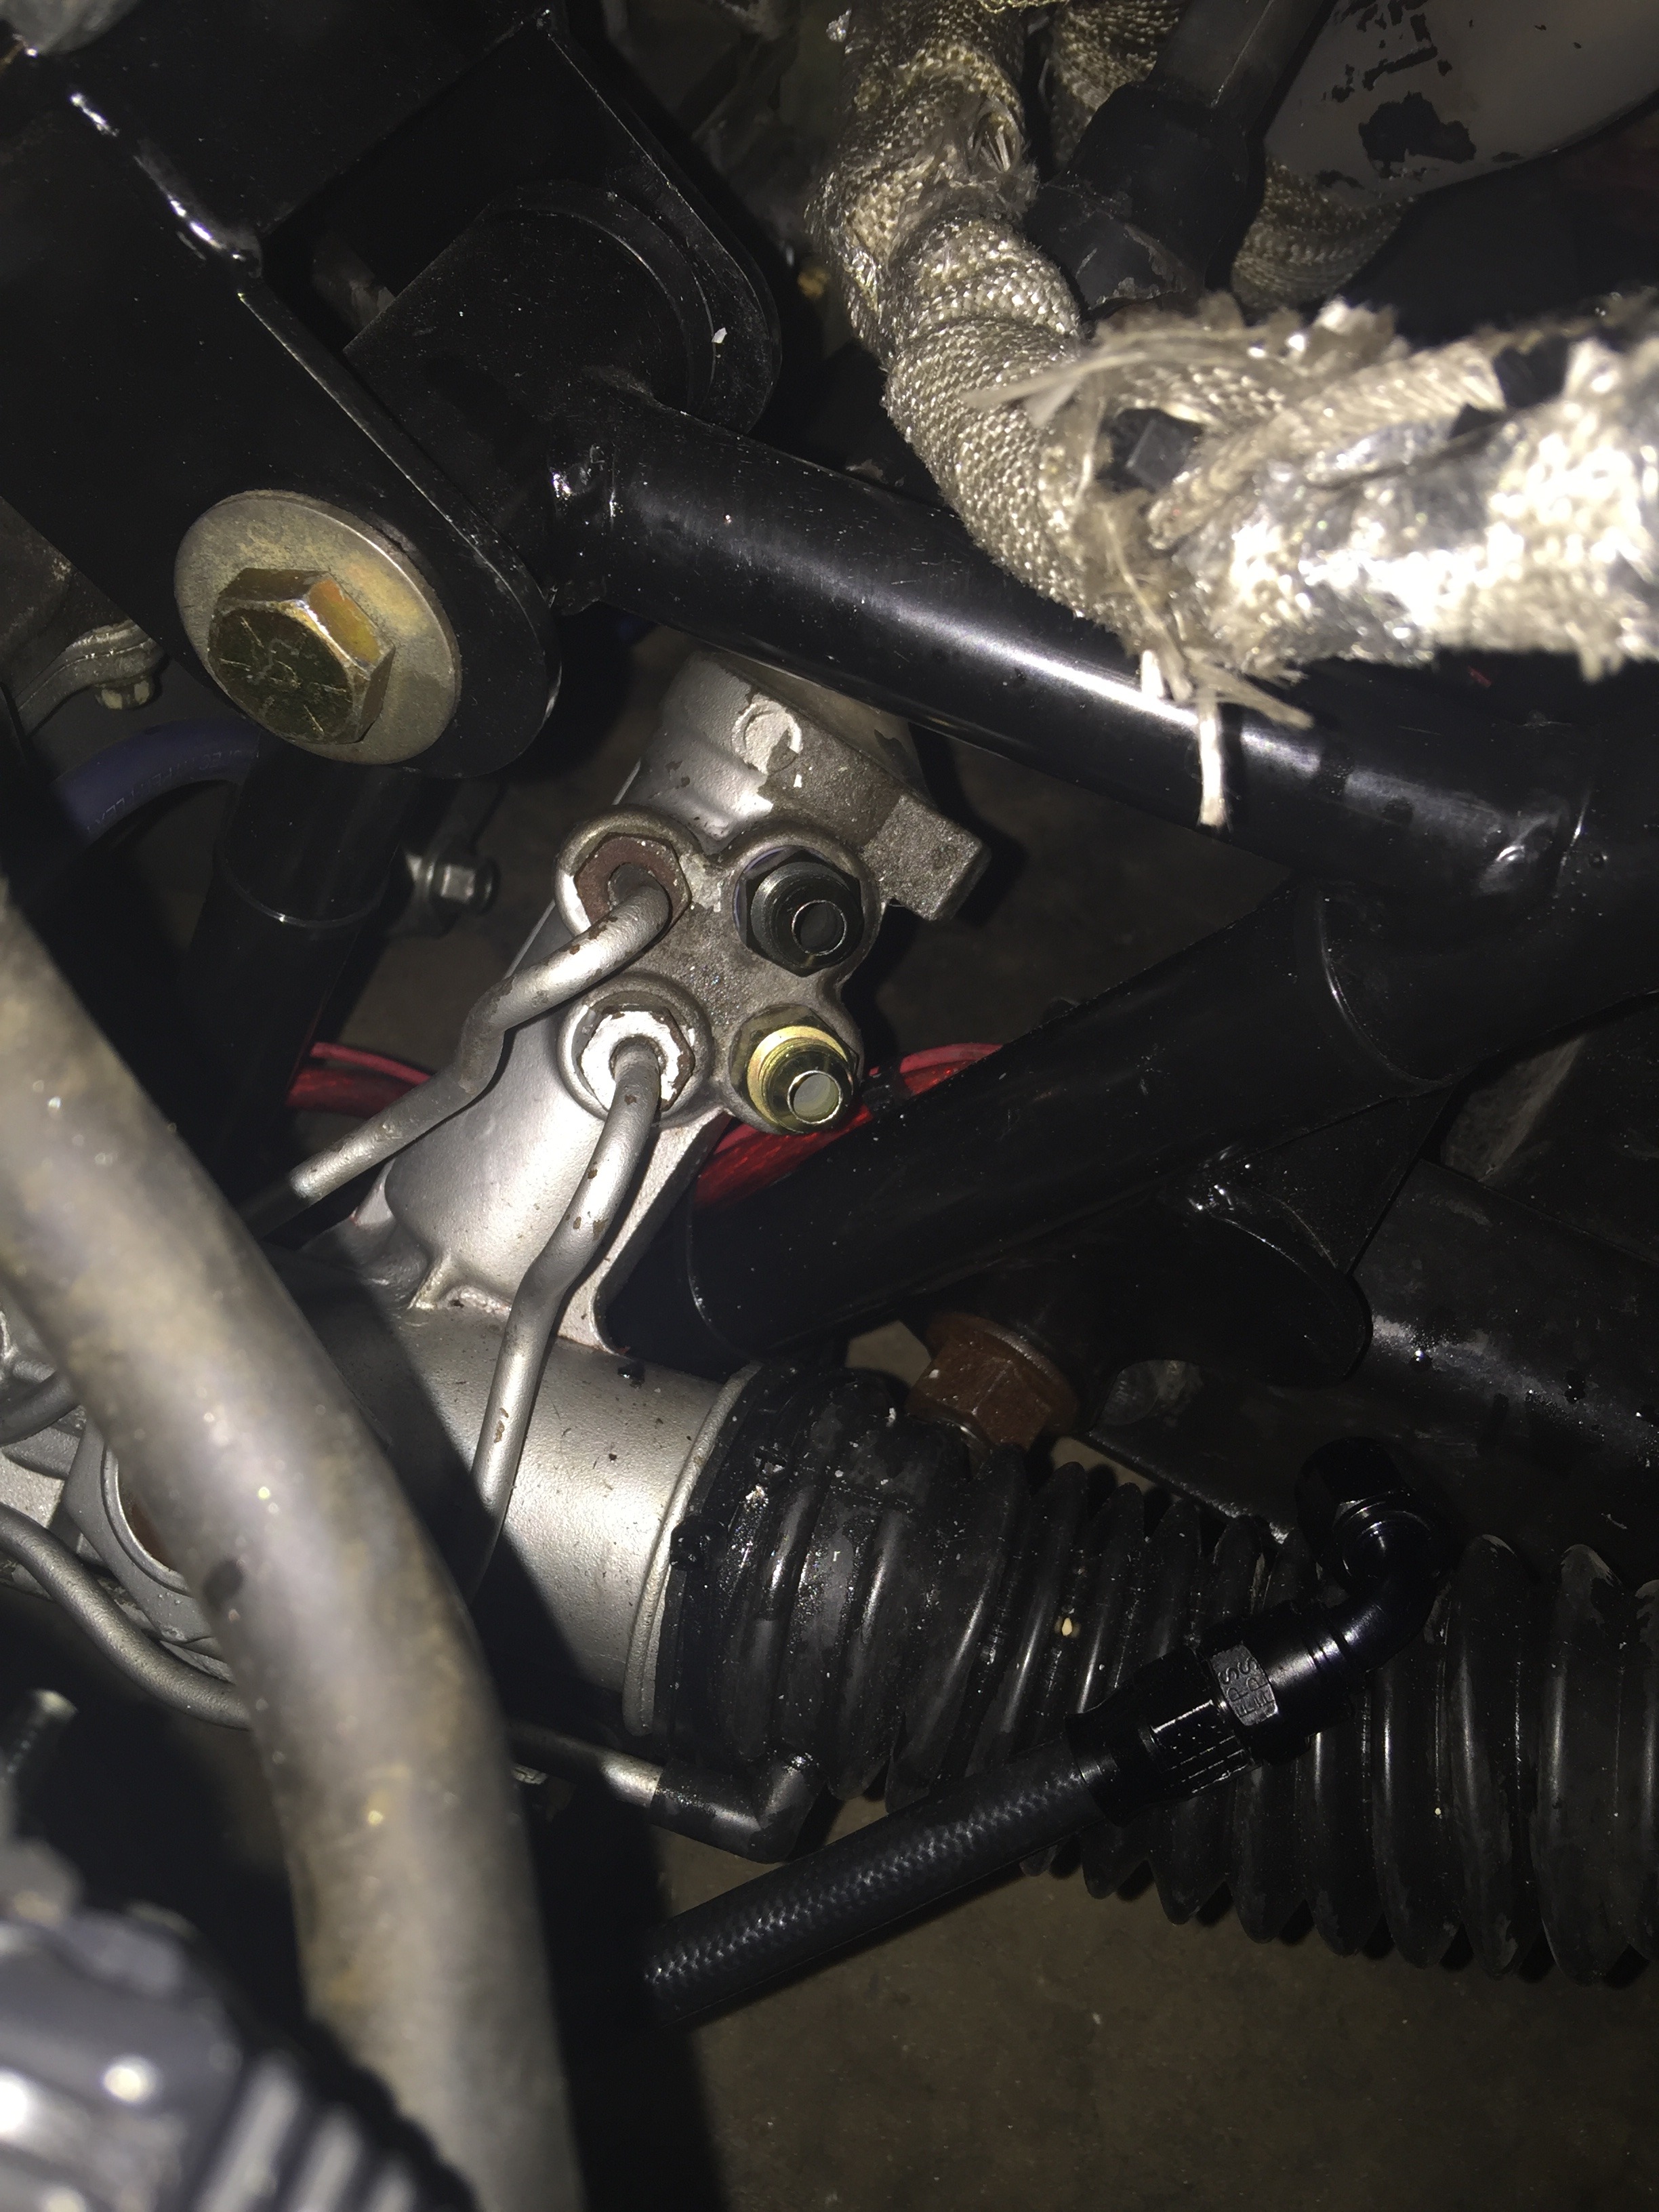
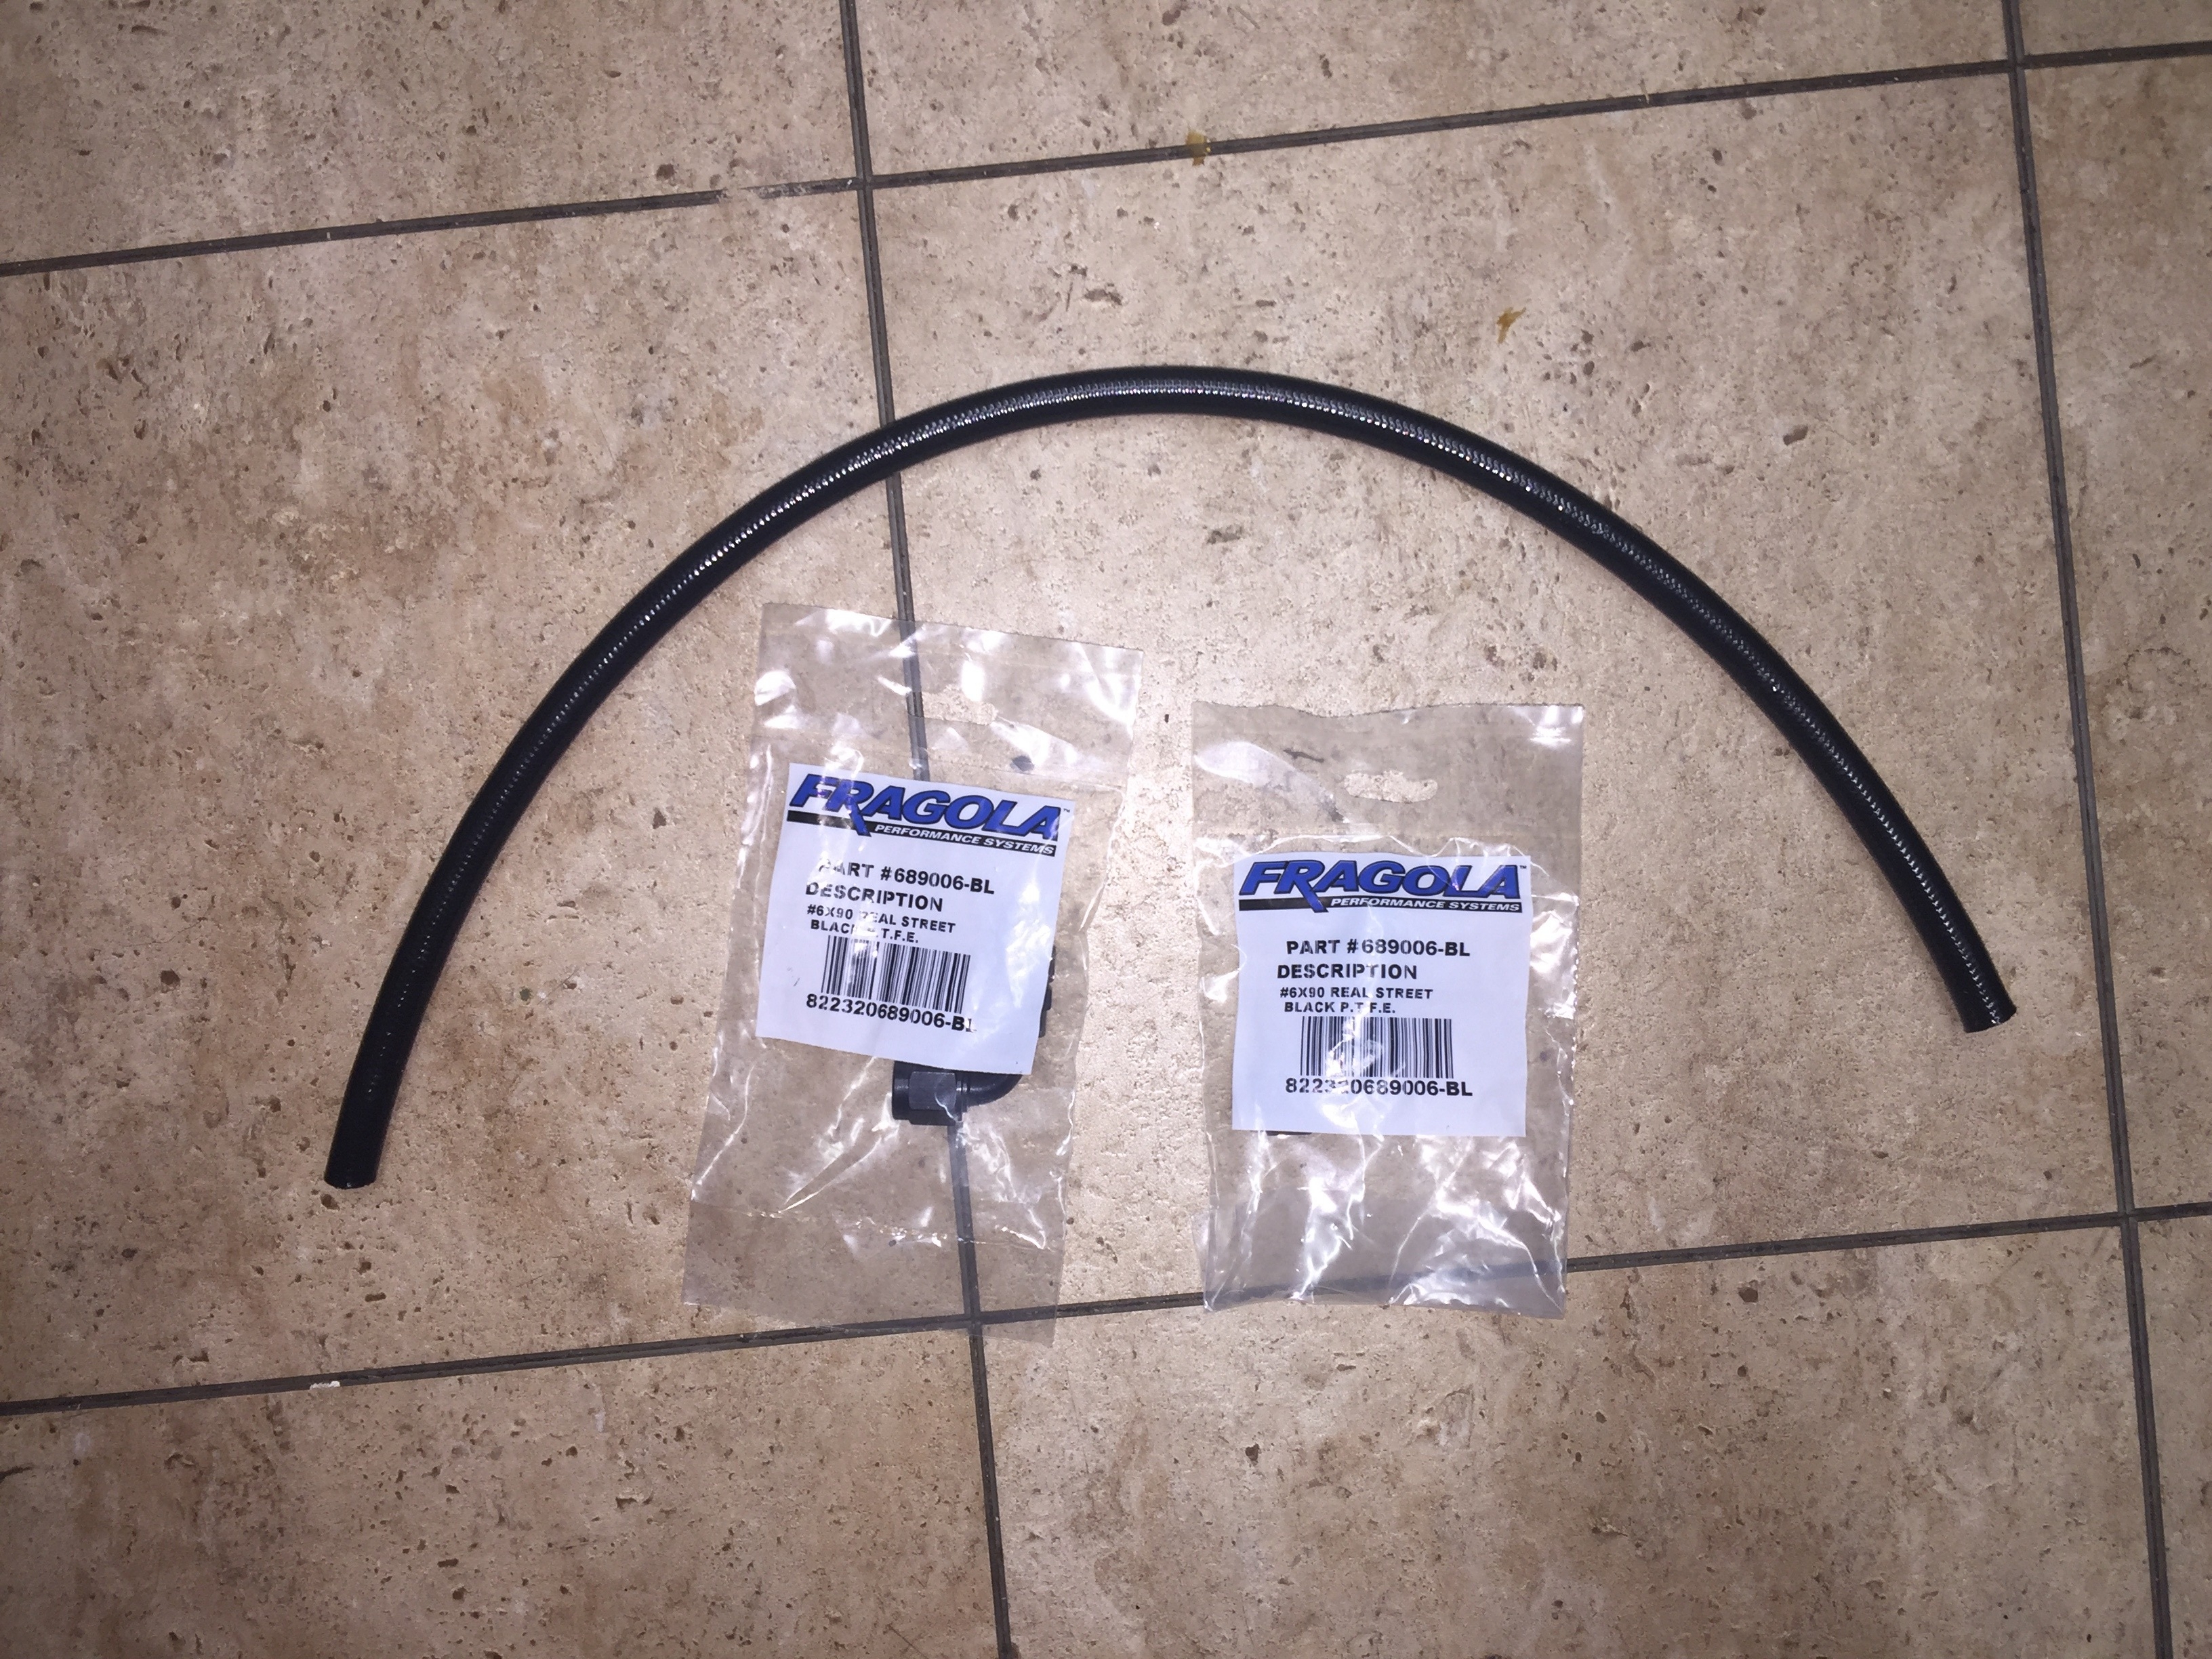
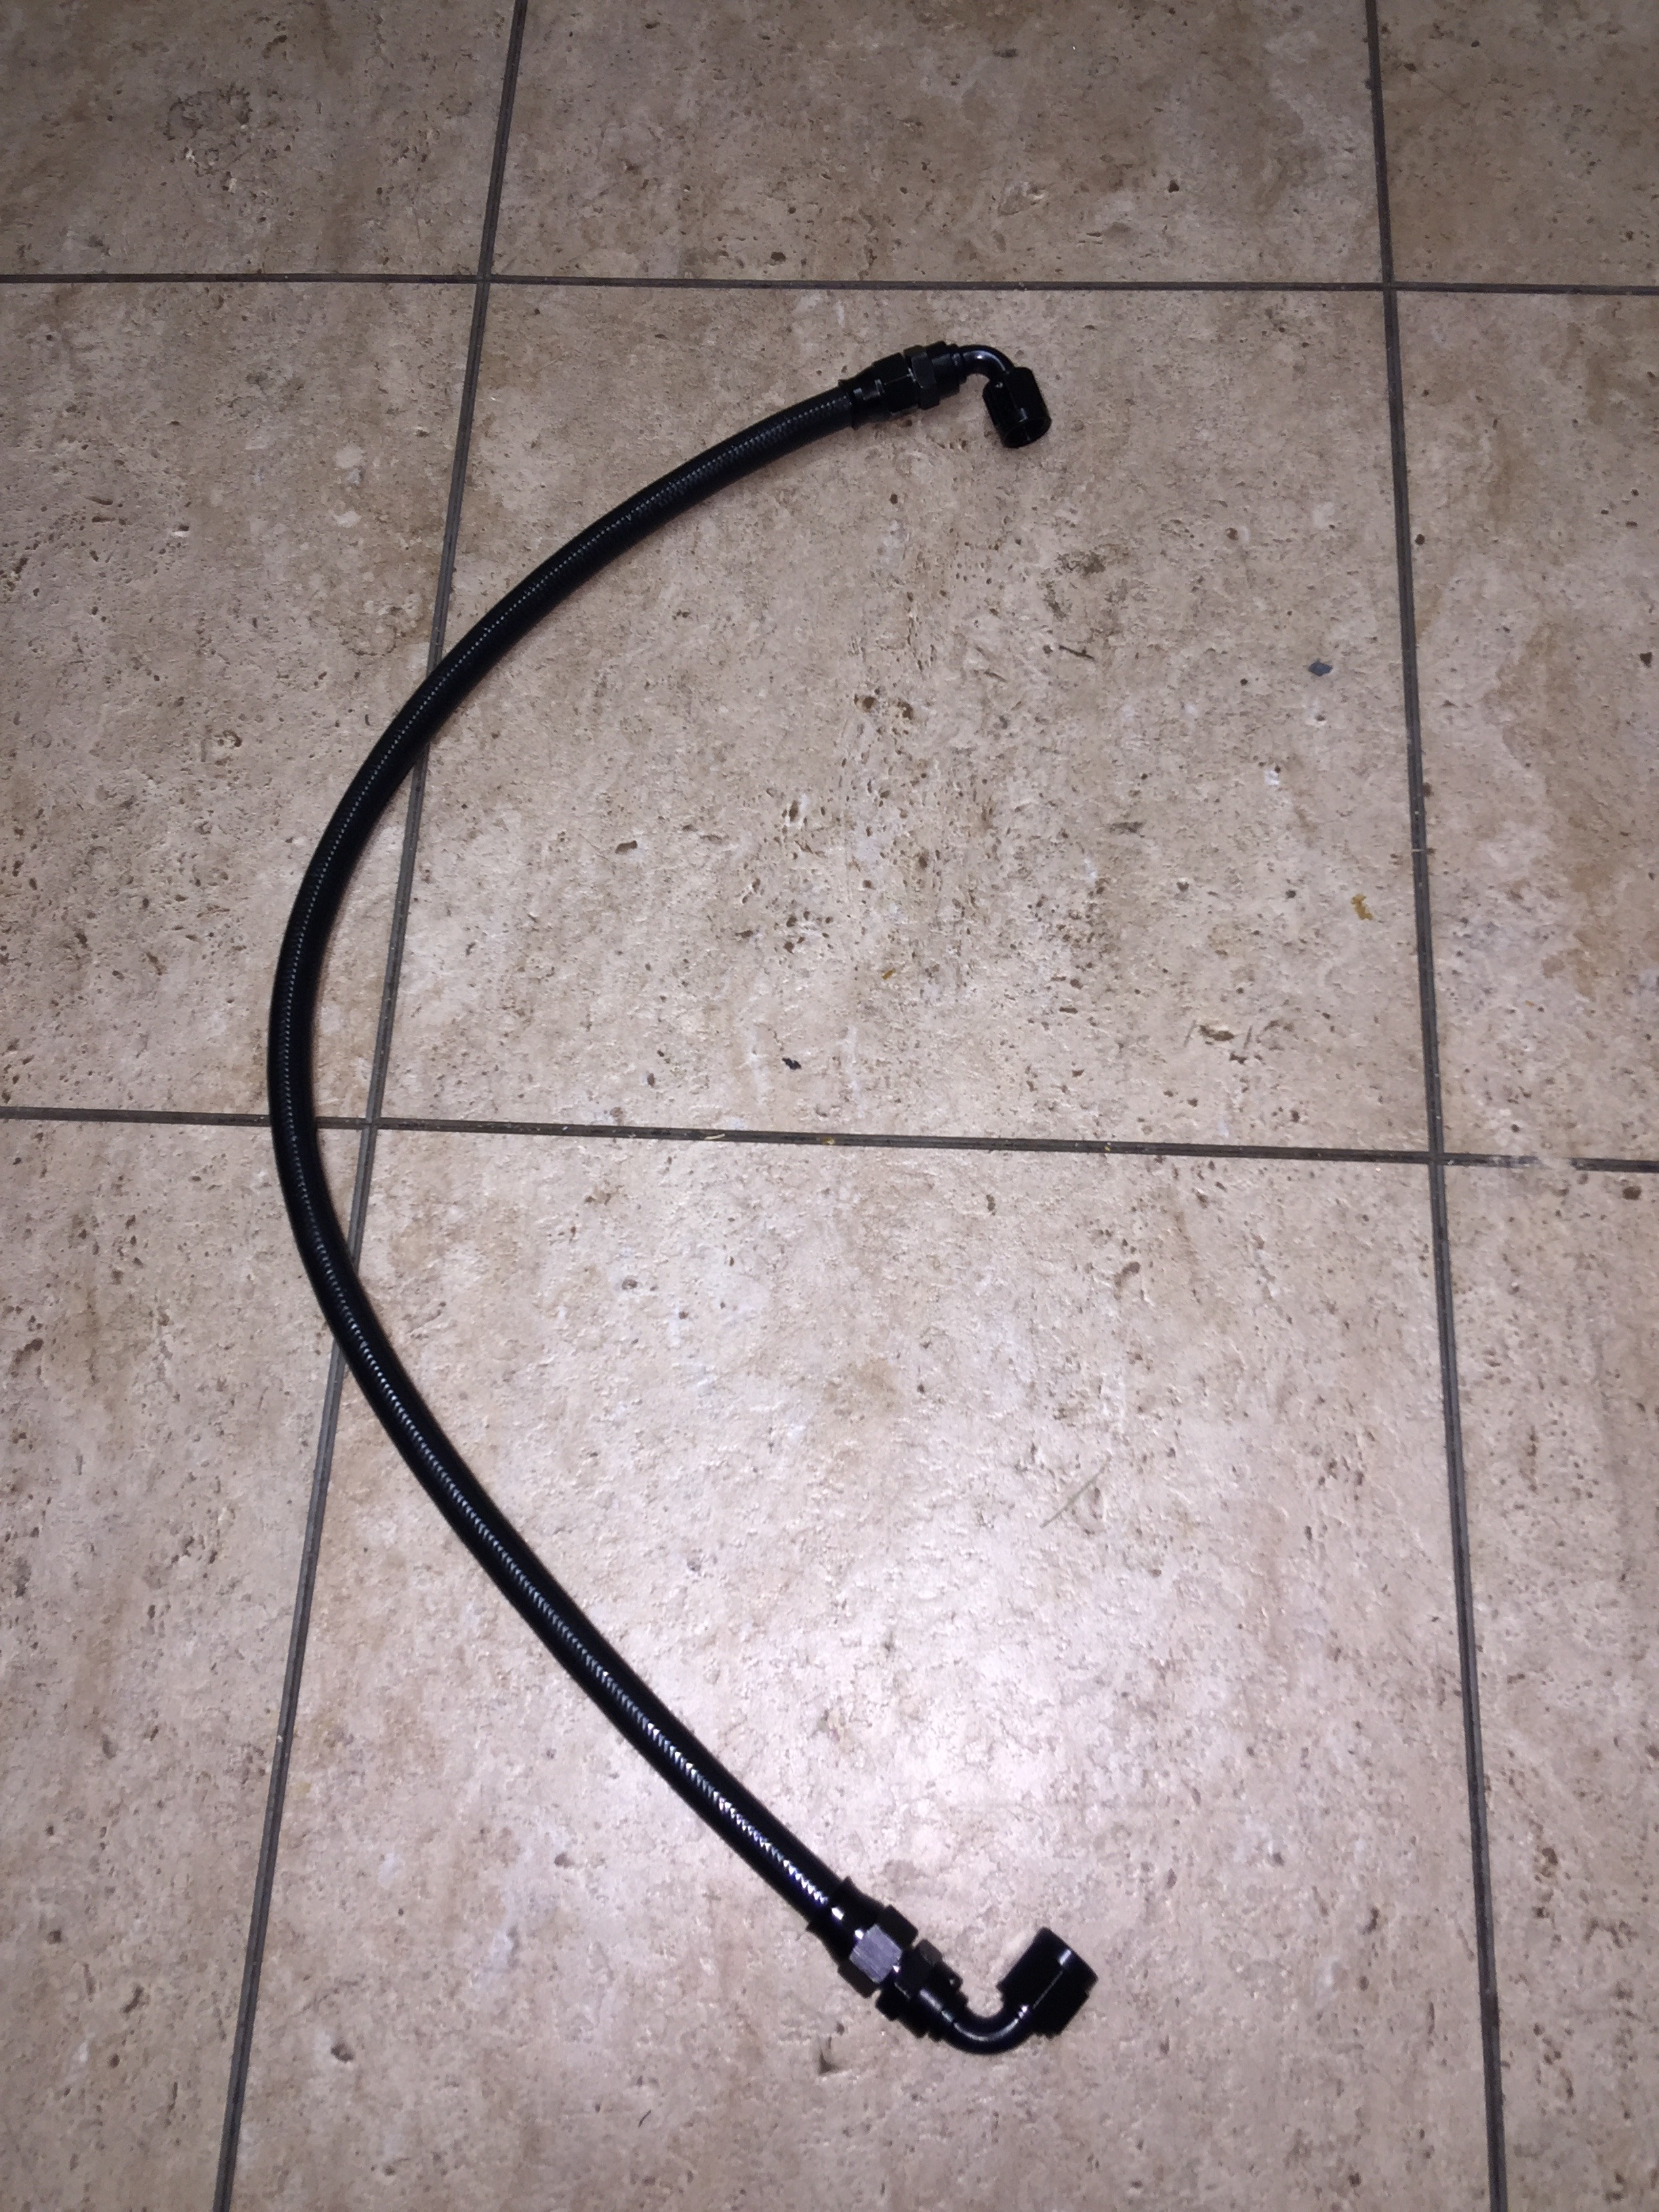
High pressure power steering line and fittings
Power steering pressure line finished
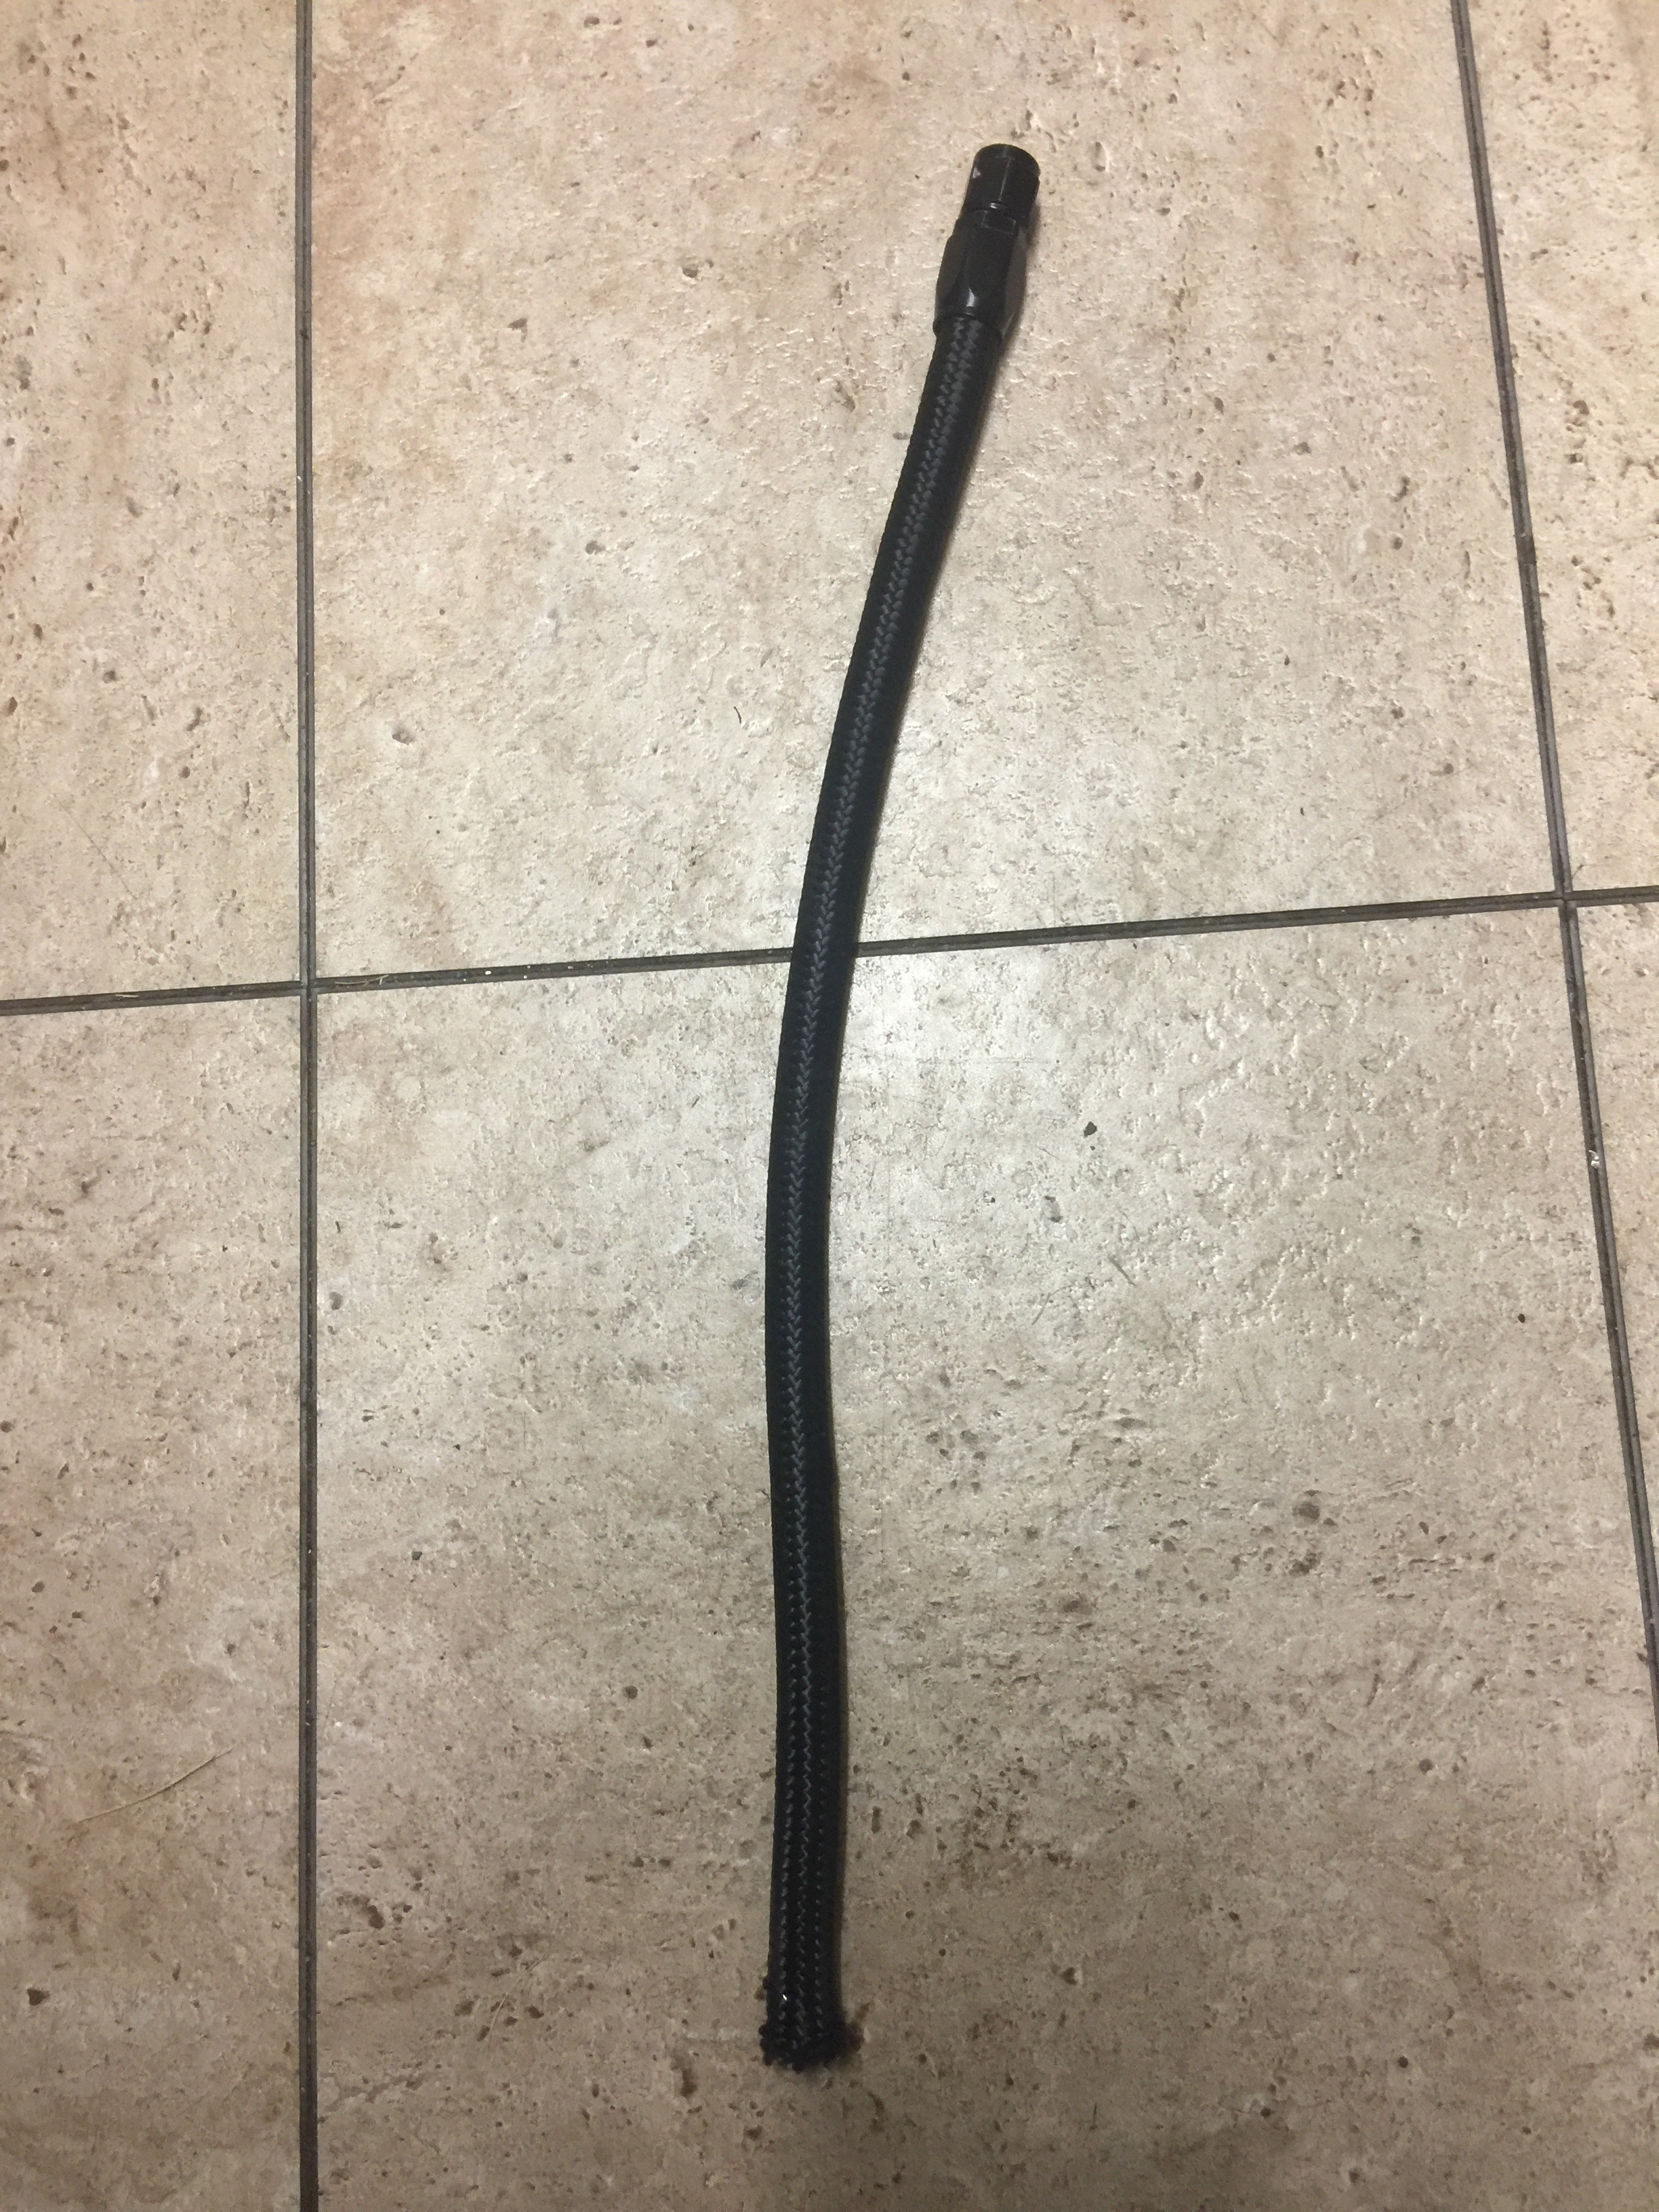
-6AN return line and fitting
Couple of pics of the lines installed
Filled it with some synthetic ATF and that finished up the power steering.
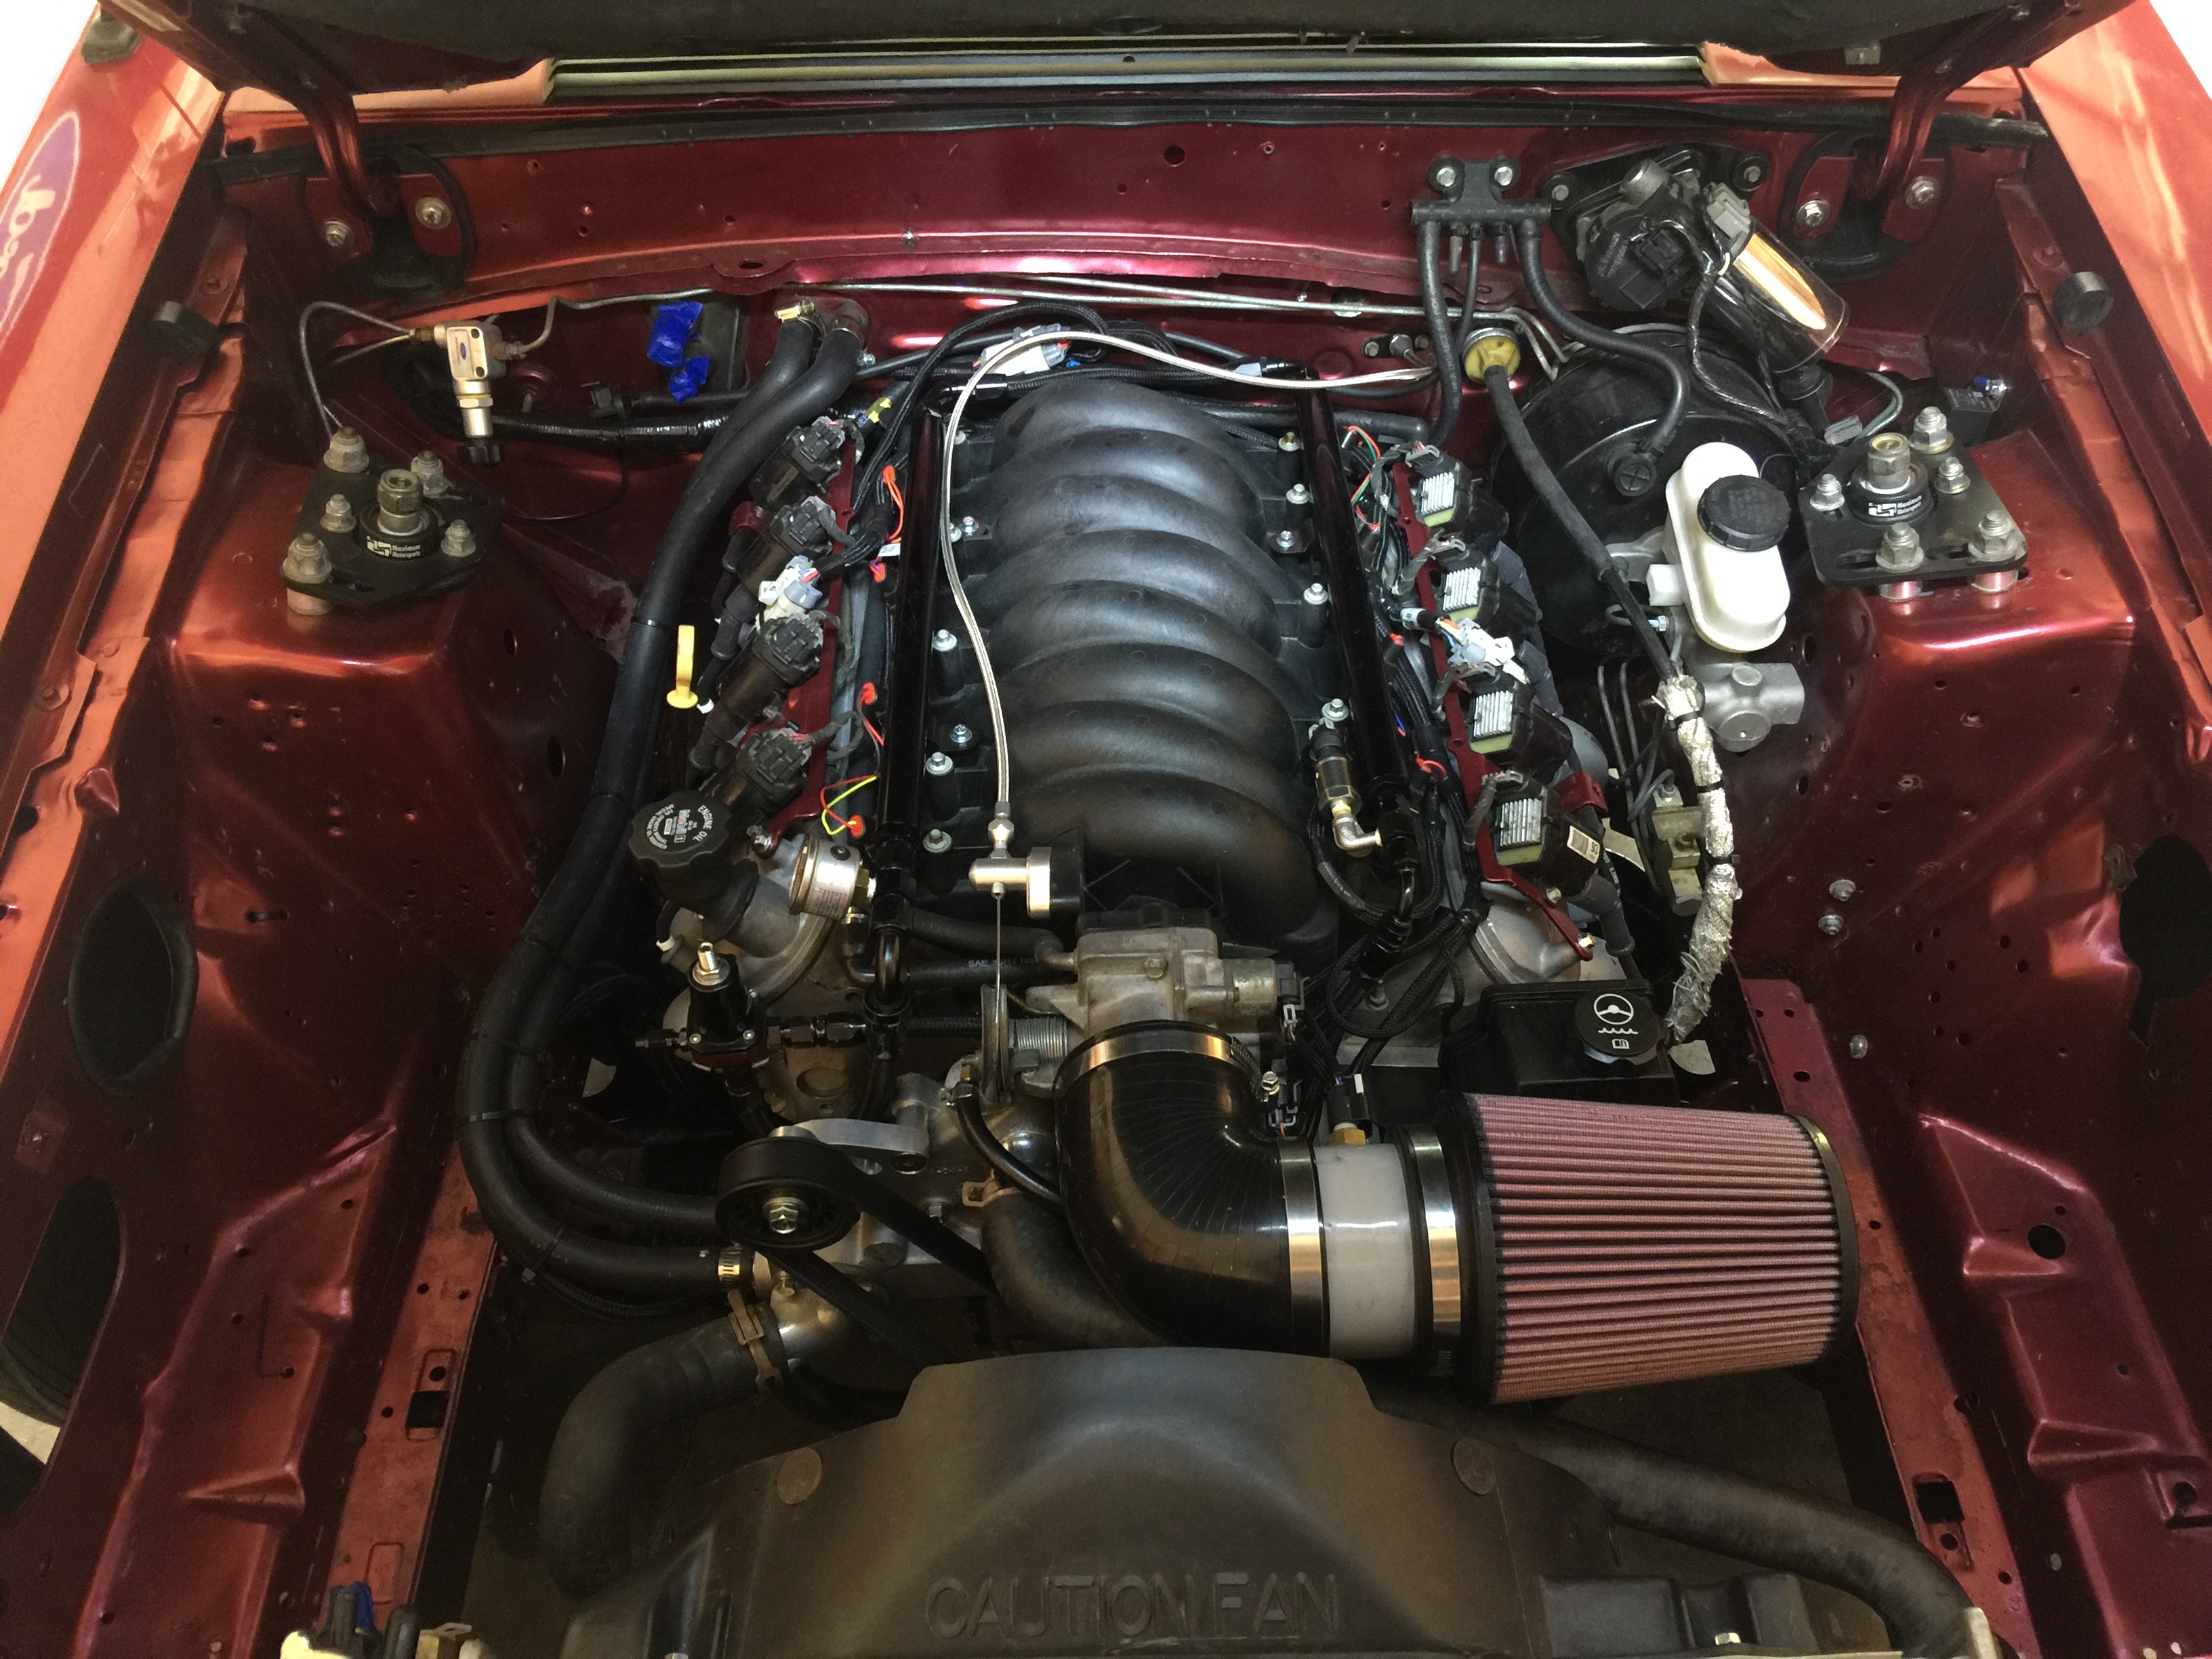
Also grabbed a 3" PCV union just to mock up my air filter. Think I'm happy with it there for now, so I'll get a piece of 3" aluminum tubing picked up and swap it in. I might end up making up another intake tube to place the filter over behind the headlight more.
Maximum Motorsports rack/pinion fittings:
Rack/pinion fittings installed
High pressure power steering line and fittings
Power steering pressure line finished
-6AN return line and fitting
Couple of pics of the lines installed
Filled it with some synthetic ATF and that finished up the power steering.
Also grabbed a 3" PCV union just to mock up my air filter. Think I'm happy with it there for now, so I'll get a piece of 3" aluminum tubing picked up and swap it in. I might end up making up another intake tube to place the filter over behind the headlight more.
Last edited by TxFireman1972; 01-11-2017 at 03:35 PM.
 01-22-2017, 07:23 PM
#50
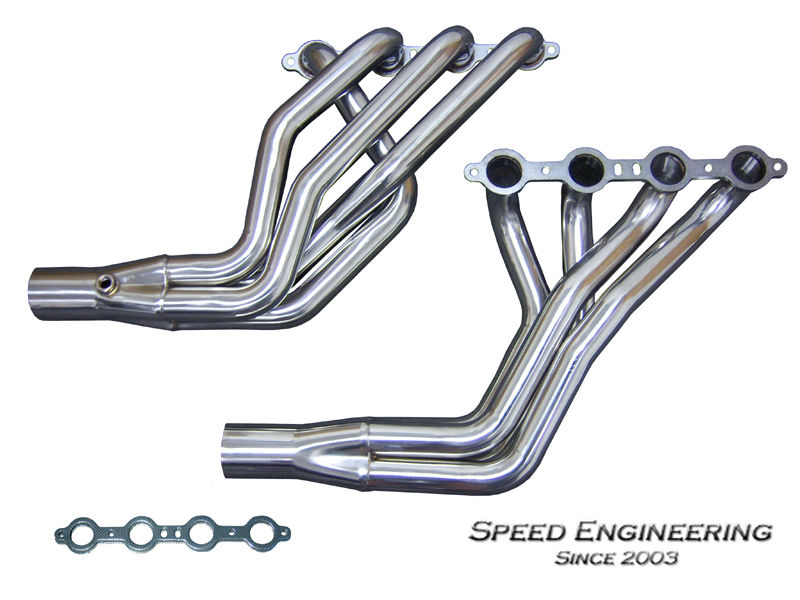
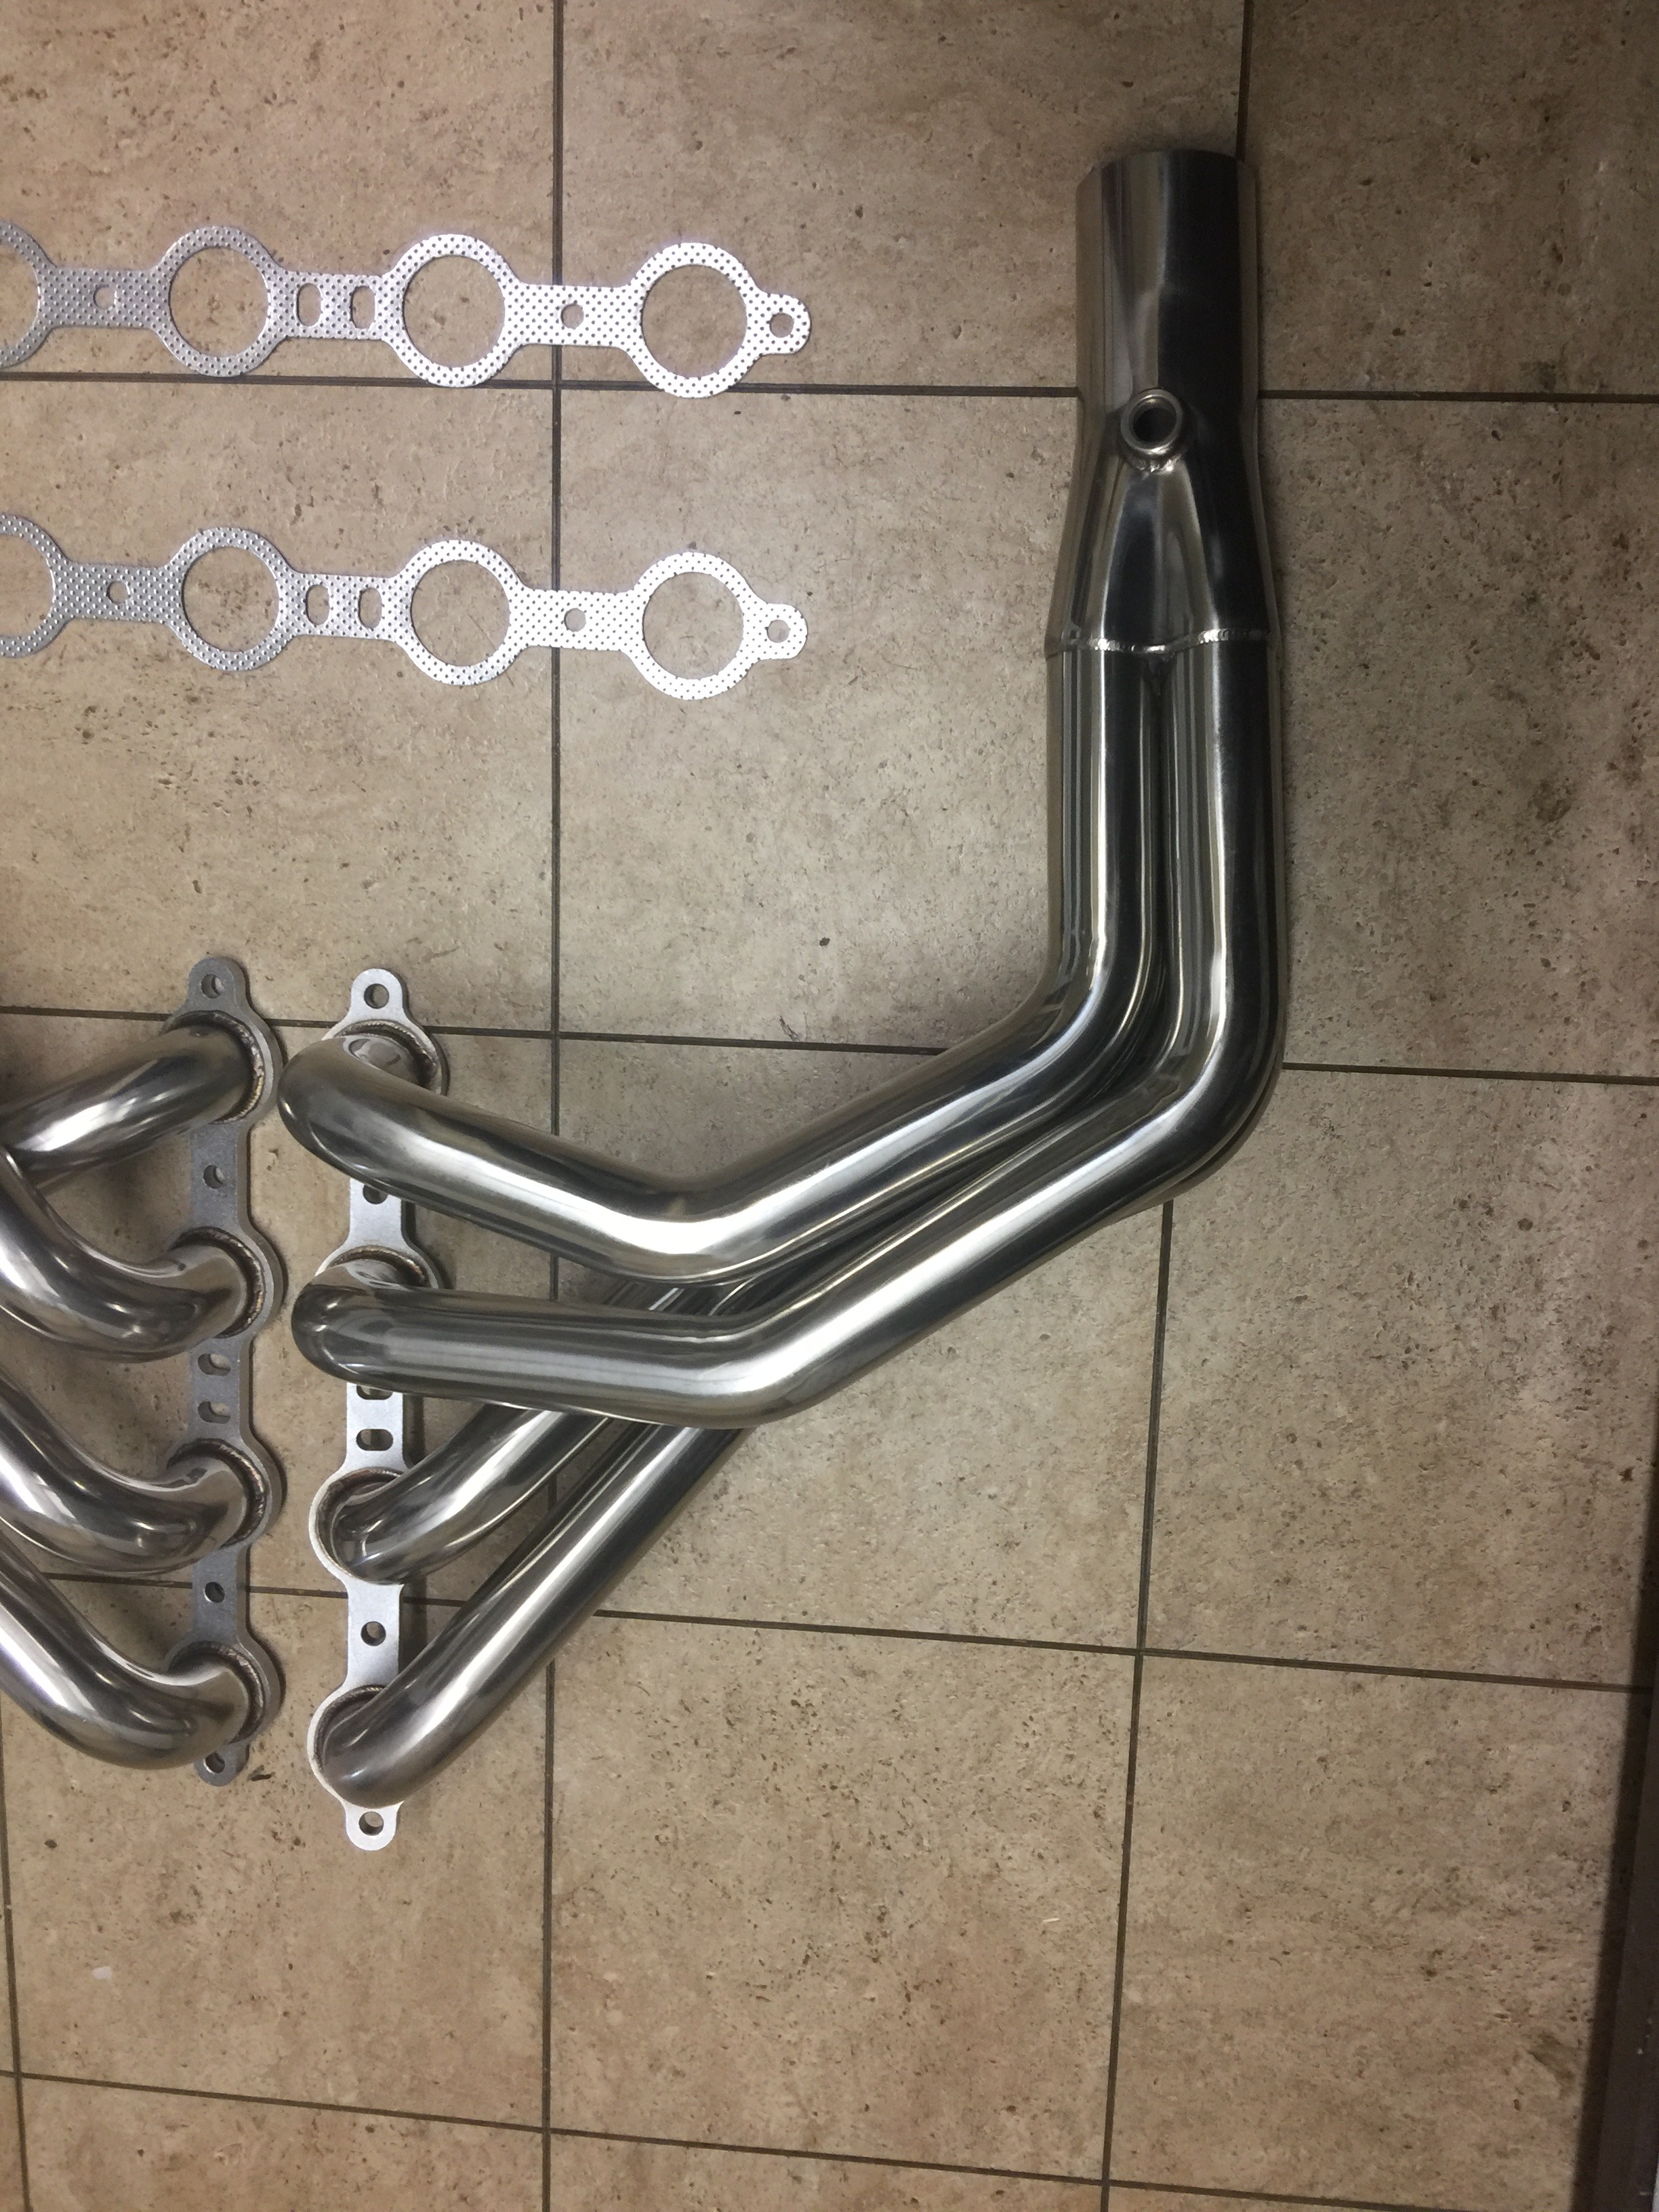
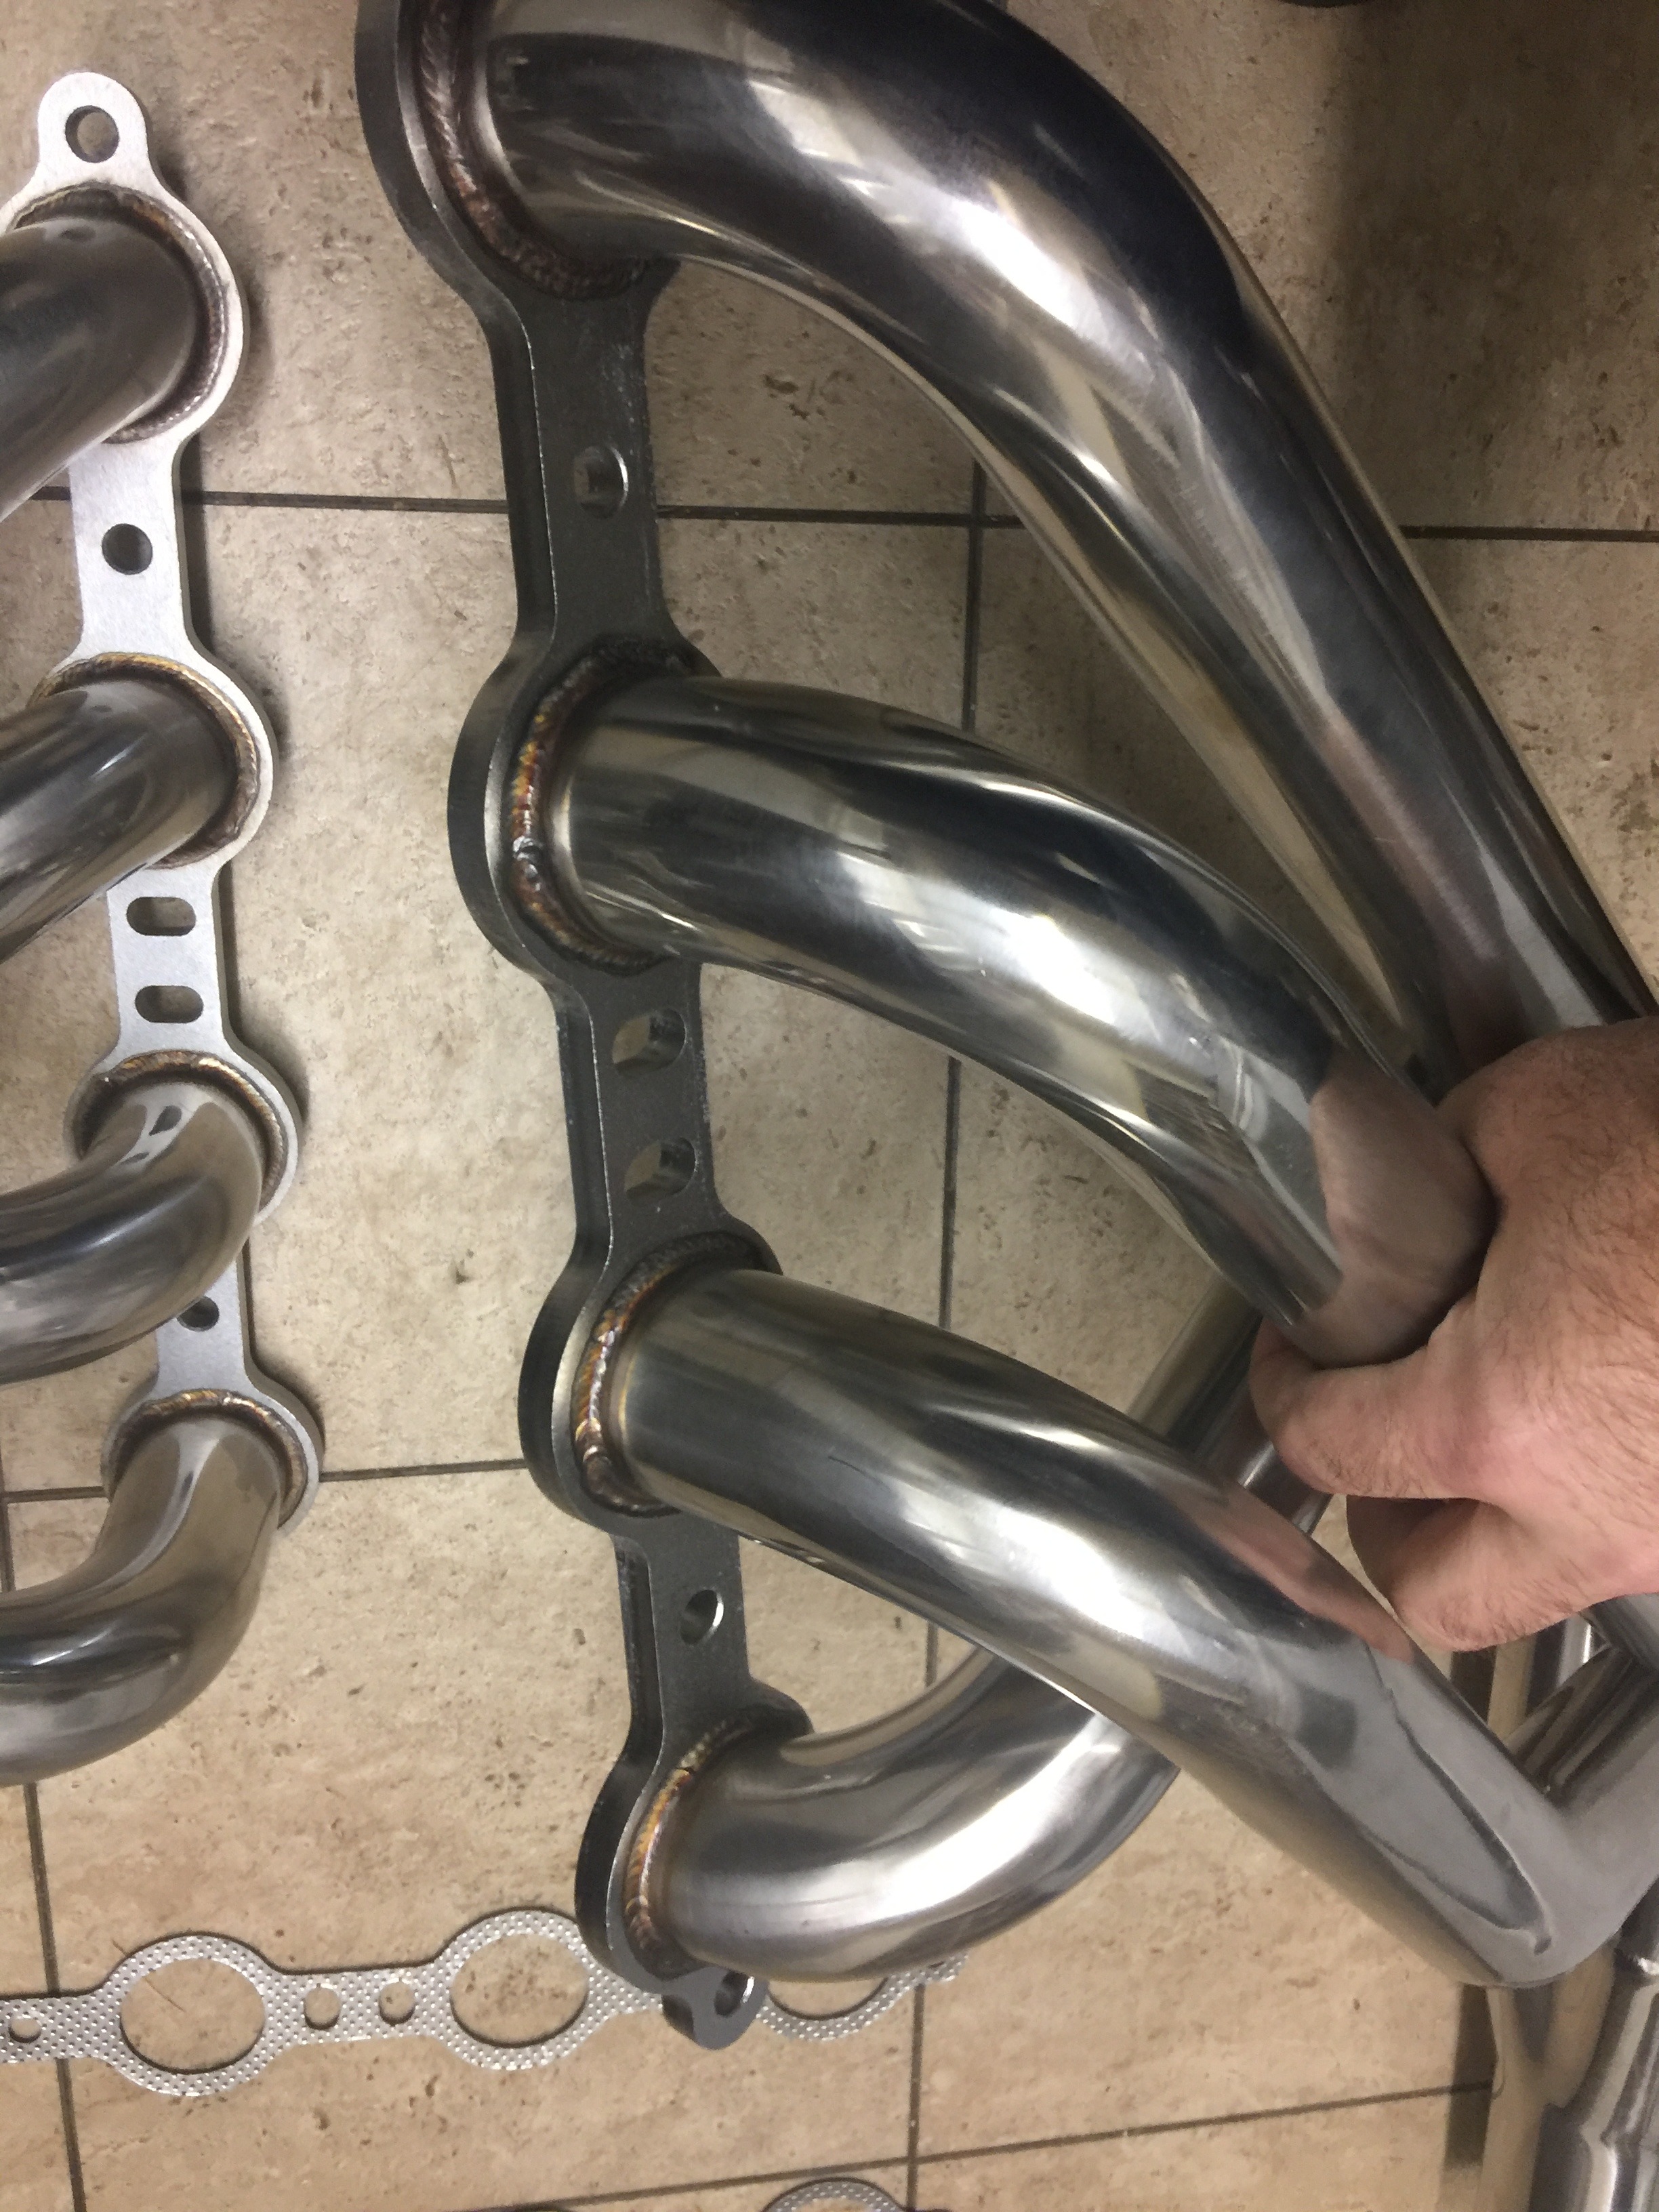
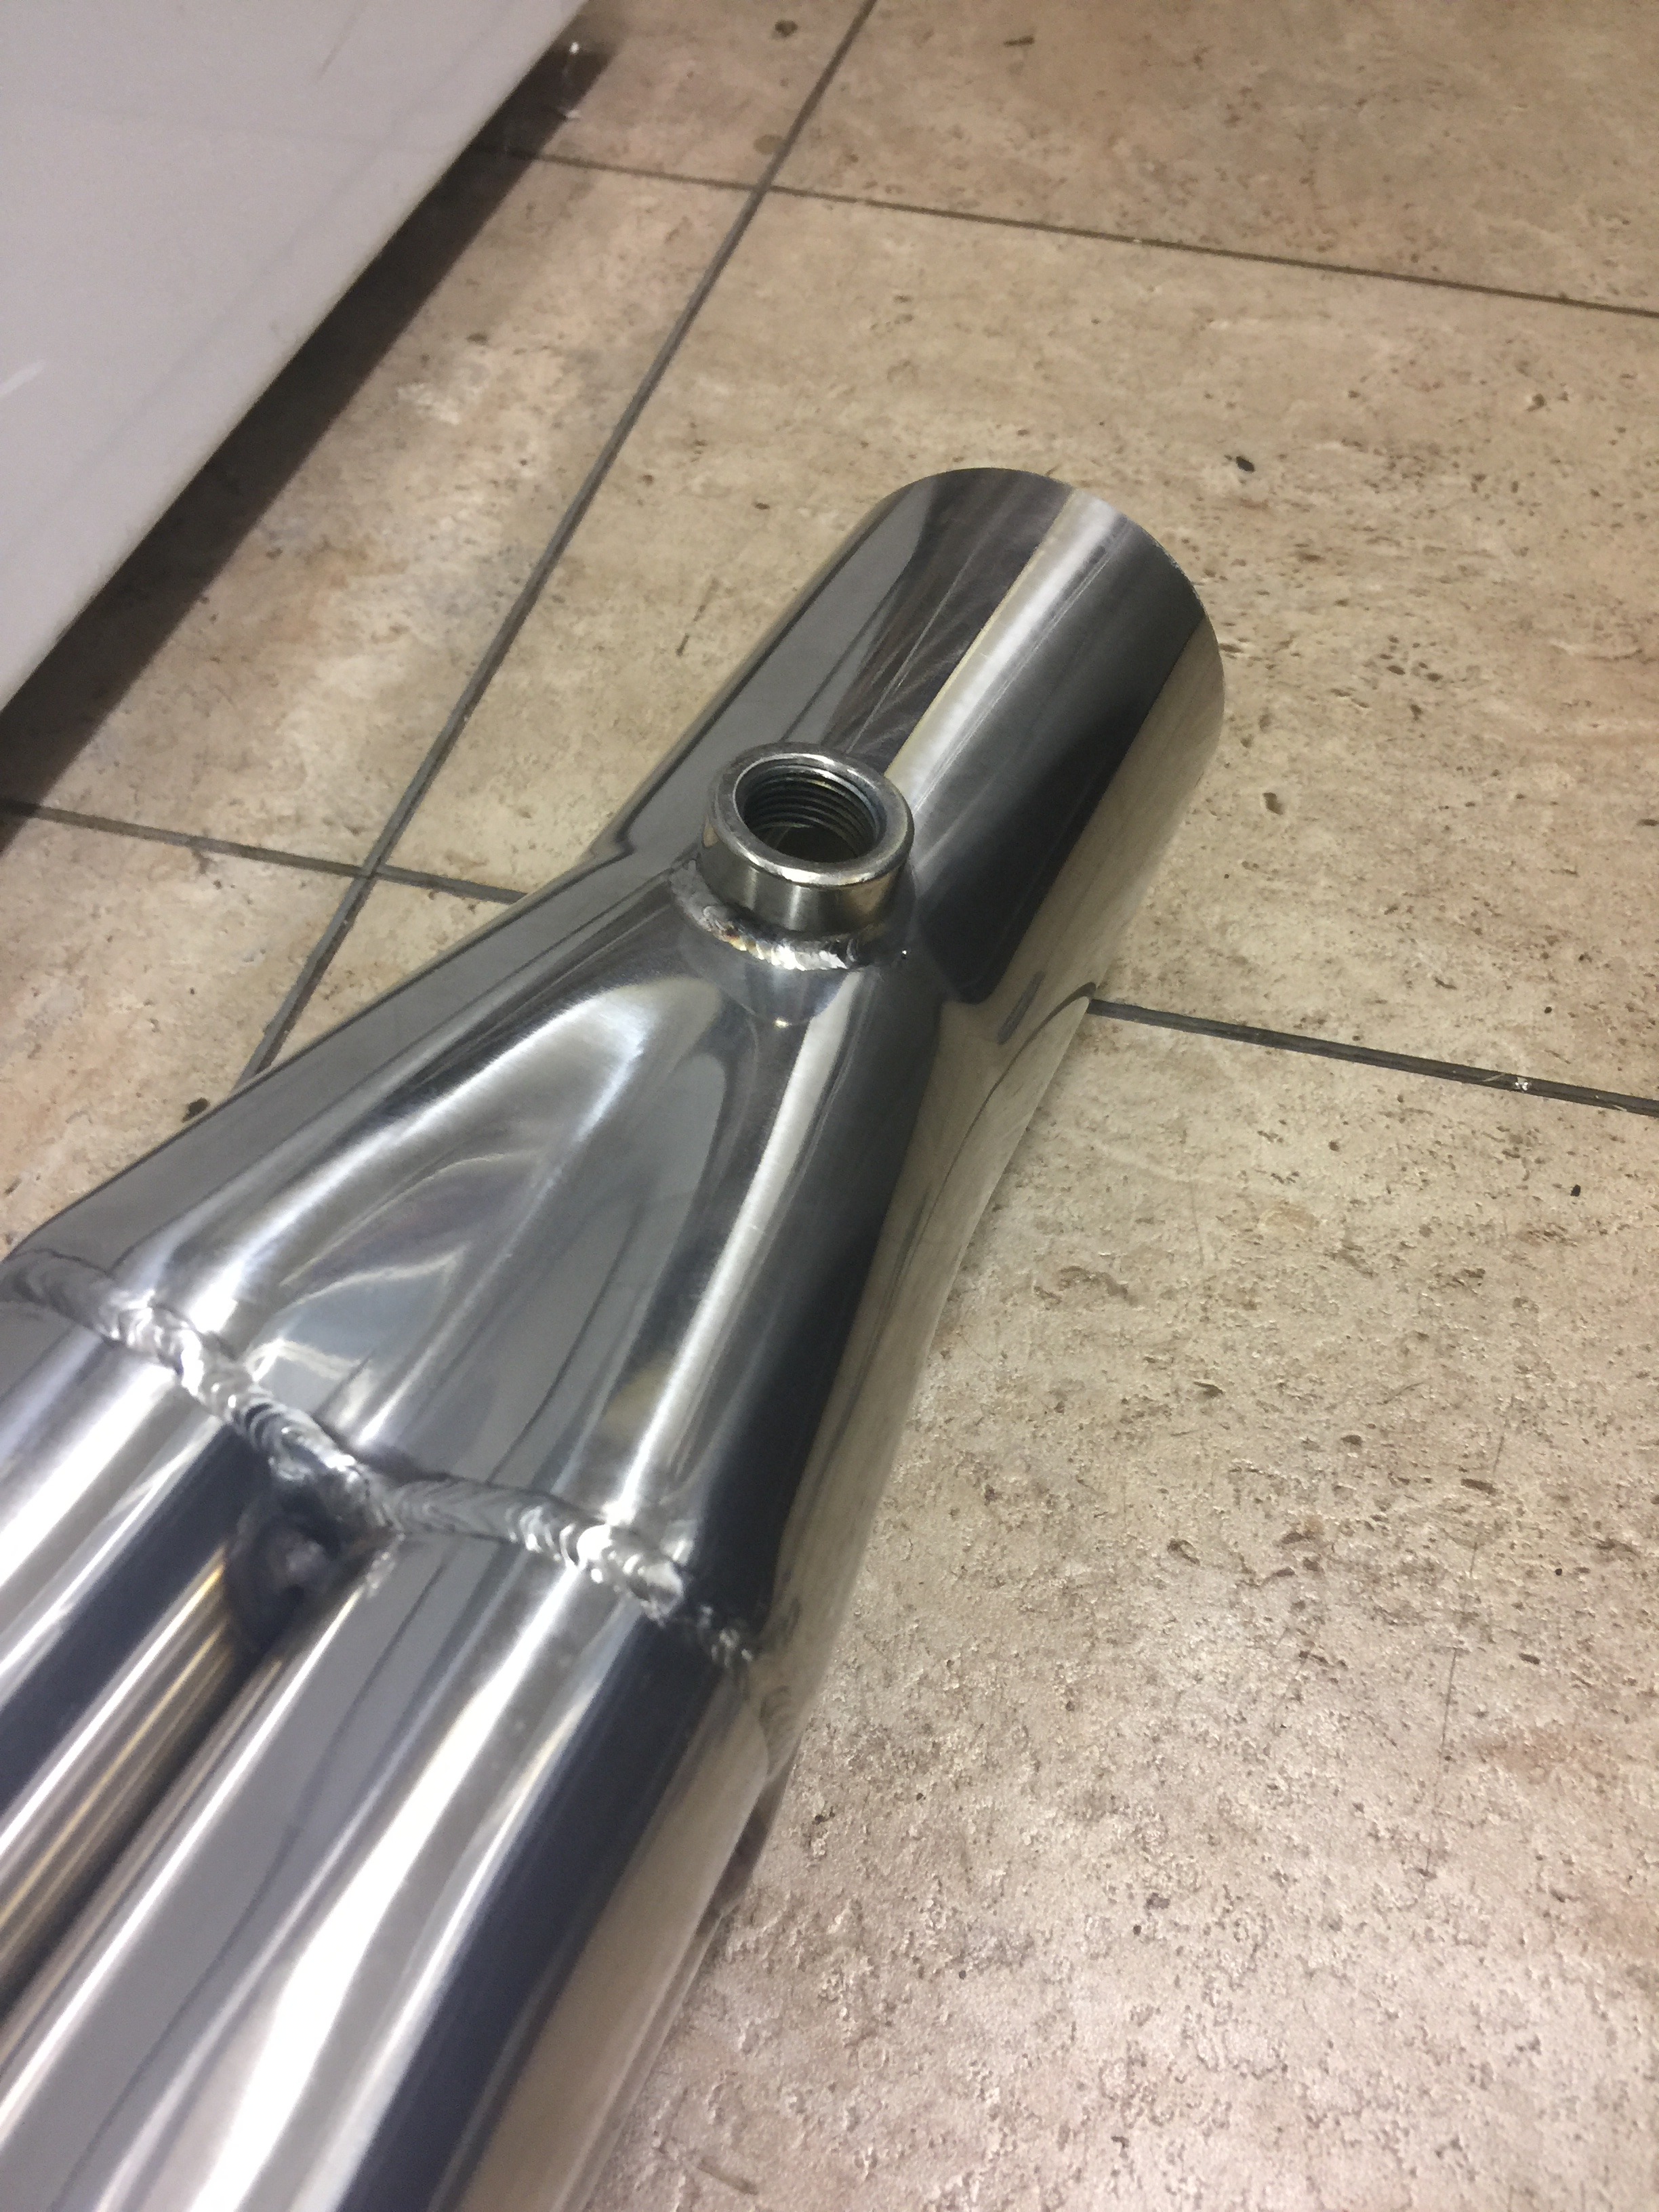
Decided to ditch the mid-length headers, just too much of a hassle because they run so close to the clutch cable. I went ahead and ordered a set of the Speed Engineering stainless long tubes. They will be here this week.
http://www.speed-engineering.com/fox...d-mustang.html
http://www.speed-engineering.com/fox...d-mustang.html


 01-26-2017, 08:27 PM
#52
On The Tree

Join Date: Jul 2016
Posts: 101
Likes: 0
Received 0 Likes
on
0 Posts
hey sorry i didnt get any good pics for you of those headers...but as you can see they rock!!.i have led bulbs in my shop, they are bright but its hard to take good pics in there?..i could not believe how nice those headers looked and how good they fit!!...so you put your ecu under your seat huh? what did you do with the relay and fuse hanging out of harness? i have battery cables running right along there too...so i'm alittle nervous about running that harness next to them? did you just bolt it right to the floor?..i have been going back and forth on this for a week!!!
01-26-2017, 09:04 PM
#53
so you put your ecu under your seat huh? what did you do with the relay and fuse hanging out of harness? i have battery cables running right along there too...so i'm alittle nervous about running that harness next to them? did you just bolt it right to the floor?..i have been going back and forth on this for a week!!!
01-26-2017, 09:10 PM
#55
On The Tree
Join Date: Jul 2016
Posts: 101
Likes: 0
Received 0 Likes
on
0 Posts
ok...that makes sense..but on mine the relay and fuse come out of harness and are about 1/2 way between the footwell and underseat erea...so if were to put them under the carpet its possible they could get broke by some crazy passengers foot? idk..i thought about unwrapping the tape on the harness to see if i can move them back to the underseat erea....yea there is barely enought length to get there on the main harness
01-27-2017, 06:37 AM
#57
On The Tree
Join Date: Jul 2016
Posts: 101
Likes: 0
Received 0 Likes
on
0 Posts
ahha! now its starting to make sense..lol..i'm a little slow but i usually get there...that will work then!..well your mustang shows the efforts of your pickiness!..dam nice car and build!! and thanks for the info!!

 02-02-2017, 10:44 AM
#60
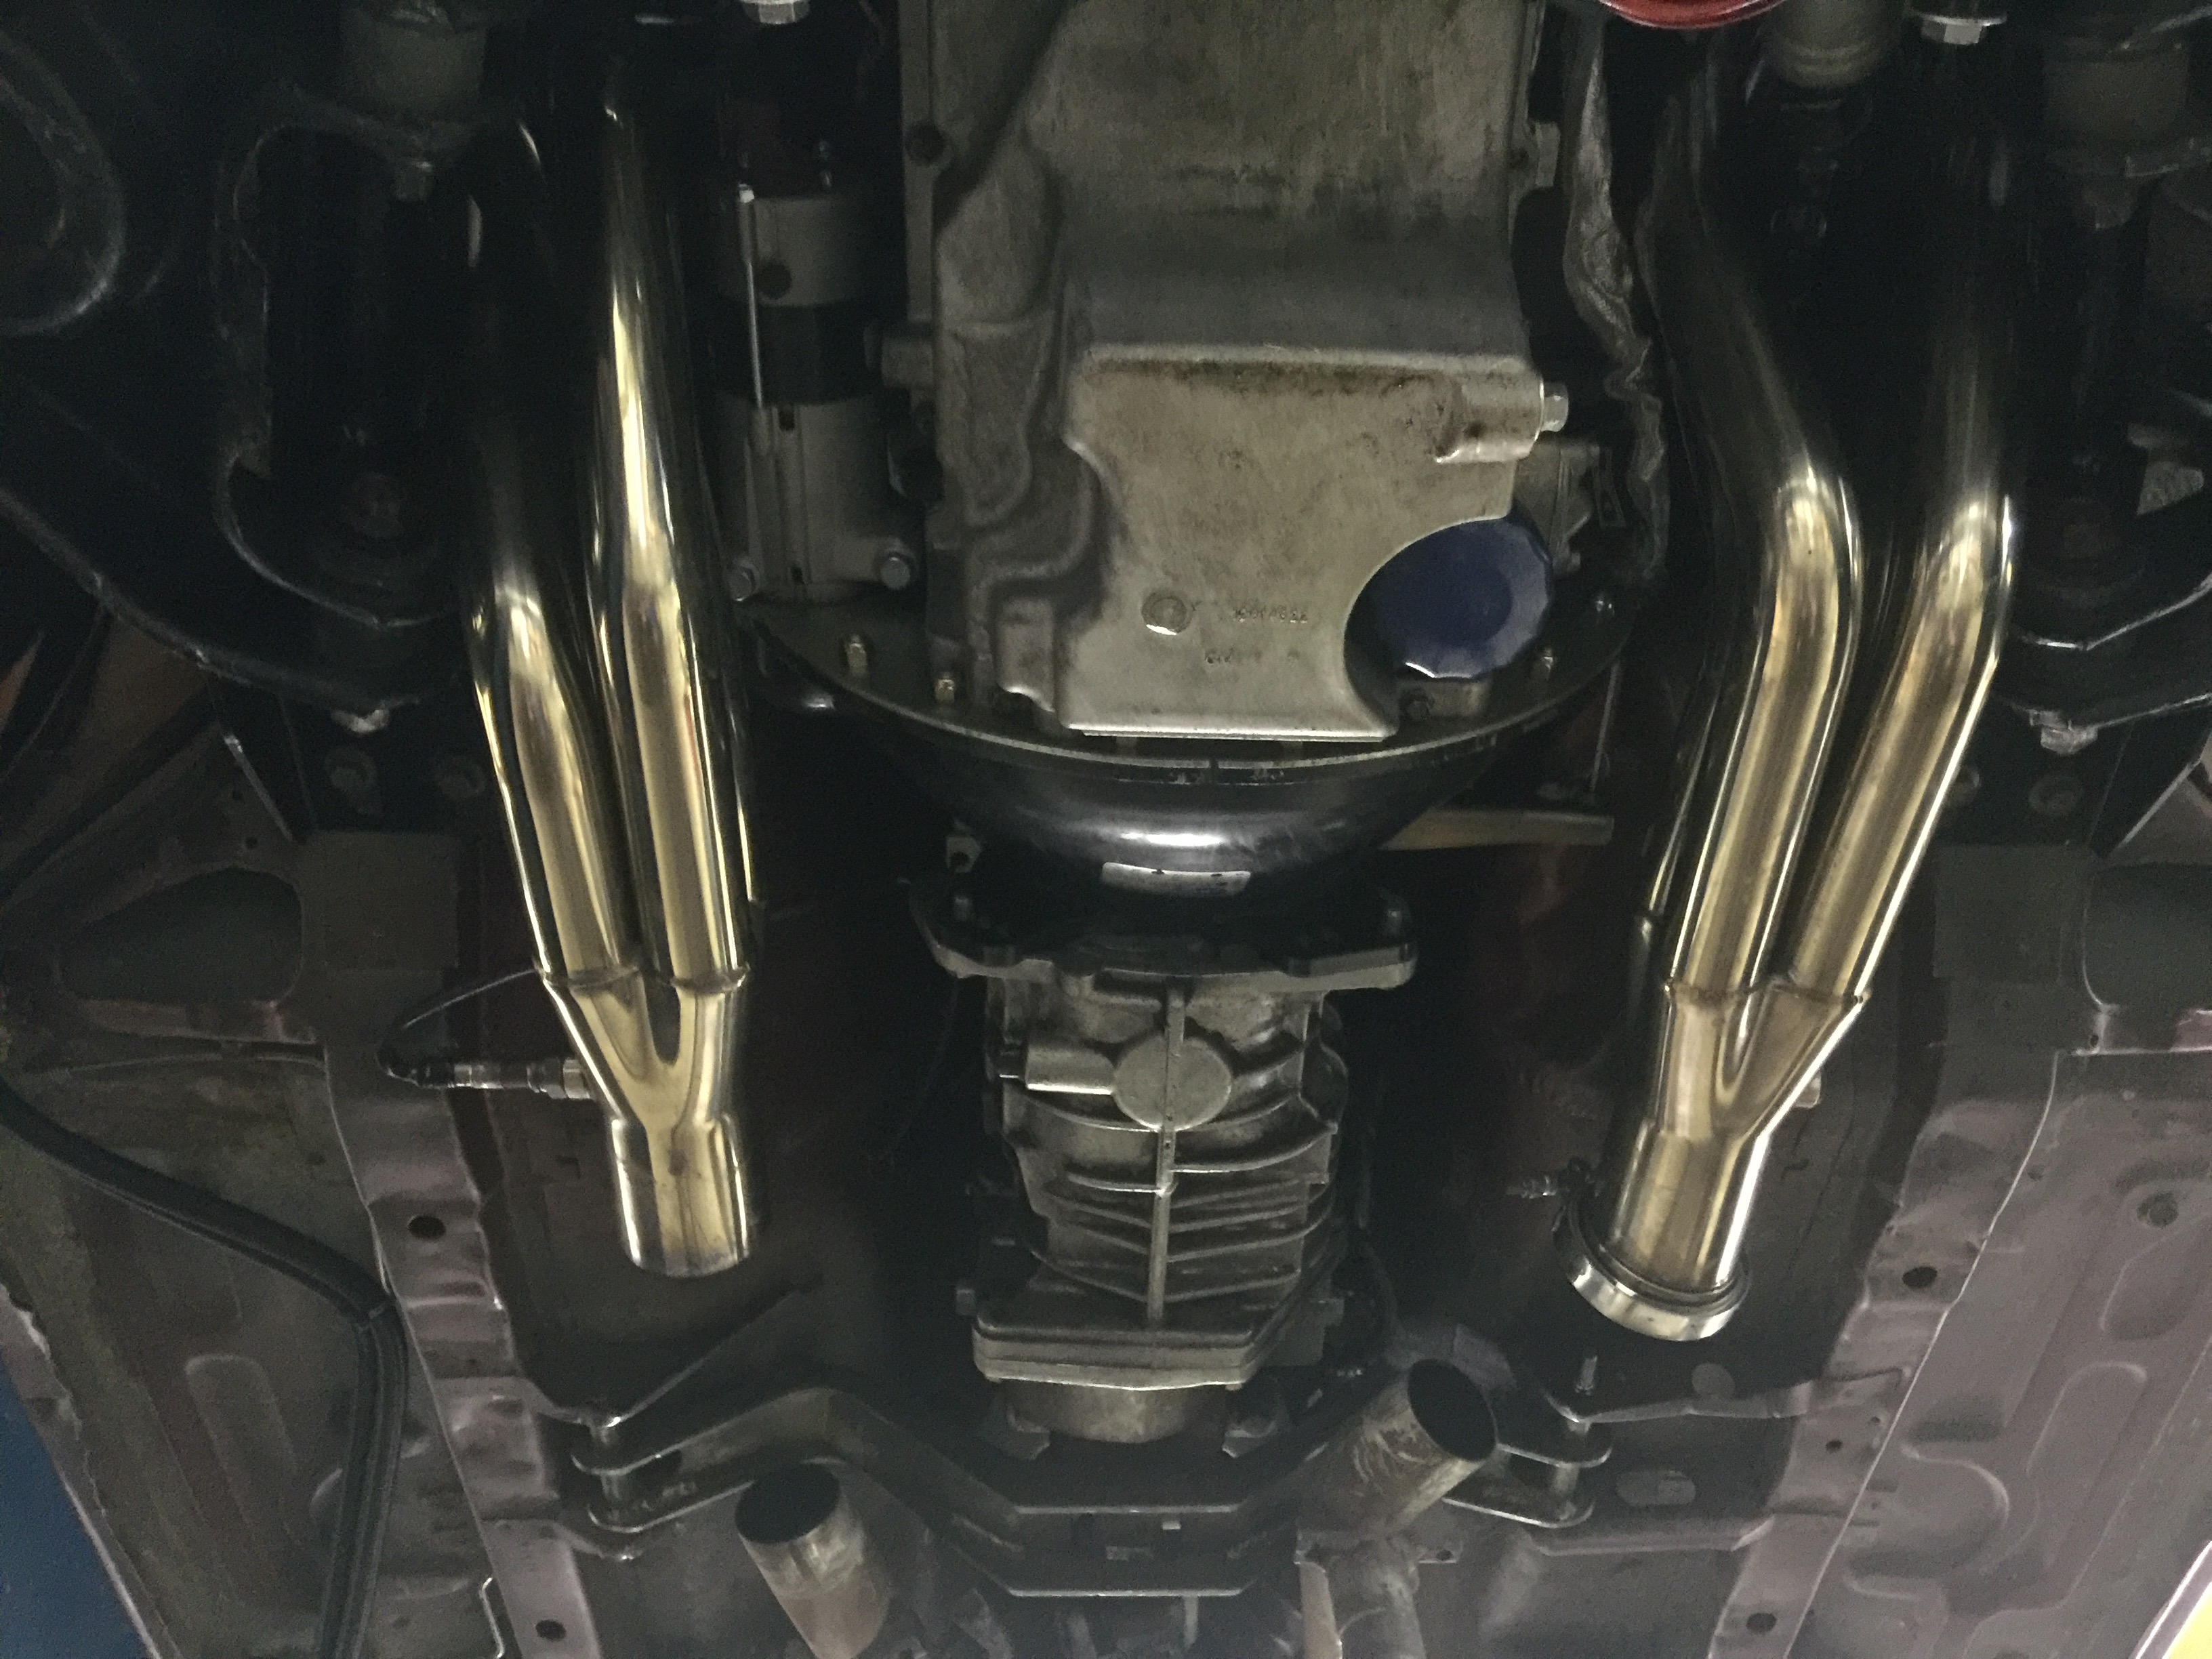
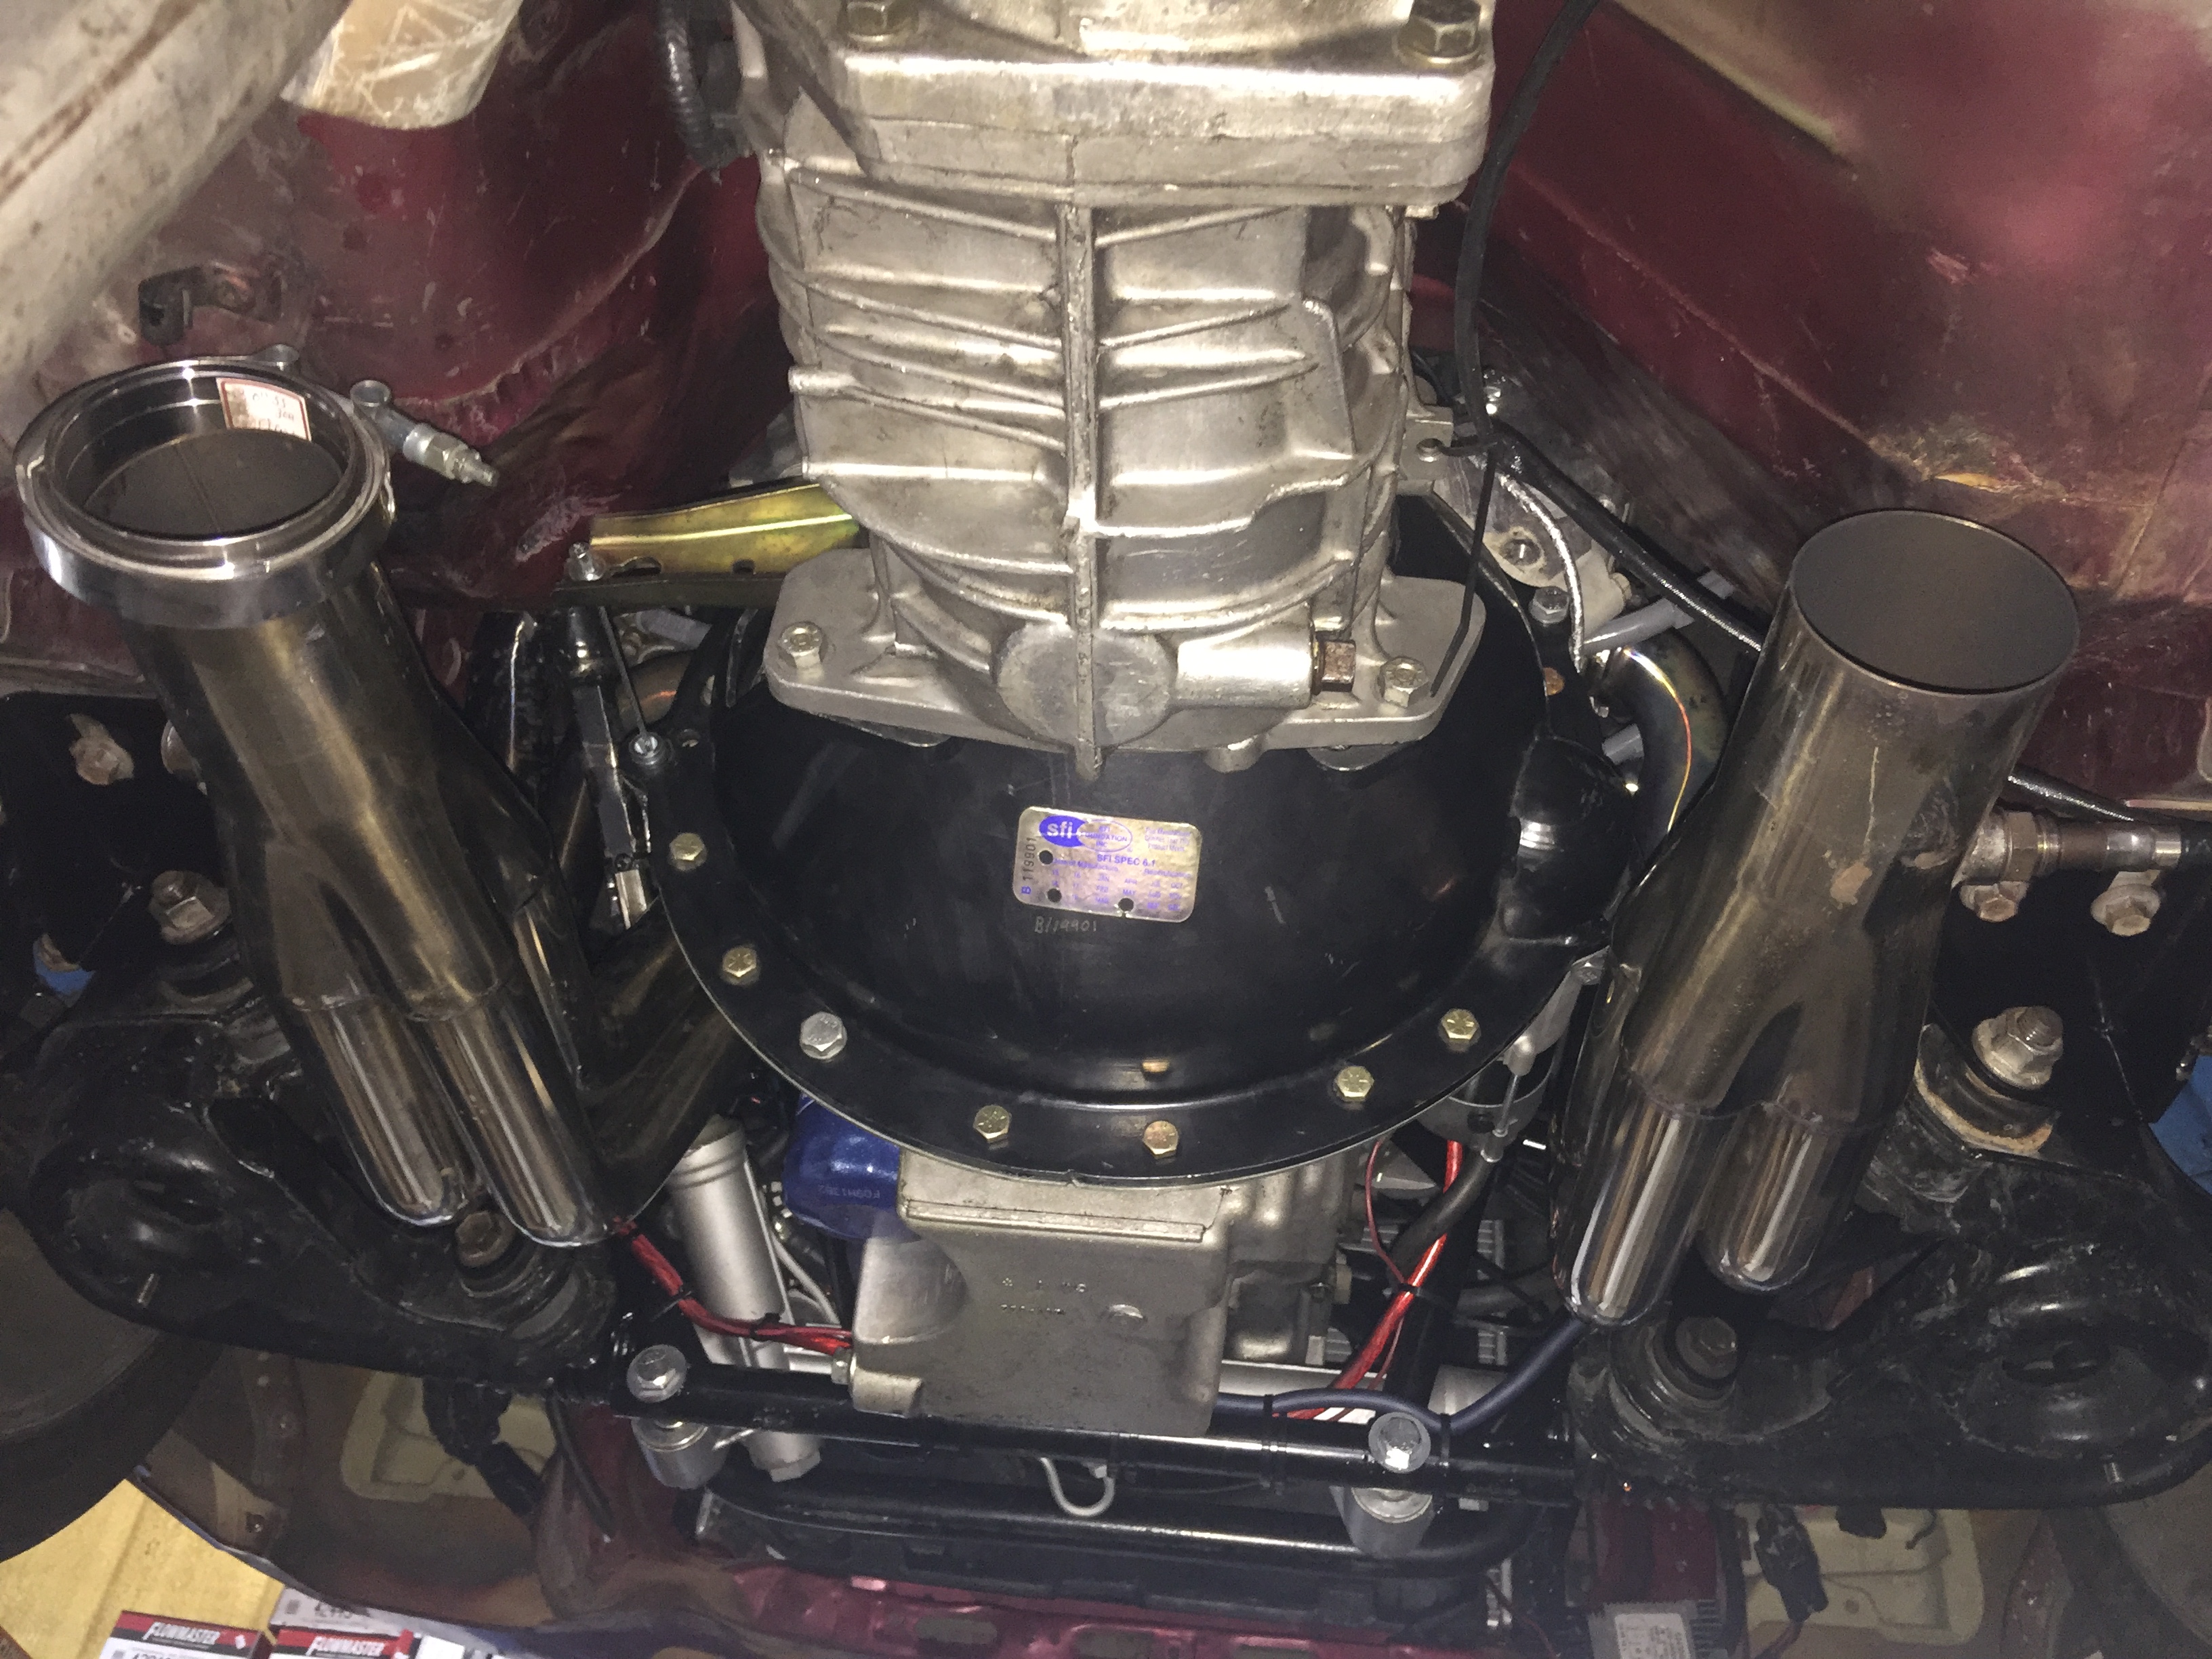
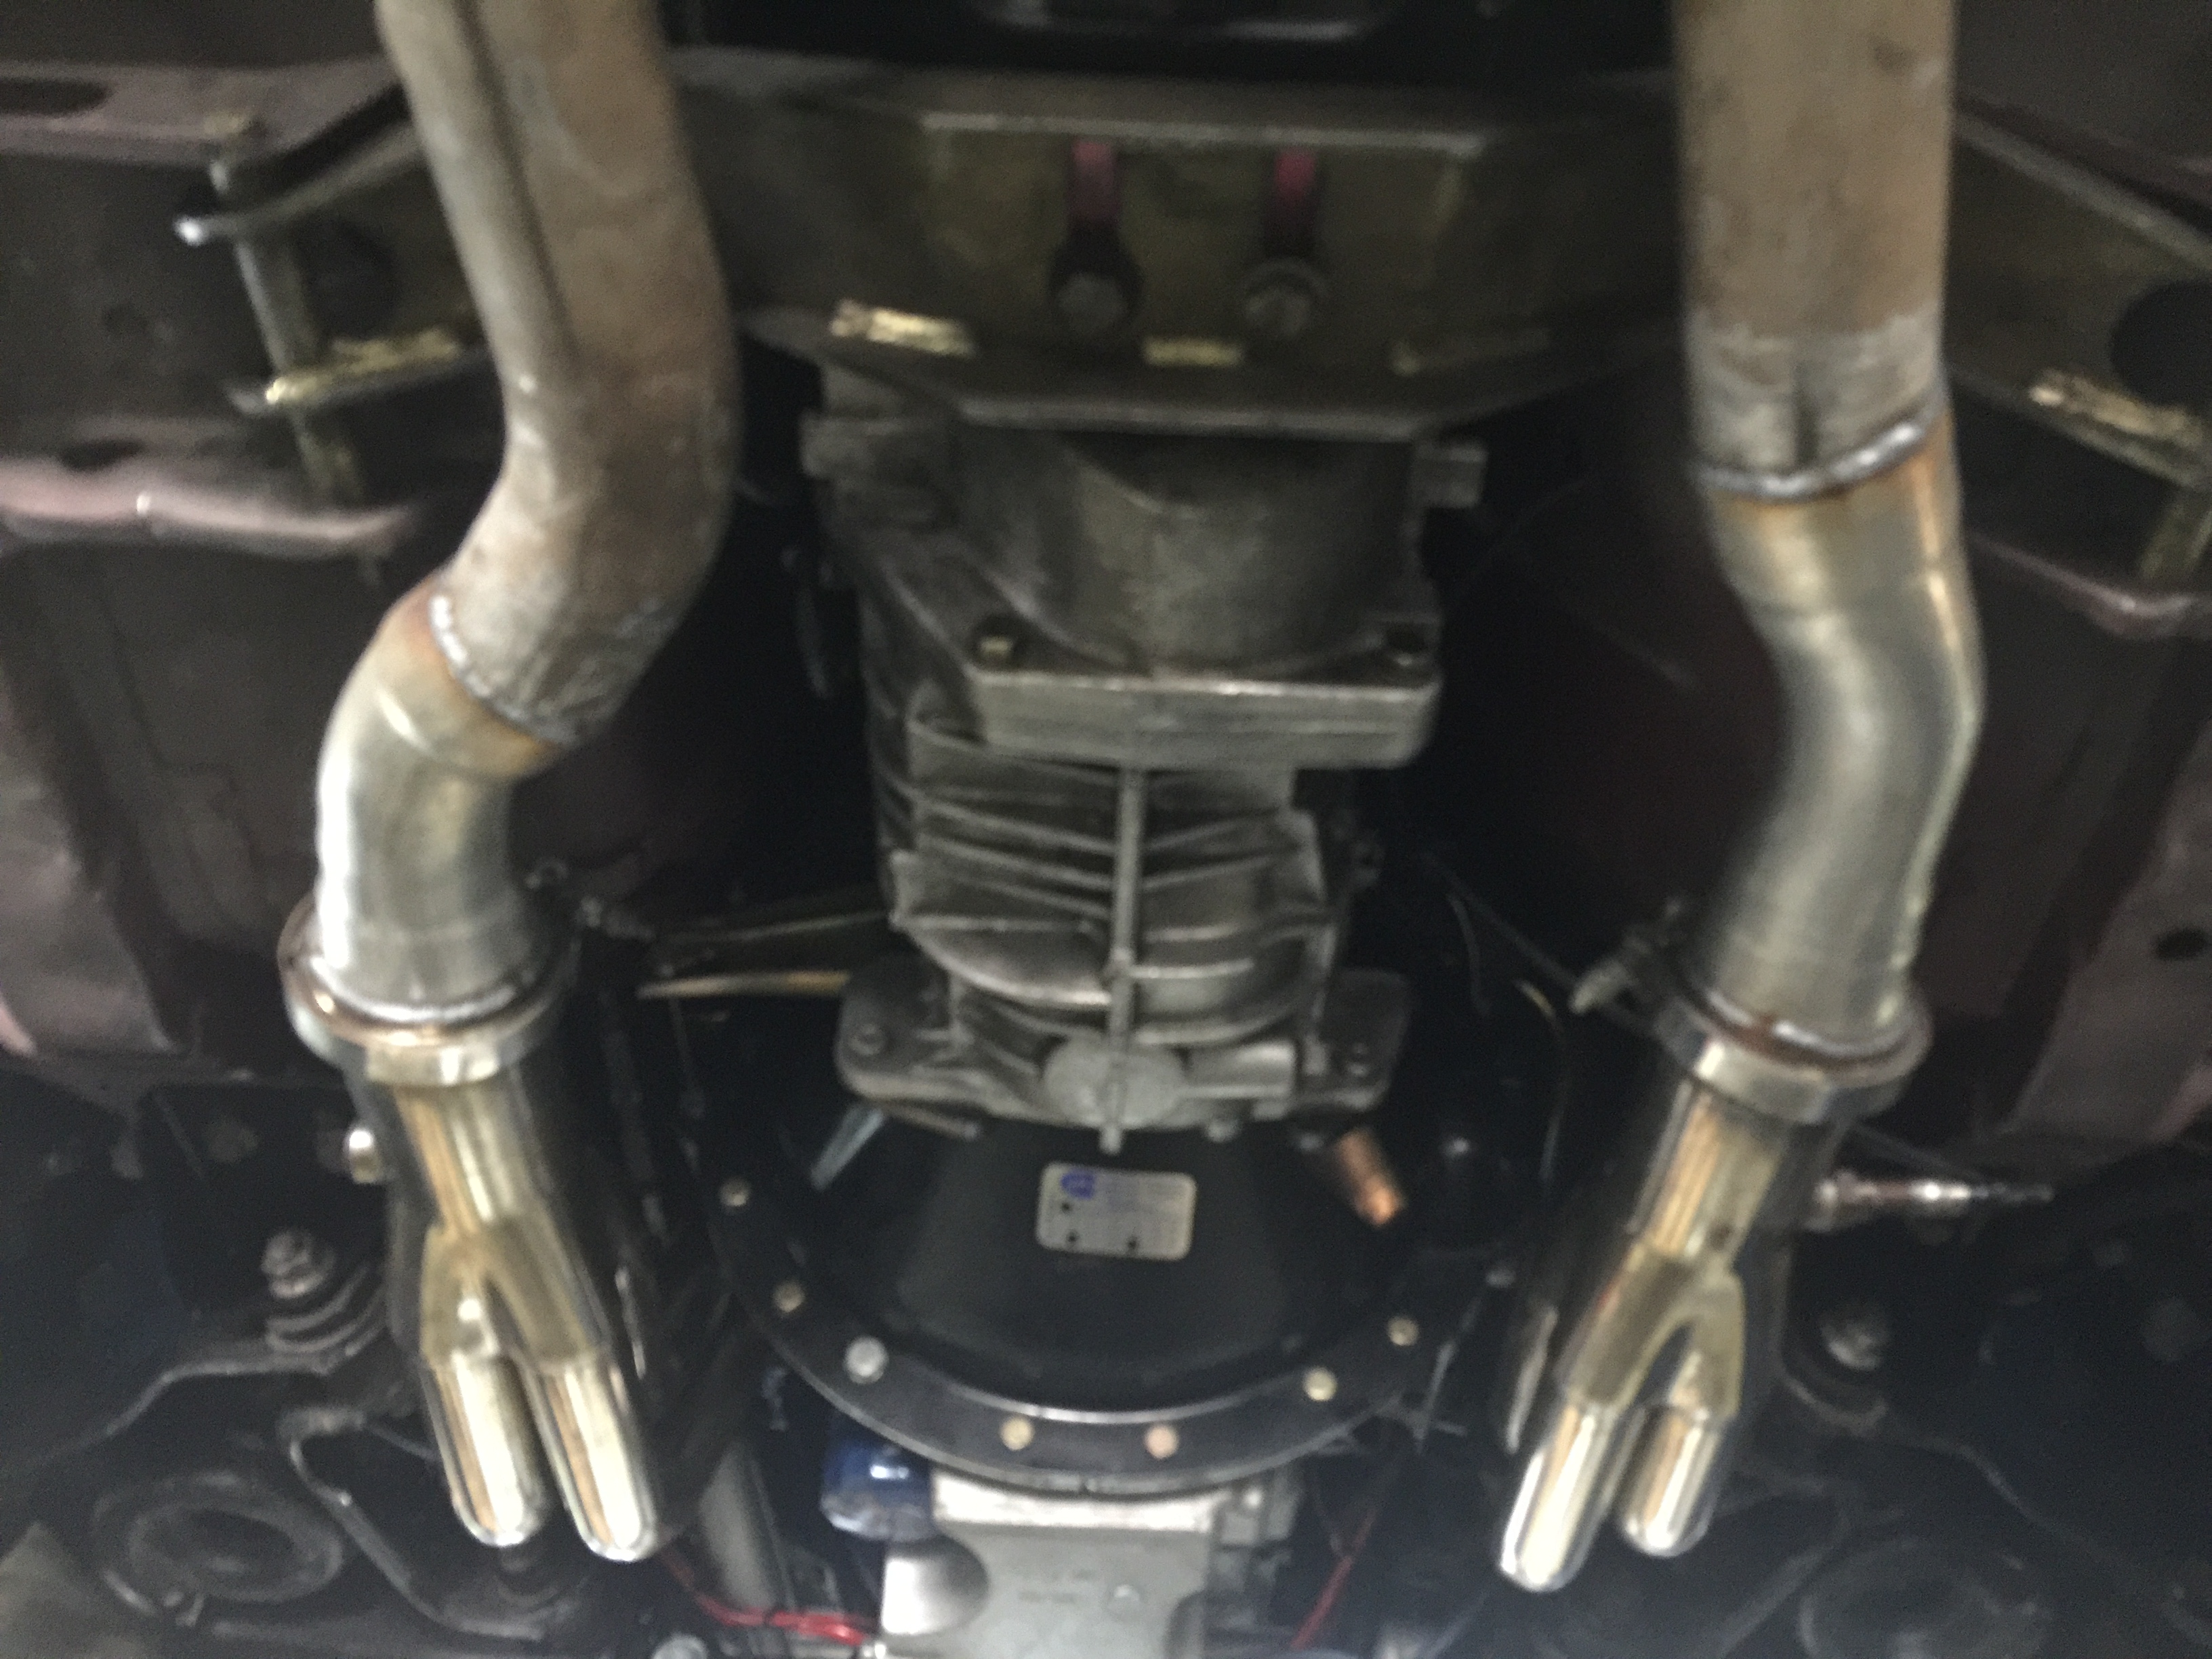
I just got home from the exhaust shop. Basically did the same thing I did before. I had him build some short pipes that connect the headers to the h-pipe. The pipes are welded to the H-pipe and connect to the headers with V-bands. Here are a few pics I took while I he was putting it together.