53 Dodge Pilot House 5.3 GT45 Turbo build
 02-18-2015, 10:33 AM
#1
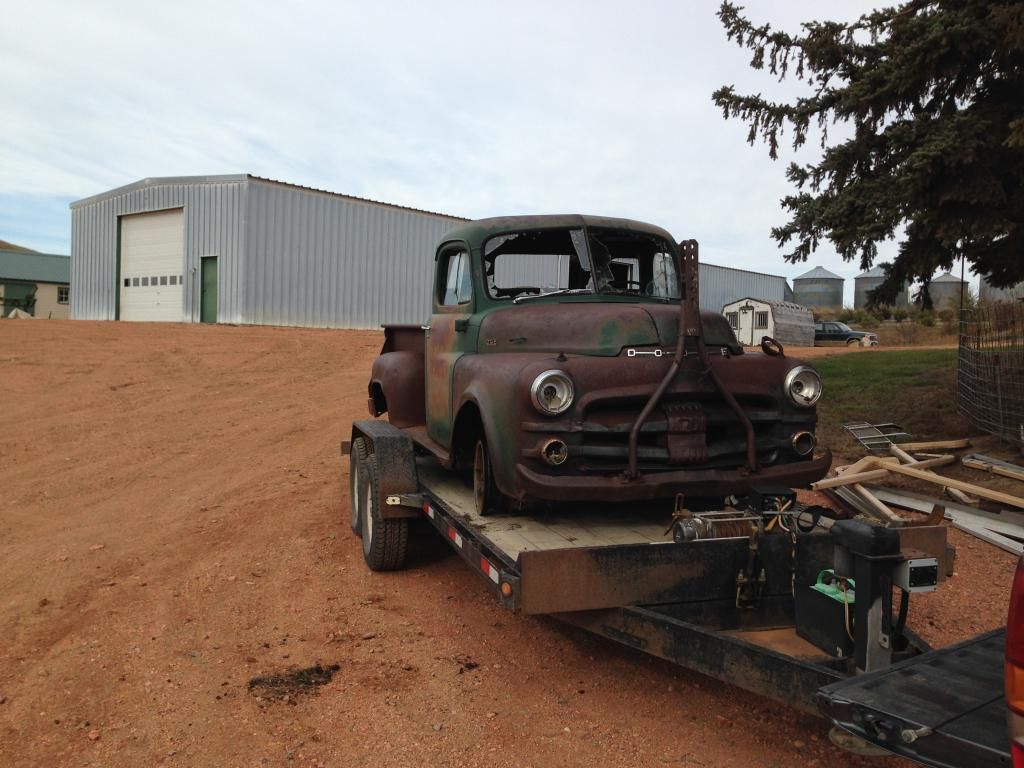
Well Sense my Camaro is done I have been going a little stir crazy. So I thought I would go get myself another project. Figured I would share the fun with you guys. I went to my farm and grabbed a 1953 Dodge Pilot House truck. I also grabbed a 48 for parts donor. My plan is to make a shop truck out of it. Thinking narrowed rear, 4 wheel disc, mustang II front end with coil overs ect... I have a couple 5.3 engines around so why not. This truck was bought new by my Grandpa in 1953. It was put to rest in the year of 1971. Time to bring it home!
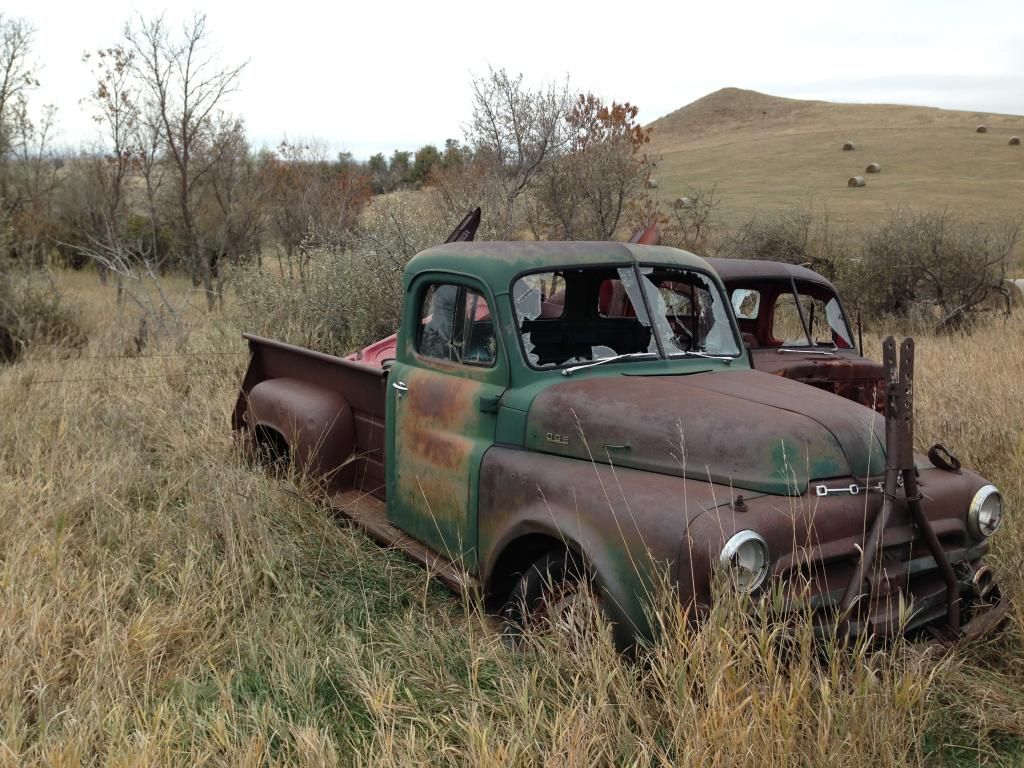
I have had the truck at home for a while now and have had a chance to do some things to it. I will get some more pictures posted up and and a little more of a progress report once i get some more pictures uploaded.


I have had the truck at home for a while now and have had a chance to do some things to it. I will get some more pictures posted up and and a little more of a progress report once i get some more pictures uploaded.
 02-18-2015, 10:49 AM
#2
TECH Enthusiast
iTrader: (14)
Join Date: Mar 2008
Location: Valley Lee, MD. Southern Maryland
Posts: 652
Likes: 0
Received 11 Likes
on
11 Posts

That truck looks great. I love the front end on it. It will be killer with modern EFI, lighting, and suspension. If it had an old school set of Fenton wheels on it I'd be drooling.
02-19-2015, 10:21 AM
#3
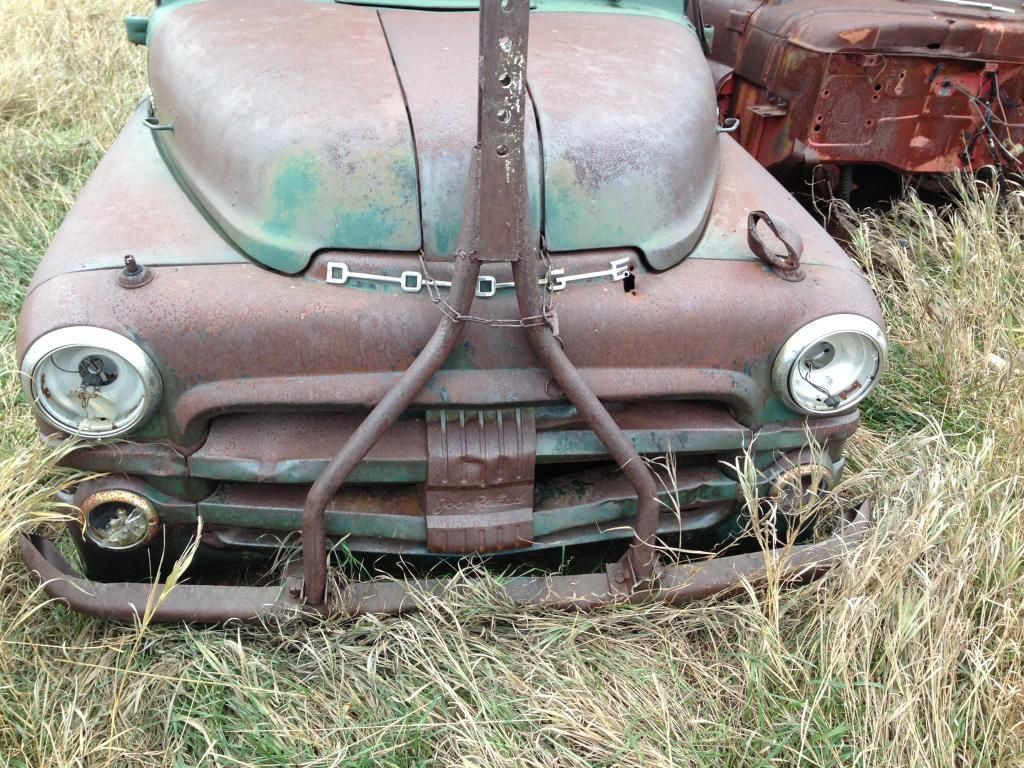
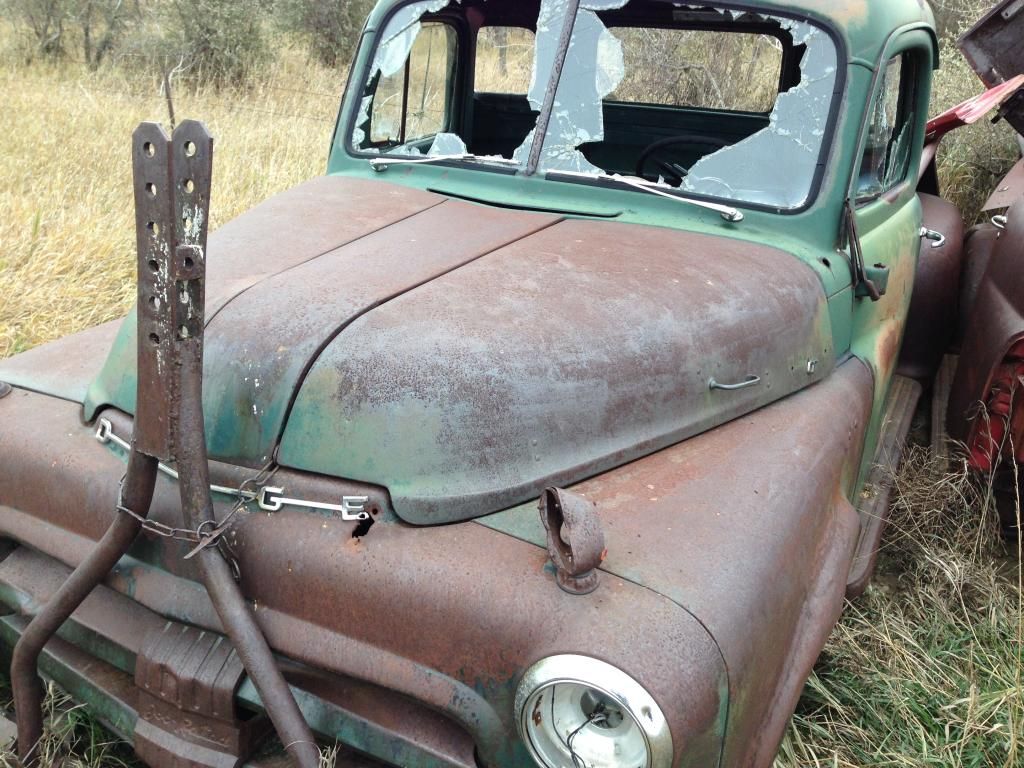
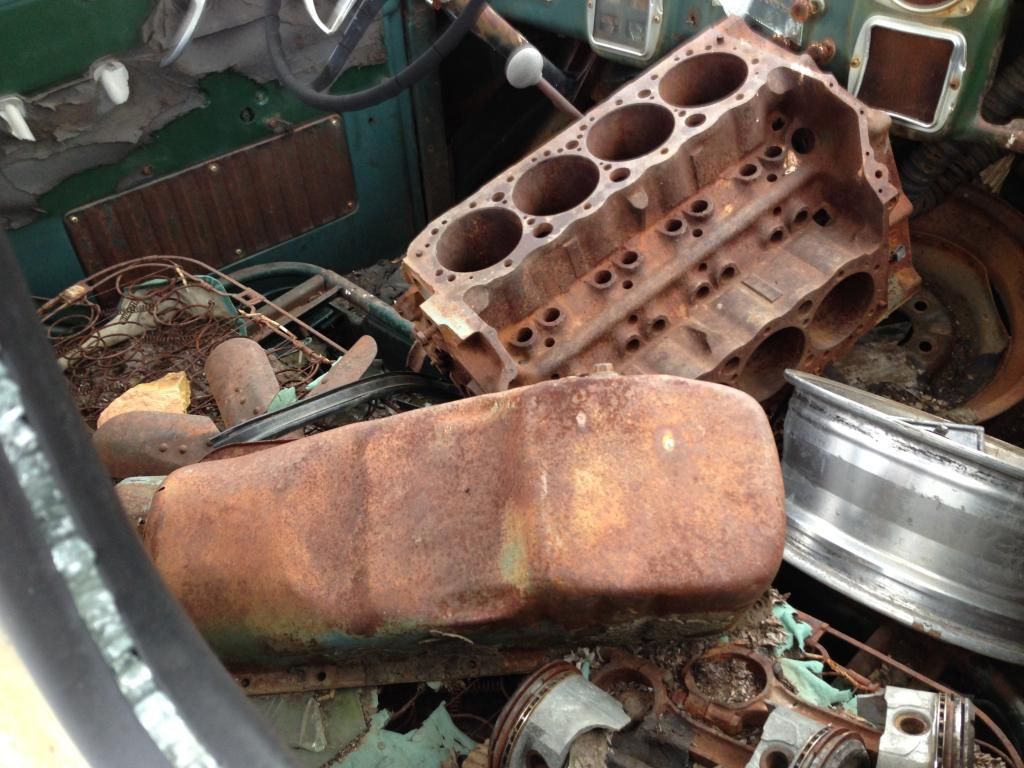
Thanks! I am really excited about it. Should be a cool truck when done. I have been working on this truck for about a year now. So I have a bunch of progress pictures. I will post as I have time. Here are some pictures of when I got the truck home and cleaned it up a bit. I bought a GT45 off a member here. I fabbed up all the hot side. It got a air to air intercooler, th350 with 3800 stall, I just ordered a complete pro flo intake with rails and FIC 127lbs injectors for it yesterday. I had a 5.3 sitting in the corner so we tore it down and put new head gaskets, cam, springs, oil pump in. I let my good buddy do it all as he has never worked on a motor and was really excited. I just drank beer and showed him what to do. He did good. Here are some pictures to look at.
Cleaned up the inside!
Cleaned out the box.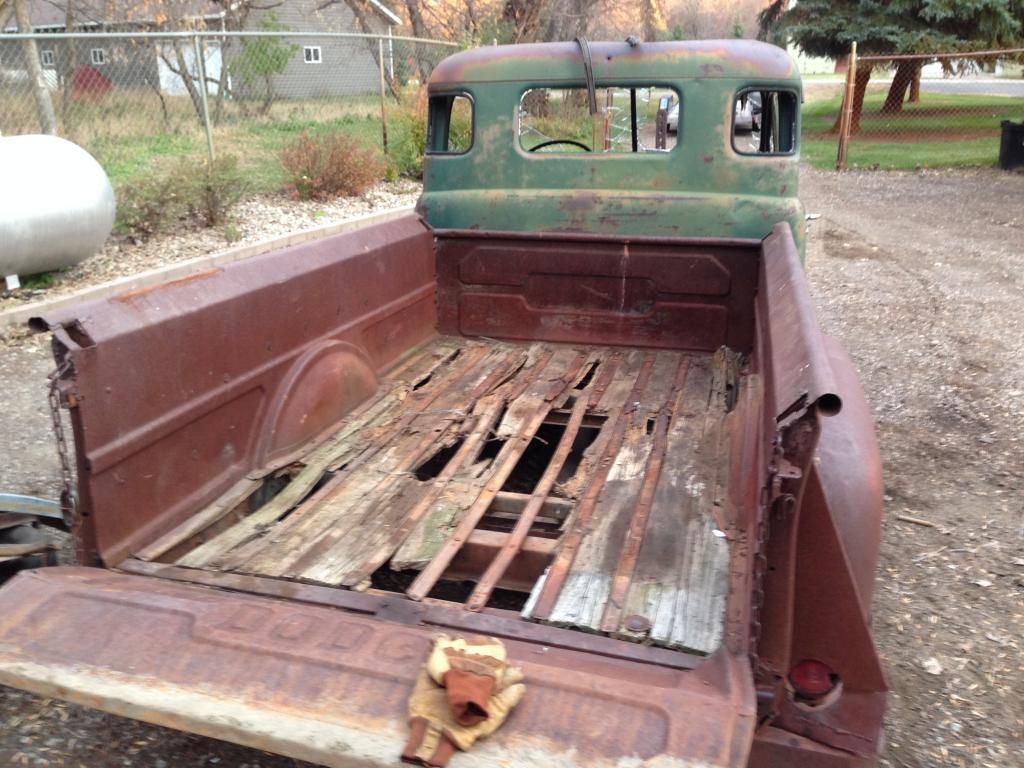
Gave it a wipe with a rag.
Pulled engine out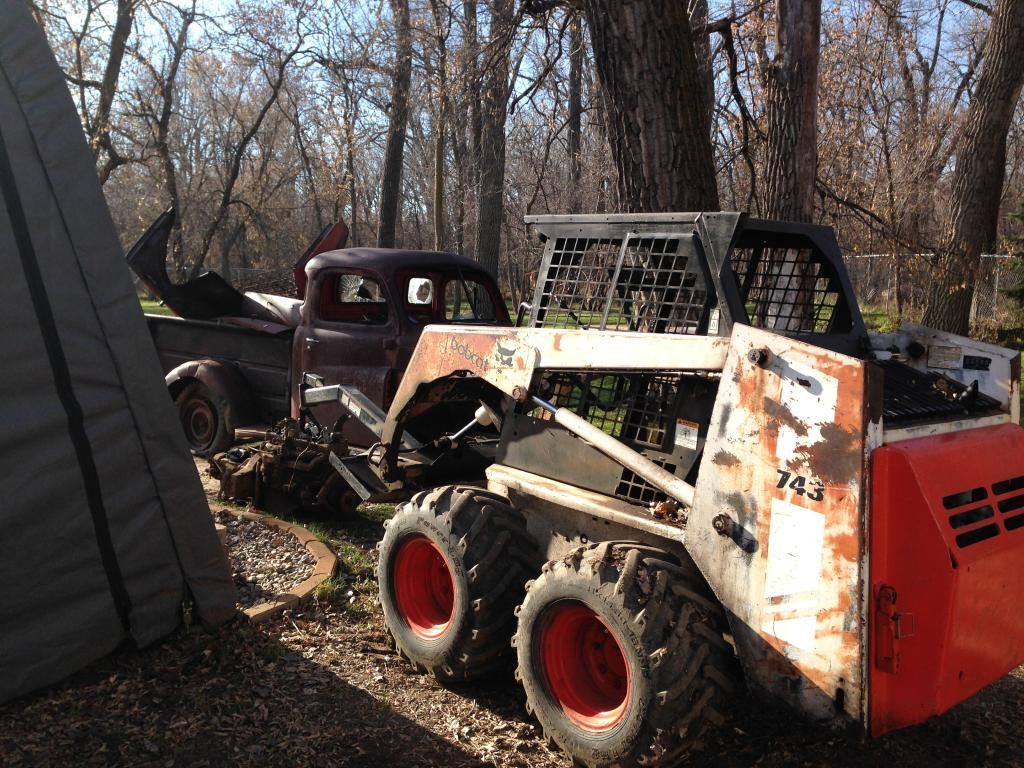
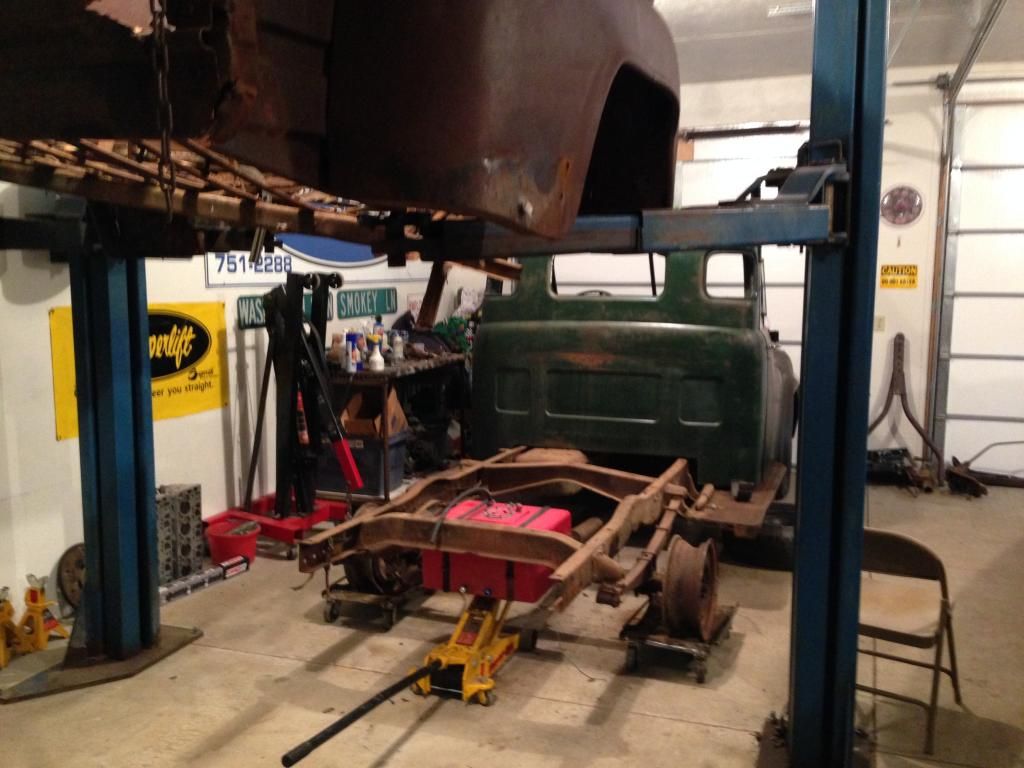
Pulled box to put new floor in it and c notch frame, flip axle and new rear end and four wheel disc. Pictures to come later.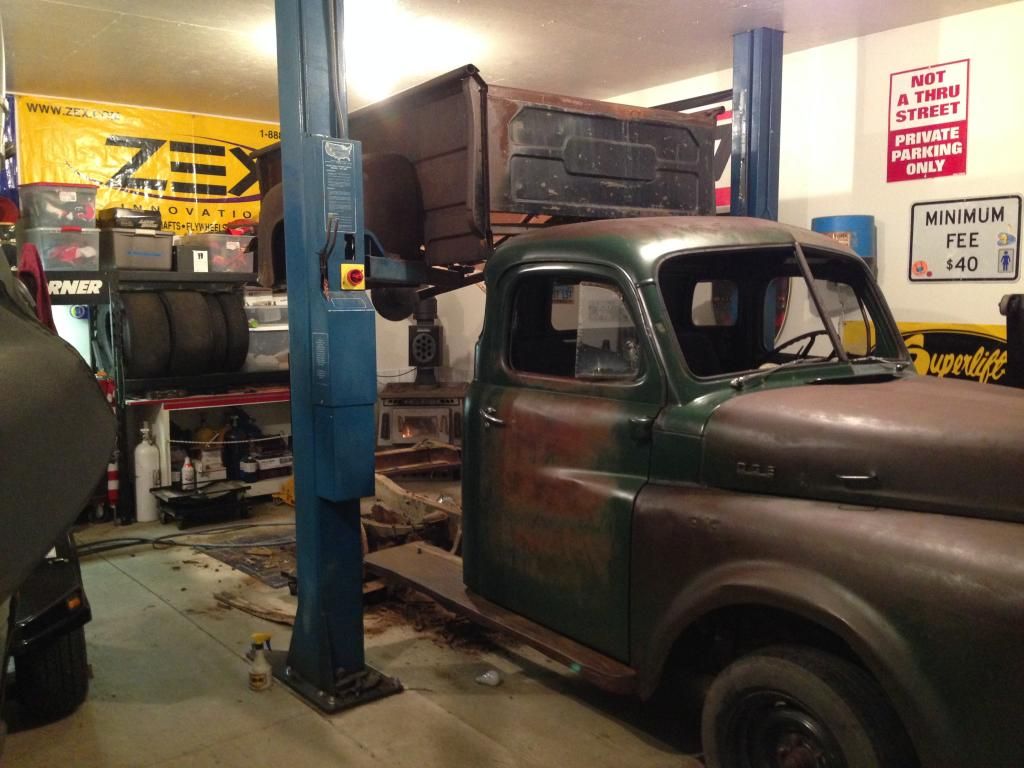
Little engine work.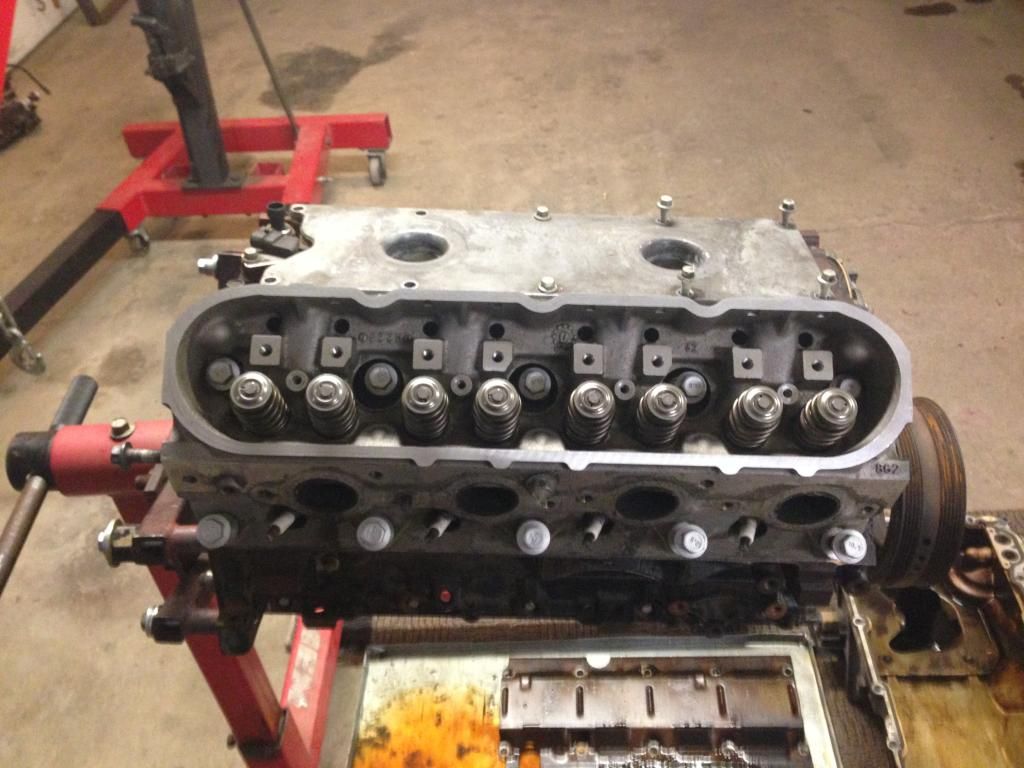
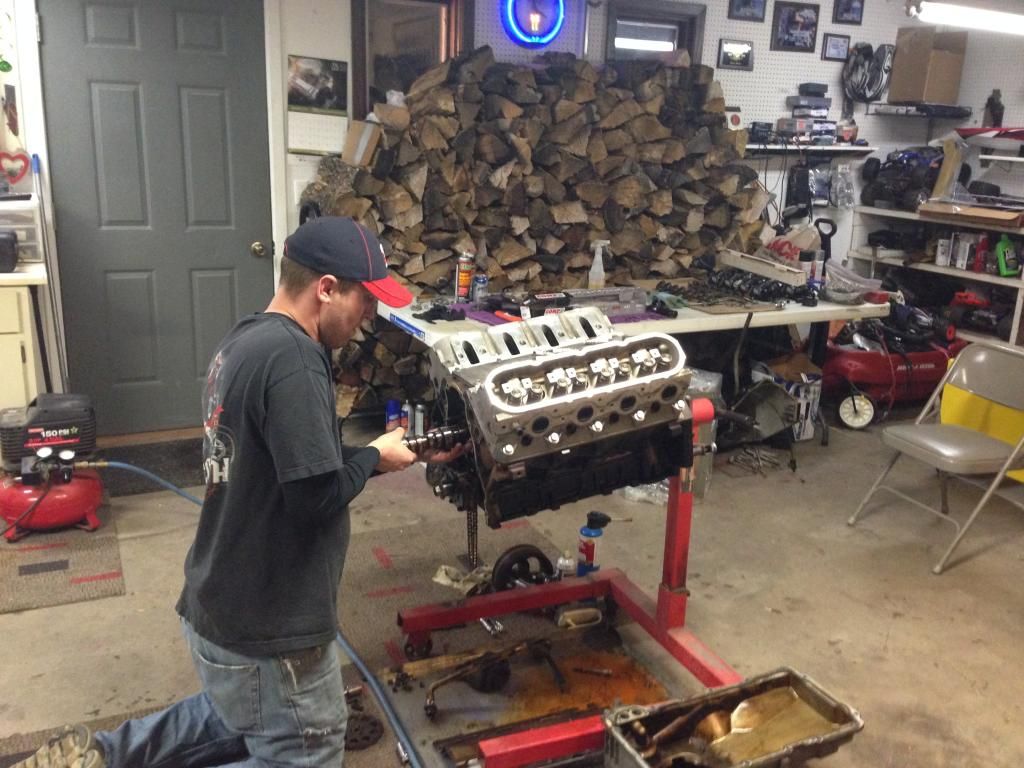
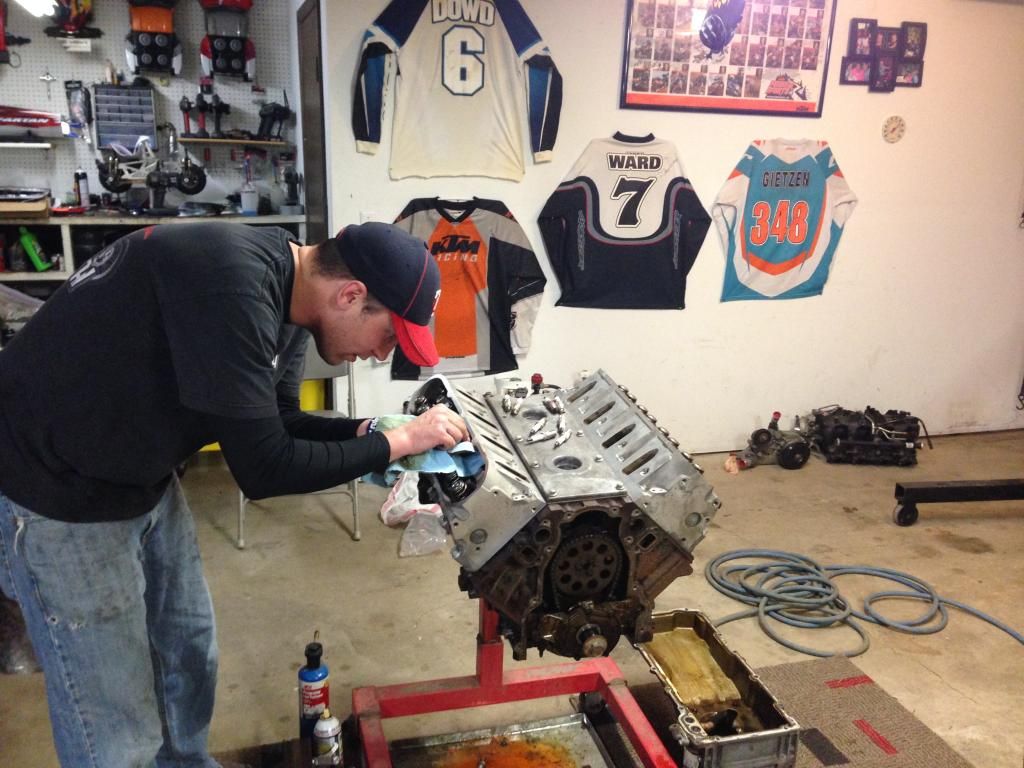
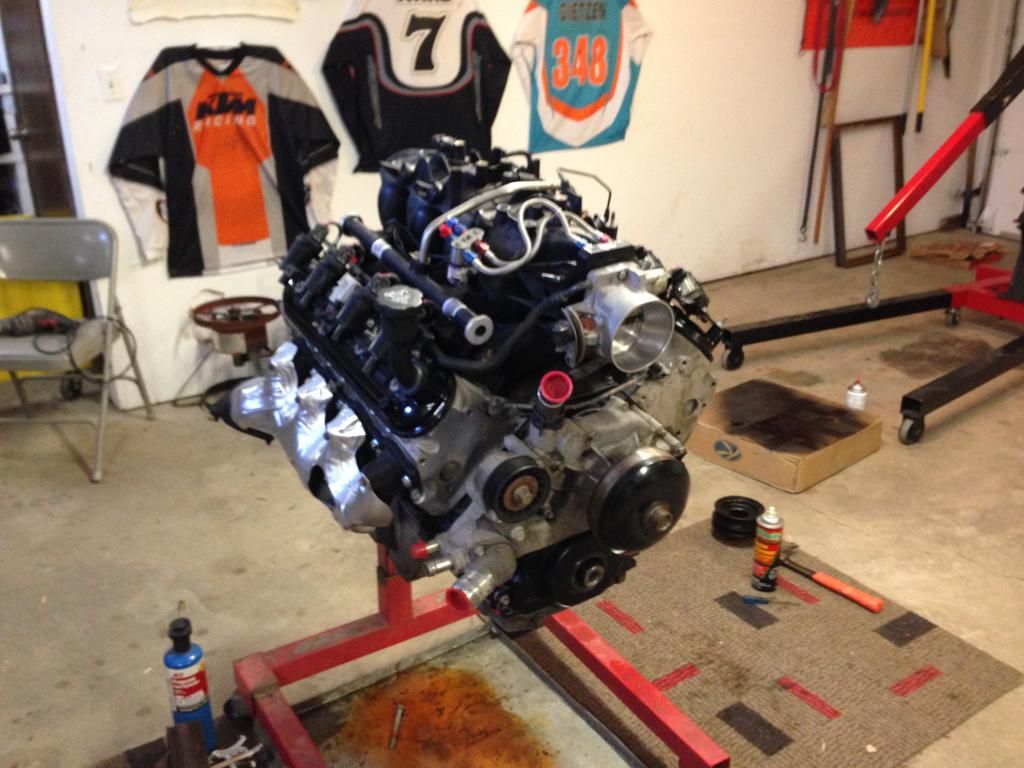
As you can see in the picture I was going to just slap the engine in and run nitrous on it. I changed gears and decided to go turbo. I will post more pictures later on the next steps of the build. Enjoy.

Cleaned up the inside!

Cleaned out the box.

Gave it a wipe with a rag.

Pulled engine out

Pulled box to put new floor in it and c notch frame, flip axle and new rear end and four wheel disc. Pictures to come later.

Little engine work.


As you can see in the picture I was going to just slap the engine in and run nitrous on it. I changed gears and decided to go turbo. I will post more pictures later on the next steps of the build. Enjoy.
02-19-2015, 08:19 PM
#4
TECH Resident

This will be a very cool and different ride! I'm looking forward to seeing the rest of your build! Unbelievable how a truck can sit out for that long and still be in that good of shape.
02-23-2015, 02:29 PM
#5
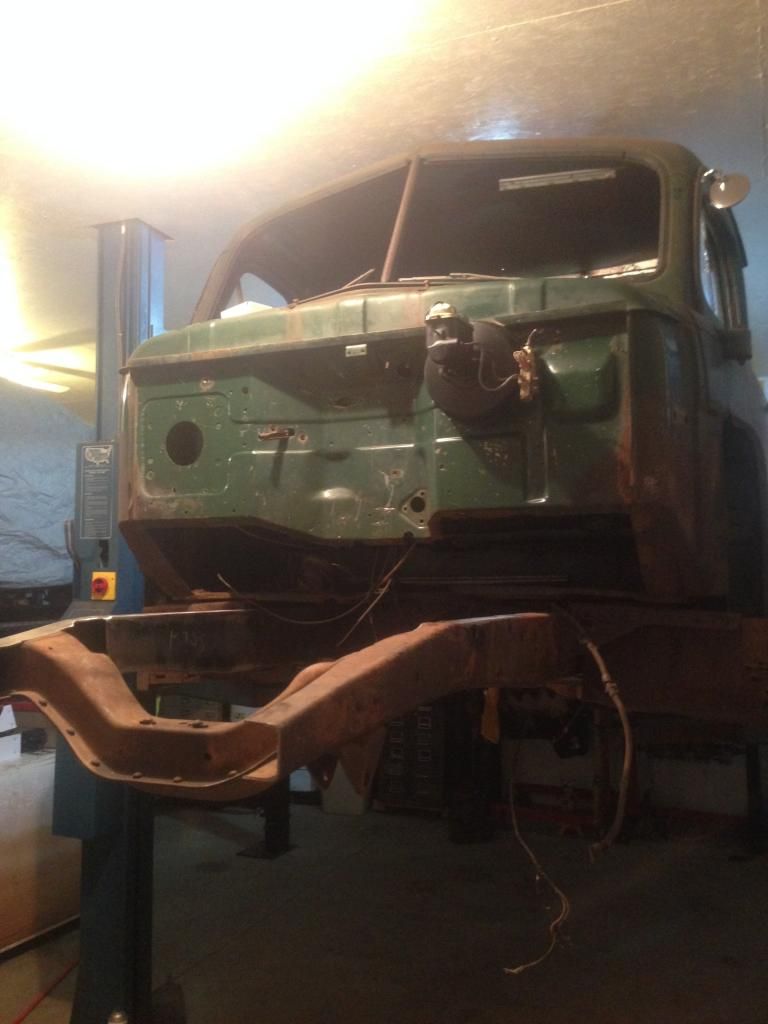
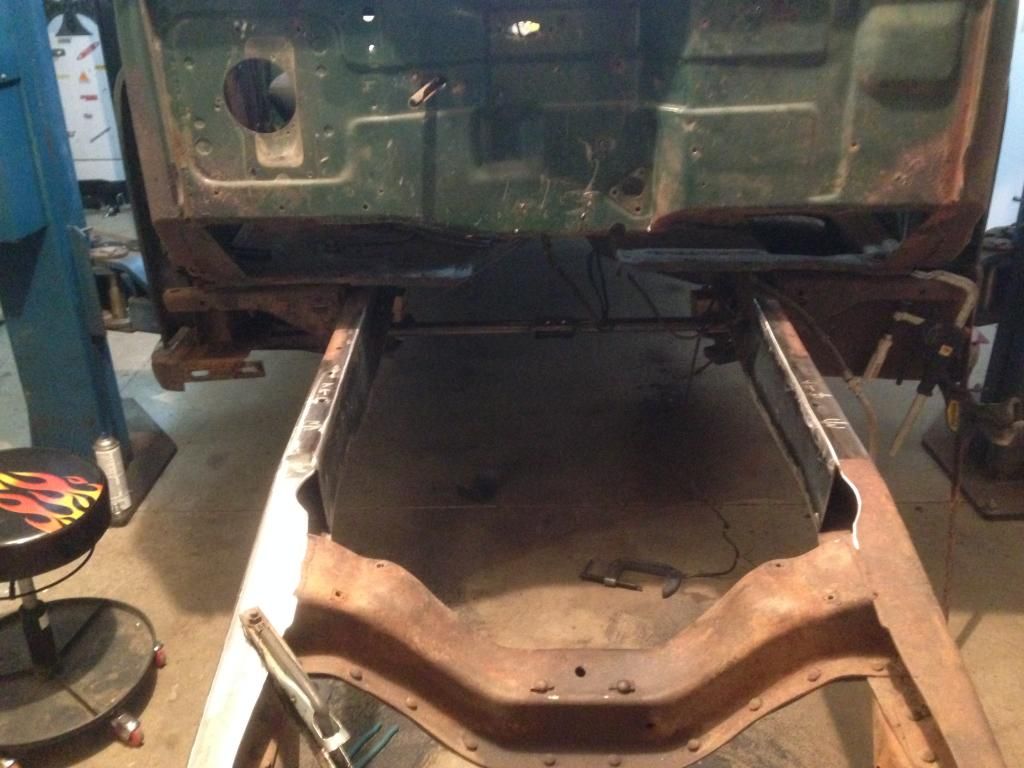
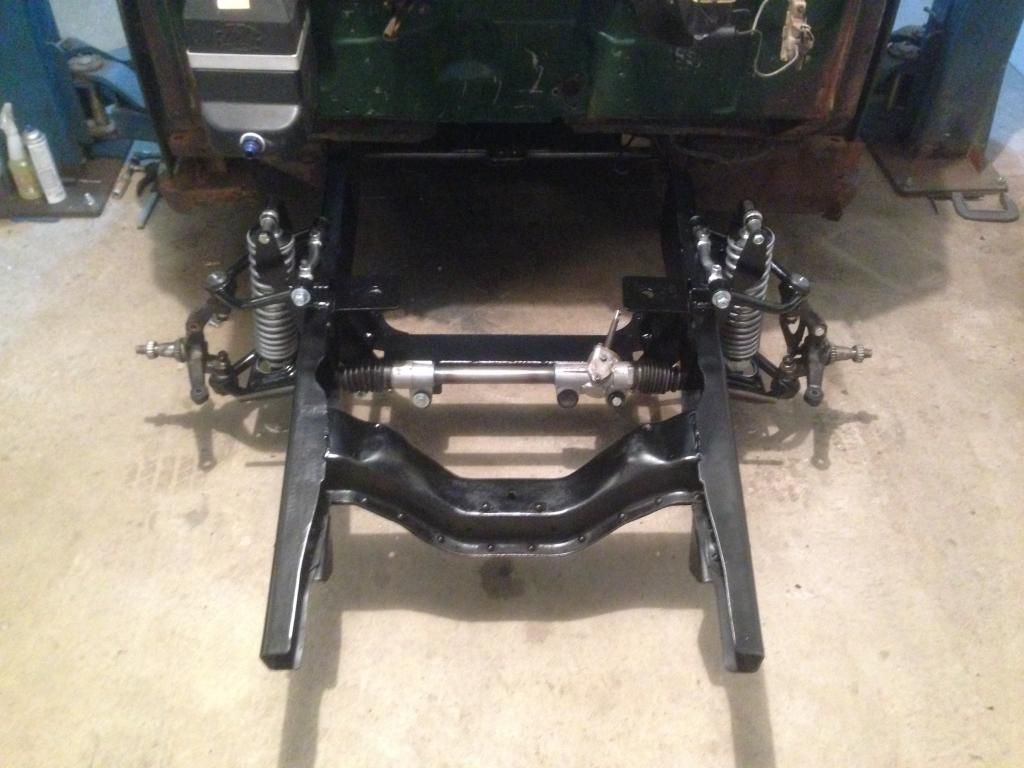
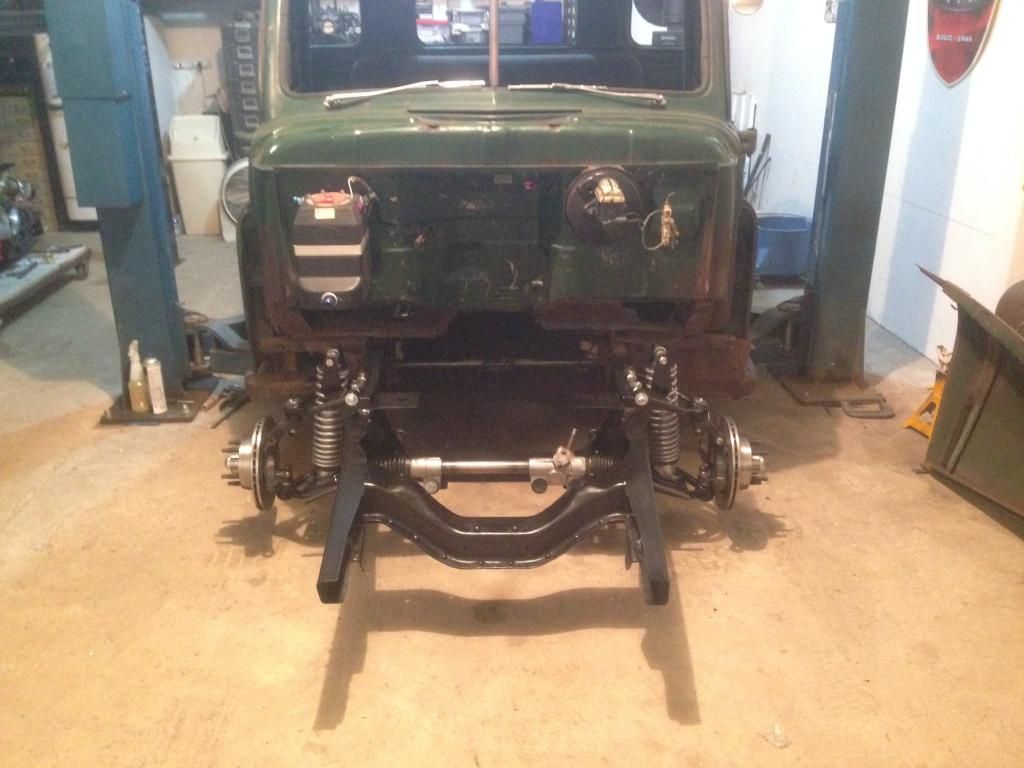
Front end removal and stripped all front end components to get ready for the mustang II install. Had to box frame up front for new crossmember. 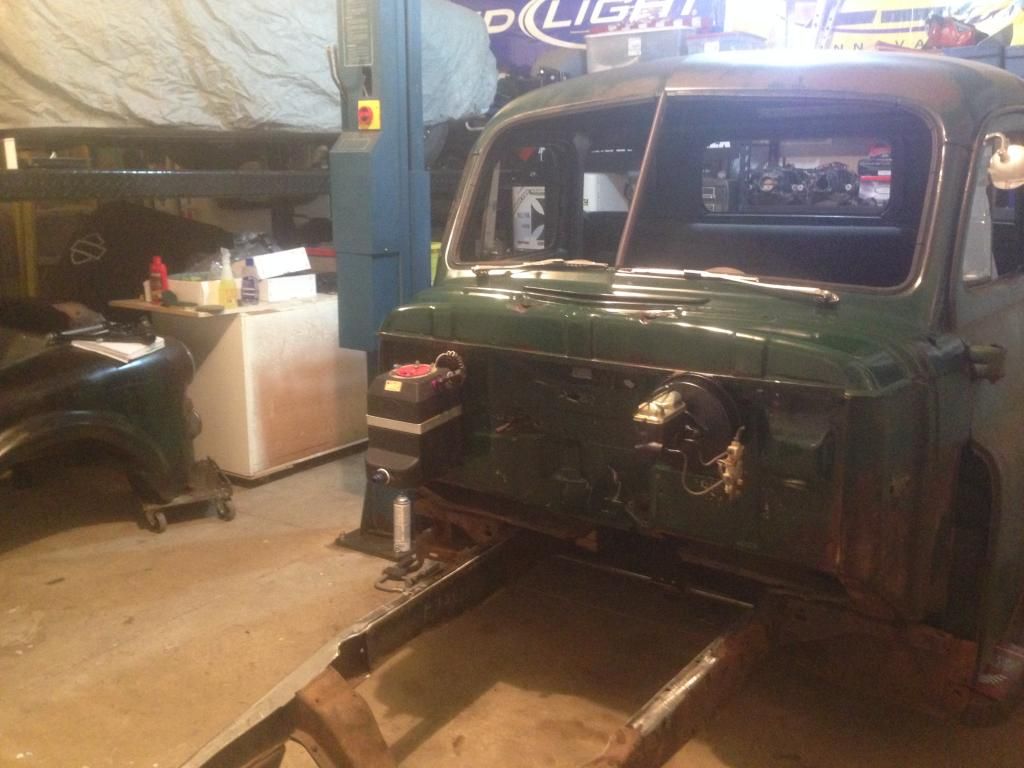
Front end parts
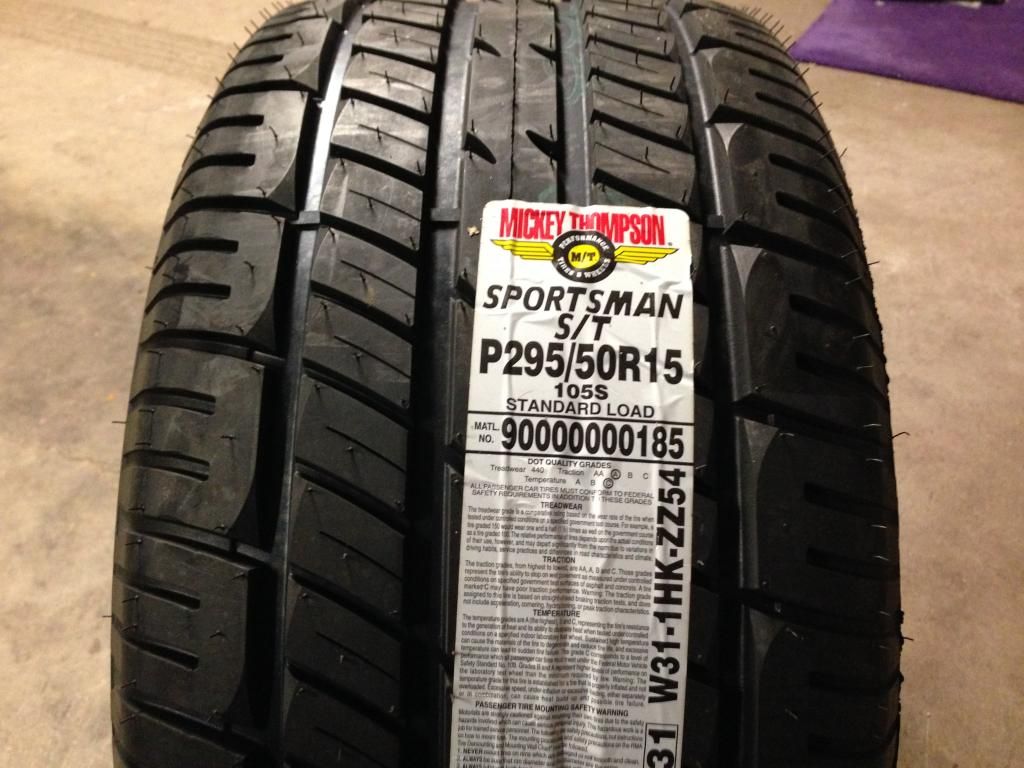
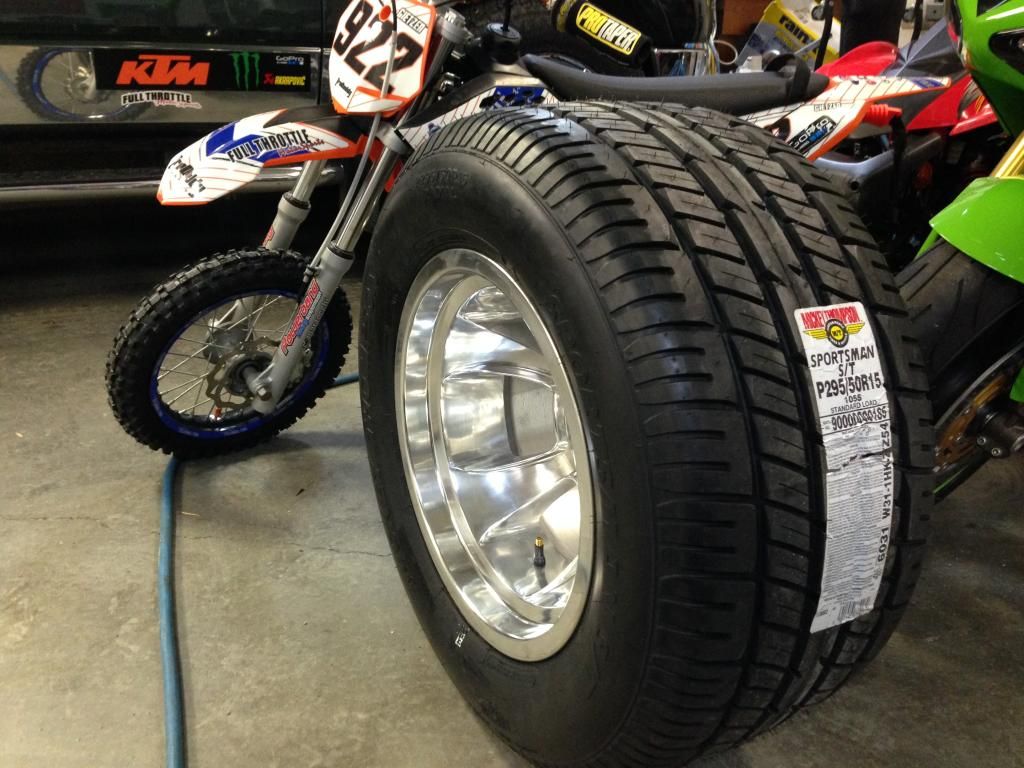
New wheels for the truck. Thought they will look cool.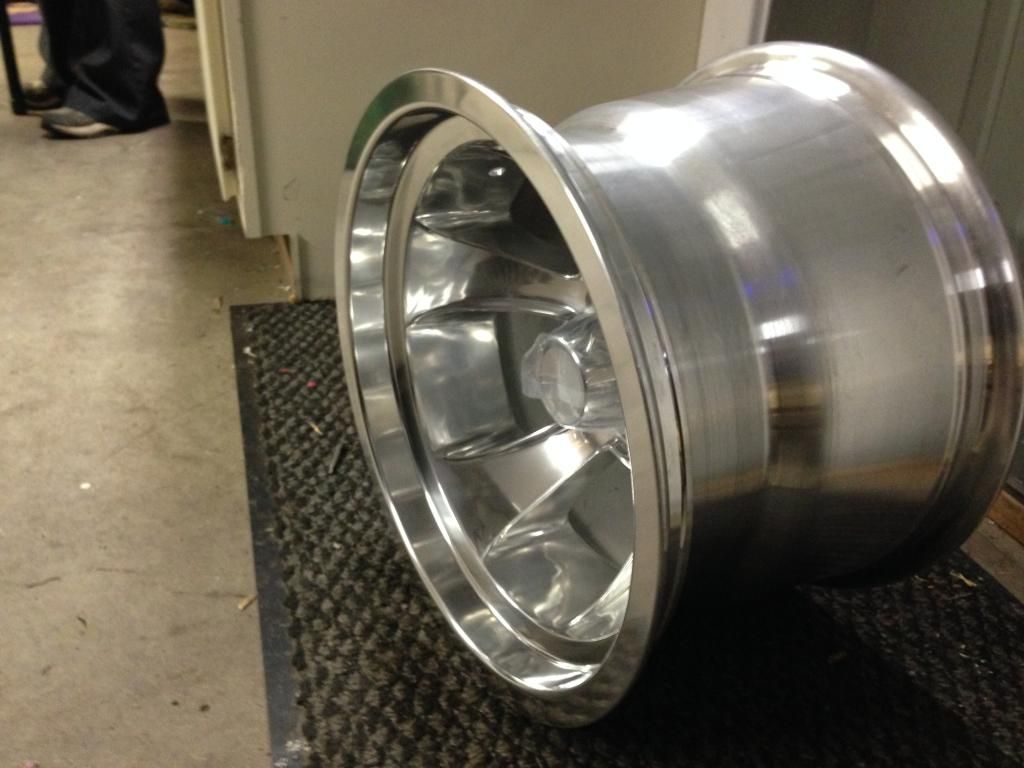
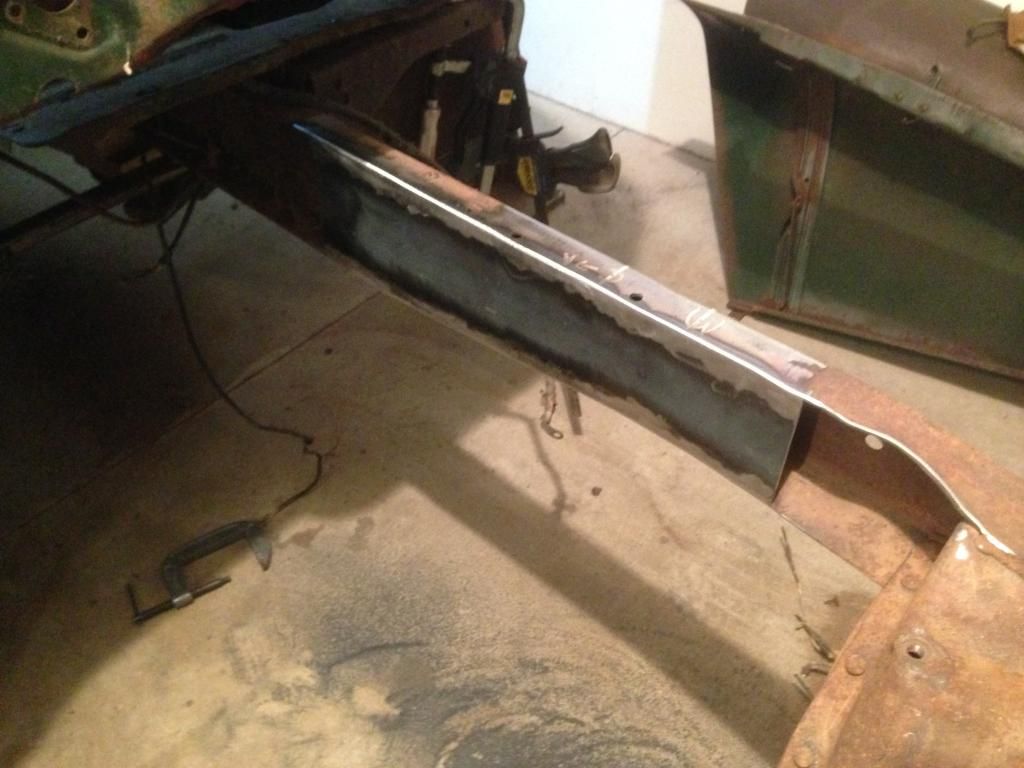
Now for the new front end! Ordered a kit from Welder series. I was really happy with there quality! They are universal kits so you have to measure and cut and all of the in-between. But everything went really smooth I thought. Here are the pictures.
Here is the new crossmember cut to size and notched and tacked in.
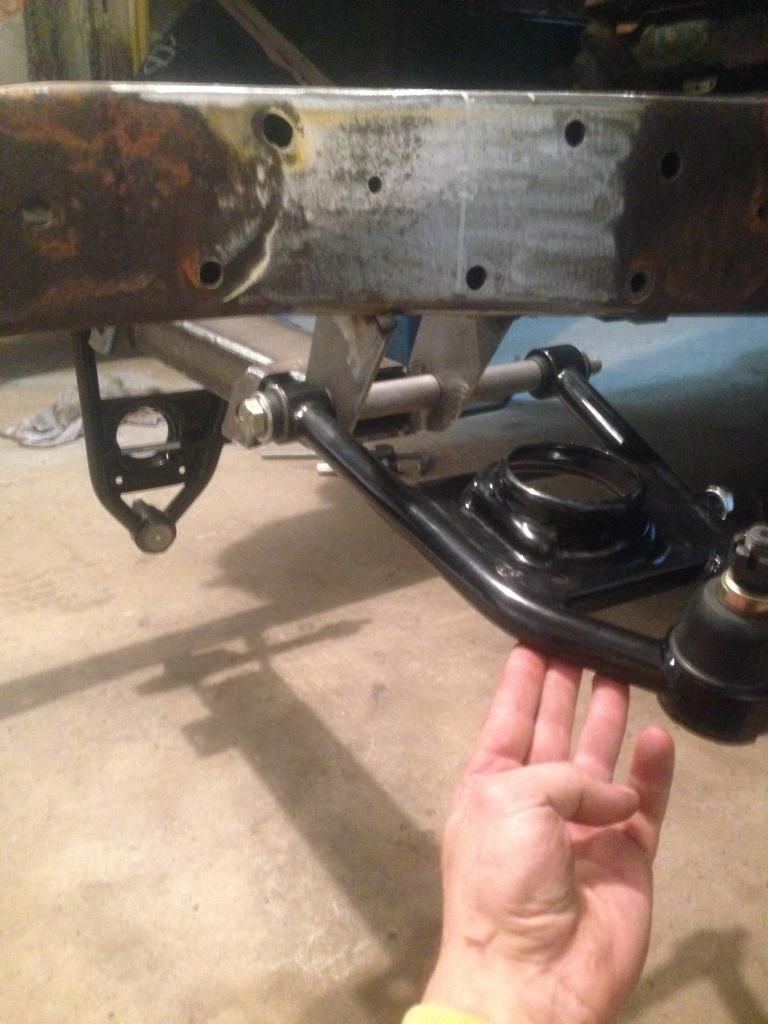
Had to measure everything to make sure at ride height the geometry was all going to be ok.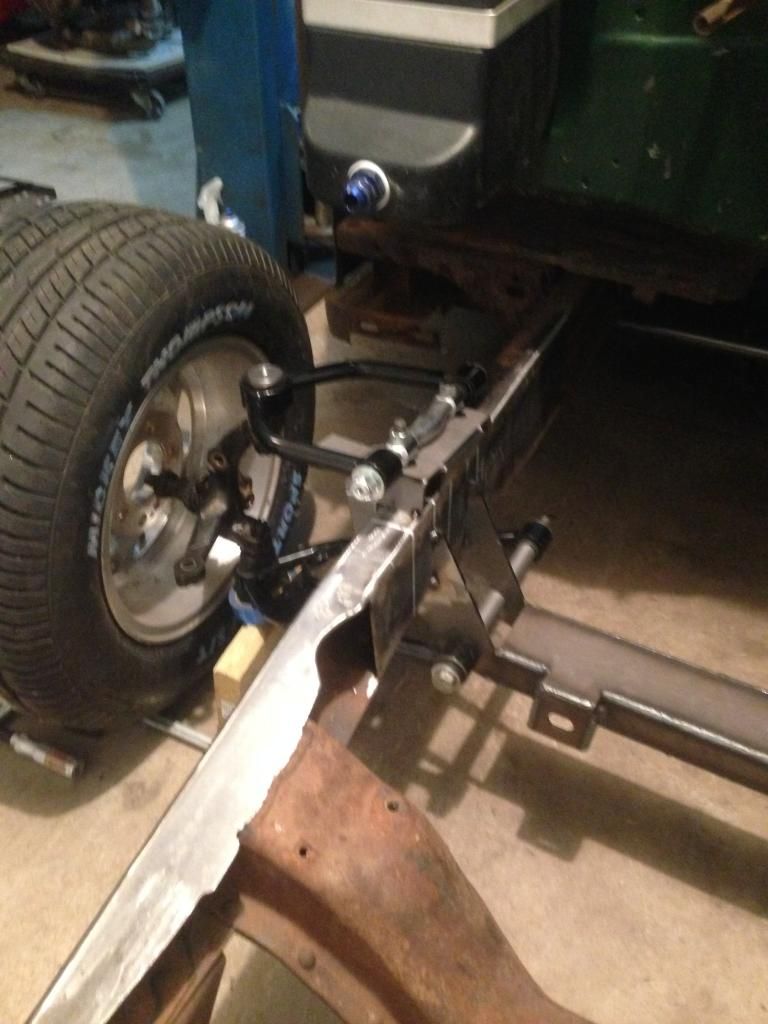
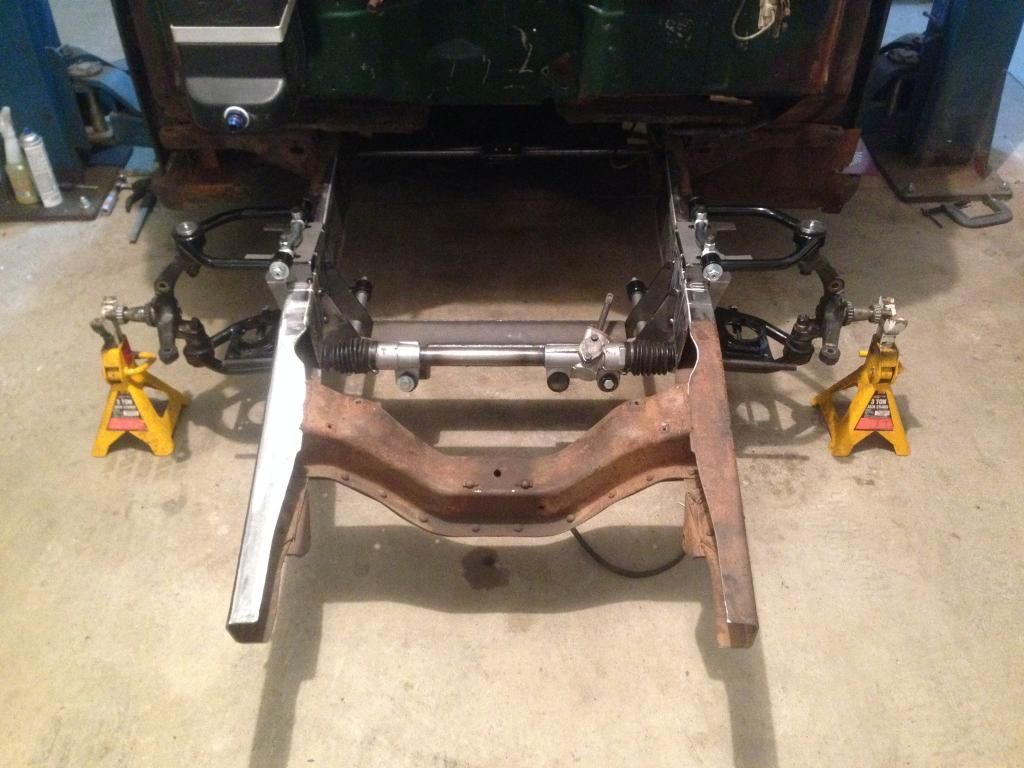
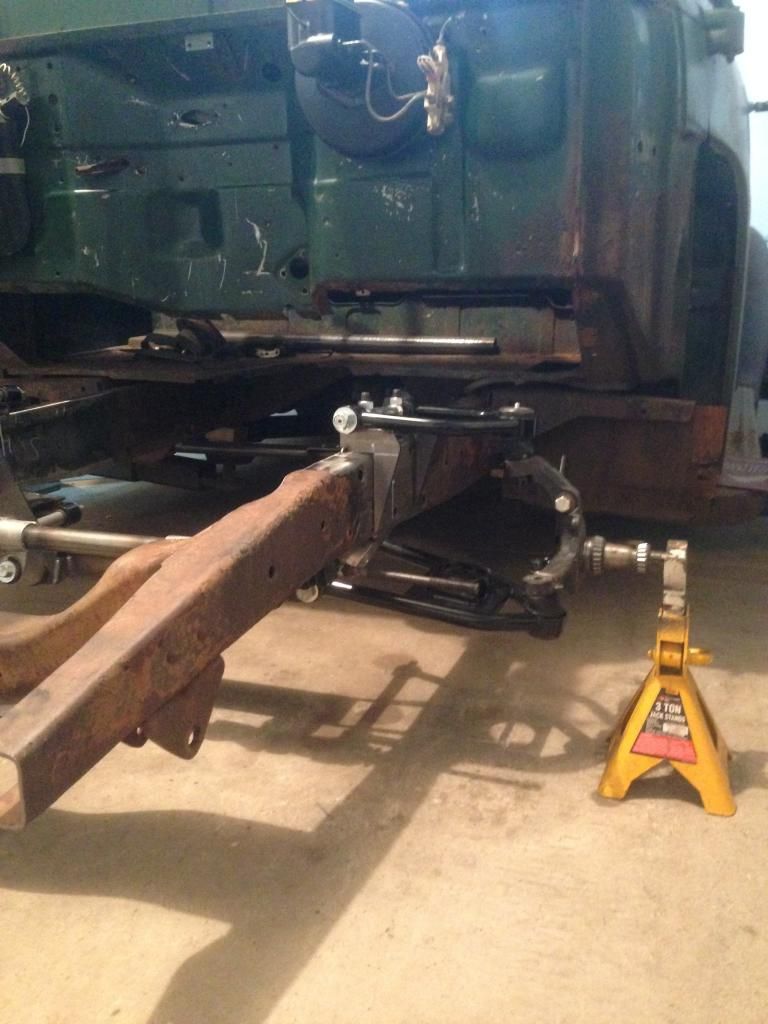
Then it was time to put together the top hats and coil over brackets.
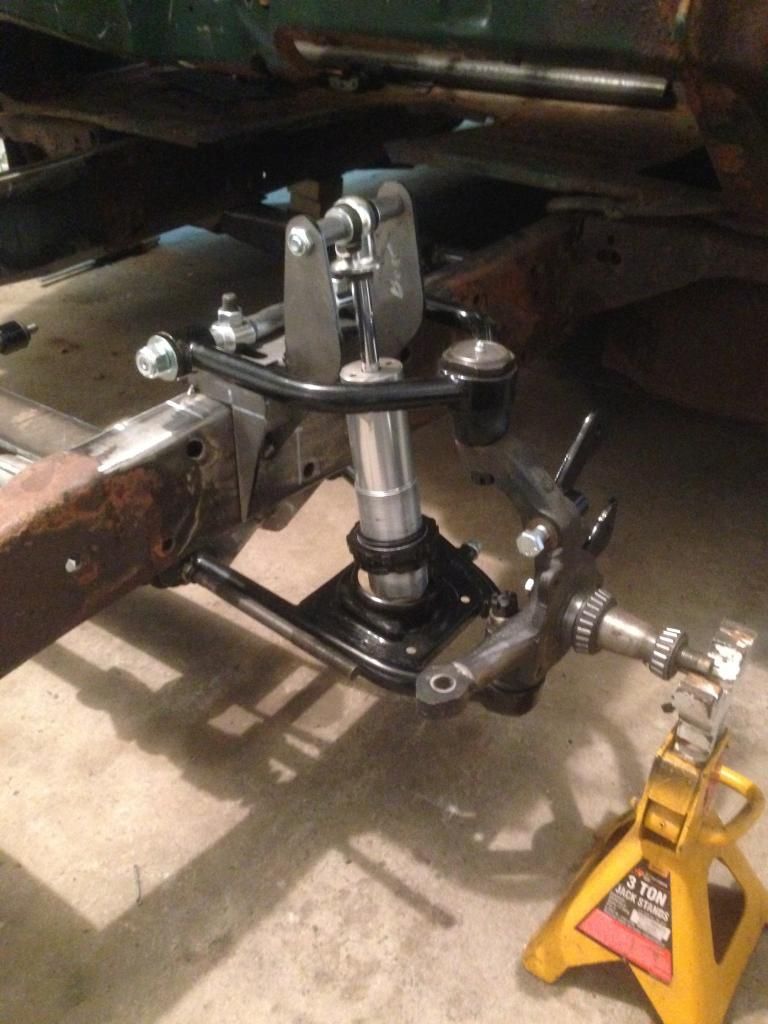

Then had to make it purdy black. Then reassemble.
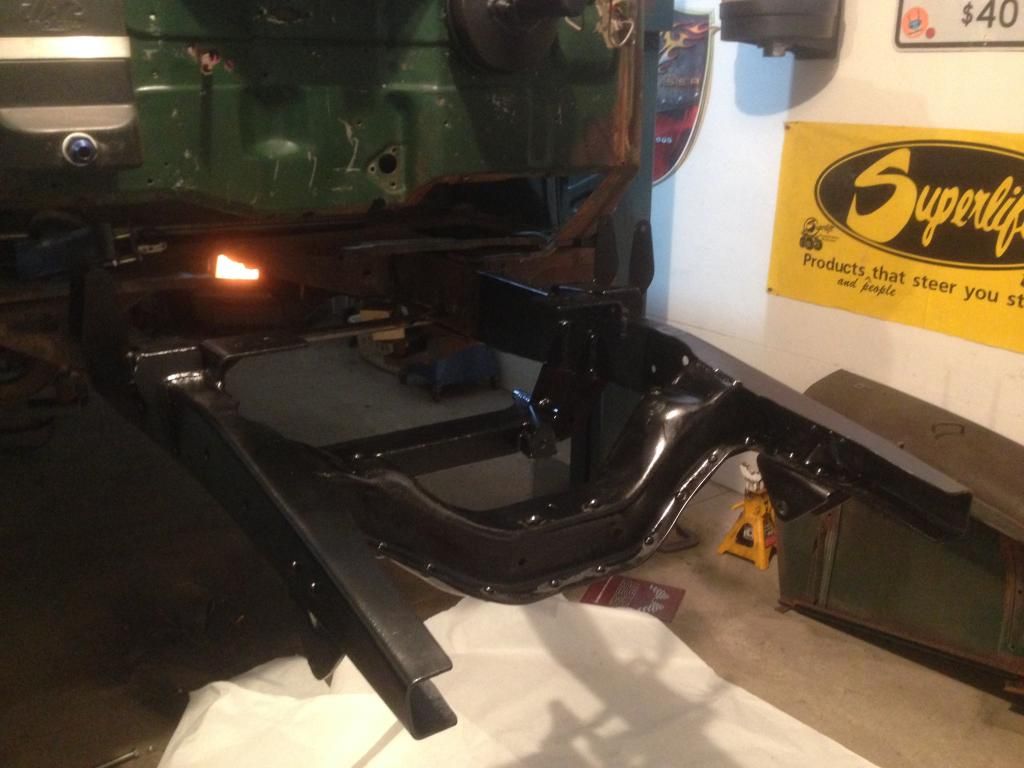

Hot side, rear end, box floor, windows lots more pictures coming!!
I was going to do meth and pump gas on this build but sense changed my mind and now I have a pro flo intake and FIC 127 lbs injectors that showed up for it so I will be running it on E85. Stay tuned for more fun pictures!


Front end parts

New wheels for the truck. Thought they will look cool.


Now for the new front end! Ordered a kit from Welder series. I was really happy with there quality! They are universal kits so you have to measure and cut and all of the in-between. But everything went really smooth I thought. Here are the pictures.
Here is the new crossmember cut to size and notched and tacked in.


Had to measure everything to make sure at ride height the geometry was all going to be ok.


Then it was time to put together the top hats and coil over brackets.


Then had to make it purdy black. Then reassemble.


Hot side, rear end, box floor, windows lots more pictures coming!!
I was going to do meth and pump gas on this build but sense changed my mind and now I have a pro flo intake and FIC 127 lbs injectors that showed up for it so I will be running it on E85. Stay tuned for more fun pictures!

Trending Topics
02-24-2015, 09:04 PM
#10
Considering that it's been sitting in the weeds for as long as it has been. I think it's in really good shape! They don't make things like they used to. I have taken almost every bolt out with hand wrenches just because I can. I thought every bolt I would touch would snap off.
 02-25-2015, 12:47 PM
#13
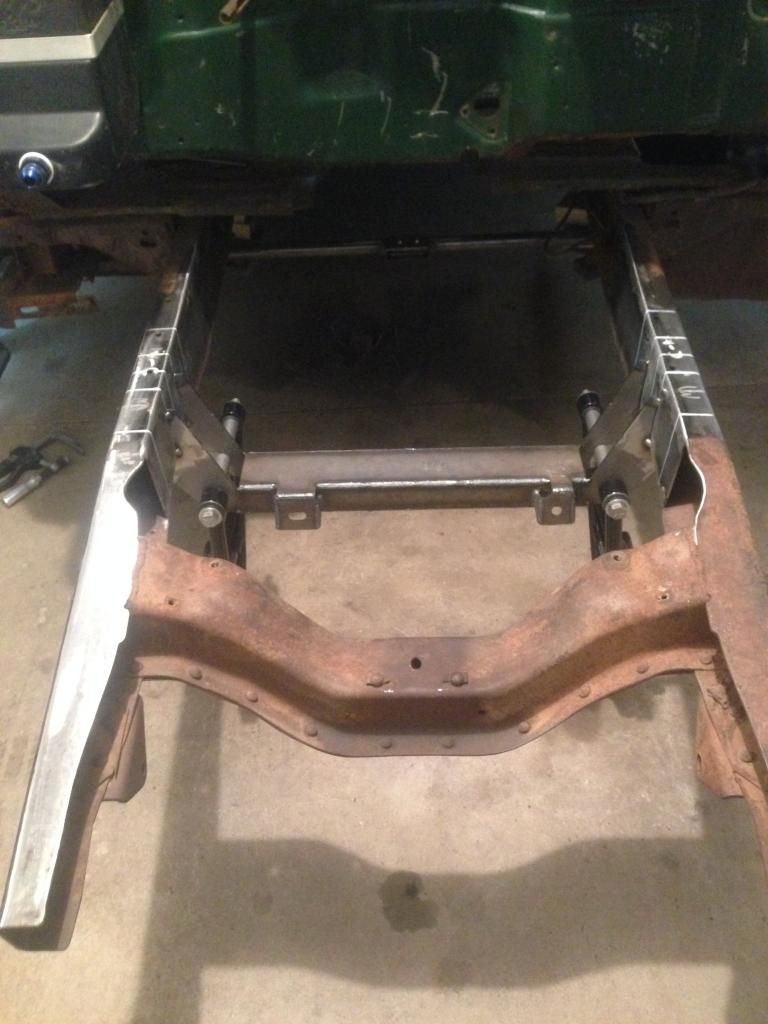
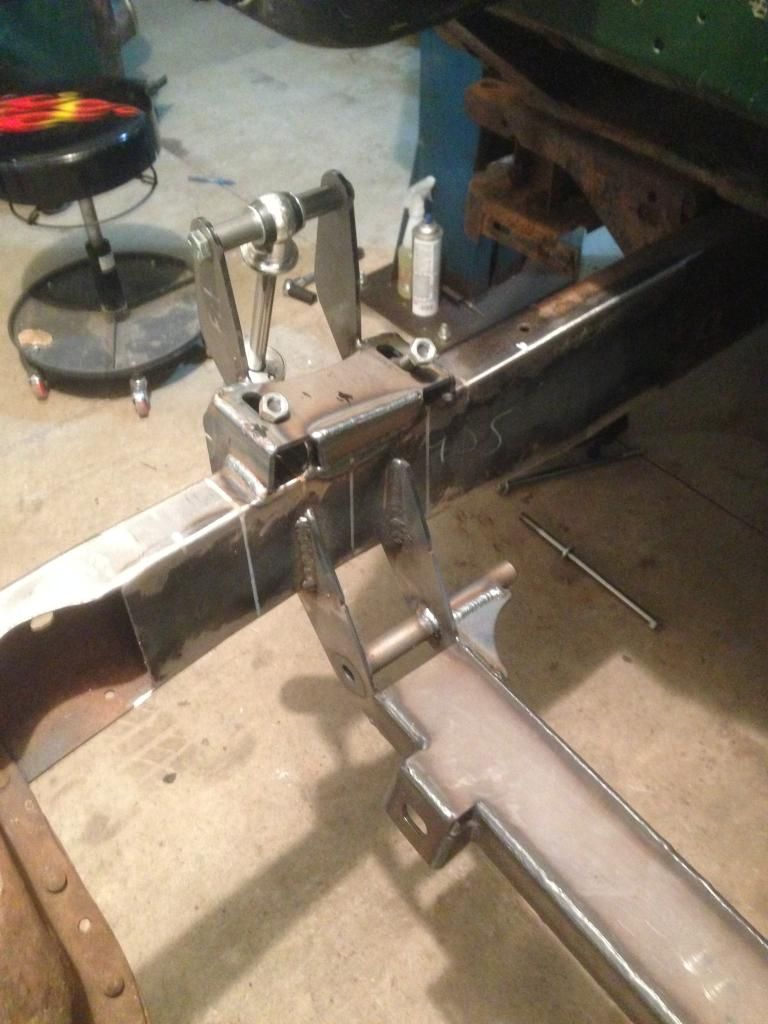
Sense the front of the truck has been getting all the attention its time for the back to get some.
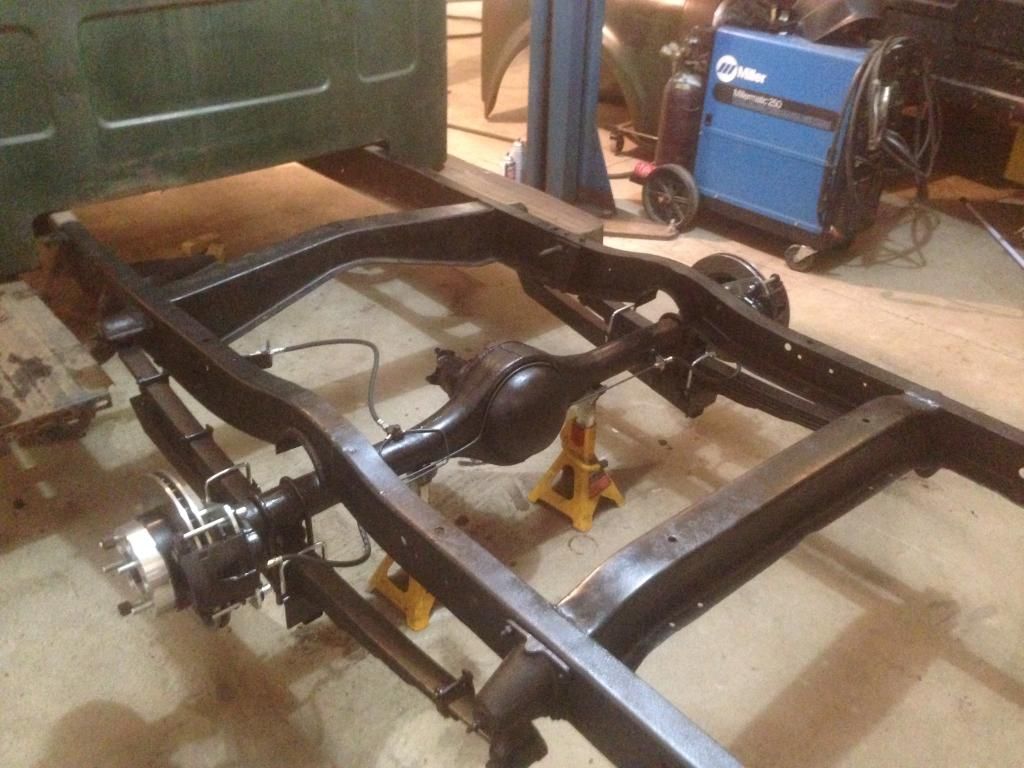
Here it is with the box off. Time to clean it up and c notch the frame and flip rear axle.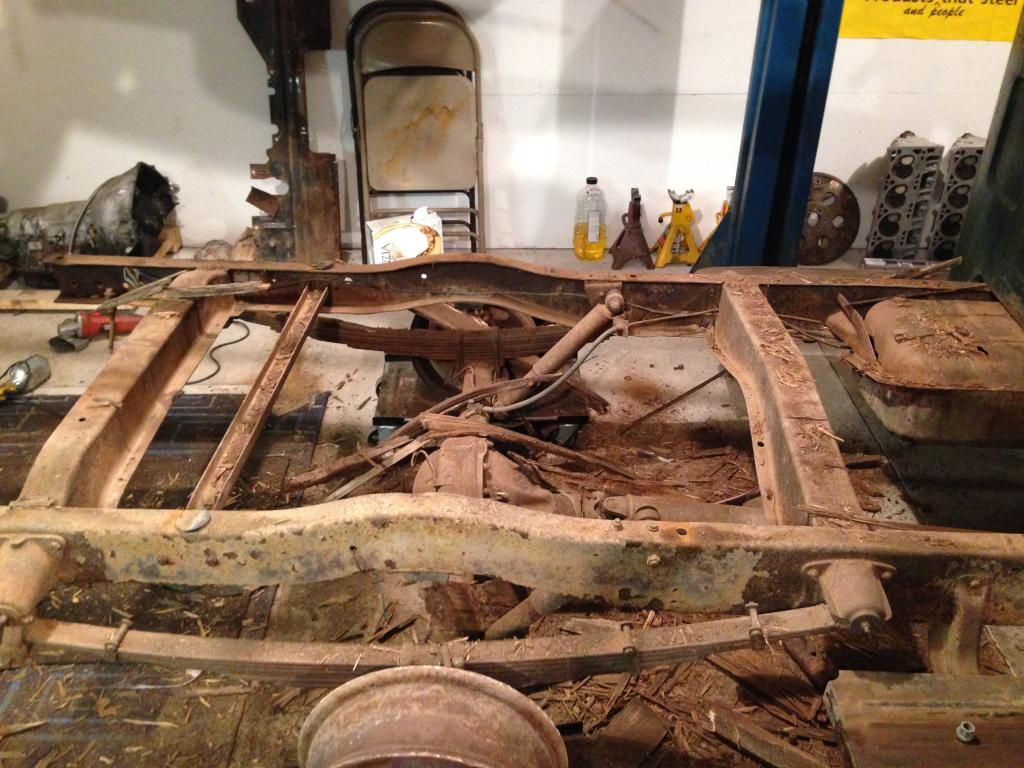
Notched and flipped. Now I need to clean the rest up and go through rear end and get brakes on it.
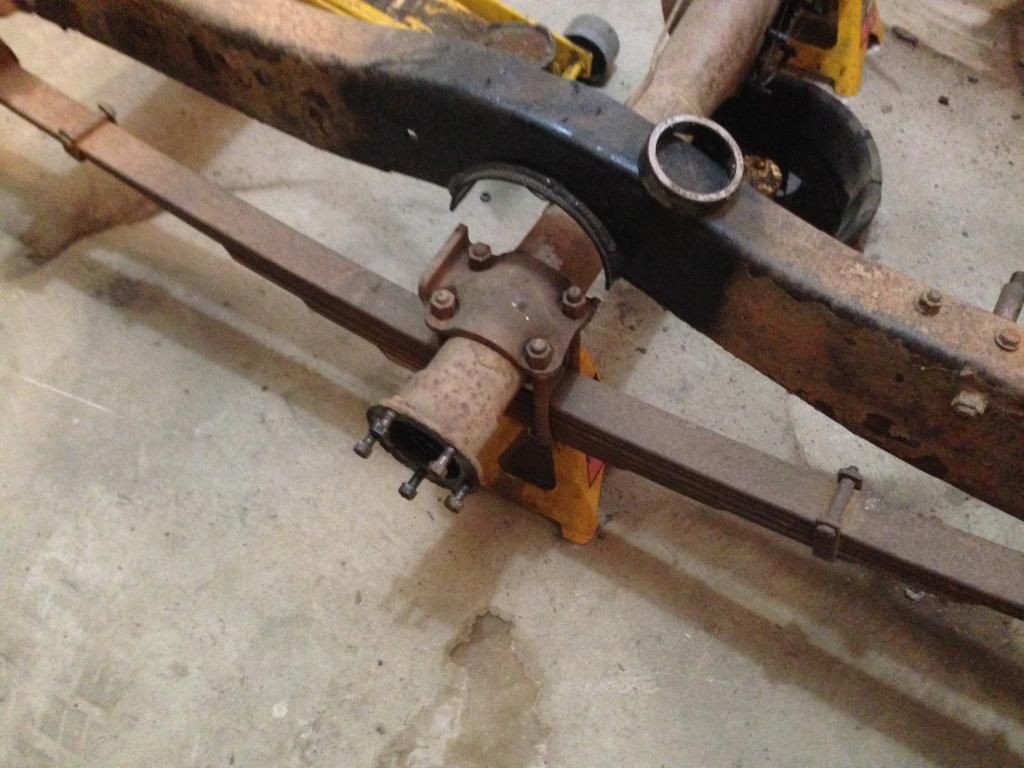
I must say out of all the things so far the rear brakes were the biggest pain. I thought that would have been the easiest haha go figure. After getting all the old drums off and axles and center section out. I went ahead and installed all new bearings and seals through out. Then fit the the brakes.
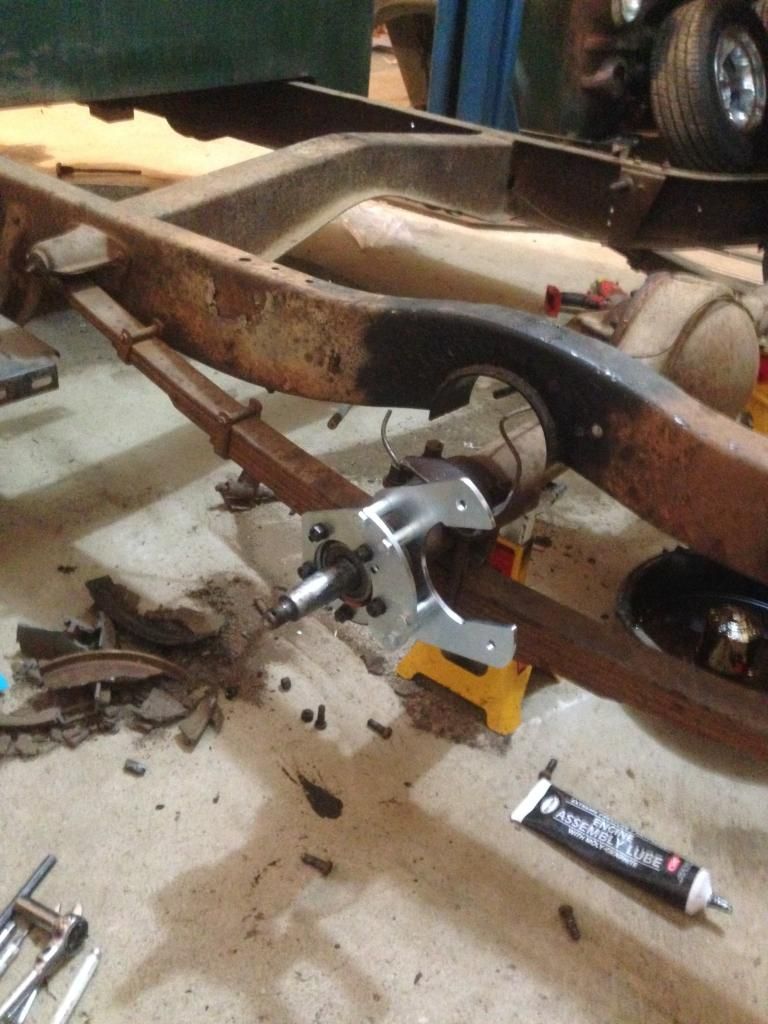
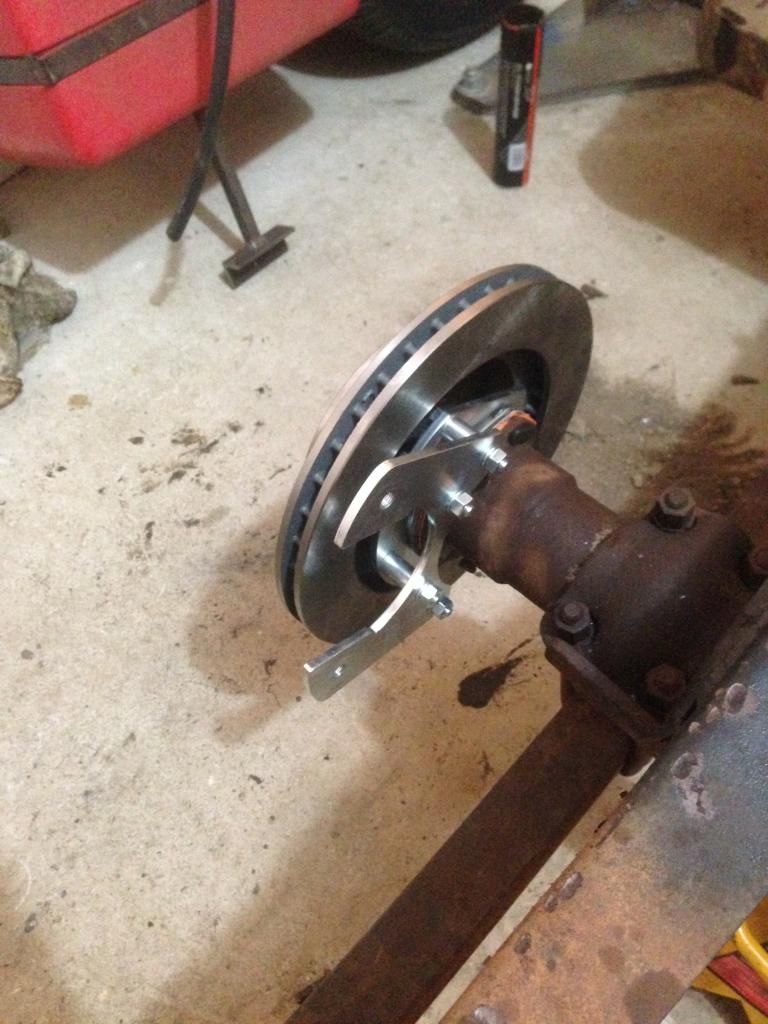
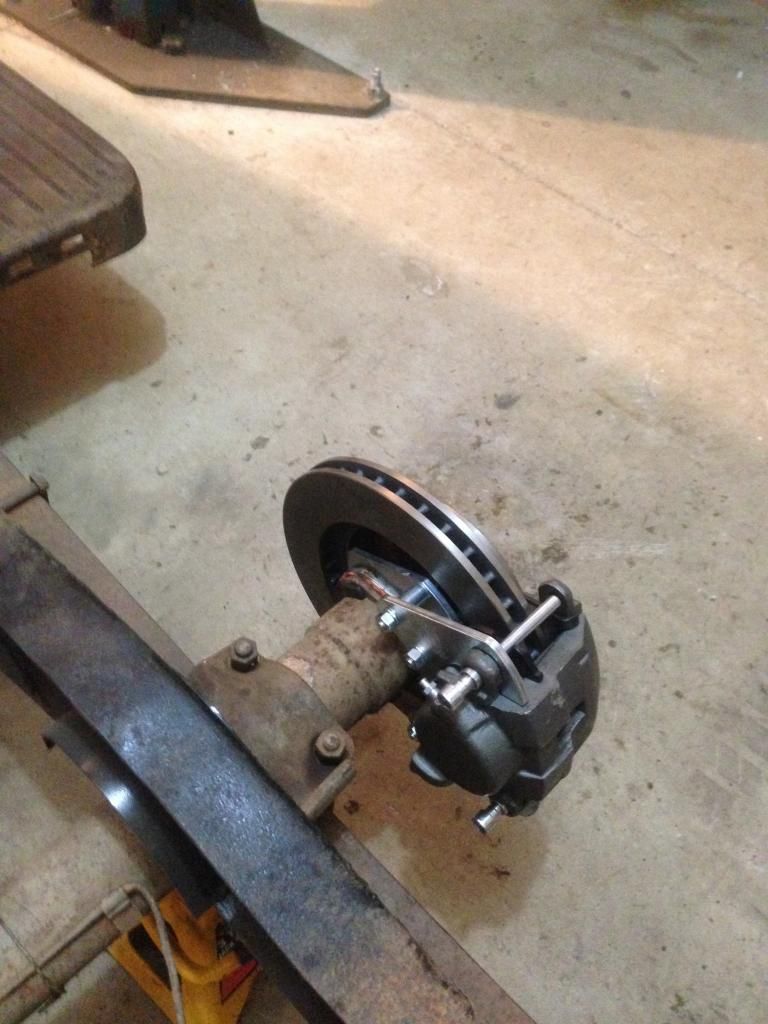
As you can see in this last picture I was waiting for the new u bolts from when I did the axle flip. So I was just using the factory brackets till they showed up.
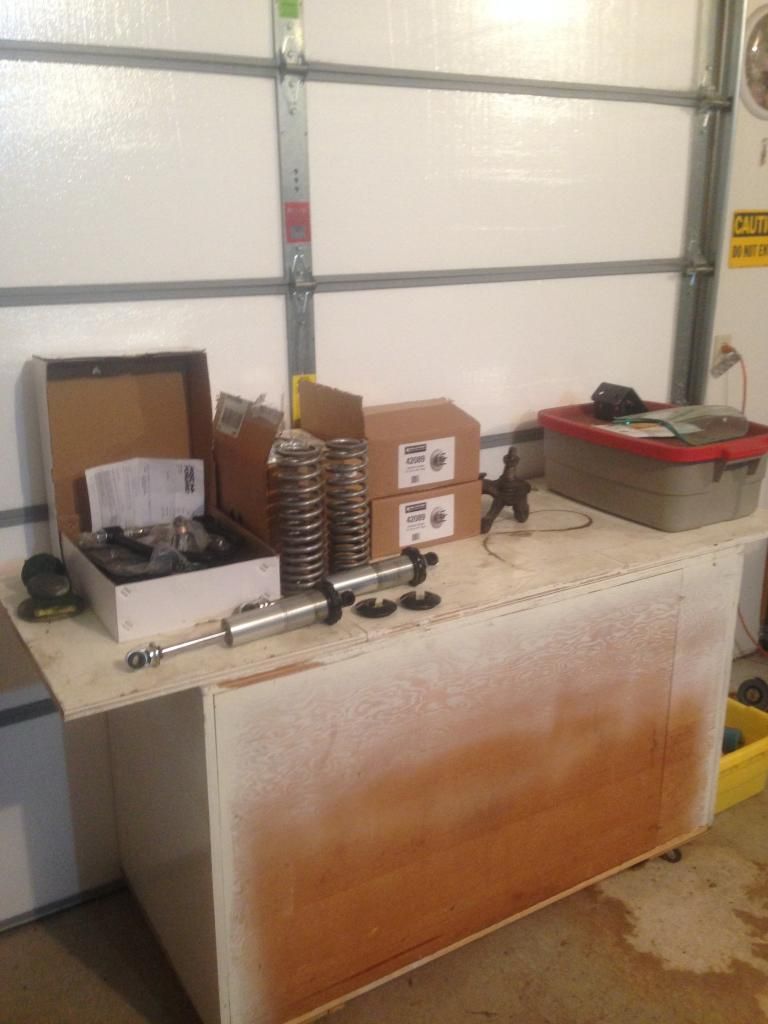
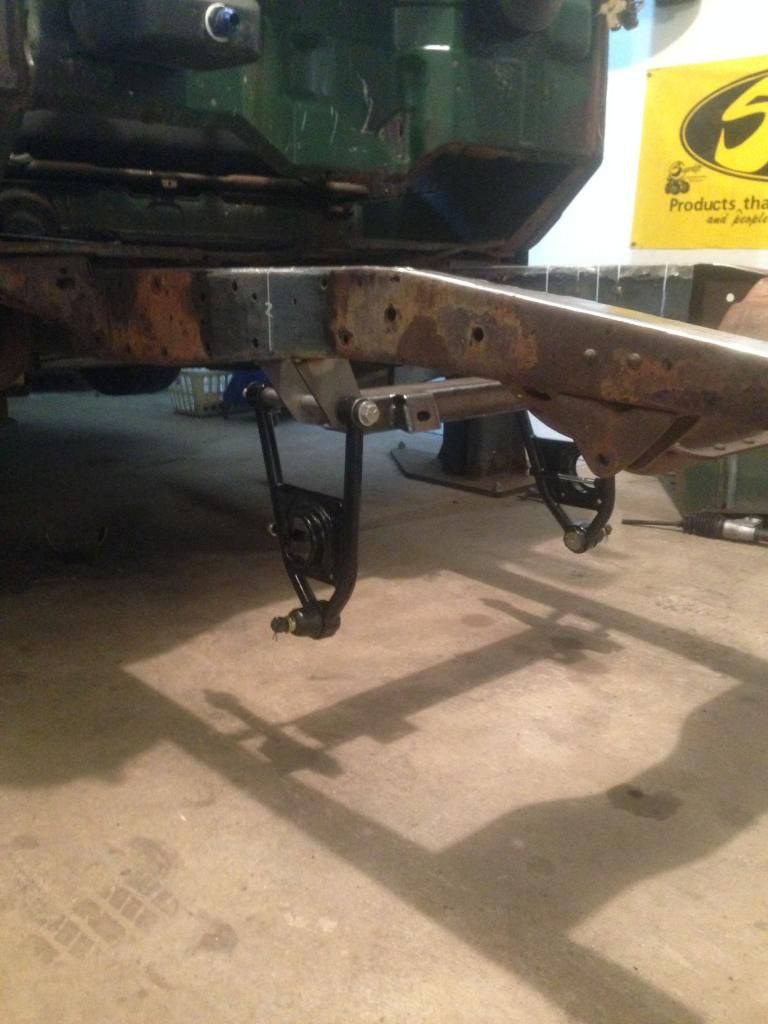
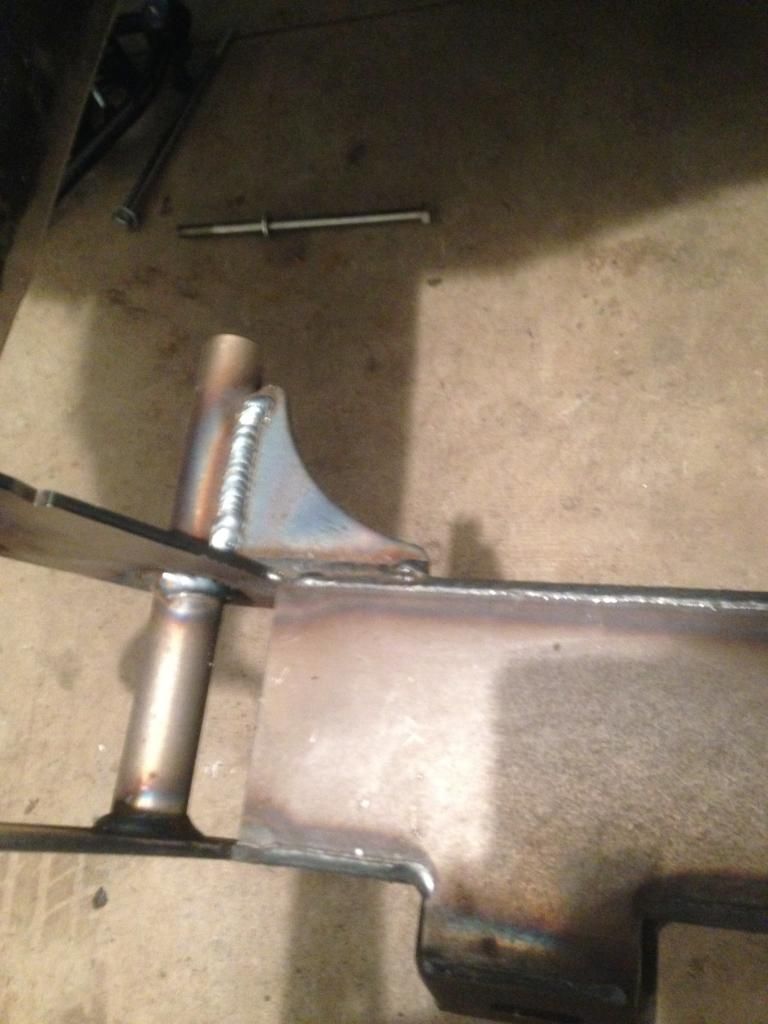
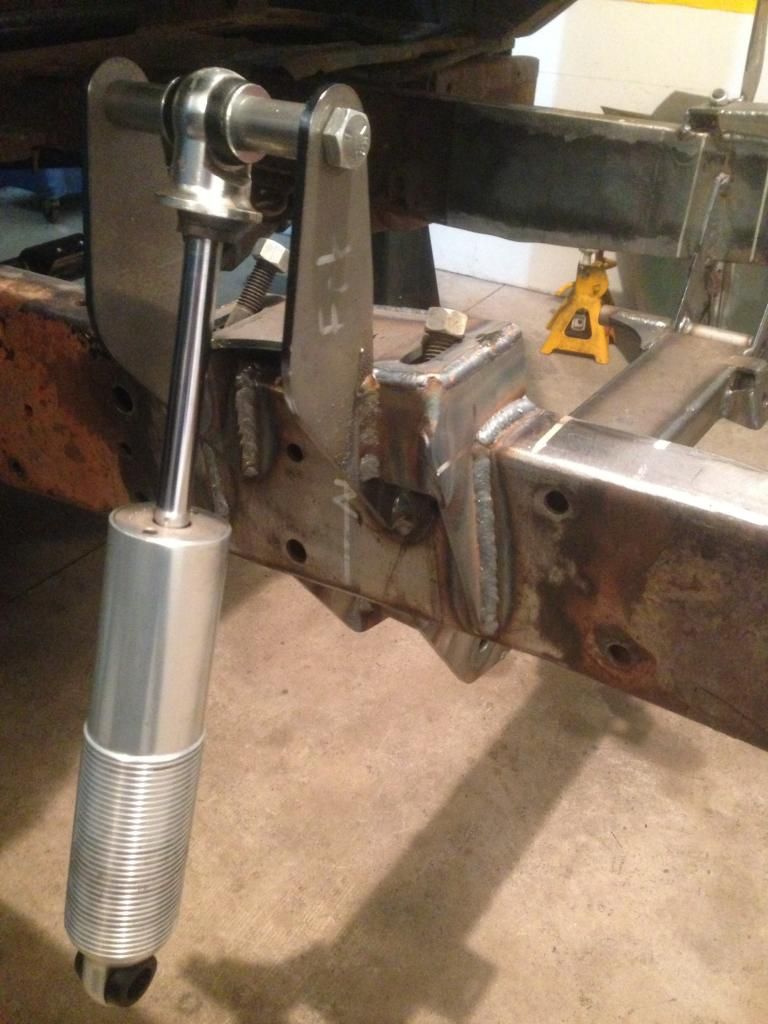
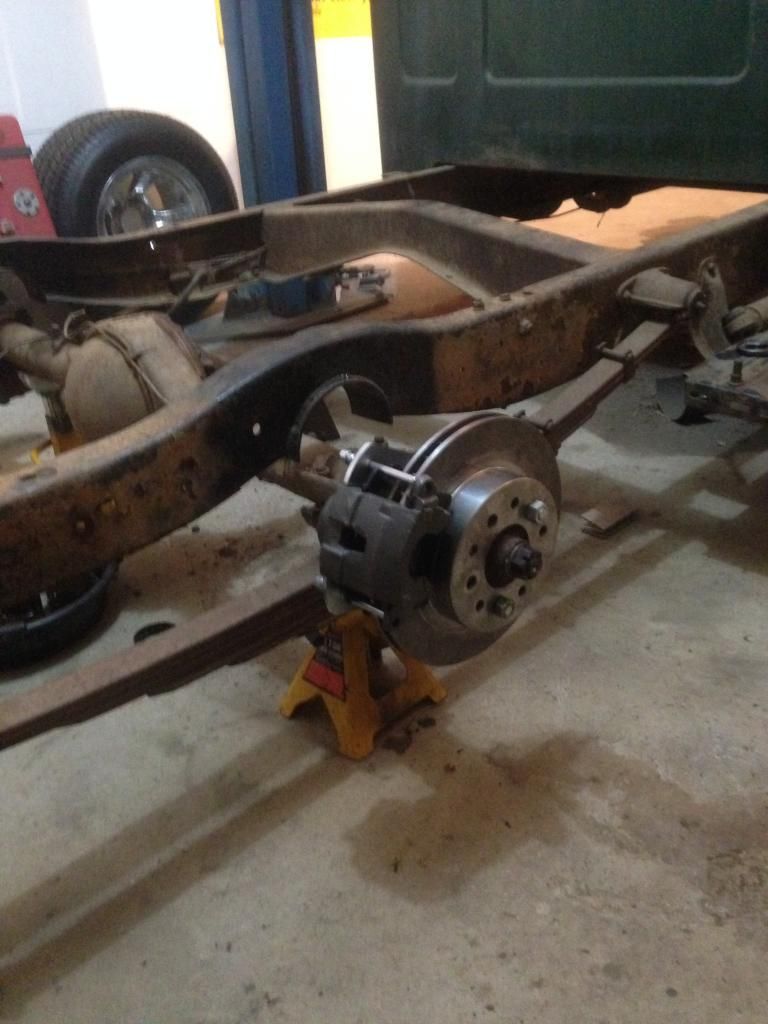
Here is the rear end almost finished up. Only thing I really have left back here is the shocks.
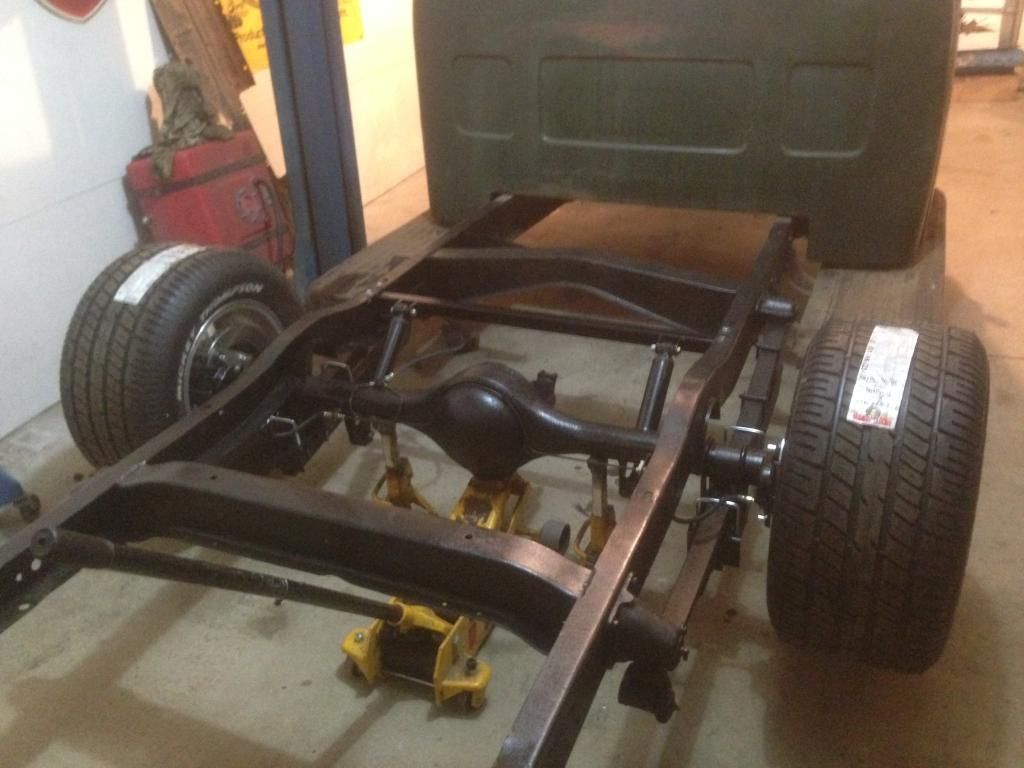
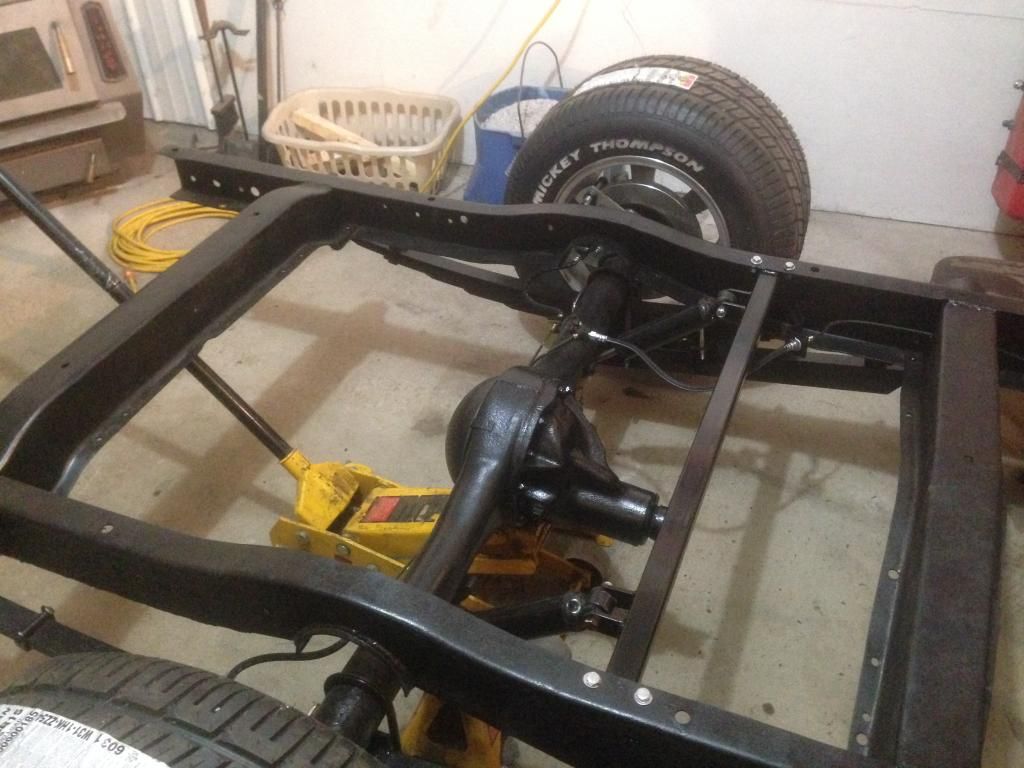
Here it is with the shocks and cross brace I made for it.
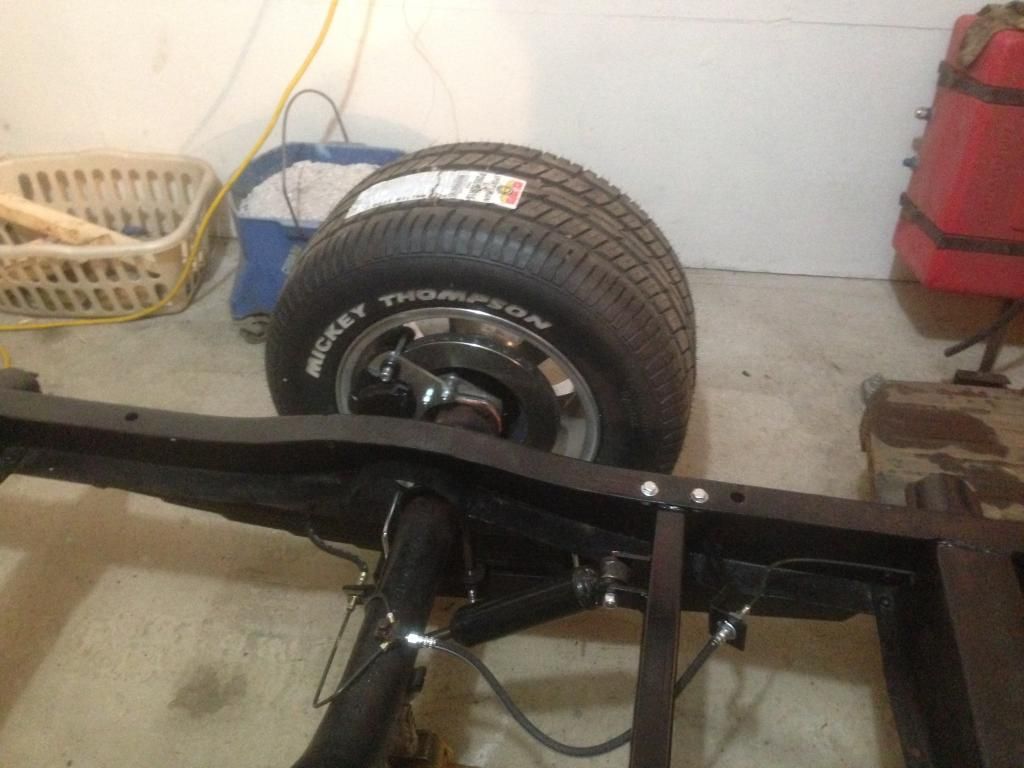

Lots more pictures to come!
Here it is with the box off. Time to clean it up and c notch the frame and flip rear axle.


Notched and flipped. Now I need to clean the rest up and go through rear end and get brakes on it.

I must say out of all the things so far the rear brakes were the biggest pain. I thought that would have been the easiest haha go figure. After getting all the old drums off and axles and center section out. I went ahead and installed all new bearings and seals through out. Then fit the the brakes.


As you can see in this last picture I was waiting for the new u bolts from when I did the axle flip. So I was just using the factory brackets till they showed up.
Here is the rear end almost finished up. Only thing I really have left back here is the shocks.


Here it is with the shocks and cross brace I made for it.


Lots more pictures to come!
02-25-2015, 02:05 PM
#15
I have not thought about that yet. My plan was to leave it leaf with the traction bars and just play this spring. If I wasn't happy I was thinking at the end of this summer I would pull the box and maybe do a 4 link setup with coilovers?


