When you click on links to various merchants on this site and make a purchase, this can result in this site earning a commission. Affiliate programs and affiliations include, but are not limited to, the eBay Partner Network.
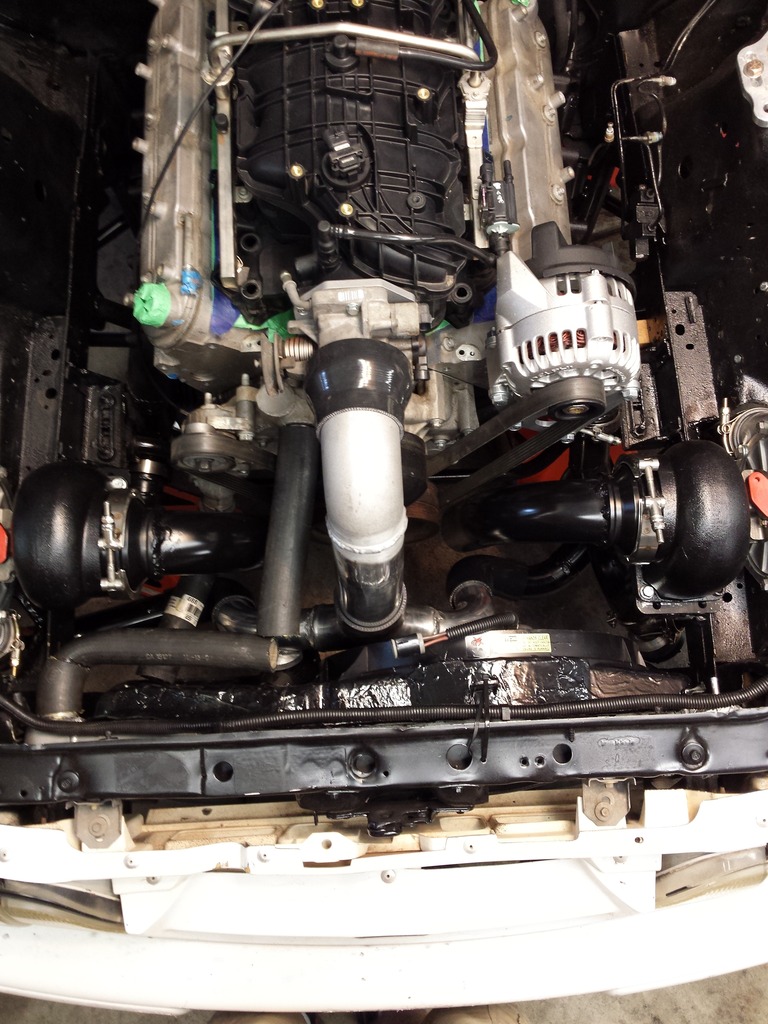
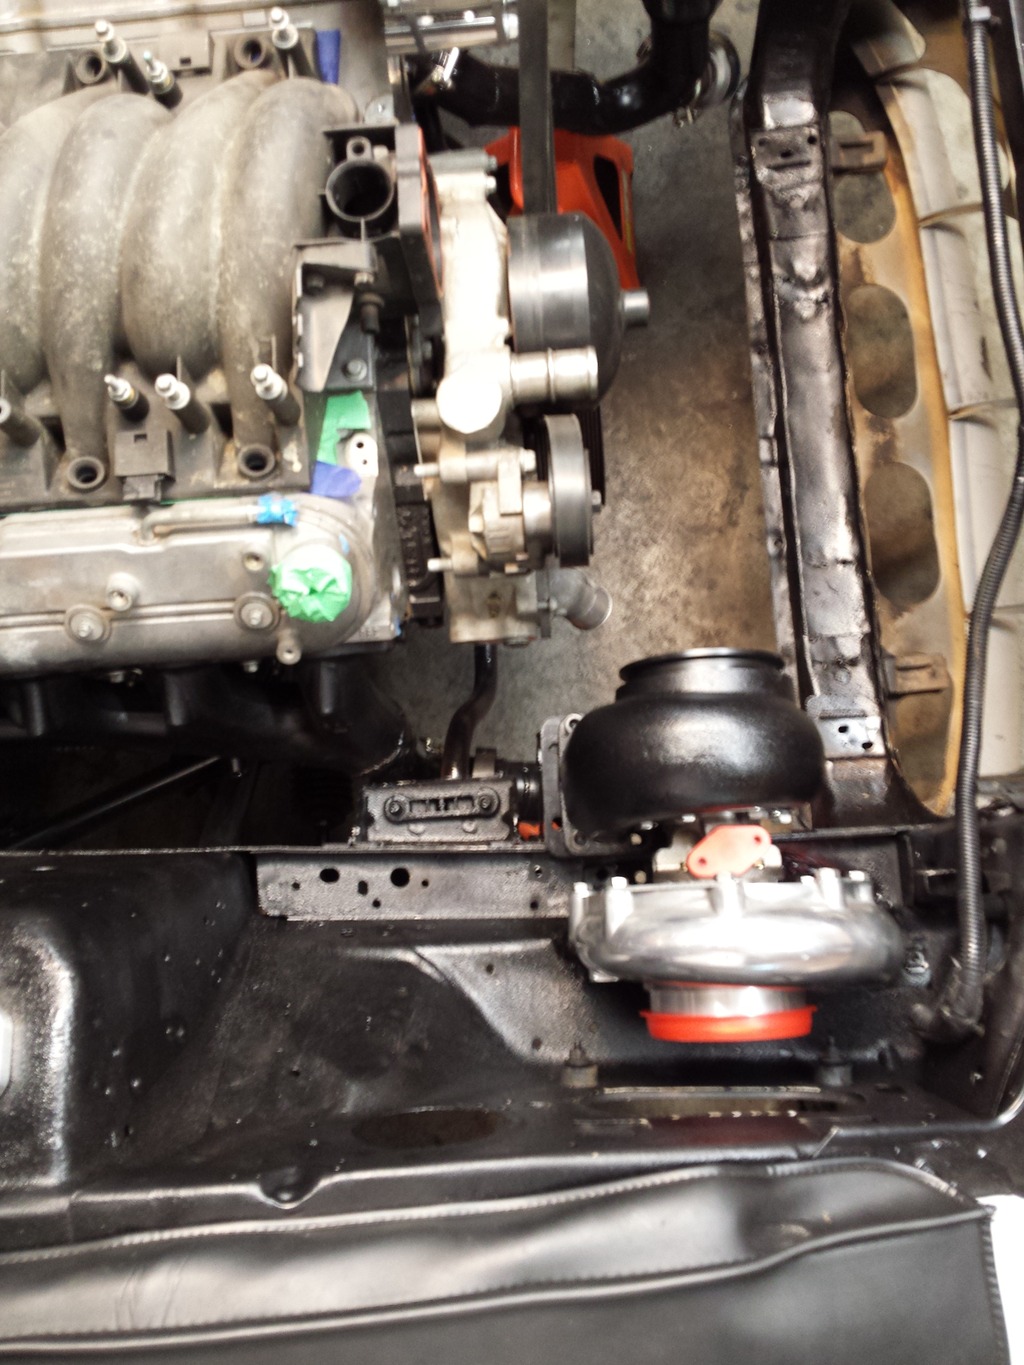
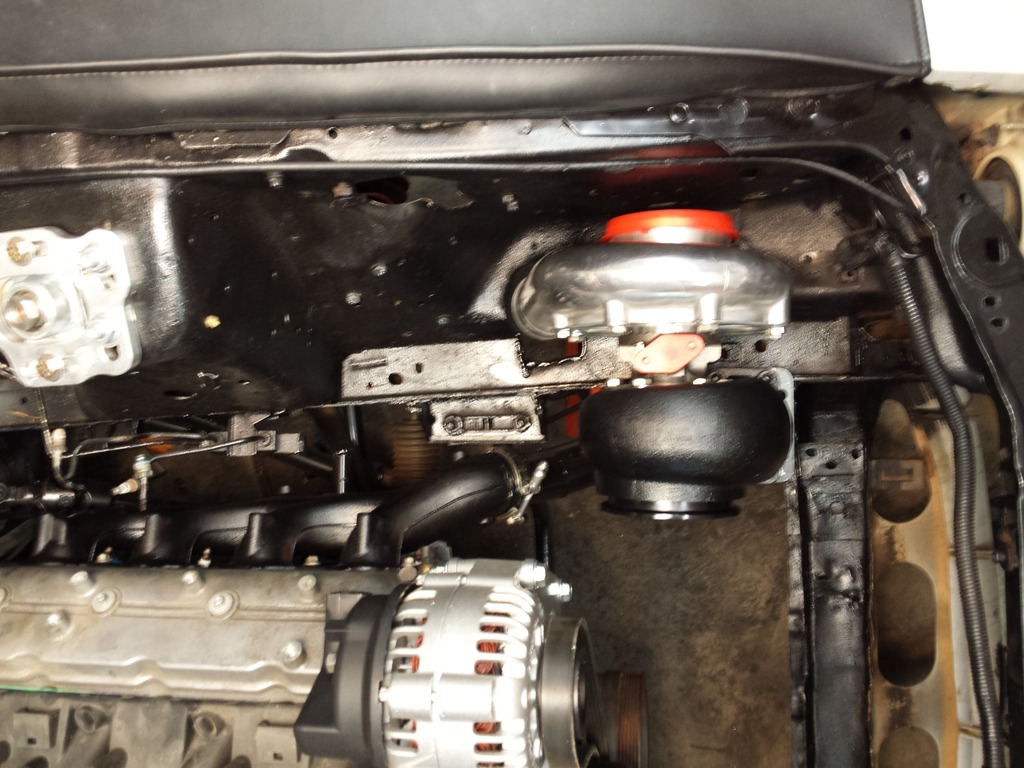
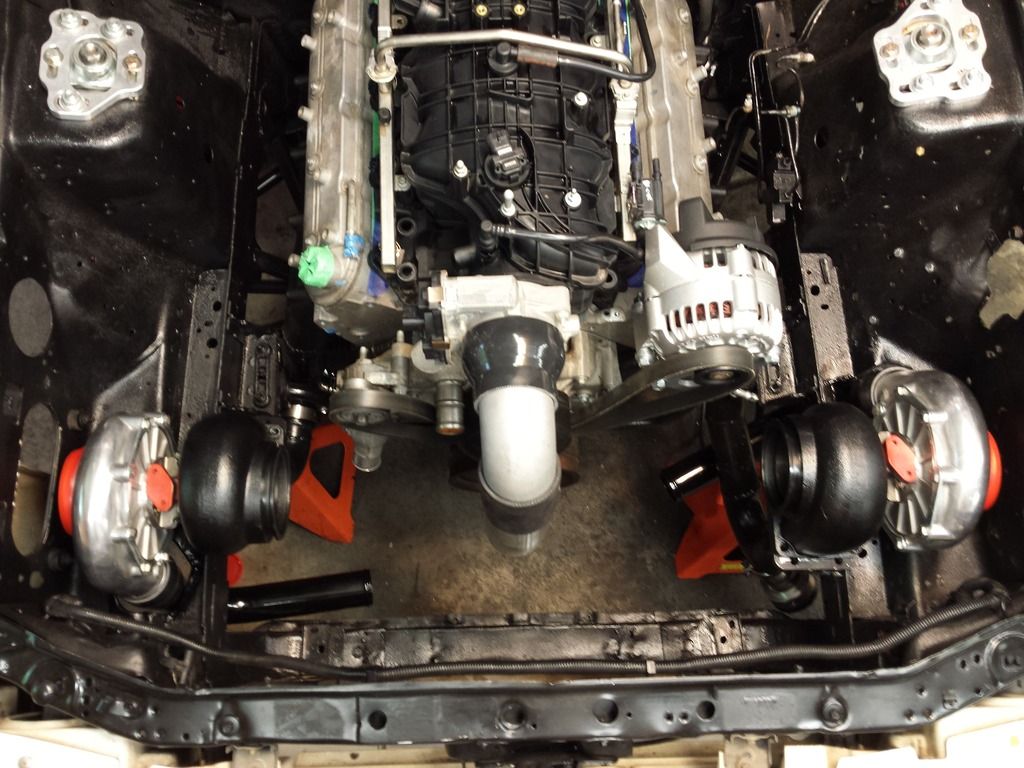
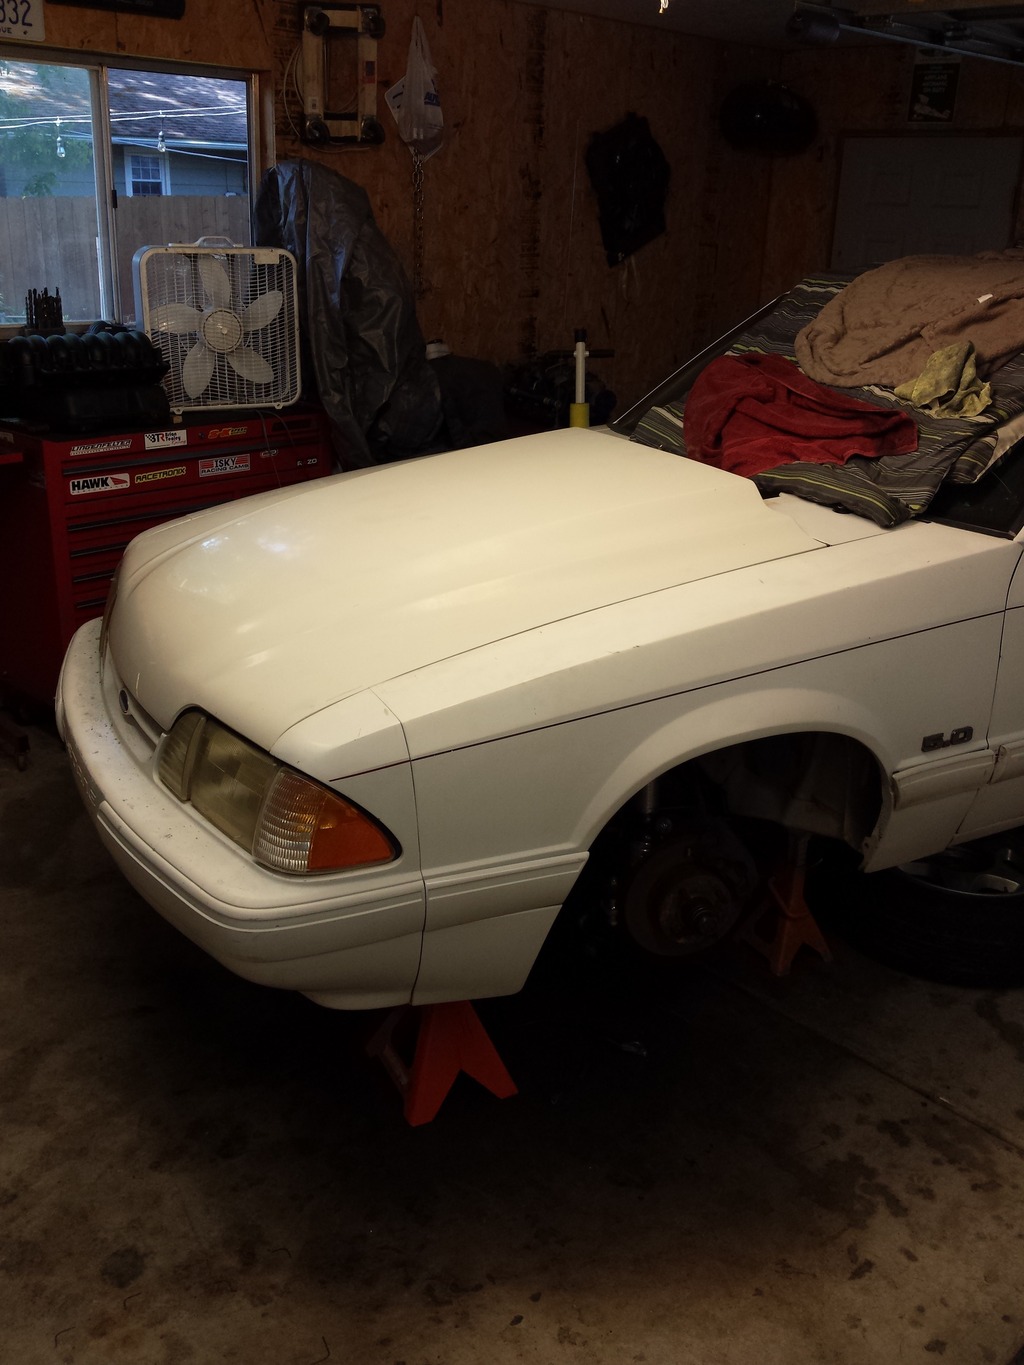
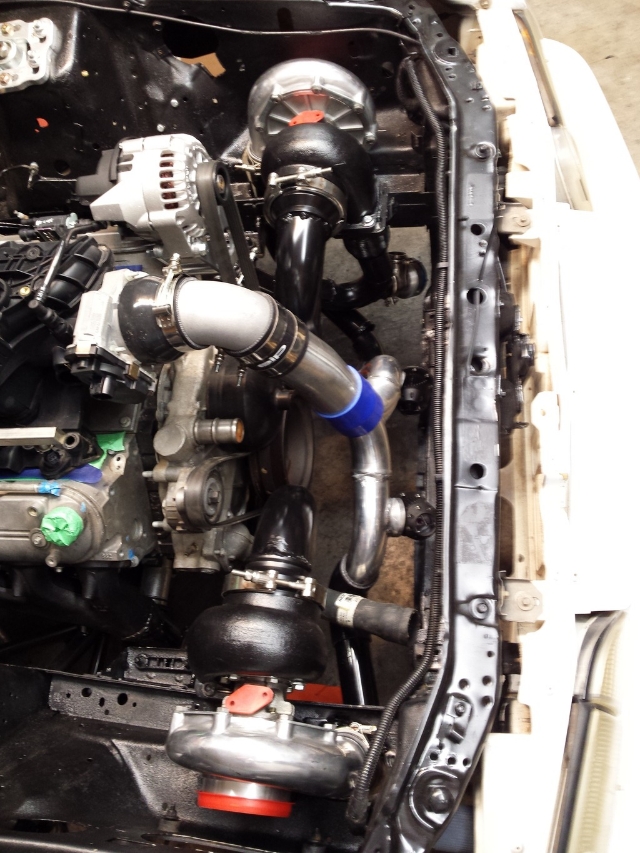
Notched the frame and boxed it in on both sides so I could fire the turbo outlets straight down. Going under and back up should make the cold side routing much easier.
Forgot to mention I used these trick little DSM T3/T4 flanges.
They have both bolt patterns in case I want to move up to a T4 later and the round DSM circular side is exactly 2.25" making the transition super easy. They were $28 on E-Bay.
Forgot to mention I used these trick little DSM T3/T4 flanges.
They have both bolt patterns in case I want to move up to a T4 later and the round DSM circular side is exactly 2.25" making the transition super easy. They were $28 on E-Bay.
Not sure, pretty far away from that point. Doubt I'll bother with any water. Straight meth and max out the pump. Believe thats just under 50gph at 100psi.
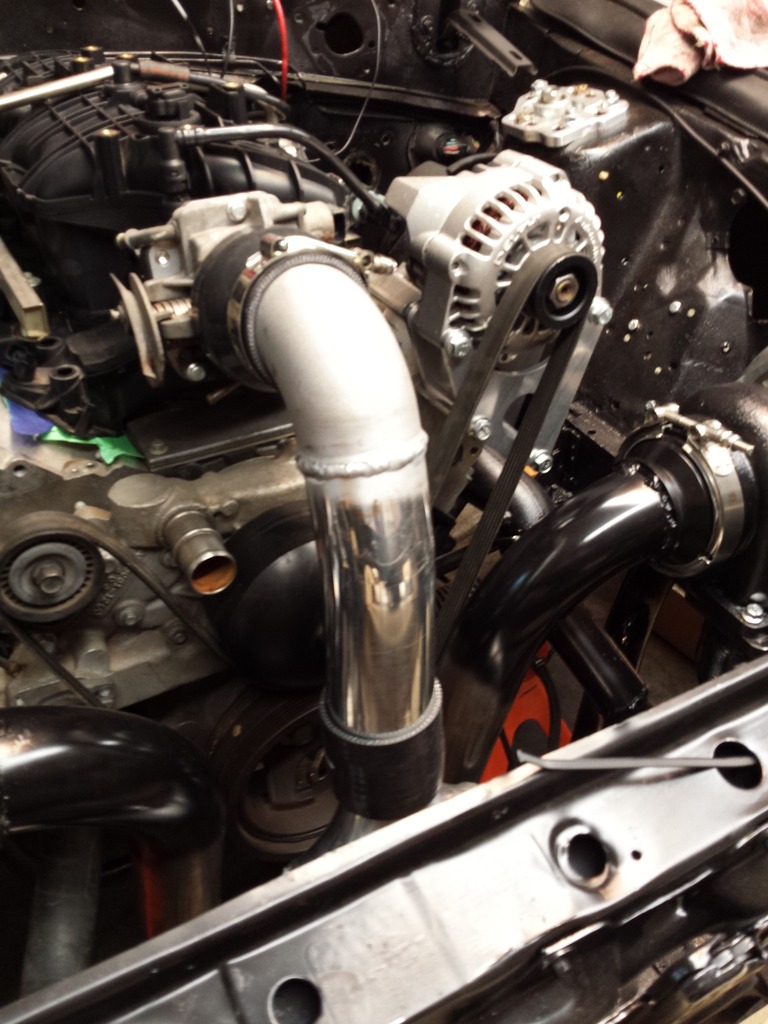
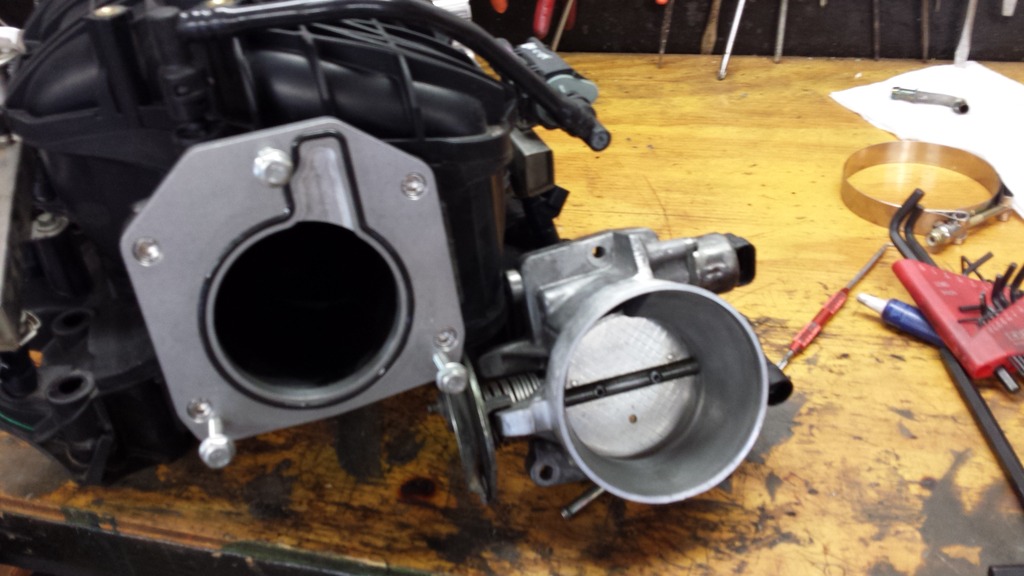
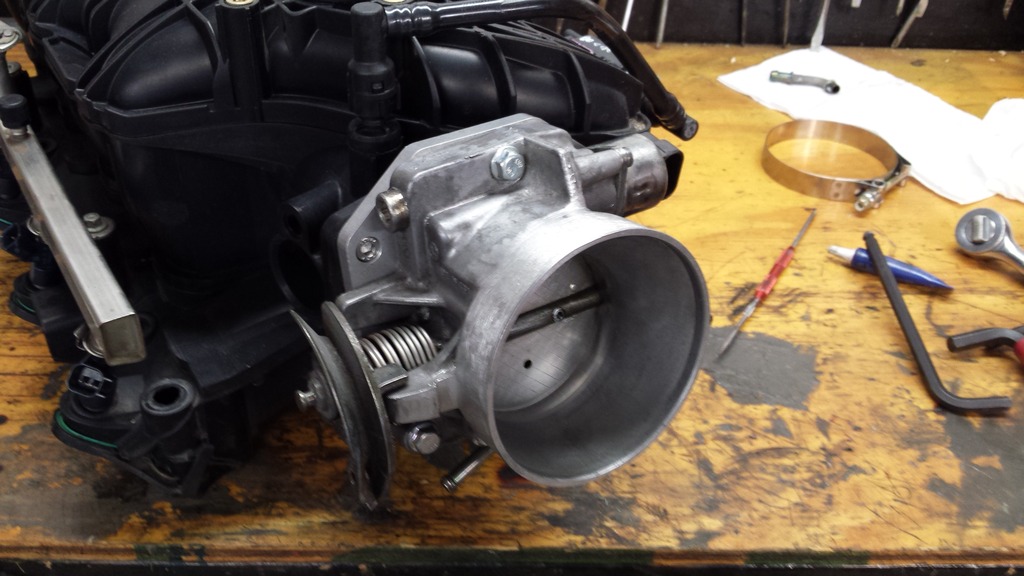
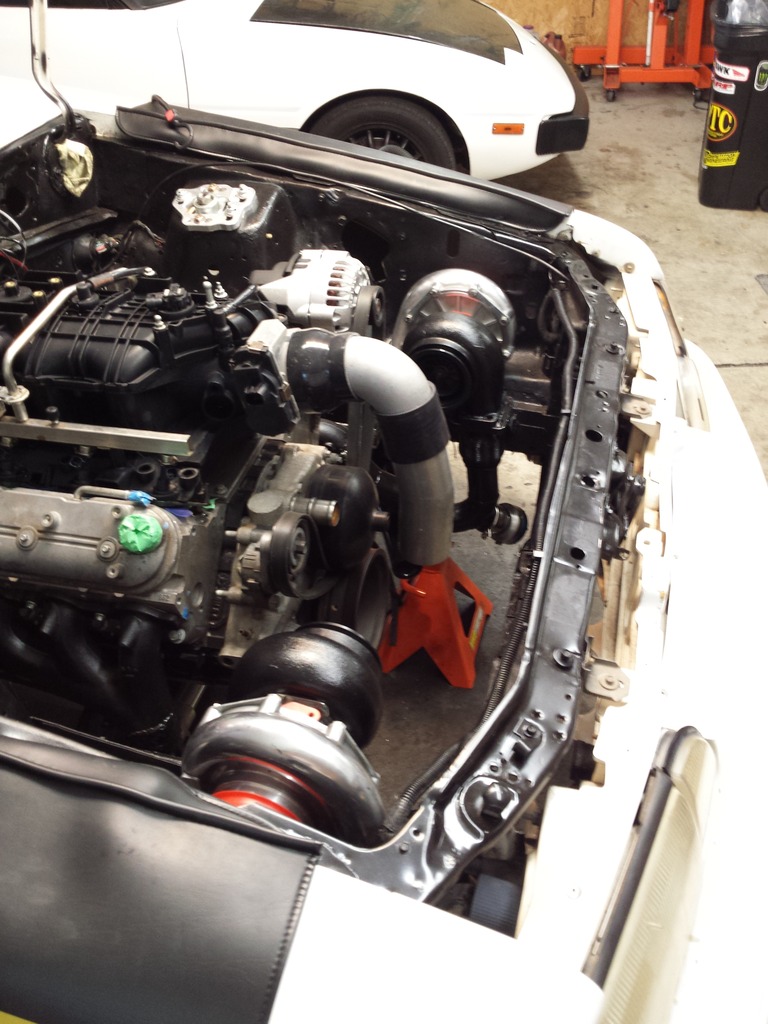
Cleaned up the TBSS intake with a pressure cleaner. Went with a tight 90* firing down and got the hood to fit! So I’m rolling with this intake, pretty stoked about that.
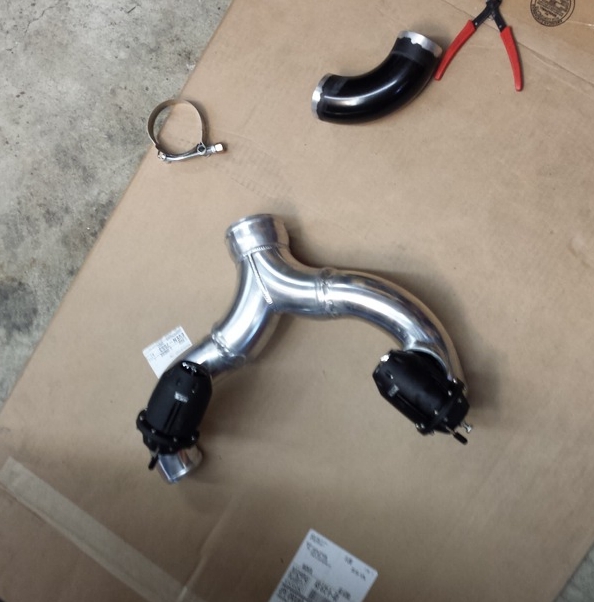
Made a merge that transitions 3” to 2.25” piping with twin SSQ BOV’s. Need to weld up another 90 and I’ll be done with the cold side.
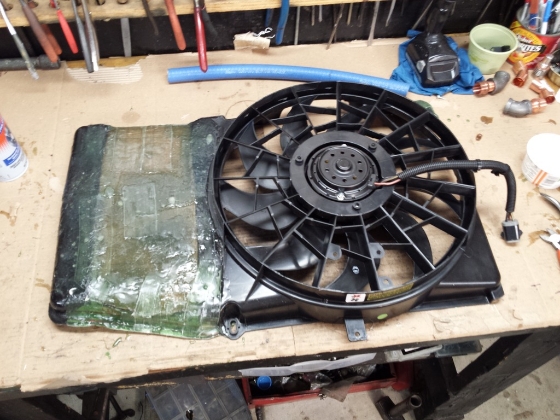
Started mocking up the Ford Taurus radiator shroud for fiberglass. Glass is setting now, I’ll clean it up a bit and post final pics later.
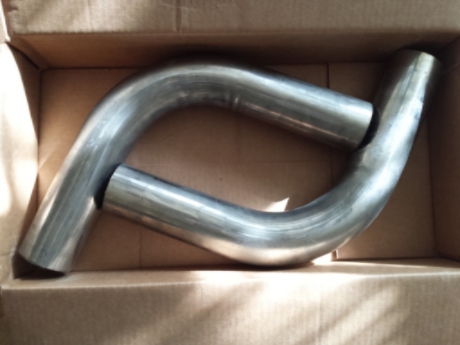
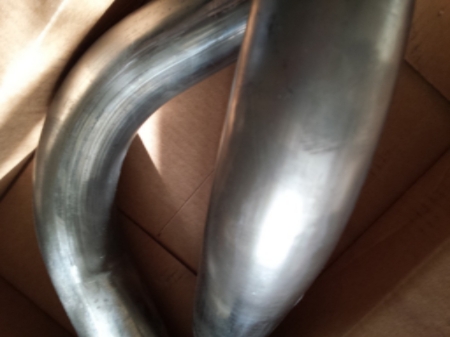
Picked up some 90* SS bends for the down pipes that were supposed to be polished for $28 each. (cheaper than any mild steel bends I could find). They showed up unpolished and ebay seller gave me credited me back $16, woot!
Kicking myself for getting the powder coated alum piping kit. Stripping/cleaning it to weld is a bastard.Was $18 cheaper, had black couplers, and came with T-bolt clamps though so I grabbed it. Waiting on a 3" alum pipe with a 15* bend to I can get rid of the blue/black couper. Cold side should be done then.
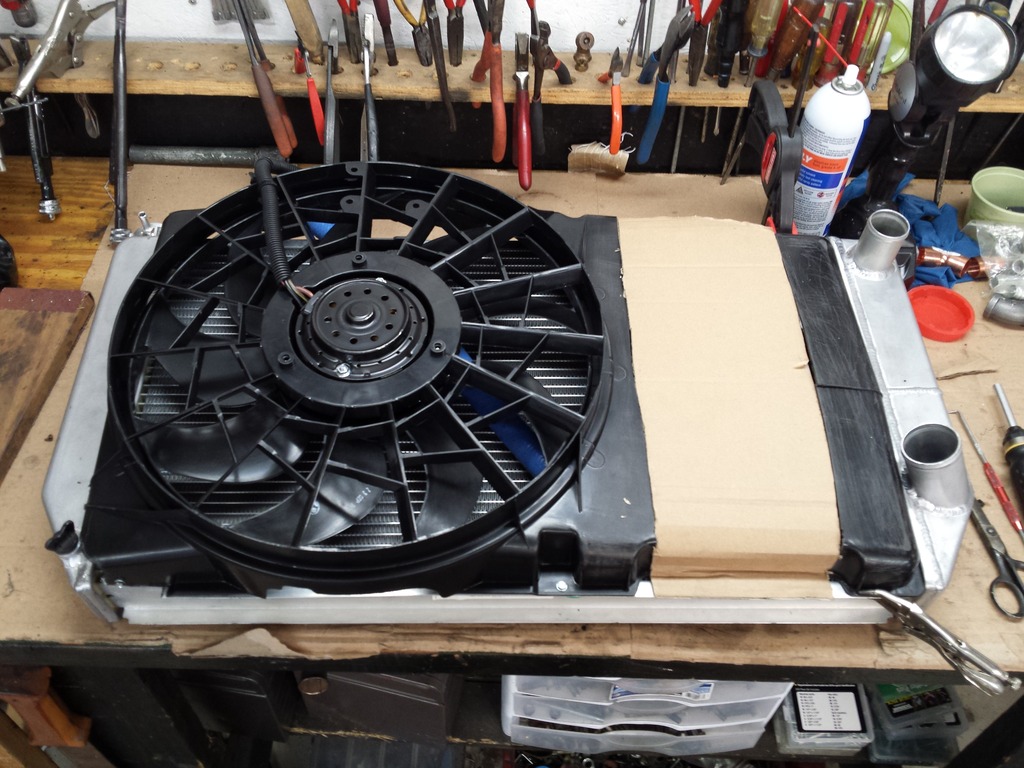
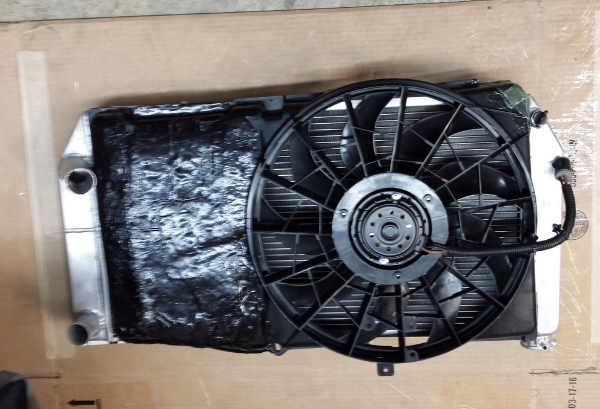
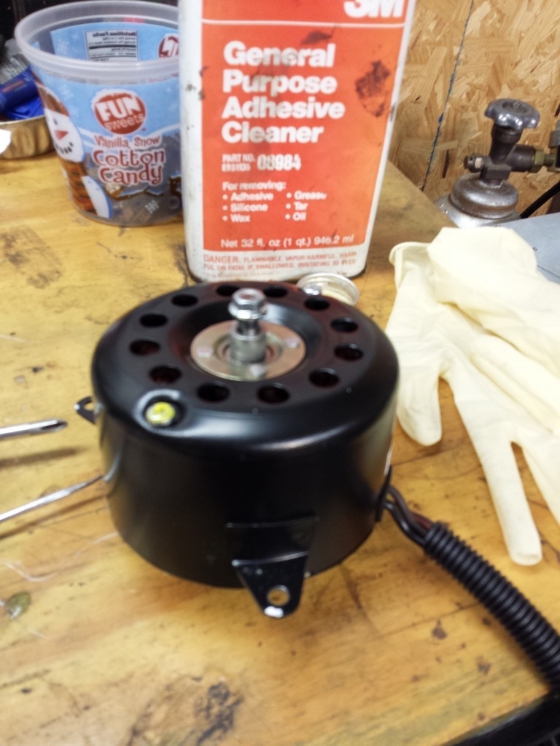
Fan shroud is done, could have sanded it nice and used a little body filler if I cared how it looked. It's up under the radiator core support though so I filed the edges, spray painted, and moved on. Fits nice and snug.
On a side note, check out the motor on the taurus fan... it's massive!
Care to elaborate on how you did the fiberglass for the fan? I know those fans move a ton of air but they never seem to fit right. This would work great for me in the future
Damn this thing is going to be running real soon!!!!!!!!!!!!
Do you think that Taurus fan moves more than a factory Stang fan? I was looking at the MKVIII fan but they pull massive start-up amps and not sure of the fitment.
Turbo kit will be done soon for sure. Unfortunately the car won’t run on turbos alone! Still needs a ton before it’s drivable. Hoping to get it finished up this winter.
Cam/heads
Fuel system
Rear end
Brakes
ECU/gauges and wiring
Trans cooler
Radiator plumbing
Meth kit
Exhaust
No idea what an OEM fox body fan flows, I’d guess not much. The MKVIII flows a little better than the Taurus but is larger L/W/D wise and I believe it uses a resistor to control its hi/lo setting, I’ve never used one.
The Taurus fans flow around 6000 CFM on high. (I believe the best Spal 16” only flows 3000cfm) It is a true 2 speed fan, with 2 separate power inputs for each speed. If you try to turn the fan on the high speed from a stop it can pull 50-60a initially and levels out to around 30a. They make high amp fan/relay controllers but they are expensive. I use 3 40a relays ($5ea) with 2 in parallel to the hi speed wire (80a). Power supply directly off the alternator to feed the relays with 4awg wire. Lots of ways to control a fan to get around the high amp initial draw. I use dash mounted switches for hi/lo. Start it on low, and switch to high and it won’t draw on the system as hard and you could probably get away with a single 40a relay for each speed. Or use a PWM relay. With 80a worth of relay the initial draw isn’t an issue anyway.
I usually pick my fans up from the JY, but they are getting hard to come by. This is my first time using a “new” aftermarket fan. It’s a Dorman and was $80 shipped. Not sure if it’s as good as the original Ford equipment. I’ve run these fans on 4-5 cars now and really like them. I’ve always cut them up and made them fit the radiator I was using. Running a tiny 14x14 radiator on the RX7 with a 4” IC blocking it 100%. Cools great with this fan.
Last edited by Forcefed86; 06-02-2016 at 09:29 AM.
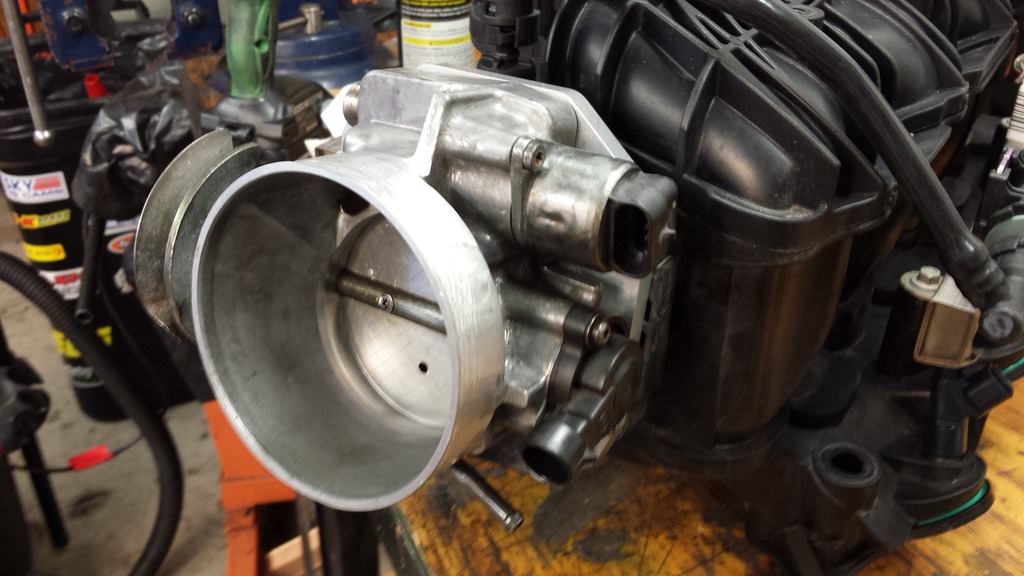
Finished up the last of the cold side. Used a ICT billet adapter and LS1 TB. Welds on the cast 90 to 16g alum pipe were a little rough, but I think it will seal ok.
Pretty snug with the fan/shroud.
Here is the notch in the frame someone was asking about.
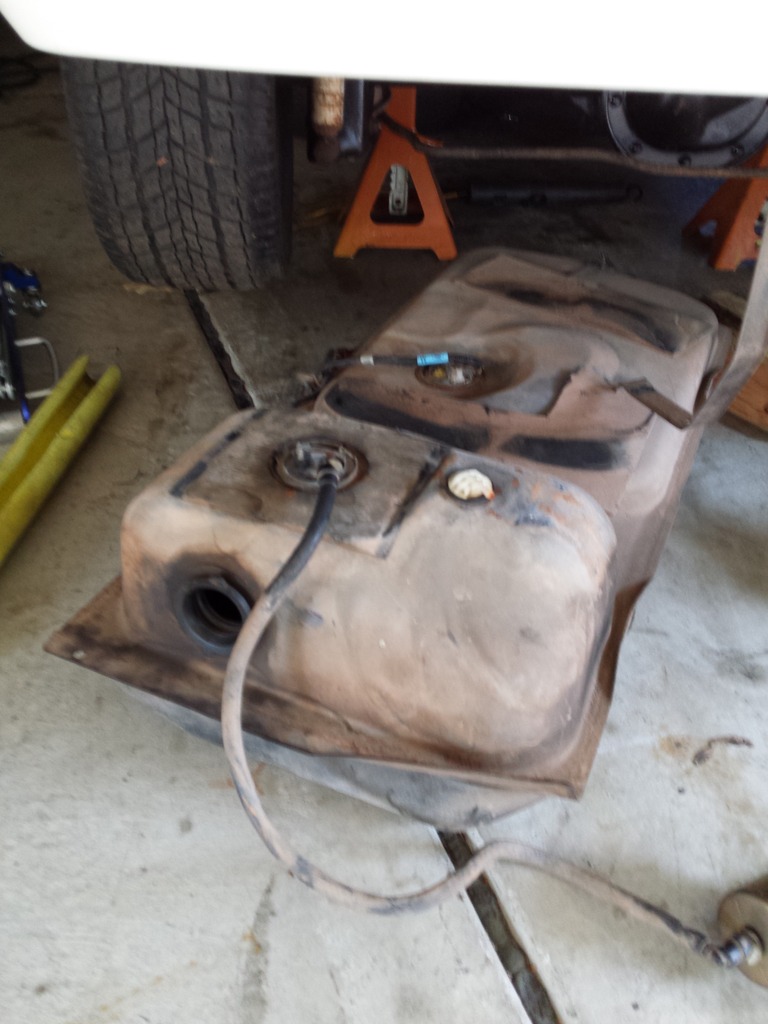
Dropped the fuel tank. Think I'd like to use the OEM tank on this build. Was pretty nasty inside new tank was $72 shipped! Gotta love mustangs... Picked up the 1994 fuel pump/sender assy with the larger 3/8 supply line for 24 shipped. That includes the fuel pump. Not sure If the OEM fuel pump will be enough to fill the surge tank or not.... Think I'll try it.
Last edited by Forcefed86; 06-24-2016 at 01:15 PM.
107* with the heat index here in KS, too hot to do much!
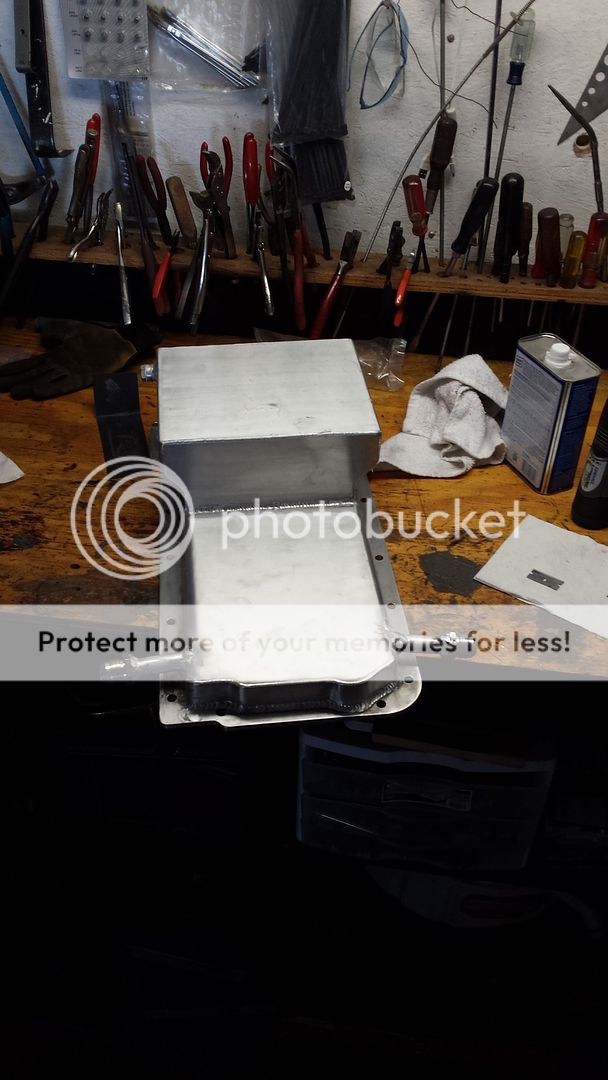
Threw the new tank together. Drilled it for a -6 return and installed the tank. Played with the surge tank setup a little to get an idea of the fittings and hoses I'll need. may just keep the FPR in the trunk. Hope the OEM pump flows enough to keep the surge tank full!
Factory wiring and sender. Drilled out the vent quite a bit and installed all the original bushings and things from the old tank.
Cut a little access panel. Should be layed out about like this.
Last edited by Forcefed86; 06-24-2016 at 01:15 PM.
Did your surge tank come with fittings? I got a black one and the fittings are not ORB, not sure how theyre gonna seal to the tank... Also what do you think the reason is for the 3 fittings rather than just 1?
The surge tank isn't pressurized. It will be plumbed like this... Though the main feed on ours comes from the pump itself. (bottom port on diagram)
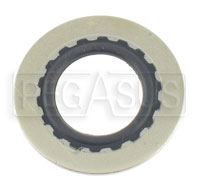
I'm not sure what the deal with the fittings is. I noticed the same thing. I asked the seller on EBAY, haven't heard back. Doesnt' look like an ORB fitting would work either, no recess for o-ring. Would need a crush gasket maybe. I might end up welding mine on. I had tried some stat-o-seals like this... but they don't look like they they will work well. Might try an AN6 bulkhead fitting too. They will have alot wider area to seal and may work with a stat-o-seal.
Last edited by Forcefed86; 06-19-2016 at 02:51 PM.
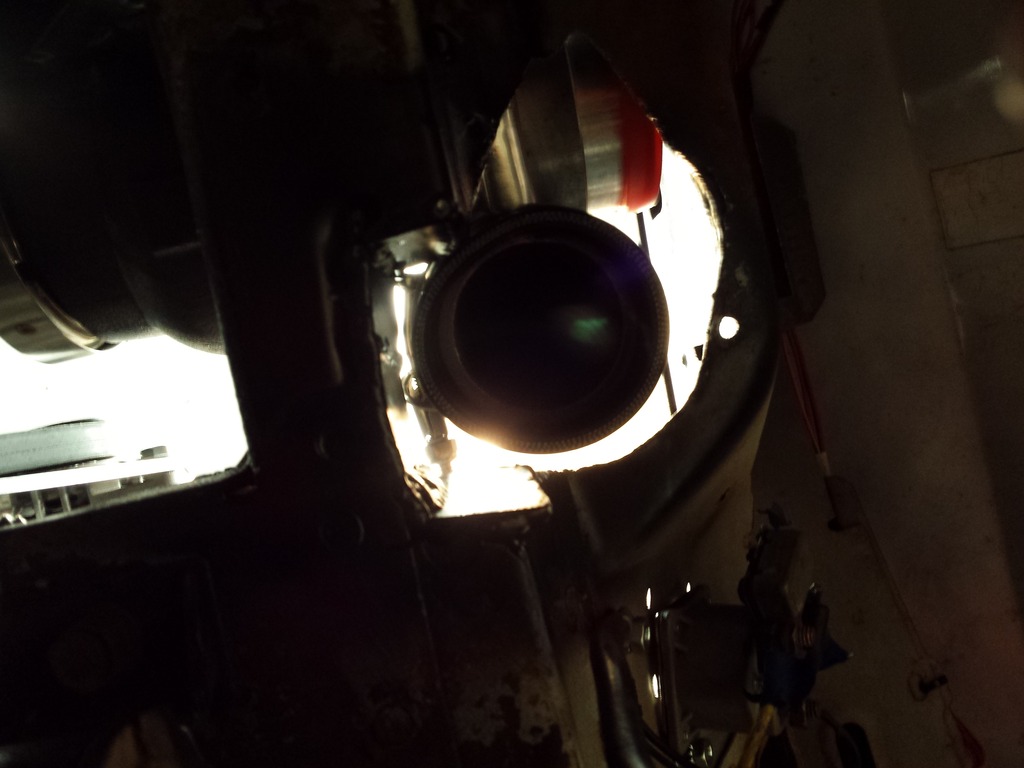
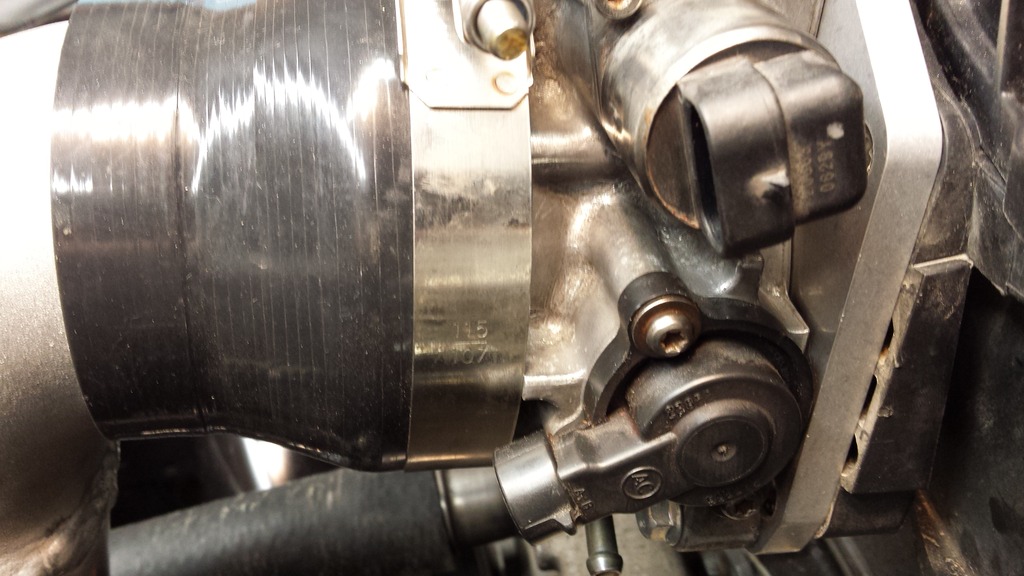
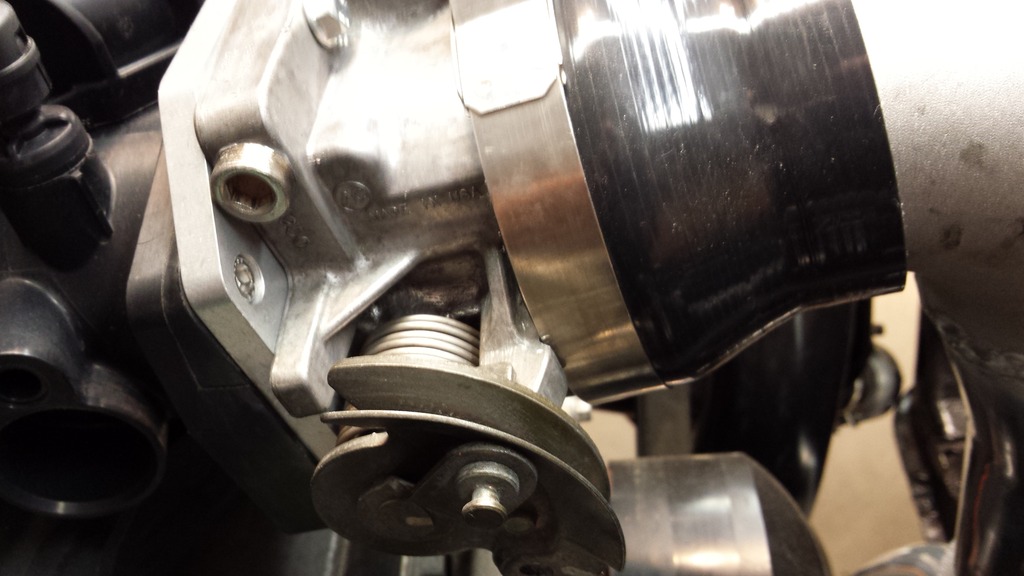
Cleaned up the TB and filed down the area behind the tiny lip at the end of the OEM TB, also filed back a few areas so a typical �T-Bolt� clamp will slide back far enough to clamp behind the lip. Hoping this makes enough of a lip to grab without coupling issues. Roughing up the area the clamp can bite into should help as well.
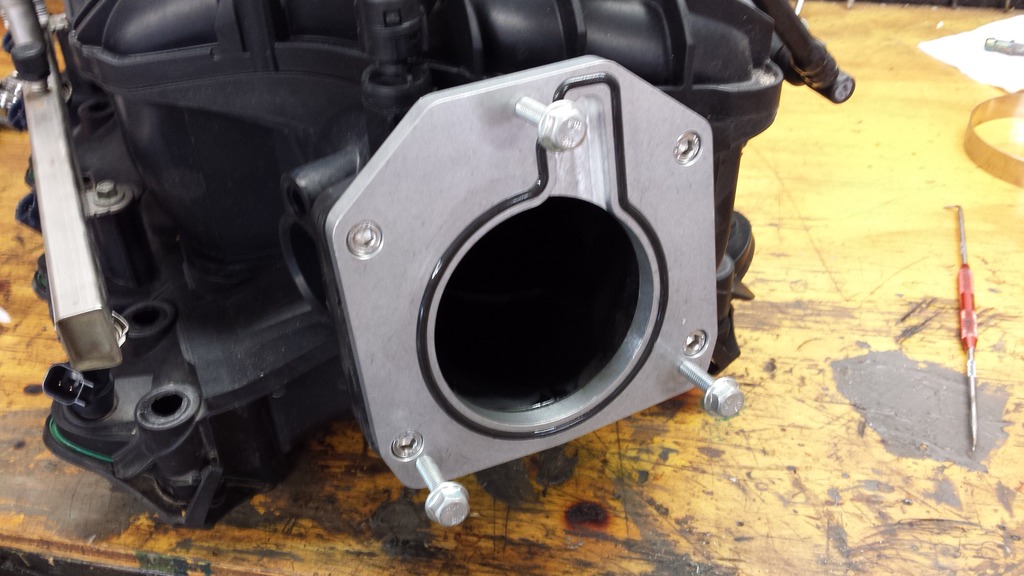
Here is a closer look at the ICT BILLET TB adapter plate I went with. Great peace with a nice thick pressed in O-ring.
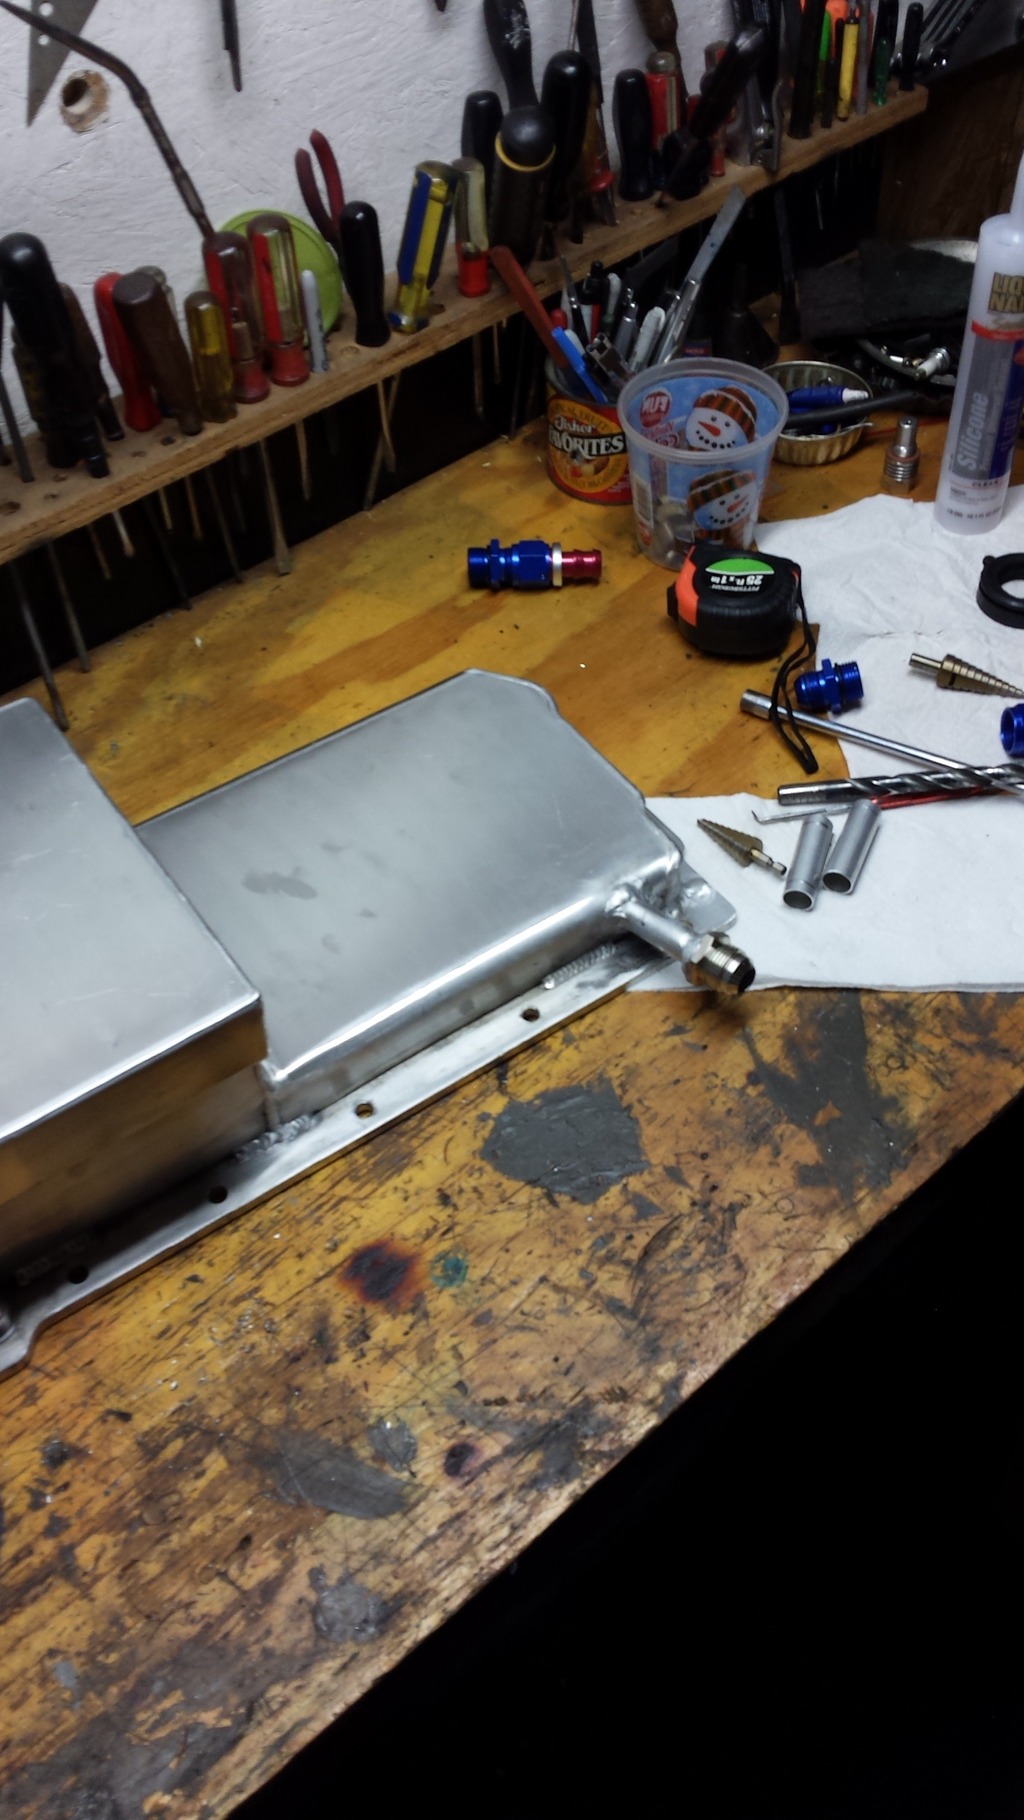
Welded some � drains with AN12 ends on the pan. Welds are horrible. Had a buddy with a nice Miller TIG come by. He tried to weld 2 pipes together with my machine and had a lot of difficulty. He thinks the machine is garbage and says the ARC jumps around too much to get a controllable puddle. Not sure what the deal is, but I sure like my MIG better! I�m going to go try to TIG on a �real� machine and see if I�m any better. On a side not my machine goes through a TON of argon! Just welding on these end tubes and fittings I went from 1500psi in the tank down to 1000. Paying $64 to fill my 80cuft bottle makes TIG welding pretty unaffordable for the back yard hot-rodder IMO.
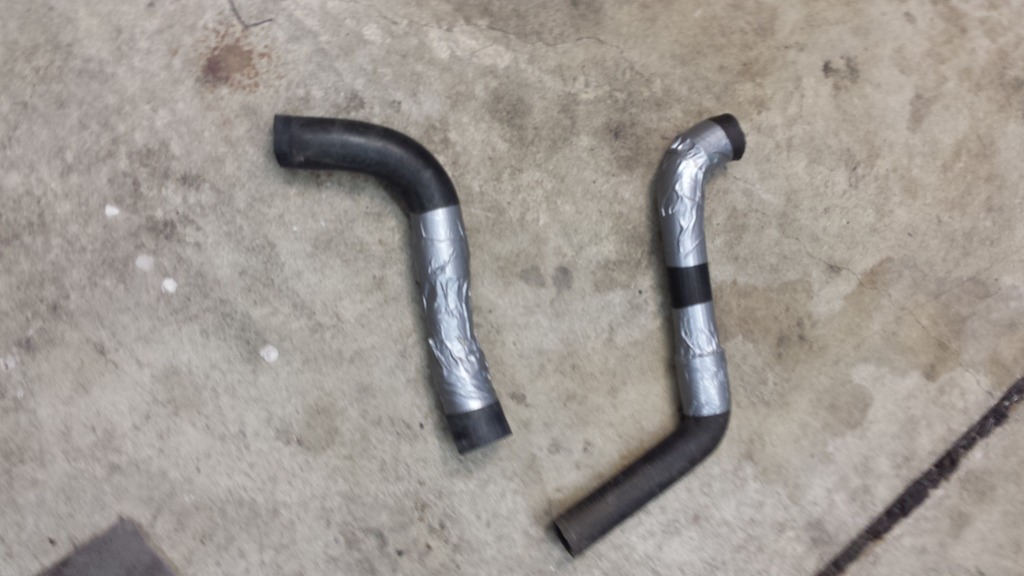
Cut up some old radiator hoses to get my basic bends and taped them together. Bringing these with me to the autoparts store to see if they have anything close.


 05-26-2016, 01:27 PM


 Still needs a ton before it’s drivable. Hoping to get it finished up this winter.