Dash Cap Install with PICS
 11-05-2015, 12:01 PM
#1
Staging Lane
Thread Starter

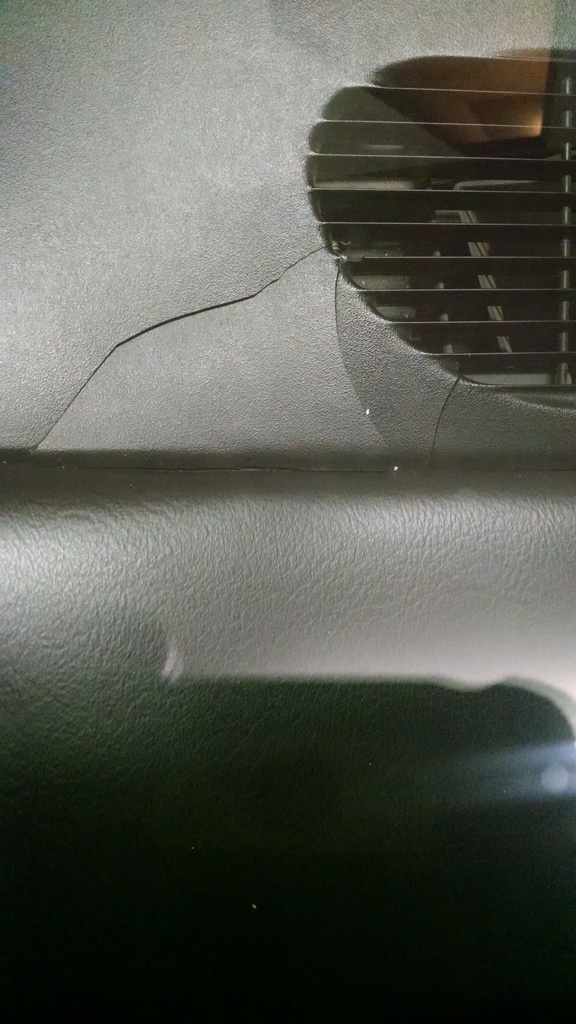
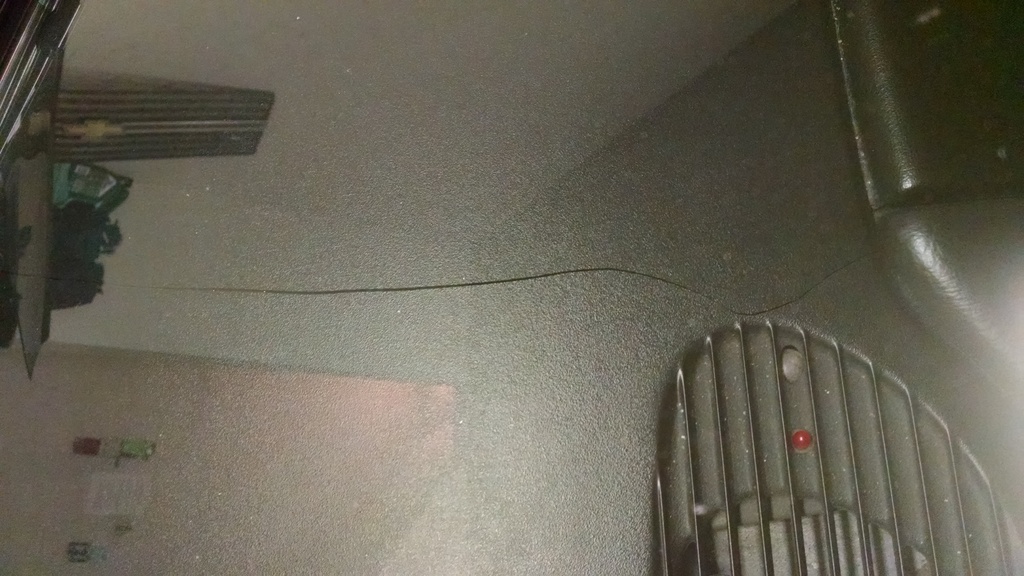
After my 15yr old dash finally cracked one morning due to defrost being on I decided to give the dash cap($150) a shot so didnt have to shell out the cash for a replacement pad($400+). Pretty shocked at how well it came out. The cap is thin but very strong flexible plastic, cleaned and prepped both surfaces and used the included silicone (stinks) to secure the pad. I lined it up and weighted it down with a towel and weights and let it sit for 4 hours. Once I removed the weights and towel I was surprised at how well it sat. Pics attached, I would recommend this to anyone that has a cracked dash and not one that's destroyed.
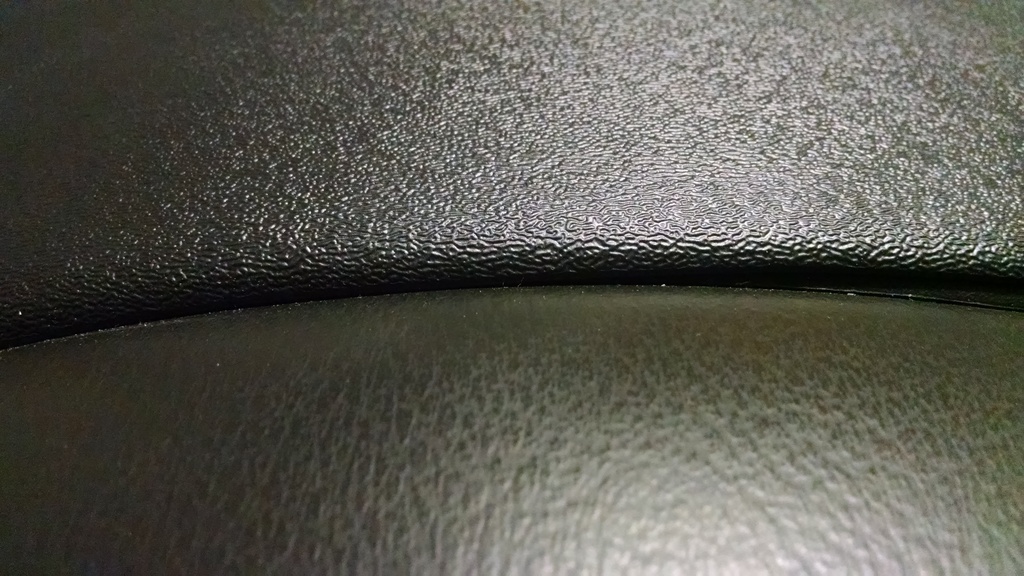
Texture is different than factory for sure but I bet sanding and painting the cap could give a better texture.
Old cracked dash
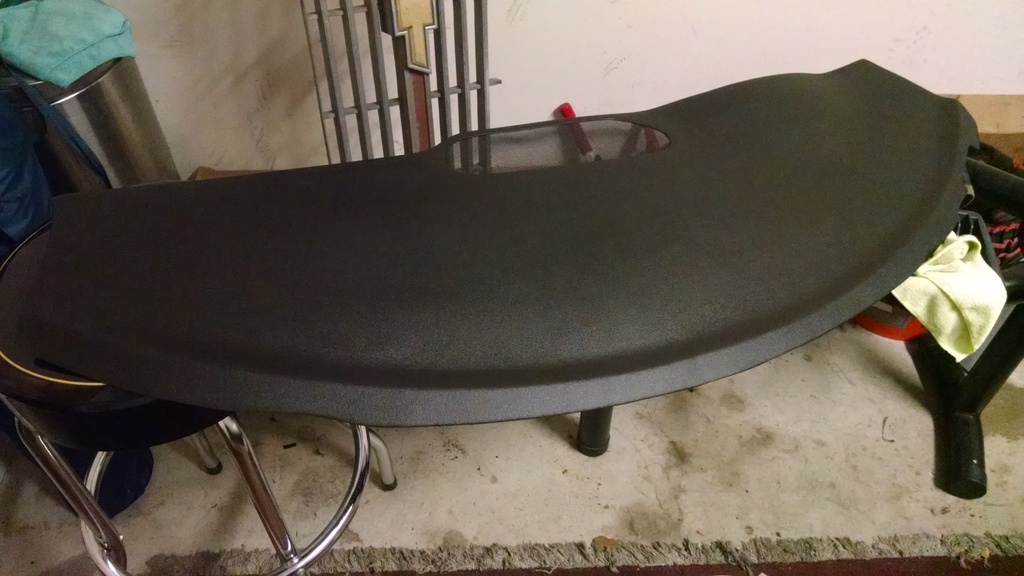
Replacement cap
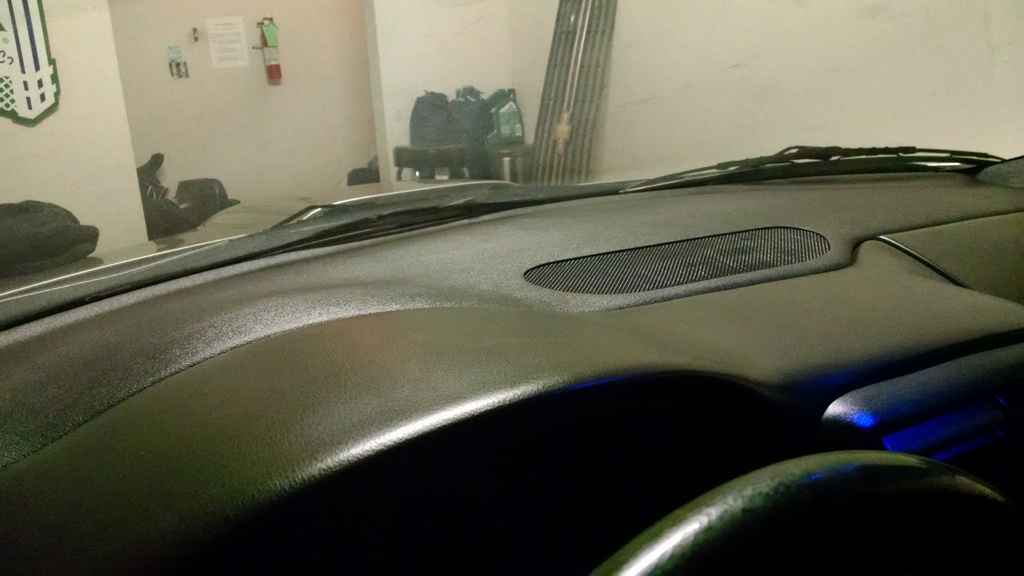
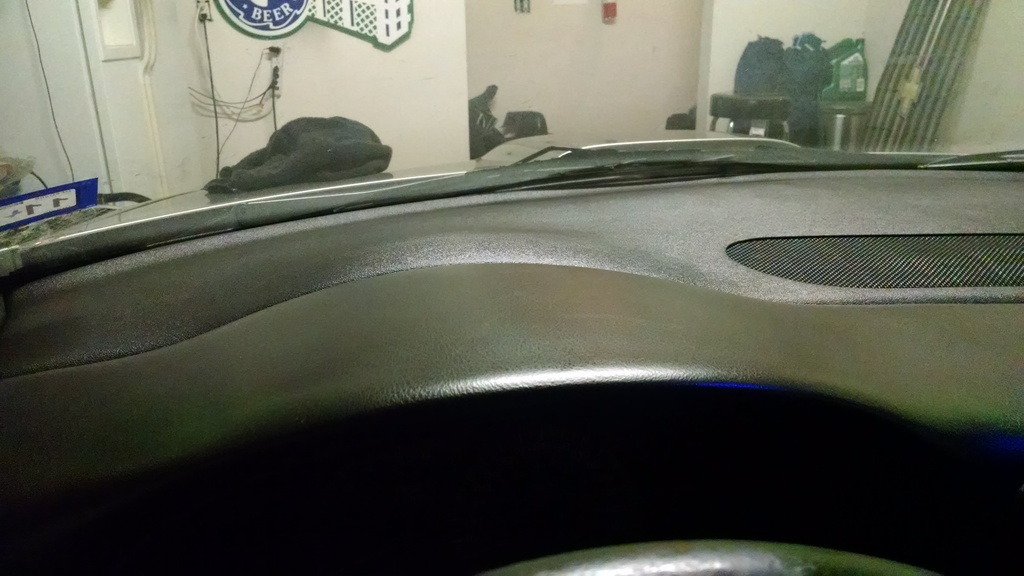

Texture Difference - Probably different for each brand
Cap before install
Texture is different than factory for sure but I bet sanding and painting the cap could give a better texture.
Old cracked dash


Replacement cap


Texture Difference - Probably different for each brand

Cap before install


 11-06-2015, 01:41 PM
#3
TECH Fanatic

Is that the one from 6LEeater? That looks pretty good.