

 05-10-2016, 02:16 PM
Last edit by: IB Advertising
See related guides and technical advice from our community experts:
- Camaro and Firebird Paint Modifications<br>Overview of popular modifications to customize your Camaro or Firebird.

The stock grill paint mod, with pics of the process
03-09-2010, 07:27 PM
#1
12 Second Club
Thread Starter
iTrader: (23)
Join Date: Dec 2008
Location: Hampton, VA
Posts: 220
Likes: 0
Received 0 Likes
on
0 Posts
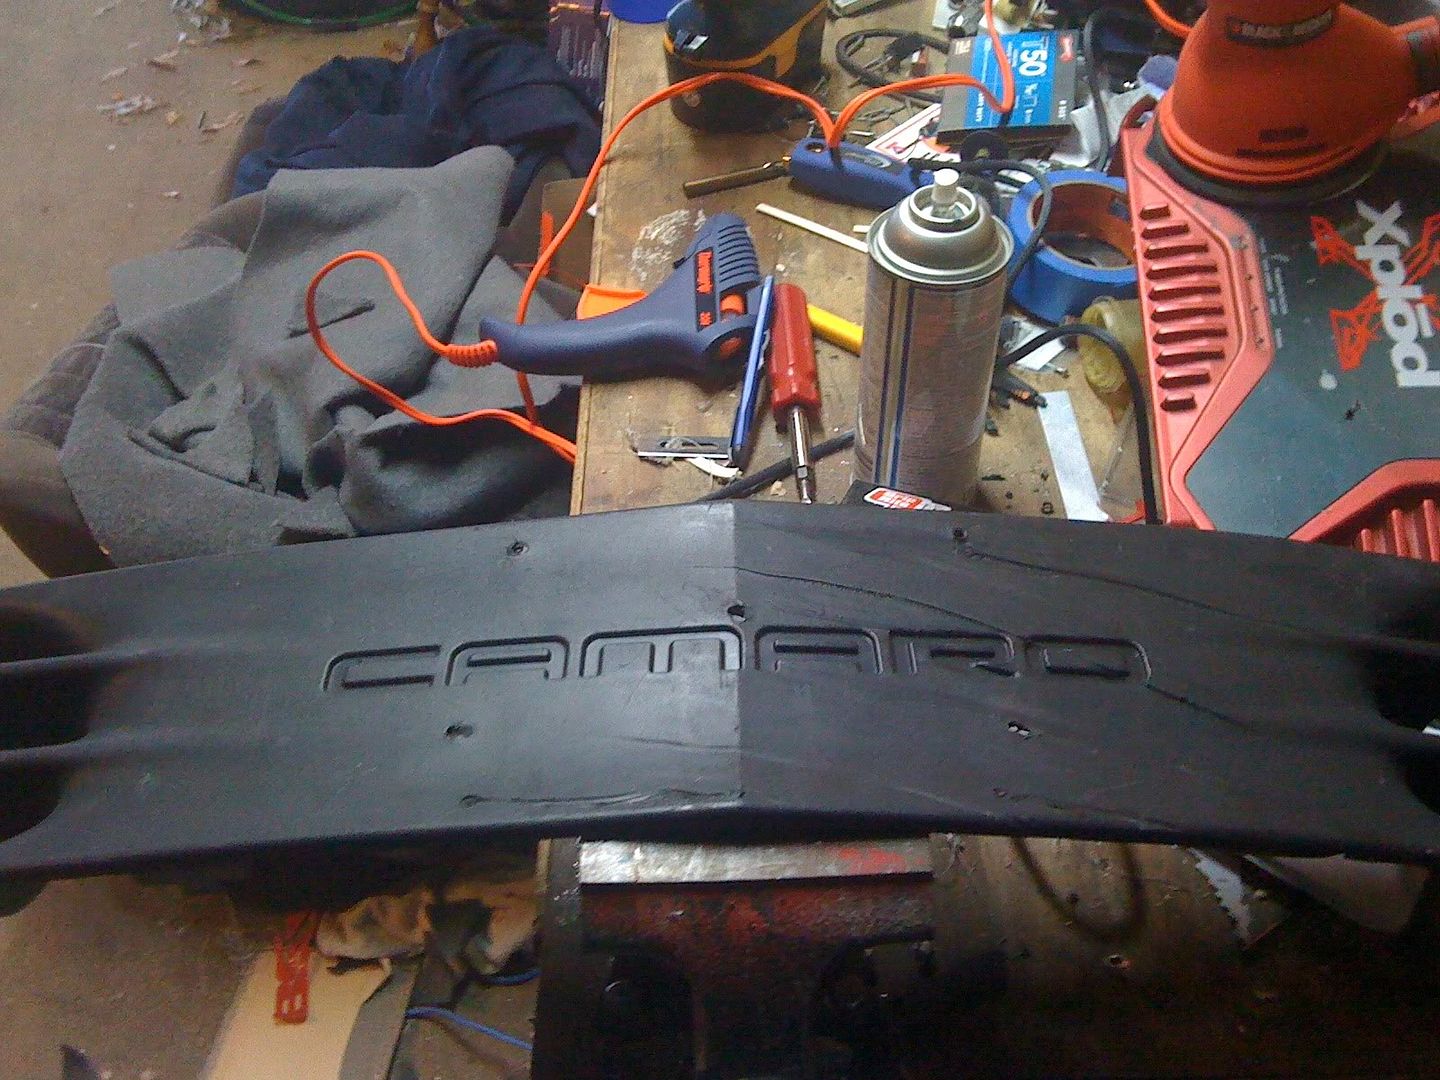
Doing another paint mod on a stock grill that I got off a friend. Some of you may have seen my other post of my grill I did. Thoes who did thought it was not too bad, so I decided to try my hand at another one. This grill is a little more beat up than the first one I did, and I am gonna show you that even some of the most torn up grills can be brought back to life. I am also doing a camaro letter fill in to make this into a more custom grill by leaving room to mount some SS, Z28, or LS1/LSX emblems of the front. Hope you enjoy the work!
The beginning pic:
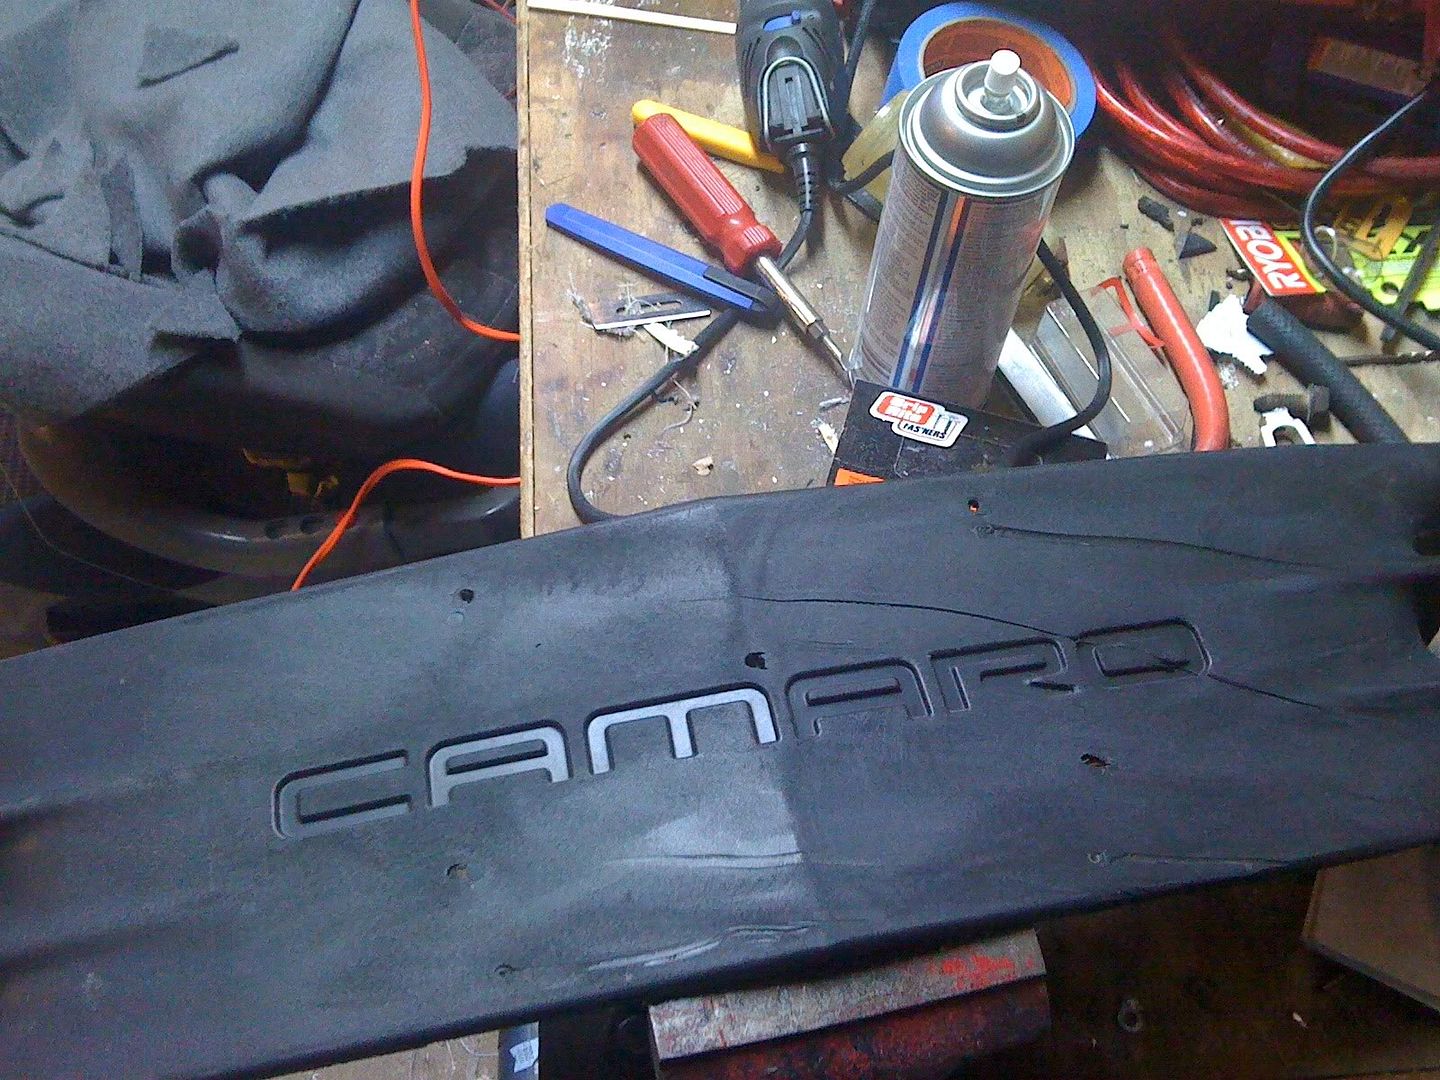
Clean the grill, ie cut the extra gouges and areas around the holes that have been raised from the plate being mounted on to it. This will help with the sanding and filling of the holes and gouges:

Here you can see where I cut the holes down level and cut the gouges down also to level it out.
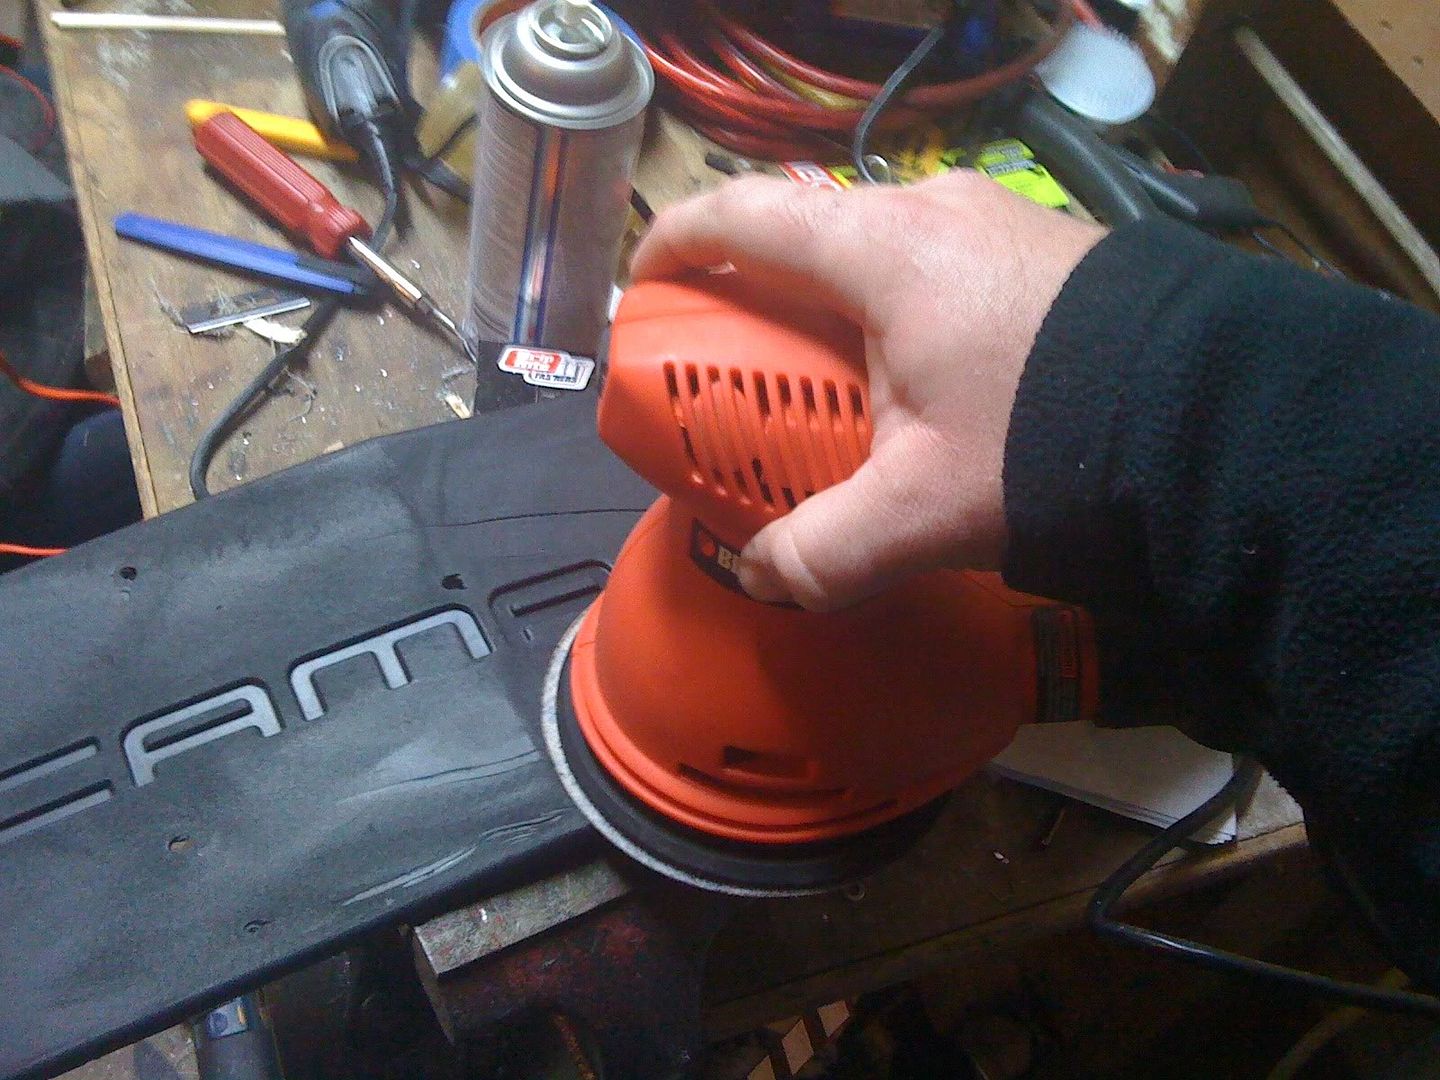
Next its time to do some initial sanding to take off the hard edges and setup the filling of the holes:
After the initial sanding, I mix the epoxy to start the fill. ITS Epoxy.... dang dirty minded people....
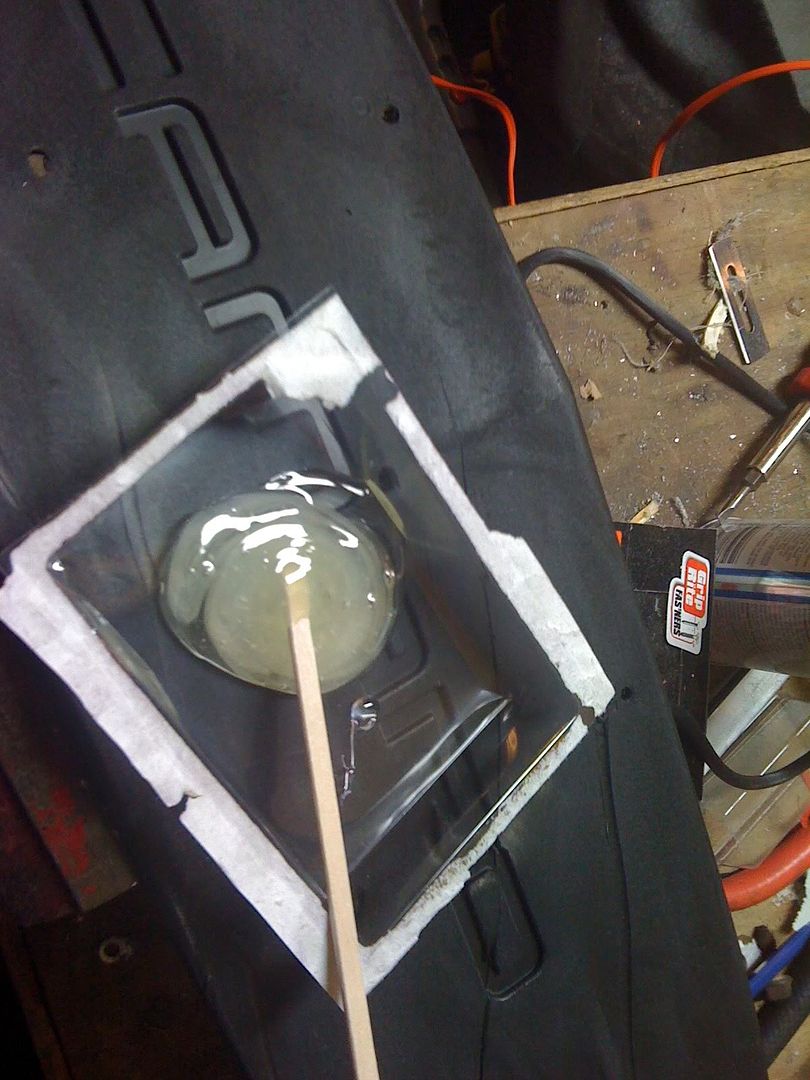
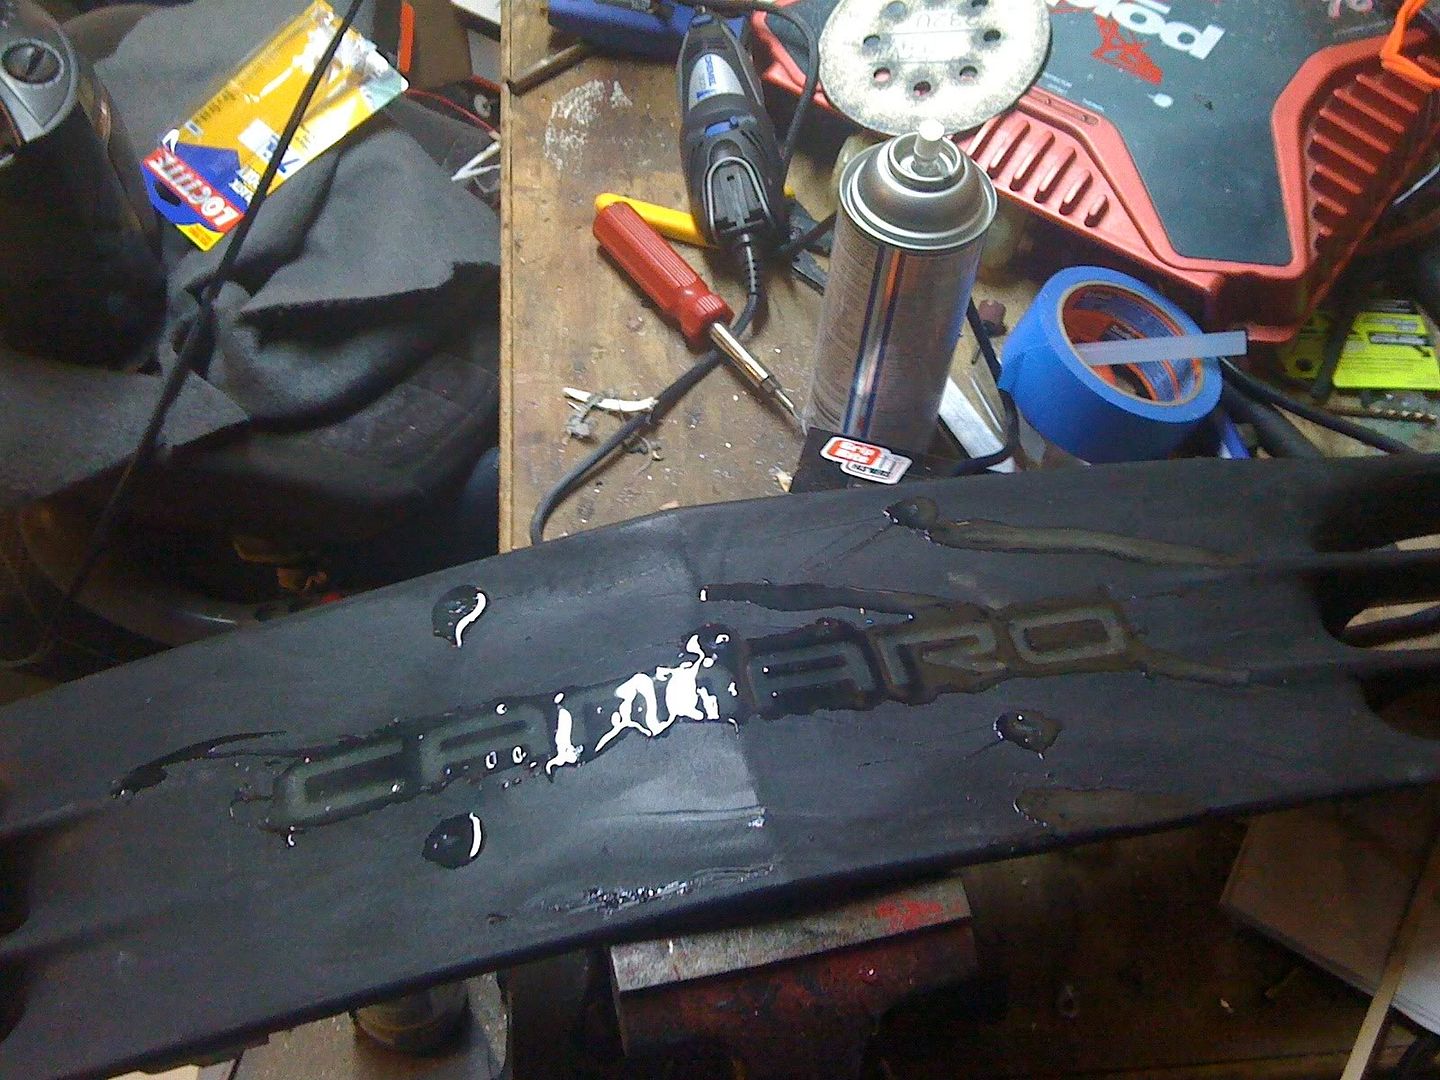
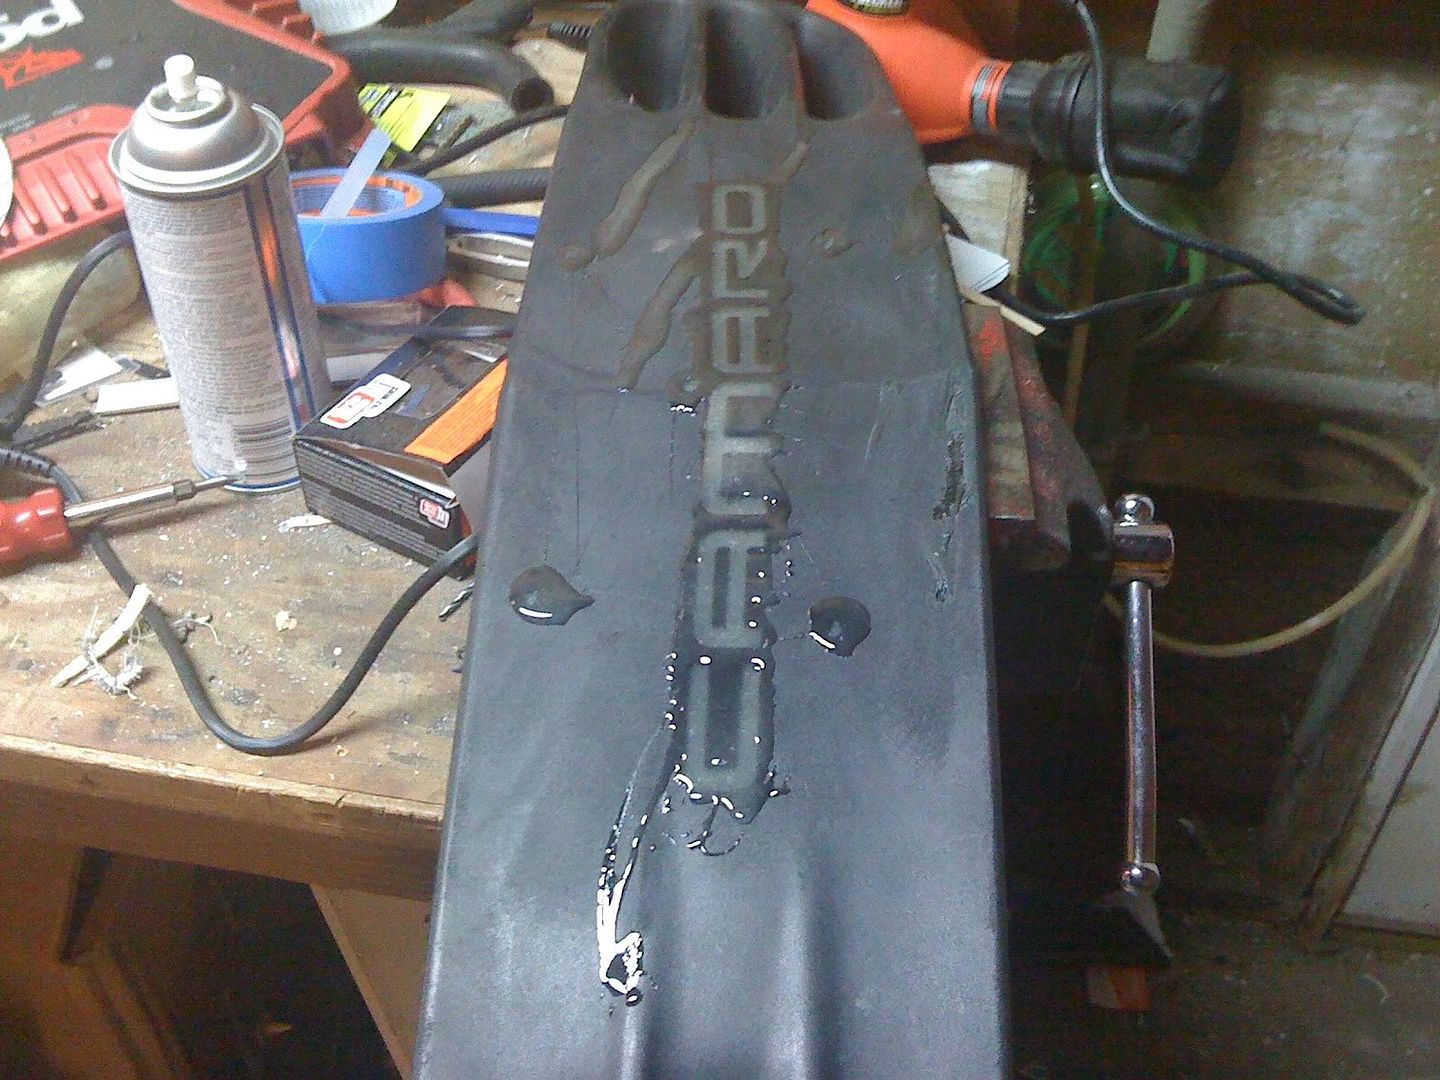
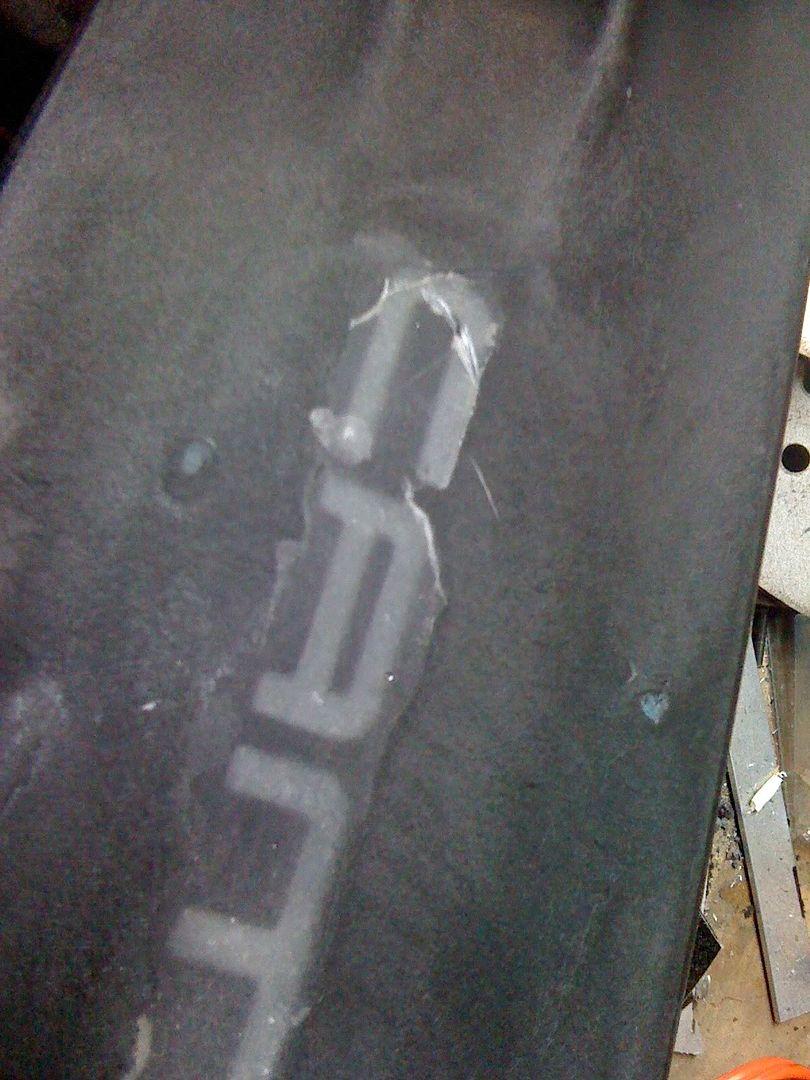
With the epoxy, you will want to work in stages on the fill process. It will harden fairly quick and you don't want to use it all at once or you will not be able to fill everything you need. Use a little bit at first to work on the plate holder holes. Fill the holes with a good amount so it seeps into the hole. Once you have all the holes filled, you will start to notice that the epoxy is seeping down into the hole and creating a crater as its trying to set. To remedy this, use a little painters tape, duck tape, or whatever tape to cover the back side of the holes to keep the epoxy from making a big crater. Now go back with the little bit of epoxy you still have and refill the crater that was just made. Now don't worry about making the epoxy level, let it over fill the area. Kinda let it build a little over the hole so that it has about of a 1/8" diameter around the hole. You will later trim this off with a razor and the final sanding process. Now mix some more epoxy to fill in the rest of the gouges if you have any. On this one, I am also filling in the Camaro letters to make room for a custom grill, ie SS, Z28, or LS1 emblem on the front. Once you get everything filled in and the epoxy starts to dry, you should get something like this:
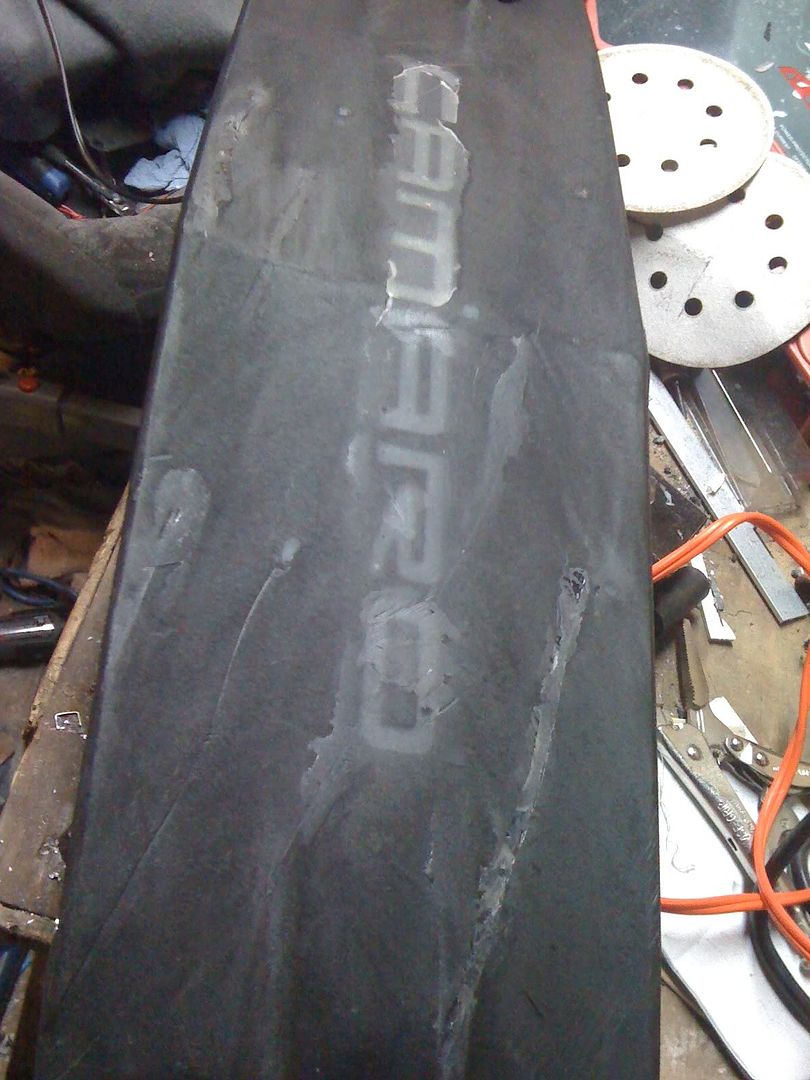
Now let the epoxy sit for a few minutes and harden well. Once it there, you will now want to start the shaving and final sanding process. For the shaving, you will need a good razor blade and some time and patience to get this done. While taking care not to gouge the grill more, you will want to keep the razor level with the surface of the grill and shave the excess epoxy off the grill. This is to help with the final sanding so there is not too much epoxy to sand off. The final sanding is to get everything smooth and level to create a good surface to paint. Here is something close to what you should have now:
Next will be the final sanding. Make sure everything is trimmed and shaved and you let the epoxy dry completely. I say let it sit for another 20-30 minutes after you finish your shaving to give the sander a easier job. If you don't let the epoxy harden well, the friction from the sander will cause it to become sticky again and it will pull it out of the area you filled. Also when sanding, you will want to have a coarse paper and a fine one. Use the coarse to get the initial sanding down and level the area, then use the fine to smooth everything out. Once you have everything smooth and shaped, you can now start prepping for the paint process.
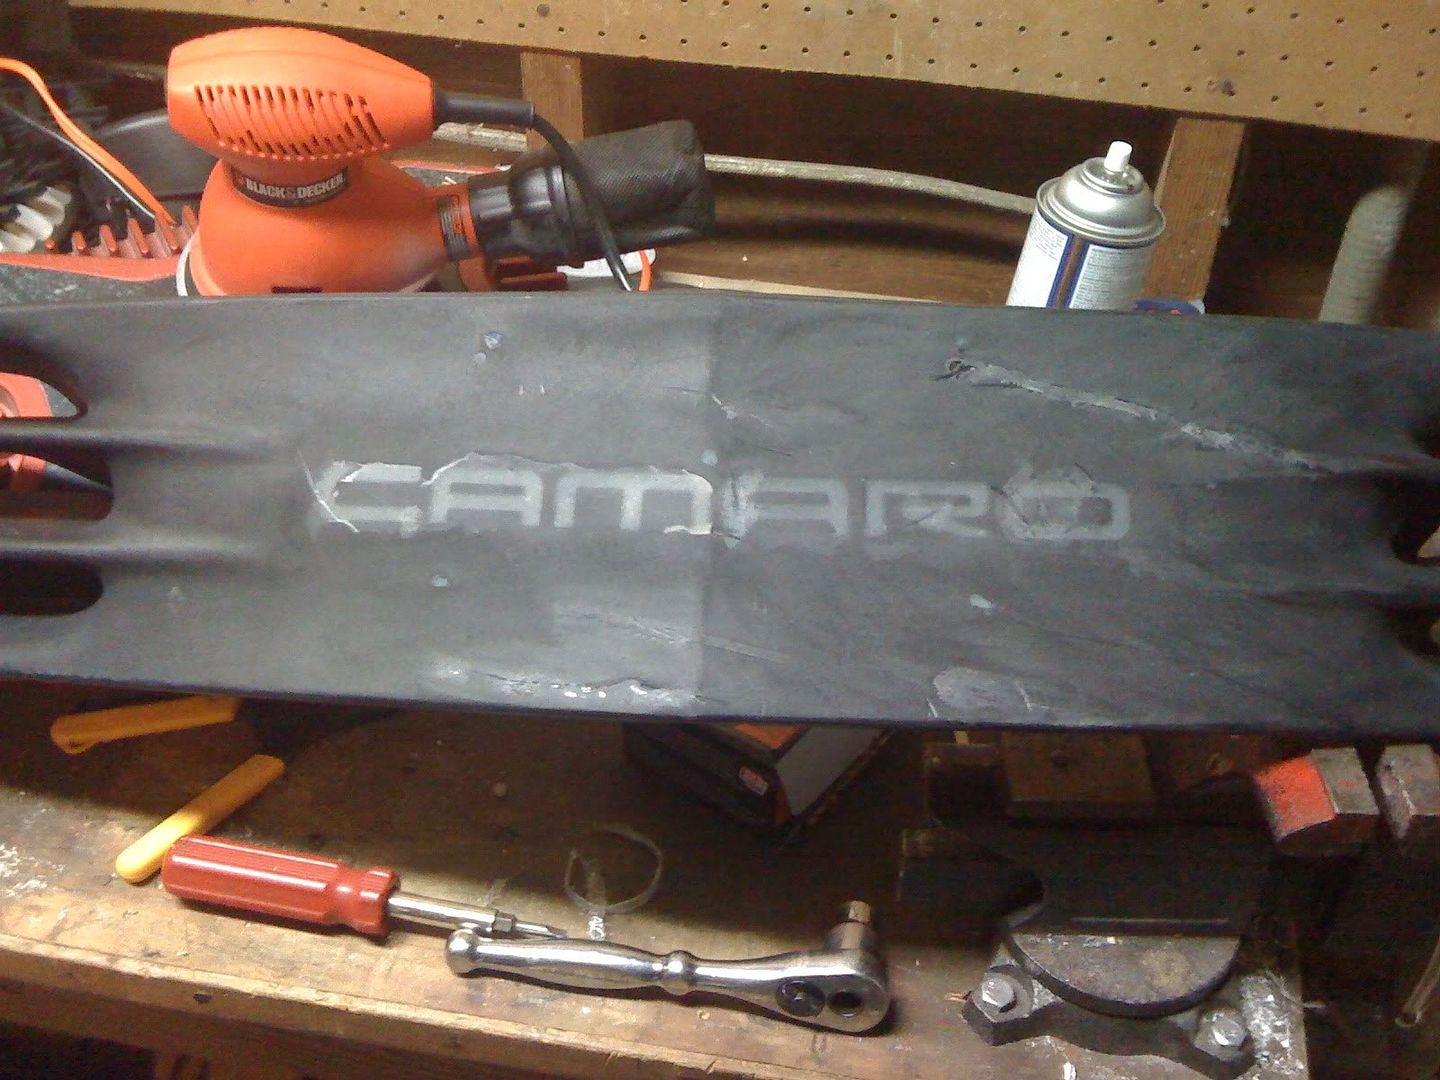
Here is a closeup of the fills after shaving and sanding. You can see how the epoxy sets in and the area is now flush with the rest of the surface.
I am only this far in the process, so paint will be my next post when I start it back up. Stay tuned to see how it all turns out...
The beginning pic:
Clean the grill, ie cut the extra gouges and areas around the holes that have been raised from the plate being mounted on to it. This will help with the sanding and filling of the holes and gouges:
Here you can see where I cut the holes down level and cut the gouges down also to level it out.
Next its time to do some initial sanding to take off the hard edges and setup the filling of the holes:
After the initial sanding, I mix the epoxy to start the fill. ITS Epoxy.... dang dirty minded people....
With the epoxy, you will want to work in stages on the fill process. It will harden fairly quick and you don't want to use it all at once or you will not be able to fill everything you need. Use a little bit at first to work on the plate holder holes. Fill the holes with a good amount so it seeps into the hole. Once you have all the holes filled, you will start to notice that the epoxy is seeping down into the hole and creating a crater as its trying to set. To remedy this, use a little painters tape, duck tape, or whatever tape to cover the back side of the holes to keep the epoxy from making a big crater. Now go back with the little bit of epoxy you still have and refill the crater that was just made. Now don't worry about making the epoxy level, let it over fill the area. Kinda let it build a little over the hole so that it has about of a 1/8" diameter around the hole. You will later trim this off with a razor and the final sanding process. Now mix some more epoxy to fill in the rest of the gouges if you have any. On this one, I am also filling in the Camaro letters to make room for a custom grill, ie SS, Z28, or LS1 emblem on the front. Once you get everything filled in and the epoxy starts to dry, you should get something like this:
Now let the epoxy sit for a few minutes and harden well. Once it there, you will now want to start the shaving and final sanding process. For the shaving, you will need a good razor blade and some time and patience to get this done. While taking care not to gouge the grill more, you will want to keep the razor level with the surface of the grill and shave the excess epoxy off the grill. This is to help with the final sanding so there is not too much epoxy to sand off. The final sanding is to get everything smooth and level to create a good surface to paint. Here is something close to what you should have now:
Next will be the final sanding. Make sure everything is trimmed and shaved and you let the epoxy dry completely. I say let it sit for another 20-30 minutes after you finish your shaving to give the sander a easier job. If you don't let the epoxy harden well, the friction from the sander will cause it to become sticky again and it will pull it out of the area you filled. Also when sanding, you will want to have a coarse paper and a fine one. Use the coarse to get the initial sanding down and level the area, then use the fine to smooth everything out. Once you have everything smooth and shaped, you can now start prepping for the paint process.
Here is a closeup of the fills after shaving and sanding. You can see how the epoxy sets in and the area is now flush with the rest of the surface.
I am only this far in the process, so paint will be my next post when I start it back up. Stay tuned to see how it all turns out...

 03-09-2010, 10:08 PM
#3
12 Second Club
Thread Starter
iTrader: (23)
Join Date: Dec 2008
Location: Hampton, VA
Posts: 220
Likes: 0
Received 0 Likes
on
0 Posts
Havent decided yet. I still have my first grill mod on the car with the camaro inlays, so not sure which one I want to do. I am thinking of something from emblempros.com, just not sure which one yet. Maybe after I am done with the full process, I may do some photoshopping with some EPs.com pics to get an idea what looks good.
03-11-2010, 10:18 AM
#5
12 Second Club
Thread Starter
iTrader: (23)
Join Date: Dec 2008
Location: Hampton, VA
Posts: 220
Likes: 0
Received 0 Likes
on
0 Posts
From what I can tell, it's just a plastic epoxy. I haven't seen any flexing in it, and it seems to harden pretty well and stay in place. I have also used this epoxy to replace the door panels in my Camaro. I did a full leather interior replacement in the car, and had cloth in before, and the only door panels I could find were from a LT1 car. They will not fit on a LS1 car, so I had to remove the upper panels off both doors and switch them. If you take the door panel off, the upper is connected in by plastic that has been melted to secure the two together. I had to use a cut off wheel to cut out the plastic so it would separate. Once I got both doors apart, I then used this same epoxy to fill the holes from the plastic that was removed to reconnect the two doors together. I have had the doors back in the car after this for over 3 months now, and with the doors opening and closeting and the vibrations of the car, the upper panels have stayed put and nothing has come loose. So I would say the epoxy works well.