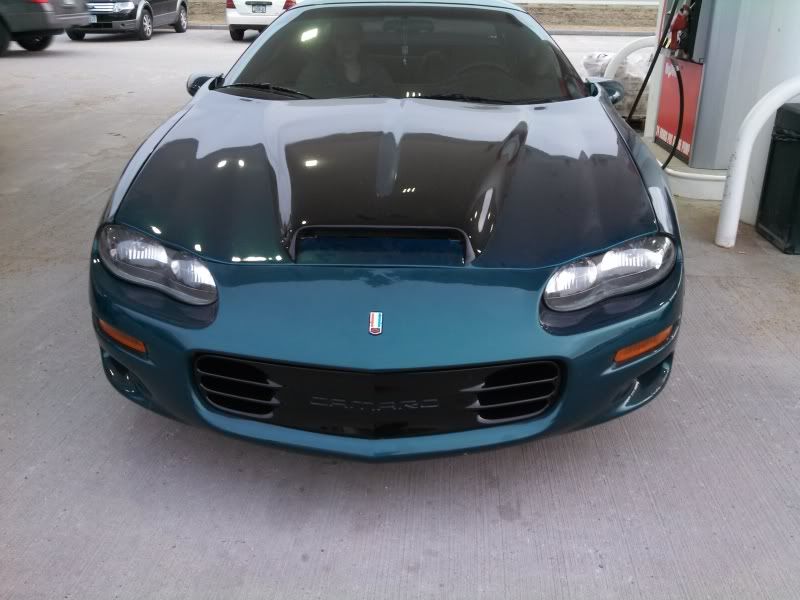
stock grill painted with pics
 02-08-2013, 09:40 PM
#1


I wanted to do something a little different. I see alot of poor examples of this on here. Alot of people doing this with rattle cans and not taking the proper steps to a nicely finished product. well here are a few pictures of how it comes out when using proper tools and products. by the way this is done with a $50 harbor freight spray gun set and about $50 worth of ppg paint
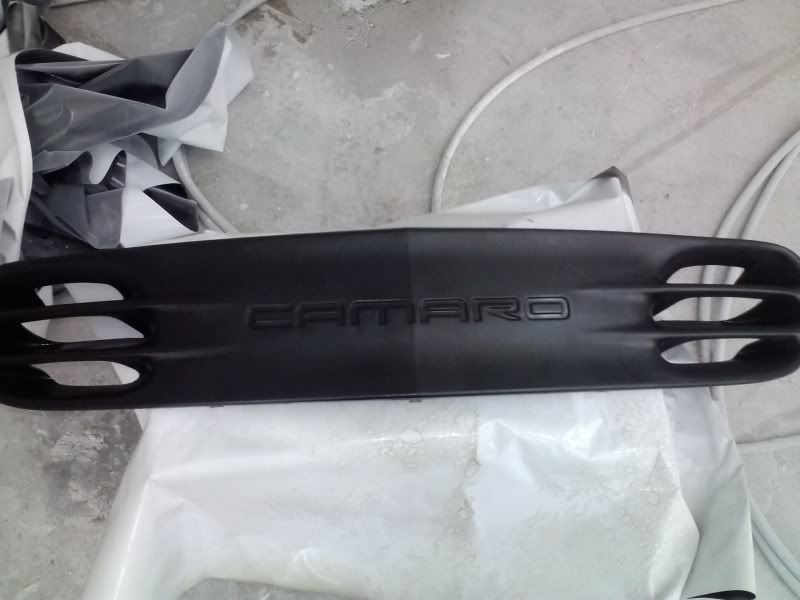
begenning product here. i sanded the texture with 180 grit sandpaper. then i used bulldog abrasive cleaner with a red scotchbrite pad. this product helps scuff the surface more thorough and also cleans waxes and grease and all plastic mold release agents. these plastic mold release agents are what keeps paint from adhering properly. after rinsing with water and blowing it dry with compressed air i sprayed it with adhesion promoter.
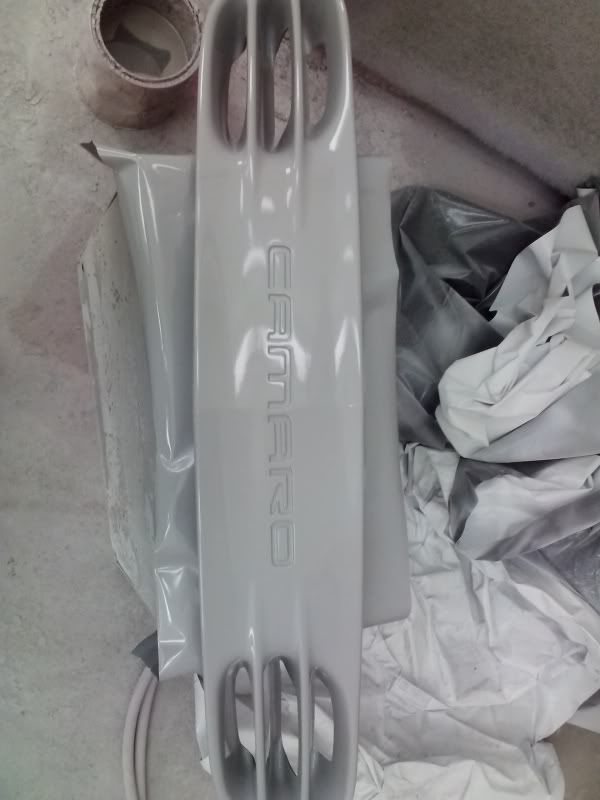
next i sprayed ppg grey primer. i made sure to put a few good coats on since i would be sanding. once it dried i wet sanded with 400 grit. It still had some small imperfections because of the textured surface. so i cleaned and primered it a second time. and wet sanded once again to have a perfect uniform surface.
Next i sprayed black ppg single stage. I sprayed 2 light coats and 2 heavy coats. as you can see it already looks sweet...
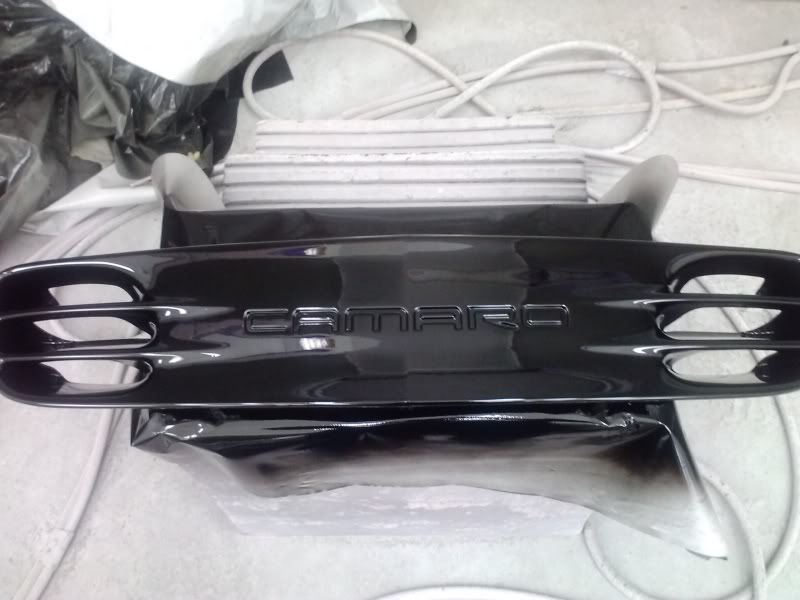
then after that dried i finished it off with a little custom touch. my car is a mystic teal metallic car. the rear bumper has black camaro letters set in the CAMARO lettering. so since the front was now black i figured the letters needed to be mystic teal metallic. i wont say my method for the lettering since it was a custom piece by me... but here they are.

sorry about the smudges and dust left on the grill in the last picture. it was a spur of the moment picture with a little sunshine out. its been nothing but cloudy here lately. also i will get some pictures up of it in the car soon. hopefully this is a little inspiration for you all to have some quality work done to your own rides
begenning product here. i sanded the texture with 180 grit sandpaper. then i used bulldog abrasive cleaner with a red scotchbrite pad. this product helps scuff the surface more thorough and also cleans waxes and grease and all plastic mold release agents. these plastic mold release agents are what keeps paint from adhering properly. after rinsing with water and blowing it dry with compressed air i sprayed it with adhesion promoter.
next i sprayed ppg grey primer. i made sure to put a few good coats on since i would be sanding. once it dried i wet sanded with 400 grit. It still had some small imperfections because of the textured surface. so i cleaned and primered it a second time. and wet sanded once again to have a perfect uniform surface.
Next i sprayed black ppg single stage. I sprayed 2 light coats and 2 heavy coats. as you can see it already looks sweet...
then after that dried i finished it off with a little custom touch. my car is a mystic teal metallic car. the rear bumper has black camaro letters set in the CAMARO lettering. so since the front was now black i figured the letters needed to be mystic teal metallic. i wont say my method for the lettering since it was a custom piece by me... but here they are.
sorry about the smudges and dust left on the grill in the last picture. it was a spur of the moment picture with a little sunshine out. its been nothing but cloudy here lately. also i will get some pictures up of it in the car soon. hopefully this is a little inspiration for you all to have some quality work done to your own rides

 02-13-2013, 06:54 PM
#6
im using a 60 gallon stand up compressor at home but anything 15 gallons and bigger works ok for small jobs like this... this was done at my work so we have 3 rotary screw compressors... and so the harbor freight gun was all i had available at the moment. i normally spray with high end guns. typically i spray with a anest iwata or a sata. i own several high end devilibiss guns myself. but the harbor freight guns spray fine as long as you keep them clean and be careful to not overtighten all the parts after cleaning.
02-13-2013, 07:34 PM
#7
Launching!
iTrader: (12)
Join Date: Jul 2005
Location: NW Illinois
Posts: 227
Likes: 0
Received 0 Likes
on
0 Posts
I will keep that in mind. I plan on getting a HF 30 gallon compressor and a few of their guns when I paint my truck this spring/summer.
Did you use any flex agent in the paint? What was the pressure at the gun if you can remember?
Did you use any flex agent in the paint? What was the pressure at the gun if you can remember?
Trending Topics
02-13-2013, 07:50 PM
#8
if your painting a vehicle complete a 30 gallon wont be big enough. a single stage 60 gallon like i have at home is hardly enough for a small car. with a 60 gallon you will need to let it catch up some... as far as flex additive i didnt use any. but its always a good idea to especially for parts that will take alot of moving to get them assembled. typically bumper covers. as far as pressure at the gun it varies per gun. usually close to what the gun reconmends...
now for compressors. if you have space and have 220 volt available then get one of the cheaper 60 gallon compressors. such as the sanborn 60 gallon like i have
now for compressors. if you have space and have 220 volt available then get one of the cheaper 60 gallon compressors. such as the sanborn 60 gallon like i have
02-14-2013, 10:47 AM
#9
Launching!
iTrader: (12)
Join Date: Jul 2005
Location: NW Illinois
Posts: 227
Likes: 0
Received 0 Likes
on
0 Posts
Unfortunately I dont have 220 in my garage. Would have come in handy when I was buying a welder too. Im trying to do what i can on a smallish budget. I planned on painting the bed and cab separate to help with the compressor lag. Its a RCSB so its not a huge full size truck, so hopefully that helps.