When you click on links to various merchants on this site and make a purchase, this can result in this site earning a commission. Affiliate programs and affiliations include, but are not limited to, the eBay Partner Network.
2001 Camaro SS-1st Attempt at Painting and Paint Correction
Alright, so some of you may know me from my build thread in the Camaro section, but I figured I'd start another one here for this section of the build. My car has had spider cracks in the rear bumper and "berger" panel since I bought it, and I have just now gotten around to painting it. I also ran across a good deal in the classifieds on a CME for it, so I will be doing that as well.
I ordered all the supplies I need for the paint-job and paint correction (for the rest of the car), and they started rolling in yesterday. So far I have stripped down the berger panel completely using chemical stripper and a little bit of sanding. I also attempted the same process on the bumper, but the paint WOULD NOT come off. I have no idea what kind of paint was used on this car when it was repainted previously, but it was tough. I ended up ordering a new rear bumper since it was taking so long and was deformed anyways. It will be in in a few days.
Progress and some pics of my goodies
The stuff seen here is mainly the CME, PC DA buffer, Meguiars Compounds, and Lake Country Pads (deal off Autogeek.com), and I got them based off the "Ask a Professional Detailer" thread. I'm looking forward to he process, and hopefully it turns out well
Looks like your off to a good start, gl with everything. Good call on the bumper. In the grand scheme of things new bumpers are cheap insurance, all the prep work on them is a pita.
Alright, so yesterday I decided to go ahead and spray the black stripe for the trunk lid. The paint laid down great outside of one run toward the bottom (easy fix). I was letting it dry while I cleaned out the gun and prepared for clear, and when I came back I found that the fine line tape that I used was peeling back at the bottom of the stripe
Does anyone have any idea how I can make sure the tape I put down next time stays put? Other than that I was super excited with how well the paint laid down. I plan on painting my new bumper and berger panel today, and I'll go back and re-spray the stripe tomorrow.
Here is a picture showing the reflection after the first black basecoat yesterday.[img][/img]
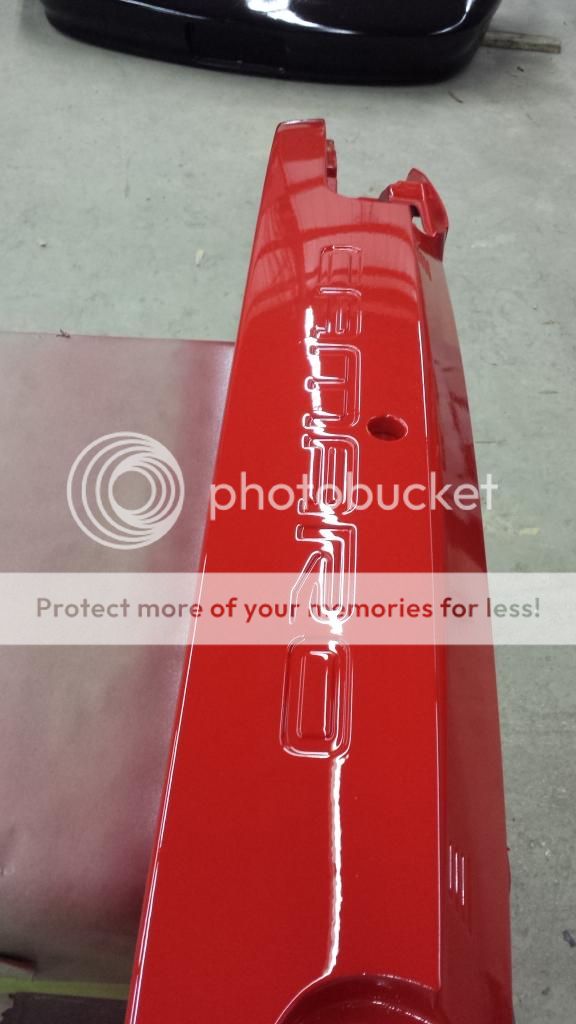
I got the Berger panel, new rear bumper, and CME valance painted last night. They turned out pretty well with the exception of a couple of runs on the last coat of clear. I tried to lay it down really wet to reduce the orange peel, which worked, but it got a little too heavy in a couple spots. Should be an easy fix though, so I'm pleased. I think I should've prepped the CME valance a little better because it didn't turn out quite as nice as the other two panels, but I think I'm just going to roll with it for now. Its on the bottom anyways, so maybe it won't be as noticeable.
Still have to refinish the stripe, and then I can put everything back on the car to see how well the paint matches. I'm expecting to have to blend the paint on the quarter panels, but we'll see.
I will never use a cheap gun to spray with again I don't think. I used a friends Anest Iwata gun to spray all this, and it is unbelivable the difference between it and my cheap Kobalt HVLP. I'm not saying good results can't be done with a cheaper gun, but the saying,"you get what you paid for" definitely holds true in this case it seems.
I got the trunk lid/stripe wetsanded and buffed today, and I think it turned out really nice. I haven't had a chance to wetsand or buff the tailpanel or bumper yet, but I tested the tailpanel out today to check the color match. I actually think it will match close enough without having to blend it on the quarters. I'm pleased with it.
Preciate it fellas. I re-sanded and re-sprayed the CME valance yesterday because it had several runs and issues with it, so I am going to try to get it installed today. Once its installed I will wetsand down the few runs I have on the bumper and buff it, and it should be good to go
I got the bumper on and wetsanded/buffed out last night. I'm ordering new mufflers today, and ill go get my exhaust finished up when those come in. I did notice one run/sag in the bumper I still need to remove, but its gonna have to wait a little bit. Almost done.
Preciate it guys. My new Magnaflow bullets come I'm today that I will be using with the CME on both sides of the hump in the back. Once they're in Ill attach my CME valance and get it to the exhaust shop (hopefully by the end of the week). Ill post pics when its all said and done
I will say, after wetsanding the new paint and buffing it, it makes the old paint on the car (which is a pretty nice paintjob) look not so good anymore. The extra wetsanding and buffing to get the little bit of orange peel out of the new paint makes all the difference.
Looks amazing. How much time do you have into it so far ?
Thanks a lot. I've worked on it for 3 weeks in the afternoons. Not every day, but I'd say I easily have 20-25 hours in it from stripping/sanding it to painting and buffing. It could have been done faster obviously, but I had a couple mess-ups that I had to fix along the way.
Here is a copy-paste from a local forum I posted last night.
All done! The new exhaust setup sounds nice. Deep, but not too loud. No rasp. It has one 3"x4"x14" round magnaflow in the i-pipe and 2 2.5"x5"x14" round Magnaflows in the back. I'm pleased with the way this project turned out being my first time doing something like this. Its definitely not perfect, but its satisfying.
I think I will put some black letters in the "Camaro" and maybe ill tint the tails. I will also experiment with painting the tips black to match the letters and stripe. I think it will look good. If it doesn't I'll just sand it off and polish them.
I got my black "Camaro" inserts in today as well as tried my first attempt at paint correction. Definitely a big improvement in the paint's finish. There are some scratches that were a little deeper than I wanted to go for fear of burning through the clear, but overall I'm happy. Should look much better in sunlight.
I included a couple of pics to show the difference. Don't know if you'll be able to tell or not from these pics. I'm posting in my phone, so maybe you can see it better on a computer screen.

 10-29-2014, 07:41 PM


 [/IMG]
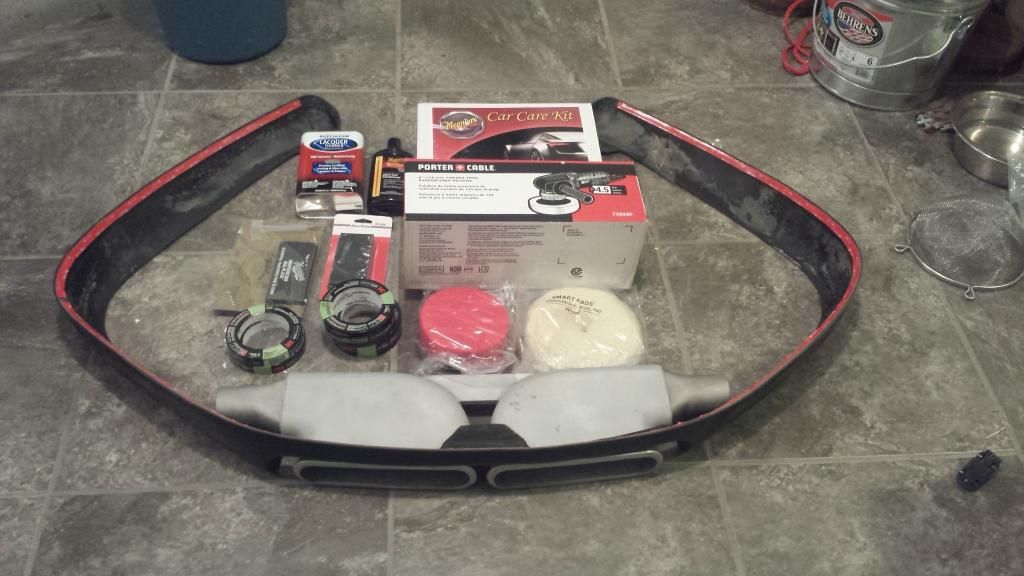 [/IMG]
 [/IMG]
 [/IMG]


 [/img]
  [/img]
 [/img]
  [/img]
  [/img]
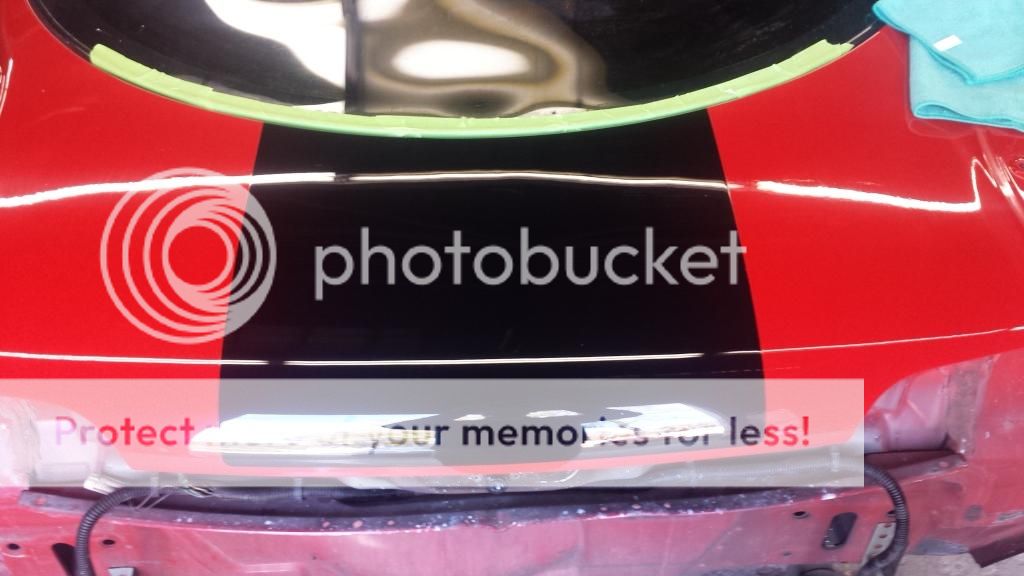 [/img]
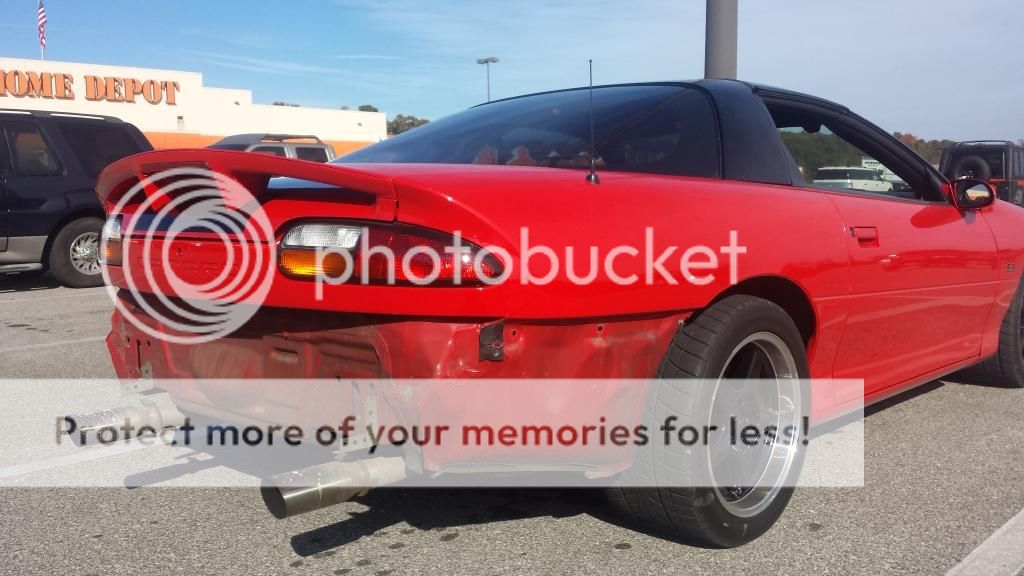 [/img]
  [/img]
 [/img]
 [/img]
 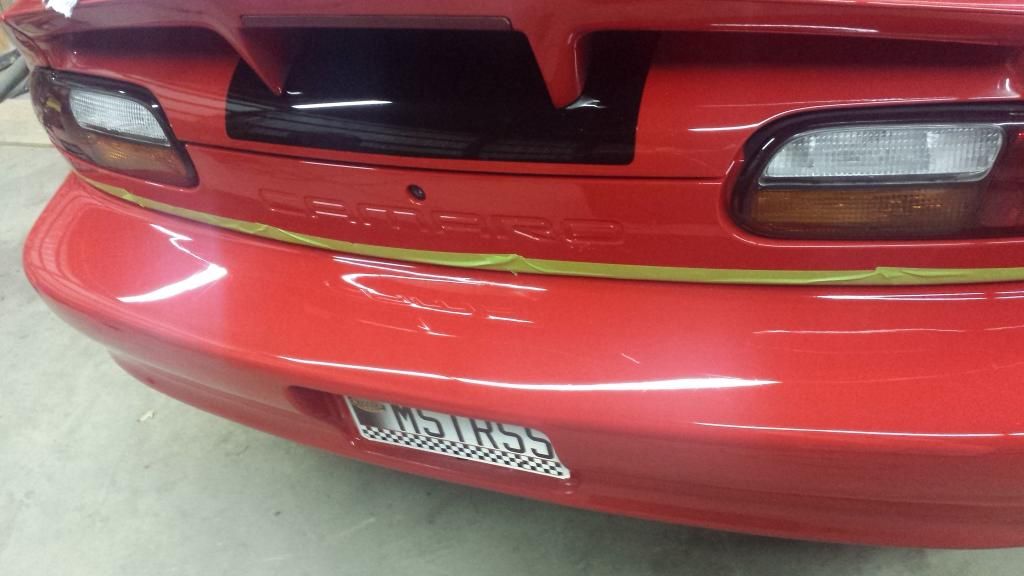 [/img]
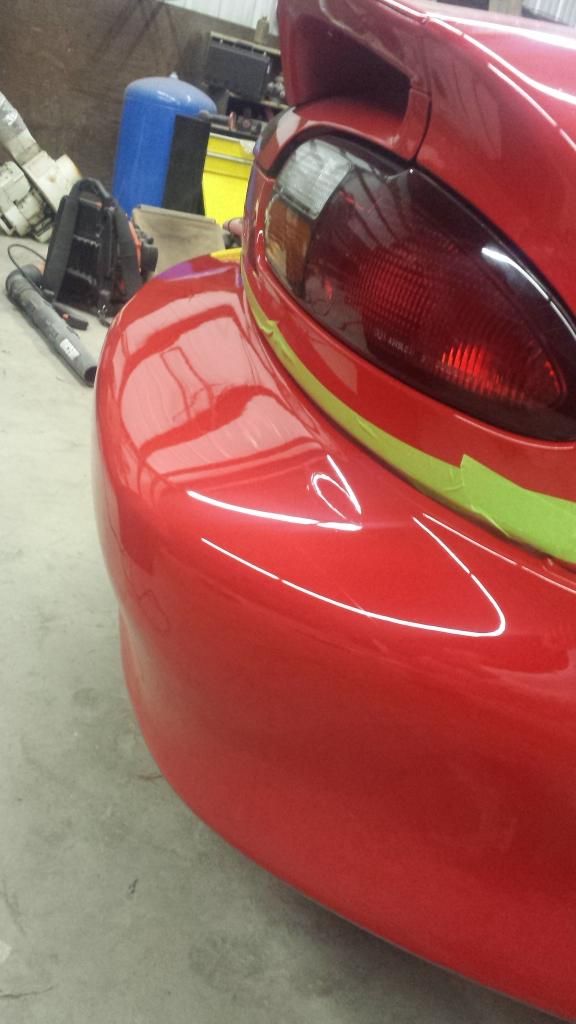 [/img]
  [/img]
 [/img]
  [/img]
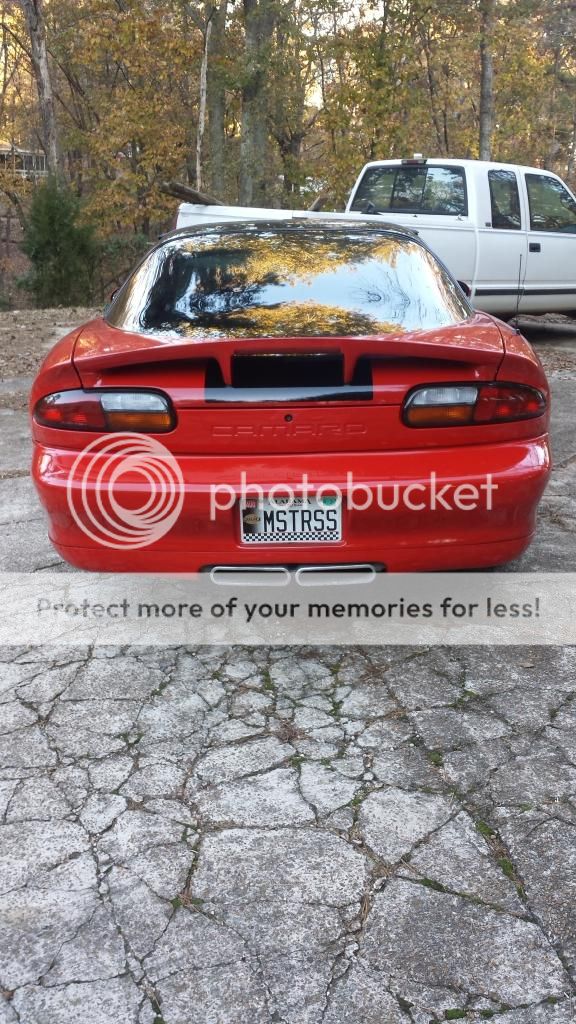 [/img]
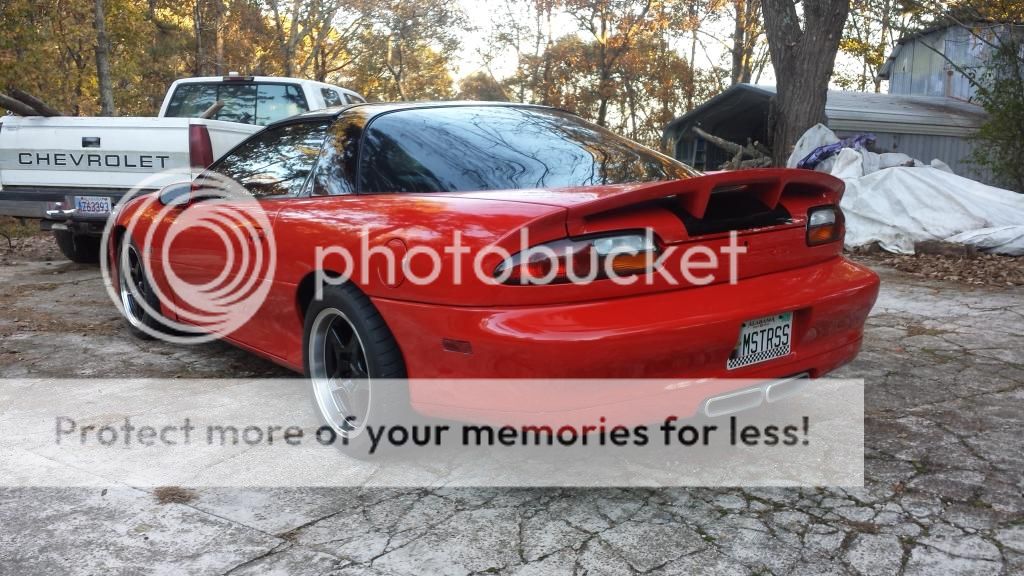 [/img]
  [/img]
 [/img]
 [/img]
 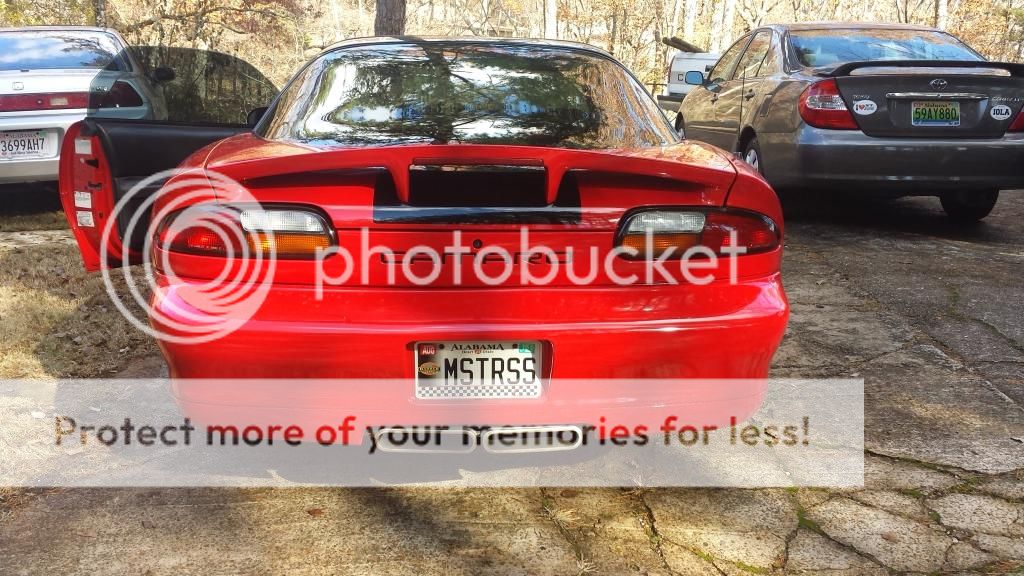 [/img]
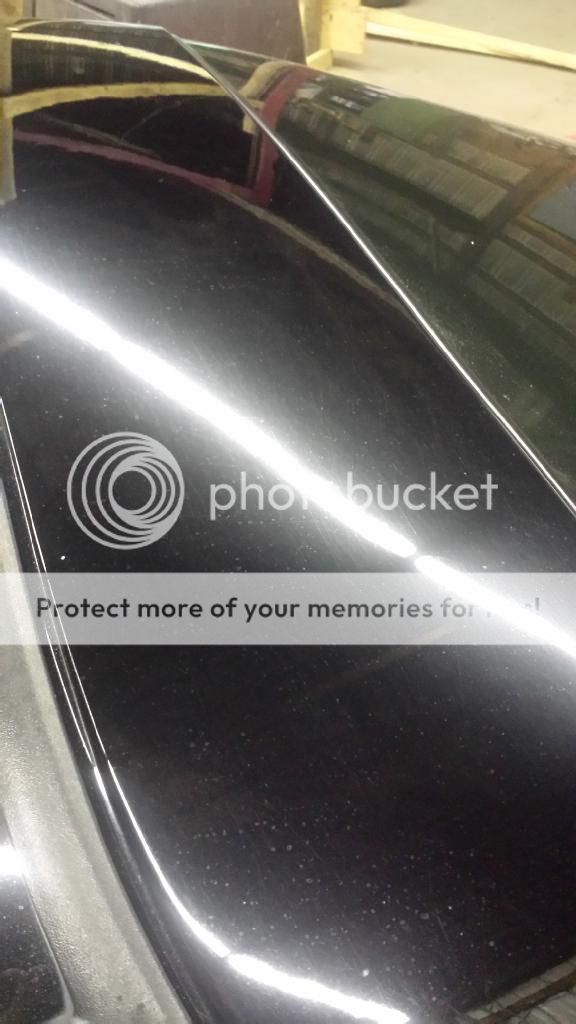 [/img]
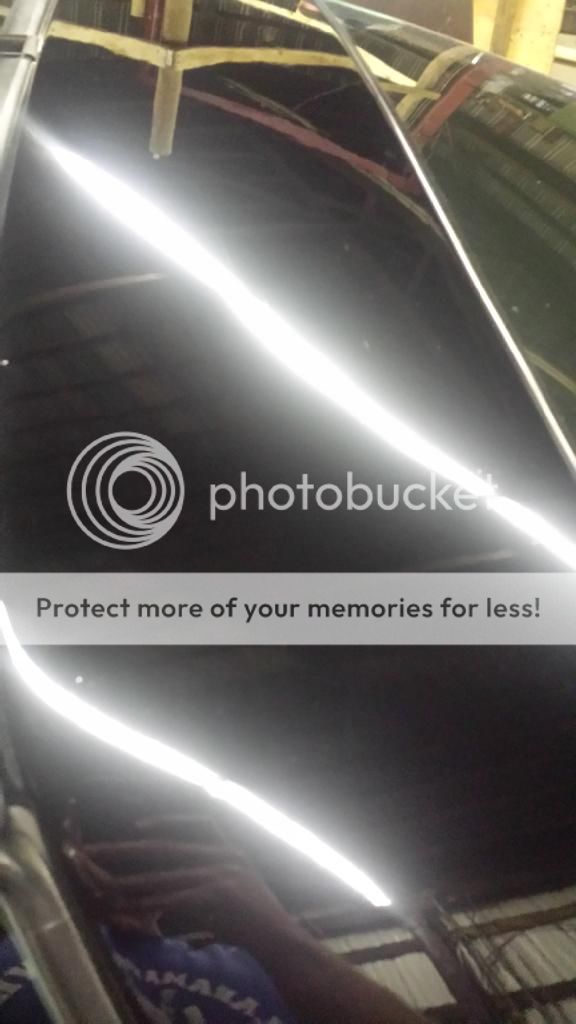 [/img]
  [/img]
 [/img]
 [/img]