Anyone paint an LS1 intake manifold??


 01-02-2008, 12:50 PM
#24
TECH Fanatic
iTrader: (12)

Join Date: Mar 2002
Location: Greenville, SC
Posts: 1,126
Likes: 0
Received 0 Likes
on
0 Posts

Did mine with Duplicolor products as well. Only piece of advice I can offer in addition to what has been said is to use the Adhesion Promotor before any paint goes on. It will will help in the event that you missed a spot sanding...there are some very tight spots that you can't reach with sandpaper.

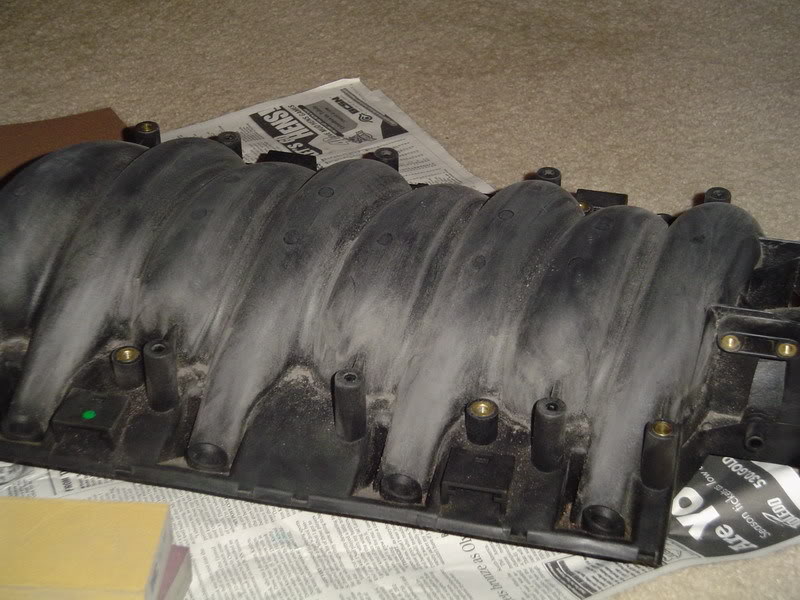
I sanded for hours to get casting marks smoothed off of the runners. It was wirth it in the end, though. The Duplicolor doesn't lay down as well as I would like, but it's only $5, so I wasn't expecting a professional finish.
I sanded for hours to get casting marks smoothed off of the runners. It was wirth it in the end, though. The Duplicolor doesn't lay down as well as I would like, but it's only $5, so I wasn't expecting a professional finish.
01-02-2008, 01:00 PM
#25
Staging Lane
Thread Starter
Join Date: Jan 2006
Location: Clever, MO
Posts: 53
Likes: 0
Received 0 Likes
on
0 Posts
 01-03-2008, 09:52 AM
#26
TECH Fanatic
iTrader: (12)
Join Date: Mar 2002
Location: Greenville, SC
Posts: 1,126
Likes: 0
Received 0 Likes
on
0 Posts
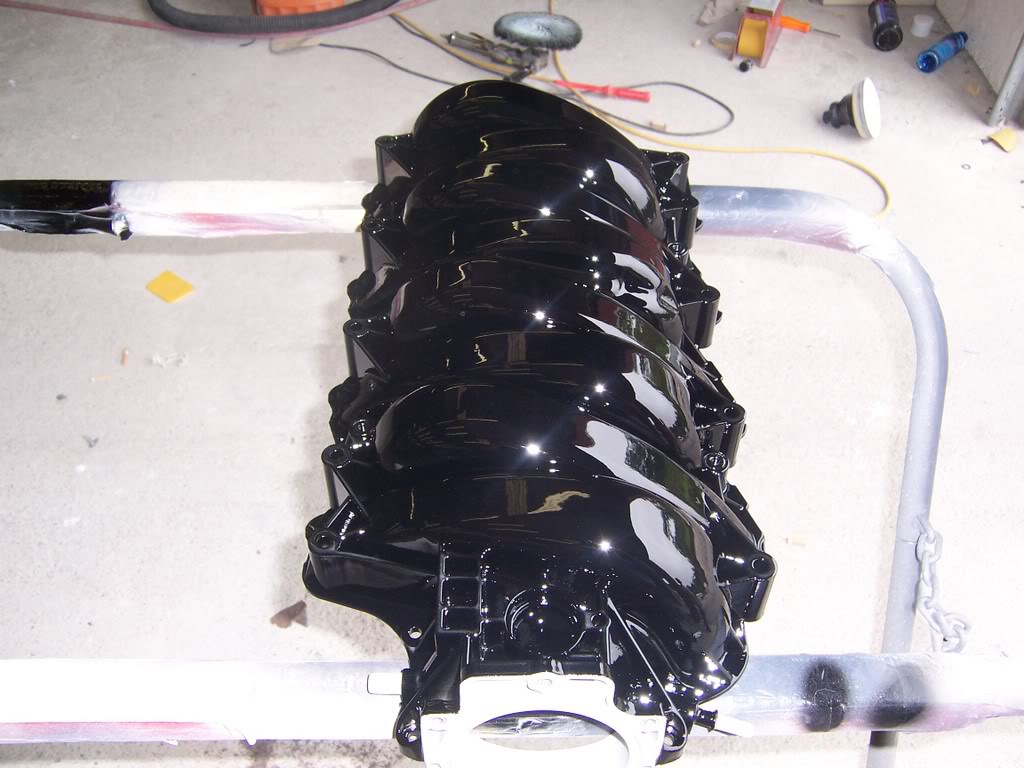
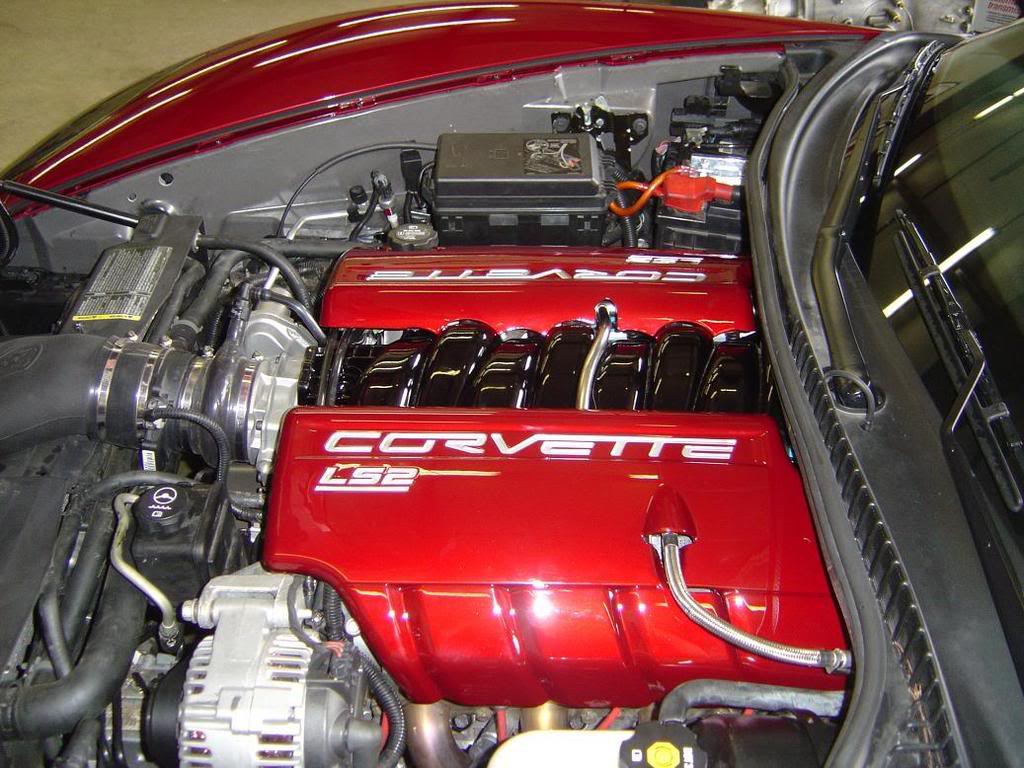
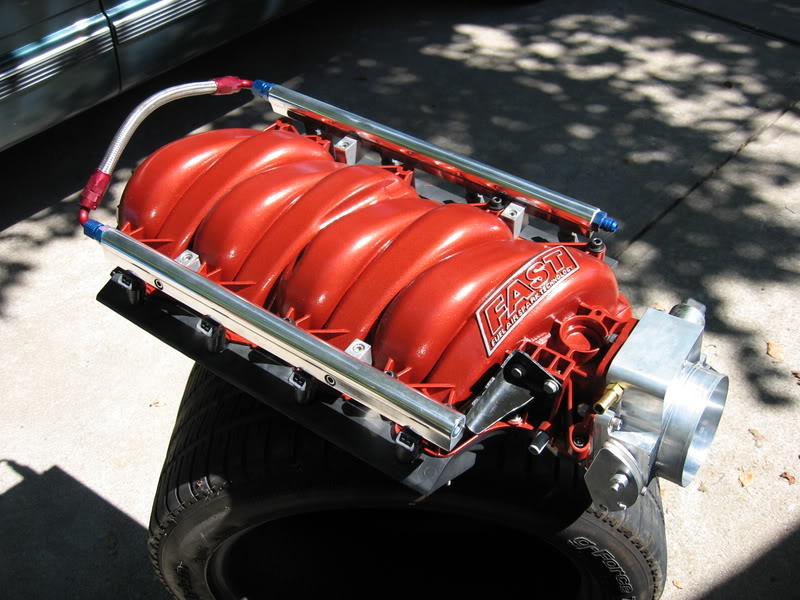
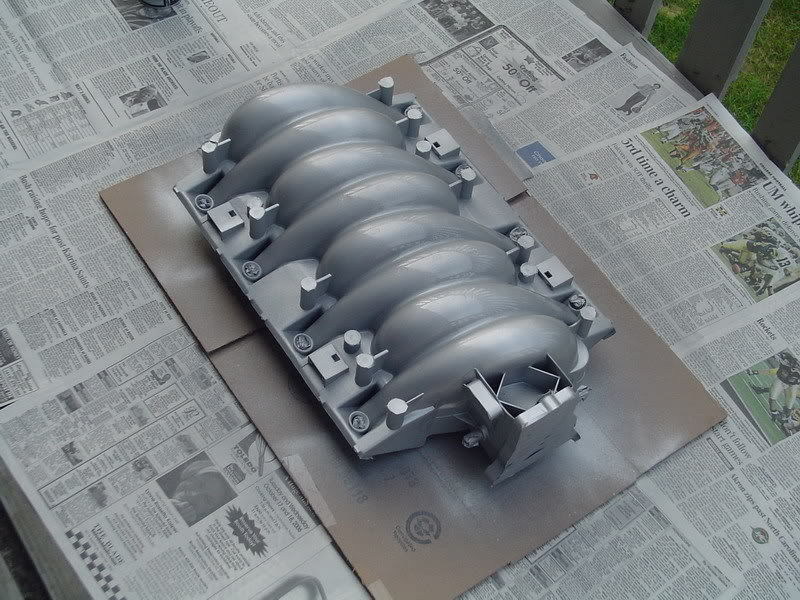
Thanks for the compliments. Both the intake manifold and other parts are clear coated. EVerything was sanded, cleaned, one coat of adhesion promoter, 2 coats of primer, 3 color coats, 3 clear coats.
I think the intake manifold is Charcoal Metallic or something like that. The valve covers are Orange Mist (close to SOM).
The metallic is pretty good...this pic shows it a little better. It really pops in the sunlight, though.

I think the intake manifold is Charcoal Metallic or something like that. The valve covers are Orange Mist (close to SOM).
The metallic is pretty good...this pic shows it a little better. It really pops in the sunlight, though.
01-03-2008, 10:36 AM
#28
TECH Addict
iTrader: (24)
Join Date: Oct 2006
Location: Webb City, MO...out in the garage
Posts: 2,608
Likes: 0
Received 0 Likes
on
0 Posts
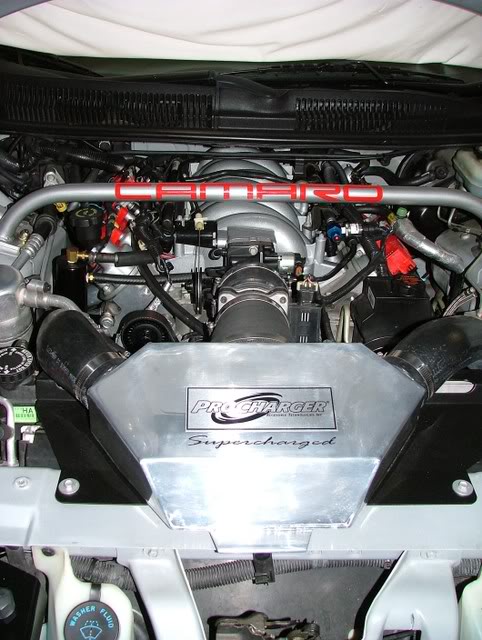
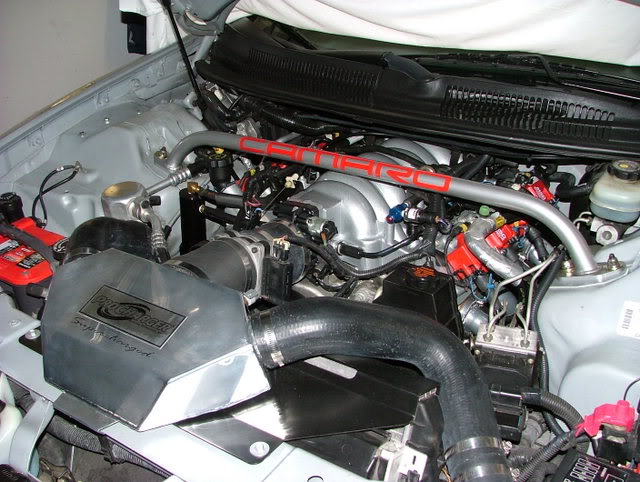
i had some punk at O'Reily's mix up some SOM in a rattle can and did mine in my garage...followed tips/instructions i found on here. it turned out good, but it was just a quick fix to get my car up to par for the Street Machine Nationals last year.
i just did a head swap and i had my buddy that's a painter re-do my top shell the right way....(not in a garage, not with a rattle can, and not with cats everywhere ) it's got a fine layer of dust on it from sitting in the garage, but you get the idea.
i just did a head swap and i had my buddy that's a painter re-do my top shell the right way....(not in a garage, not with a rattle can, and not with cats everywhere

 01-05-2008, 03:26 PM
#31
Staging Lane
Thread Starter
Join Date: Jan 2006
Location: Clever, MO
Posts: 53
Likes: 0
Received 0 Likes
on
0 Posts
Thanks to all you guys for your pics and comments. Keep 'em coming! I'm still in the sanding and prep stages on my intake manifold and fuel rail covers but waiting for my garage to warm up before painting.
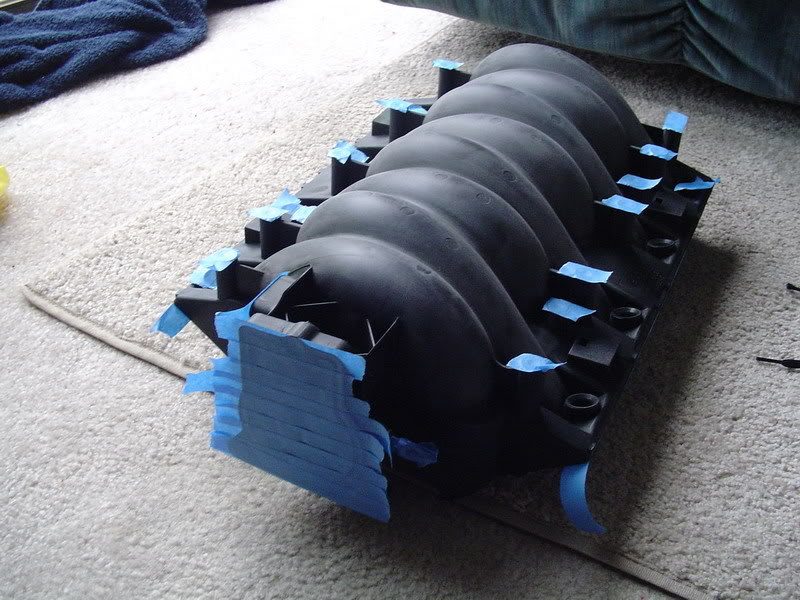
A buddy of mine asked me today if I was also going to paint my ignition coils! Has anyone seen that done or done it yourself?? I think I could just clean them good first, mask off the connectors, spray on some adh. promoter, then hit them with several lite coats of paint. What do you think??
A buddy of mine asked me today if I was also going to paint my ignition coils! Has anyone seen that done or done it yourself?? I think I could just clean them good first, mask off the connectors, spray on some adh. promoter, then hit them with several lite coats of paint. What do you think??
 01-06-2008, 11:09 PM
#33
Here is my write up. --> http://www.geocities.com/mrmtransam/intake/ Pretty much the same pics with a few more pics and some details on grit and yadda yadda.

You can paint the coils and coil brackets and valve covers also. I used Hi Temp Engine paint on the valve covers. Sprayed the coil brackets with silver, then used black primer on the coils then shot the coils red. Taped off both connectors on the coils and it worked like a charm.
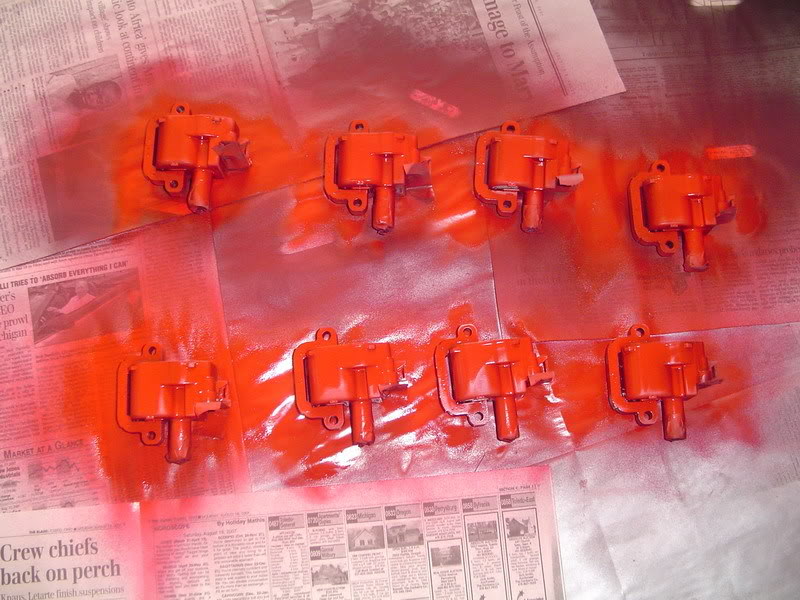
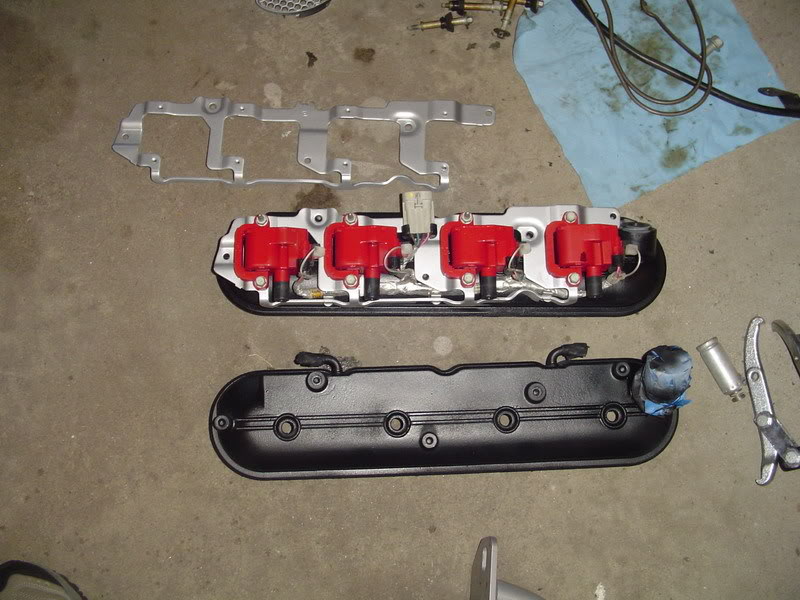

You can paint the coils and coil brackets and valve covers also. I used Hi Temp Engine paint on the valve covers. Sprayed the coil brackets with silver, then used black primer on the coils then shot the coils red. Taped off both connectors on the coils and it worked like a charm.
02-15-2008, 12:45 PM
#35
Staging Lane
Thread Starter
Join Date: Jan 2006
Location: Clever, MO
Posts: 53
Likes: 0
Received 0 Likes
on
0 Posts
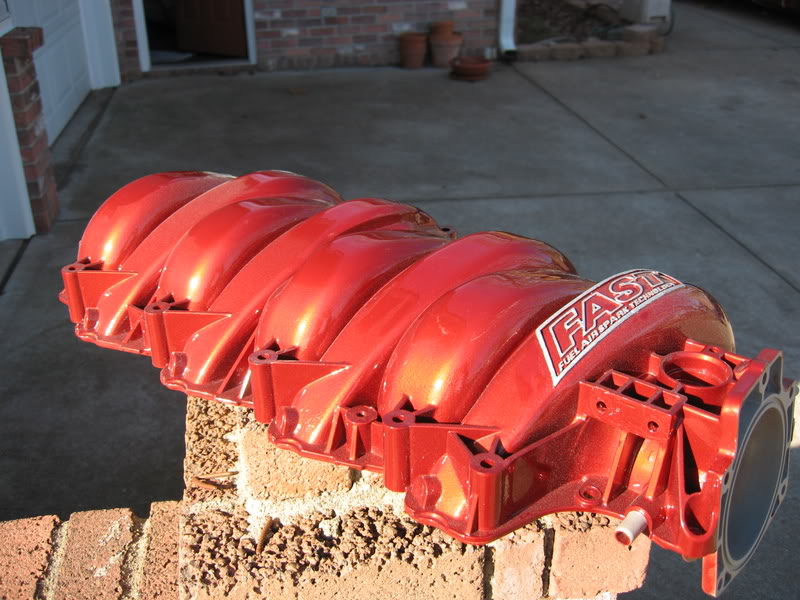
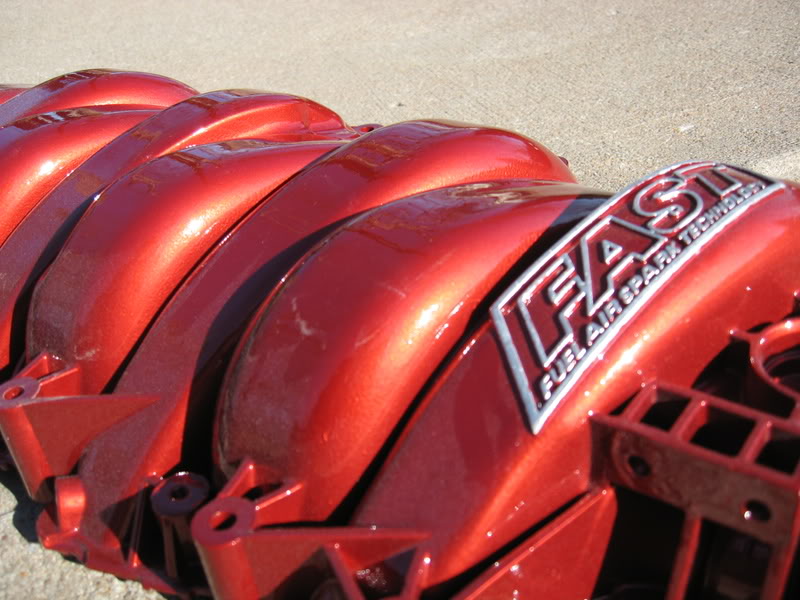
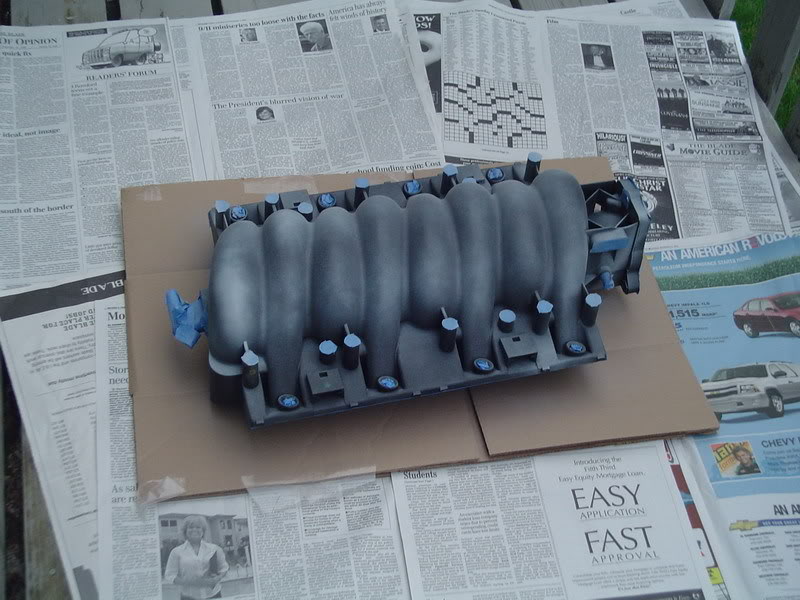
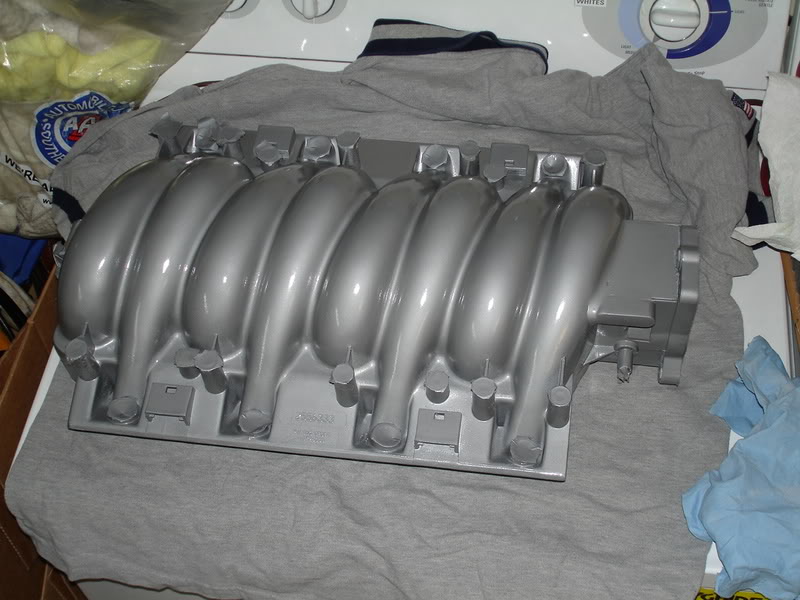
Finally finished painting my manifold. Using Duplicolor products only... I sprayed it with their Chrome paint, but after waiting 40 min. and hitting it with their clear, it changed to more of an aluminum looking color. Oh well, this was my first attempt at painting this kind of stuff, and I've got another manifold to experiment with anyway. I haven't installed it yet. I may try something else next. I already painted my FRC's satin black w/ a matte clear with chrome lettering. My vette pals think it looks great, and I like it too. Very sanitary!! I hope it still looks good with the "aluminum" intake too.
Paint only.........
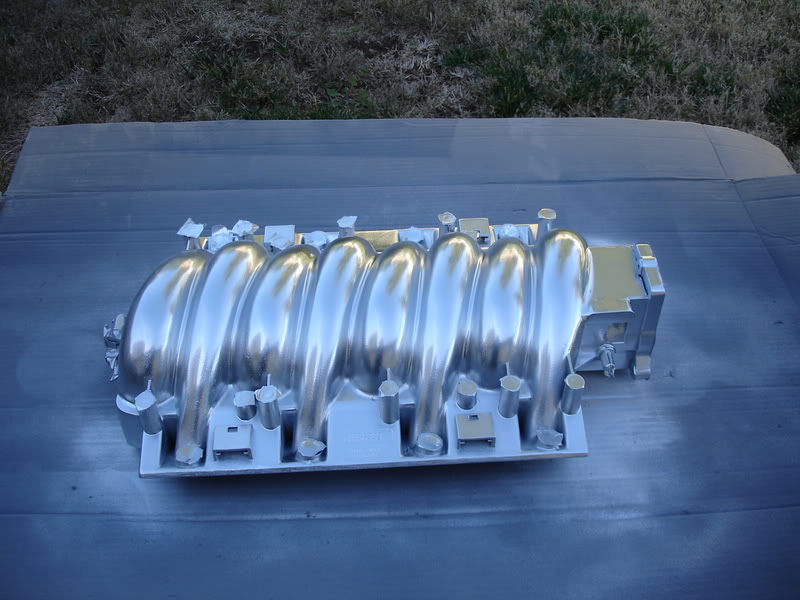
Paint and clear.........
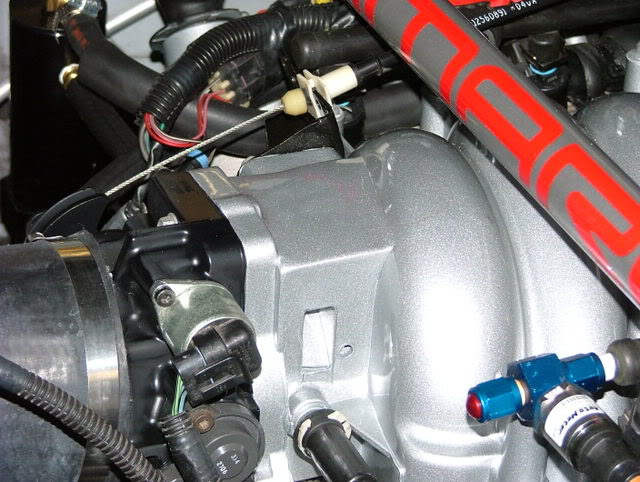
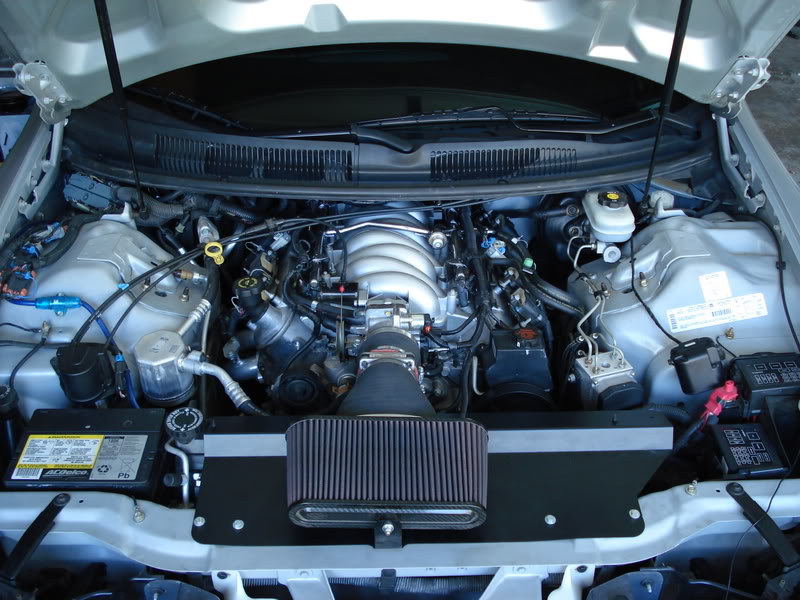
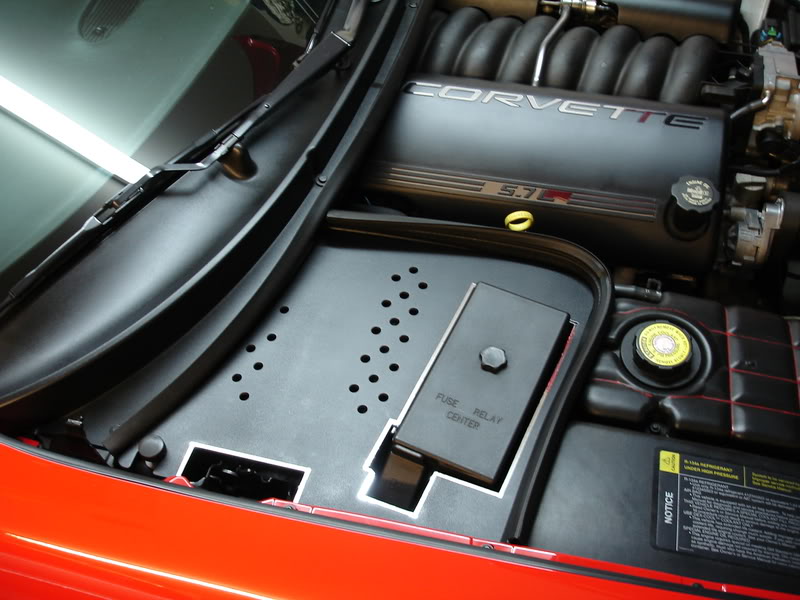
Engine bay....for now..without the painted intake!
Paint only.........
Paint and clear.........
Engine bay....for now..without the painted intake!
Last edited by Fixvet; 02-15-2008 at 04:36 PM.