When you click on links to various merchants on this site and make a purchase, this can result in this site earning a commission. Affiliate programs and affiliations include, but are not limited to, the eBay Partner Network.
Well i bought this 99 trans am towards the end of february knowing it needed paint. However what i did not realize when i bought it was it had been in an accident before. So now i'm sort of at a stand still with the vehicle however i want to start a build thread to have a place to keep track of the progress on the car. Car is a texas car, so the clean undercarriage was a positive to me. The vehicle was also bone stock besides some cosmetic upgrades, smoked lens, sequential turn signals, led 3rd brake light. Unfortunately most of the lenses have broke, including my right rear honey comb. Anyways here is a pic of what it looked like when i bought it.
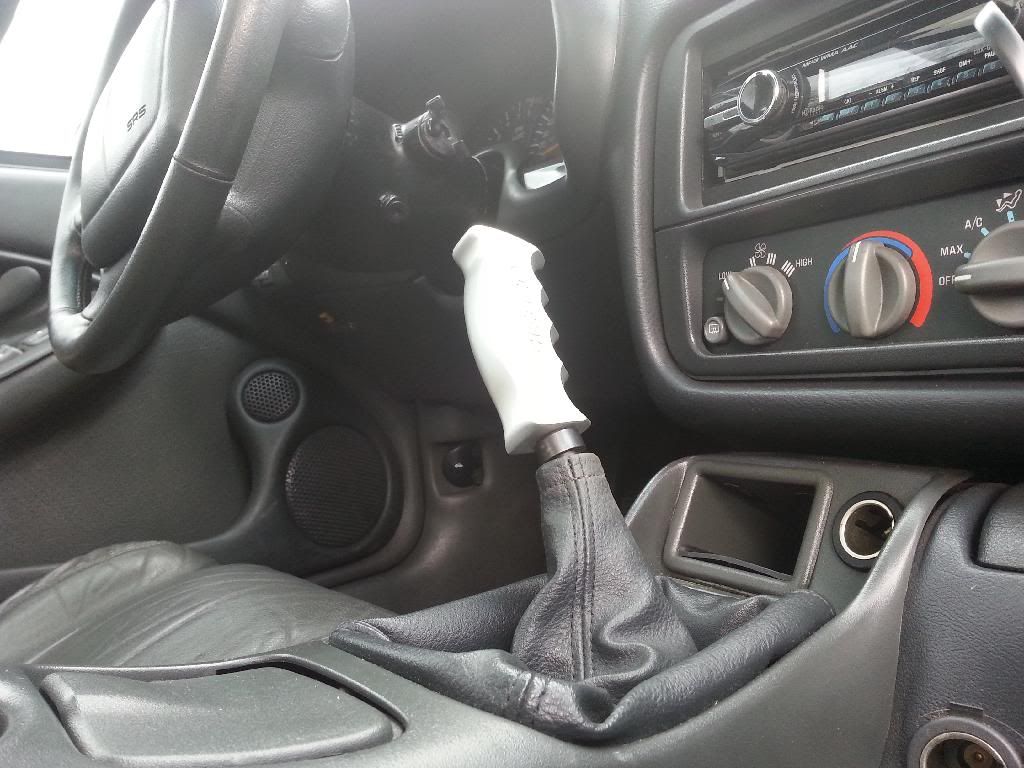
The car had a stock shifter on it so that was the first thing to go. I still had the factory hurst left over from my 96 and the wife bought me a lous short stick for christmas that i never got to install. Topped it off with pistol grip from previous 96 camaro.
The shifter setup looks great in the car and feels good, if only the clutch felt the same...
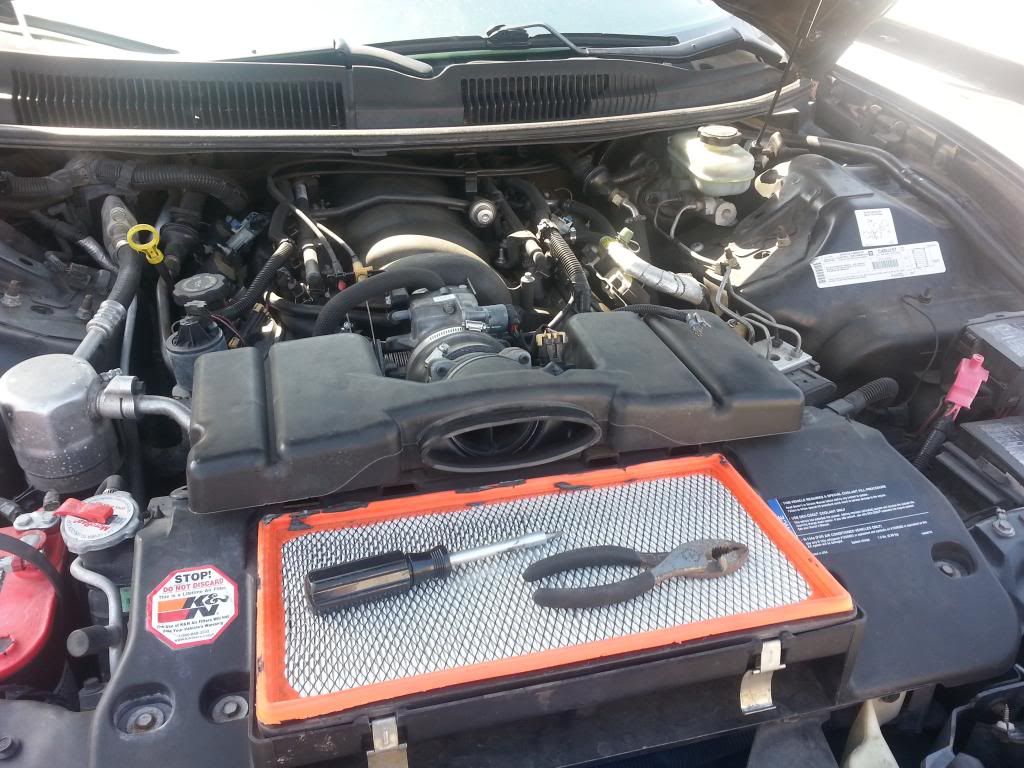
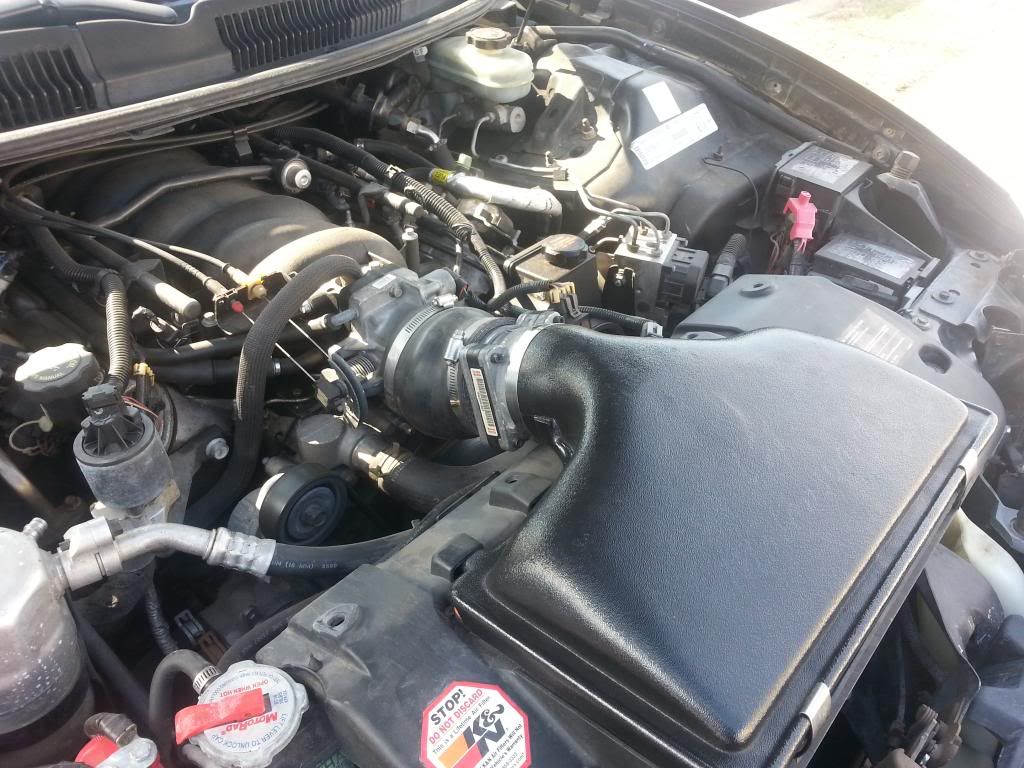
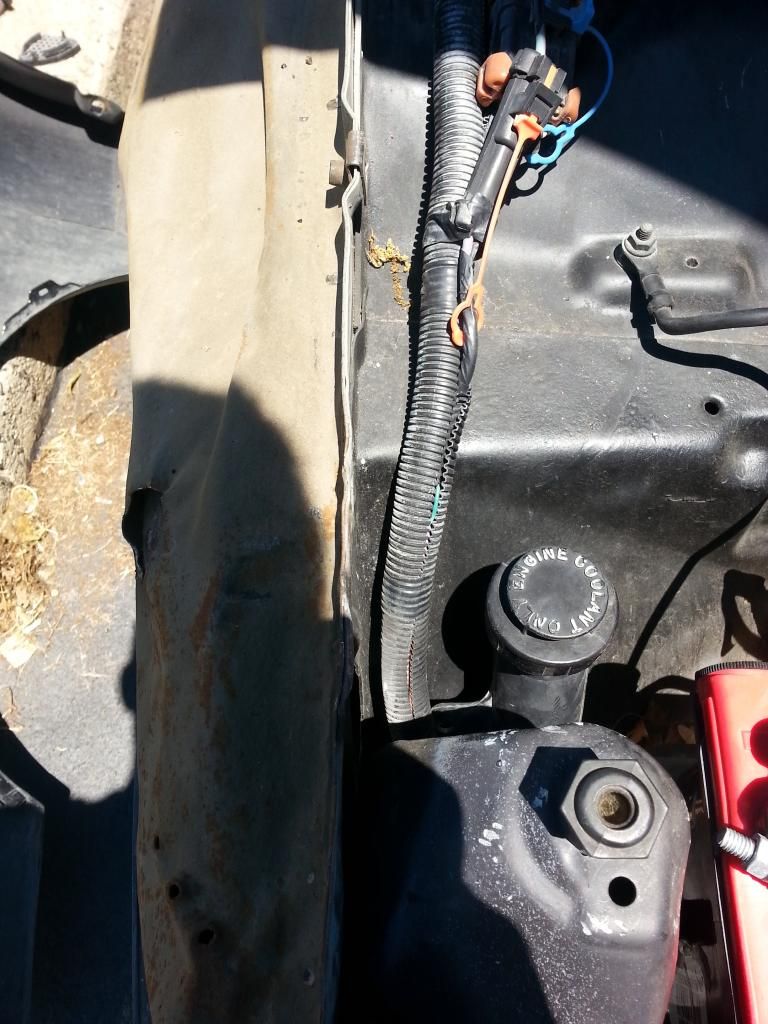
Anyways i got a killer deal on an ls1 motorsport lid, k&n filter, and raised ws6 box. The car already had a raised ws6 box so i sold the one, and sold the k&n in favor of paper filters. Made my money back on the lid so that was nice.
Removing that baffle frees up so much front clutter, glad its gone. However while i did the lid swap i noticed the car was in a previous accident which previous owner failed to tell me about. The is if he even knew about it.
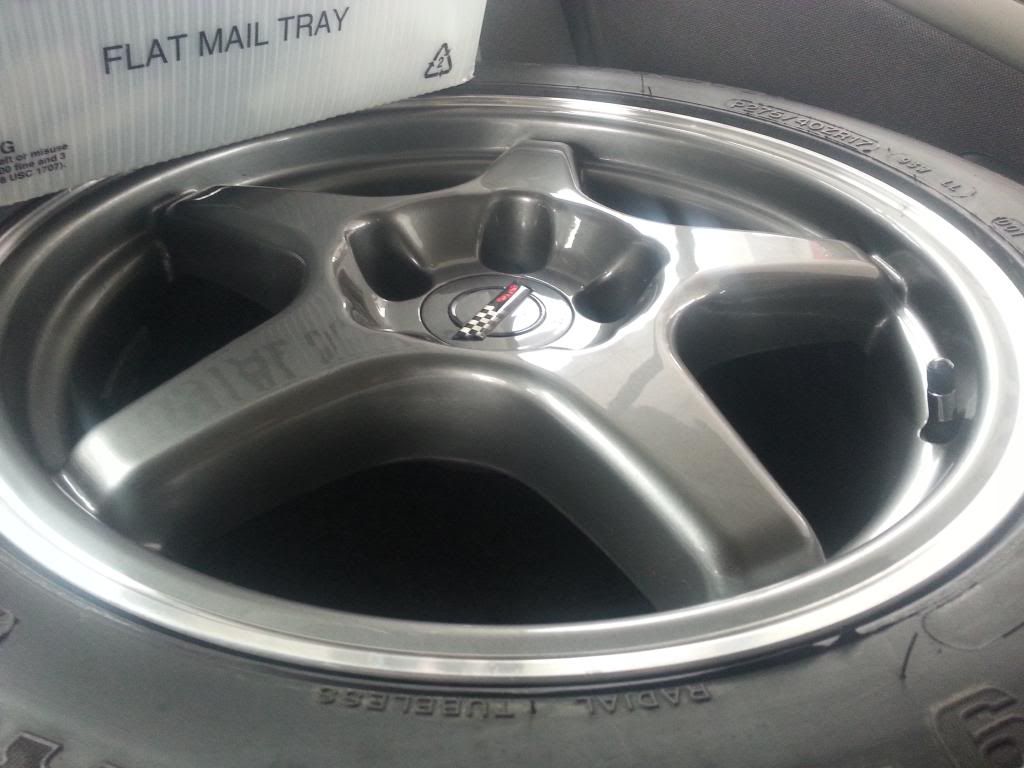
Anyways i found the rims to be horrid, not even the slightest ounce of like towards them. Since the suspension is just about bone stock, I had my watts link for sale. A member on here saw it and offered up a set of gunmetal zr1s for a trade. So i decided to do it.
squeezed them in the back of my father in laws malibu haha
after BFH the rear inner fender well to fit the 315s on. Wanted 315s forever for my camaro and its ironic there one of the first things i got on my trans am.
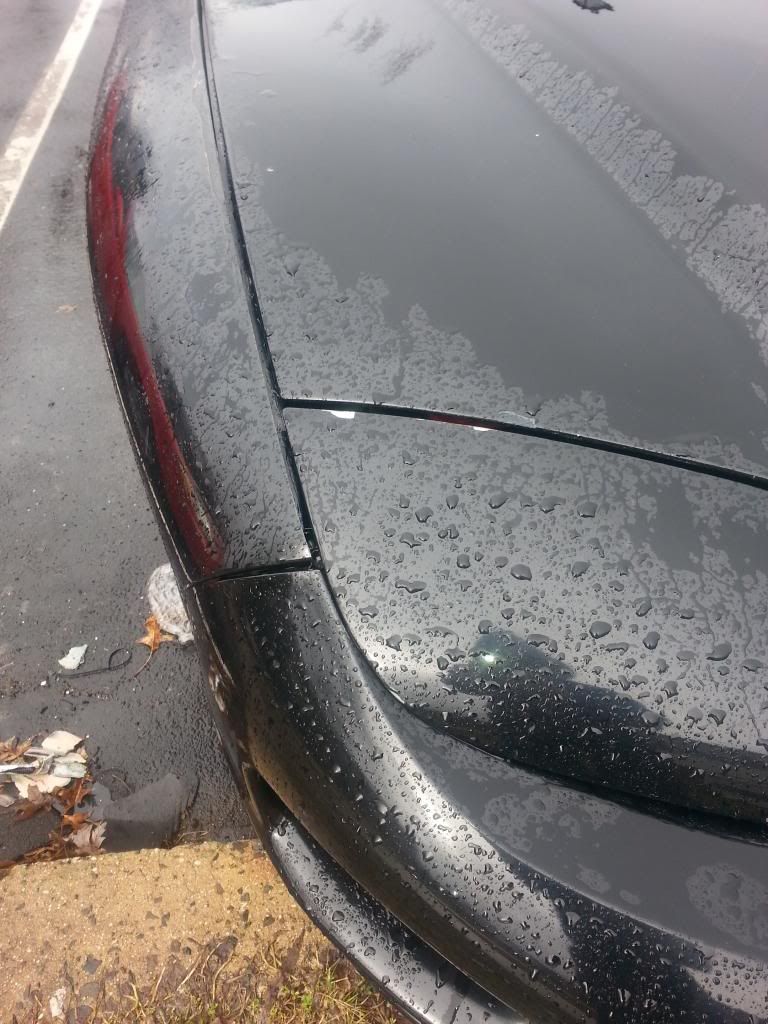
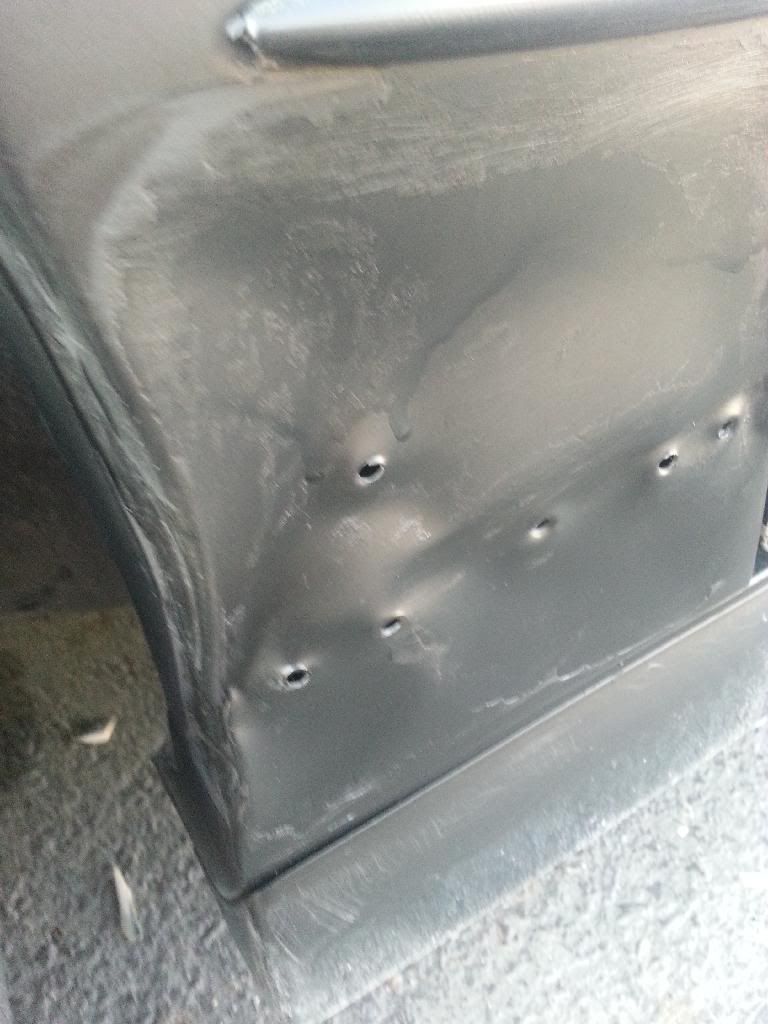
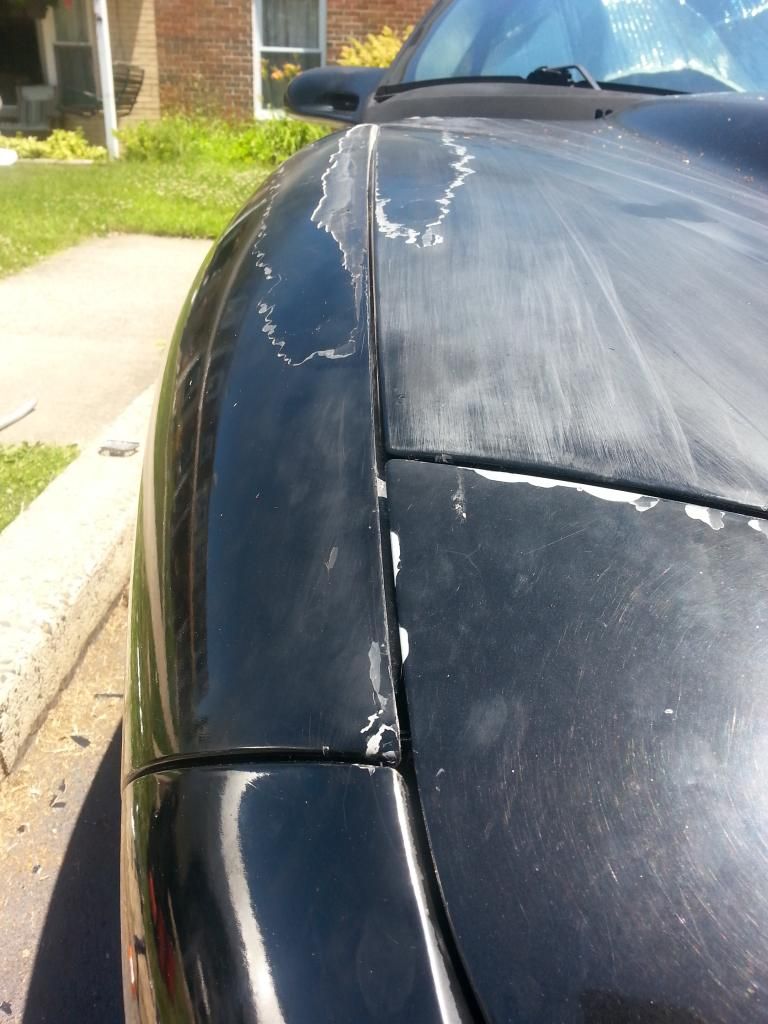
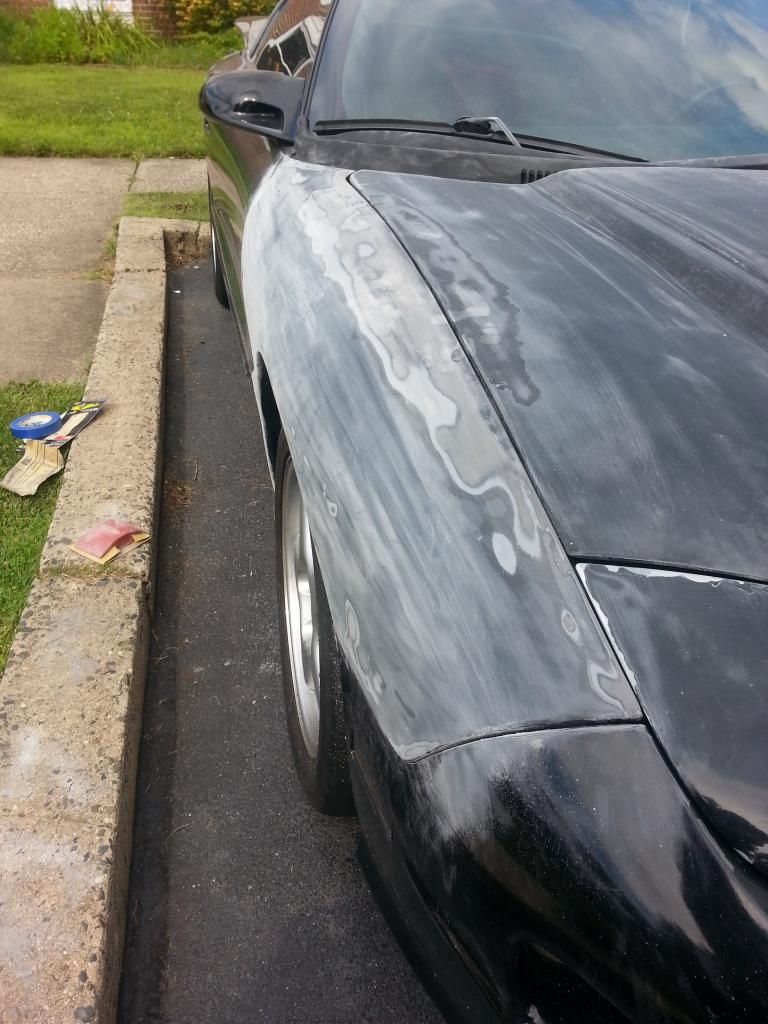
Also was going to do some touch up painting, and saw what i thought was cracking paint on my rear fender. Sanded down the rough paint and saw that it was in fact bondo. I'm no body man but even i could tell if hadn't been applied on right. Seems to be other spots of bondo on the passenger side as well.
After pulling off the old bondo, i layed some black paint on temporarily to mask it and protect it from rusting somewhat. I should be fixing this soon, just not sure on how soon haha.
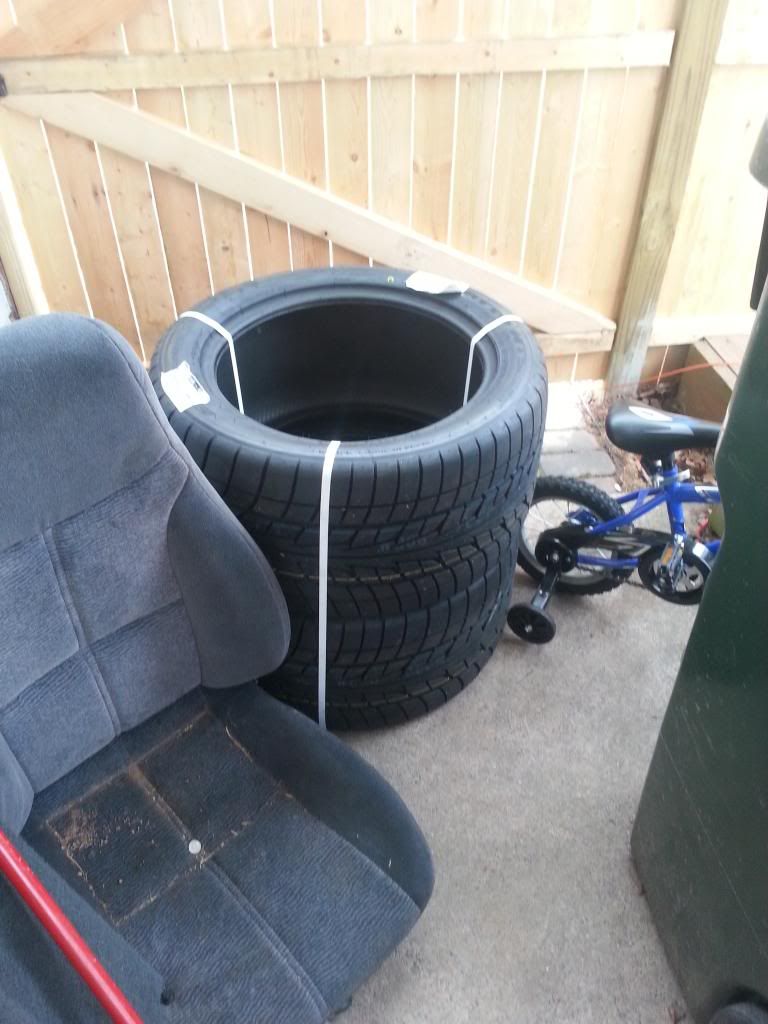
Also since the tires that were on the rims were bfg r1's they obviously were ont suitable for for street driving. I ordered a set of nitto nt555 for the rear right after the price jumped up to
UPS guy left them on the back porch and i had no idea, went to let my dog out and SURPRISE there they were! Went with the regular radials instead of drag radials since this car will be daily driven for a while.
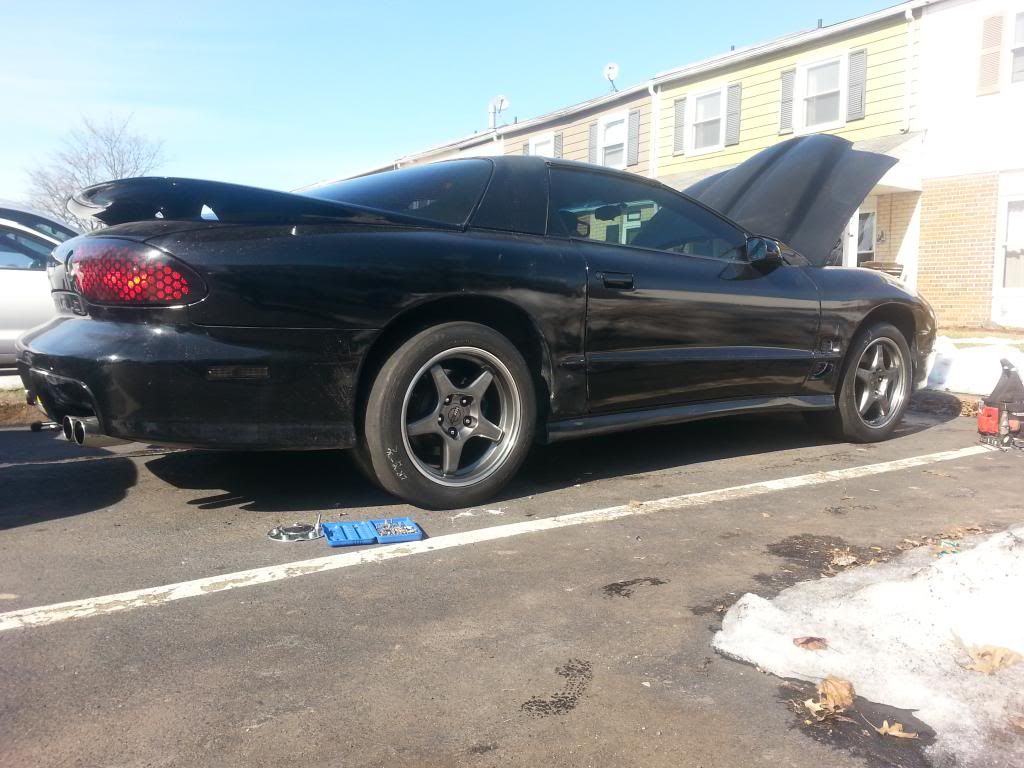
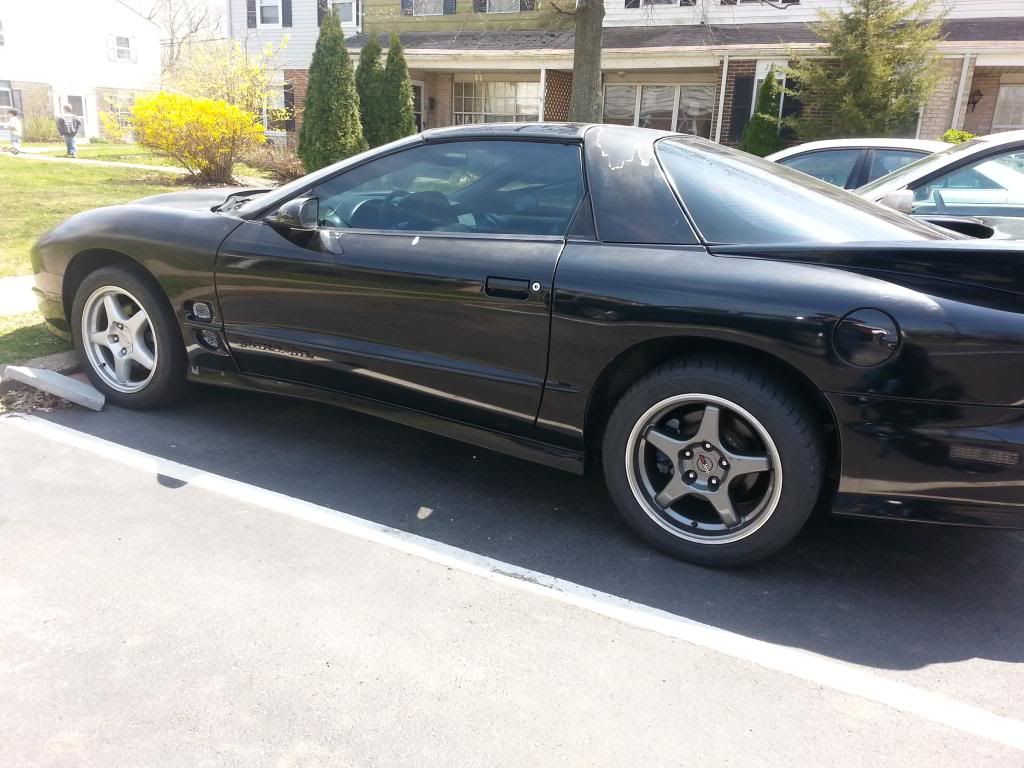
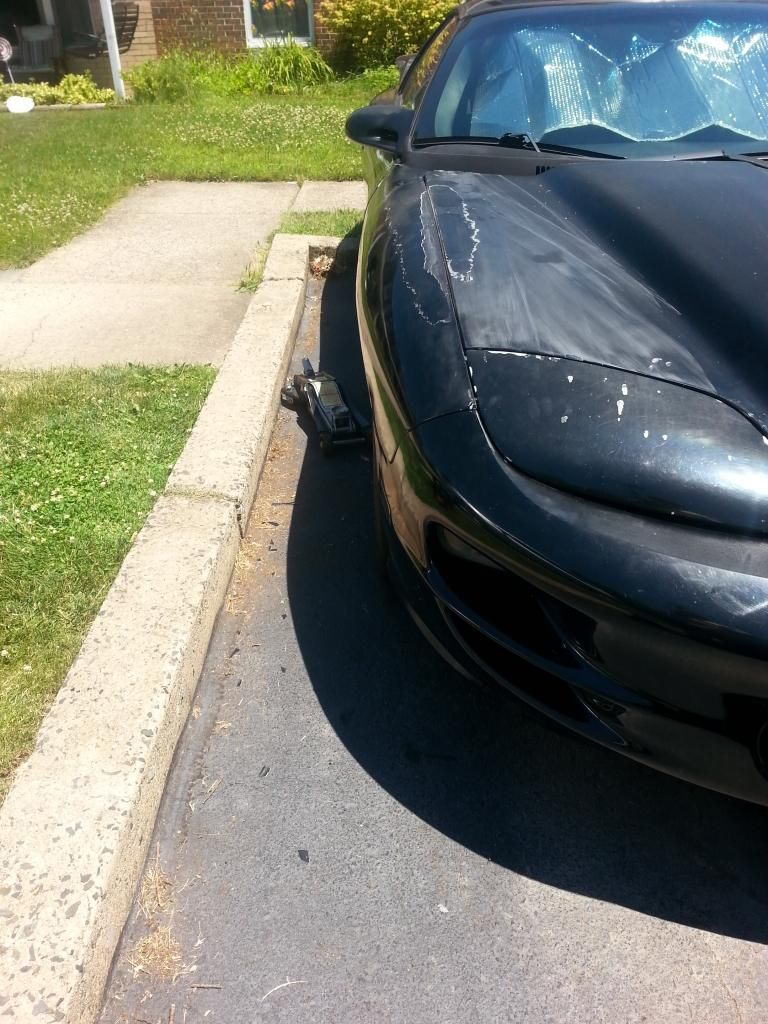
Priorities sometimes suck, and with a new baby on the way budget is somewhat limited. So for now i put the 2 old rims off my old camaro on the front so i wouldn't be driving around on slicks. This is also what the car looks like now. I sanded the front driver fender and spray painted it black, my sandpaper died though so its not as smooth as i would like, in fact its actually really horrid so i will be redoing that.
Also just today i bent the fender tabs back that get bent from un proper jacking of these vehicles. The passenger side shows no improvement though, probably due to needing to be re adjusted/replaced since the accident has it all wacked.
Before:
After:
Anyways here is my list of things to do some of this stuff i want to get done this summer.
Tick Master Cylinder
New Front tires
Longtube Headers
Lowering Springs
Better Shocks
Replace broken lenses
Straighten up some body work
Find a pre 98 sail panel
sand down peeling clear spots and touch up with black paint.
Get a new paint job next year
Fix the rear fender dent
Well thanks for reading, i have plans for the vehicle unfortunately no funds right now haha. I'm going to start purchasing small things to fix and work on the minor details since there cheaper. Next tax return i should be getting the body work straightened out and re painted.
Well didn't get much done this weekend with mothers day (mother's weekend according to my wife.) Did however fix some small things that bothered me.
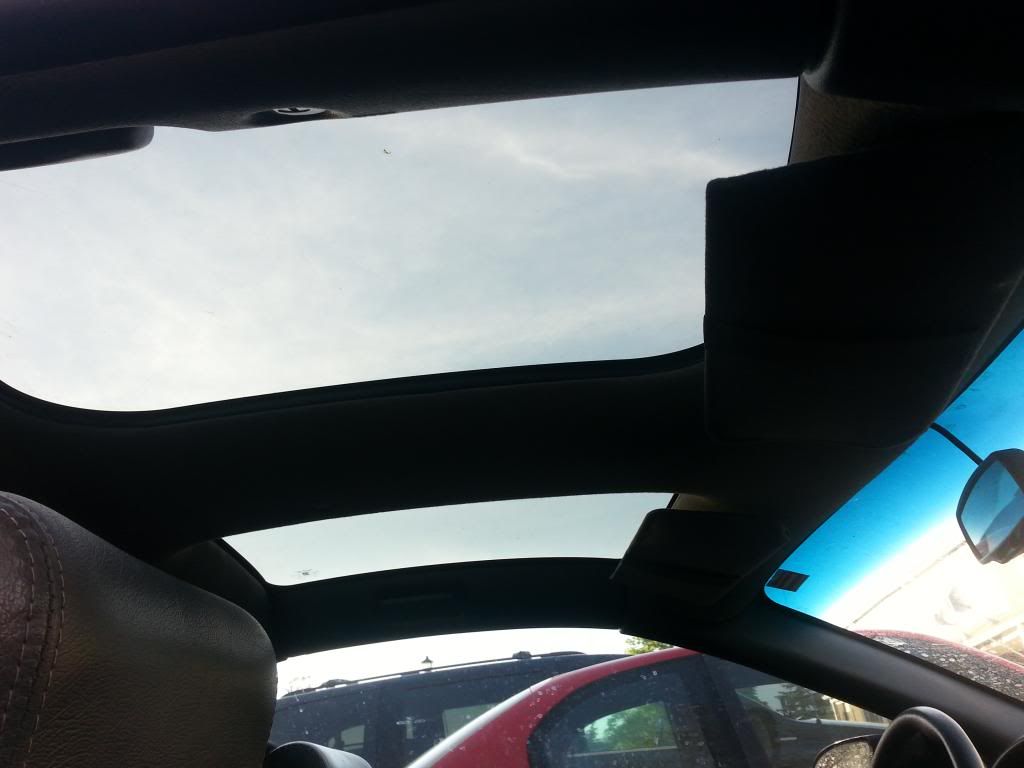
First was the lack of t-top shades. I had the ones for my camaro leftover they dont match perfectly but thats alright, they'll keep the sun from glaring in.
I also have my old headliner from the camaro maybe one day ill put that on instead of this one so it matches who knows.
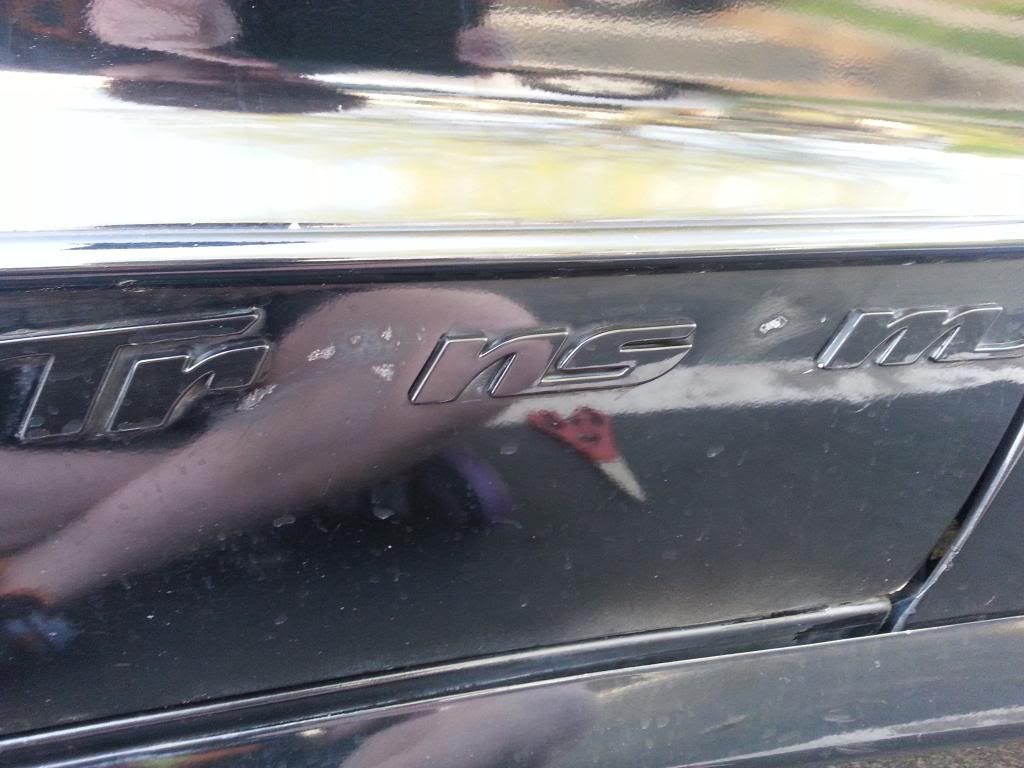
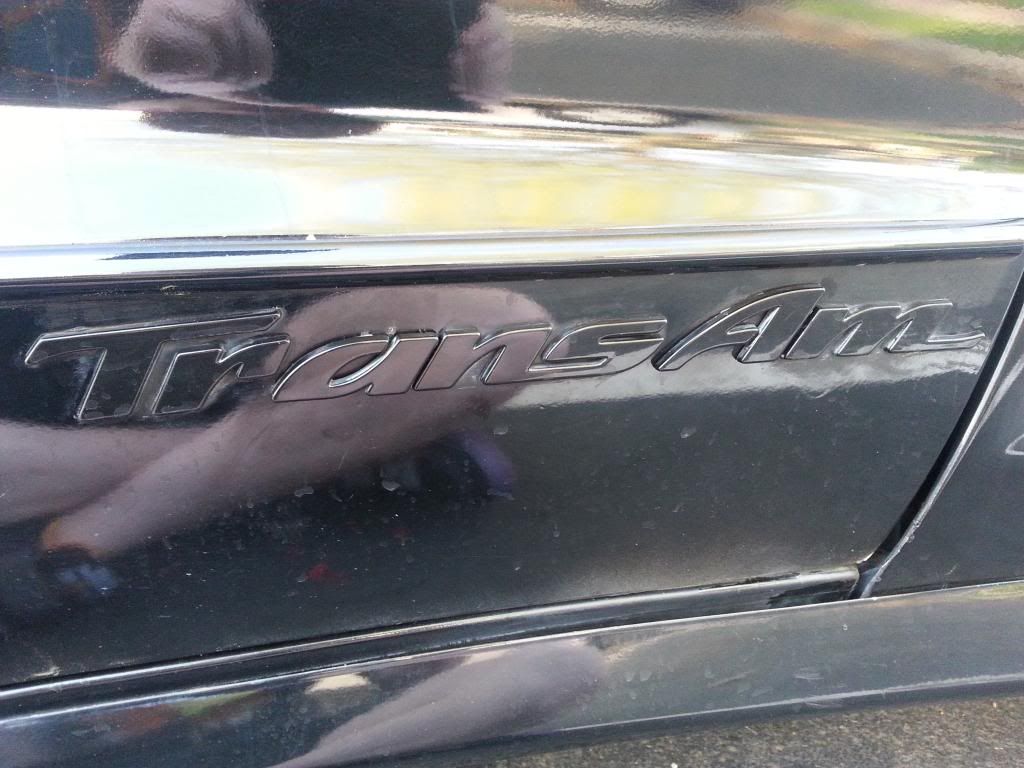
This next one was something someone actually pointed out to me and i feel so dumb for no noticing it at first. Anyways what it was is when they "fixed" it from the accident the painter mixed the a's up in Trans Am on the pass side (read TrAns am instead)
also did some sanding on the peeling clear but didn't get much further then that so no pics. Plan is to just spray some black on for now to give it a decent look from far away haha, i know its not professional but anything beats the shedding of clear i suppose.
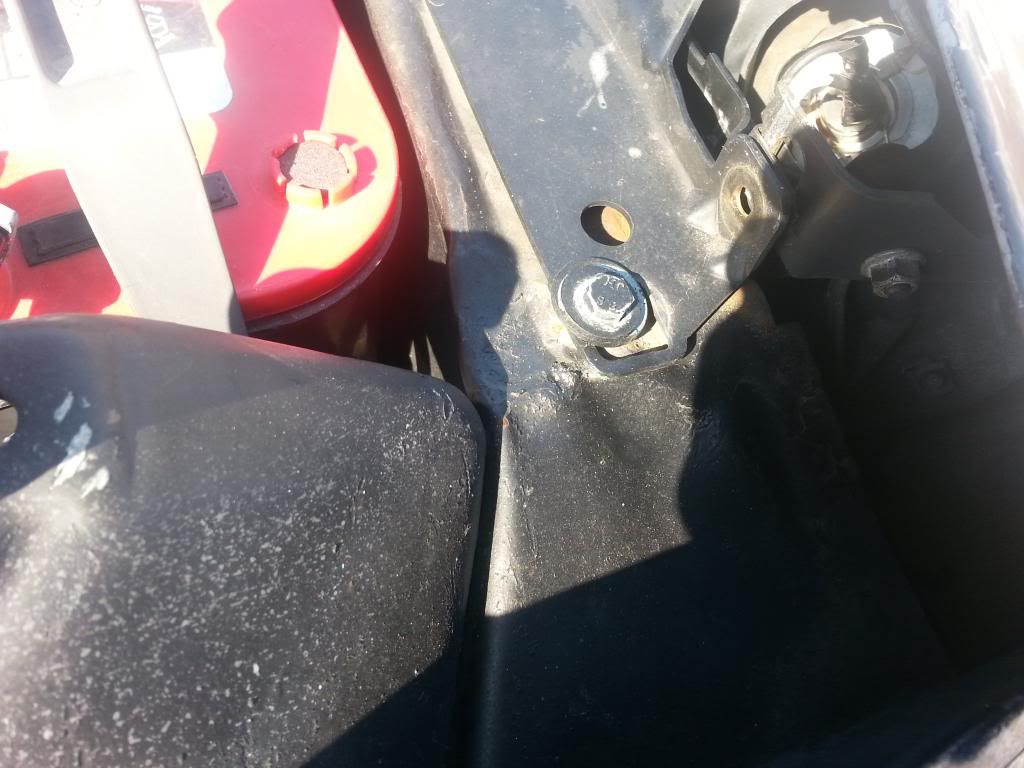
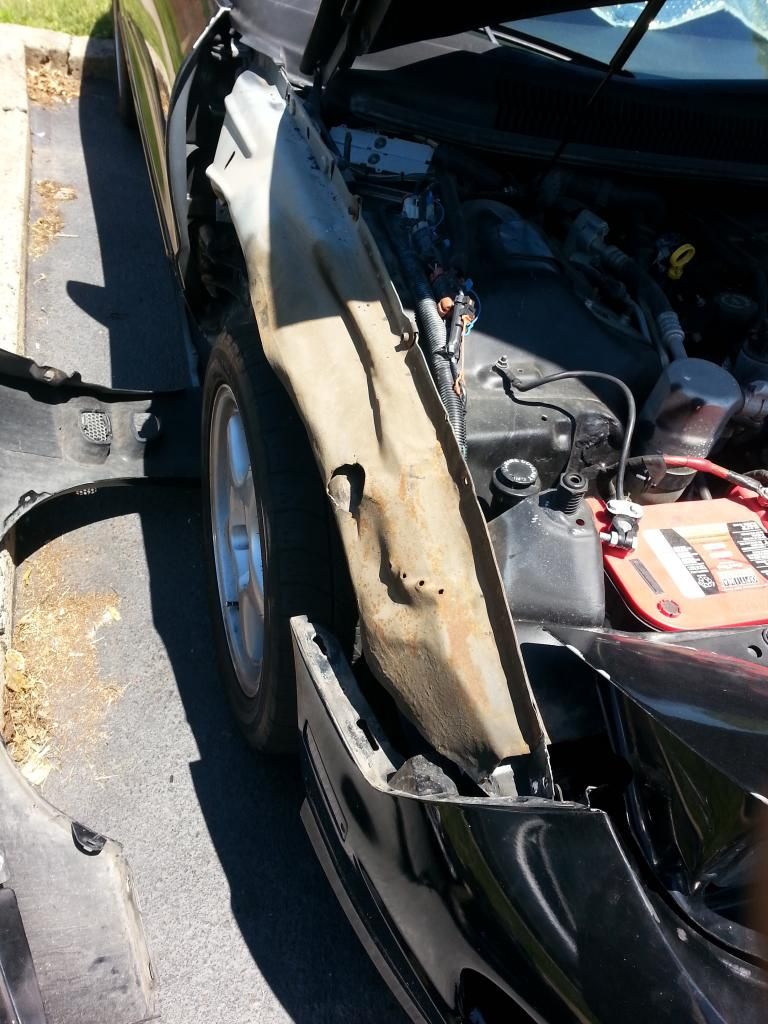
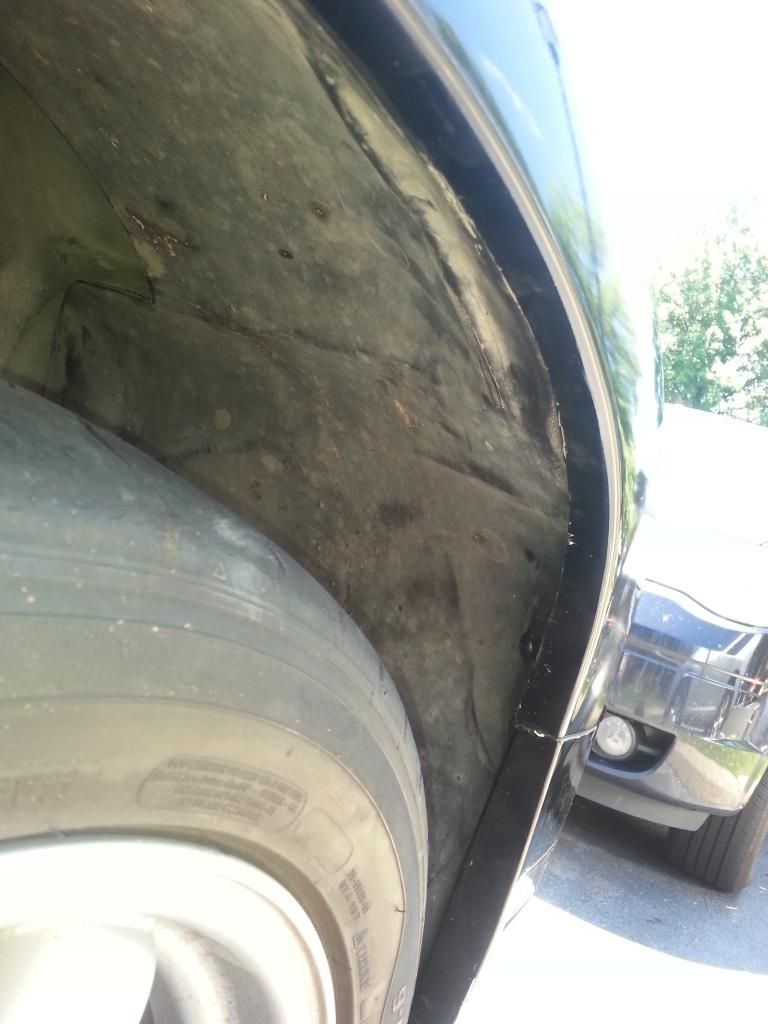
Well it has been a while since i've been able to work on this thing. Just had another baby 3 weeks ago and have been pre-occupied with that. Anyways i spent a couple of hours over the weekend removing the passenger fender, looking at the damage, hammering and prying crap and getting the fender to fit a lot better. I dont have many photos but what i do have i will post, i wasn't planning on ripping it apart but it just sort of happened haha. Next steps are sanding, finding a sail panel and replacing the master cylinder.
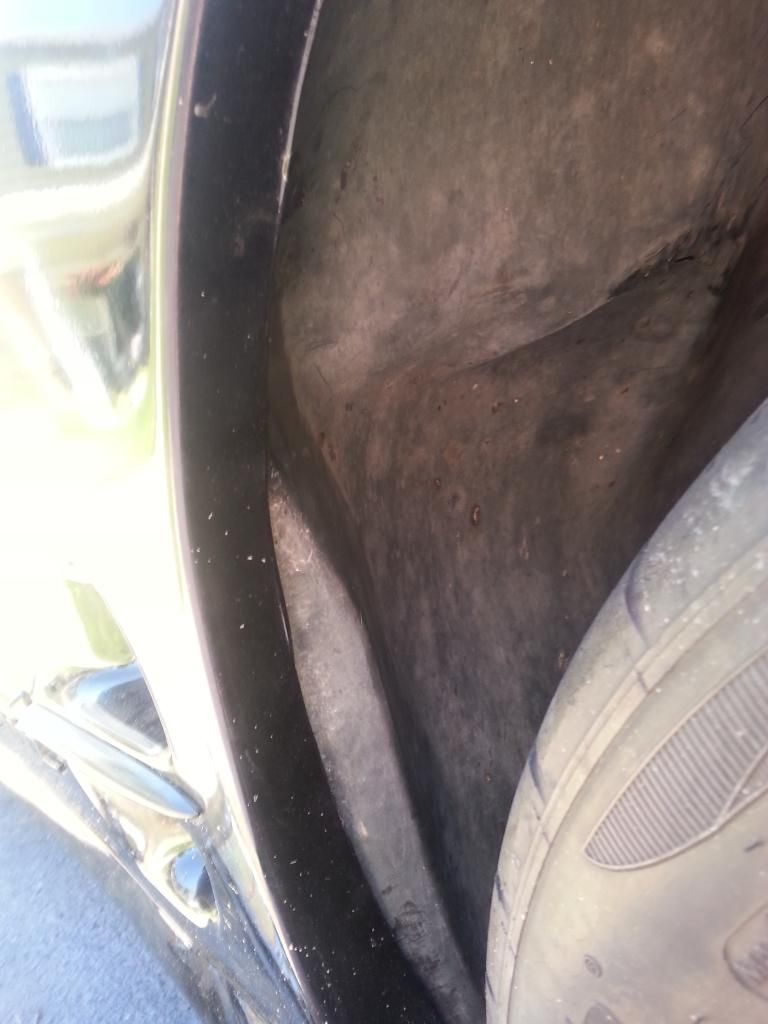
Here it the fender off, the inner fender is rough, i pryed the lip back out but thats all i could really do.
i massaged the bolt hole things to make them a little straighter, and pull he fender in more like it is suppose to be.
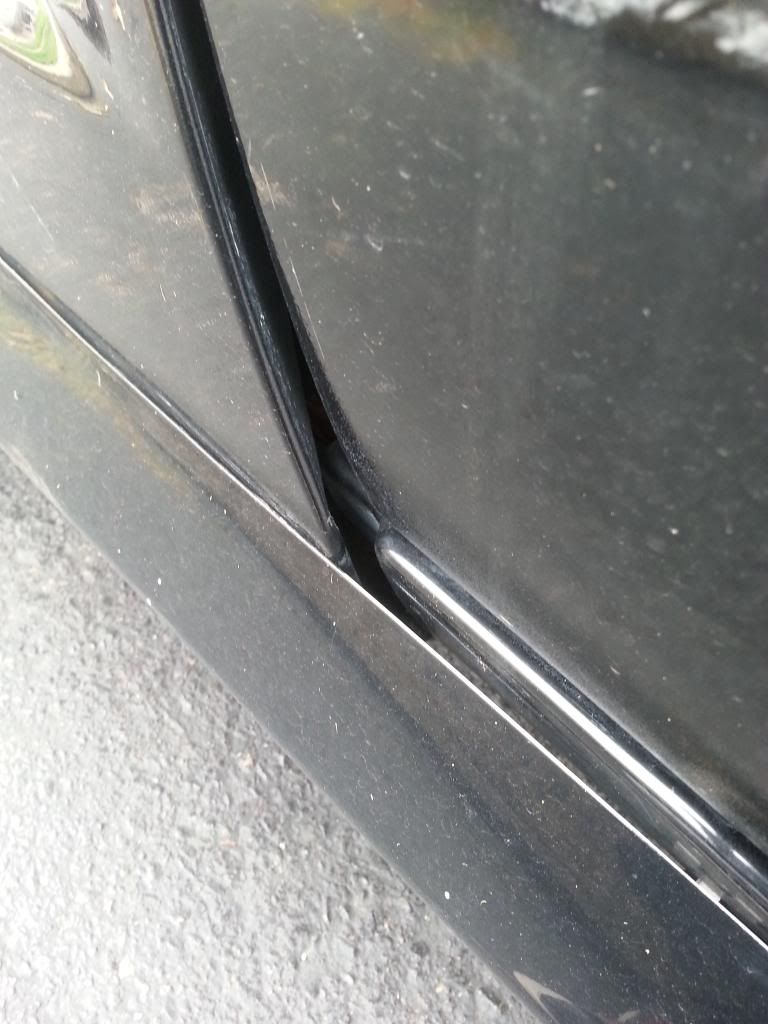
re installed the fender, lines are way better. i'm working on peeling the bondo off the fender as i now know it was they're way of making everything look as if it was lined up. I now have it line up off the actual fender.
The best part? the fender originally sat about 3/4 inch away from the inner fender, now thanks to my adjustsments i got these results!
wish i would of got some before pictures, it was bad. I had tryed to pull it and line it up before and it wasn't happening. So now my next steps are to peel the bondo off the fender and and sand it down.
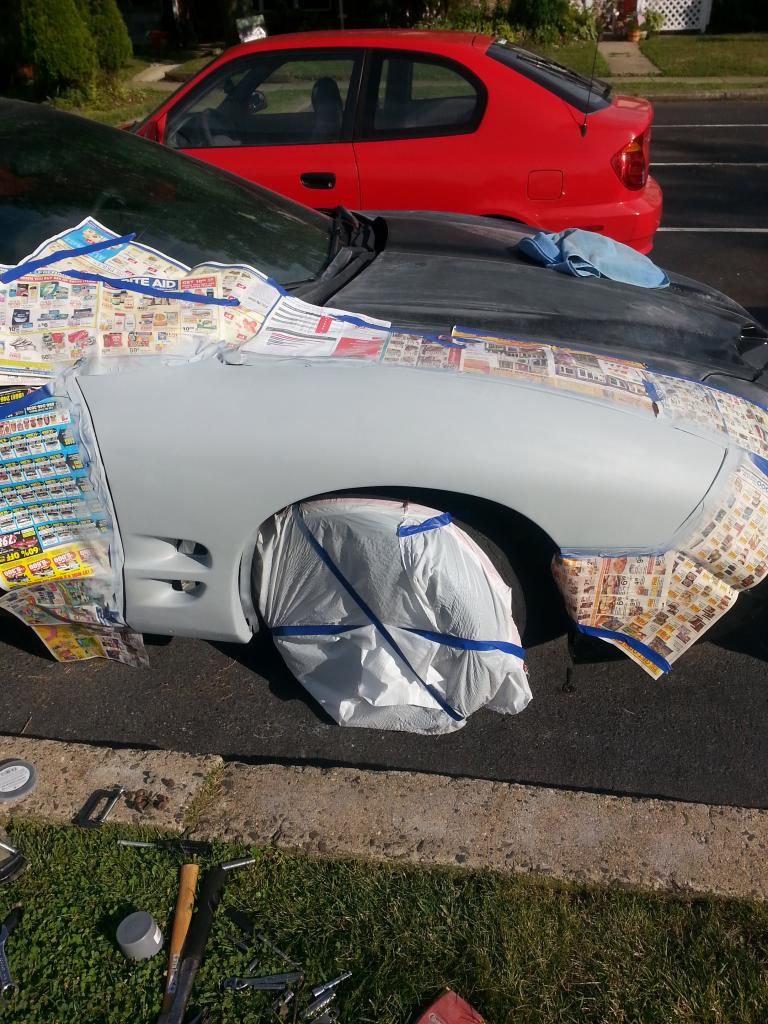
pressure washed the car today. Figured it was a much more effective way to remove all the crappy clear coat / paint. Most held up pretty well, however all the paint on the drivers oor just about flaked off. Anyways as of writing this the plan is to sand and just rattle can flat black for the time being. I know it isn't perfect but better then peeling clear coat, and hopfully come spring i can get it a nice full paint job. Will post pics as i progress.
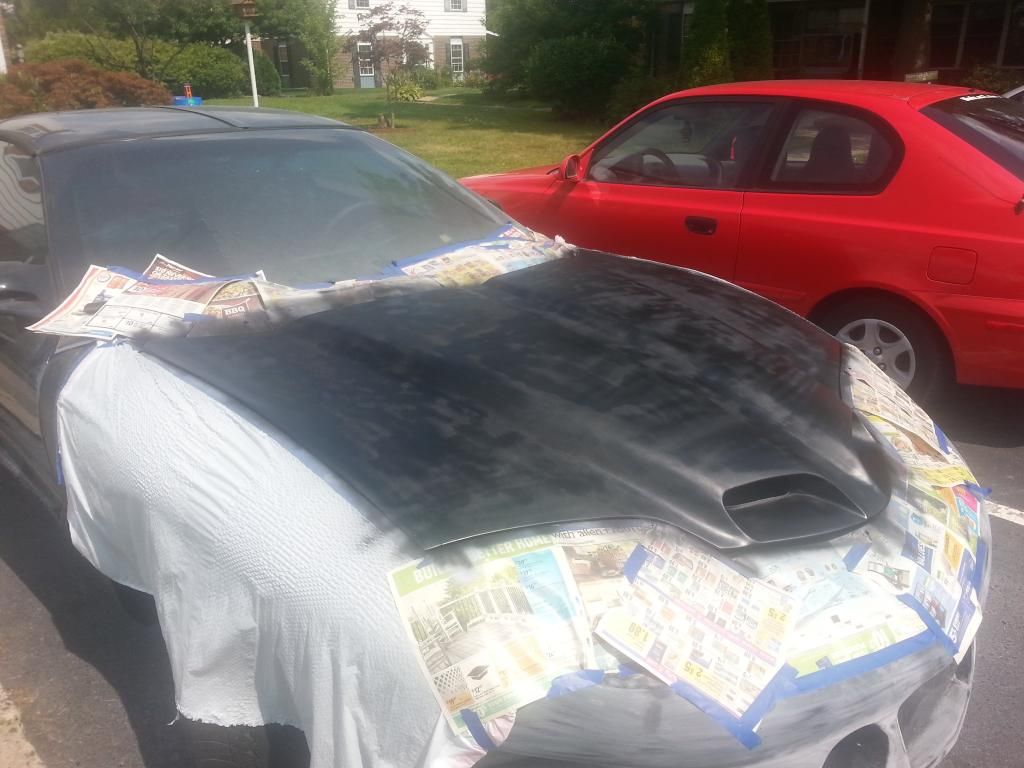
Alright well sanding by hand sucks really bad haha. This has been the major drawback, that and still spending a lot of time with the family which i dont mind. Anyways i started rattle canning the car flat black. Only got the fender and hood done and im probably going to re do the hood since it was hot out and it caused the paint to not lay on right. Live and learn.
I really like the idea of the satin, and i'm thinking of doing satin black with a deep metallic blue stripes, wingtips and a gunmetal ceta when i finally get it done professionally. This is just to get rid of the peeling clear coat that has bothered me so much.
here is the hood as you can tell it didn't turn out as nice as the fender. Sun baked up the hood and i'm to dumb to think about that haha.
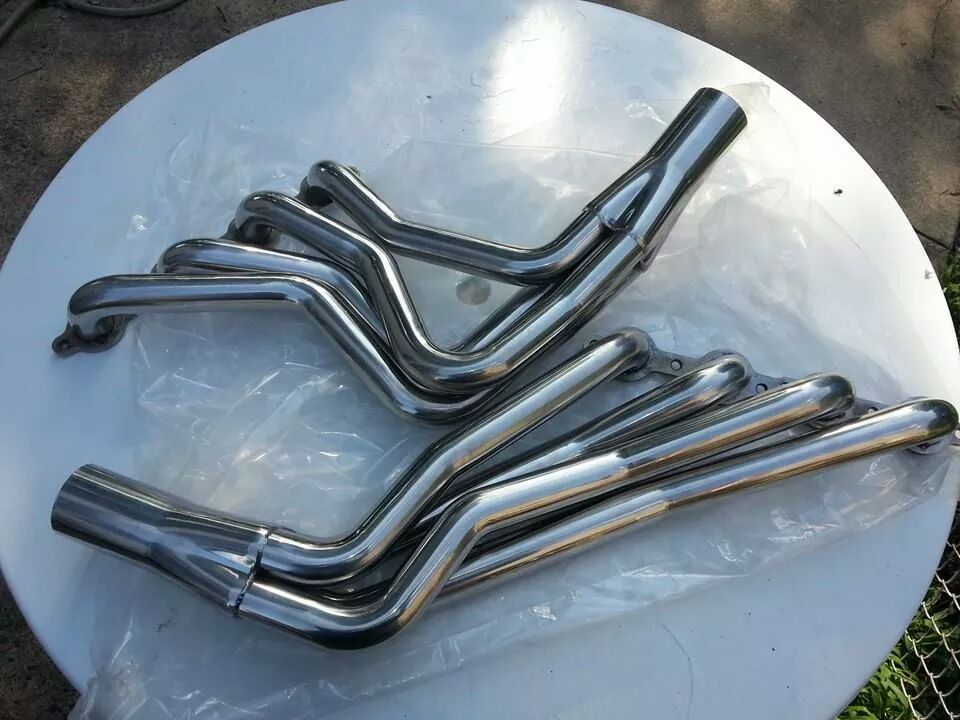
I also was able to pick up some speed engineering long tubes last weekend brand new off someone locally!
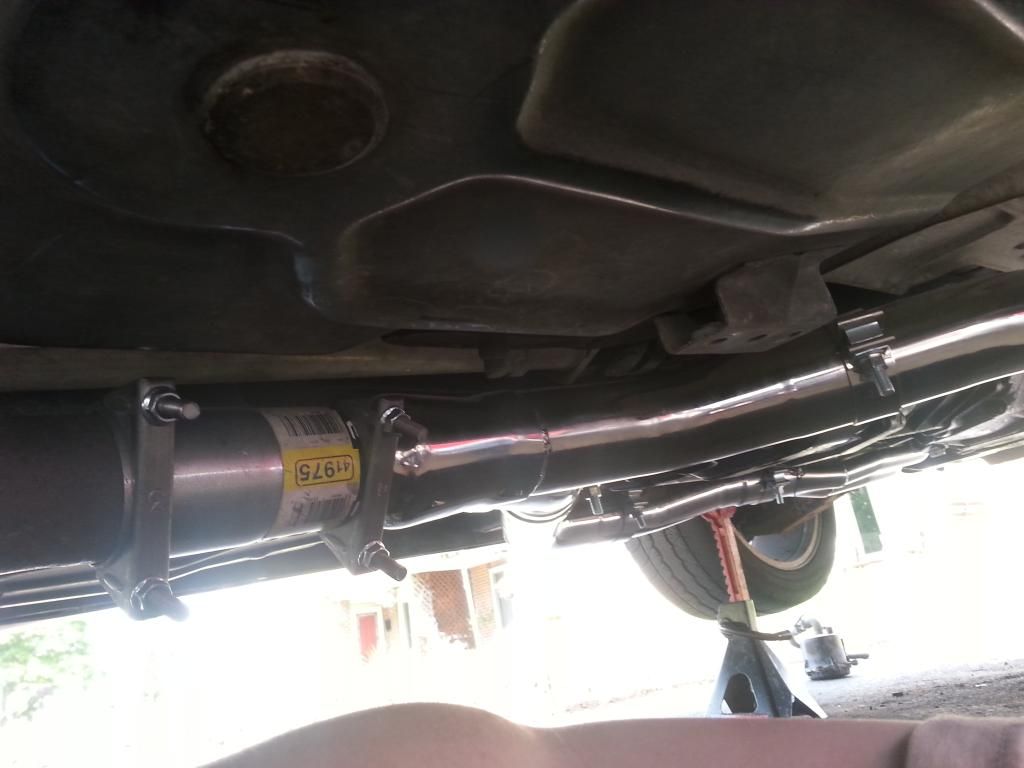
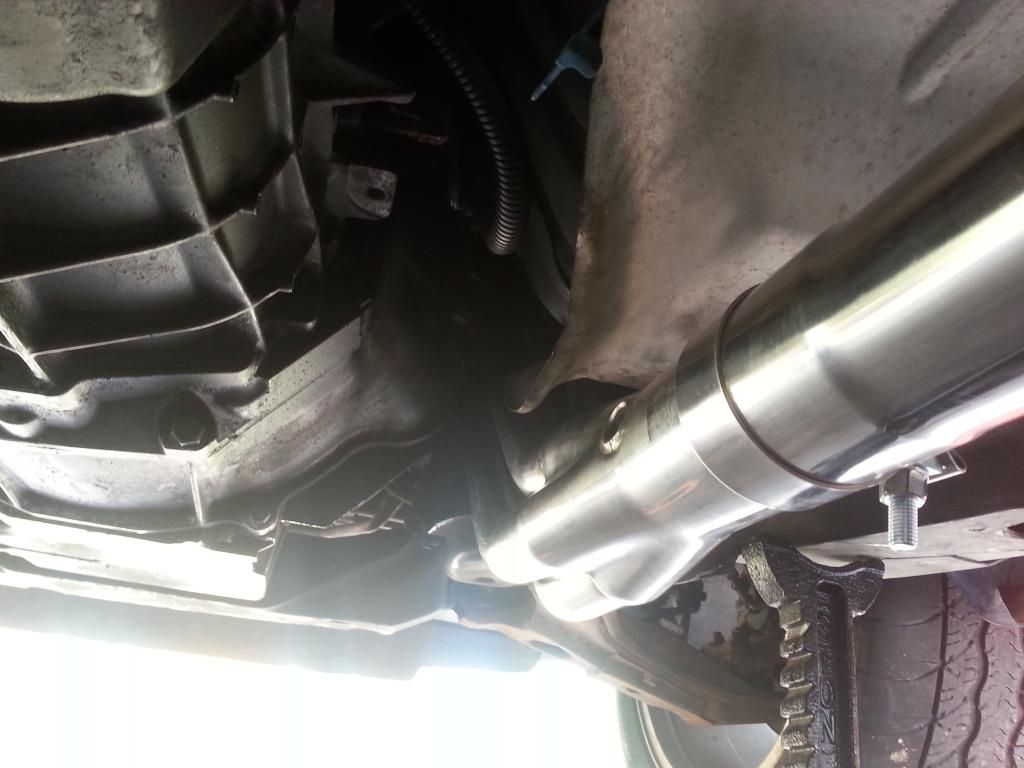
I installed them this week, and man it started off so smooth and easy. I read that everyone had trouble with the drivers side and i got it in like cake. I decided to call it quits that day after i got the drivers header in. Next day i removed passenger manifold and installed the passenger header, bolted everything up put in new spark plugs and moved over to finish up the drivers side and i couldn't get the steering shaft in. I tryed moving the shaft, moving the rack nothing. Ended up having to remove the drivers header again and hammering the crap out of it. That seemed to work. I then had issues with the y pipe and the stock catback that is on the car. So i spent today figuring that out, the solution was to cut it and find and adapater.... Anyways here is the pics i took of the exhaust together minus o2 sensors since they came in the mail later today.
my ghetto fix, finding an 2 3/4 adapter was harder then i thought... napa had it for 20 bucks =( now im in the dog house because of that haha
My only complaints about this system is the steeering shat issue i seemed to have, and the clamps to hold the y pipe kind of stink, really have to crank them to finally get them to start clamping, talk about an arm workout haha.
Great progress bro! Keep it up! new wheels look great... I'm with you on the old ones...
thanks, dont know what they were thinking when they put them old rims on it.
Anyways i took her on her maiden voyage yesterday, to NJ about 130 miles total and my steering shaft is rubbing against the headers. So looks like today i will be trying to move it over ever so slightly since it only needs like maybe a 1/4 inch of clearance because it only rubs in some spots.
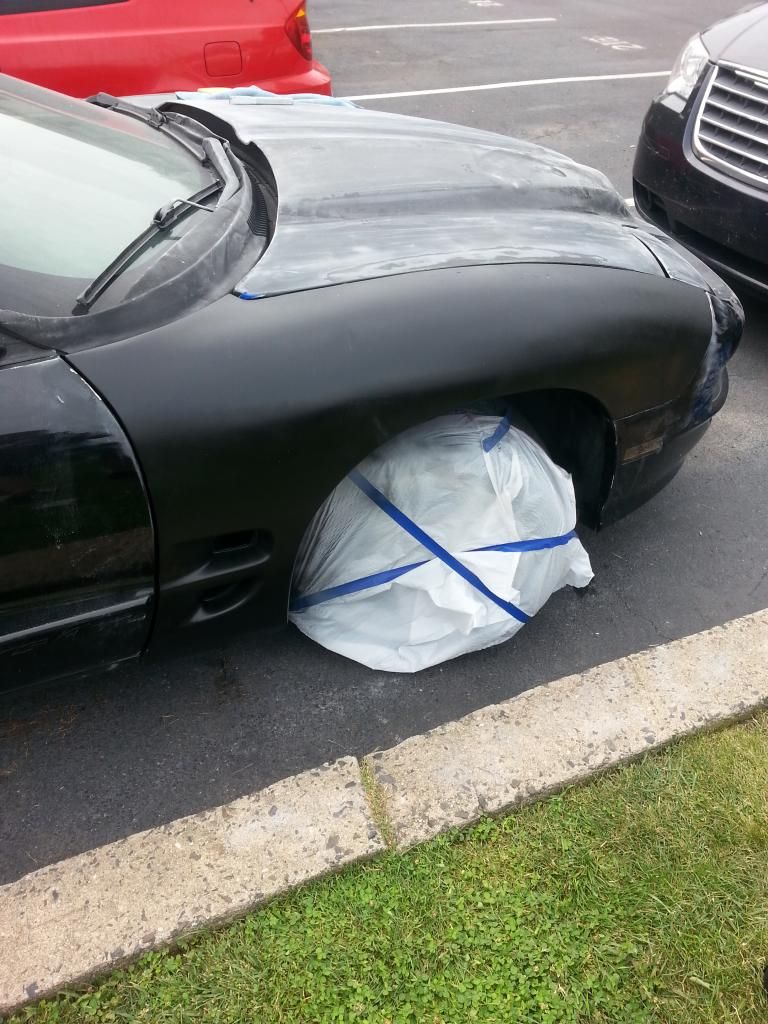
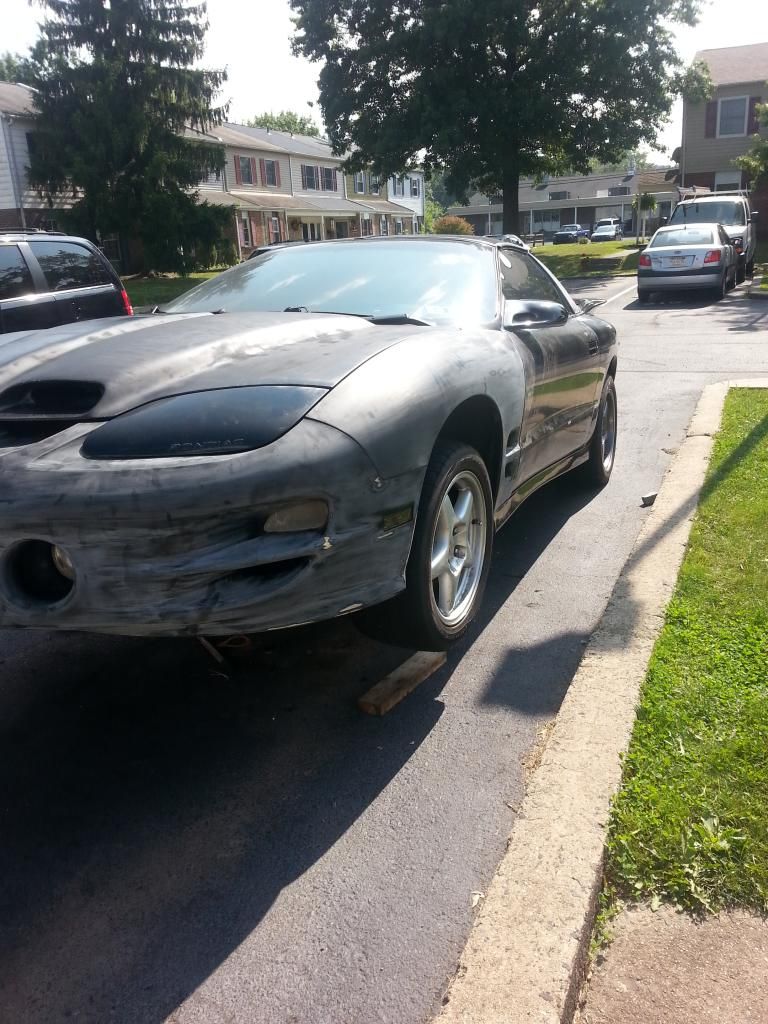
Well haven't done much to the car. I put the passenger side side skirt back on and zip tied some wires away from the longtubes which is about it. Had to move the steering shaft slightly so it would stop hitting the number one primary. Think it still has a small rub at a certain part but hopefully it will work itself out. I picked up some heater hose to help with the y pipe banging on the floor board. Hoping to get to that this week. Anyways here is a pic i took today of the car. I only took one because its honestly an eye sore to look at and i can't wait to get paint on it next spring. Still waiting on fudns to get a tick MC and some front tires for the gunmetal rims i have in the attic so all 4 match again.
I think when i do paint i might try and squeeze in some strano or bmr springs haha. Rock crawler status just isnt for me.

 05-03-2014, 10:42 PM