Camaro and Firebird: Header Reviews and How to Install Headers
Headers are the best bolt-on performance modification for your LS1 F-body! Find out which set of headers fits your needs and budget!
This article applies to the Chevy Camaro and Pontiac Firebird (1998-2002).
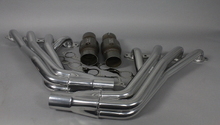
Headers replace the exhaust manifolds that come equipped on your LS1 F-Body from the factory. The factory manifolds are extremely restrictive, especially when you consider cars with aftermarket heads and cam packages. Stock LS1's will pick up anywhere from 15 to 30rwhp with headers and a tune, but the car will feel much better in the lower rev ranges due to a better torque curve. There are many factors to consider when purchasing headers. The first and foremost question is if your state's emissions laws permit headers. For example, California only has a select few choices for shorty headers that will pass the visual inspection. Check your local state laws to find out if headers are legal in your state.
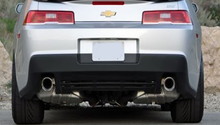
If you decide to go with headers, almost all LS1 owners argue that long tubes are the only choice when it comes to upgrading, and to only consider shorties and mid-length when dealing with emissions. Long tubes will provide the greatest peak power and torque from your LS1. You will lose some ground clearance, but there are plenty of lowered F-body owners with long tubes and they get around fine. To complement your headers, you will need to upgrade your Y-pipe and cat-back or upgrade to true duals. True duals are most commonly dumped before the axle, making them sound amazing at the cost of severe drone and resonance. Most F-body owners agree that a nice Y-pipe setup into an aftermarket cat-back is plenty for most LS1's, unless it's a more radical setup. Find out more about some popular header choices below and how to install them!
Table of Contents
How to Replace Your Headers

Materials Needed
- 11mm, 13mm, 15mm, 18mm
- Extensions and swivel sockets
- Breaker bar
- Jack stands and jack
- Ratcheting wrenches (10mm and 13mm)
- Dremel
- Drill
- Flat head screwdriver
- Oxygen sensor socket
- PB Blaster (optional)
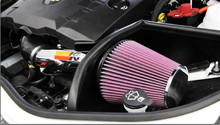
Step 1 – Lift front of vehicle and remove air filter assembly
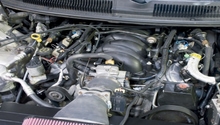
Lift the front of your F-body by getting it up as high as possible. It is recommended to have the car at least 21" off the ground, since you will need to slip in the headers from the bottom. Then, remove the air filter assembly using your flat screwdriver and remove the clamps holding the couplers on. It is optional to remove the rest of the air filter assembly, as shown in Figure 2. However, it will make the install easier. Also, remove the AIR injection connection on the passenger side manifold. It will come off by removing the two 10mm bolts on top of the flange.
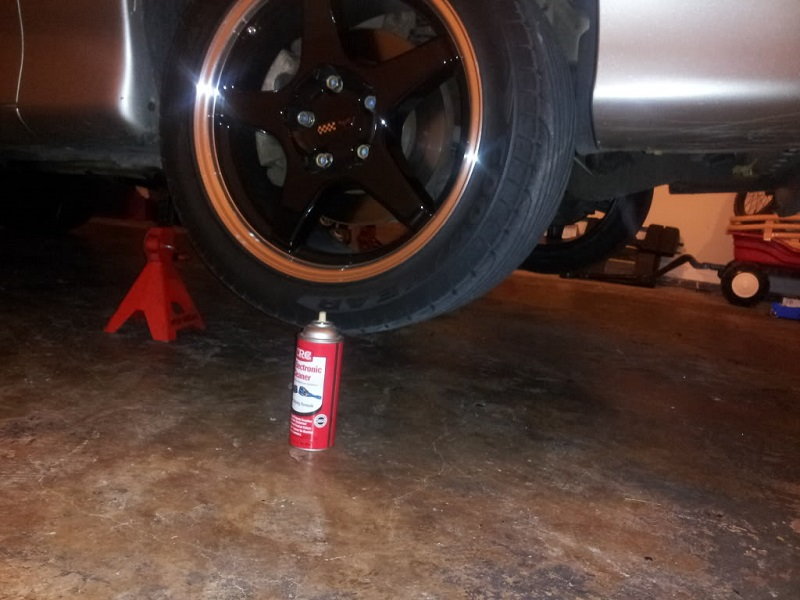
Figure 1. Front lifted. 
Figure 2. Air filter assembly removal.
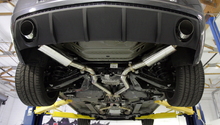
Step 2 – Remove old exhaust
Now, you can start to remove the old exhaust from the bottom of the car by first removing the O2 sensors on both sides by unclipping the gray connector and then using your O2 sensor socket to remove them. Then, remove the Y-pipe to I-pipe clamp by removing the 13mm bolts on the clamp. This might require some PB Blaster depending on how rusted they are. Then, remove the catalytic converter to manifold bolts with a 10mm socket and a breaker bar.
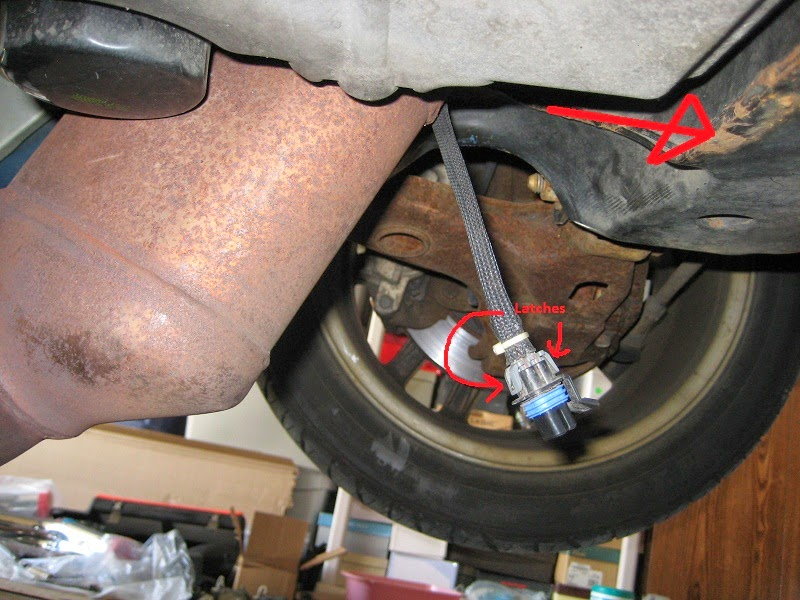
Figure 3. Removal of O2 sensors. 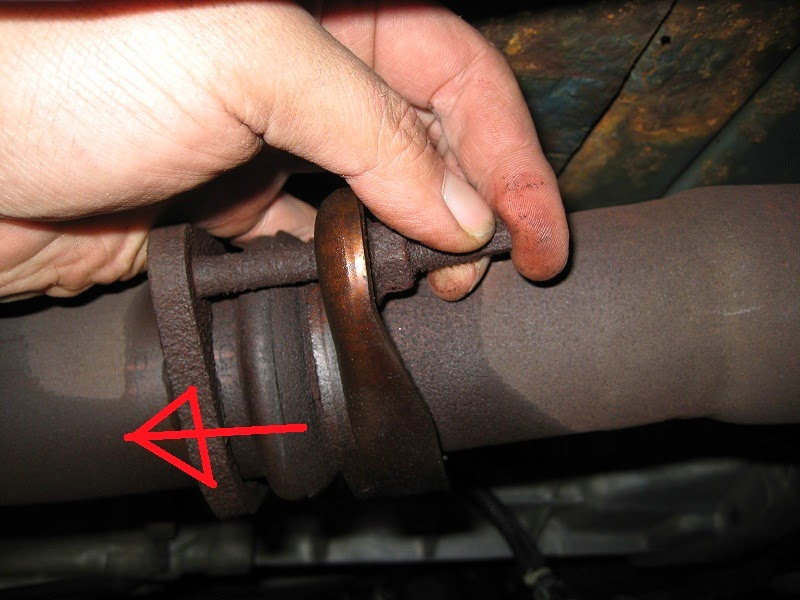
Figure 4. Removing Y-pipe to I-pipe connection. 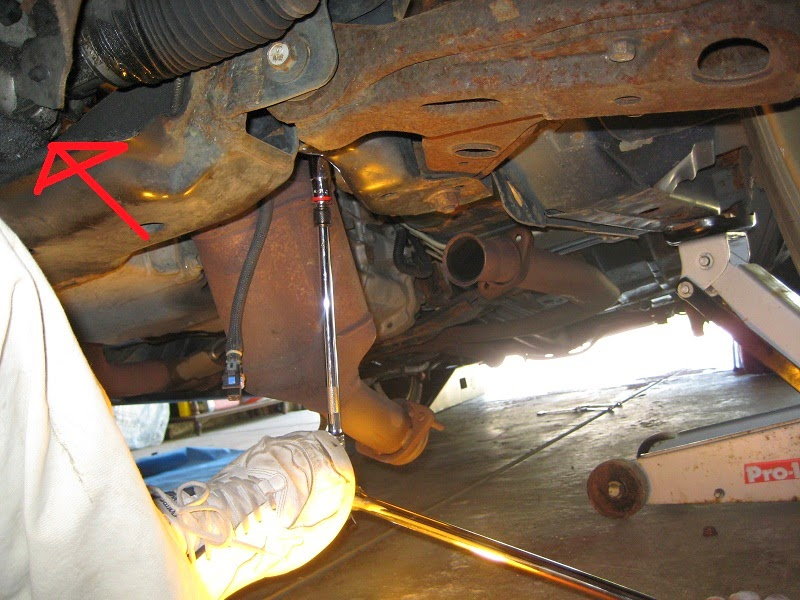
Figure 5. Removing catalytic converters.
Then, remove the Y-pipe completely and slide the catalytic converters out. Now, you can unbolt the manifolds from the engine bay with a 13mm socket and pull the manifolds out from the bottom. Lastly, remove the oil dipstick by removing the 13mm bolt shown in Figure 8.
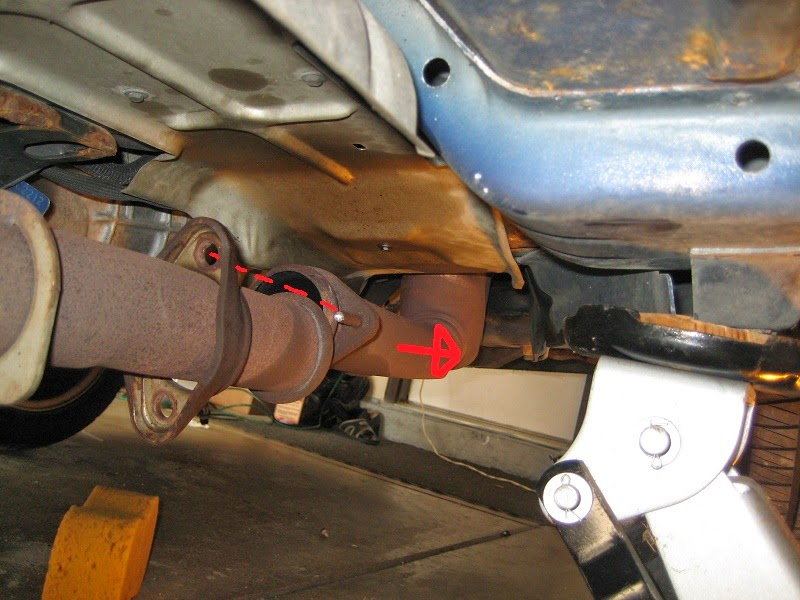
Figure 6. Removing Y-pipe. 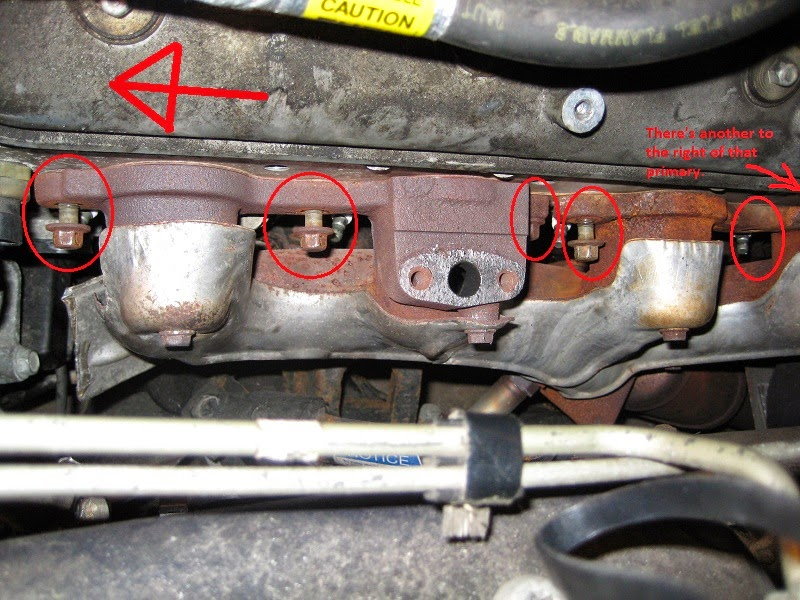
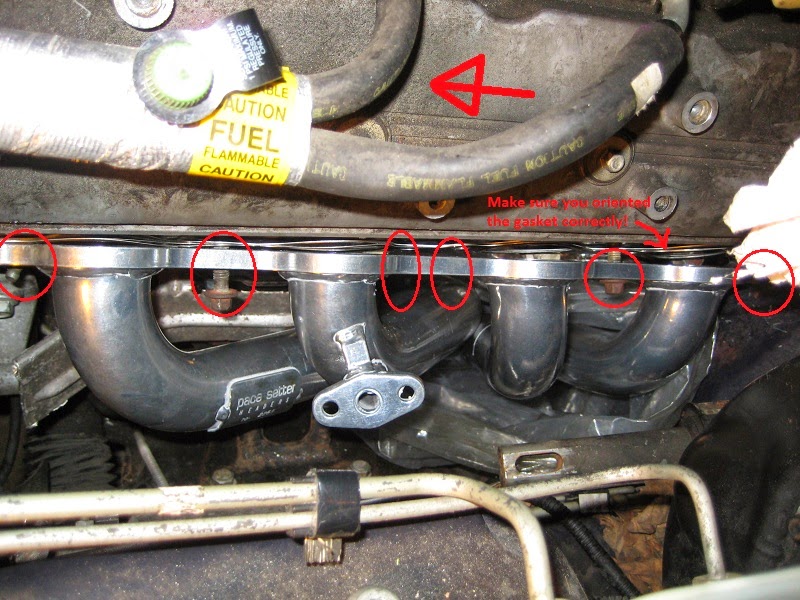
Figure 7. Removing manifolds. 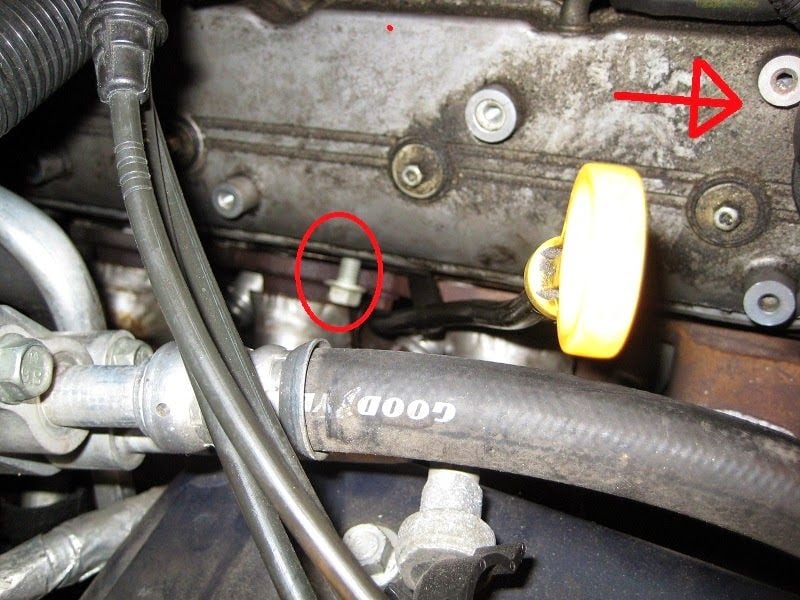
Figure 8. Removing dipstick.
Step 3 – Install headers
Now comes the fun part. Grab your long tubes and get underneath the car. Maneuver the headers into the engine bay and have someone grab them from the top, then start to bolt them in. Use new gaskets and bolts if you can. Once the headers are lined up correctly, torque the bolts down to 18 ft/lbs and you are done! Install everything in the reverse order of removal and get your car tuned!
Featured Videos
-
'98 Z28 Header Underbody Install
-
Install LT Headers at Home LS1
Headers Review
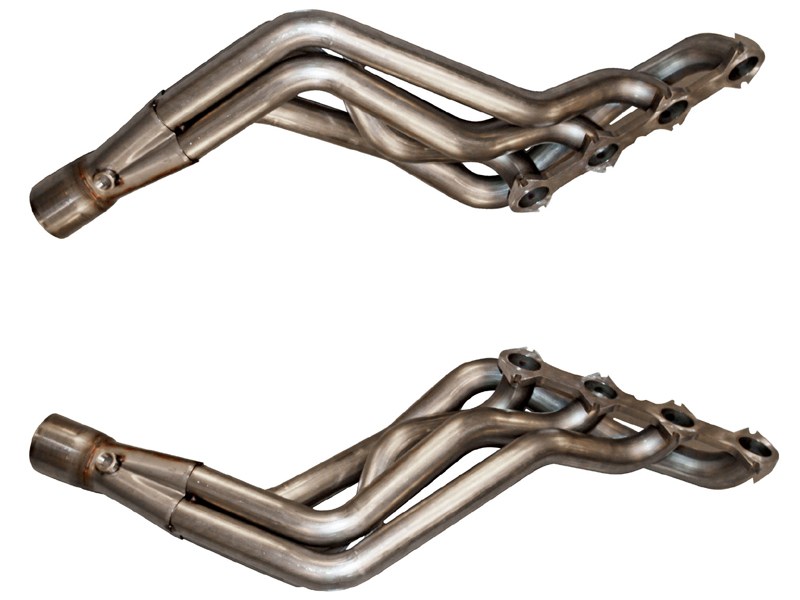
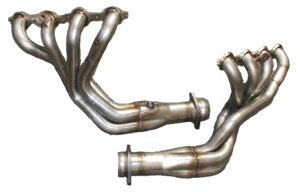
There are countless aftermarket options for headers on a LS1. Check out some of the most popular options below! It is commonly known that 1-7/8" primary headers work best for these cars, so pricing will be calculated for that option when available.
ARH
|
Kooks |
SLP |
Pacesetters | |
|---|---|---|---|---|
Price |
$1300 with Y-pipe | $1131 + Y-Pipe | $1340 with Y-pipe | $400 + Y-pipe |
Finish |
Stainless Steel |
Stainless Steel |
Stainless Steel |
Stainless ArmorCoat |
Primary Size |
1-7/8" | 1-7/8" | 1-3/4" | 1-7/8" |
Fitment |
Great | Great | Average | Good |
Warranty |
Limited Lifetime | Limited Lifetime | 90 Days | 3 Year Limited Warranty |
Best Value: Pacesetters
American Racing Headers
Price – $1,300 with Y-Pipe
Finish – Stainless Steel
Primary Size – 1-7/8ths
Fitment – Great
Warranty – Limited Lifetime
ARH headers are known to be some of the best in the industry. Very few users ever complain about fitment issues, and the quality of the materials and welds are top notch. They are a true work of art, but not budget friendly, unfortunately. If you are set on getting ARH headers, look for them in the classifieds section for a great used deal. Also, ARH headers are proven to give some of the biggest gains over the factory manifolds, which helps maintain their reputation as segment leaders.
Kooks
Price – $1,131 + Y-pipe
Finish – Stainless Steel
Primary Size – 1-7/8ths
Fiment – Great
Warranty – Limited Lifetime
Kooks headers are known for their excellent performance gains and eye candy under the hood. Their high quality stainless finish and great welds help them stand out from the crowd. They are also known to put out some of the top gains out of all of the headers available on the market due to their velocity spike.
SLP

Price – $1,340 with Y-pipe
Finish – Stainless Steel
Primary Size – 1-3/4"
Fitment – Average
Warranty – 90 Day Limited
SLP is one of the most recognized brands in the GM aftermarket industry. When F-bodies were new, SLP was at the forefront of developing awesome parts and these headers were one of their top sellers. However, due to price and competition from other headers in this review, SLP lost its popularity due to fitment issues and an outdated design. However, these headers can be found cheap used, so keep an eye out for these classic performers.
Pacesetter

Price – $400 + Y-pipe
Finish – Stainless ArmorCoat
Primary Size – 1-7/8ths
Fitment – Good
Warranty – 3 Years Limited
Pacesetters are the tried and true budget headers option for the LS1. They make respectable power and don't break the bank. If you live in a climate that is prone to rust, these might not be the best option, as they are known to rust fairly fast. However, they are normally a very durable header and install without too much pain.
Related Discussions
- QTP Headers Install - LS1Tech.com
- Pacesetter Headers Install - LS1Tech.com
- LS1 Headers - LS1Tech.com
- Best Budget Headers - LS1Tech.com
- Installing Headers on LS1 F-Body - LS1Tech.com