Camaro and Firebird: How to Replace Oxygen Sensor
A bad oxygen sensor can lead to problems with your engine and fuel efficiency. This article shows you how to replace a bad oxygen sensor.
This article applies to the Chevrolet Camaro and Pontiac Firebird (1990-2002).
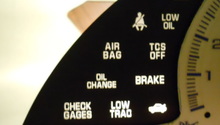
Have you noticed that your car is running less efficient? Does it occasionally misfire? Or does the exhaust pipe smell like fuel? It probably means that your oxygen sensor has stopped working. Most of the time you'll be able to keep driving even when the oxygen sensor isn't working. It'll just make your vehicle less fuel efficient. But if you start having engine troubles because of it, then you should replace it right away. If you have a check engine light, get the trouble code read at an auto parts store or with a code reader. This will tell you which oxygen sensor needs to be replaced.

Materials Needed
- Replacement oxygen sensor(s)
- Ratchet with oxygen sensor socket
- Penetrating oil
- Anti-seize
- Jack and jack stands
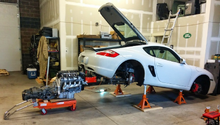
Step 1 – Lift the car
Since you'll be working underneath the car, you should lift the car and set it on jack stands.

Step 2 – Remove old oxygen sensor
There are a total of four oxygen sensors on your car. Two for each exhaust pipe. One goes before the catalytic converter and another goes after. Using your code reader you should be able to figure out which one. Bank 1 means driver's side and bank 2 means passenger's side, while sensor 1 means the pre-cat sensor and sensor 2 means post-cat sensor.
You'll see the sensor sticking out of the exhaust pipe with an electrical harness going to it. First, un-clip the electrical harness. Then attach your oxygen sensor socket to your ratchet. Fit it around the sensor, then loosen it from the pipe. If the sensors haven't been removed in a long time, then you may need to soak it in some penetrating oil before it'll come loose. Once it's loose, remove the sensor and set it aside.
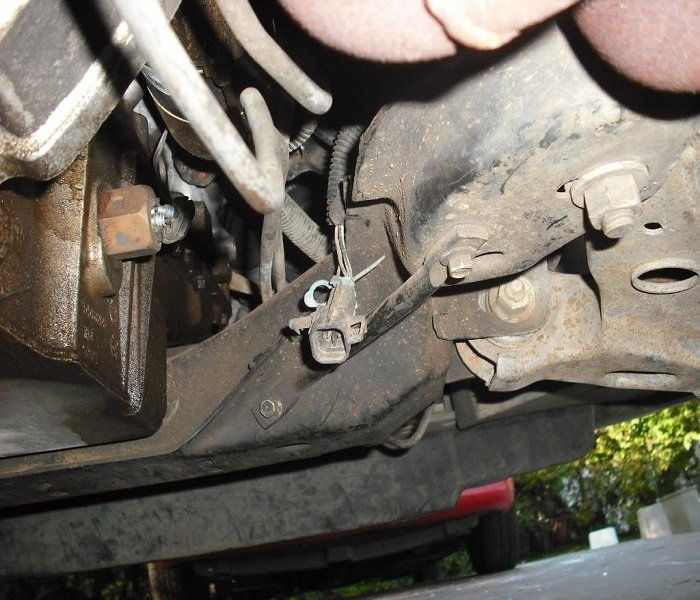
Figure 2. Disconnect the wiring harness. 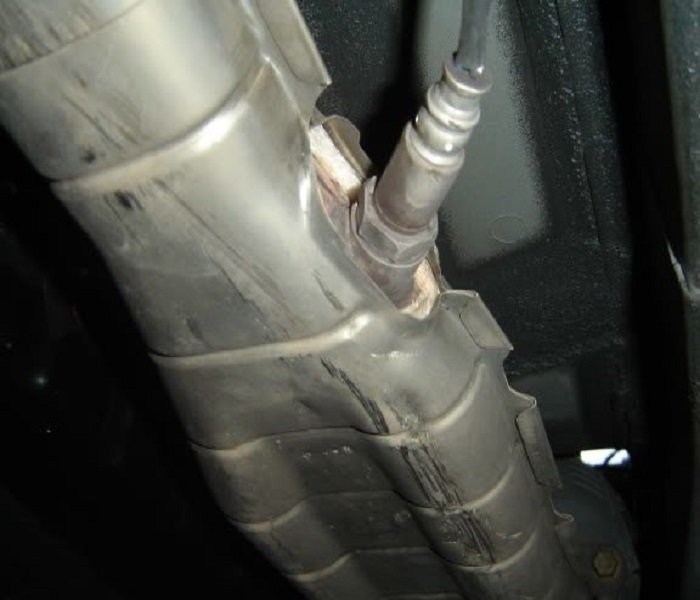
Figure 3. Remove oxygen sensor from the exhaust pipe.
Step 3 – Install new oxygen sensor
It's a good idea to apply a small amount of anti-seize to the threads of your new oxygen sensor before you install it. That way, if something goes wrong, it'll be easier to remove. Insert the oxygen sensor into the exhaust pipe and tighten it by hand to ensure it goes in straight. Then tighten it the rest of the way with your ratchet. Reconnect the electrical connector, then you're pretty much done.

Once you've lowered the car, you can use a code reader to clear the trouble code. You probably won't notice a difference in fuel efficiency at first, because it takes time for the computer to adjust to the new sensor. If you don't clear the code with a code reader, it should shut off by itself after a while.
Pro Tip
If you got one of those universal oxygen sensors, then an extra step is needed. You'll need to cut off the electrical connector on your old sensor and solder it to the universal oxygen sensor. Consult with a manual to figure out which wires connect.
Related Discussions
- How to Tell When Its Time to Replace O2 Sensors? - LS1Tech.com
- How Many O2 Sensors Do I Have? - LS1Tech.com
- How to Remove O2 Sensors on LT1 - LS1Tech.com
- Symptoms of Bad Oxygen Sensors - LS1Tech.com