Camaro and Firebird: How to Sequence Tail Lights
Sequential tail lights are a cool custom feature that is certain to turn heads while you turn corners. Here's how to install them on your Camaro or Firebird.
This article applies to the 4th/5th Gen Camaro and the Pontiac Firebird (1990-present).
Sequential tail lights are a pretty awesome, head turning feature that you don't see on a lot of cars these days. But it's becoming a popular modification because it adds a subtle, custom touch that is guaranteed to grab attention every time you flip on your turn signals. Instead of the boring, plain old brake light and turn signals, the people behind you will be treated to a sequential light show that is clearly more visible than a stock turn signal as well. Installing a sequential tail light kit on your Camaro or Firebird is pretty inexpensive, but does require a little bit of time and patience. Here's how to get it done in the comfort of your own garage or driveway.

Materials Needed
- Sequential tail light kit (several available on eBay)
- Wire cutters
- Wire strippers
- Wire crimp tool
- Dremel
- Phillips head screwdriver
- Ratchet and standard sockets
- Needle nose pliers
- Duct tape or silicone
- Nail
Step 1 – Replace stock turn signal relay
Remove the panel underneath the steering wheel by removing the two Phillips head screws and the two 7mm nuts in the panel. Remove the stock turn signal relay (steel part in Figure 2) by pulling it up and off. Install the new turn signal relay that is included in the kit. To be on the safe side, remove the tail light fuse from the fuse panel on the driver's side of the dash before proceeding.
-
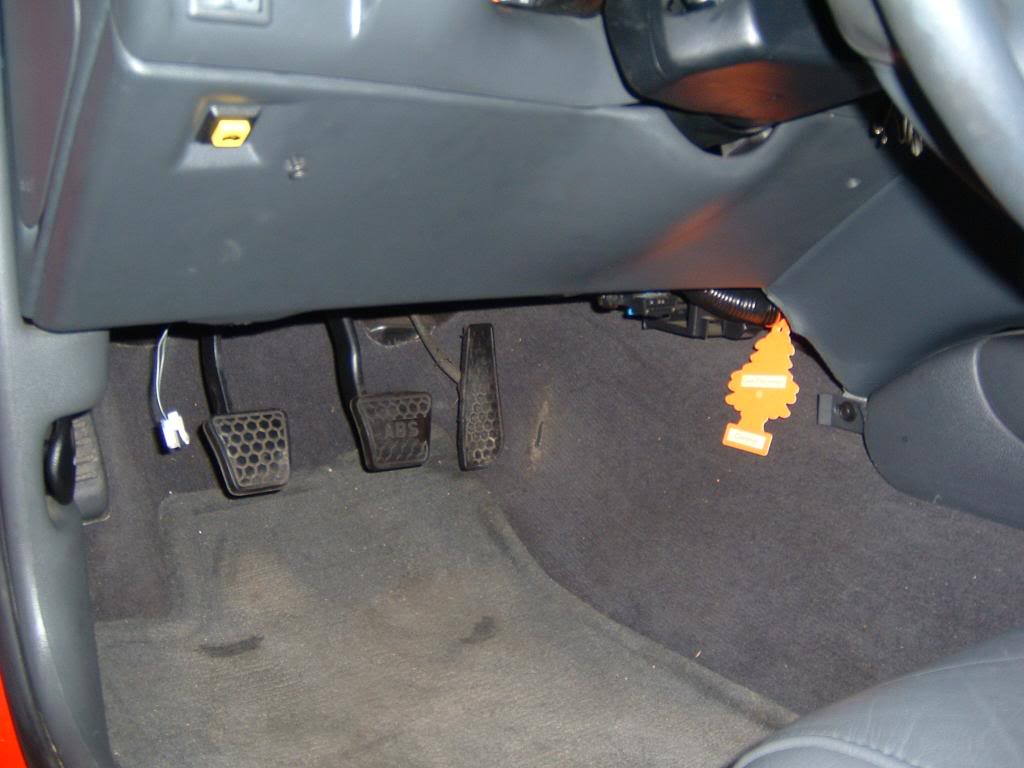
Figure 1. Remove the panel underneath the steering wheel. -
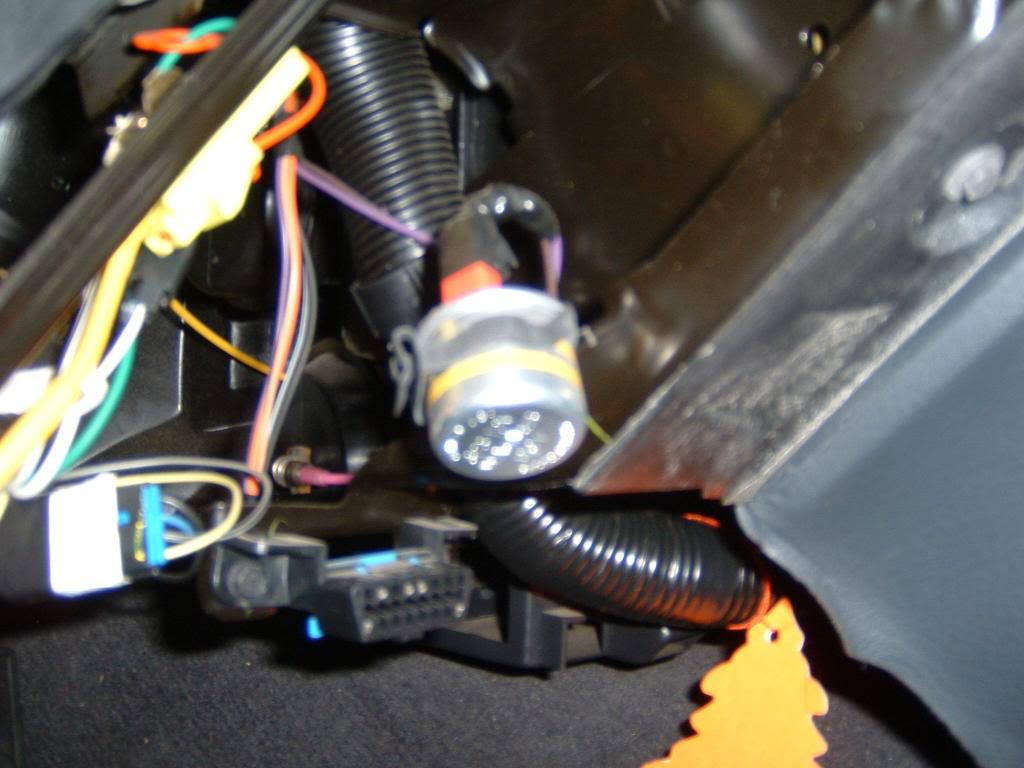
Figure 2. Replace the stock turn signal relay with the one included in the kit.
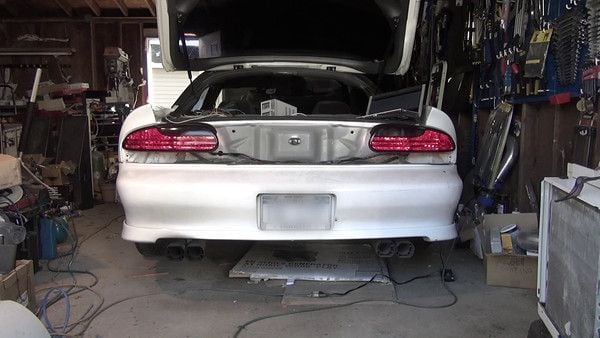
Step 2 – Remove the tail lights
Open the hatch and remove the panel in Figure 3 by simply pulling on it. Remove the panel that holds your rear hatch speaker by pulling it straight out. Twist the three "screws" on the right side panel and pull it up, then lift on the panel to pull it out. Pull the carpet over the hatch latch so it is out of the way of the taillights. Remove the five black plastic twist knobs that hold each taillight in place and pull the taillights out.
-
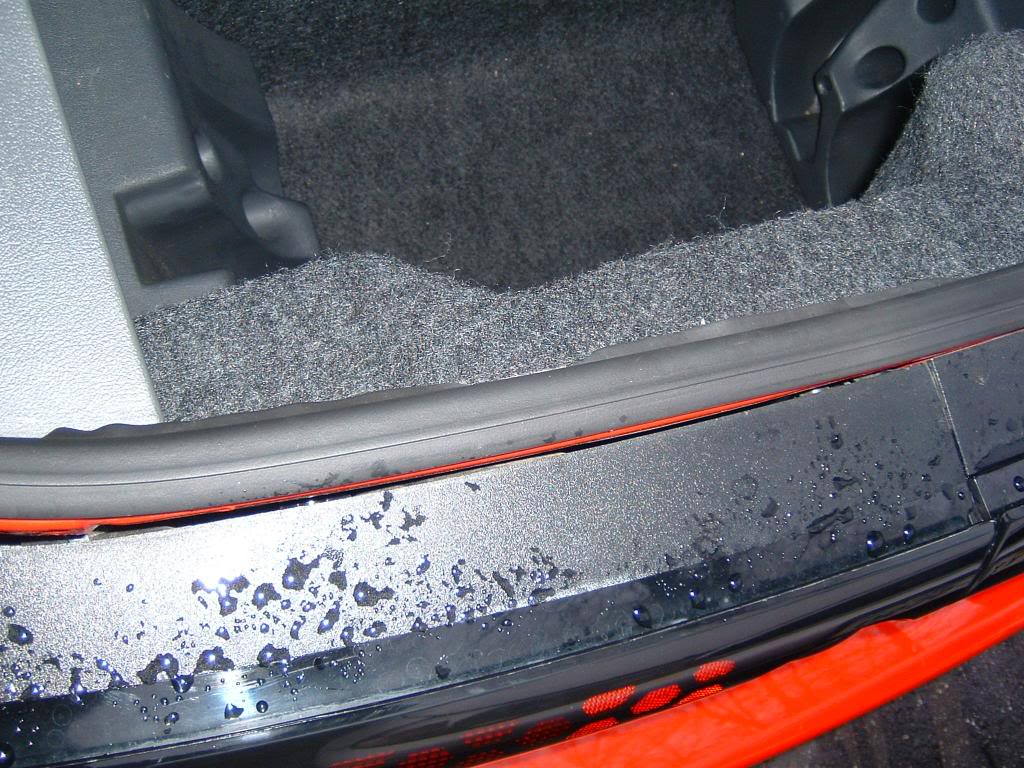
Figure 3. Remove the panel in the hatch area. -
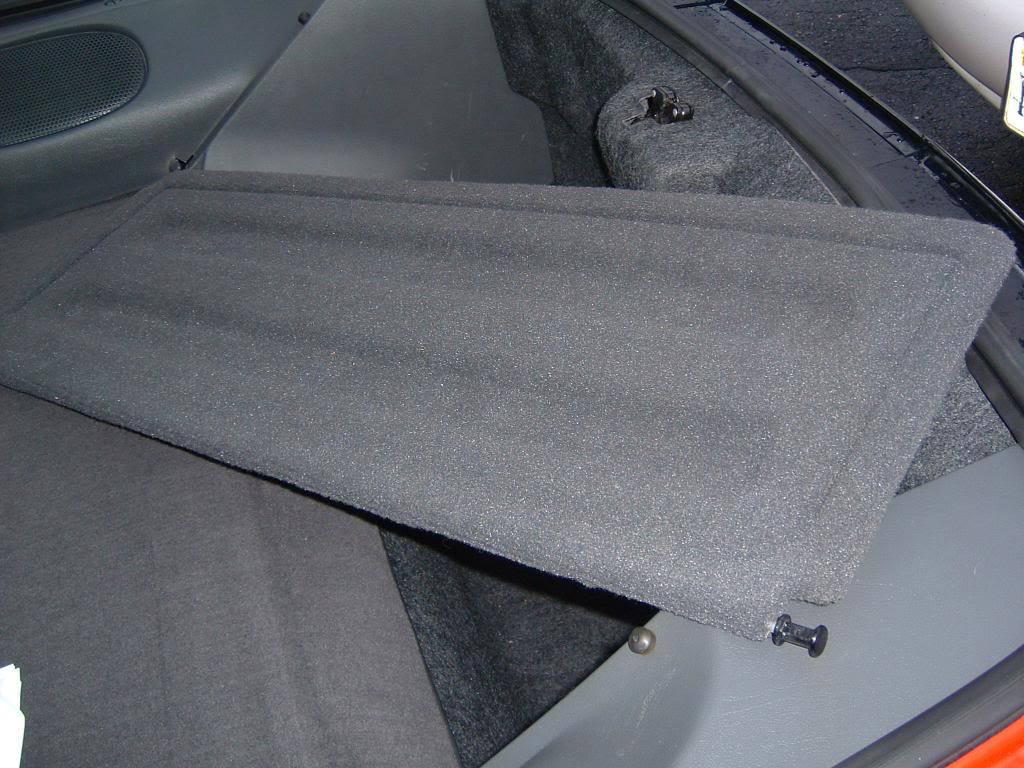
Figure 4. Remove the side panel. -
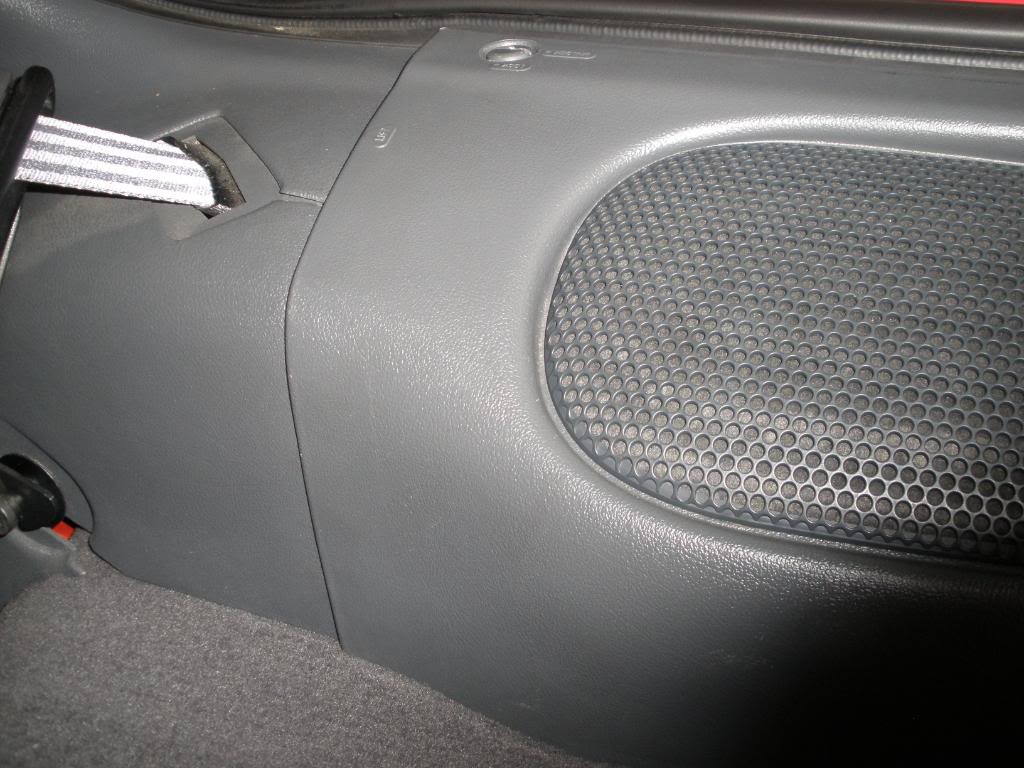
Figure 5. Remove the speaker panel. -
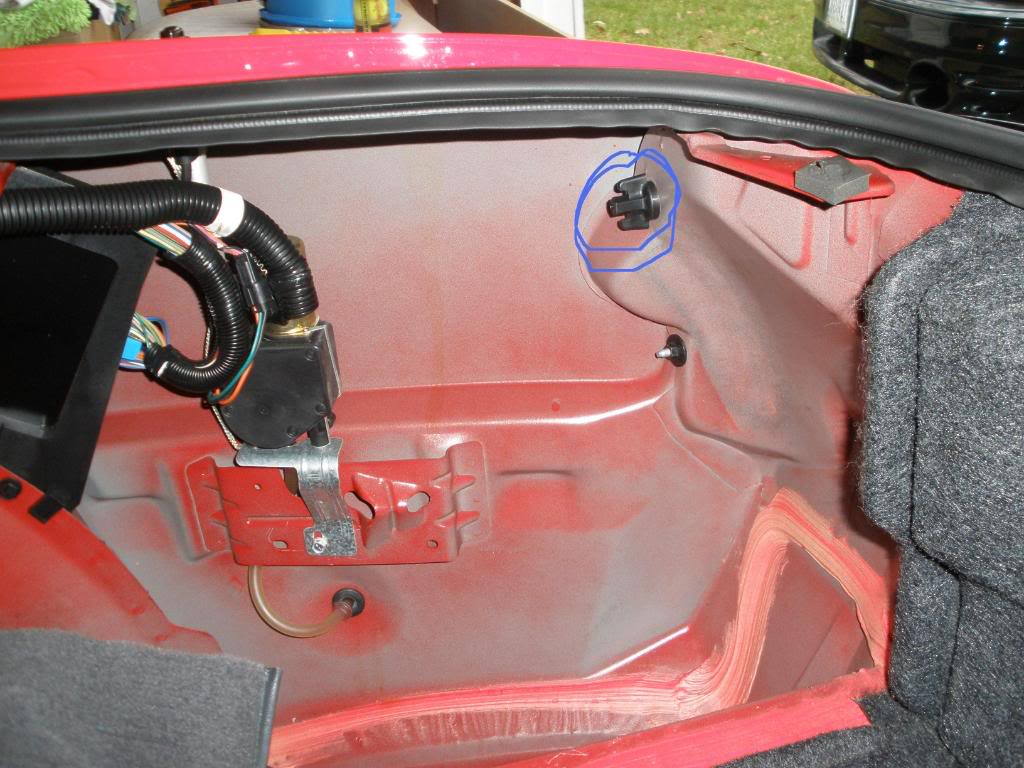
Figure 6. Remove the black knobs and taillights.
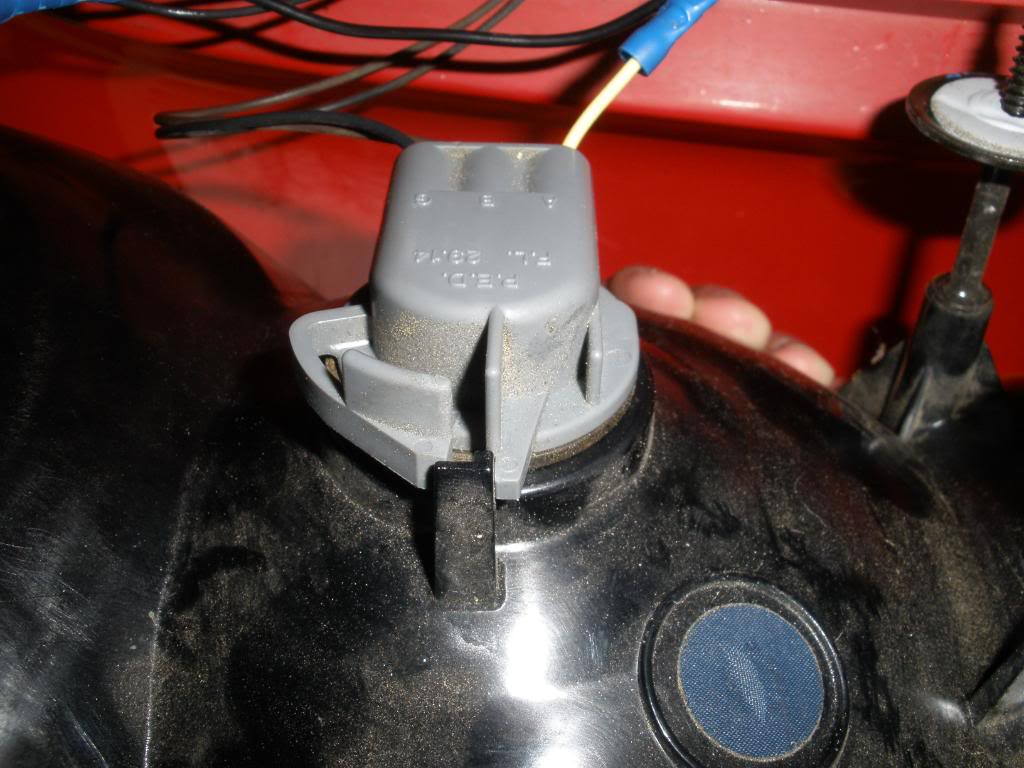
Step 3 – Remove the taillight bulbs
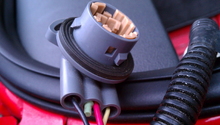
Remove the taillight bulbs by using needle nose pliers to apply pressure to the white part in the middle, then pull the black piece out and up. Twist the bulbs counterclockwise and pull them out. Press down on the gray clip and twist it counterclockwise to remove the inner portion. Use a Dremel tool to enlarge the holes for the outer bulbs. The diameter of the holes will need to be enlarged up to the diameter of the indented ring around the hole.
Step 4 – Install new taillight components
Use a Dremel tool to enlarge the holes for the outer bulbs. The holes will need to be enlarged to where the indent rings around the hole.
Step 5 – Test the new lights and install
Once everything is wired up, plug the fuse back in and test to make sure both taillights are working properly. Reinstall the taillights and black twist connectors, then the carpet and panels.
Related Discussion
- How to Install Sequential Tail Lights - LS1Tech.com