Chevorlet Camaro 2010-2015: Header Reviews and How-to
Headers are one of the most popular bolt-ons for your 5th Gen Camaro! They add a great amount of power and make your Camaro sound great. Find out how to install a set below!
This article applies to the Chevy Camaro (2010-2015).
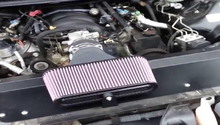
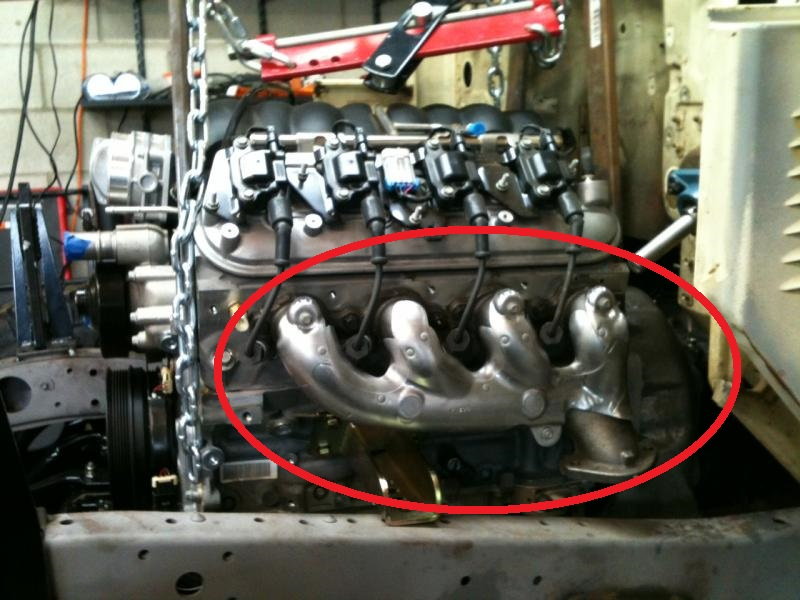
Want to exploit one of the greatest bolt-ons for your 5th Generation SS? Your stock exhaust manifolds are not as bad as some of the older Chevy exhaust manifold designs; however, LS motors love increased exhaust flow due to their great head designs. Headers work much better than your stock exhaust manifolds because they provide a smoother and larger tract for your exhaust gases to escape. Picking headers usually depends on your local emissions regulations, material, and fitment. Check out how to install your own set of headers below!
Table of Contents
How to Replace Your Headers

Materials Needed
- 10mm, 13mm, and 15mm sockets
- Torque wrench and breaker bar
- 3/8" socket
Step 1 – Prepare for exhaust manifold removal
First, remove all of your spark plug wires by simply pulling them off of the coil and spark plugs, then disconnect the negative (black) battery terminal. It is optional to remove the spark plugs, but it is recommended if you feel that you might bump into one during install. Then, you need to disconnect the exhaust clamps connecting your mid-pipes and cat-back. Use your 13mm wrench or socket and loosen the clamps to allow for removal of the mid-pipes.
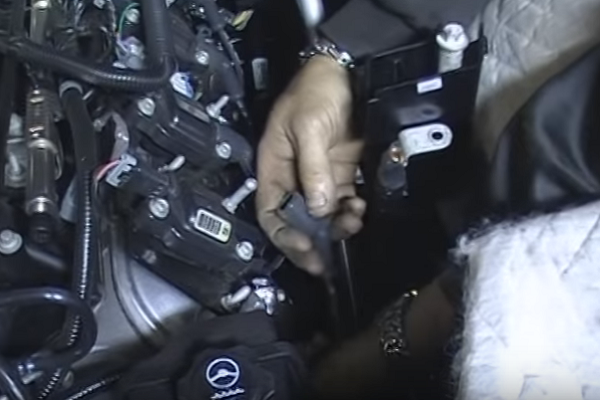
Figure 1. Spark plug wire removal. 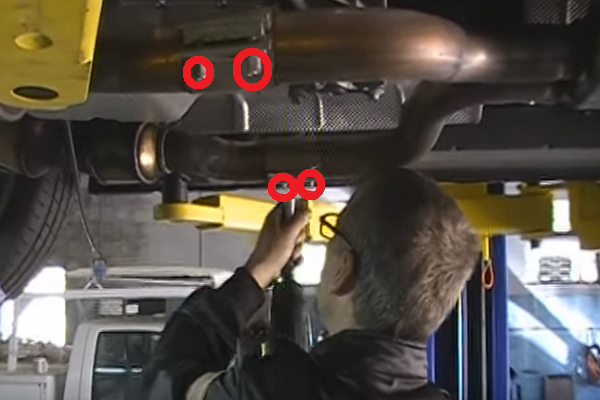
Figure 2. Exhaust clamp bolts.
Step 2 – Remove exhaust manifold
Next, you need to remove your O2 sensors with your 15mm wrench or an O2 sensor socket. These will be re-installed into your headers, so make sure you are careful to not damage them. Then, unbolt your exhaust manifold bolts with your 3/8" wrench or socket. This should free the exhaust manifolds from the car. Now, from underneath the car, pull the mid-pipes and exhaust manifolds out.
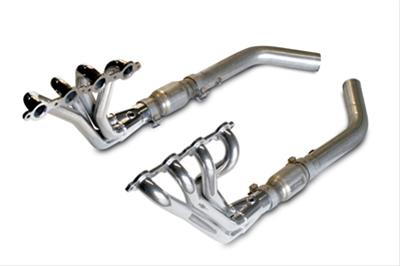
Step 3 – Install headers
Now comes the best part! Slip your headers into the engine bay from underneath the car and have someone line up the gasket and insert a couple bolts to hold the headers in place. Then, install all of the bolts and torque them down to 18 ft/lbs. Next, slip on the mid-pipes and reinstall the clamps to your cat-back. Reinstall your stock O2 sensors with O2 sensor extensions and you are all set!
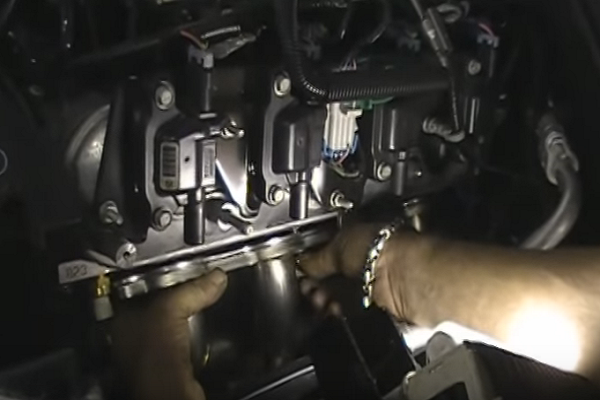
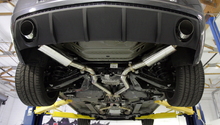
Figure 4. Header install. 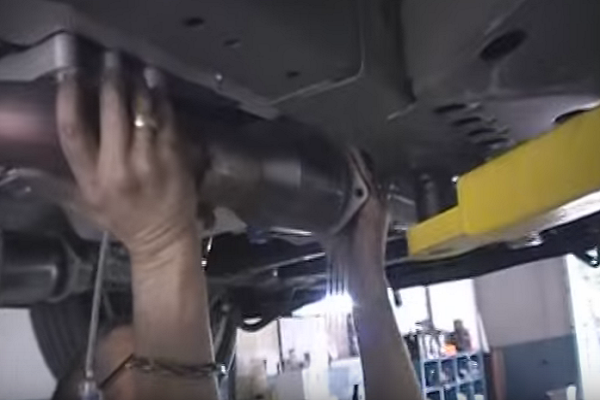
Figure 5. Mid-pipe install.
Featured Videos: Header Install
-
Camaro SS L99 Kooks Header Install
-
2011 Camaro Header Install
Headers Review
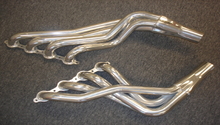
Picking the right headers is essential to getting the maximum benefit from your upgrade. Headers vary in pricing based on material quality, where they are made, and fitment. At this point, since the 5th Gen SS has been on the market for a few years, the design for long tubes has been optimized by most manufacturers, making the power gains very similar. If long tubes are illegal in your state due to emissions, check out other options like shorty headers that can still make a nice gain overstock. Check out some of the most popular headers below!
SLP |
Kooks |
BBK |
Texas Speed | |
|---|---|---|---|---|
Price |
$1,350 | $1,180 | $530 | $480 |
Piping Diameter |
2" |
2" |
2" |
2" |
Fitment |
Good | Great | Great | Good |
Finish |
409 Stainless | 304 Stainless | Chrome | 304 Stainless |
Best Value: Texas Speed
SLP
Price – $1,350
Piping Diameter – 2"
Fitment – Good
Finish – 409 Stainless
SLP has always been known in the aftermarket GM for producing quality parts that are proven to make great power. These SLP headers are no exception. However, given the competition, these headers are a bit overpriced and they do not have the velocity spike in the collector that is present in many of the other header options. Also, these are made of 409 Stainless, which is not as durable as 304 Stainless when it comes to rust protection and longevity. However, these headers are still a safe bet if your budget allows! Recommended for those who want the SLP brand name.
Kooks
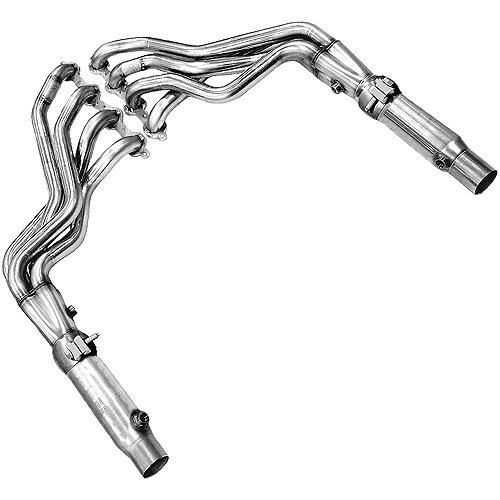
Price – $1,180
Piping Diameter – 2"
Fitment – Great
Finish – 304 Stainless
If you simply want some of the best headers on the market, it is hard to argue against Kooks headers. They are "Made in America" and offer unbeatable quality, and look great under the hood. Kooks headers also have a velocity spike that provides a greater gain than a header without it. The material is the best available, which is 304 Stainless. They will never rust and last forever. Many Kooks headers owners praise the perfect fitment and easy install that comes with these headers. Check them out if you want an easy install that makes no compromise on power! Recommended for those who want an American-made option with quality to match.
BBK
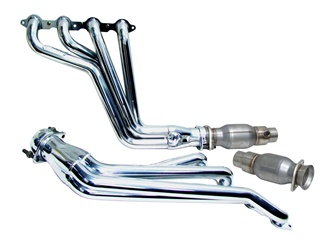
Price – $530
Piping Diameter – 2"
Fitment – Great
Finish – Chrome
BBK has been in the business of building quality headers for decades. They make great power and the install is always straightforward. These headers have a chrome finish, so they will look great under your hood. If you want the best budget option that is Made in the USA, look no further! Recommended for those who want a more traditional long tube design with less bends.
Texas Speed
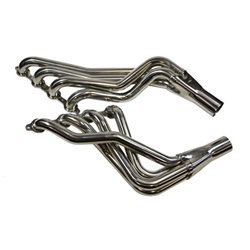
Price – $480
Piping Diameter – 2"
Fitment – Good
Finish – 304 Stainless
Texas Speed is well known for making great power at a price that is unbeatable. These headers are almost comparable to Kooks in quality; however, they are sold for less than half the price. Texas Speed headers are made overseas, but their quality control is great and fitment issues are rare. If you are on a budget, it is very hard to beat Texas Speed! Recommended for those who want the budget solution.
Related Discussions
- Stainless Power Sale - LS1Tech.com
- Need More Power - LS1Tech.com
- Camaro Exhaust Manifolds - LS1Tech.com
- 1 7/8ths" or 2" Headers - LS1Tech.com