Chevrolet Camaro 2010-2015: How to Change Your Oil
Before you pay a dealer or a quick lube to change your oil, check out our DIY guide and save yourself a little money on your next oil change.
This article applies to the Chevrolet Camaro (2010-2015).
Millions of people pay dealerships and quick lube businesses to change their oil every year, year after year. But changing your oil is one of the simplest things that you can do on a vehicle, and doing it yourself can save you a few bucks in the process. Plus, if you've ever read the horror stories of oil change technicians forgetting to tighten the oil filter or drain plug (leading to massive leaks and catastrophic engine failure), you might be a little more inclined to learn how to change your own oil. There's really no good reason why you wouldn't want to change your own oil, and as we'll show you here, it's probably easier than you think.

Materials Needed
- Jack and jack stands
- Drain pan
- Oil filter wrench (optional)
- Paper towels or rags for spills
- Ratchet and 15mm socket or wrench
- Funnel
- Oil filter
- Oil
Step 1 – Drain oil
Begin by popping the hood and removing the oil cap in the engine bay. Jack up the front of the car and place it on jack stands, or drive it up on ramps if you have them. Locate the drain plug, which is on the side of the oil pan.
It's a good idea to stick a piece of cardboard opposite the drain plug to prevent oil from splattering all over the frame (as shown in Figure 2). Place the drain pan underneath the plug and loosen it with a 15mm socket or wrench. Once loose, finish removing the drain plug by hand and be ready for oil to come out quickly. Once the oil has finished draining completely, replace the drain plug, making sure the o-ring goes back on as well. Wipe up any oil that has spilled with rags or paper towels.
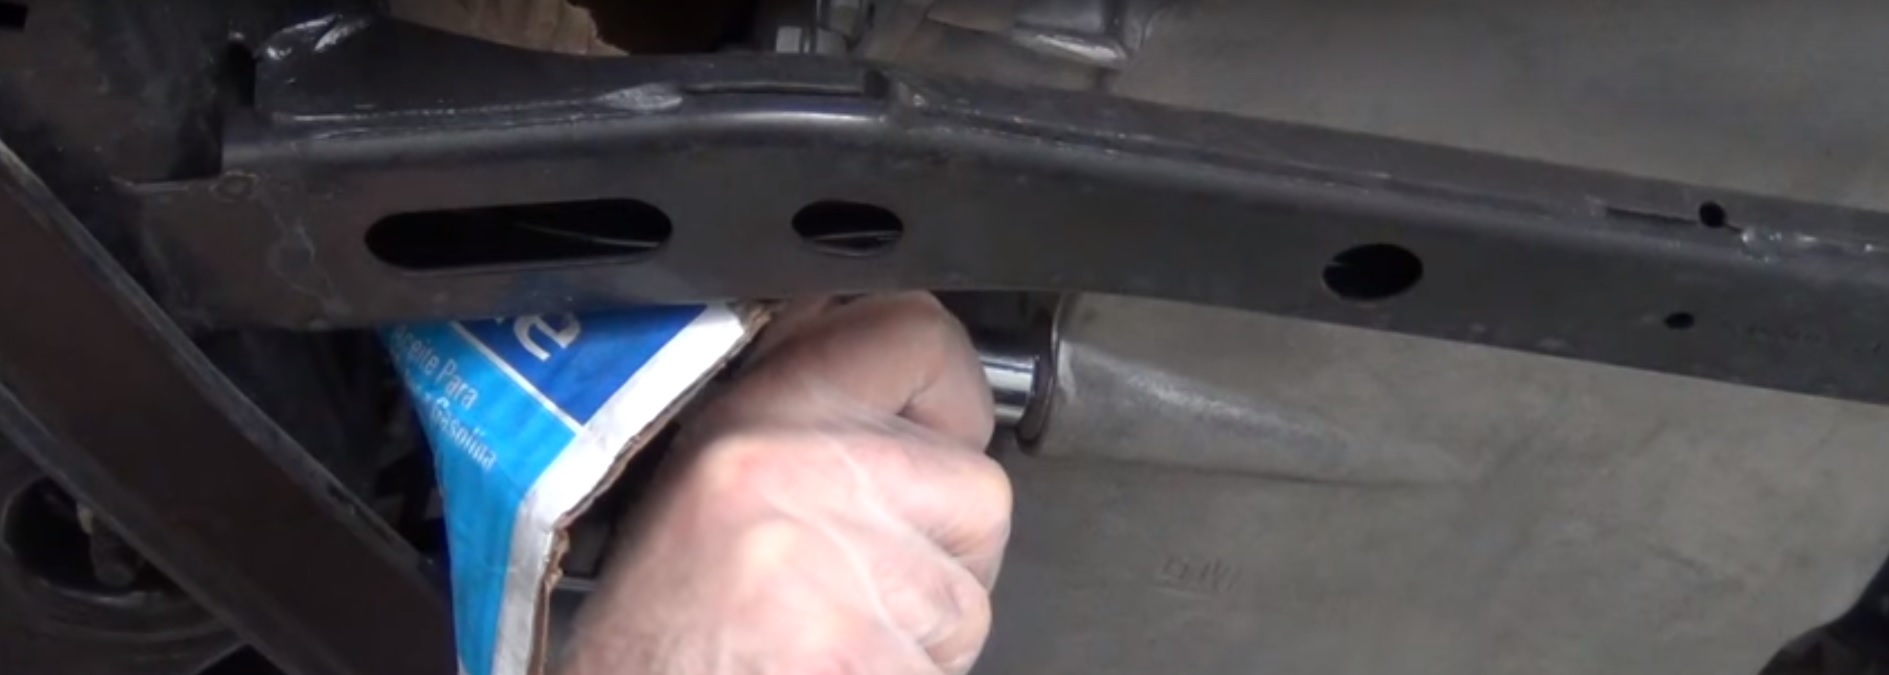
Figure 1. Remove the drain plug with a 15mm socket or wrench. 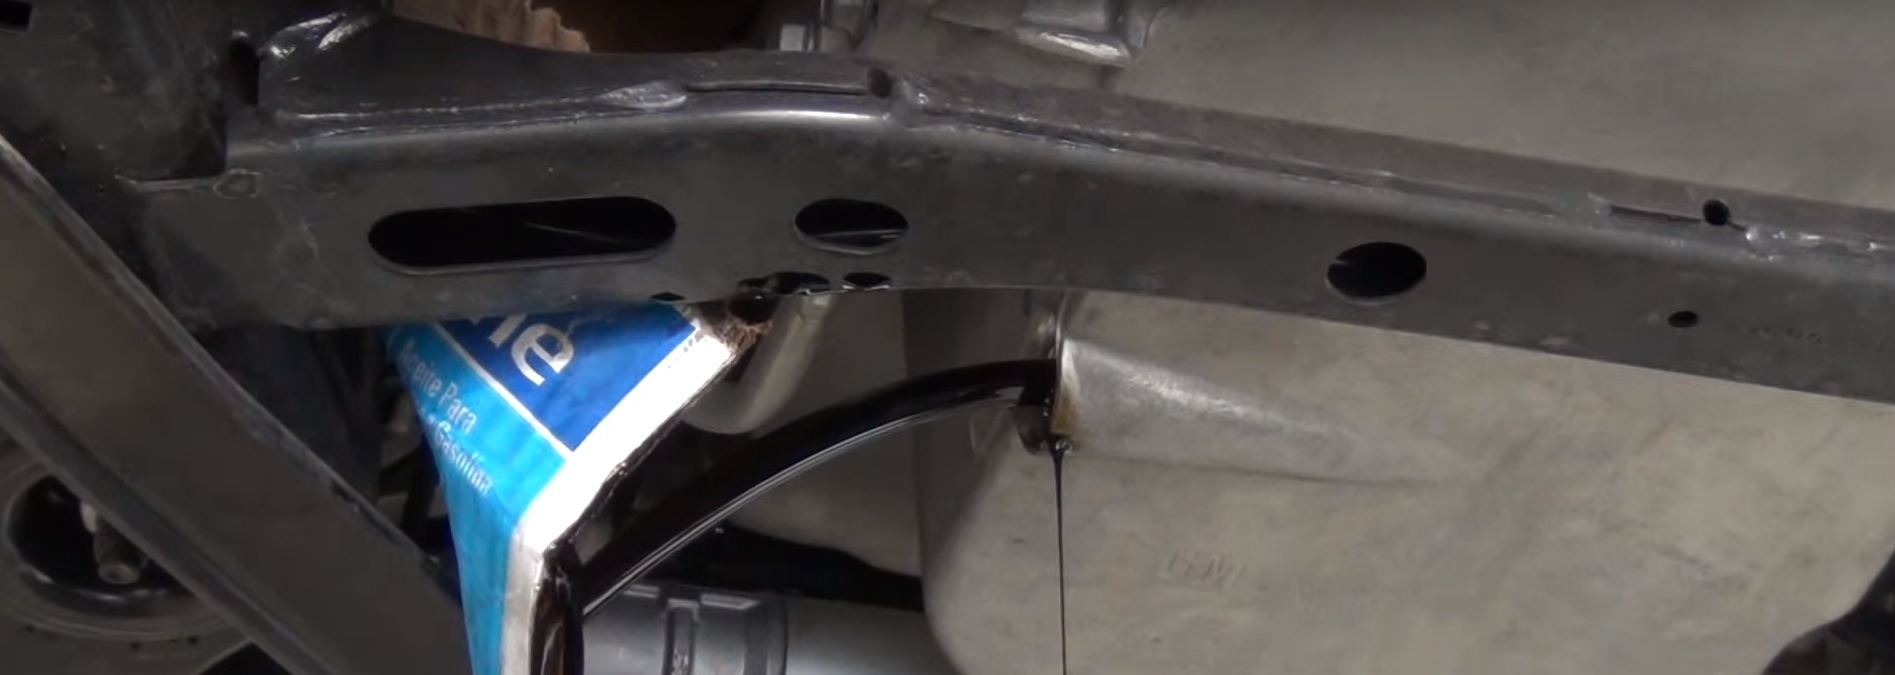
Figure 2. Allow the oil to drain completely. 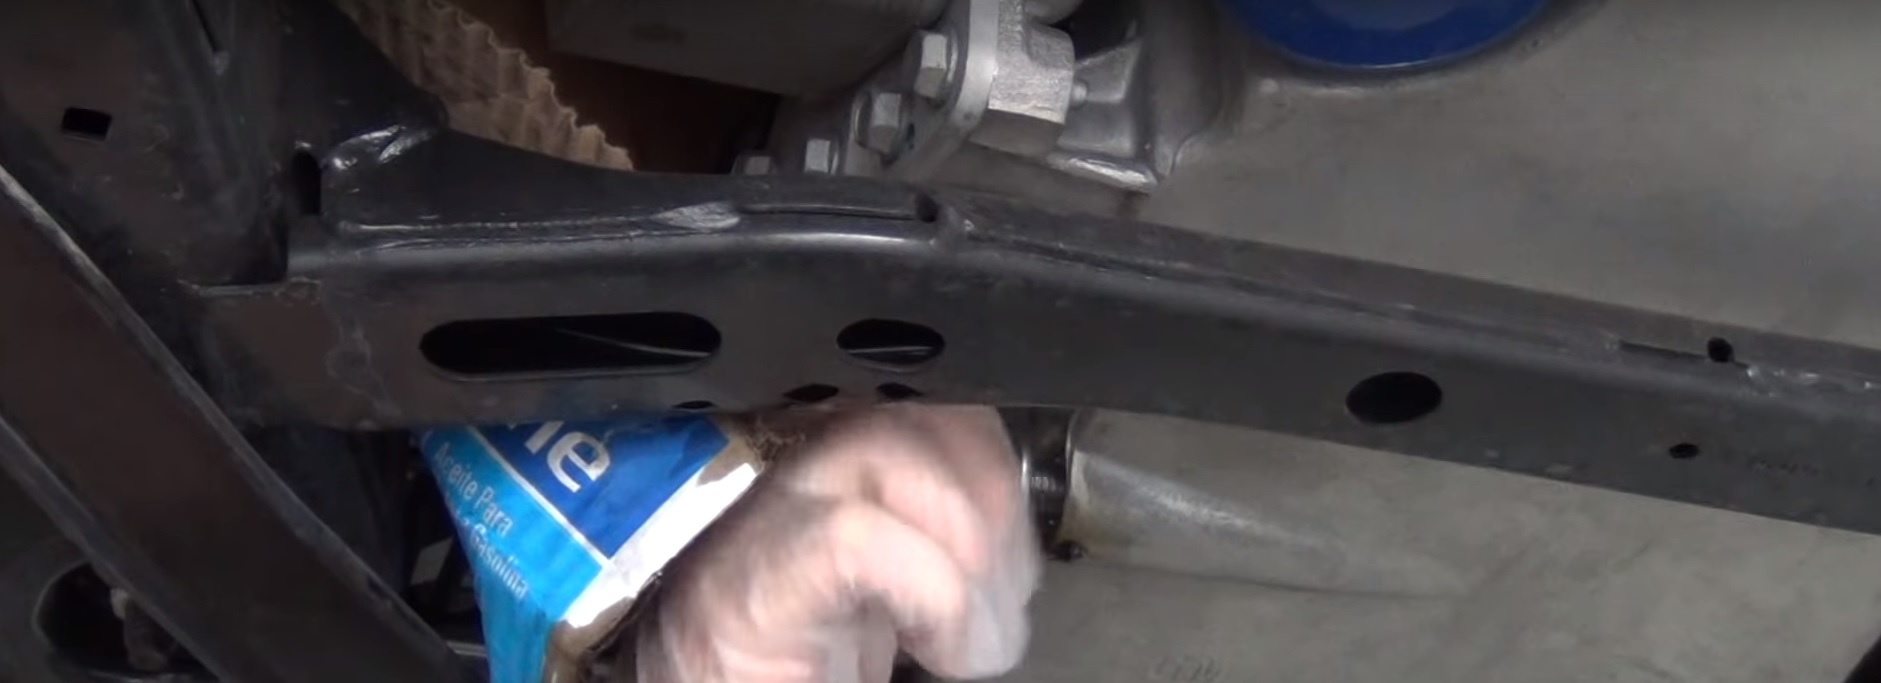
Figure 3. Replace the drain plug.
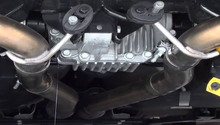
Step 2 – Replace the oil filter
Move the drain pan underneath the oil filter. Using an oil filter wrench or a pair of large channel locks, remove the oil filter by unscrewing it counter clockwise. Once loose, finish unscrewing the filter by hand and remove it. Allow any excess oil to drain. Be sure that the oil filter seal comes off with the oil filter and isn't stuck on the block. If it is, remove it from the block. Wipe up any excess oil. Dab a small amount of oil with your finger and wipe it along the rubber seal on the new oil filter, which will ensure a good seal and prevent the seal from sticking to the block. Install the new filter by screwing it in by hand, then tighten with the wrench or channel locks, being careful not to over tighten.

Figure 4. Remove the old oil filter. 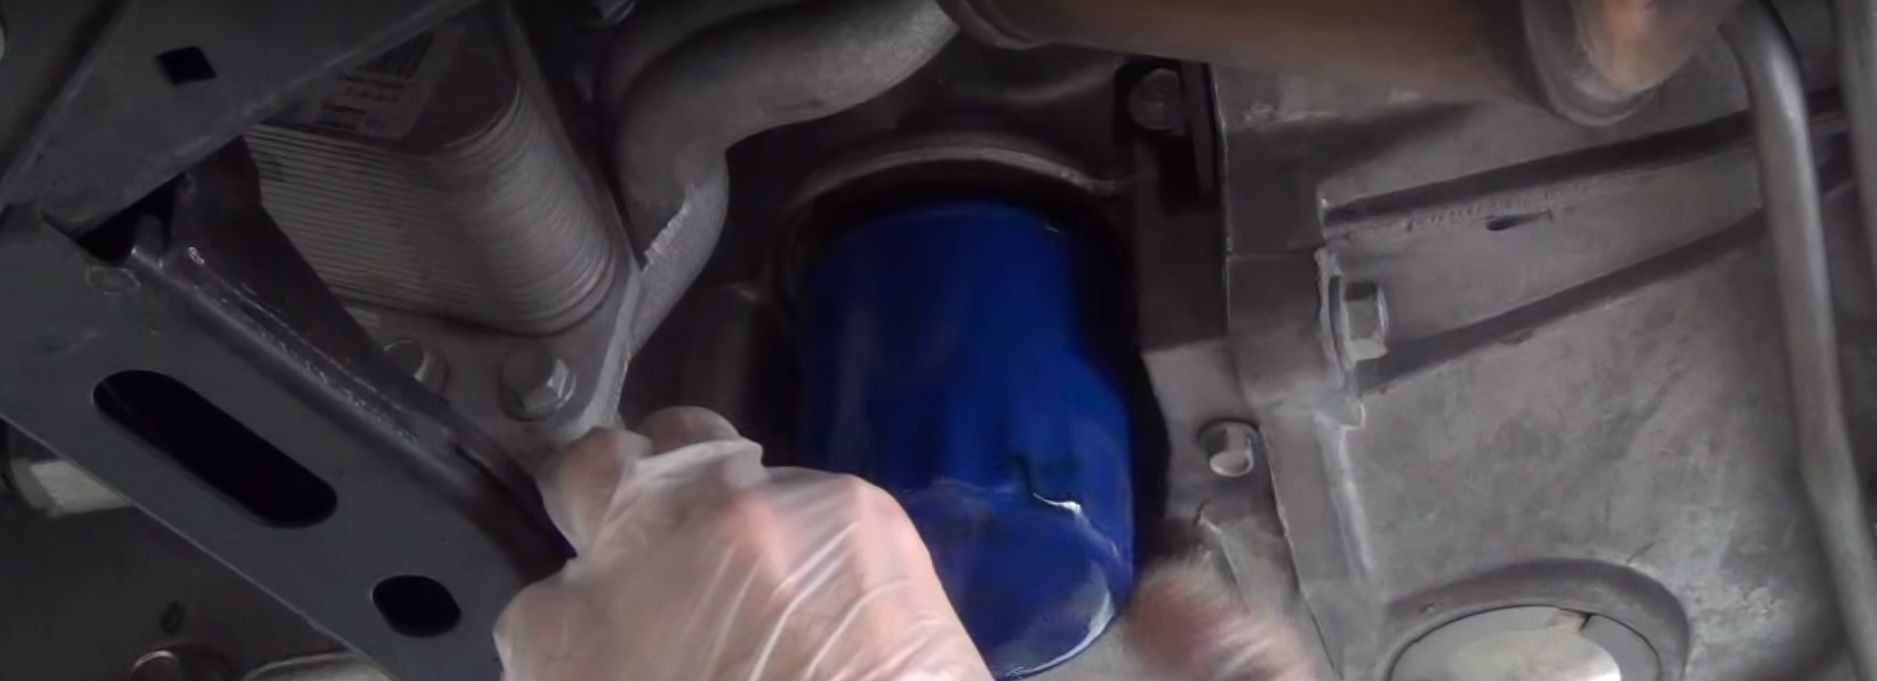
Figure 5. Install the new oil filter.
Step 3 – Fill with new oil
Place a funnel in the oil filler cap under the hood and fill with the amount and type of oil called for in your owner's manual. The 6.2 liter V8 calls for 8 quarts of 5w-30 full synthetic, for example.
Once you are done filling the oil, remove the funnel and replace the oil filler cap. Start the car and allow it to come up to operating temperature, checking for leaks. Turn the car off and check your oil level using the dipstick. Pull the dipstick out, wipe it clean, reinstall it, and pull it back out to check the oil level. If necessary, add oil.
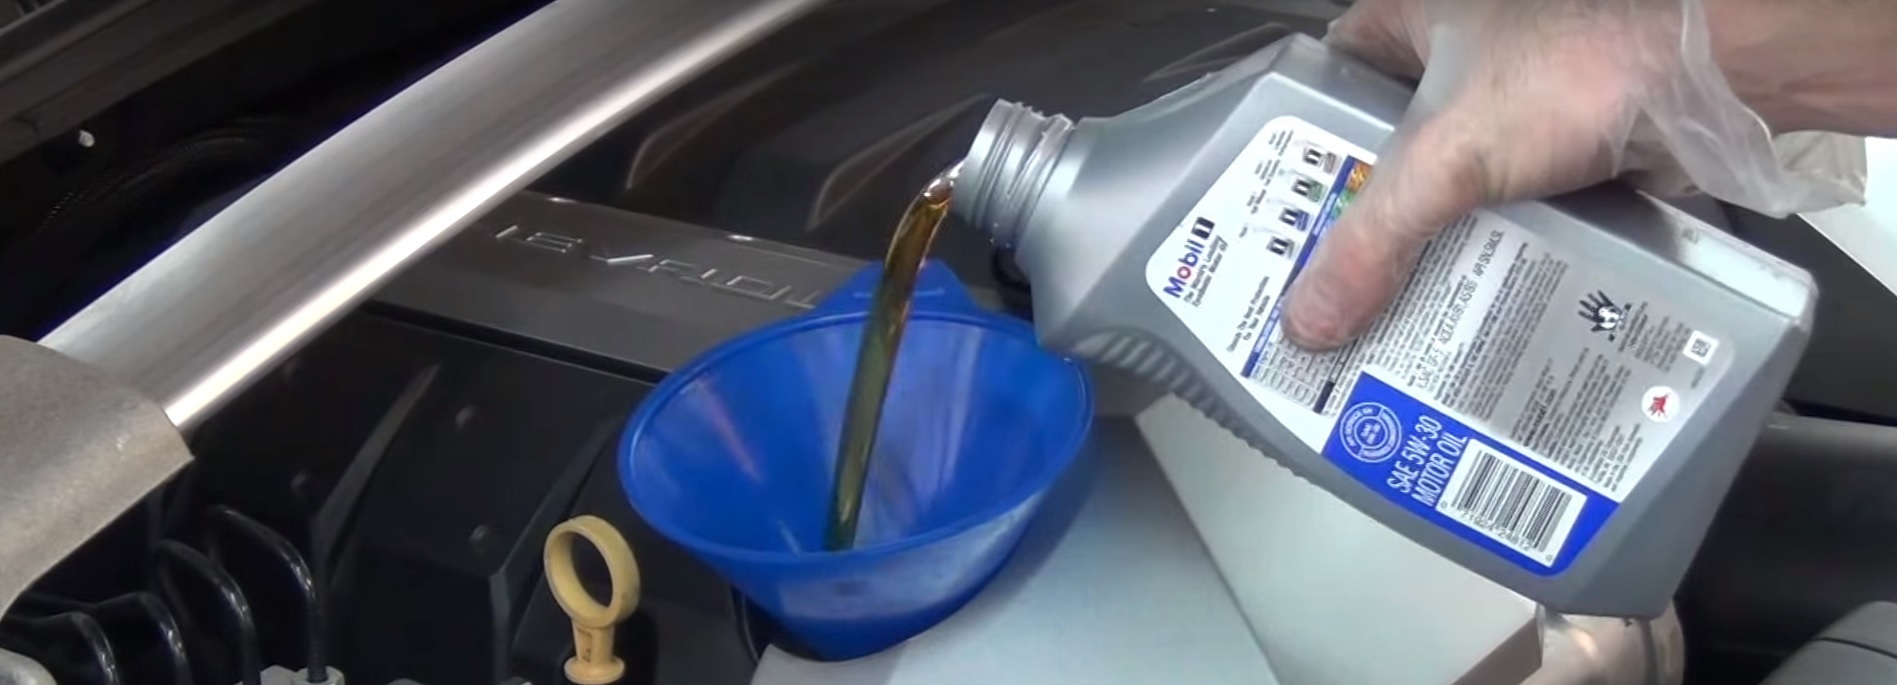
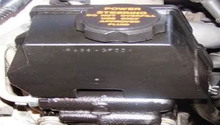
Figure 6. Fill with fresh oil. 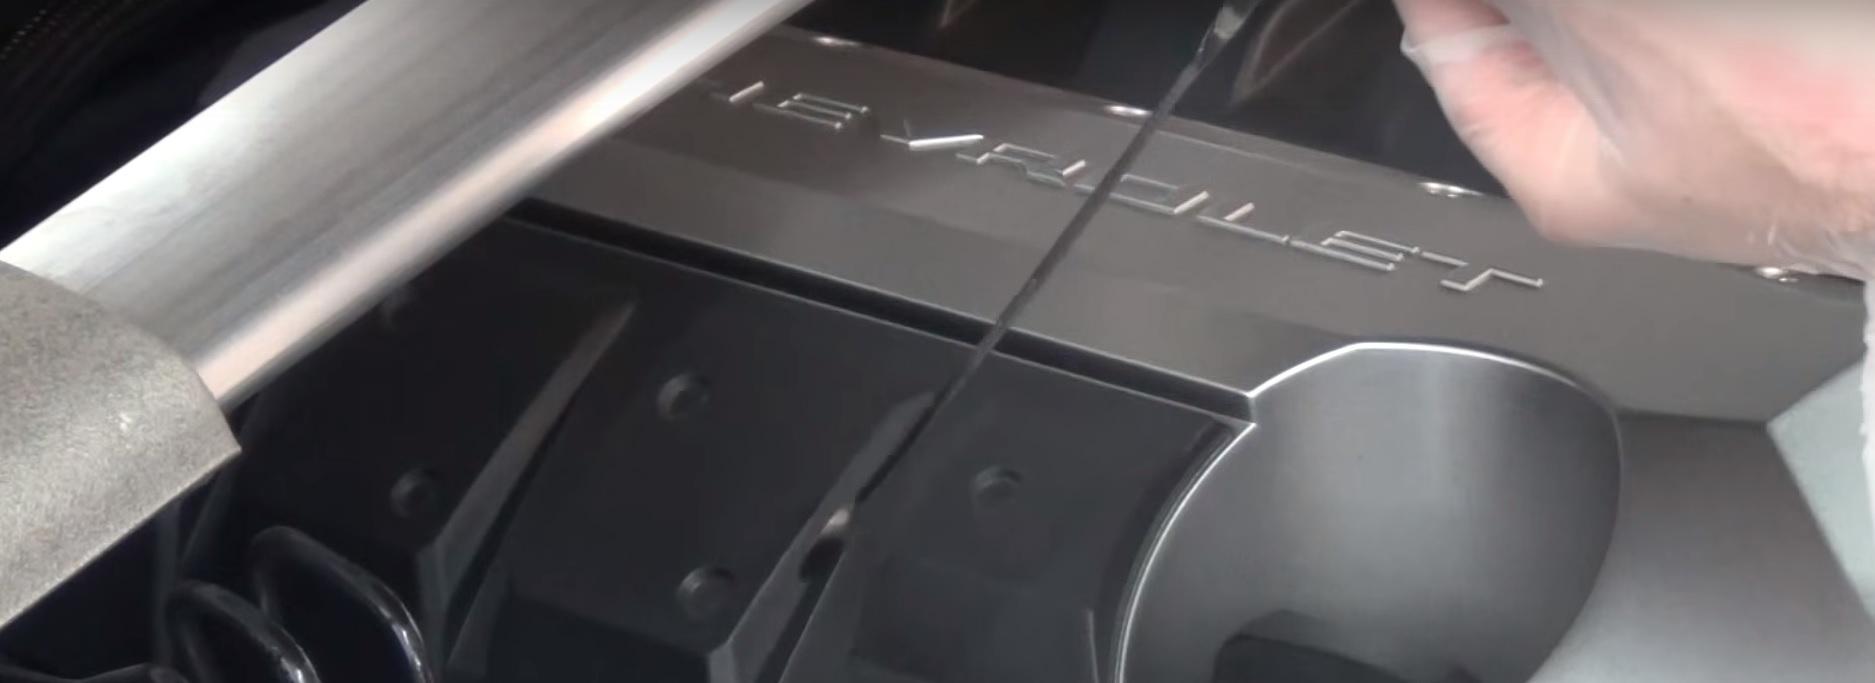
Figure 7. Check the oil level using your dipstick.
Related Discussions and Video
- Oil change and filter replacement Chevrolet Camaro 2010-2015 - YouTube.com
- Changing oil - LS1Tech.com
- Oil question - LS1Tech.com