Chevrolet Camaro 2010-Present: How to Install Lowering Springs
For a lean and mean street look, install lowering springs on your Camaro and own the boulevard.
This article applies to the Chevrolet Camaro (2010-present).
If you are ready for a challenging modification that makes quite an impact, try your hand at installing lowering springs on your Camaro. This is a DIY job that involves more brawn than brain; you don't need an advanced degree in mechanical ability, just some time and elbow grease. The difference that it makes is amazing and you'll be proud of the accomplishment. It's well worth your effort, considering a pro is going to charge you an arm and a leg to do this job that you can easily do on your own. It's pretty straightforward and the only special tool that you will need is a spring compressor. You may very well likely be able to borrow or rent one from your local auto parts store. It is an inherently dangerous tool if not used properly. If you are really worried about this tool, you can always take your struts into a shop and have this part done for you at minimal cost.

Materials Needed
- Hydraulic floor jack
- Jack stands (at least two)
- Spring compressor (unless you will use a pro for this step)
- 7, 10, 15, 18 and 24mm wrenches
- 15, 18 and 24mm sockets
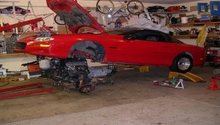
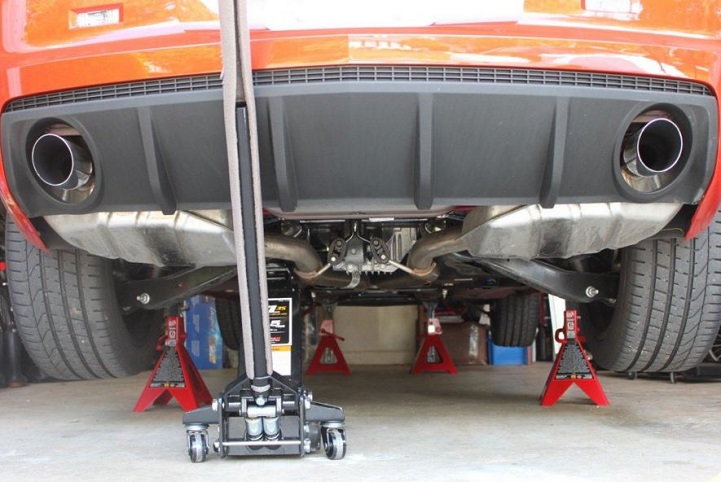
Step 1 – Lift your car and set it on jack stands
These instructions start with the front first and then the rear. If you have four jack stands, it will be a bit quicker to get the entire car off the ground, and do the front as well as rear in one fell swoop. Before you start lifting, use your lug wrench and break the lugs on the wheels first, so you wont have to wrench so hard to remove them once you are up in the air. Make sure you use the appropriate jacking and jack stand locations.
Pro Tip
Never work under any vehicle that is only being supported by a floor jack.
Step 2 – Remove wheels and relocate brake line
- Remove the lugs and pull the tires.
- Slide the brake line out of the bracket that is attached to the strut.
- Move the brake line out of the way; take care not to kink or damage the brake line.
- Use a 10mm wrench or socket to remove the brake line retainer bolt from the strut.
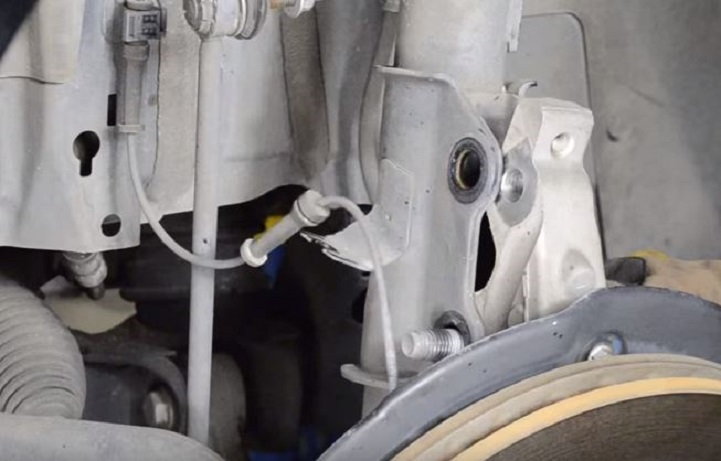
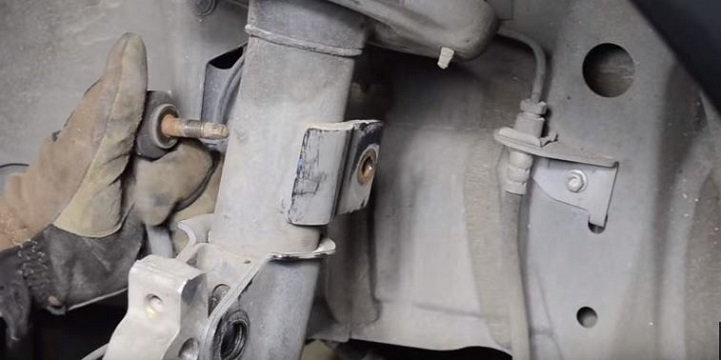
Step 3 – Remove sway bar end link and strut from spindle
- Use a 15mm wrench or socket to remove the nut holding the sway bar end link to the strut.
- Use a 24mm wrench or socket to remove the two bolts that mount the strut to the spindle.
Step 4 – Remove struts
From under the hood, find the plastic caps that cover the strut tower nut. The caps unscrew rather than pull straight off. Remove the caps and you'll find the 24mm nut and retainer just below it. Use a ratchet and socket to remove this 24mm nut and pull off the retainer, while at the same time, hold onto the spring from the strut so it does not drop to the floor. An assistant is a great asset for this step.
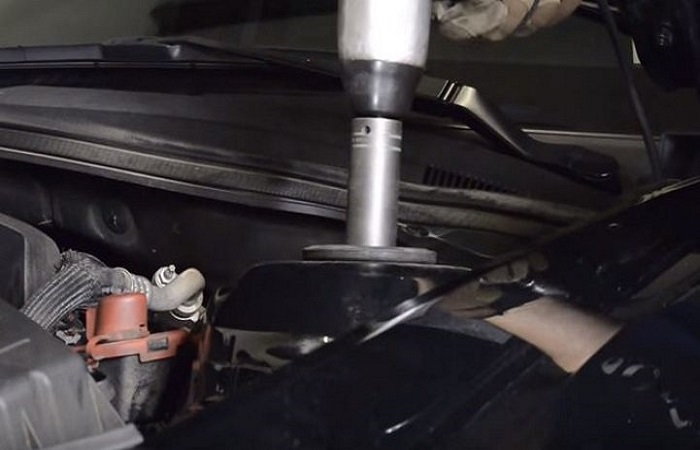
Figure 4. Remove cap and then the 24mm bolt on top of the strut tower. Maintain control of the strut when removing this bolt. 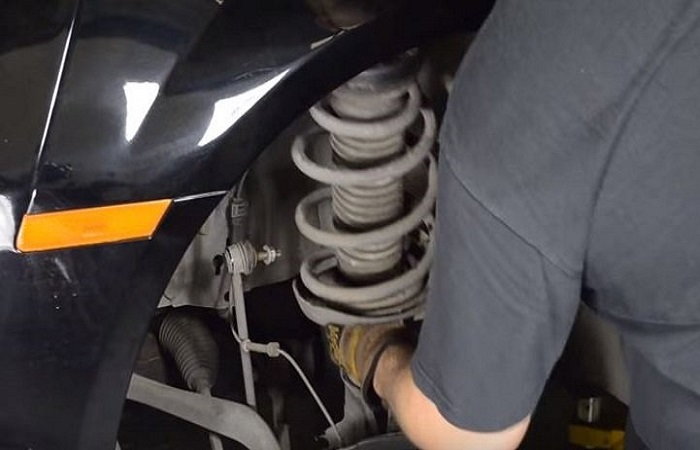
Figure 5. The strut is pretty heavy, so take care in removing it.
Step 5 – Disassemble strut
Do NOT attempt this step without educating yourself and reading the instructions on using a spring compressor. You can skip this step yourself and take your struts as well as lowering springs to a pro. They will likely charge a nominal fee because you did most all of the work for them, and they only need take the strut apart to replace the spring. Otherwise, continue on:
- After removing the strut from the car, carefully set it on the floor and grab the spring compressor.
- Hook the compressor up to the spring on the strut assembly.
- Evenly tighten the compressor bolts to compress the spring at an even and controlled rate.
- Once the spring is compressed enough that the stress has been removed from the shock mounting bolt, remove that bolt (top center).
- With the spring compressed, you'll remove in order: upper strut mount, upper spring isolator and then the bump stop.
- The spring can then come off.
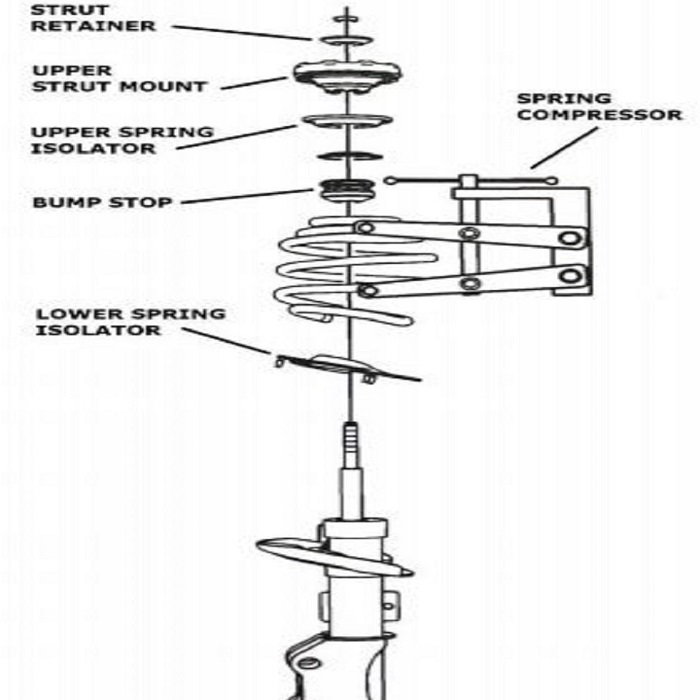
Figure 6. One type of spring compressor used to remove the spring from the strut. 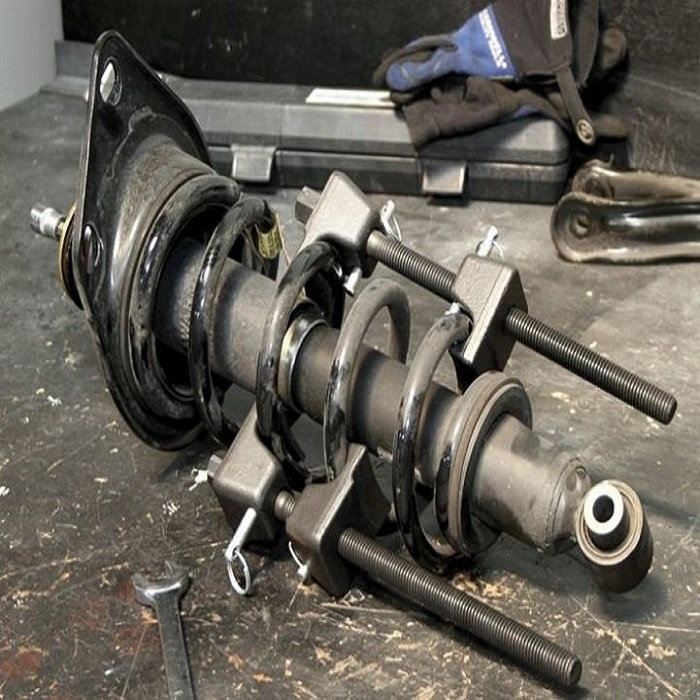
Figure 7. A different model of spring compressor.
Pro Tip
Although the Camaro springs aren't under a lot of tension, spring compressors should always be used.
Step 6 – Assemble new strut with lowering springs and reinstall
Reassembly is almost the exact opposite of the dis-assembly process; however, you do not need the spring compressor at this time.
- Slide the lowering spring over the shock and make sure it is seated into the lower isolator.
- Follow the spring with the bump stop, washer and upper isolator.
- Replace the upper strut mount and make sure that the lowering spring is seated properly.
- Torque the strut bolt to 52 foot-pounds.
- Reinsert the strut assembly up into the tower and replace the retainer as well as the upper bolt.
- Replace the plastic cap.
- Use the 24mm socket to replace the strut mounting bolts to the spindle. Torque to 60 foot-pounds.
- Use a 15mm wrench or socket to replace the sway bar end link and torque to 36 foot-pounds.
- Use a 10mm wrench to replace the brake line bracket and slide the brake line back up into the guide.
- Although you are technically done with the front end, you will have to get your Camaro aligned properly, making sure to re-index the front suspension bushings to work with your new lowered ride height.
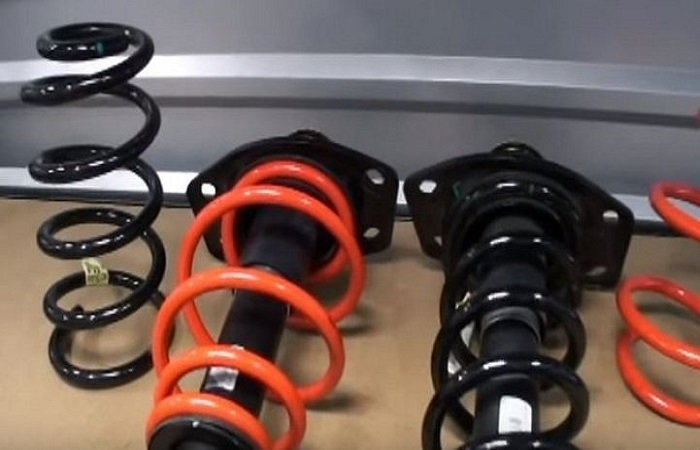
Figure 8. You can easily tell the difference between the stock and lowering spring. 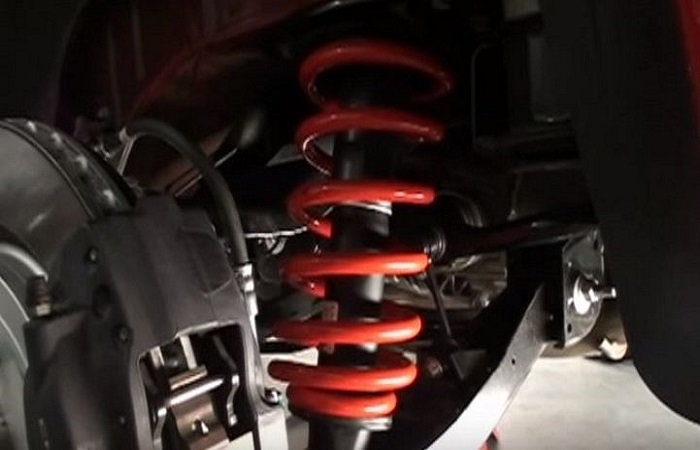
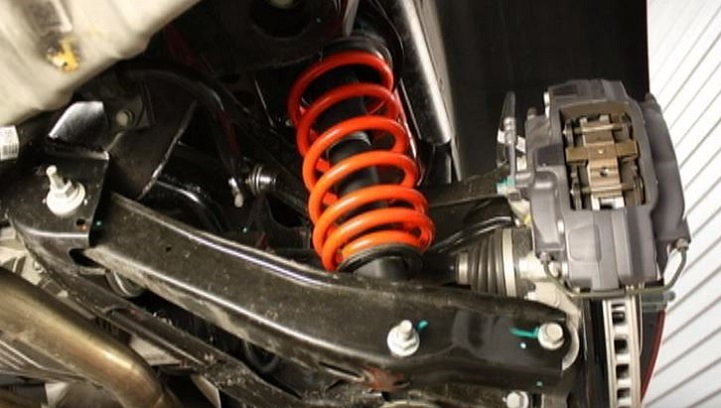
Figure 9. Once the strut is rebuilt with the lowering springs, reinstall it onto your front end.
Pro Tip
It cannot be stressed enough that you will need to have the front end aligned properly after installing any lowering spring.
Step 7 – Remove and replace the rear struts
With the car in the air, remove the tires and follow these steps, which are similar to the steps for the front end.
- Remove the lower shock bolt on the lower control arm using a 21mm socket.
- Use an 18mm wrench to remove the outer bolt on the lower control arm (near the rotor).
- Use a 15mm socket to remove the sway bar end link.
- Use a 15mm socket to remove the four bolts mounting the upper strut, maintaining control of the strut as you remove those mounting bolts.
- Once the strut is out, use a spring compressor as before and compress the spring to relieve the tension on the upper mounting bolt.
- Once the spring is compressed, remove that upper mounting bolt and each component, keeping track of the order.
- Replace the factory spring with the lowering spring and no need for a compressor at this point.
- Reassemble the strut with the lowering spring, making sure the spring is correctly seated in the bed.
- Reinstall the strut assembly onto the rear end of your Camaro.
- Torque the upper shock nut to 32 foot-pounds.
- Remount the upper shock tower and torque the four bolts to 43 foot-pounds.
- Replace the control arm and insert both the outer control arm bolts as well as the lower shock mounting bolts, but do not tighten them yet.
- Reinstall the sway bar end link and torque to 36 foot-pounds.
- Tighten the outer control arm and lower shock mounting bolts.
- Immediately have your rear end aligned, making sure to properly re-index the rear suspension bushings for your new lowered ride height.
Pro Tip
You must have your rear end aligned after installing lowering springs on your car.
Step 8 – Have your ride aligned
It cannot be stressed enough that you will need to have your Camaro fully aligned after installing lowering springs for proper operation. Once you have gotten that out of the way, take a cruise down the boulevard and enjoy all the head turns you'll get with your new low rider.

Featured Video: 5th Gen Camaro Lowering Spring Installation
Related Discussions and Site
- Lowering Spring Install - LS1Tech.com
- Lowering Spring Install, $500 is This Accurate? - LS1Tech.com
- BMR Lowering Spring Install Instructions - BMRSuspension.com