Finally got off my ass....
 10-26-2008, 09:43 PM
#21
TECH Enthusiast
iTrader: (8)
Join Date: Dec 2006
Location: Jax, FL
Posts: 502
Likes: 0
Received 0 Likes
on
0 Posts
Looks great so far man, looking forward to some new pics.
I would go with a yes...
Then you should read the thread.. and then give google a try.
Not trying to sound like an ***, just stating the obvious..
Not trying to sound like an ***, just stating the obvious..
 10-27-2008, 08:09 AM
#22
^^Thankx for covering that.
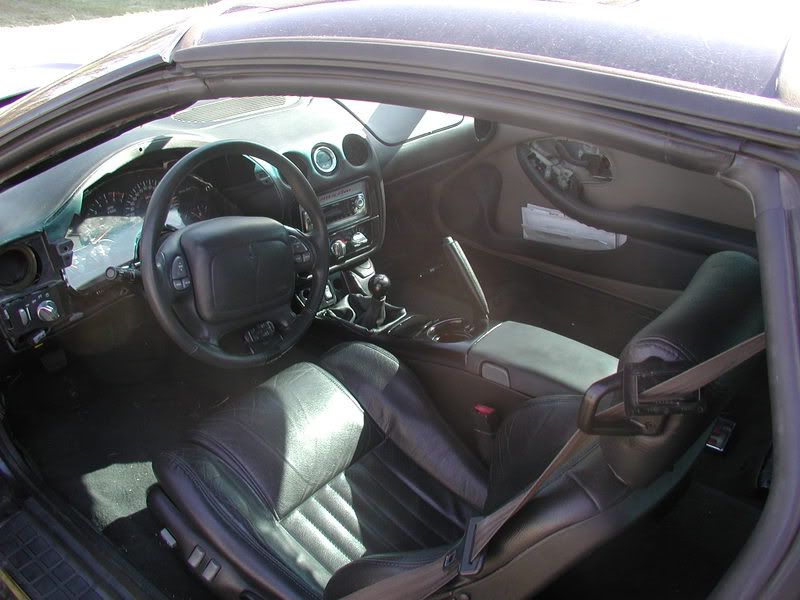
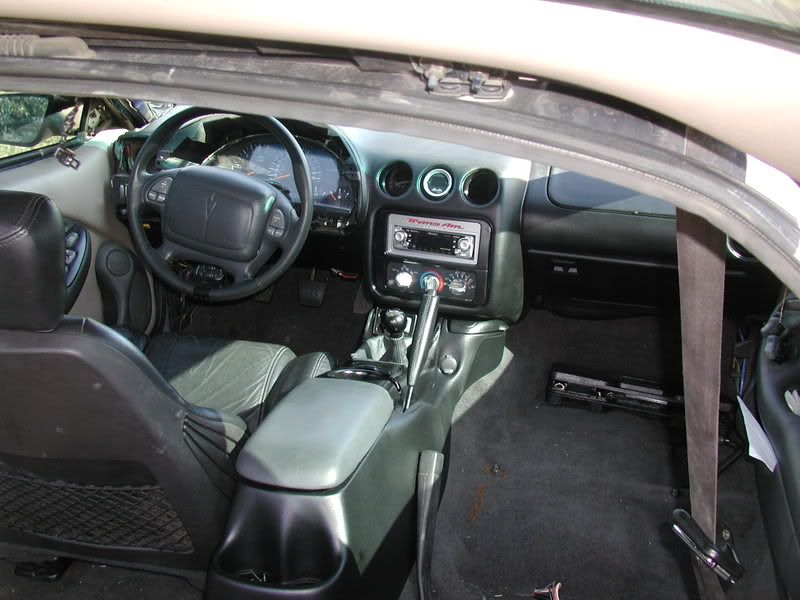
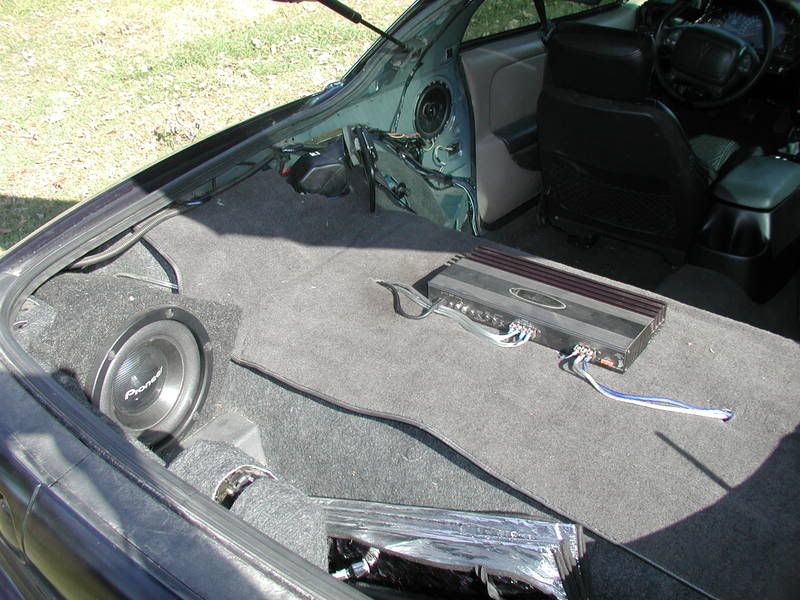
Here are a couple pics from this weekend. I got the headliner removed, Ebony front/rear seatbelts installed, driver seat installed & Amp re-installed. Along with swapping my MAP lights to LED's. After these pics were taken I also finished getting the dash vents re-installed, so I'll try to get another pic of the dash today or tomorrow. I would be installing my custom headliner today but I left the pushpins I needed at home this morning, so it will go in tomorrow along with the dome light that has also been swapped to LED lighting.
These aren't the best pic, but I never claimed to be a pro, LOL. You can see what shade the dash looks like in the sun better in these though. I'm also planning on making a little amp rash out of MDF soon & hopefully I'll have enough leather left over to wrap it also, so don't get critical of the amp install at this point. The carpet I bought came from a car with cargo hooks & my car doesn't have those. So I used the holes in the carpet to run the wires thru. I tried to tuck them best I could for the time being.
Also ignore the bland console top & shift boot. I will be replacing the boot with a Redlines boot in black with silver stiching soon. Along with adding a e-brake boot & arm rest cover. So I saw no point in dying the arm rest. And yes I still need to address the steering wheel.
10-27-2008, 01:46 PM
#23
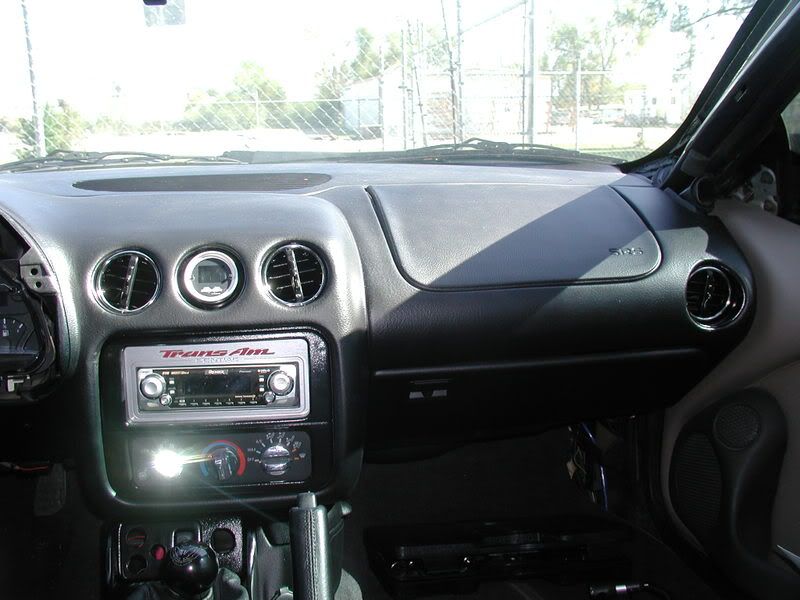
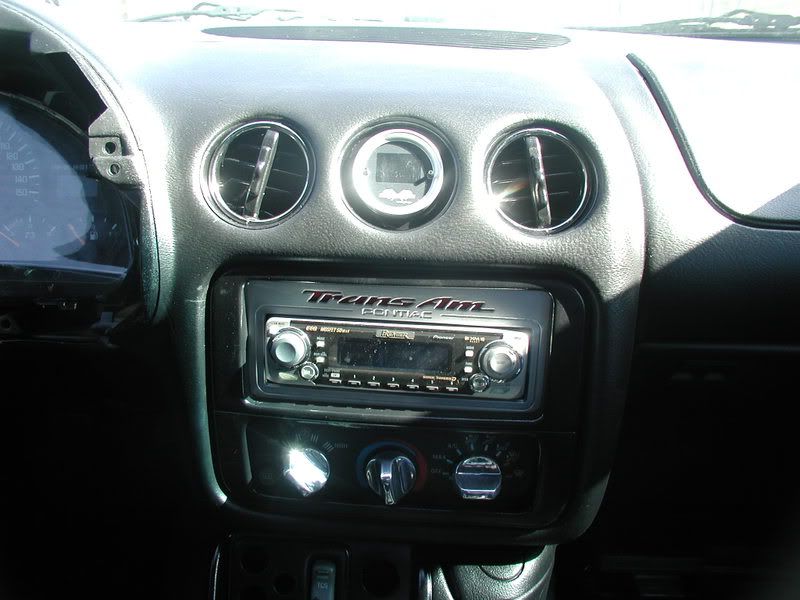
As promised this morning pics w/vents...
Here is a couple better pics I just took with the dash vents all installed, minus the driver side of coarse since that piece isn't goin back in until I get a new speedo bezel.
Watch out for the glare off the polished HVAC ****, it'll blind ya, LOL. And either this camera sucks *** or it's my pic taking skills cause this stuff looks 100000000X better in person.
10-27-2008, 06:31 PM
#26
TECH Resident
iTrader: (21)

Join Date: May 2008
Location: East Brunswick, NJ
Posts: 774
Likes: 0
Received 0 Likes
on
0 Posts

oh my bad man, i didnt realize it came with useful instructions and just meant if you did anything special
also, how much did you buy to do the whole interior, ie. was one enough?
also, how much did you buy to do the whole interior, ie. was one enough?
Last edited by xRelapse13; 10-27-2008 at 06:38 PM.

 10-28-2008, 07:37 AM
#29
Ok, let me catch everyone in this post.
xRelapse13 - I only dyed the dash, custom headliner & center console. All gloss black accents were done on Krylon fusion. Proper prep was done on all pieces painted & dyed.
I didn't do the full interior cause my door panels, sail panels & all hatch plastics will be wrapped in the Ebony leather wrap kit from Specialized Stainless.
firechicken - PM was anwsered on the panhard & LCA's. The headunit surround if from Humount as stated above. I bought it used off a member on here & it came with a black faceplate. I painted it Radiant Silver Metallic with some automotive touch up paint.
2K2WS6TA - I bought the vent rings from a member on here & friend of mine 96silverram. I believe the originally came from boyd who is a member on here & sells them from time to time.
I also picked up a Autometer Autogauge 5" tach with shift light & black face/white lettering last night from a buddy for $40. So that will soon be installed also.
10-28-2008, 10:19 AM
#30
10 Second Club
iTrader: (17)
Join Date: Oct 2005
Location: Tulsa, OK
Posts: 611
Likes: 0
Received 0 Likes
on
0 Posts
If you are using SEM colorcoat it IS NOT a dye. It says it on the label. Its a very durable flexible paint, that I beleive has some sort of chemical bonding that makes it work so well. You'll see what I mean if you repair a dash and you spray to much of it.
Technician's Choice is a sprayable dye FYI.
Looking good mike!
Technician's Choice is a sprayable dye FYI.
Looking good mike!
10-28-2008, 03:59 PM
#33
Alrighty, headliner, dome light & visors went in on lunch with a little help from my co-worker. I'm getting really close now. The biggest challange & time consuming thing is gonna be the leather wrapping.
I'll get new pic tomorrow with the headliner in & my new little $40 mod I picked up yesterday.
I'll get new pic tomorrow with the headliner in & my new little $40 mod I picked up yesterday.
10-29-2008, 05:44 PM
#34
Alrighty, headliner, dome light & visors went in on lunch with a little help from my co-worker. I'm getting really close now. The biggest challange & time consuming thing is gonna be the leather wrapping.
I'll get new pic tomorrow with the headliner in & my new little $40 mod I picked up yesterday.
I'll get new pic tomorrow with the headliner in & my new little $40 mod I picked up yesterday.
your welcome
10-30-2008, 07:19 AM
#35
Got it installed & everything works except illumination. I'm still tryin to figure out why it won't work. I know it's tapped into a good source cause it's piggy backed off my Humount so it should illuminate when the headlights turn on.
10-31-2008, 06:46 AM
#37
Already did but he never installed it. It wasn't in his car or wired for a LS1. I had to unwrap the loom & clip the brown/orange wires and re-wrap it forit to read right. He just said it should be working. I called Autometer & they gave me some ideas, but so far nothing has worked to get the ilumination on.
10-31-2008, 05:48 PM
#38
Already did but he never installed it. It wasn't in his car or wired for a LS1. I had to unwrap the loom & clip the brown/orange wires and re-wrap it forit to read right. He just said it should be working. I called Autometer & they gave me some ideas, but so far nothing has worked to get the ilumination on.
well wait to pay me until it works if u cant get it to work just bring it back to me i dont give a **** it was just in my closet