Retro - BiXenon E46's in a 1997 Z28.
 04-05-2009, 01:02 PM
#21
TECH Enthusiast
Thread Starter

Join Date: Jun 2004
Posts: 597
Likes: 0
Received 0 Likes
on
0 Posts

Thanks folks.
Unfortunatly there isn't a better way to mount those, and I hope the mount on the inside near the projector is in a location that doesn't cause problems. If so.. creativity time.
Unfortunatly there isn't a better way to mount those, and I hope the mount on the inside near the projector is in a location that doesn't cause problems. If so.. creativity time.
 04-09-2009, 05:19 PM
#22
TECH Enthusiast
Thread Starter
Join Date: Jun 2004
Posts: 597
Likes: 0
Received 0 Likes
on
0 Posts
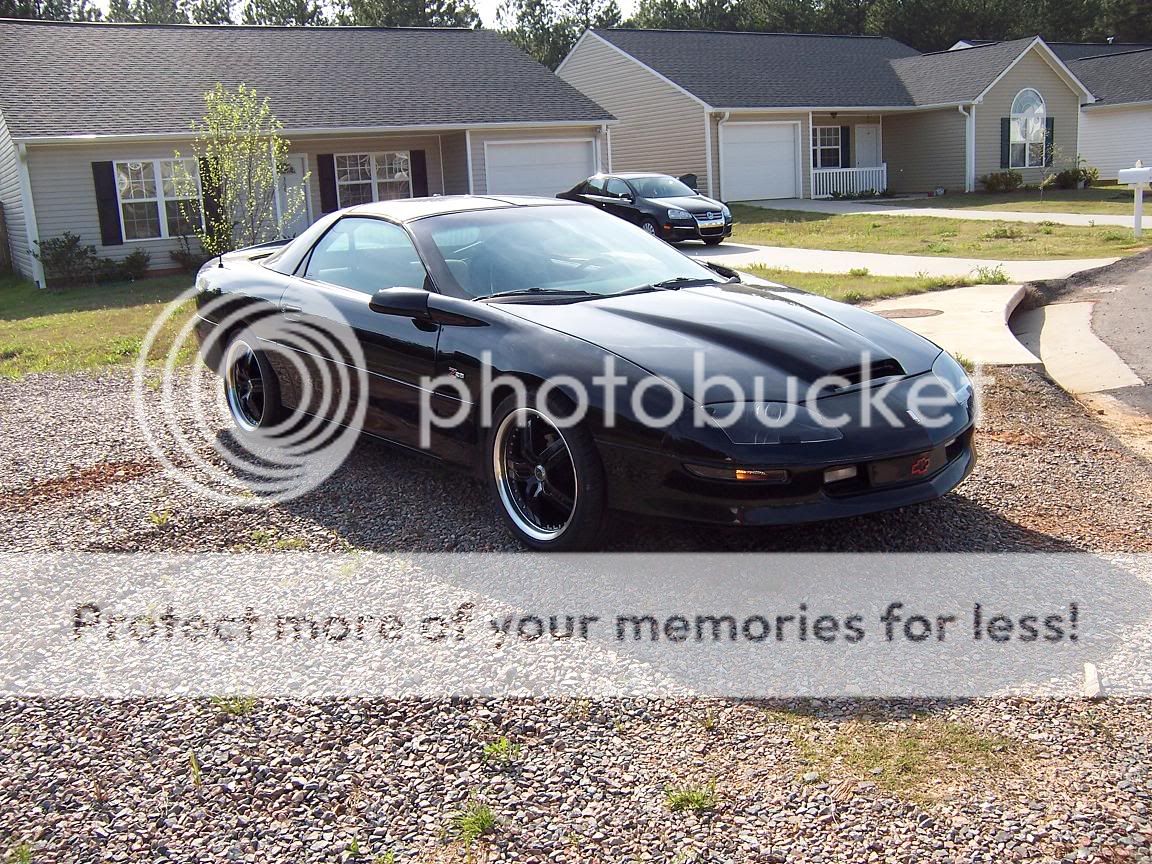
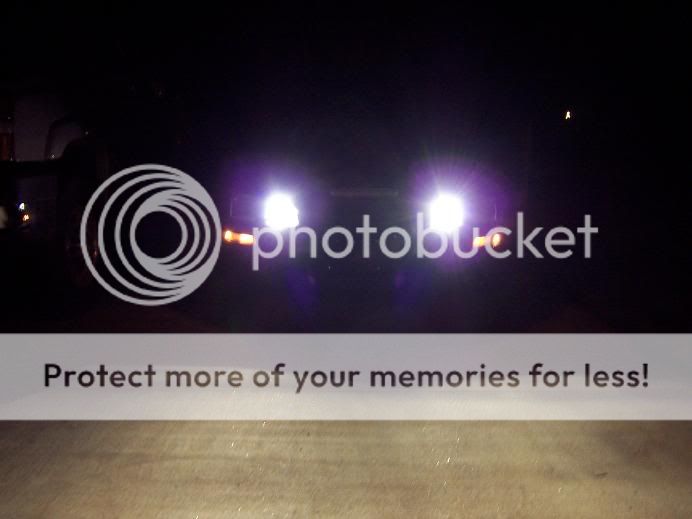
99.9% Done. Just need the final touches around the backer plates and my rain diverter.
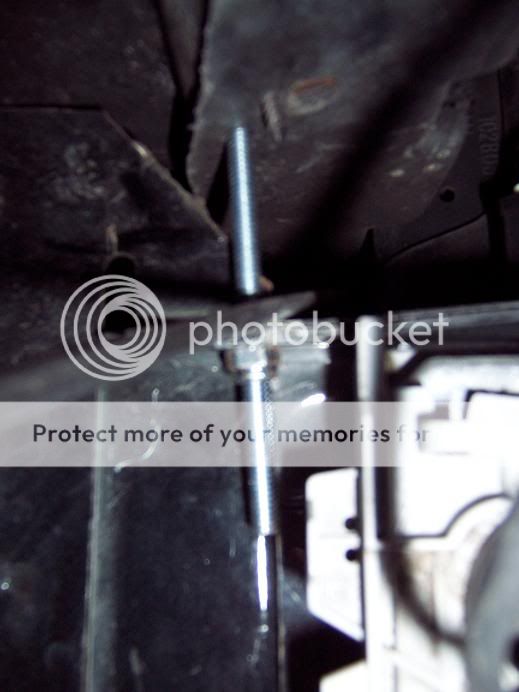
Due to the Plow Maneuver i executed with this car many years ago I had to get a little creative with the drivers side headlight area to get the space i needed. I had to pull the clip down. I achieved this with a bolt, washer, and nut. creating a tension rod. I drilled up through that welding flange and into the bottom of the clip support part. then drilled down through the clip's screw tab so its not visible in the completed product. Tightened it down until i got the space i needed to clear the hood as it came down.
But all in all it looks good. I only wish there was a invisible way to put those clear covers on.
http://img.photobucket.com/albums/v2...frontdone3.jpg
http://img.photobucket.com/albums/v2...frontdone2.jpg
http://img.photobucket.com/albums/v2...frontdone1.jpg
04-09-2009, 06:01 PM
#23
TECH Enthusiast
Thread Starter
Join Date: Jun 2004
Posts: 597
Likes: 0
Received 0 Likes
on
0 Posts
WHY ME!
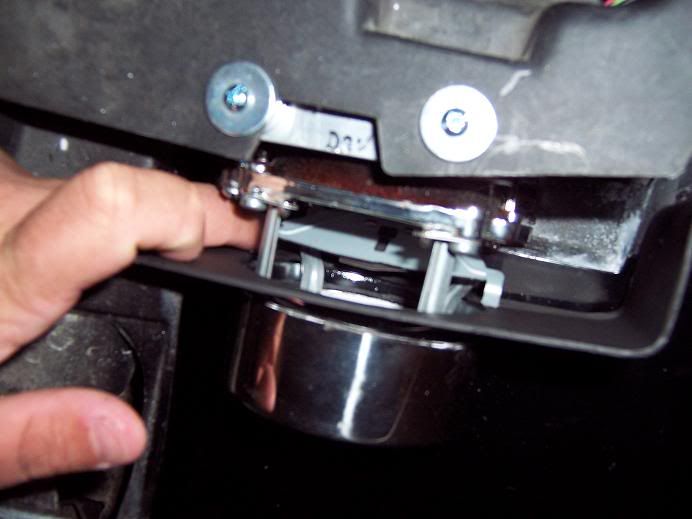
Bonehead me forgot to check something... Shield clearance. So now it hits the backer plate and doesn't allow the high beam function. I have to redesign the backer plate and 2nd shroud. its behind the main one its just a Tub spout ring but it will still get hit by the shield and not allow full movement. Great... just great.
It'll barley change when i defeat this little setback. the main look will be kept. the shroud may expand to the sides some.
Creativity time again!.
04-09-2009, 06:13 PM
#24
TECH Enthusiast
Thread Starter
Join Date: Jun 2004
Posts: 597
Likes: 0
Received 0 Likes
on
0 Posts
The simple answer may be to get ride of the side tabs and create a new stop catch for them. Although it may be as easy as getting ride of the upright extensions off the side tab.
04-09-2009, 08:48 PM
#25
i like it a lot. sucks that the shield hits but i am sure you can figure a way around that. i wish there was an invisible way to mount the covers too  i was thinking about it today for when i do my hella's. do you plan to fill where the low beams went with anything? it does look kind of empty. maybe some halo's or city lights or something like that. definitely a nicely executed project
edit: maybe paint a nice border around the cover to hide the mounting points? don't do it where it will affect the beam output, but maybe somehow run a nice line around to blend it into the body? try photoshopping it or electrical tape before you commit
edit: maybe paint a nice border around the cover to hide the mounting points? don't do it where it will affect the beam output, but maybe somehow run a nice line around to blend it into the body? try photoshopping it or electrical tape before you commit
 04-11-2009, 04:58 PM
#28
TECH Enthusiast
Thread Starter
Join Date: Jun 2004
Posts: 597
Likes: 0
Received 0 Likes
on
0 Posts
Thanks folks! Took a good bit of work as you see but the end result = Badass.
Hunt around for one done by RedLS1Bird, he did a single xenon setup first and kept the halogen highbeam. then converted to a BiXenon. ditching the halogen entirely.
Hunt around for one done by RedLS1Bird, he did a single xenon setup first and kept the halogen highbeam. then converted to a BiXenon. ditching the halogen entirely.


 04-24-2009, 02:20 AM
#34
Very nice! Have you thought about adding some foglights to fill in that empty space? I mean something from hella or piaa. Would finish it off in my opinion. Very nice! What kind of covers are those? I like those so much just by themselves!
04-24-2009, 01:42 PM
#37
TECH Enthusiast
Thread Starter
Join Date: Jun 2004
Posts: 597
Likes: 0
Received 0 Likes
on
0 Posts
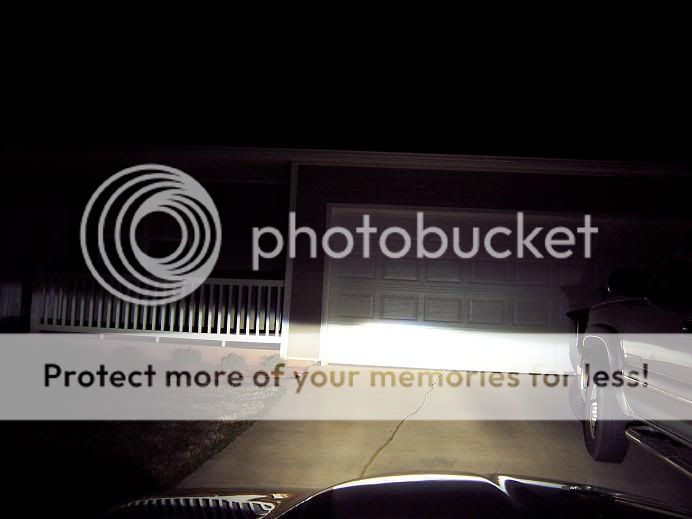
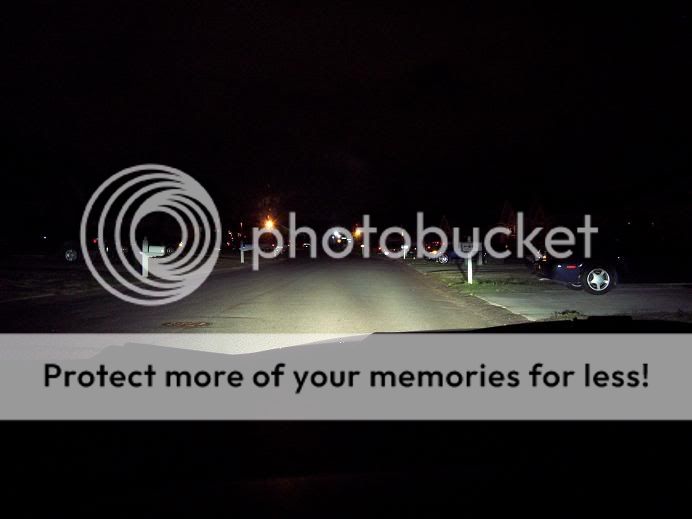
The difference with these is incredible. No longer do i wonder... Are my lights really on?
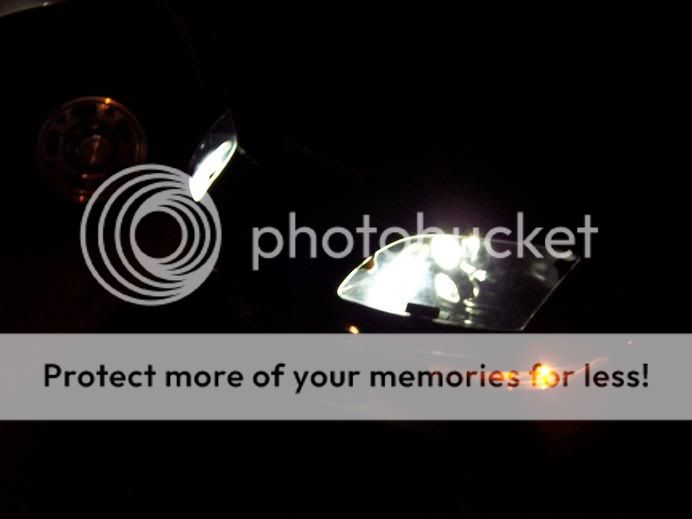
I was wondering how well it would look with the round lights in a location that normally had the rectangular ones. Turned out really good looking the way I did it. Normally I have never liked how covers looked on the LT1's. But for some reason in my configuration they just finish off the look of the car.
I was wondering how well it would look with the round lights in a location that normally had the rectangular ones. Turned out really good looking the way I did it. Normally I have never liked how covers looked on the LT1's. But for some reason in my configuration they just finish off the look of the car.
08-02-2009, 11:26 PM
#40

Nova5, I noticed the guts of your projectors, like the reflector bowls, solenoids & accompanying electronics, are exposed to the elements. Won't that be a concern? I'm asking since I am in the process of retrofitting E46 bixenons in my 94 TA, and literally losing sleep over how to make the projectors watertight 