Amazing Buffable Rattle Can Paint!
#1
On Saturday, I decided to re-do my fading, other color showing through headlight buckets with whatever I had around, randomly I find the only rattle can black I had enough of that seemed to fit the job (I do have actual black basecoat and clearcoat but it's not worth the effort until I paint the entire bumper with the rest of the car. Here is the paint:

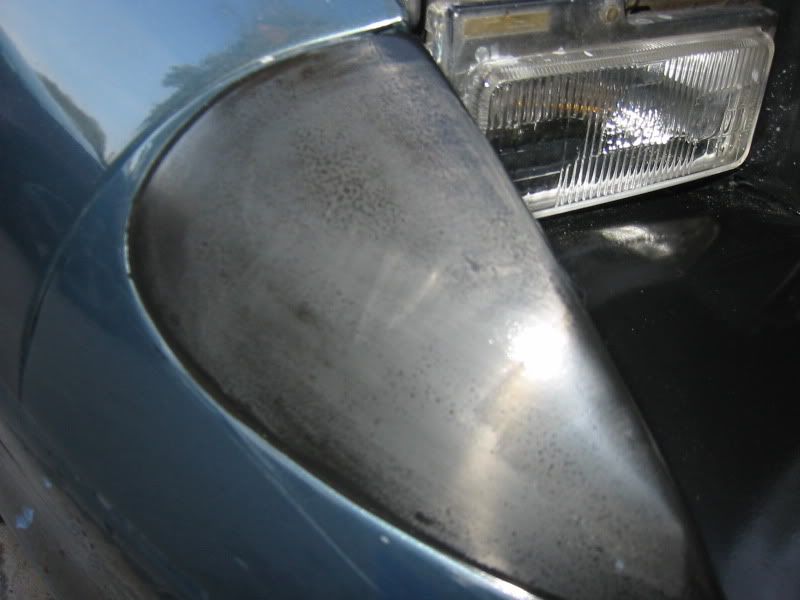
I used about 2-3 light coats followed by 1 heavy coat as it looked stripey and didn't seem like it was going to dry evenly. The heavy coat did the trick, but my dad was doing some dusty work and made it rough afterwards, either that or it was just from spraying heavy.


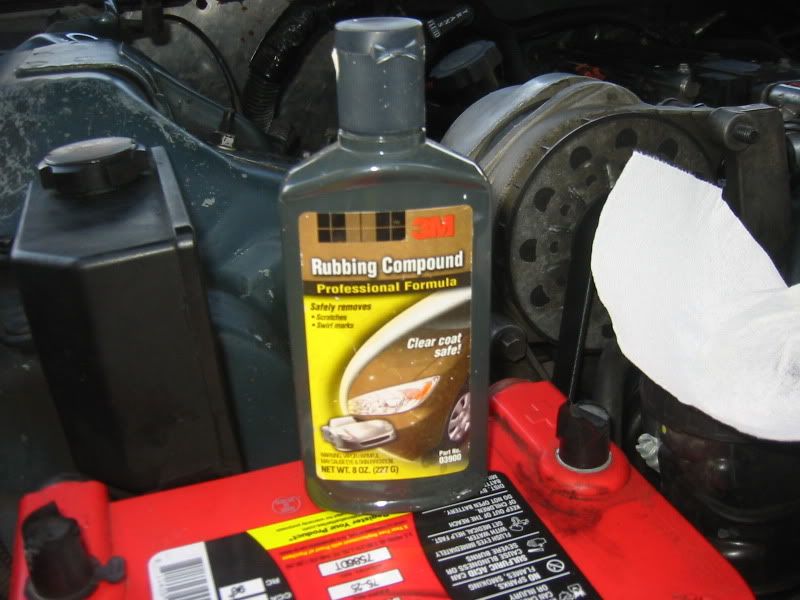
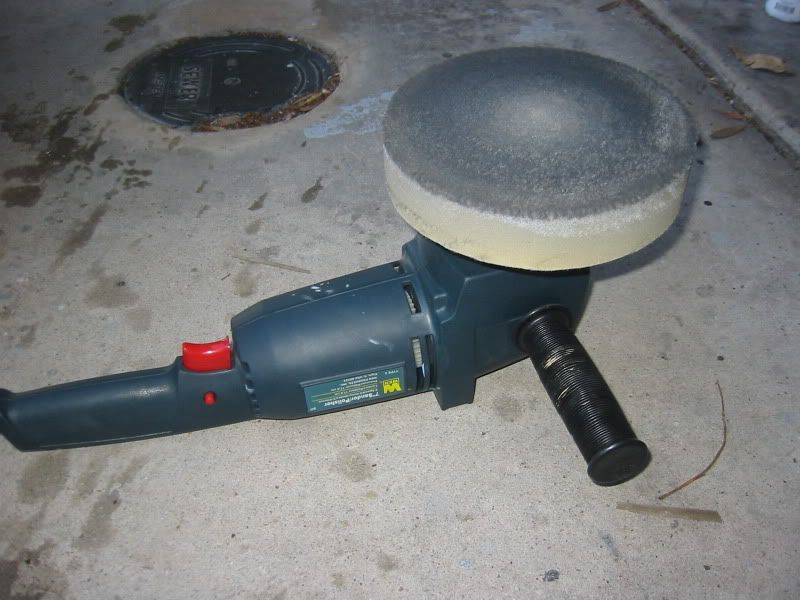
I was okay with that but the next day I decided to try something. I grabbed some 200 grit I had laying around and tested a little spot and hand polished to see how it would go...result were decent so I took the plunge and sanded it like it was the real deal, thoguh still being careful as I was unsure of how it would take the heat from buffing and how much material was there. So I bring out the compound and cheap buffer:
First results:

A little better:
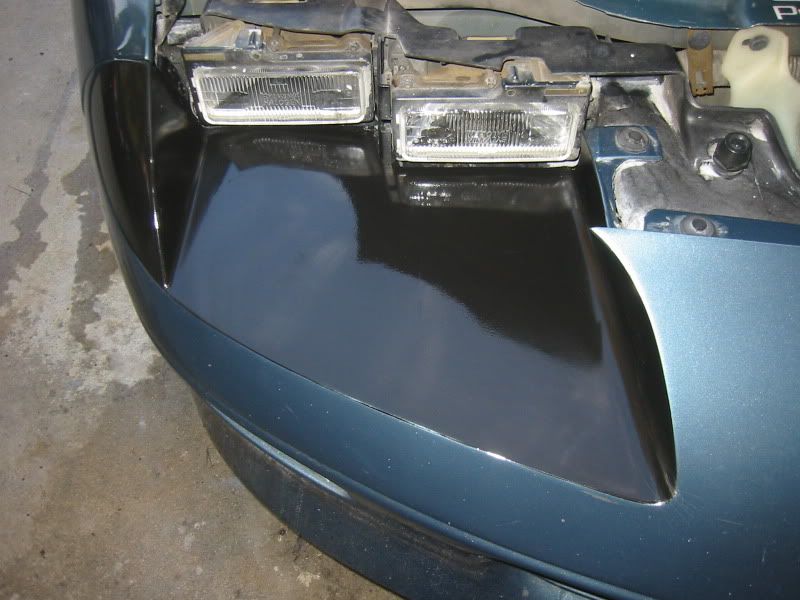
and later I'll polish them at work
Here's some more shots of the other side to compare
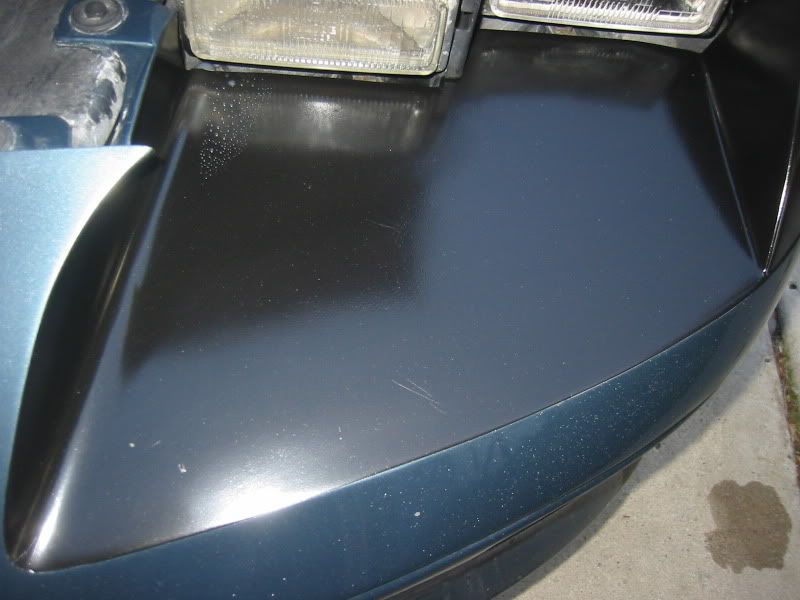
Funny thing is that pad on there isn't really a pad, it's supposed to be like an interface pad for a terry cloth like pad to be put on it like a girl's scrunchy, but it looked like a foam polishing pad and it works . I could probably go further, But I'd rather have more paint on there.

I used about 2-3 light coats followed by 1 heavy coat as it looked stripey and didn't seem like it was going to dry evenly. The heavy coat did the trick, but my dad was doing some dusty work and made it rough afterwards, either that or it was just from spraying heavy.


I was okay with that but the next day I decided to try something. I grabbed some 200 grit I had laying around and tested a little spot and hand polished to see how it would go...result were decent so I took the plunge and sanded it like it was the real deal, thoguh still being careful as I was unsure of how it would take the heat from buffing and how much material was there. So I bring out the compound and cheap buffer:


First results:

A little better:

and later I'll polish them at work
Here's some more shots of the other side to compare

Funny thing is that pad on there isn't really a pad, it's supposed to be like an interface pad for a terry cloth like pad to be put on it like a girl's scrunchy, but it looked like a foam polishing pad and it works
 . I could probably go further, But I'd rather have more paint on there.
#3
thanks, and that's just messin around I'd like to give it another shot, possibly with adding rattle can clear for more gloss. I was just amazed that this could be done to a rattle can paint, maybe I'm late to the party though.
#5
Pretty much any rattle can enamal paint can be sanded and buffed but won't last real long under regular abuse from weather. That being said it definatly works good for a quick fix


