Interior Carbon Fiber Project - FINALLY DONE!!!
#62
That U-Pol Clear #1 sounds great but damn is it expensive! I wish there was a local place that had it. I hate the idea of buying a $18-20 clear and paying another $9-12 for shipping. 
Anyone know of a store that would carry it? I have been calling around and haven't found any yet. Any other good UV resistant and durable clears that you recommend? Krylon any good?

Anyone know of a store that would carry it? I have been calling around and haven't found any yet. Any other good UV resistant and durable clears that you recommend? Krylon any good?
#63
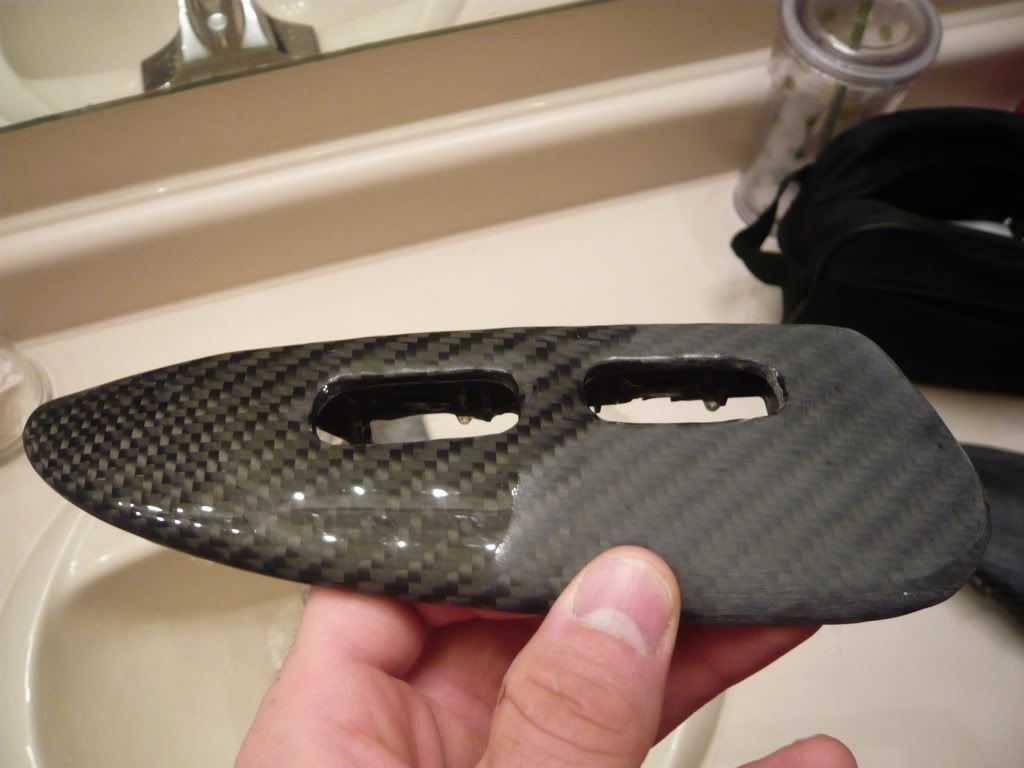
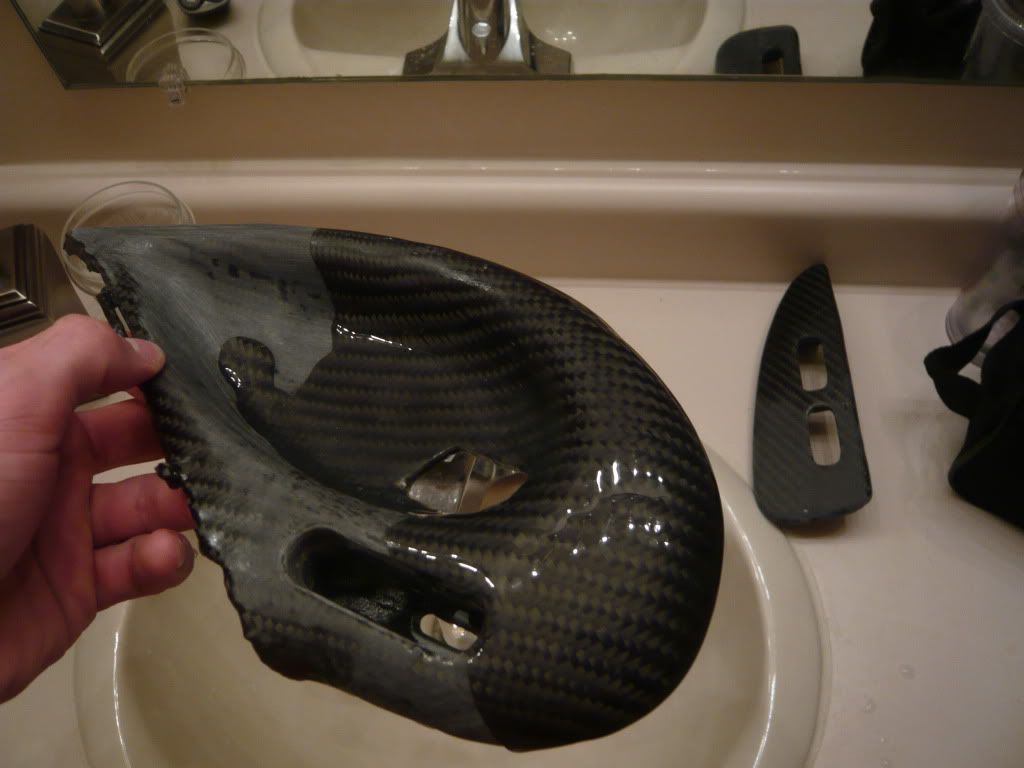
The flat piece is pretty easy to sand and finish but the door pull trim piece is a PIA! I am only part way through sanding here but thought I would wet them to get a sneak peak at the finished product.... I needed the emotional boost after all that damn sanding!


These are the last progress pics I'm going to show of the carbon fiber. Next ones will be when they are done. I should get back to working on the console later this week and get carbon fiber on it over the weekend.


These are the last progress pics I'm going to show of the carbon fiber. Next ones will be when they are done. I should get back to working on the console later this week and get carbon fiber on it over the weekend.
#68

I kinda screwed up. Originally I was thinking that it mattered which way I layed the carbon so that that diagonal line created by the weave would match side-to-side, but for some reason I talked myself out of it right before laying the fabric. So now one side has the diagonal line going up and forward and one side going down and forward (you can see what I mean in the pic with the parts laying on the dry cloth). Both sides look great and most people wouldn't even notice, but I'm a bit of a perfectionist.
Does anyone with a TA want to send me their door trim panels to wrap? I'll do them the opposite of what I did on mine and that way there should be one set up/forward and one down/forward so both cars will match side-to-side and look perfect.
#69

I kinda screwed up. Originally I was thinking that it mattered which way I layed the carbon so that that diagonal line created by the weave would match side-to-side, but for some reason I talked myself out of it right before laying the fabric. So now one side has the diagonal line going up and forward and one side going down and forward (you can see what I mean in the pic with the parts laying on the dry cloth). Both sides look great and most people wouldn't even notice, but I'm a bit of a perfectionist.
Does anyone with a TA want to send me their door trim panels to wrap? I'll do them the opposite of what I did on mine and that way there should be one set up/forward and one down/forward so both cars will match side-to-side and look perfect.
I'm interested. Send me a PM and we'll chat about what you need, where you want me to send it to, and maybe we can work out a deal to have more of my stuff wrapped as well....
#73
Mine is my DD. You can drive it without trim panels - man up!  But serious if you are interested PM me. I'm having a lot of fun doing this and would love to do more. I don't have enough money to spend as much time playing on my car as I would like so I'd love to work on other people's.
Interesting... I'll need to try that. I know people have used the vacuum bagging method to help the fabric hold contours, but never as a means for the top layer(s) of resin except for when you are using a mold. Would it give you the depth of resin you need in order to do a little wetsanding? Have you personally done this method? Thanks for the advice.
 But serious if you are interested PM me. I'm having a lot of fun doing this and would love to do more. I don't have enough money to spend as much time playing on my car as I would like so I'd love to work on other people's.
Interesting... I'll need to try that. I know people have used the vacuum bagging method to help the fabric hold contours, but never as a means for the top layer(s) of resin except for when you are using a mold. Would it give you the depth of resin you need in order to do a little wetsanding? Have you personally done this method? Thanks for the advice.
#76
I've been in the process of wrapping my interior panels with ebony leather I can agree with you that it is a TON of work. I've wrapped almost all of my interior panels with it so far and couldn't imagine how much longer it would with taking the extra steps that you have.
#77
I've been in the process of wrapping my interior panels with ebony leather I can agree with you that it is a TON of work. I've wrapped almost all of my interior panels with it so far and couldn't imagine how much longer it would with taking the extra steps that you have.
**FYI - Finally getting back to the project tonight. I have been out of town a lot recently and have had a lot of other things pop up in the last week**
#79
Yes, I have done it before with composites on our planes. The bagging process like mentioned before gets rid of the air bubbles and contours and helps to fully saturate the cloth with resin. After you pull it out, you then can add thin amounts of finishing resin on top with little sanding involved to give you a nice finish... I've seen guys use the larger weaves of cloth and it ends up not looking good if you don't bag it. There are also pre-preg composites that mold nicely and are super light and strong, cost more and has to be stored at the right temp to be effective. If you want a real nice finish you can use a spray gun to apply your finishing resin...
Mine is my DD. You can drive it without trim panels - man up!  But serious if you are interested PM me. I'm having a lot of fun doing this and would love to do more. I don't have enough money to spend as much time playing on my car as I would like so I'd love to work on other people's.
Interesting... I'll need to try that. I know people have used the vacuum bagging method to help the fabric hold contours, but never as a means for the top layer(s) of resin except for when you are using a mold. Would it give you the depth of resin you need in order to do a little wetsanding? Have you personally done this method? Thanks for the advice.
 But serious if you are interested PM me. I'm having a lot of fun doing this and would love to do more. I don't have enough money to spend as much time playing on my car as I would like so I'd love to work on other people's.
Interesting... I'll need to try that. I know people have used the vacuum bagging method to help the fabric hold contours, but never as a means for the top layer(s) of resin except for when you are using a mold. Would it give you the depth of resin you need in order to do a little wetsanding? Have you personally done this method? Thanks for the advice.


