
How to: New upholstery for my car
 03-26-2012, 03:26 PM
#41

Ive used hog rings in the past. Me and my old man have done a few re-upholstery jobs in the past and after having used these zip ties I can tell you that Im not planning on using them again. Ease of use being one of them, no special tools required and easy redoing if something went wrong. When he looked at the way I was using the plastic ties, he said..."damn...that's clever!"
Last edited by chaman; 04-06-2012 at 08:00 PM.
 03-26-2012, 05:10 PM
#44

Ive used hog rings in the past. Me and my old man have done a few re-upholstery jobs in the past and after having used these zip ties I can tell you that Im not planning on using them again. Ease of use been of them, no special tools required and easy redoing if something went wrong. When he looked at the way I was using the plastic ties, he said..."damn...that's clever!"
03-26-2012, 05:11 PM
#45
03-26-2012, 05:17 PM
#46
I believe that was my suggestion, wasnt it??? haha... I hated my hogring pliers, they would pinch my palms and not close like I thought they should.. I even went and bought a good pair but they were bulky and didnt get into the seams well. Plus, there was always a 1/2" gap in everything.. the zipties help eliminate the gap and you can get more attachment points in there so the seam being pulled in is uniform and not so wavy... I did make sure to use some new, expensive ones though... just to make sure they wouldnt crack, strip, or break later on...
Thats right bro, your idea alright.
 Pretty inventive. In the end I think these ties will outlive the hog rings which tend to corrode with time.
  03-30-2012, 06:06 PM
#49
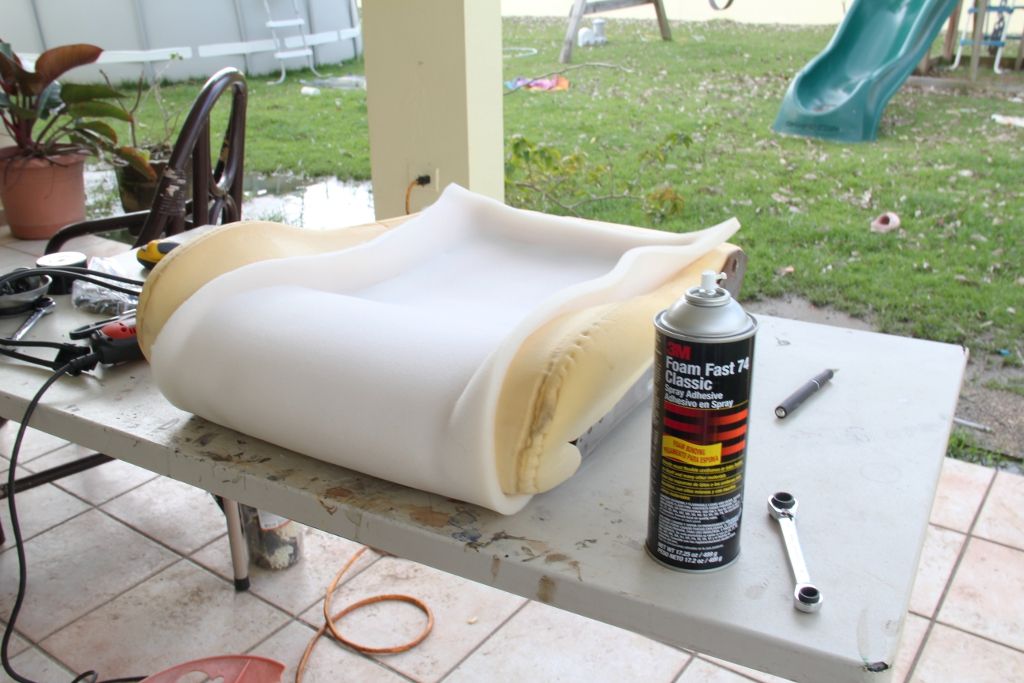
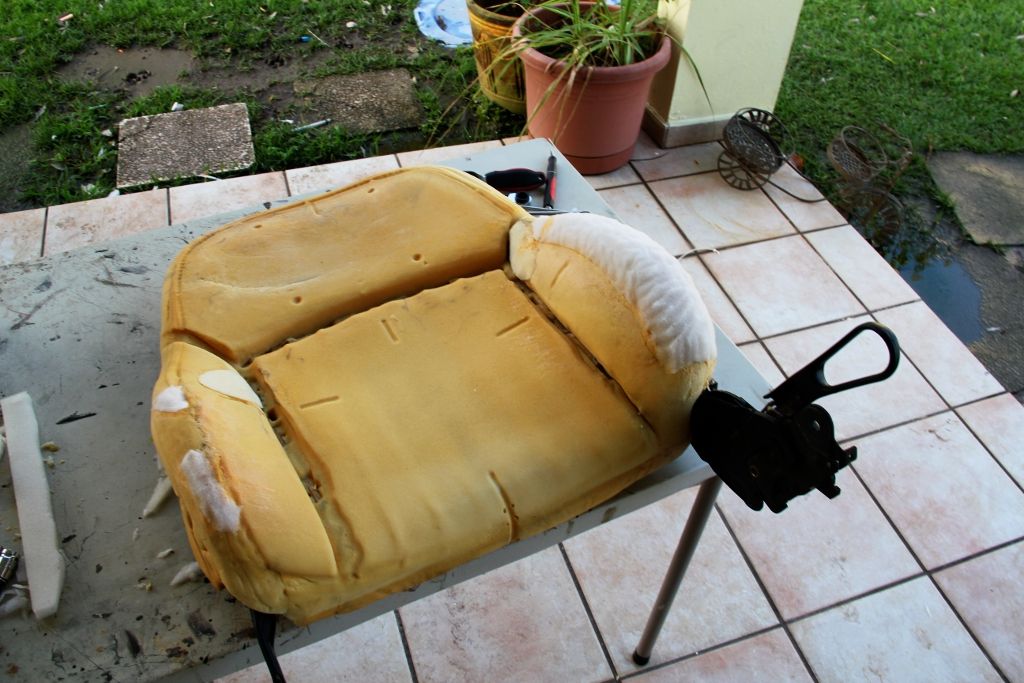
Took the drivers seat out today and as expected I worked much faster. The foam on this one was in much worse condition, something which it was not a surprise, specially the side bolster. Time to do some repair!
I started with the seating area. It was starting to tear at the seating area and had some material fatigue. I got some half inch foam and went to town. I used 3M Foam Fast 74 adhesive. Thing sticks like crazy.
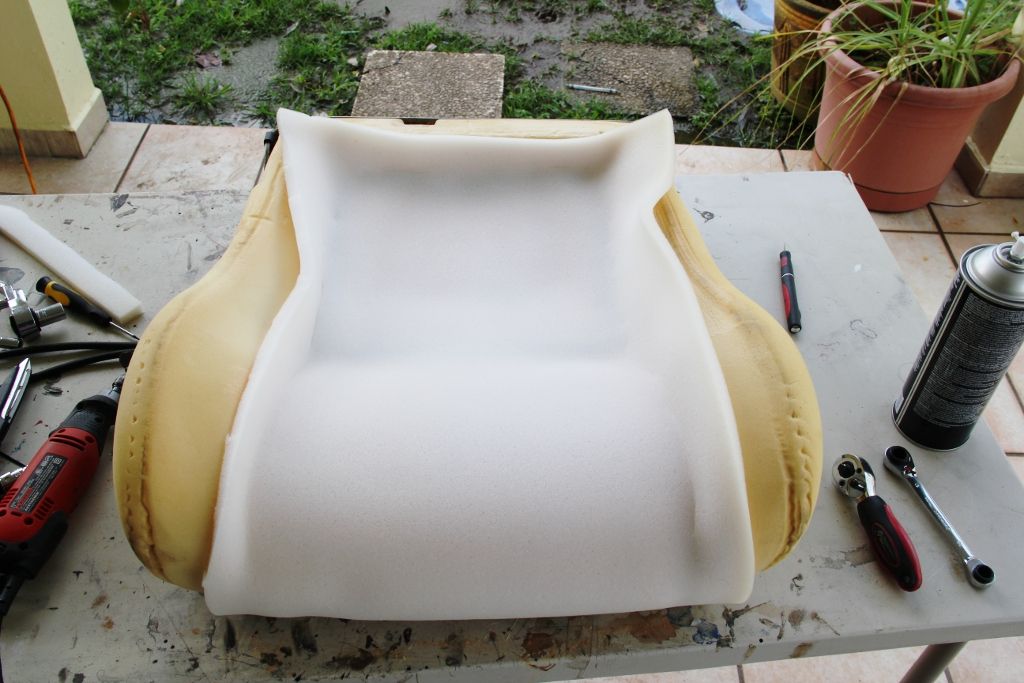
Then cut out the excess with an Xacto knife.
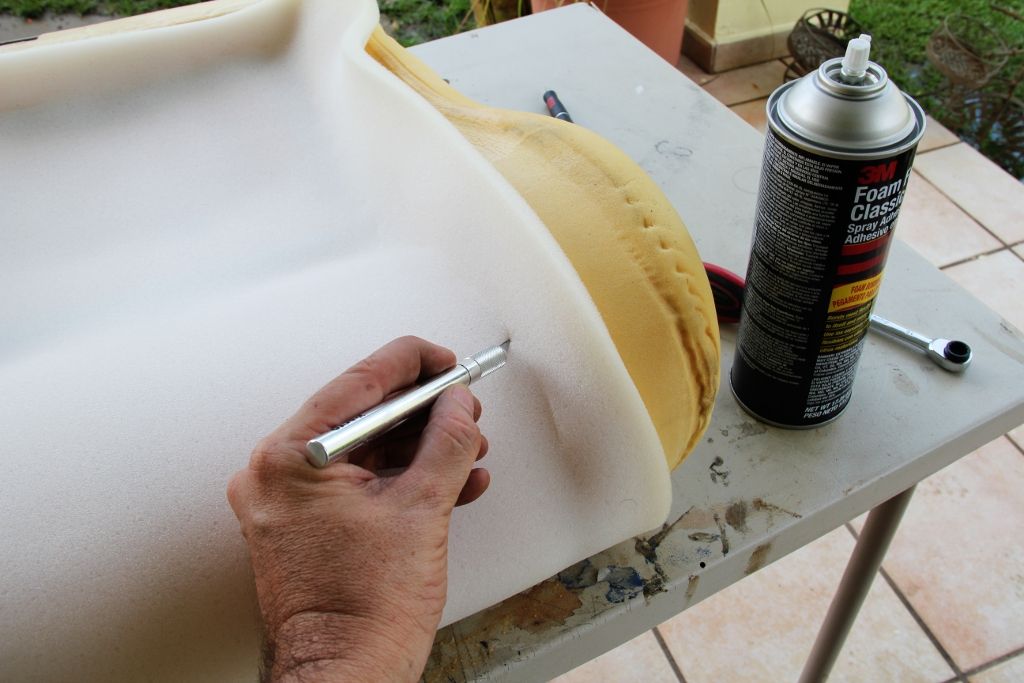
It does not have to be perfect since all that area will be hidden under the new piece which also has some thin foam padding.

The it was time to repair the side bolster. It was ripped down the very middle of it. I first glued the part together then added some foam over it.
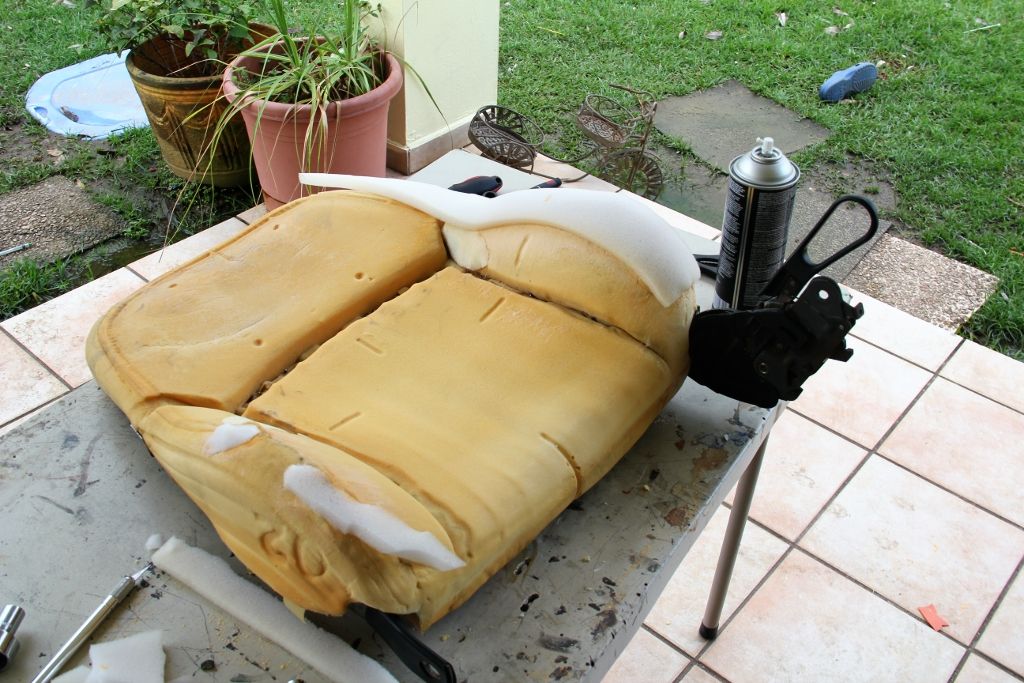
Then I cut the new addition to reduce its bulk and generally matched the contours of the bolster itself. Again it does not need to look perfect.
I will let those rest until Sunday when I will probably add the new upholstery and put the seat back together again. Next will be the door panels.
I started with the seating area. It was starting to tear at the seating area and had some material fatigue. I got some half inch foam and went to town. I used 3M Foam Fast 74 adhesive. Thing sticks like crazy.
Then cut out the excess with an Xacto knife.
It does not have to be perfect since all that area will be hidden under the new piece which also has some thin foam padding.
The it was time to repair the side bolster. It was ripped down the very middle of it. I first glued the part together then added some foam over it.
Then I cut the new addition to reduce its bulk and generally matched the contours of the bolster itself. Again it does not need to look perfect.
I will let those rest until Sunday when I will probably add the new upholstery and put the seat back together again. Next will be the door panels.
Last edited by chaman; 03-30-2012 at 06:17 PM.
03-30-2012, 09:21 PM
#52

Everything looks good so far, will probably use this thread for tips when I end up doing my seats.
and good luck with the door panels, Im in the process of doing mine now and they are a pain in the *** lol.
and good luck with the door panels, Im in the process of doing mine now and they are a pain in the *** lol.

 04-01-2012, 08:13 PM
#57
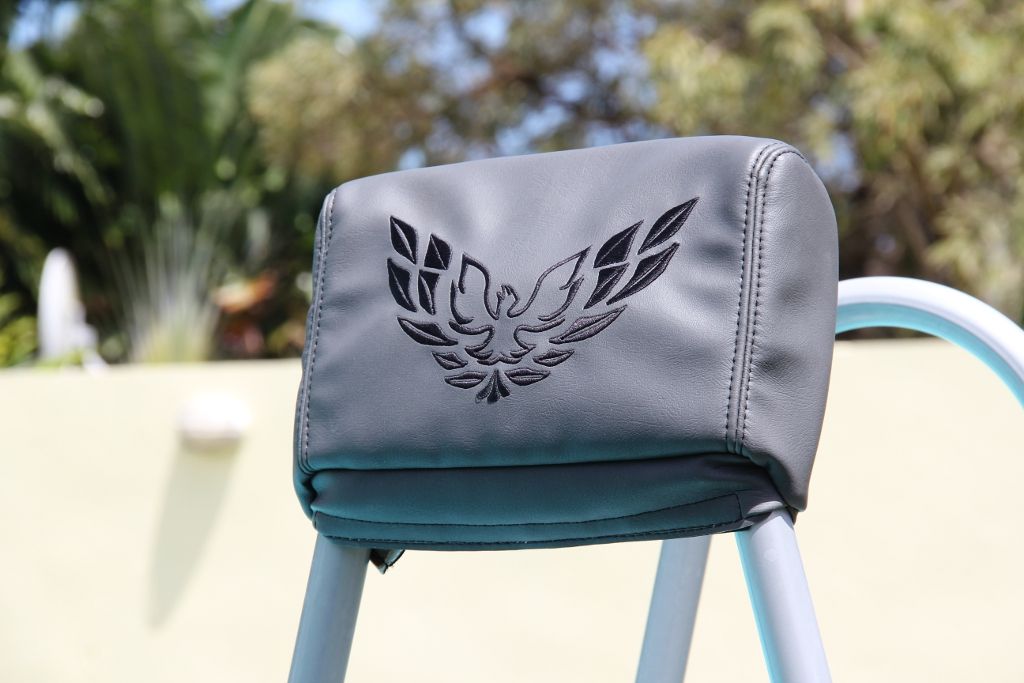
Today I started to install the upholstery but first....

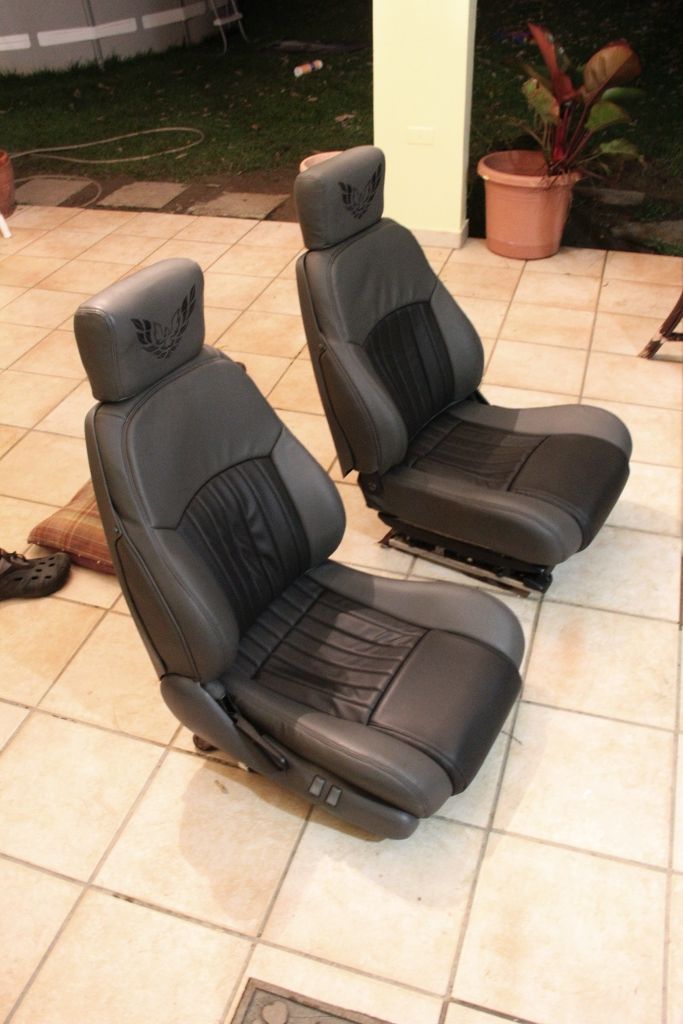
Sun!! Tropical sun at last! I put the other seats for a little sunbath. Also I put in the sun this little baby...
It was way easier to install it this time but not that much! Still these two have been a real PITA!
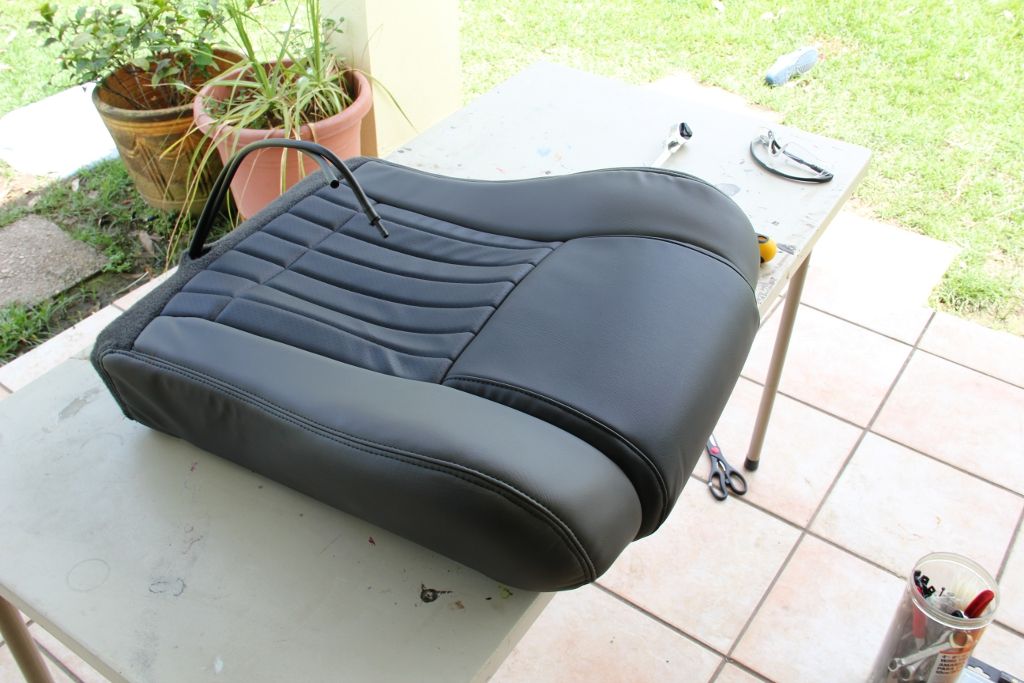
Now its time to put the seat upholstery back. As said before the lower part is easier and does not use any zip ties or hog rings. Of course you have to detach it from the adjustment rails. Its important to put the air lines through the hole in the back of the upholstery at this time. If you forget it now, it will be harder to put it in place.
Notice how the repair areas are not visible when the piece is in place. You can not touch it but take my word about how much better these now feel with that little extra foam padding!
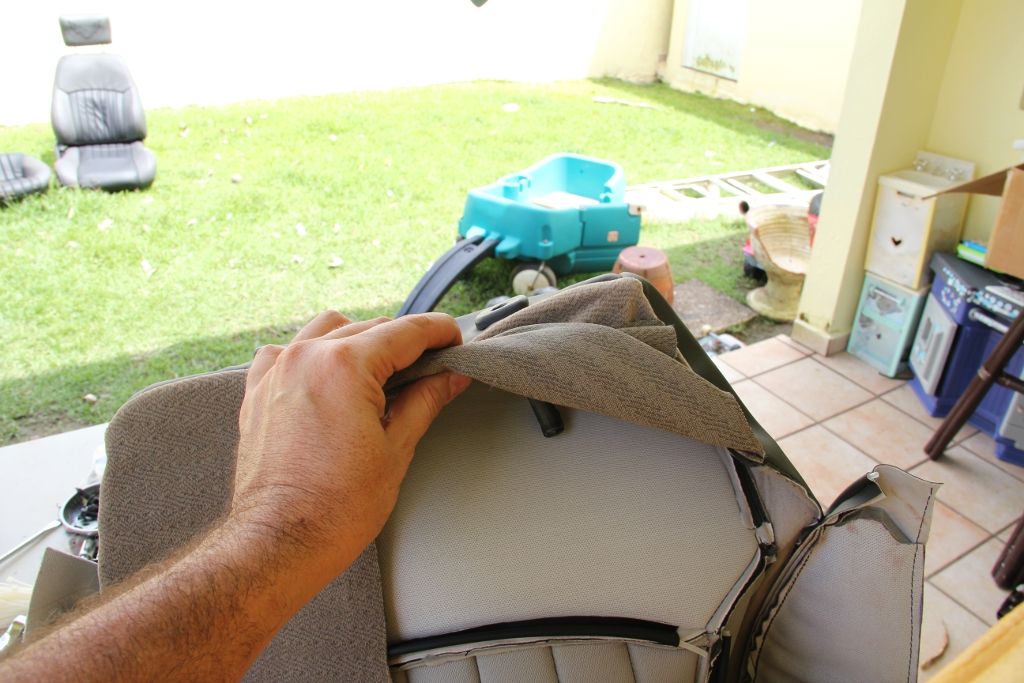
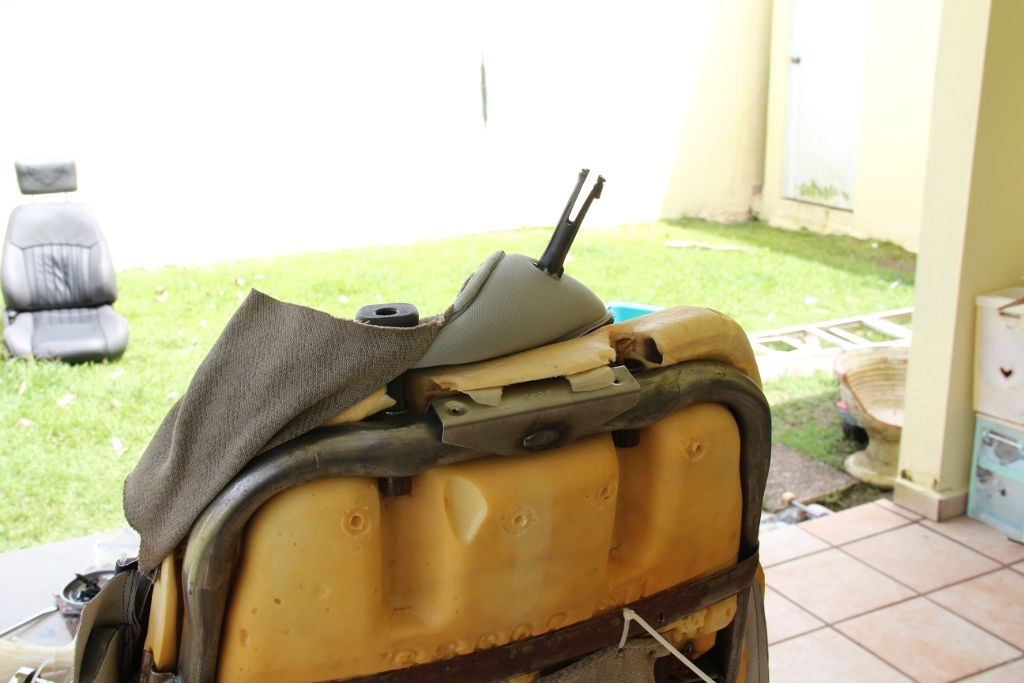
Now in this part I will try to cover the issue pertaining the headrest installation. At this time you will need to make holes through the top part of the seat for the the two plastic trims where the headrests post slide in and out. These also help to attach the upholstery firmly in place. They have to pierce completely the material so they can snap into place at the seat frame.
With the two of them in place now pull the cover over the seat and at the same time slide these two sucker into place.
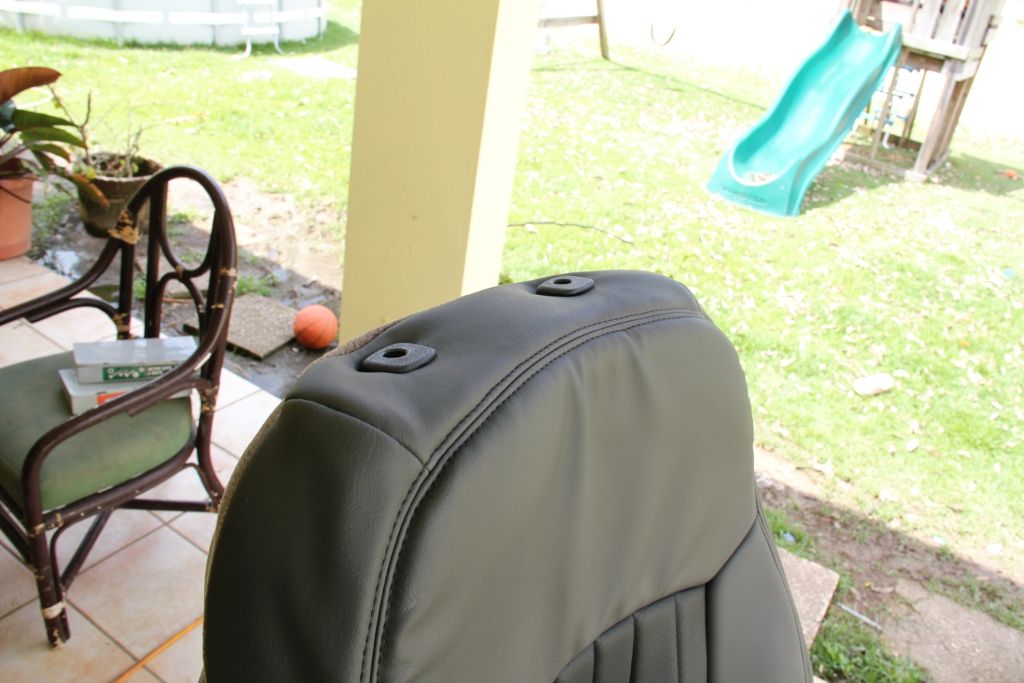
In the end you will have this:
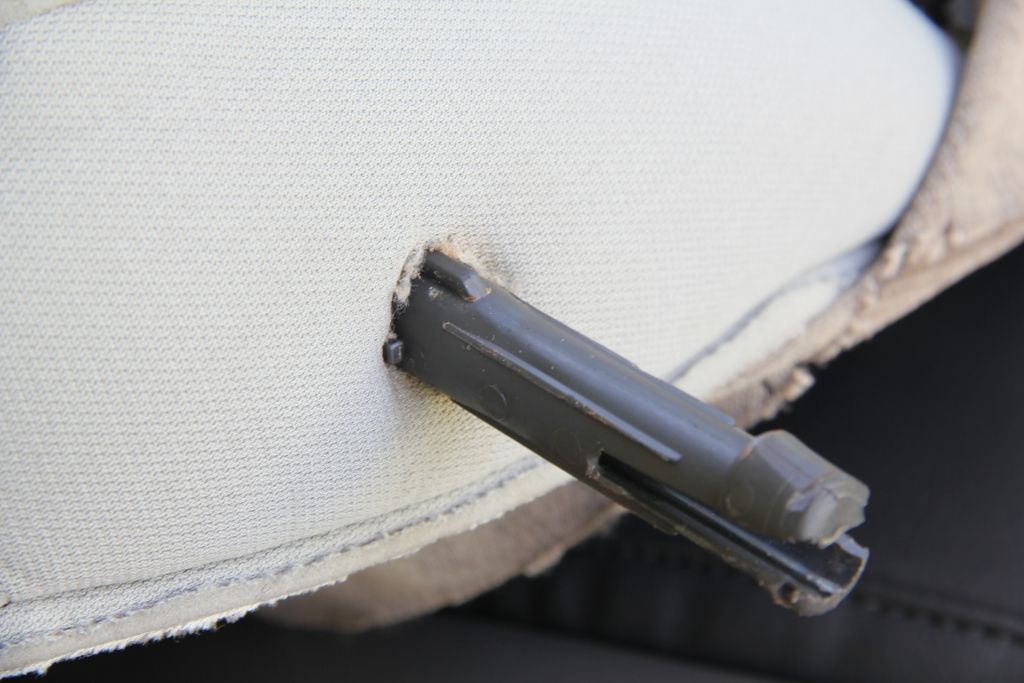
At this moment is were I explained you about substituting the metal clips they have at the end inside the seat with a zip tie. These work like a charm! What you want here is to "close" the part inside the seat so you can have the "stop" action when you raise the headrest. Not doing so the headrest will not stay up. This is the pic of that part again so you can understand better:

Once you tackle the project you will clearly see exactly what Im talking about.
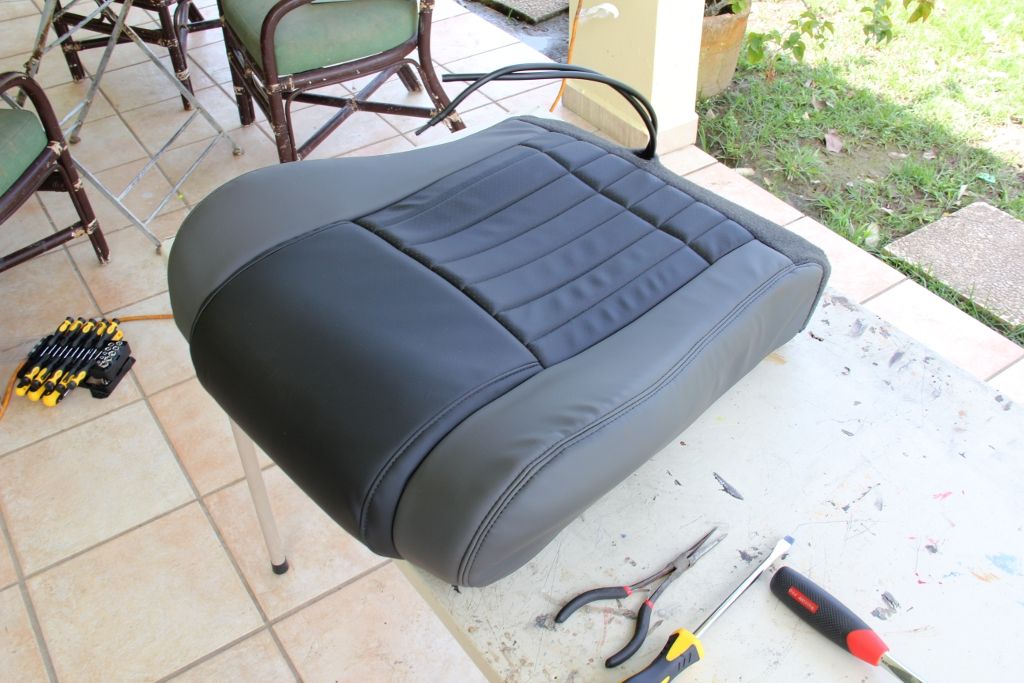
The assembling of the seat goes the same as the passenger seat.
Okay, boys and girls, lets step back and look at the final result:
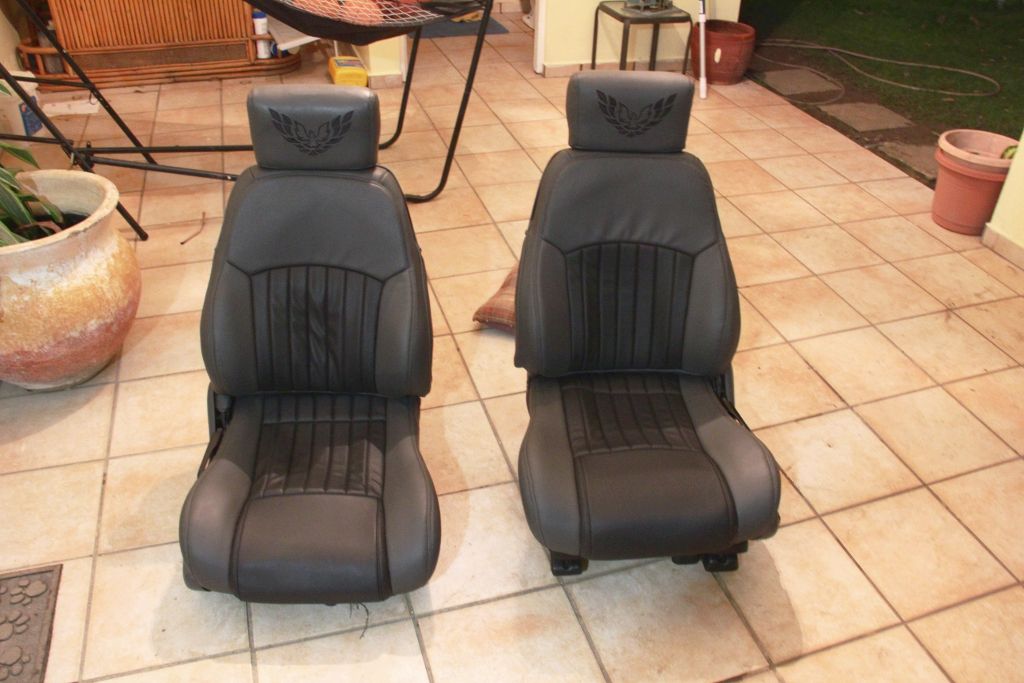
Next stop...door panels.
 ****...God help me! LOL!
BTW, just ordered a trophy mat!
Last edited by chaman; 04-01-2012 at 08:50 PM.
04-01-2012, 09:05 PM
#58
Chaman, I have door panels already dismantled and can show you what they look like... also, you need a soldering iron... plasti-weld and a dremel tool with small cutoff wheel.... Thats what I used... if you just cut out the insert without being careful, you wont have enough material on the tabs left to reattach your new inserts...