When you click on links to various merchants on this site and make a purchase, this can result in this site earning a commission. Affiliate programs and affiliations include, but are not limited to, the eBay Partner Network.
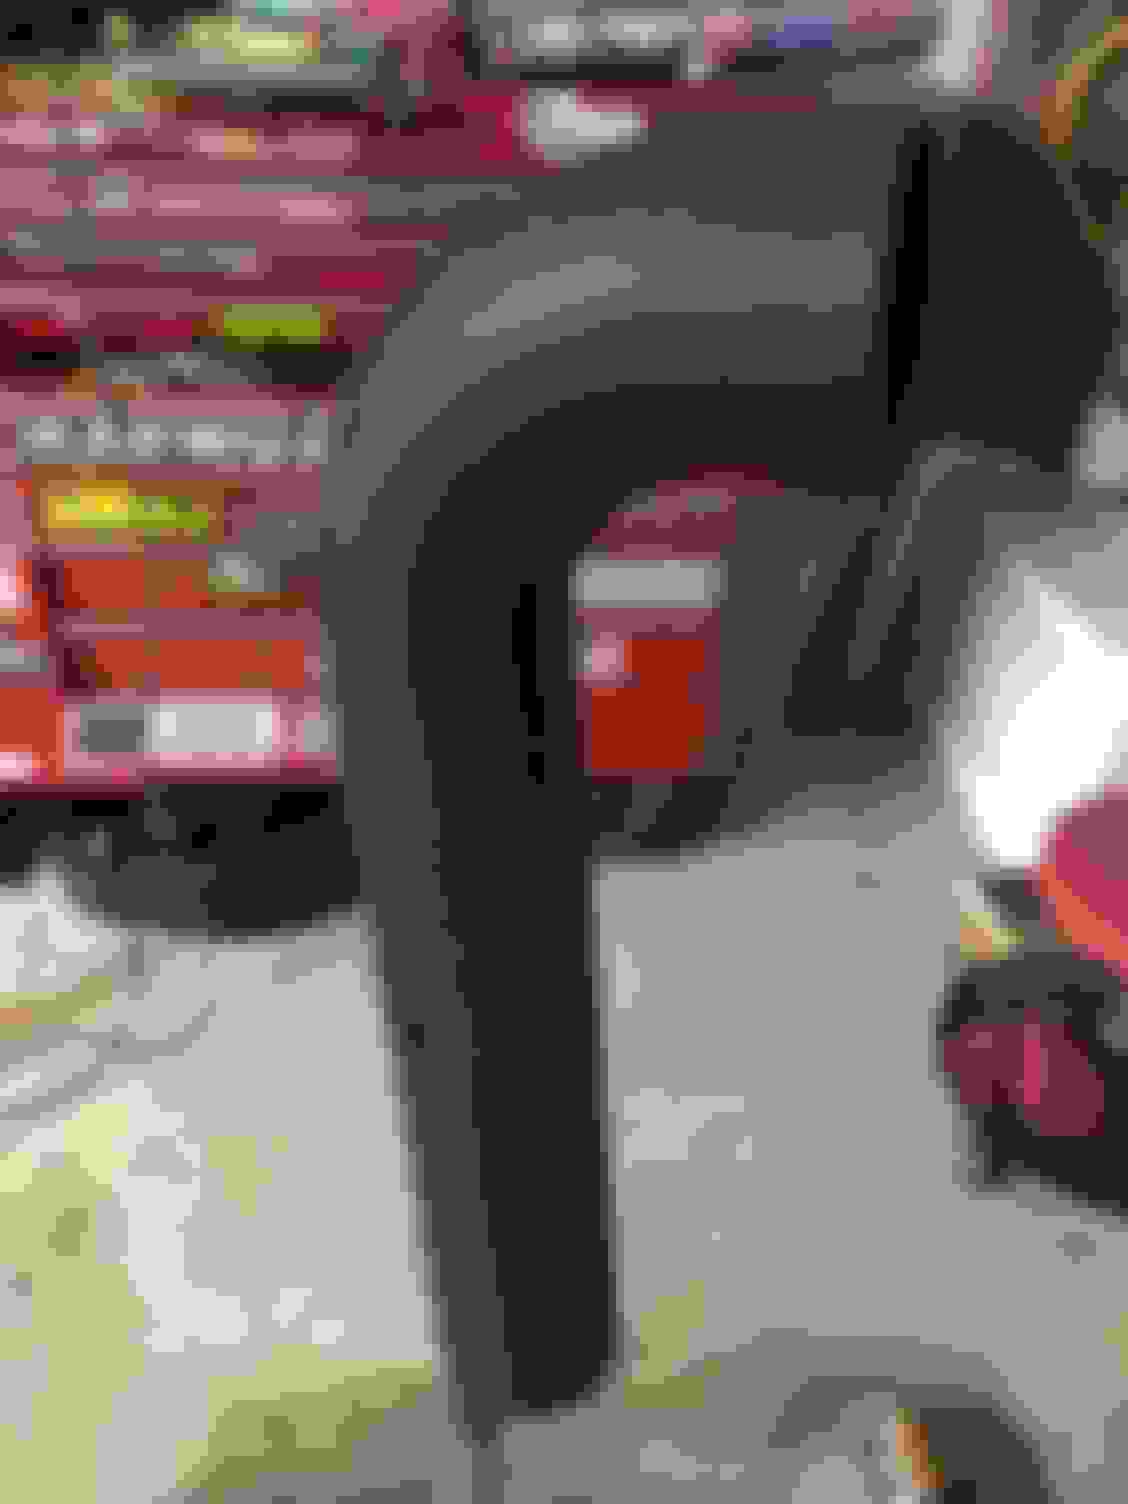
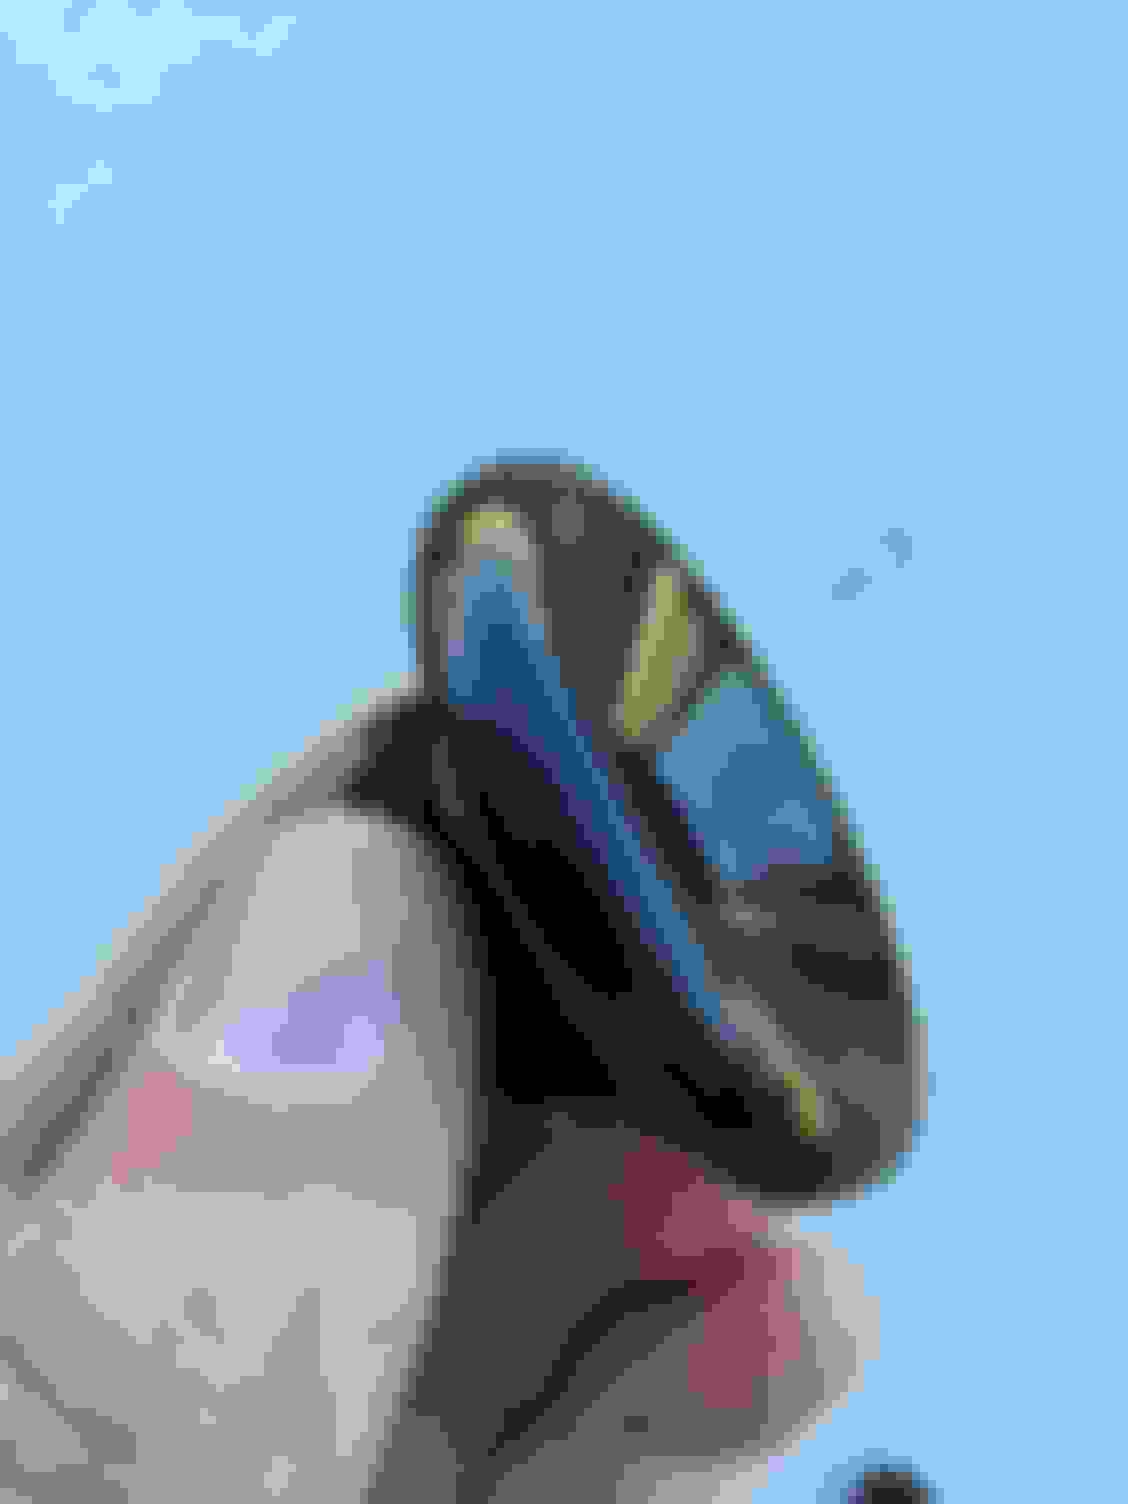
Is that Jenga blocks holding that thing up? Really what kind of blocks are those?
Lol. Pretty much. 12"x14" 2x4's Cross block stack/ screwed together. Made them so I could torque all suspension/ and install exhaust with the cars suspension loaded.
Pretty common thing people build to support heavy objects. I have no doubt these would hold my fully loaded work f250.
I've been wanting to do some under body work on mine and just terrified of jack stands. I was able to lift it up and get landscape timbers under the tires, but it was still too tight. Any pointers on lifting a car up that high? I'm guessing its done in sections (front vs. rear).
I've been wanting to do some under body work on mine and just terrified of jack stands. I was able to lift it up and get landscape timbers under the tires, but it was still too tight. Any pointers on lifting a car up that high? I'm guessing its done in sections (front vs. rear).
The car was already on jack stands prior to this so all I had to do was use my big jack I use for my f250 to lift the car high up enough to load the suspension and slide these under the tires. Yes, front to rear though. Putting the car back in the ground should be interesting though, lol.
I've done a few things on the car lately. Slowly plugging a way at my list of things to do.
Pulled the dash and finished tidying up all the wiring, fuse box, ecu, bcm, battery cable/ starter wiring is all complete. I just need to send the ecu off for a mail order to to get it running before going on the dyno to get all the kinks worked out. Will have to do this before the dash goes back, just for ease of installation.
I also made a bracket for the clutch reservoir to mount it right next to the brake master. Since I removed the OEM bracket from the shock tower I had to mount it elsewhere. Will probably get a billet cap to match the other one and will probably replace the push pins with black ones.
I also got all the brake lines finalized, and bled. I had to redo a few flares but otherwise everything went fine there. Brakes are 100% now. I also did the same for the clutch. Filled and bled and working. Still will need to adjust tick pedal height adjustment once car is running though.
Mounted a universal coolant overflow tank below the headlight. Pretty much hidden but still accessible for filling if need be. Finished the AN line for this too.
I also picked up these from a member. I originally retrofitted a set of housings and did a complete black out on them but upon mock up didn't like the all black with the car so im using these instead. Much better IMO. And easier. Will be selling the other set soon.
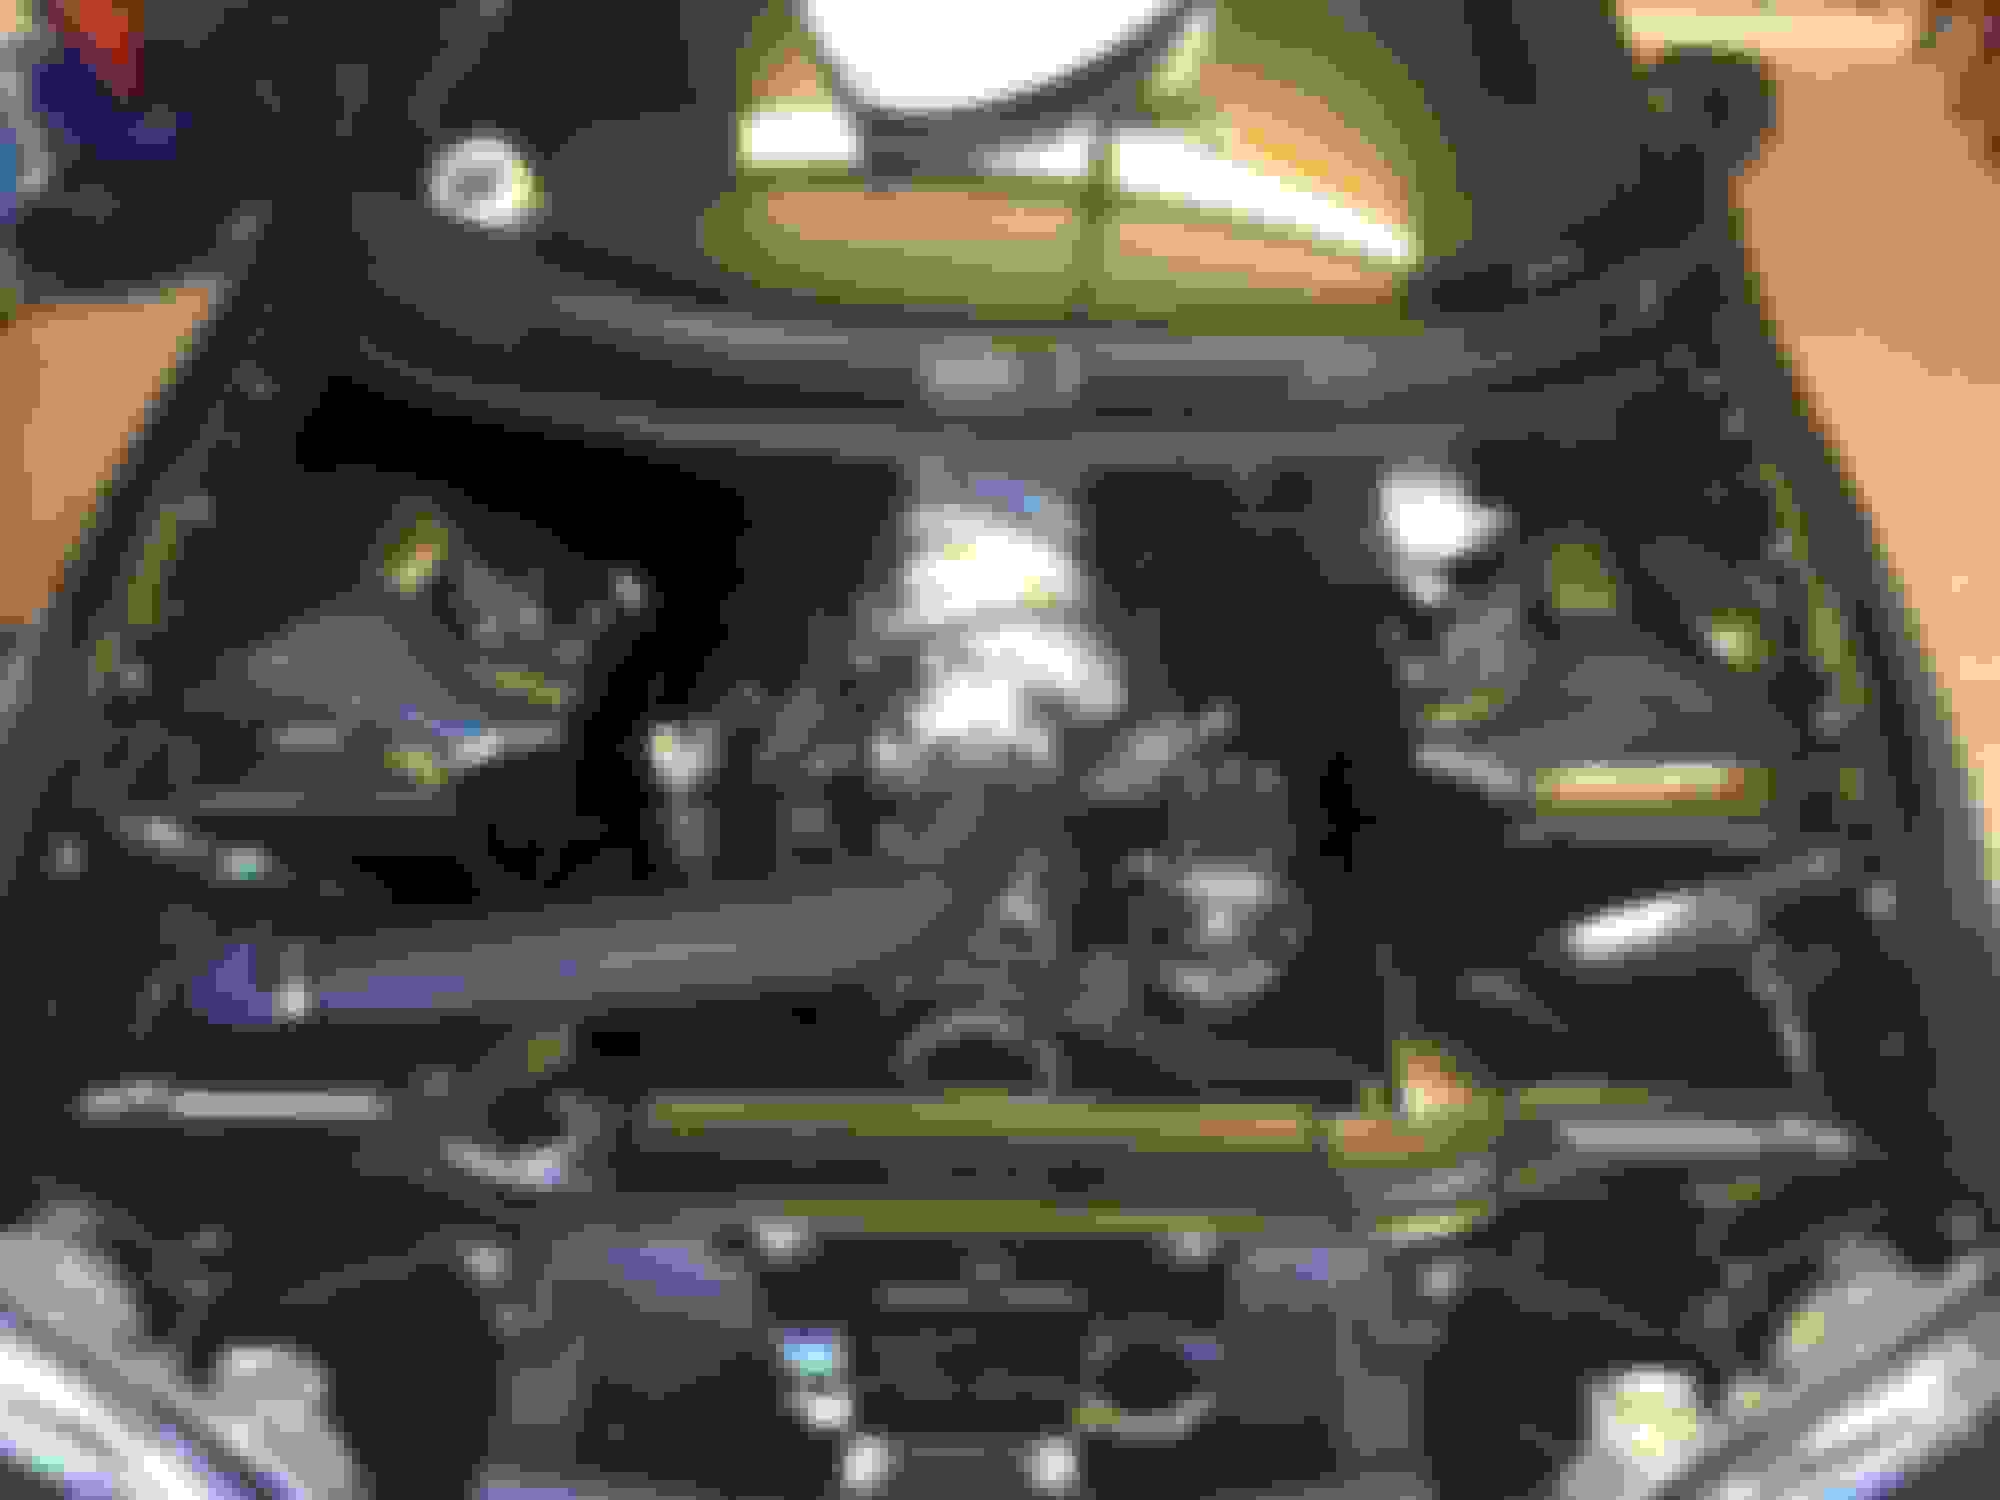
Just a money shot of the engine bay coming together.
Oh and finished the oil cooler lines and mounted the cooler right in the front by the hood latch on the core support centered between the radiator.
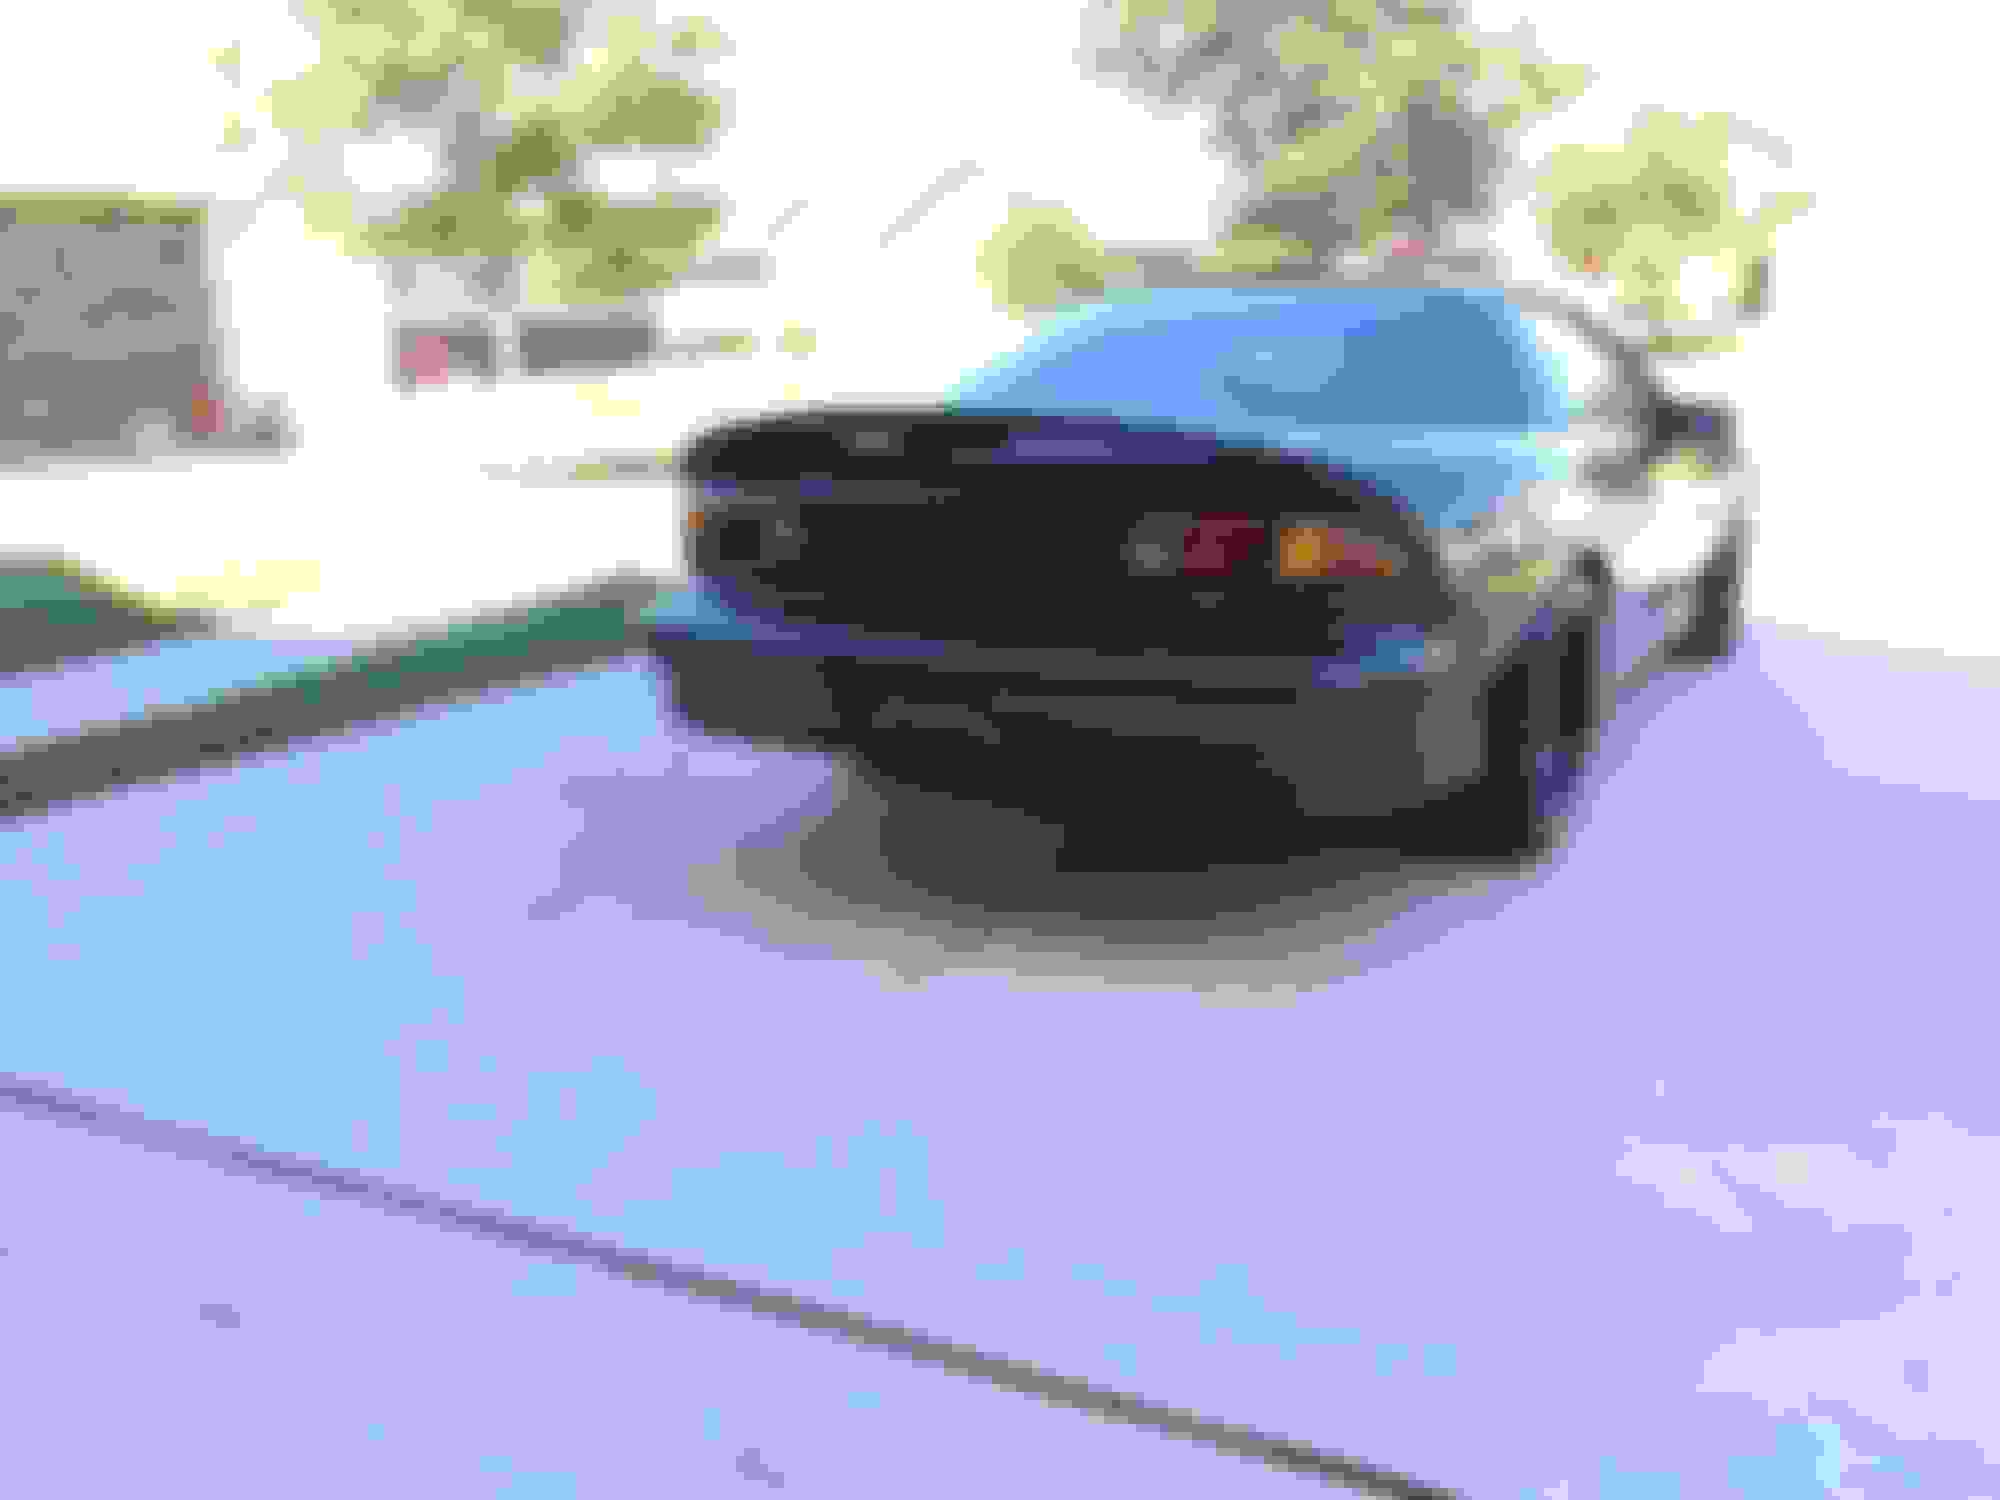
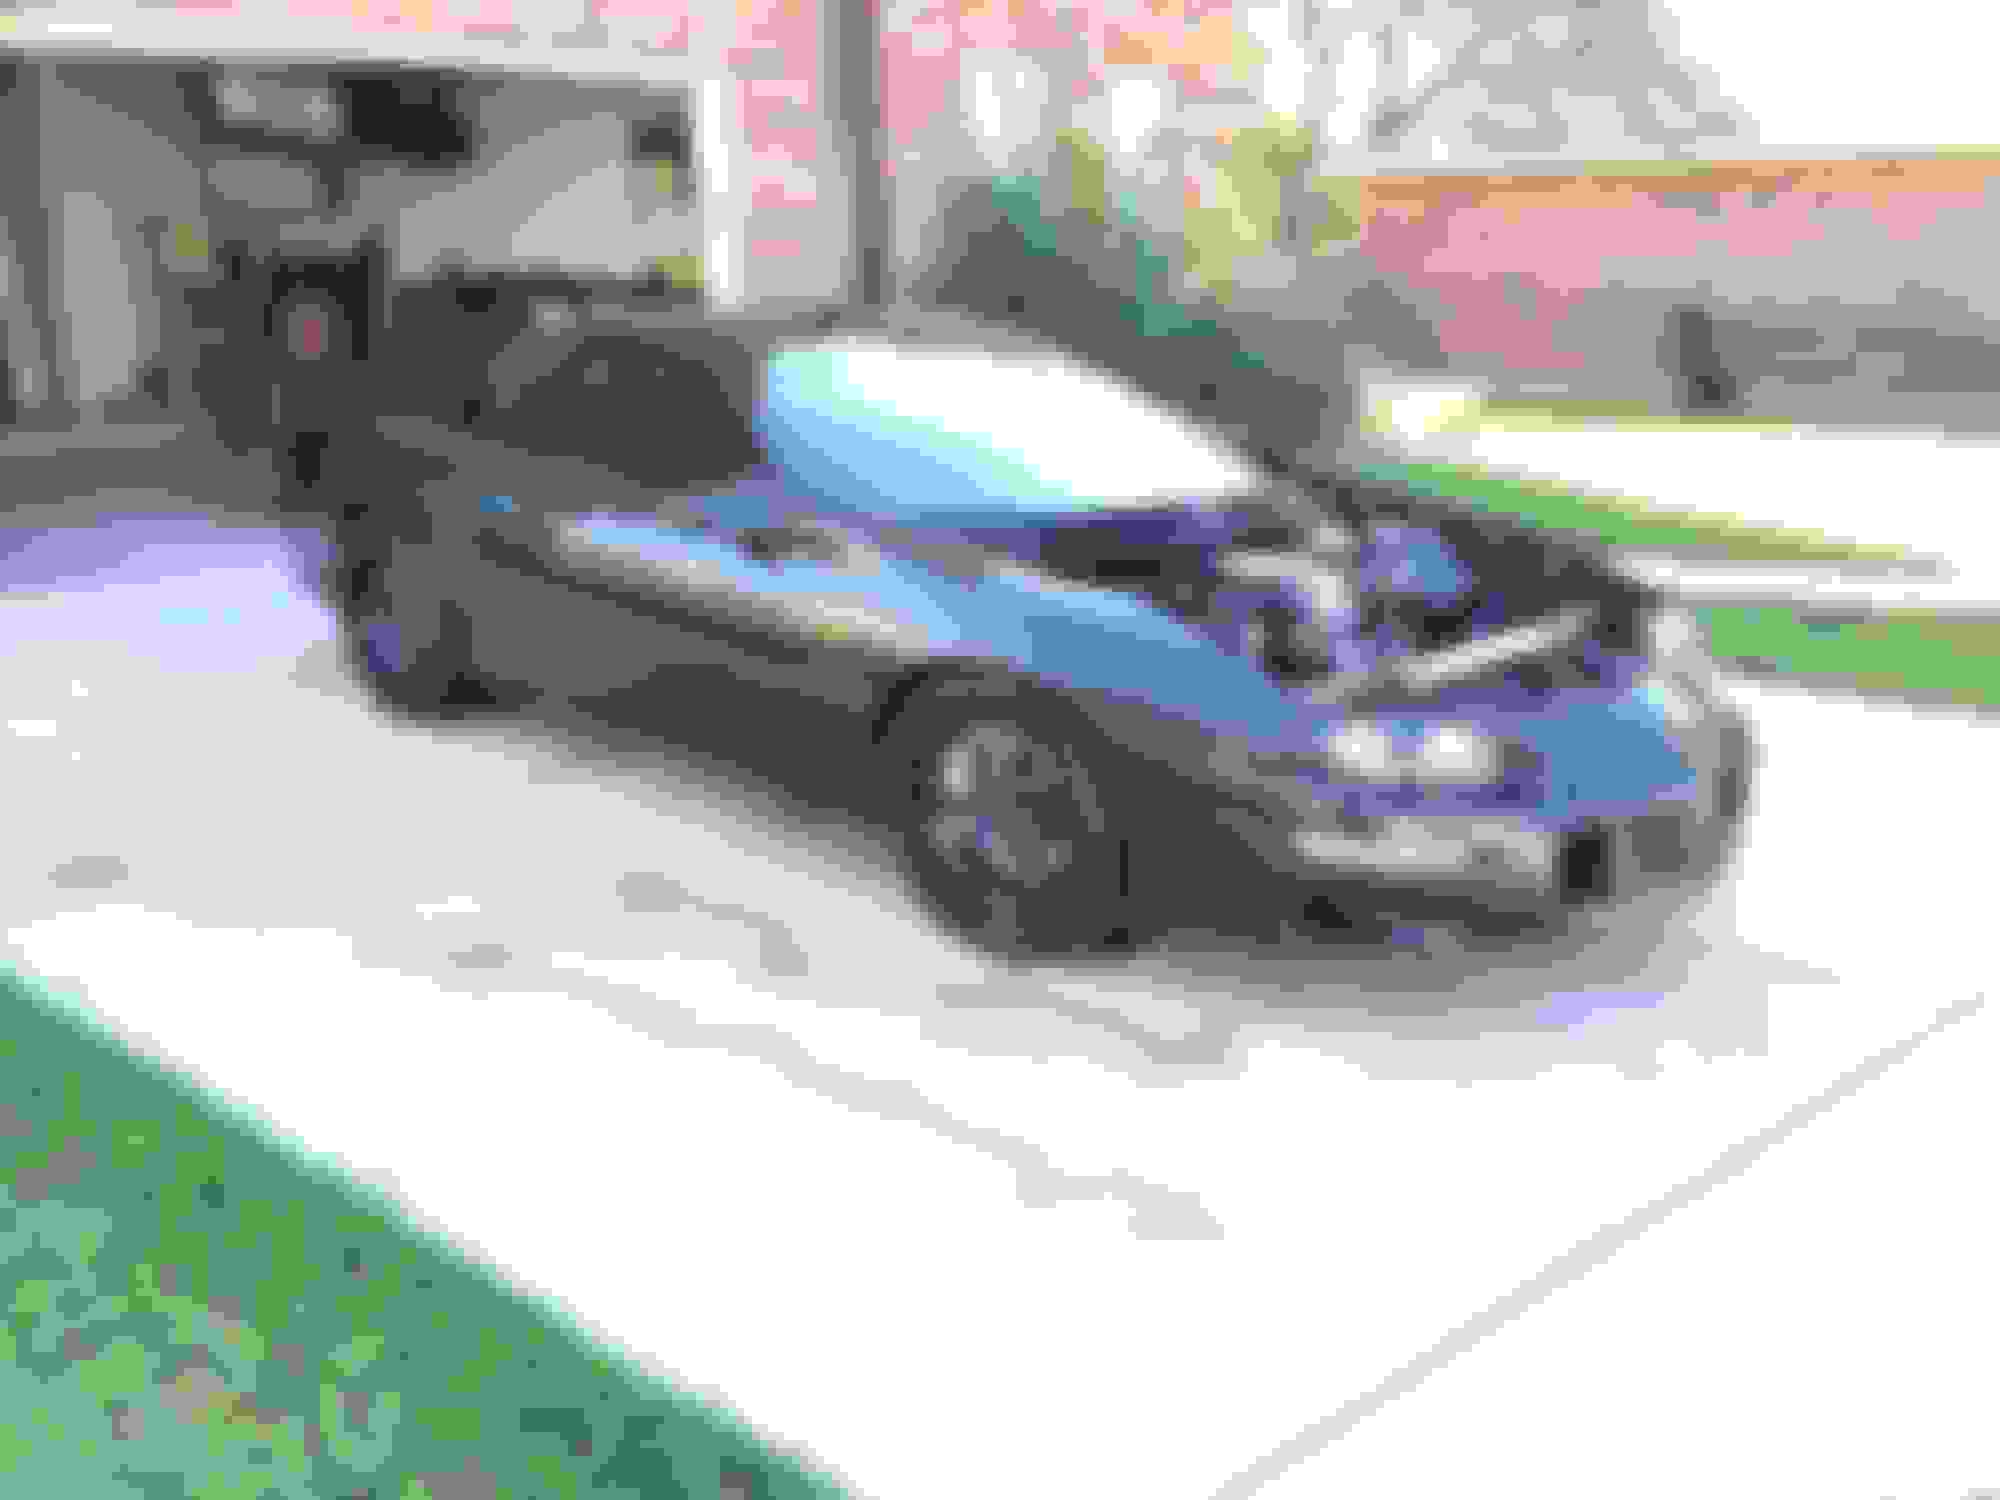
I'll let the pictures do the talking but just a few words.
Put windshield in, made intake pipe with mandrel bends and ls7 maf bung with help of my good buddy with some valuable skills (Thanks jake), had spark plug wires made. Custom length live wires by Davis unified ignition, plumbed radiator hoses with BMRS custom stuff -16 and -20, made -4 coolant vapor line, finished fuel line to rail, finished wiring and installed battery, filled with fuel, filled with coolant( had to pull radiator from bad weld leaking on the tank where I had drain plug bung welded on years ago, thanks again to jake for fixing.), Primed fuel pump and lines. Verified fuel pressure at rails. Filled with oil, cranked to prime oil pressure. Waiting on tune file from pat G as I type this. Stay tuned. Oh and buddy jake and I with use of a lathe added a knurled edge to my nasty performance billet oil cap as it was nearly impossible to remove before doing this.


 05-13-2015, 08:12 AM