How to: C6 Fog Lamps Used as Trans Am DRL's
 03-02-2013, 07:32 PM
#1
A few have asked me, "how'd you do dat?"
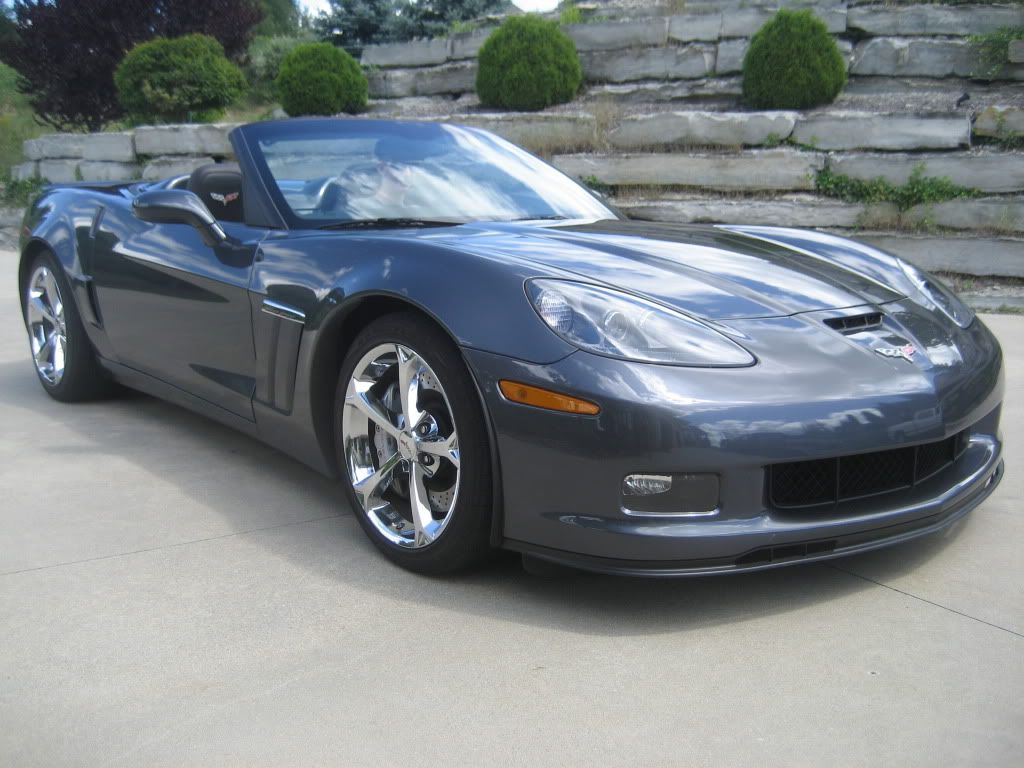
I have considered the C6 to have the best looking fog lights by far. So, while rebuilding my car last year, I wanted to see I it was possible to retrofit those assemblies in my current T/A drl openings.
Now, these assemblies are considerably larger than the stock drl/turns.
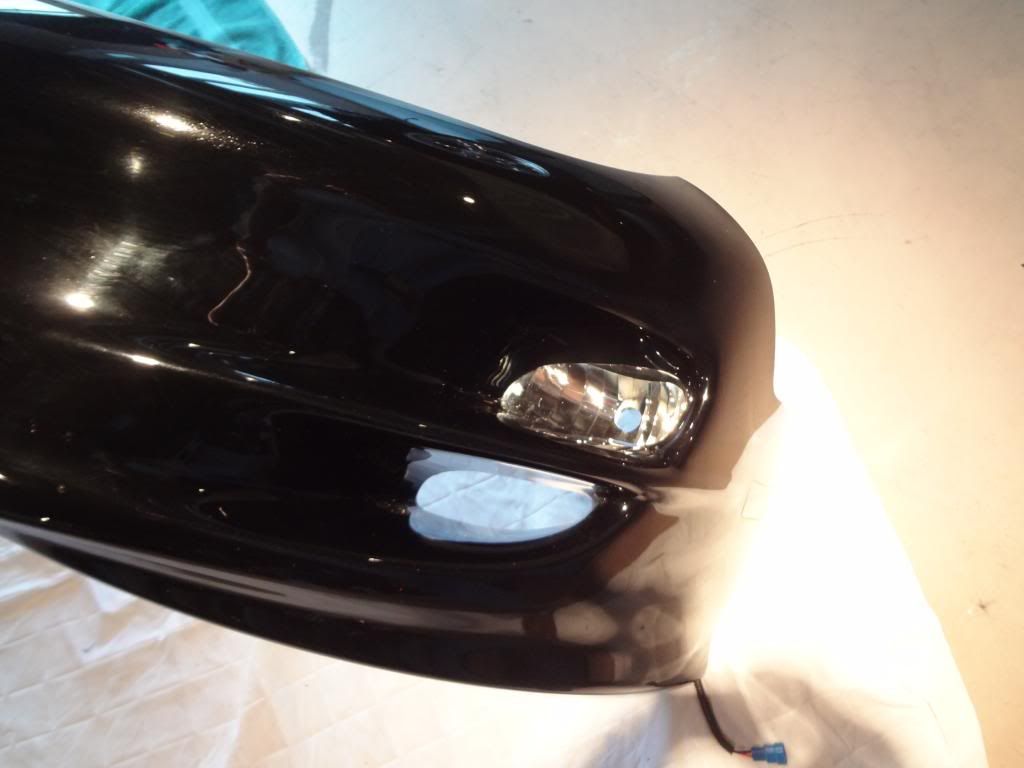
Cut the backside of the fascia to match the plan view of the C6 lens. Kind of a swag approach, but I just held the lamp in car position as best as I could and then marked the fascia where to cut.
Also make sure the bulb is centered as best as possible in the fascia opening.
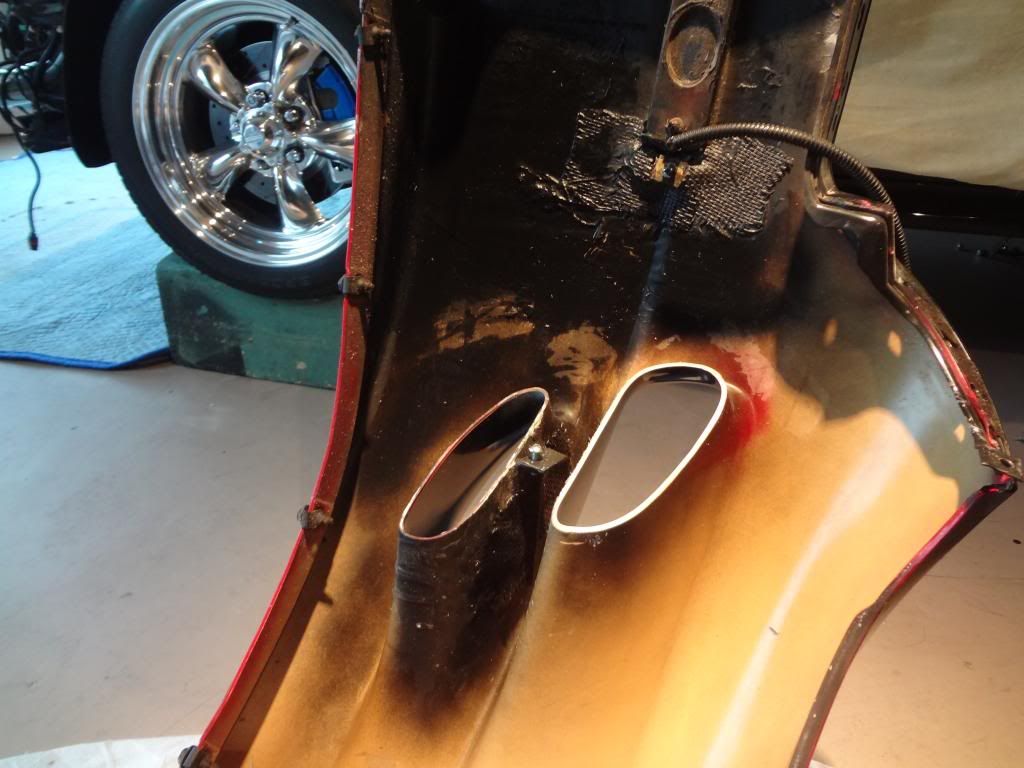
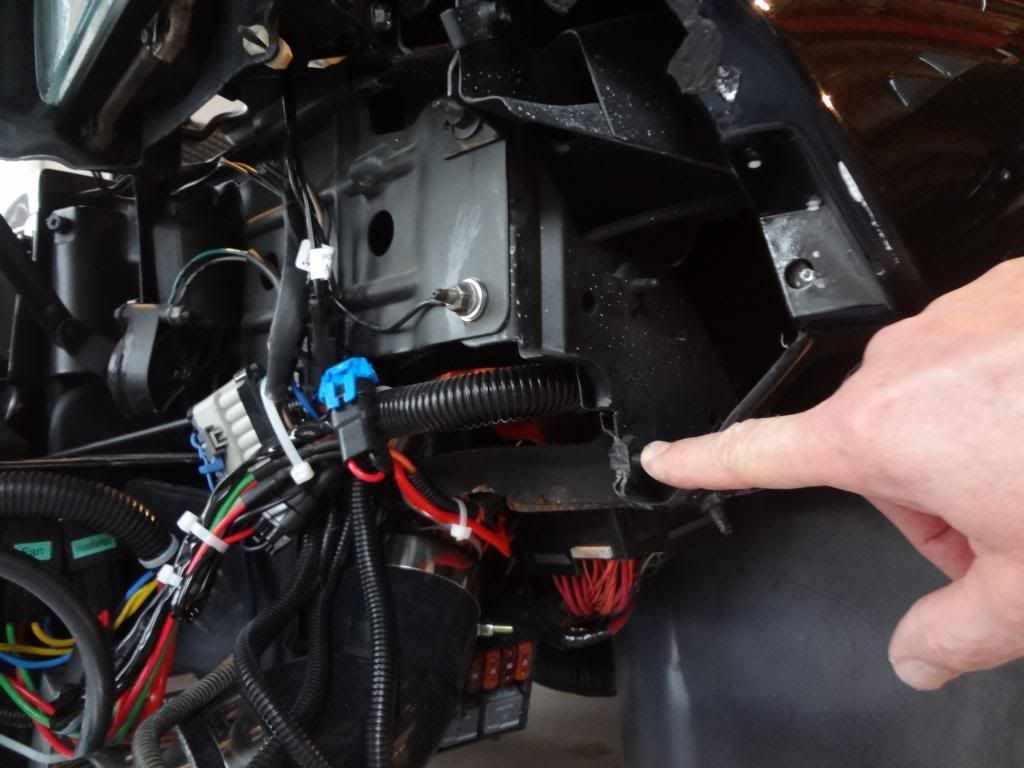
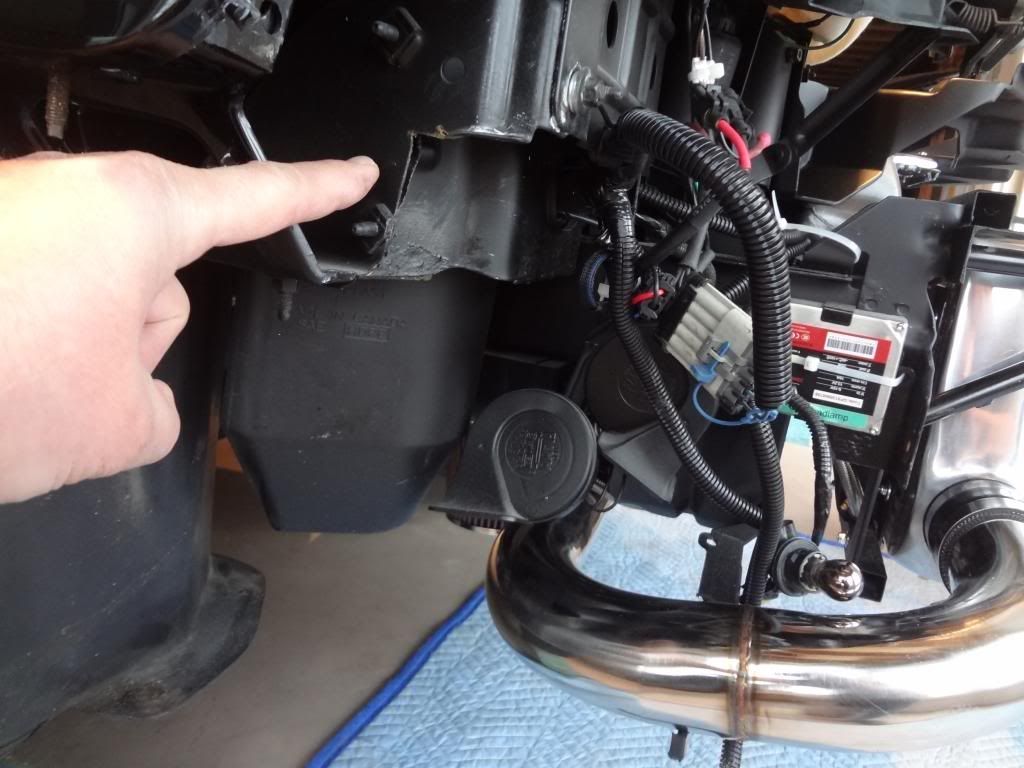
With the fascia installed on the car, hold the fog lamp up to the opening and mark where you want to install the brackets. Bond a tapping plate onto the fascia and bend-up a couple of brackets.
Oh, you will have to cut a little metal as indicated where I'm pointing in order to get them ccentered to the fascia opening.
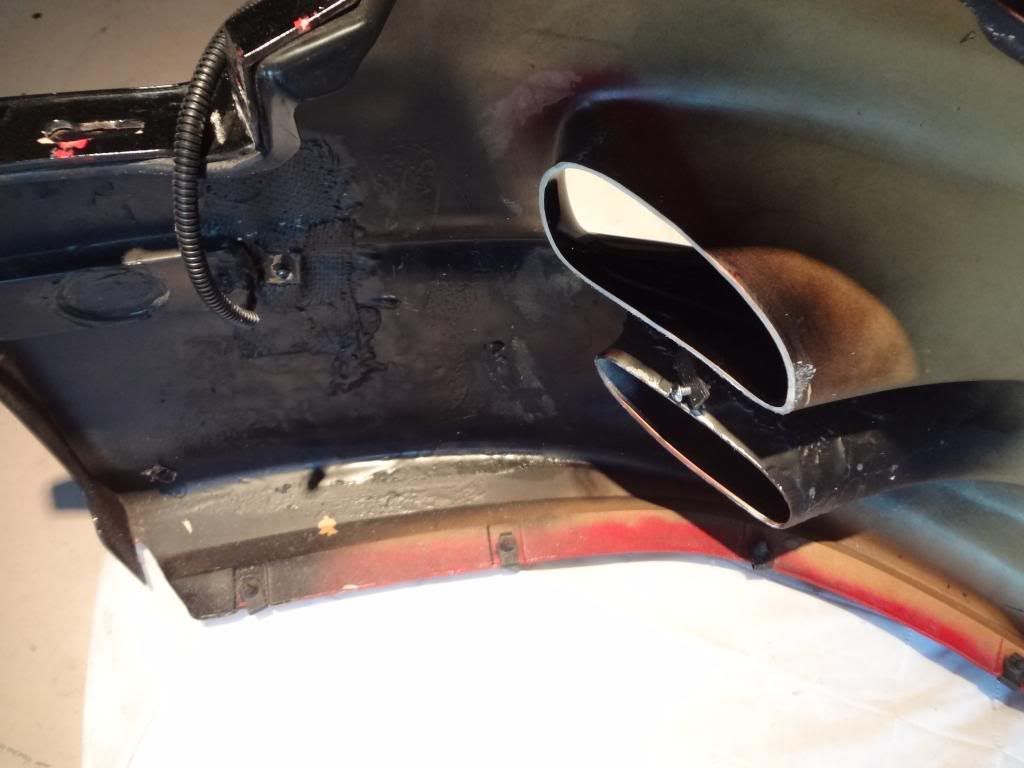
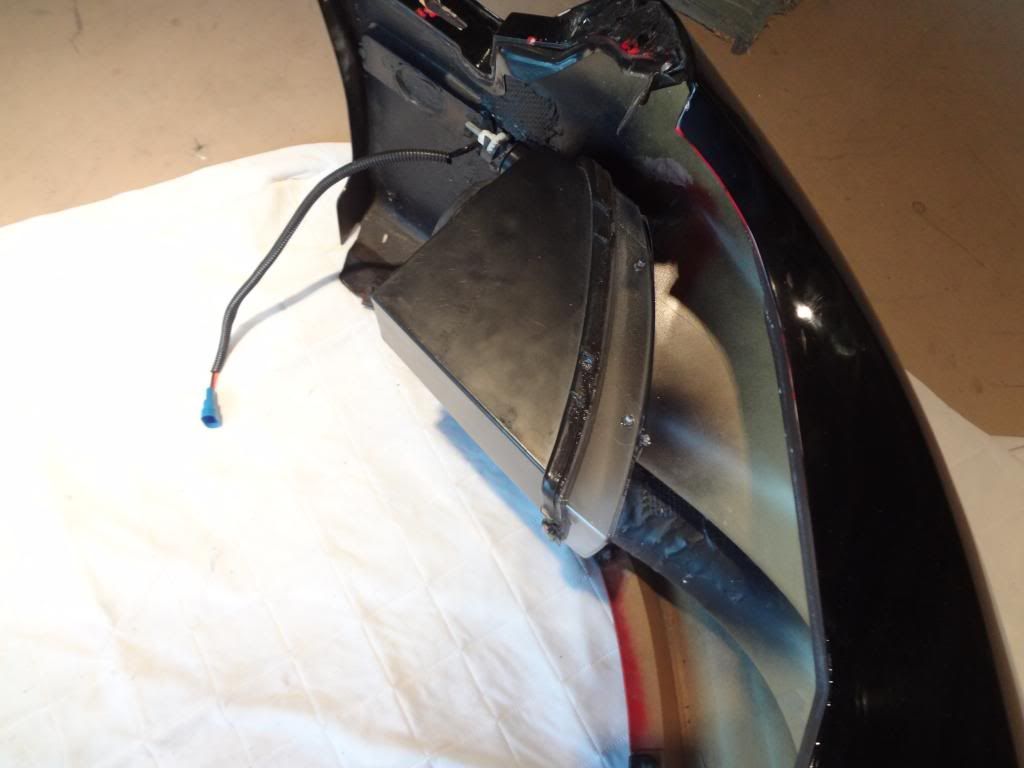
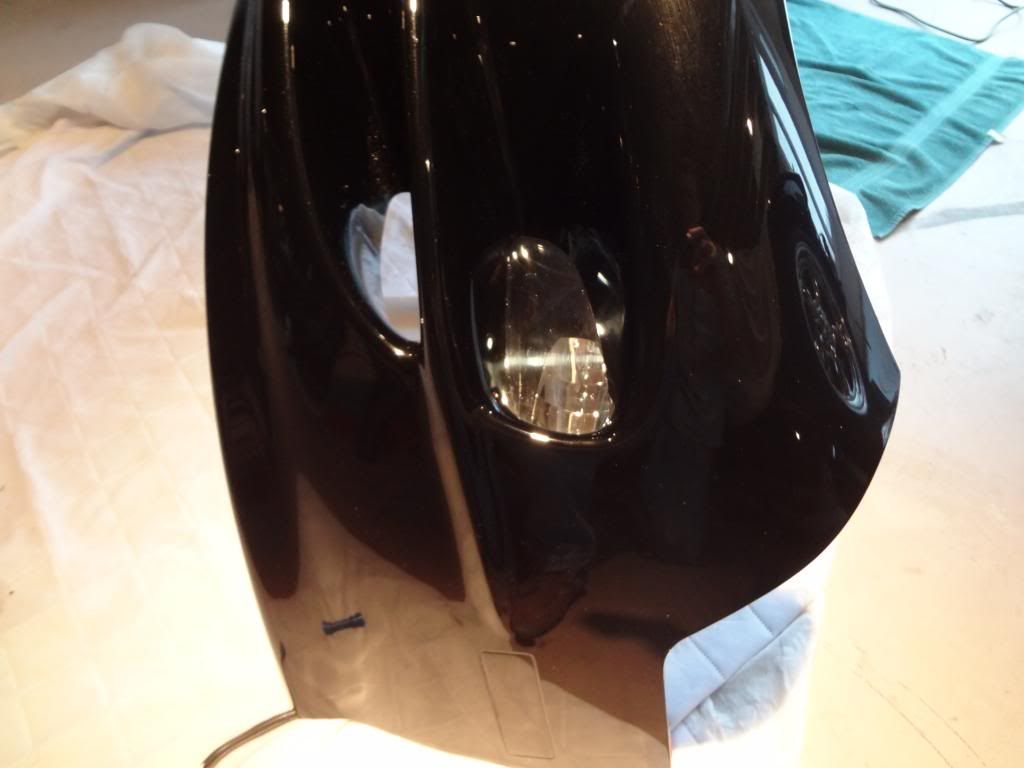
Here are some pics of the lamp installed from the backside.
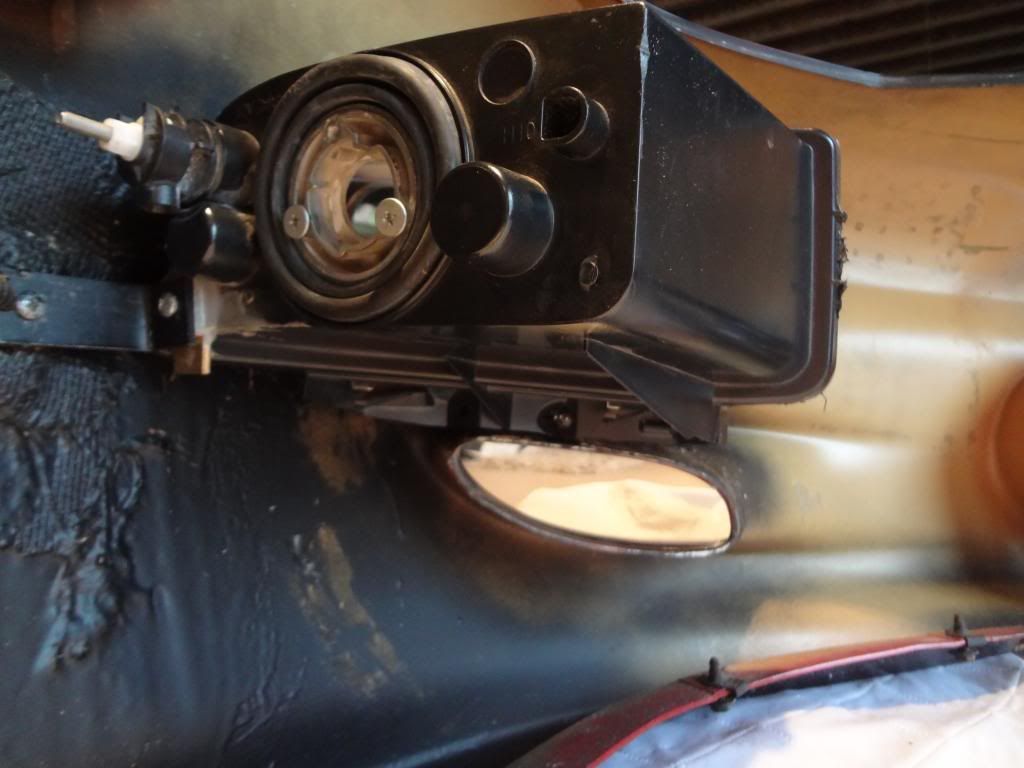
As you can see, the can is way larger than the opening which is ok.
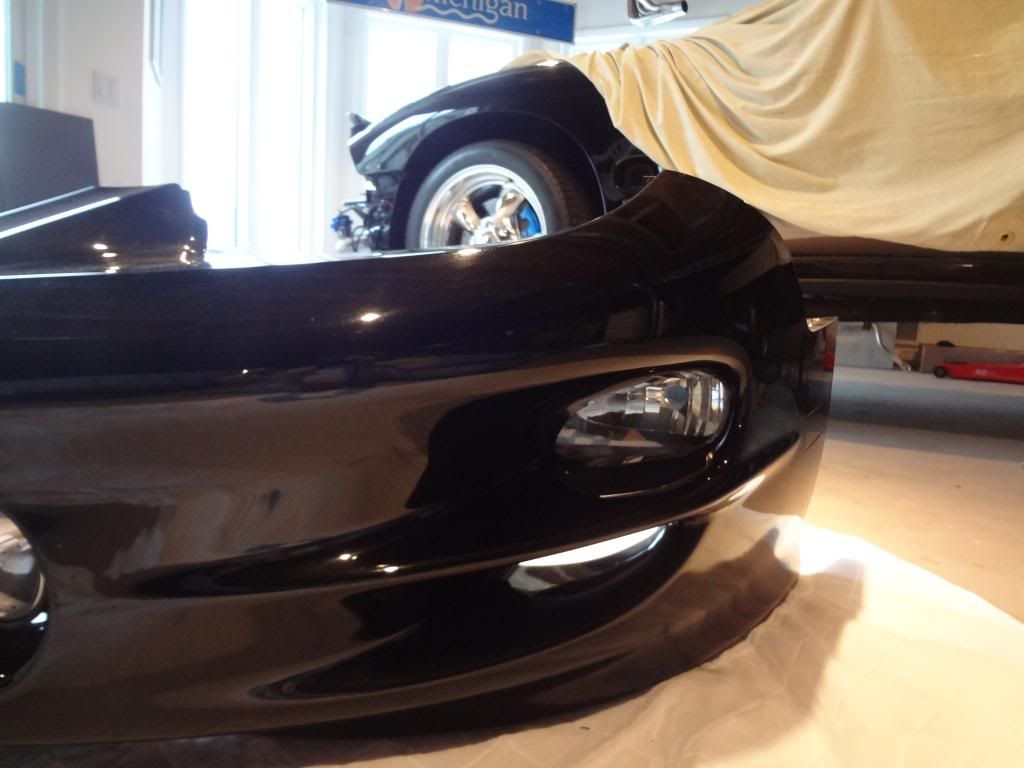
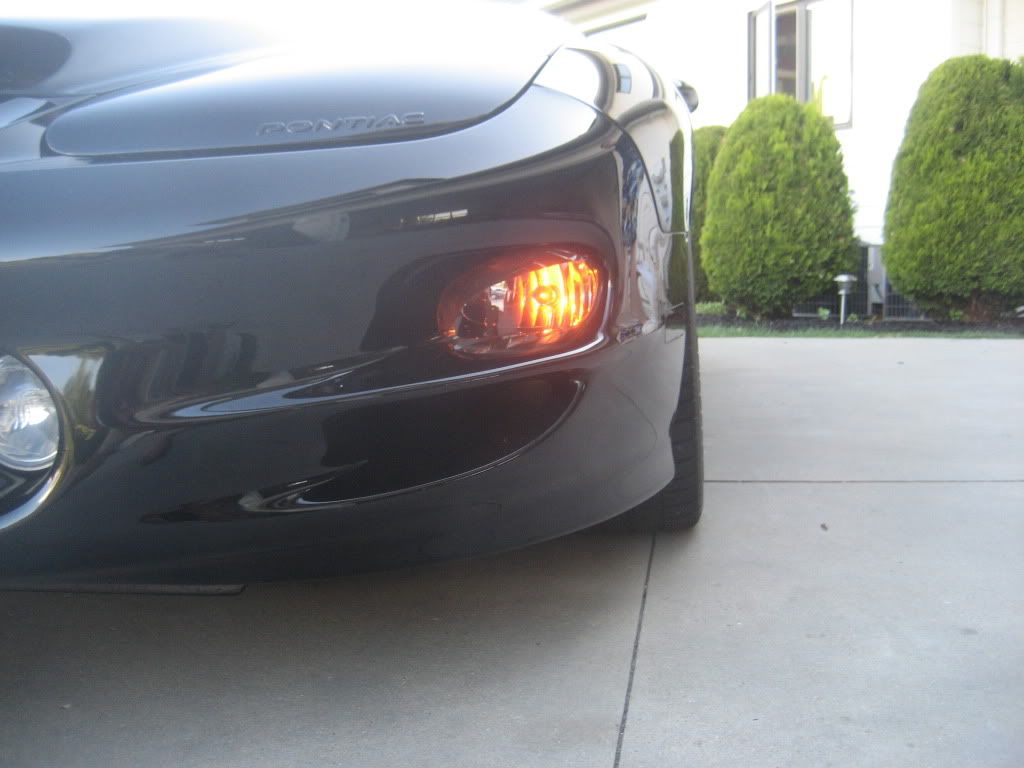
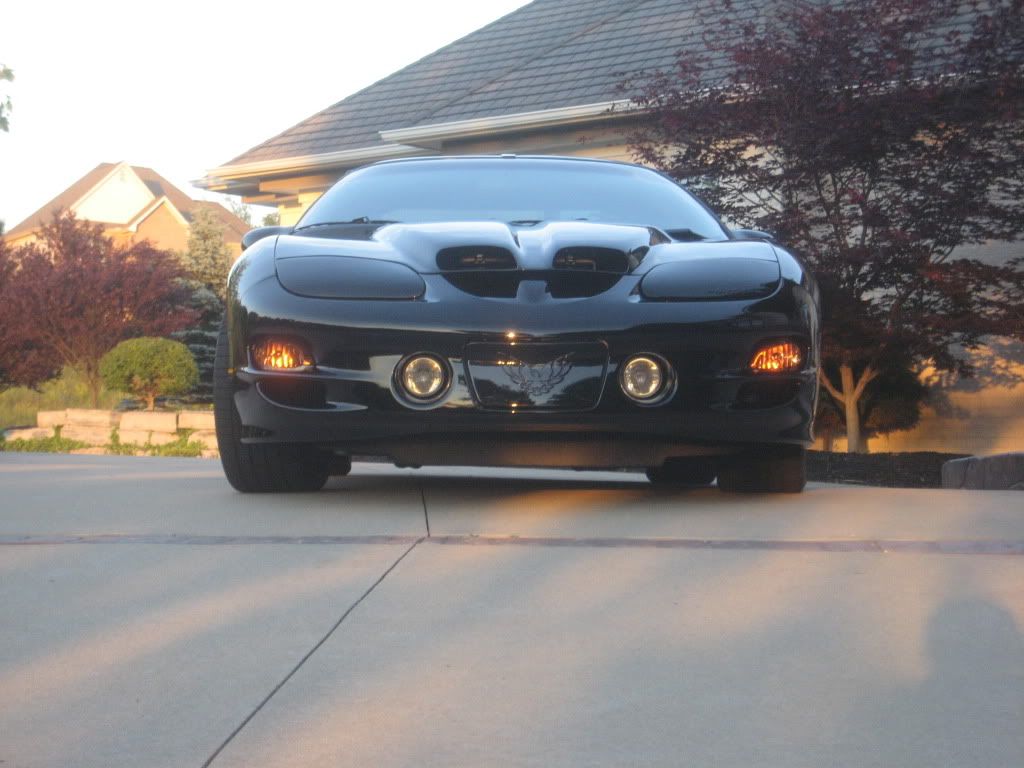
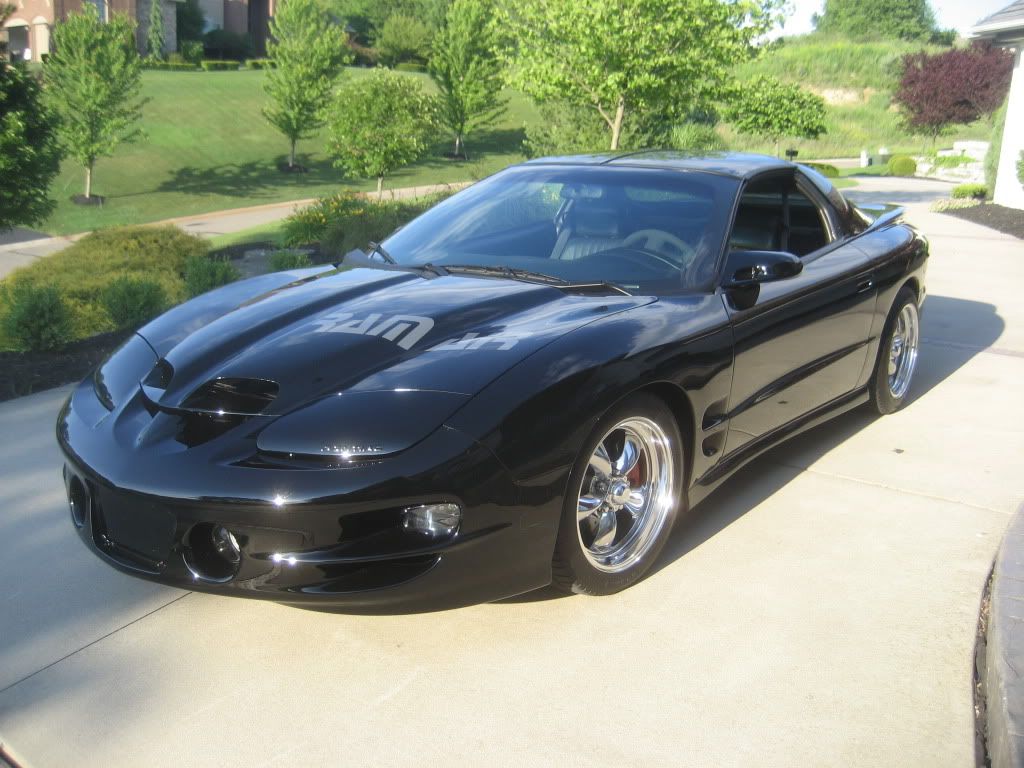
Here are some finished pics.

I have considered the C6 to have the best looking fog lights by far. So, while rebuilding my car last year, I wanted to see I it was possible to retrofit those assemblies in my current T/A drl openings.
Now, these assemblies are considerably larger than the stock drl/turns.
Cut the backside of the fascia to match the plan view of the C6 lens. Kind of a swag approach, but I just held the lamp in car position as best as I could and then marked the fascia where to cut.
Also make sure the bulb is centered as best as possible in the fascia opening.
With the fascia installed on the car, hold the fog lamp up to the opening and mark where you want to install the brackets. Bond a tapping plate onto the fascia and bend-up a couple of brackets.
Oh, you will have to cut a little metal as indicated where I'm pointing in order to get them ccentered to the fascia opening.
Here are some pics of the lamp installed from the backside.
As you can see, the can is way larger than the opening which is ok.
Here are some finished pics.

 03-03-2013, 08:58 AM
#5
"Chrome" amber is in this pic hanging right above the cold pipe:
That's funny you mentioned swithcbacks because I had actually tried them and they stuck out like a sore thumb and had some funky reflections in the parabola. The outer lens is clear so you see everything.
Trending Topics
03-09-2013, 07:21 PM
#10
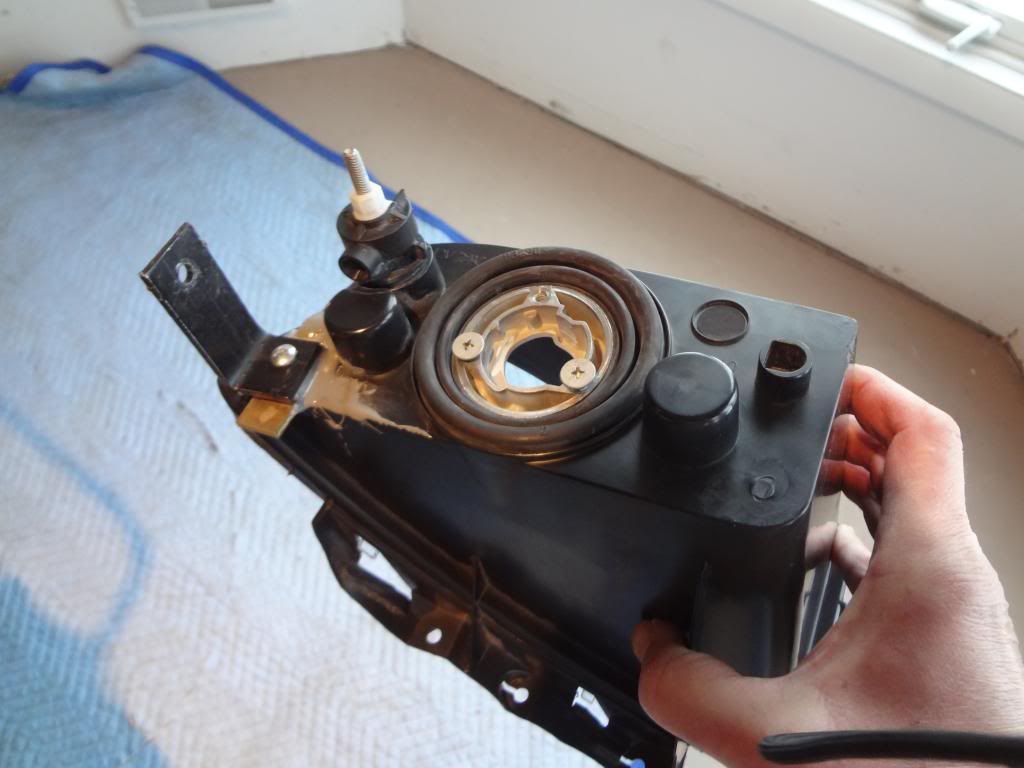
First, I heated the assembly in the oven at 200 degrees for about 10 minutes and then removed the outer lens.
Next, I just took a dremel and ground the area where the socket fits in order to make the huge f-body bulb and socket fit.
Then, after the socket fit snug, I used the screws that came with the housing to hold the socket in place as shown in this pic.
05-15-2013, 12:11 AM
#14
I still don't understand the reasoning behind this. The C6 DRL's look like your average housing - nothing fancy about it. It jus' seems like a hassle, time and energy-wise, for an average-looking DRL housing that sets you back close to $200 bucks. I hope that doesn't come off as rude. I'm jus' wondering if this is solely an appearance mod?
 05-17-2013, 01:19 AM
#17
I still don't understand the reasoning behind this. The C6 DRL's look like your average housing - nothing fancy about it. It jus' seems like a hassle, time and energy-wise, for an average-looking DRL housing that sets you back close to $200 bucks. I hope that doesn't come off as rude. I'm jus' wondering if this is solely an appearance mod?
 05-29-2013, 04:35 PM
#18
If you can see it live you would know why I did this. The stock textured housings look dated and these are a "fresher" modern looking interpretation in my opinion.
No offense taken, this is subjective and everyone has the right to express their own opinions.


Bad picture:

