
6Litereater Diffuser help?


Thread Starter
Staging Lane
Joined: Jun 2010
Posts: 53
Likes: 0
So I got my diffuser back from paint and it looks amazing. But, I am having trouble installing it? The diffuser is for my 2000 TA. I drilled the wholes for the license plate bolts no problem. So now all thats left is adding the self tapping screws in order for it to fit the contours of the bumerper on each side. I was wondering where and how others acheived this? Did you pull the rear bumper off entirely to install it or install while it was on the car? I know tons of people on here have done the install, pics would be great  ? Thanks
? Thanks 
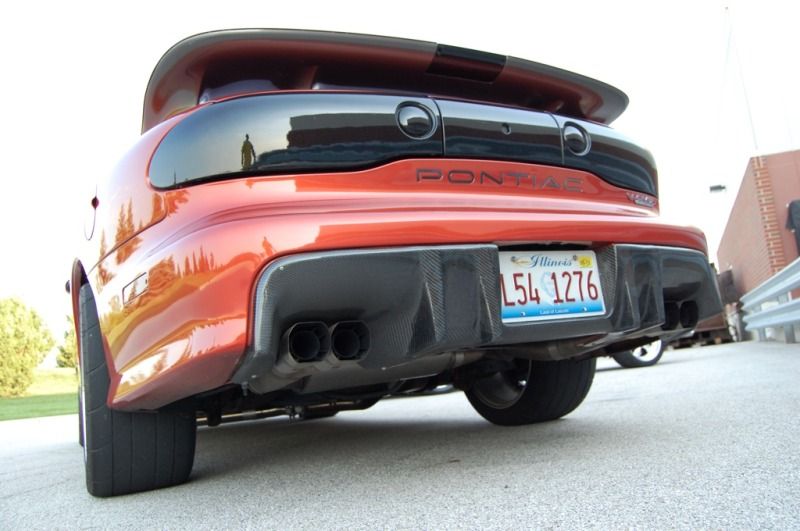
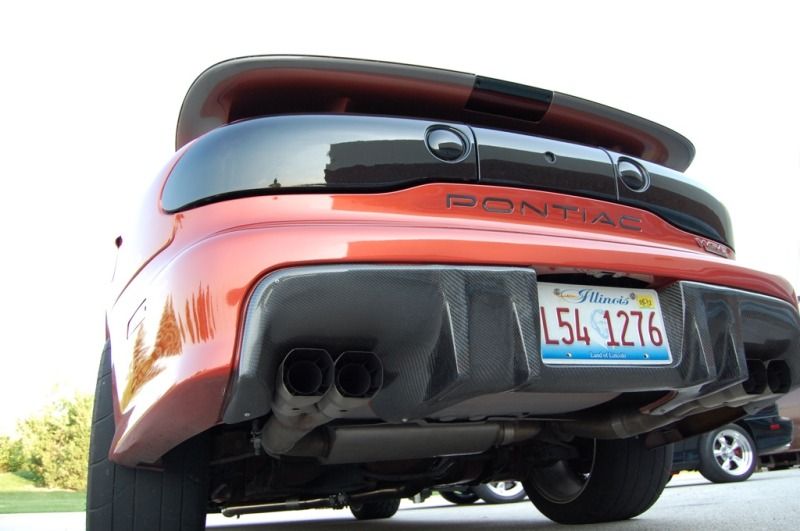
I left the bumper on and had a buddy start in the middle and work our way out to the sides and added the rivets at that time. We just made sure it was even on both sides... Hopefully these pictures help.


Thread Starter
Staging Lane
Joined: Jun 2010
Posts: 53
Likes: 0
NICE thats exactly what I was looking for! Did you have to put the self tapping screws in the top corners on each side to get it to fit perfectly? I'm trying to keep all the screws hidden if possible
I used screws from the bottom only. The top edge does gape a bit, and could fit a better with some 3M tape. I elected to do the Ceta mod with Plastidip, and plastidip the diffuser, just in case I changed my mind later. I really like the look, so no mind changing here. Installed pic above is pre-Ceta mod.

 !
! Trending Topics


I had the same problem with more than one of those diffusers. They look awesome but fitment leaves a lot to be desired. That 3M tape isn't strong enough to hold the gap at the top around the edges. I sucked the bottom in as close as I could with self tappers and rivets but still wasn't happy with it. I ended up grinding the top of mine the match the bumper lines better and used 2 plastic rivets to hold the very corners. They ended up looking kinda like some OEM backup sensors.


