


Custom Console
Just made alittle progress got the front in tried shaping and its not working too well. Ill give it a go again tomorrow hopefully but making some plastic soup to simple fill in the uneven areas that will come:
[IMG]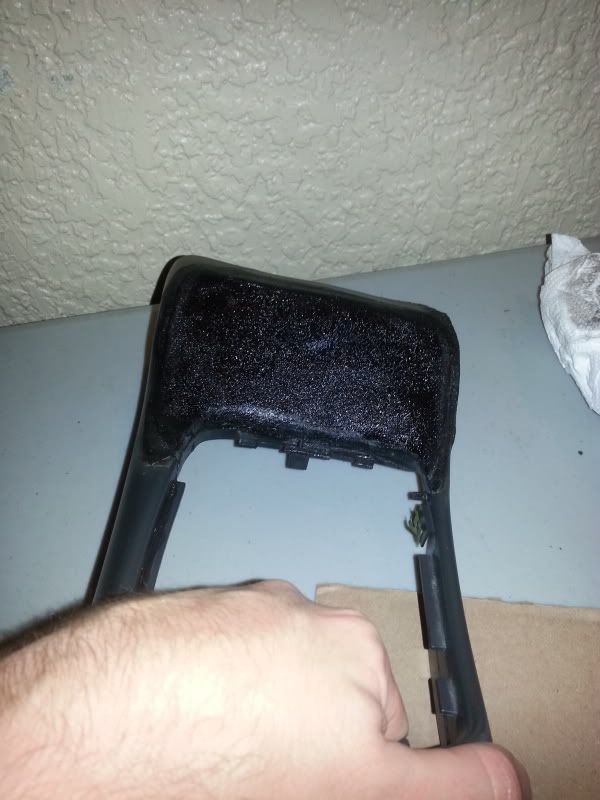 [/IMG]
plastic soup in the making, come morning it should be nice and goo'y
[IMG] [/IMG]
oh and the liquid is acetone, not dirty water
[IMG]
 [/IMG]
plastic soup in the making, come morning it should be nice and goo'y
[IMG]
 [/IMG]
oh and the liquid is acetone, not dirty water
LS1 Tech Stories
The Best V8 Stories One Small Block at Time

Topdon ONE vs. Artidiag 800 BT2: Which is the Diagnostic Tablet For You?
Pouria Savadkouei
Gas Monkey Built a 6-Wheel Ferrari Testarossa With a Corvette LT4 Engine
Verdad Gallardo
7 Most Reliable High-Performance Engines GM Has Ever Built
Verdad Gallardo
Amazing '71 Camaro Restomod Is Modern Muscle Car Under the Skin
Verdad Gallardo
6 Common C5 Corvette Failures and What's Involved In Repairing Them
Pouria Savadkouei
Retro Modern Bandit Pontiac Trans AM Comes With Burt Reynolds' Autograph
Verdad Gallardo
Top 10 Greatest Cadillac V Series Performance Models Ever, Ranked
Pouria Savadkouei
Top 10 Most Powerful Chevy Trucks Ever Made!

Hennessey's New Supercharged Silverado ZR2 Has 700 HP
Verdad Gallardo
Well that is why I did it, I HATE the factory textured crap. I am covering the entire interior in leather or high grade vinyl and re covering the seats as well as new carpet and floor mats. It really gets rid of the cheap interior feel of the cars from the factory. I have done a few parts in CF and everyone that sees it seems to love it. But most importanly I love it.  I guess I could have just left the orange peel to have that cheap factory feel .....but that is exactly why I didnt.
The process was kind of a pain in the *** honestly. Cut out the center section, laid in plexi, smoothed it in and filled other parts as well as grinding out the 6pd logo. body worked all of that, then put a vinyl overlay on the top of the plexi before any priming and painting was done then scuffed the plexi to disperse the light more when lit up. Primed, painted, dipped, peel off the overlay, clearcoat the entire part, wetsand and buff. Then installed 2 , 4 inch LED's under that utilizing the ash tray factory lighting, didnt know how bright it would be but it came out perfect, didnt want it like a flashlight in there haha It even dims when I use the dimmer.
Wanted it to be there when off and not like...LOOK HERE!! but at night I wanted it to be a highlight piece of the interior. Very happy with it.
Not cheap, or quick but def. worth it in my opinion.
I guess I could have just left the orange peel to have that cheap factory feel .....but that is exactly why I didnt. The process was kind of a pain in the *** honestly. Cut out the center section, laid in plexi, smoothed it in and filled other parts as well as grinding out the 6pd logo. body worked all of that, then put a vinyl overlay on the top of the plexi before any priming and painting was done then scuffed the plexi to disperse the light more when lit up. Primed, painted, dipped, peel off the overlay, clearcoat the entire part, wetsand and buff. Then installed 2 , 4 inch LED's under that utilizing the ash tray factory lighting, didnt know how bright it would be but it came out perfect, didnt want it like a flashlight in there haha It even dims when I use the dimmer.
Wanted it to be there when off and not like...LOOK HERE!! but at night I wanted it to be a highlight piece of the interior. Very happy with it.
Not cheap, or quick but def. worth it in my opinion.