


Custom Console
So, I talked about making a custom console. Well I finally got some work done.
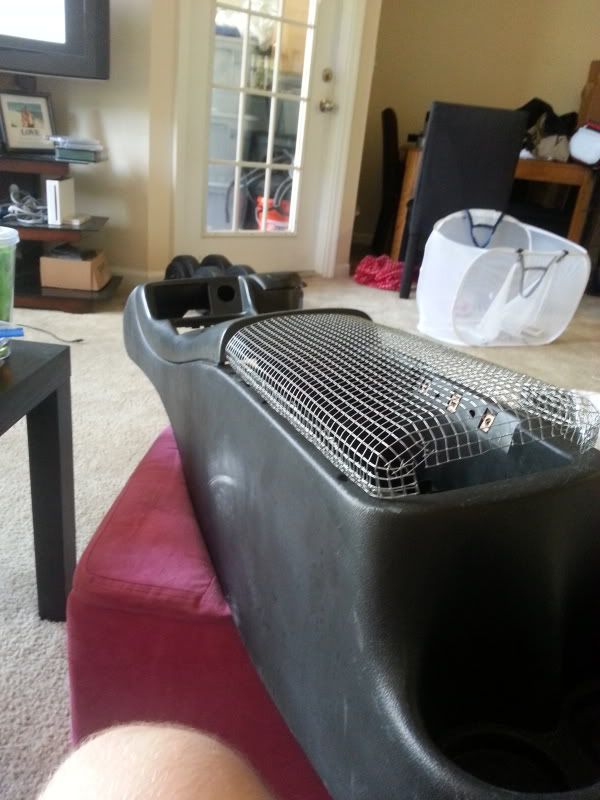
Here is the console I bought for a steal at 40 bucks. Was a 45 minute drive but worth it at the price.
[IMG]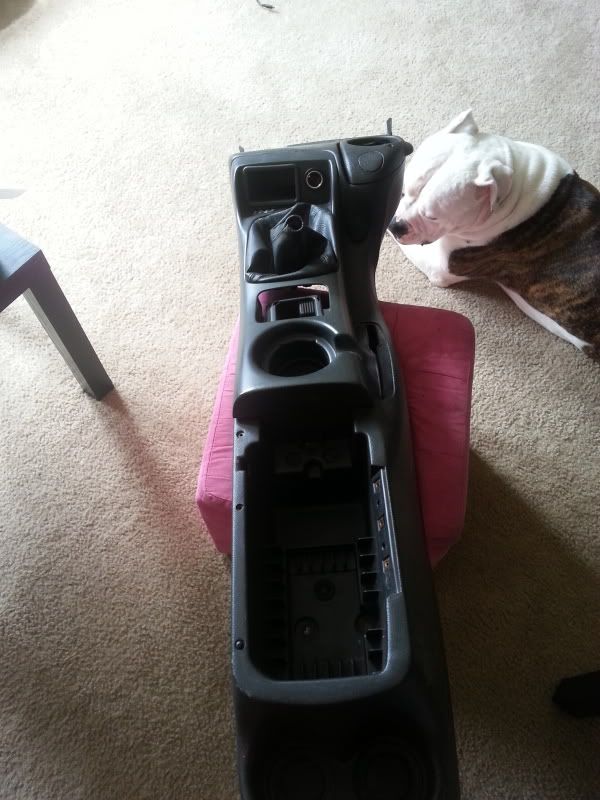 [/IMG]
[IMG]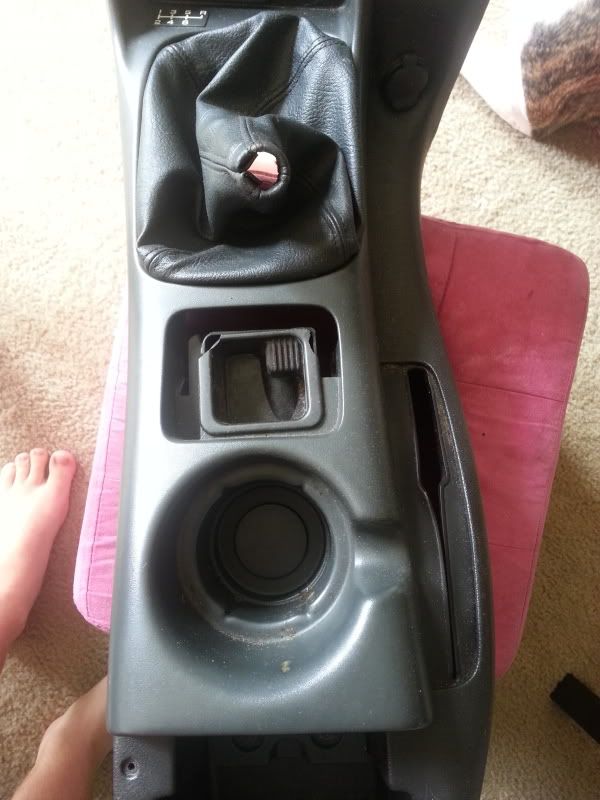 [/IMG]
Gutted all the junk off it and cleaned it up a bit here is all the junk I wont need:
[IMG]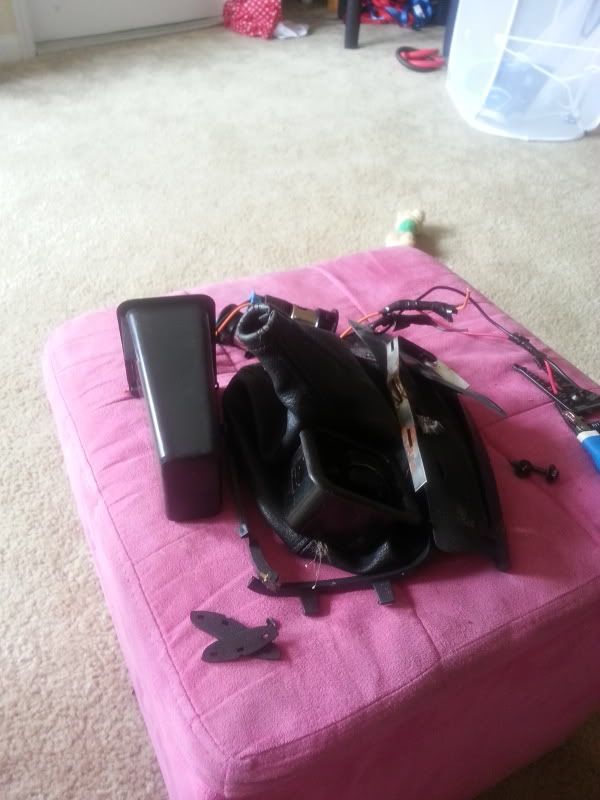 [/IMG]
Fixed the flip out holder(works way better than the one currently in my car. Just have to reglue the cup holder rubber gromet things.
Here is my dremel and where I guess I left it last time I used it on my florida porch.....the bit in it is rusted in place and cant get it out. I rigged it up to use a cutting wheel to kinda start the major removal of the parts in the dash I dont need/want. However probably gonna have to buy a new dremel. Stinks cause ive had this one for probably 5 years. Still works great.
[IMG]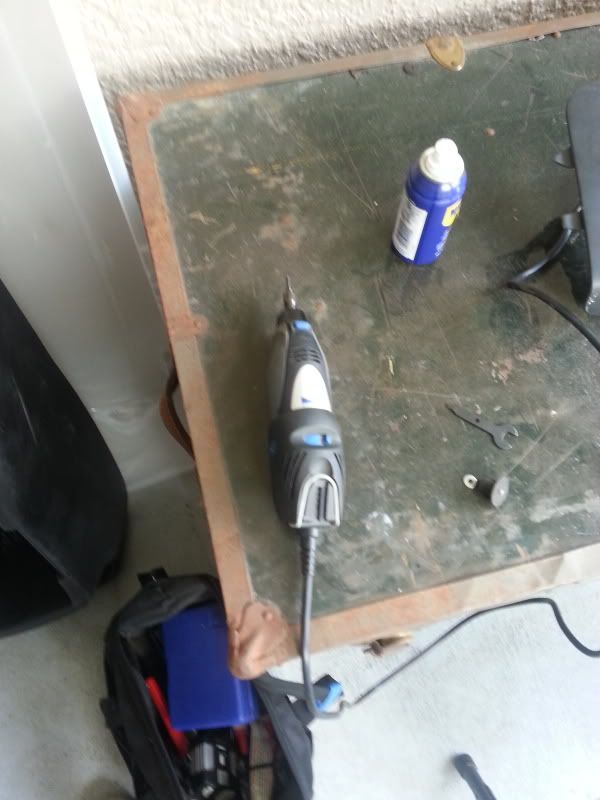 [/IMG]
Anyways no more cup holder or ash tray:
[IMG]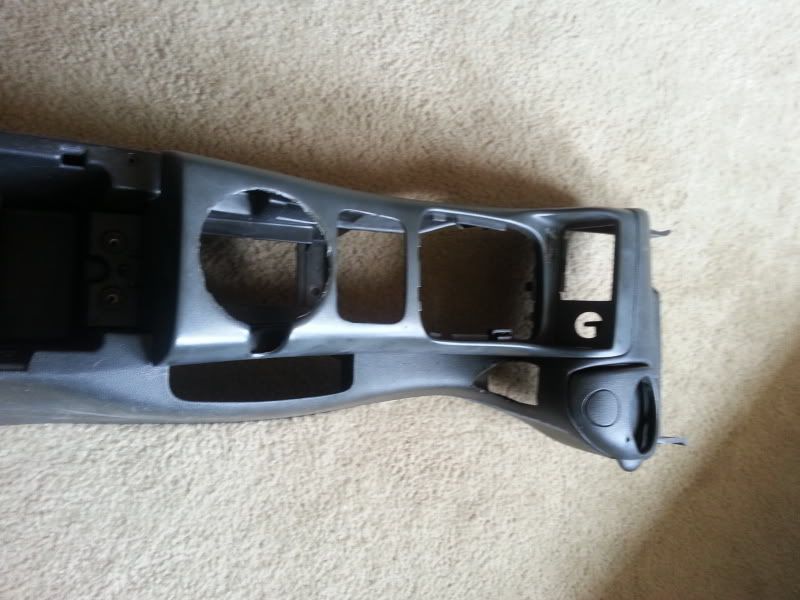 [/IMG]
Also no more shift pattern plate bs thing, and no more secondary 12volt plug. Im going to reshape if with the contours like it was never there:
[IMG]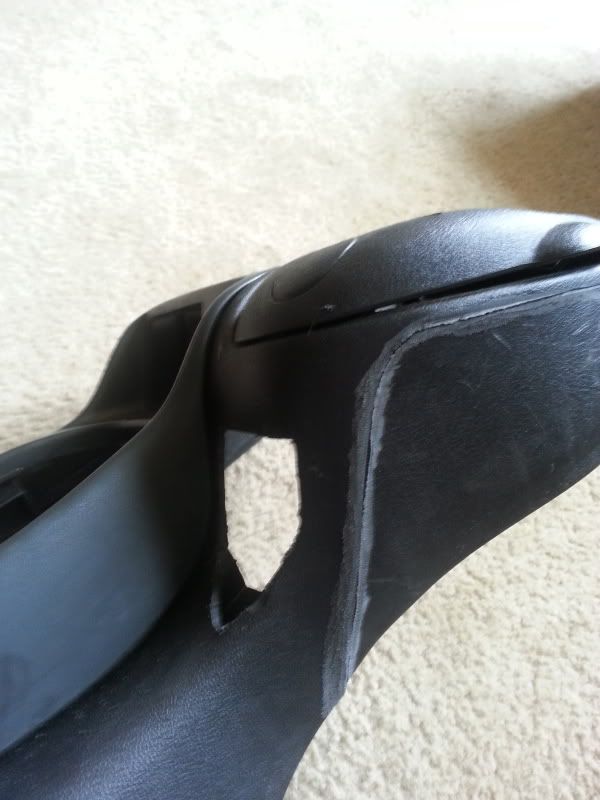 [/IMG]
[IMG]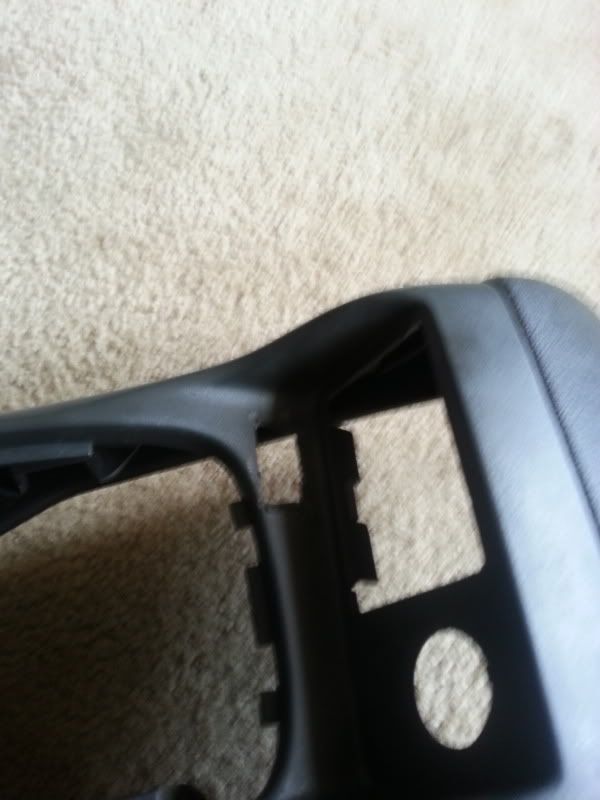 [/IMG]
Started shaping the frame for my custom console lid cause I refuse to pay 100-200 for a used and 300 for new f'ing console lid:
[IMG] [/IMG]
alittle more work:
[IMG]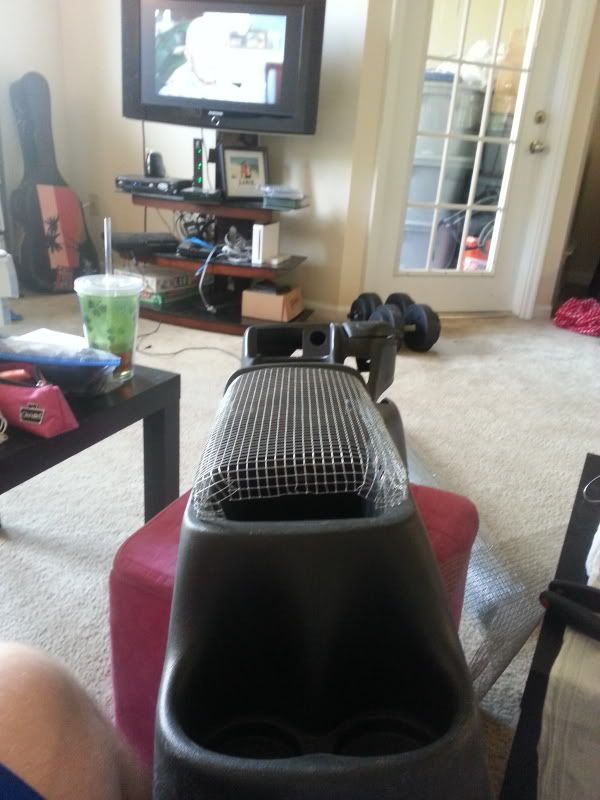 [/IMG]
Getting pretty good looking:
The lid frame is intentionally smaller as the cloth and glass will add to the exterior size and I want it to be flush or atleast look OEM not half *** made cause Im a cheap bastard and would rather spend my money on a MGW shifter over lid. Anyways I digress.
Comments suggestions let me know.
I plan to put 2 12volt outlets inside the console and also put a dual 110volt in the console too. I would run a power converter that has the plugs built in. I do plan to put a 12volt outlet facing the passenger low and kinda hidden. Make it easy to plug a phone in on a road trip.
Anyways thanks for looking
Here is the console I bought for a steal at 40 bucks. Was a 45 minute drive but worth it at the price.
[IMG]
 [/IMG]
[IMG]
 [/IMG]
Gutted all the junk off it and cleaned it up a bit here is all the junk I wont need:
[IMG]
 [/IMG]
Fixed the flip out holder(works way better than the one currently in my car. Just have to reglue the cup holder rubber gromet things.
Here is my dremel and where I guess I left it last time I used it on my florida porch.....the bit in it is rusted in place and cant get it out. I rigged it up to use a cutting wheel to kinda start the major removal of the parts in the dash I dont need/want. However probably gonna have to buy a new dremel. Stinks cause ive had this one for probably 5 years. Still works great.
[IMG]
 [/IMG]
Anyways no more cup holder or ash tray:
[IMG]
 [/IMG]
Also no more shift pattern plate bs thing, and no more secondary 12volt plug. Im going to reshape if with the contours like it was never there:
[IMG]
 [/IMG]
[IMG]
 [/IMG]
Started shaping the frame for my custom console lid cause I refuse to pay 100-200 for a used and 300 for new f'ing console lid:
[IMG]
 [/IMG]
alittle more work:
[IMG]
 [/IMG]
Getting pretty good looking:

The lid frame is intentionally smaller as the cloth and glass will add to the exterior size and I want it to be flush or atleast look OEM not half *** made cause Im a cheap bastard and would rather spend my money on a MGW shifter over lid. Anyways I digress.
Comments suggestions let me know.
I plan to put 2 12volt outlets inside the console and also put a dual 110volt in the console too. I would run a power converter that has the plugs built in. I do plan to put a 12volt outlet facing the passenger low and kinda hidden. Make it easy to plug a phone in on a road trip.
Anyways thanks for looking
Last edited by silent_soul; Jul 15, 2013 at 05:34 AM.
nice project. i want to see how this turns out. i too refuse to pay 300 bucks for a console lid. when mine broke, i took an old computer case door and cut out a piece of sheet metal with tin snips, then beat it on my anvil till i got the rounded shape of the lid, then i slipped the cover over it.
i had no way to fasten it to the hinge though. it just sits on there and works as a temporary fix. how will you mold it to fasten it to the hinges?
i had no way to fasten it to the hinge though. it just sits on there and works as a temporary fix. how will you mold it to fasten it to the hinges?
Last edited by silent_soul; Jul 14, 2013 at 08:16 PM.
Trending Topics
LS1 Tech Stories
The Best V8 Stories One Small Block at Time

6 Gifts Neither Your Dad Nor Grad Will Shove Into the 'Trinket Drawer'
Brett Foote
Topdon ONE vs. Artidiag 800 BT2: Which is the Diagnostic Tablet For You?
Pouria Savadkouei
Gas Monkey Built a 6-Wheel Ferrari Testarossa With a Corvette LT4 Engine
Verdad Gallardo
7 Most Reliable High-Performance Engines GM Has Ever Built
Verdad Gallardo
Amazing '71 Camaro Restomod Is Modern Muscle Car Under the Skin
Verdad Gallardo
6 Common C5 Corvette Failures and What's Involved In Repairing Them
Pouria Savadkouei
Retro Modern Bandit Pontiac Trans AM Comes With Burt Reynolds' Autograph
Verdad Gallardo
Top 10 Greatest Cadillac V Series Performance Models Ever, Ranked
Pouria Savadkouei
Top 10 Most Powerful Chevy Trucks Ever Made!


try soaking the tip in pb blaster over night and try to loosen the rust/grime. Worked well for mine I left on the back porch for a month.
Very nice project. Look forward to seeing how you wire up the outlets.
Very nice project. Look forward to seeing how you wire up the outlets.
The hardest part to wire up the outlets is going to be that converter as its best to wire to a battery. However I dont wire it directly to the battery as it auto shuts off when you turn the car on however if the car is off and you turn it on it will stay on till the battery dies.
and I really dont want to get stuck anywhere lol.

Ive been thinking of getting a cup and doing that, gonna try to get it undone today.
The hardest part to wire up the outlets is going to be that converter as its best to wire to a battery. However I dont wire it directly to the battery as it auto shuts off when you turn the car on however if the car is off and you turn it on it will stay on till the battery dies.
and I really dont want to get stuck anywhere lol.

The worst part is how stupid you feel after working on your car and forgetting about them. Most frustrated time trying to start a car ever.
Another solution is to run a dual pass with one working when car is on so it will always be active while the car is running due to a hot wire then another pass with a switch direct to battery for when the car is off.
I hear ya. My vette has 3 kill switches.
The worst part is how stupid you feel after working on your car and forgetting about them. Most frustrated time trying to start a car ever.
Another solution is to run a dual pass with one working when car is on so it will always be active while the car is running due to a hot wire then another pass with a switch direct to battery for when the car is off.
Ive been thinking of getting a cup and doing that, gonna try to get it undone today.
The hardest part to wire up the outlets is going to be that converter as its best to wire to a battery. However I dont wire it directly to the battery as it auto shuts off when you turn the car on however if the car is off and you turn it on it will stay on till the battery dies.
and I really dont want to get stuck anywhere lol.
The hardest part to wire up the outlets is going to be that converter as its best to wire to a battery. However I dont wire it directly to the battery as it auto shuts off when you turn the car on however if the car is off and you turn it on it will stay on till the battery dies.
and I really dont want to get stuck anywhere lol.

Alot of wasted time tonight. Anyways im thinking of foam sculpting the lid I want. Then ill vacuum form copies of the foam sculpt. Maybe try some real thick plastic for the vacuum forming. Then fill it with expanding foam. texture it up real nice so it doesnt feel like plastic.