
Custom Console


 07-22-2013, 11:27 AM
#24
Launching!
Thread Starter
iTrader: (2)
Join Date: Mar 2013
Location: Florida
Posts: 252
Likes: 0
Received 0 Likes
on
0 Posts
Im just going to form it from 1/8 abs sheets and depending how it turns out make vacuum formed molds of it. I was thinking of selling the two halves that could be glued and filled by the buyer and covered or painted for like 40-50 bucks depending on how much it actually costs me to make. Not looking to make millions but the lids are junk from the factory and cost way too much to replace.
07-23-2013, 05:28 PM
#25
Launching!
Thread Starter
iTrader: (2)
Join Date: Mar 2013
Location: Florida
Posts: 252
Likes: 0
Received 0 Likes
on
0 Posts
Got the plastic, 1/16 is too small
well it will work but 1/8 wouldve been better
Anyways pics more progress to follow
[IMG]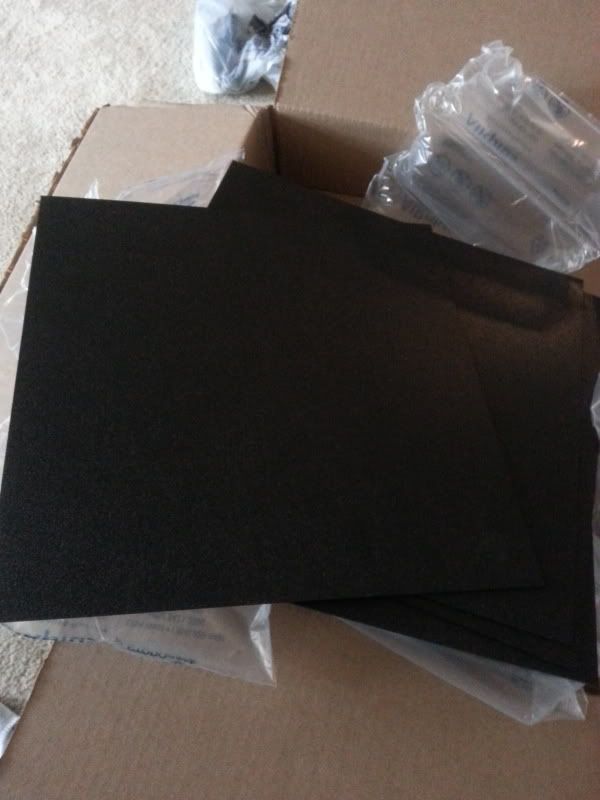 [/IMG]
Stencils:
[IMG]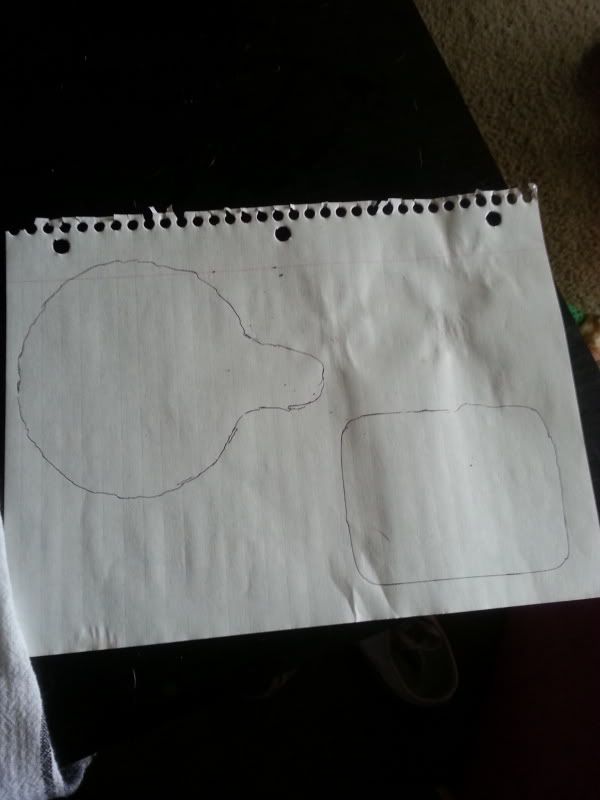 [/IMG]
I still havent fixed my dremel soooooo these were alot harder to make then they should have been:
[IMG]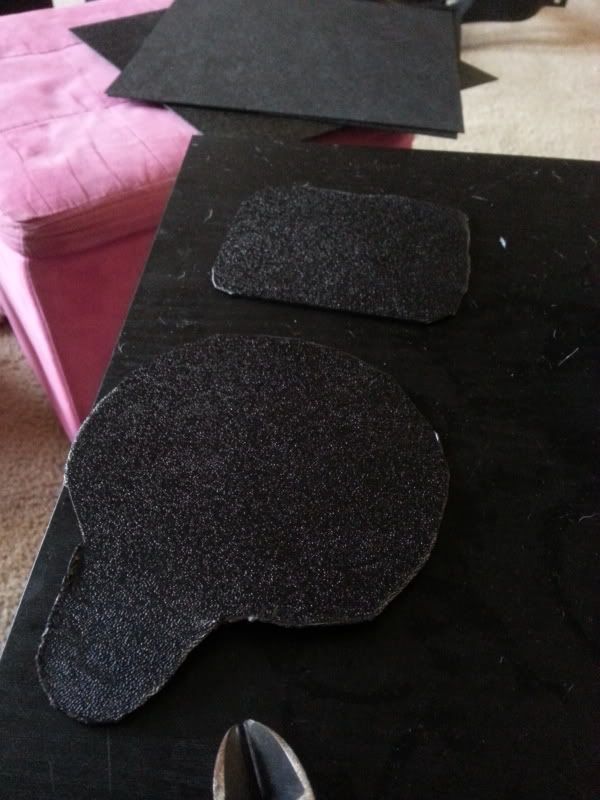 [/IMG]
hope this melts into place nice:
[IMG]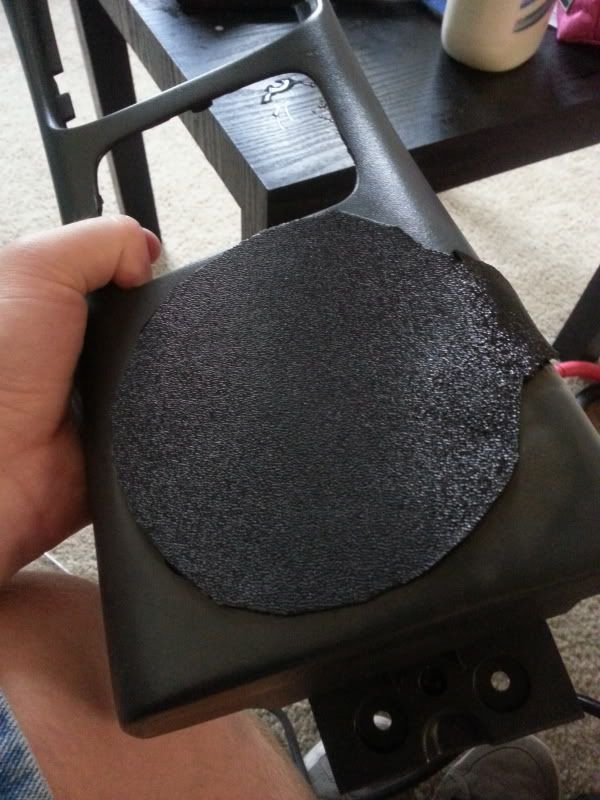 [/IMG]
this one just wouldnt melt and form nicely.....acetone better melt it in right(we will find out soon):
[IMG]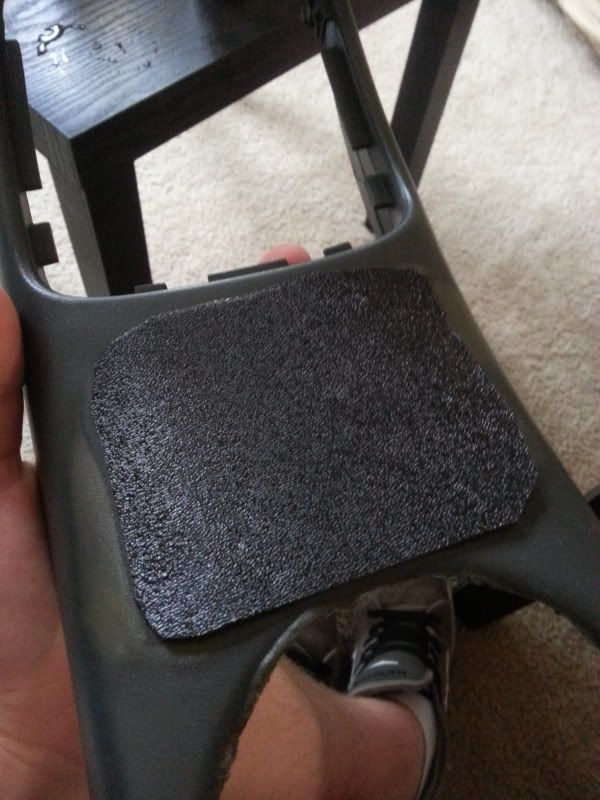 [/IMG]
bubbling and what not doesnt look good/right but its much better in person:
[IMG]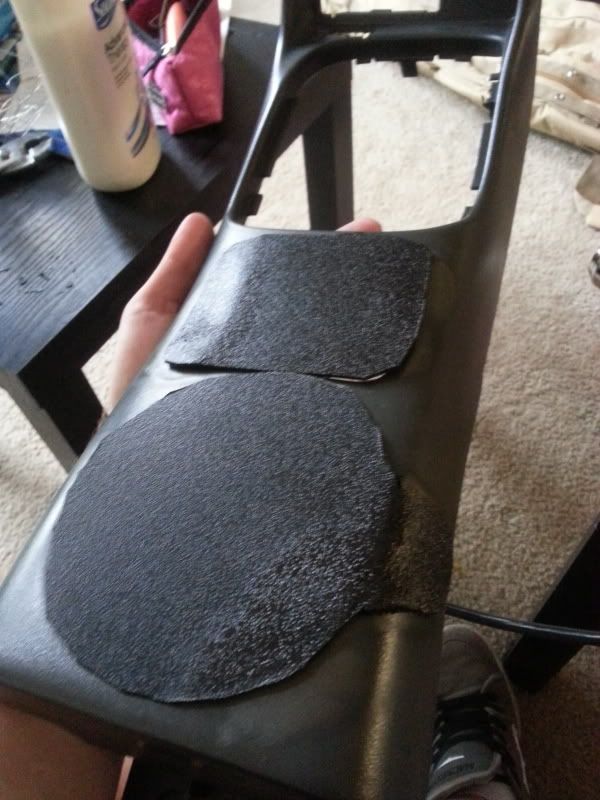 [/IMG]
well it will work but 1/8 wouldve been better
Anyways pics more progress to follow
[IMG]
 [/IMG]
Stencils:
[IMG]
 [/IMG]
I still havent fixed my dremel soooooo these were alot harder to make then they should have been:
[IMG]
 [/IMG]
hope this melts into place nice:
[IMG]
 [/IMG]
this one just wouldnt melt and form nicely.....acetone better melt it in right(we will find out soon):
[IMG]
 [/IMG]
bubbling and what not doesnt look good/right but its much better in person:
[IMG]
 [/IMG]
07-23-2013, 07:43 PM
[/IMG]
07-23-2013, 07:43 PM
#26
Launching!
Thread Starter
iTrader: (2)
Join Date: Mar 2013
Location: Florida
Posts: 252
Likes: 0
Received 0 Likes
on
0 Posts
started acetone welding(really messy)
[IMG]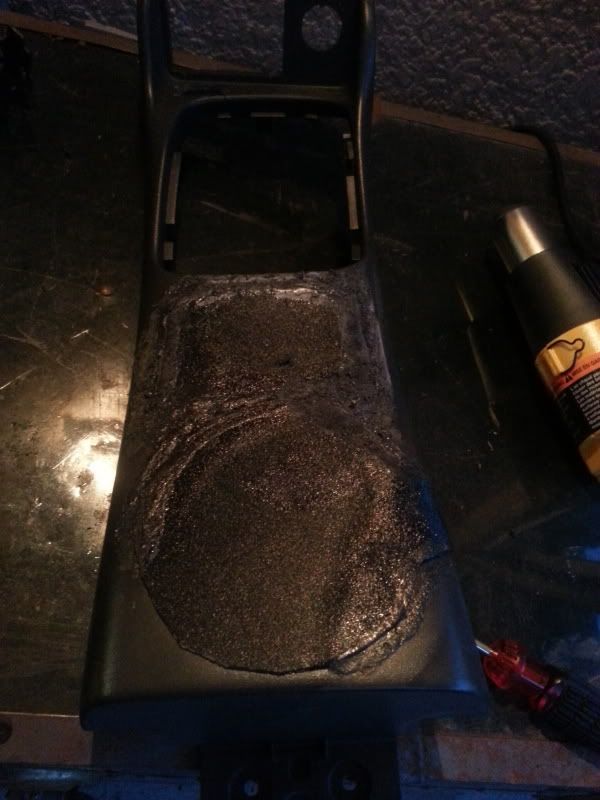 [/IMG]
[IMG]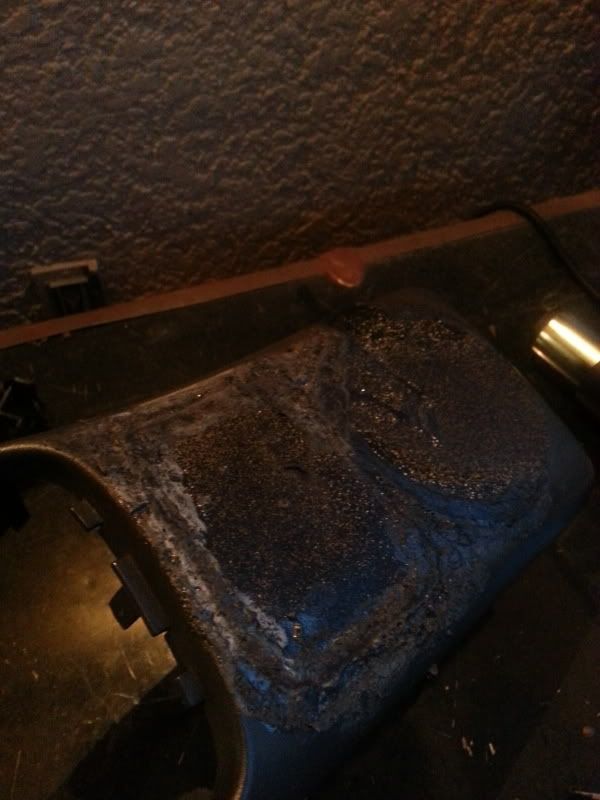 [/IMG]
this looks really nasty but after I finish getting it all attached and kinda flush sanding it will really clean it up.
[IMG]
 [/IMG]
[IMG]
 [/IMG]
this looks really nasty but after I finish getting it all attached and kinda flush sanding it will really clean it up.
07-23-2013, 08:24 PM
#27

I see where you're going with this. Nice ingenuity and thought put into this. When I shaved my console in my Monte I cut and used the plastic itself from console; and plastic welded plastic on plastic. But I wonder how sturdy the abs is going to be. Are you planning on bracing those sections underneath the abs? I know how much work you have ahead of you I would hate for one person to come along and lean or push on the weak area and ruin your work.
07-23-2013, 08:33 PM
#28
Launching!
Thread Starter
iTrader: (2)
Join Date: Mar 2013
Location: Florida
Posts: 252
Likes: 0
Received 0 Likes
on
0 Posts
I see where you're going with this. Nice ingenuity and thought put into this. When I shaved my console in my Monte I cut and used the plastic itself from console; and plastic welded plastic on plastic. But I wonder how sturdy the abs is going to be. Are you planning on bracing those sections underneath the abs? I know how much work you have ahead of you I would hate for one person to come along and lean or push on the weak area and ruin your work.
Even point pressure to the centers and seams. Im shocked how well it is holding!
07-24-2013, 04:24 PM
#29

Making good progress! I'm excited to see it when you're done.
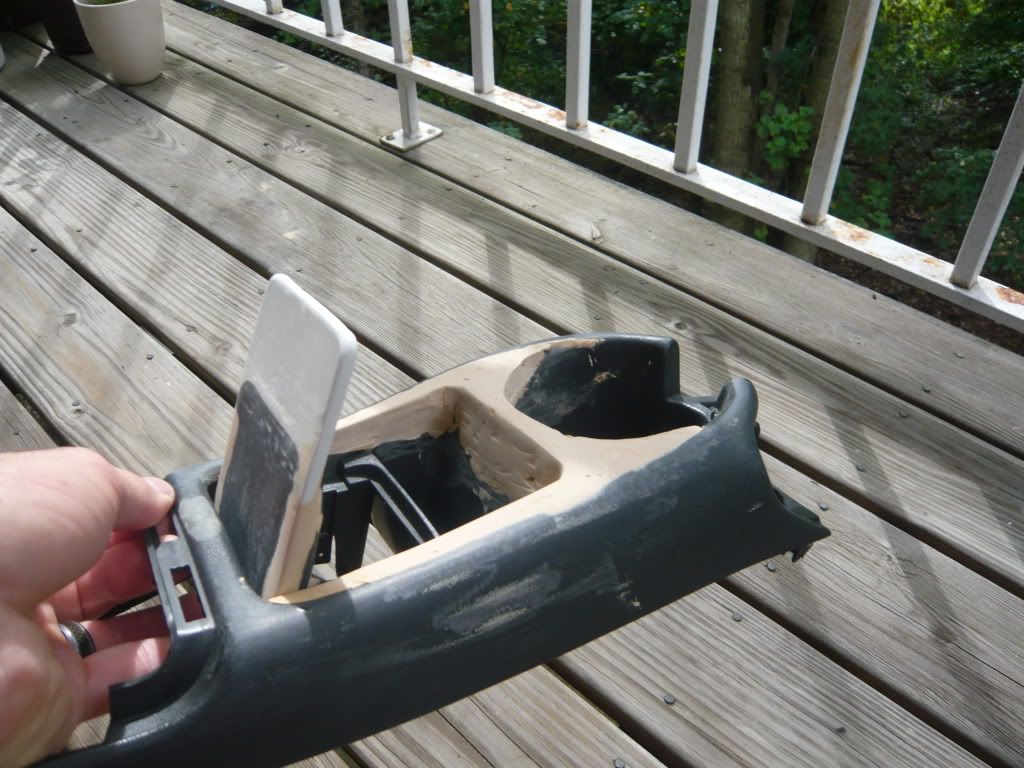
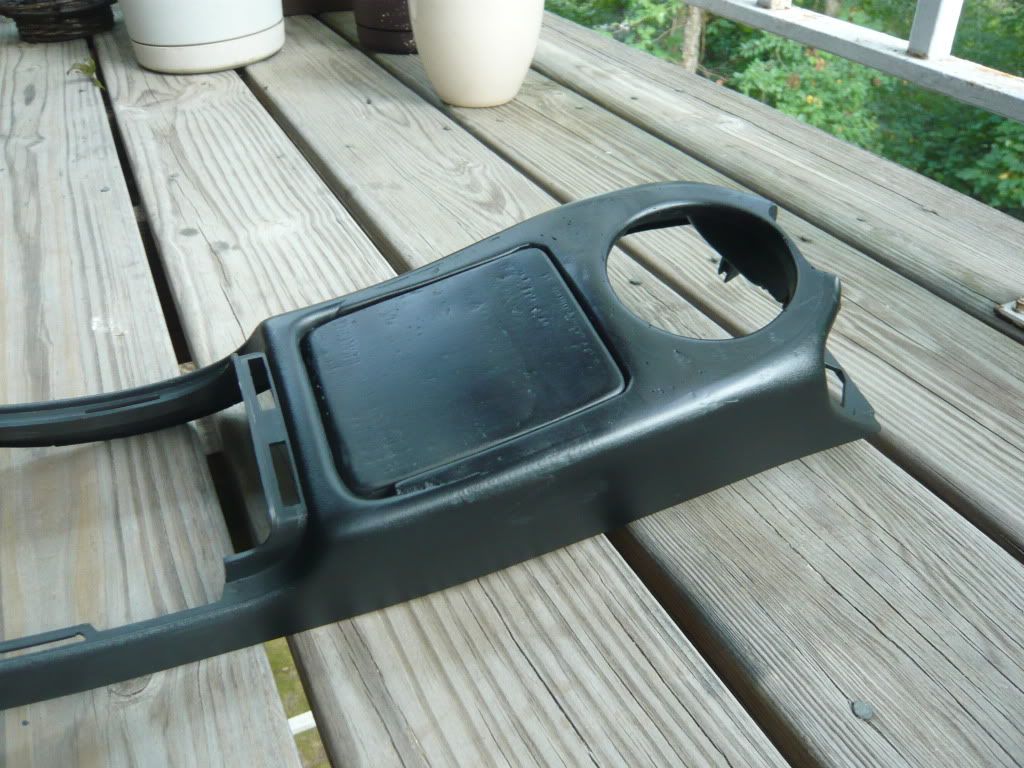
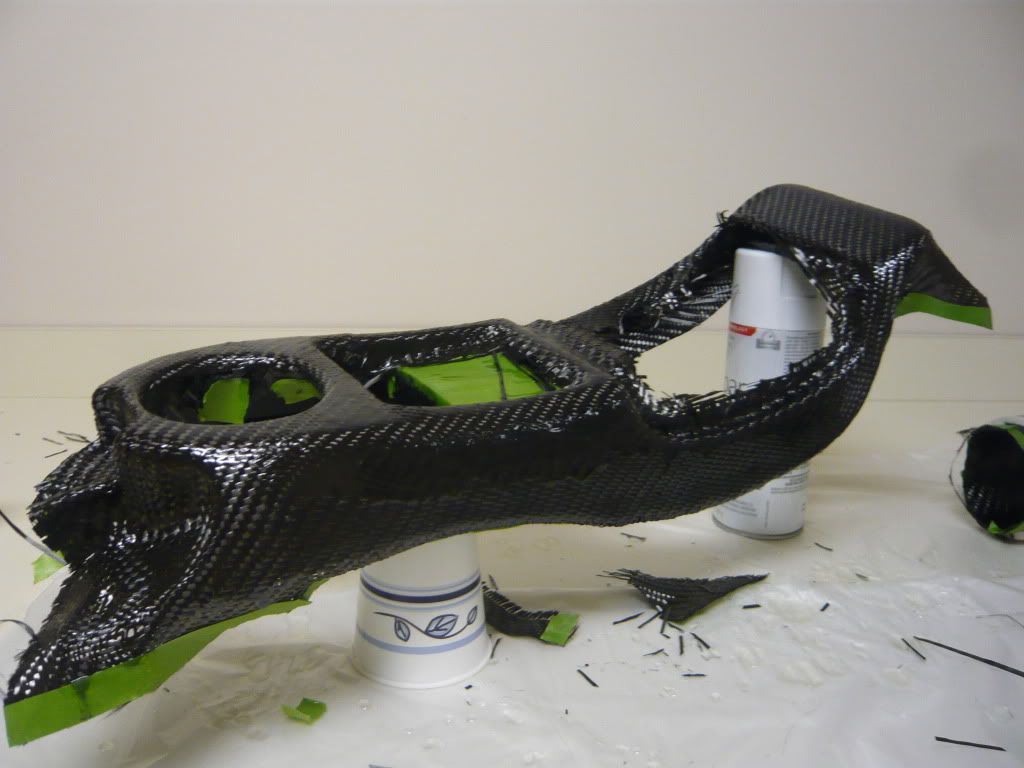
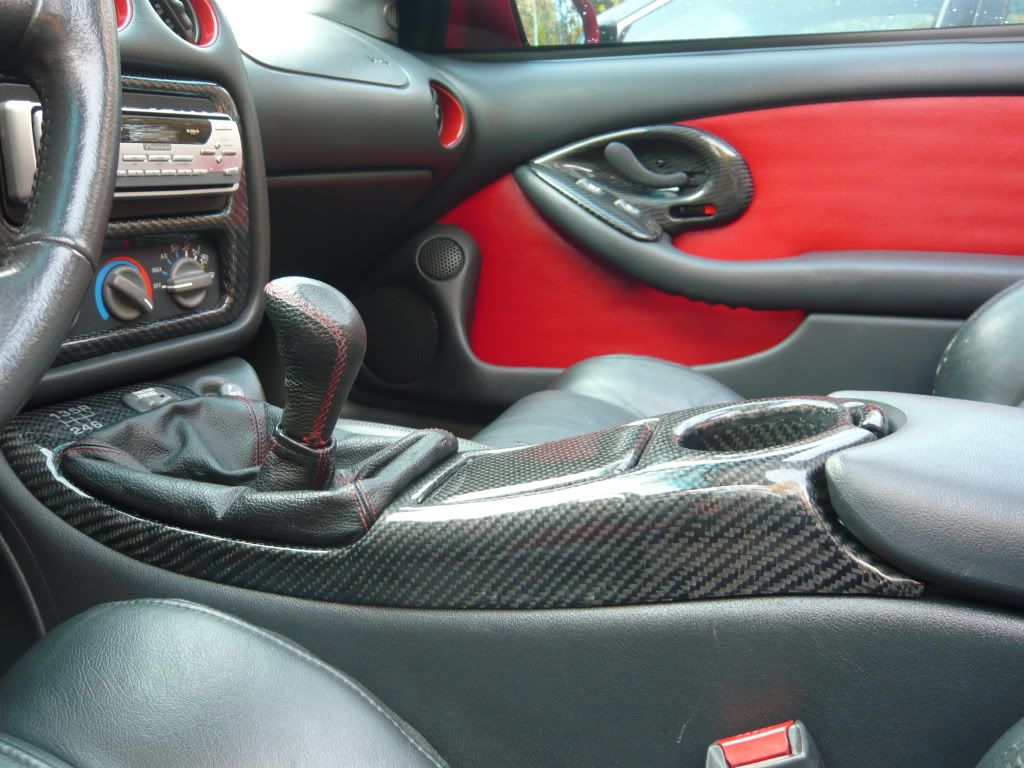
Here are some pics of the console I did a while back, just in case it is helpful for ideas or inspiration. Basically re-formed the cup holder to be useful and extended the ash tray lid for a smoother look.

Here are some pics of the console I did a while back, just in case it is helpful for ideas or inspiration. Basically re-formed the cup holder to be useful and extended the ash tray lid for a smoother look.
07-24-2013, 05:49 PM
#31
Launching!
Thread Starter
iTrader: (2)
Join Date: Mar 2013
Location: Florida
Posts: 252
Likes: 0
Received 0 Likes
on
0 Posts
That looks really nice man, especially how well that carbon fiber wrap turned out. How did you get the shift pattern transfered? That looks really slick.
07-24-2013, 08:23 PM
#32
Launching!
Thread Starter
iTrader: (2)
Join Date: Mar 2013
Location: Florida
Posts: 252
Likes: 0
Received 0 Likes
on
0 Posts
Got some stuff done,
first things first my dremel is fixed:
[IMG]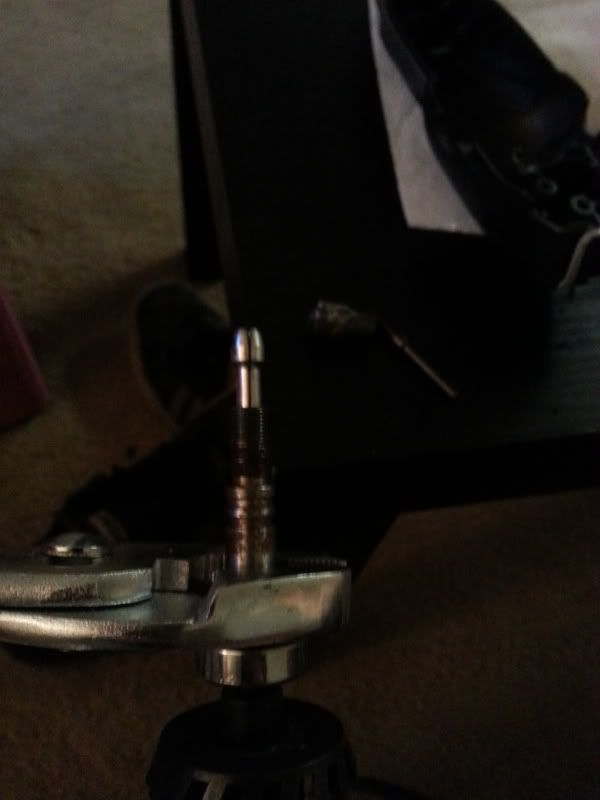 [/IMG]
nut was stuck on the end and I finally got a good grip and well it aint stuck no mo
So back to console,
Finished first acetone welding and grinded it down:
[IMG]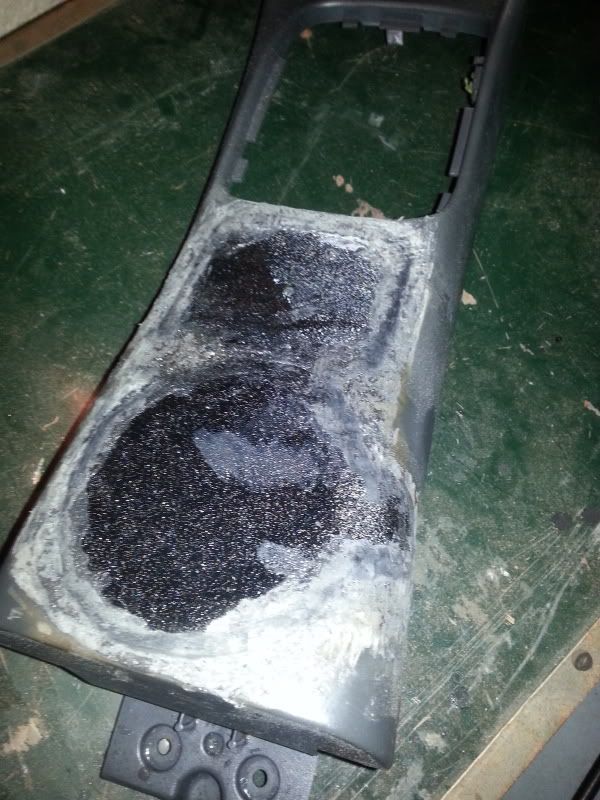 [/IMG]
[IMG]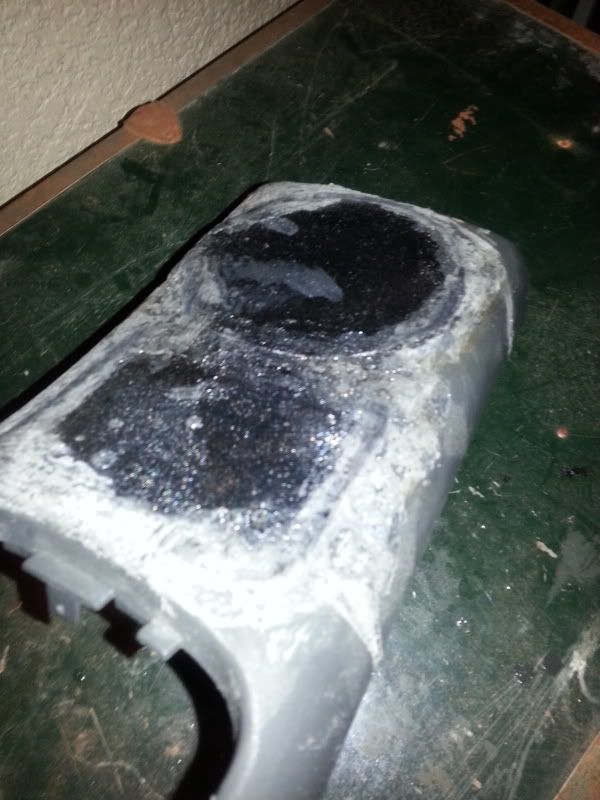 [/IMG]
sorry for the crappy pics here is a side shot, roles up alittle in the middle and is hard to shape as the filler plastic is so much thinner than the base so it heats up too quick while the base doesnt heat up enough leaving me with an interesting challenge.
[IMG]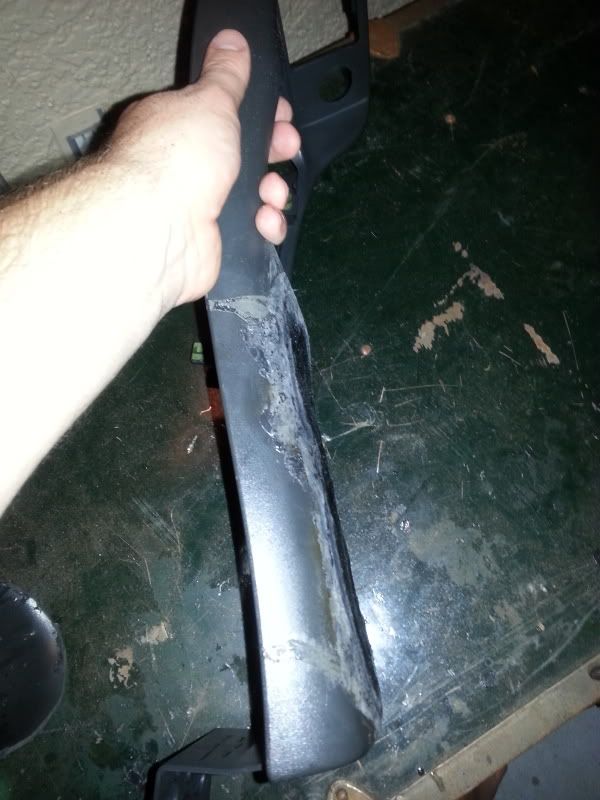 [/IMG]
anyways wife works tomorrow so hopefully will work more, hard to work when navy keeps me till 1630-1645 I have a 45 min drive home and now we have to muster at the barracks at 0500 to march to whatever event as people cant show up to flights or remove their cranium from their anus....I hate my fellow classmates sometimes(all single in the barracks and biggest worry is next girl they take home)
first things first my dremel is fixed:
[IMG]
 [/IMG]
nut was stuck on the end and I finally got a good grip and well it aint stuck no mo
So back to console,
Finished first acetone welding and grinded it down:
[IMG]
 [/IMG]
[IMG]
 [/IMG]
sorry for the crappy pics here is a side shot, roles up alittle in the middle and is hard to shape as the filler plastic is so much thinner than the base so it heats up too quick while the base doesnt heat up enough leaving me with an interesting challenge.
[IMG]
 [/IMG]
anyways wife works tomorrow so hopefully will work more, hard to work when navy keeps me till 1630-1645 I have a 45 min drive home and now we have to muster at the barracks at 0500 to march to whatever event as people cant show up to flights or remove their cranium from their anus....I hate my fellow classmates sometimes(all single in the barracks and biggest worry is next girl they take home)
 07-27-2013, 12:37 PM
#37
Launching!
Thread Starter
iTrader: (2)
Join Date: Mar 2013
Location: Florida
Posts: 252
Likes: 0
Received 0 Likes
on
0 Posts
VERY HAPPY something worked out nicely for once.
07-27-2013, 01:02 PM
#38
Well they are alittle TOO flexible and Ill probably have to back them with plastic. However I have twisted pushed pulled in all directions and it acts like one solid piece. once cleaned up and painted when backed properly it would look feel and act as a solid OEM piece.
VERY HAPPY something worked out nicely for once.
VERY HAPPY something worked out nicely for once.
07-27-2013, 02:07 PM
#39
Launching!
Thread Starter
iTrader: (2)
Join Date: Mar 2013
Location: Florida
Posts: 252
Likes: 0
Received 0 Likes
on
0 Posts
I will, gotta wash my car, paint my calipers, and check if my car looses its freeway speed wobbles with the wheels off on stands(think atleast one rim is bent :/ lol)
But after that I plan to acetone weld the plastic alittle smoother and sand and grind it down alittle better. Still gotta order the SEM paint materials and find a flexible plastic filler OR make some abs goop with alittle acetone abs plastic and alot of love
anyways though should have some good stuff done by sundown
09-22-2013, 07:02 PM
#40
Launching!
Thread Starter
iTrader: (2)
Join Date: Mar 2013
Location: Florida
Posts: 252
Likes: 0
Received 0 Likes
on
0 Posts
So I have some updating. Ive been planning a supercharger build and trying to finish my C school for the navy. Oh and planning for the coming holidays. However finally done slacking on this.
here are some pictures of some progress I made today:
sanded it down a bit:
[IMG]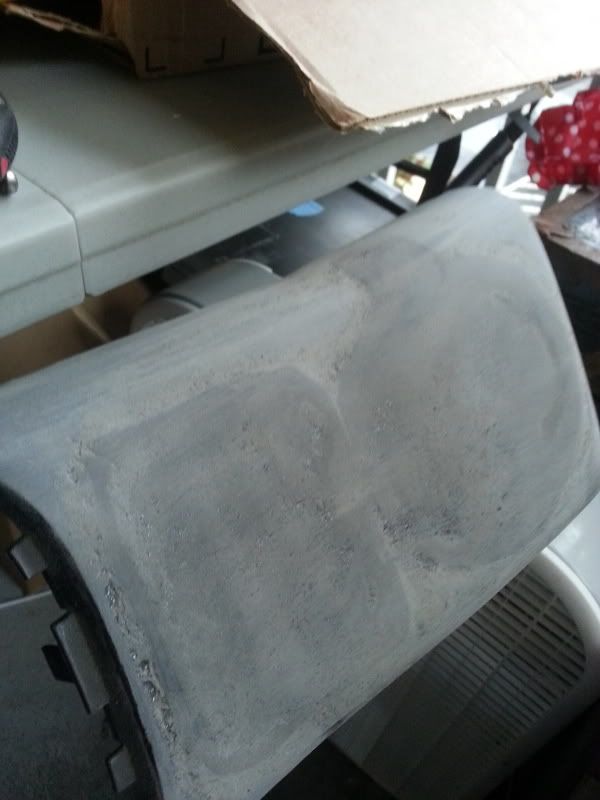 [/IMG]
another:
[IMG] [/IMG]
I added some more acetone to it after these then hit it with the heat gun. What that does it bring bubbles of plastic up to the surface. After doing this then sanding it has reduced those pitted areas by a lot. Primer will fix the remaining issues.
I then moved to the front:
[IMG]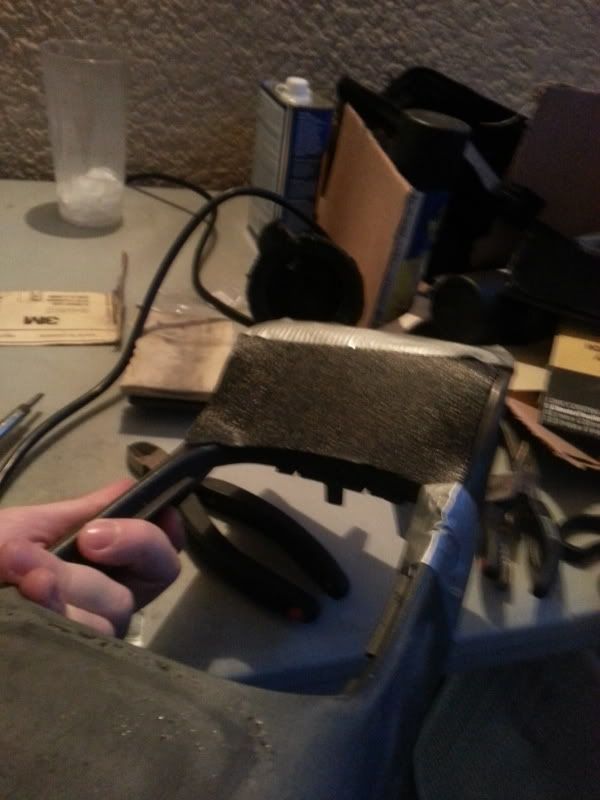 [/IMG]
more shaping:
[IMG]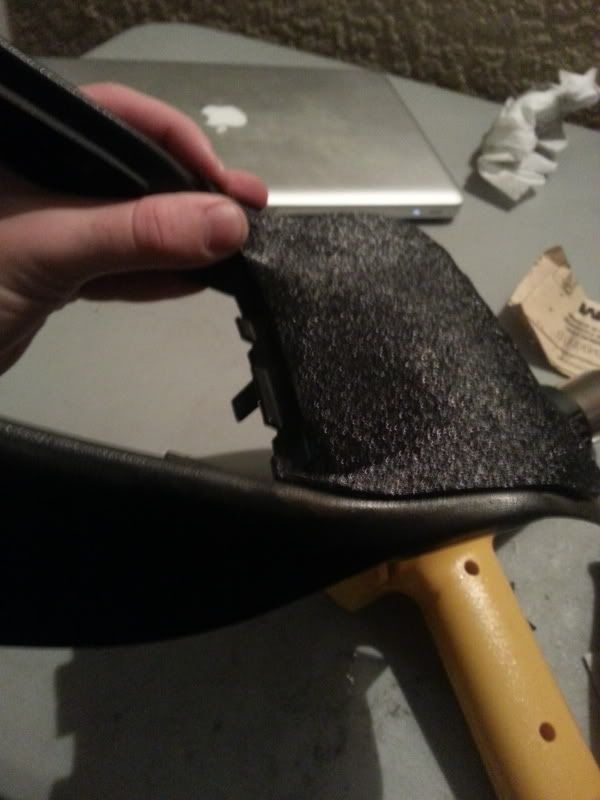 [/IMG]
big picture:
[IMG]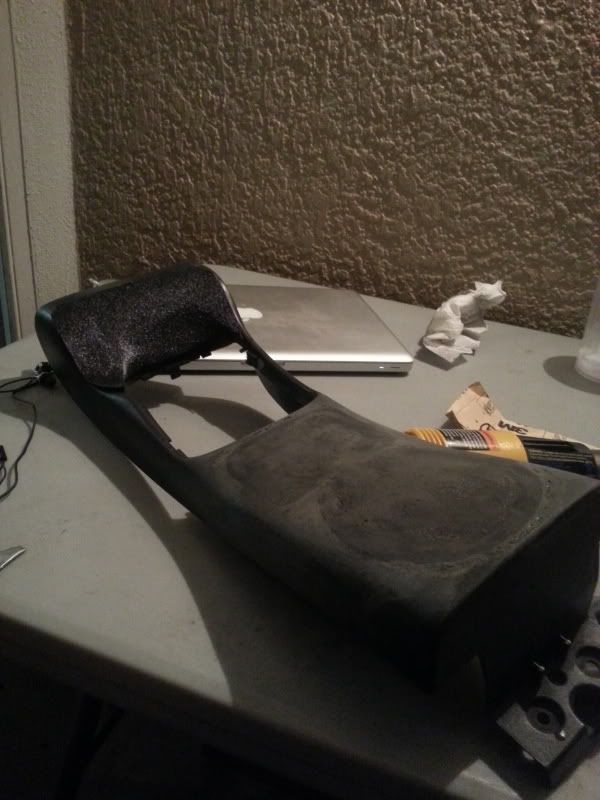 [/IMG]
still have alittle more shaping to go on the front area oh and chemically weld it in:
[IMG]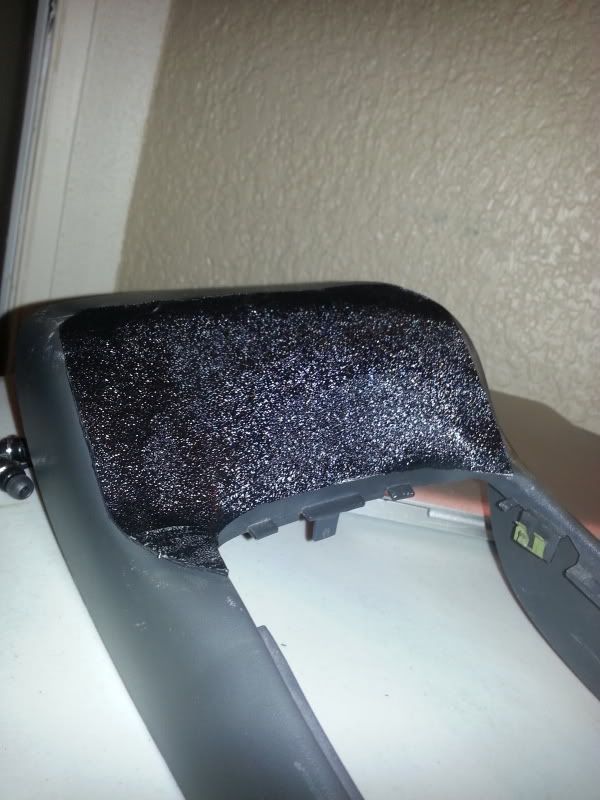 [/IMG]
this photo shows how much smoother it is pretty well, it looks like its got a wavy shape to it but its not wavy at all:
[IMG]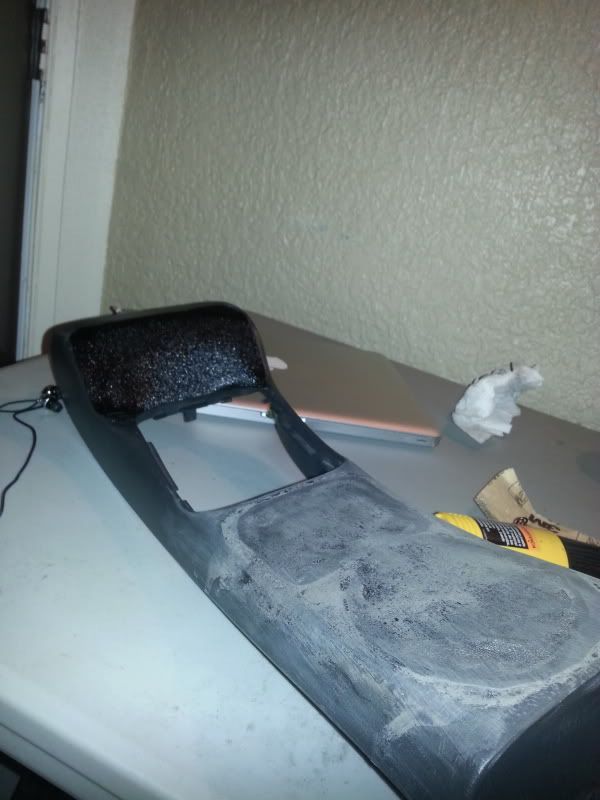 [/IMG]
I am considering making a vacuum forming machine and making a mold of this to pull vacuum formed pieces from. Would be as thick as oem and fit just right. If I can find the materials to make this happen without too much hassle id probably sell a unpainted plastic pull for around 50-75 depending on plastic cost. Might try and and get it to a finished painted and textured similar to oem at those prices again material cost depending.
I know I have 3 buddies down if I do make anymore. I will be making some headlight lenses anyways to aid in my blinker relocation project lined up for after this
here are some pictures of some progress I made today:
sanded it down a bit:
[IMG]
 [/IMG]
another:
[IMG]
 [/IMG]
I added some more acetone to it after these then hit it with the heat gun. What that does it bring bubbles of plastic up to the surface. After doing this then sanding it has reduced those pitted areas by a lot. Primer will fix the remaining issues.
I then moved to the front:
[IMG]
 [/IMG]
more shaping:
[IMG]
 [/IMG]
big picture:
[IMG]
 [/IMG]
still have alittle more shaping to go on the front area oh and chemically weld it in:
[IMG]
 [/IMG]
this photo shows how much smoother it is pretty well, it looks like its got a wavy shape to it but its not wavy at all:
[IMG]
 [/IMG]
I am considering making a vacuum forming machine and making a mold of this to pull vacuum formed pieces from. Would be as thick as oem and fit just right. If I can find the materials to make this happen without too much hassle id probably sell a unpainted plastic pull for around 50-75 depending on plastic cost. Might try and and get it to a finished painted and textured similar to oem at those prices again material cost depending.
I know I have 3 buddies down if I do make anymore. I will be making some headlight lenses anyways to aid in my blinker relocation project lined up for after this