Headlight Polishing Made TOO Easy?!?! - Detailers All In One Headlight Restoration Po
 04-21-2014, 10:12 AM
#1
Closed ex-Sponsor Account
Thread Starter
Join Date: Aug 2013
Location: Orlando & Palm Beach, FL
Posts: 161
Likes: 0
Received 0 Likes
on
0 Posts
Detailers All In One Headlight Restoring Polish is engineered to replace the multiple steps usually required to restore headlight lens covers - multiple sanding steps followed by multiple polishing steps.
Detailer's All In One Headlight Restoration Polish is available as a stand alone product as well in two kit forums.
Detailer's Headlight Restoration Kit -
This kit features a 4 oz bottle of Detailer's All In One Headlight Restoration Polish, as well as 3 1/4 inch Lake Country Purple Foamed Wool Pad, a 3-inch Drill Backing Plate and microfiber applicator. This kit allows you to use a standard drill to achieve professional results.
Detailer's Total Headlight Restoration Kit -
This kit is similar to the above, with the addition of an 8 oz bottle Detailer's Headlight Protectant Spray. The polish size is also increased to an 8 oz bottle.
Getting Started:
In this article : Autopia Guide To Headlight Restoration is showed the advantage of doing a total headlight restoration (including sanding) on the passenger side headlight of my Toyota Matrix. For this article I am going to work on the driver's side headlight. While sanding will flatten the cover more, removing sand-blast pits, Detailer's All In One provides near the same results in less than a fraction of the time.
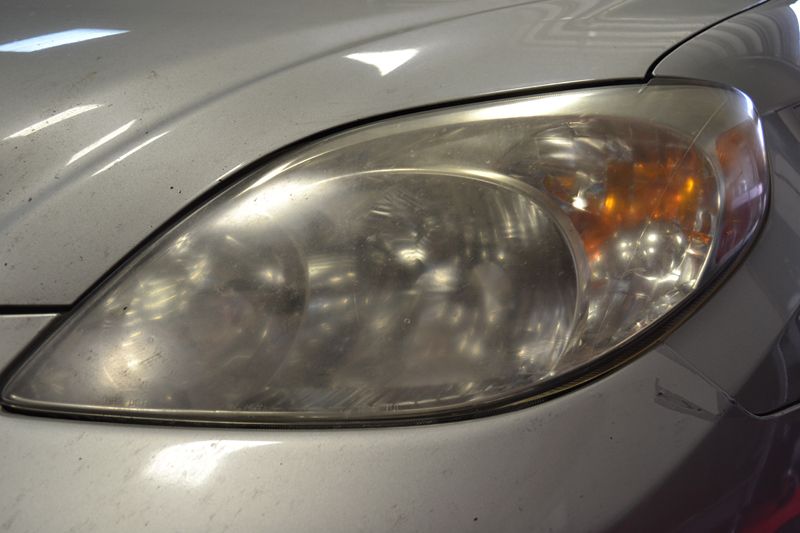
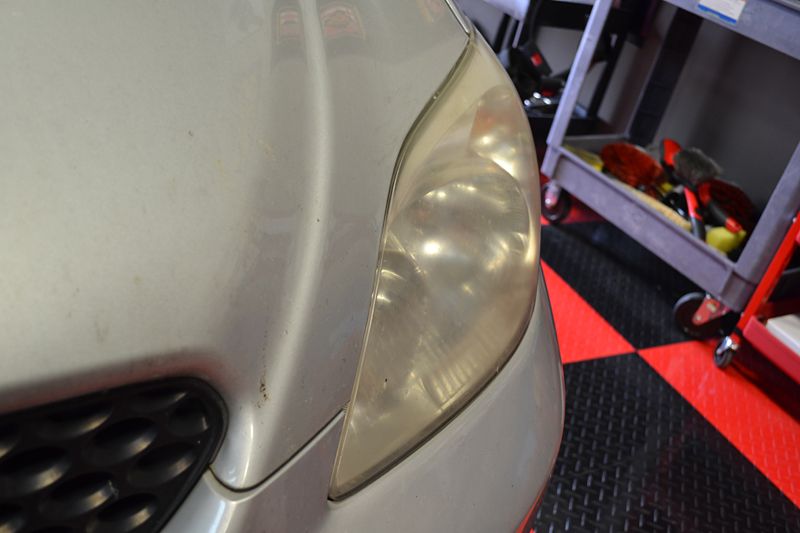
Not only do clouded healights look back, but they greatly reduce the headlight's ability to illuminate the road head. Even worse, they reduce your visibility to other drivers..

Start by thoroughly cleaning the headlights (washing or wiping with a waterless wash) then using Detailing Clay to remove any insect remains, embedded contaminates and road film... Here I am using BLACKFIRE PolyClay Fine.
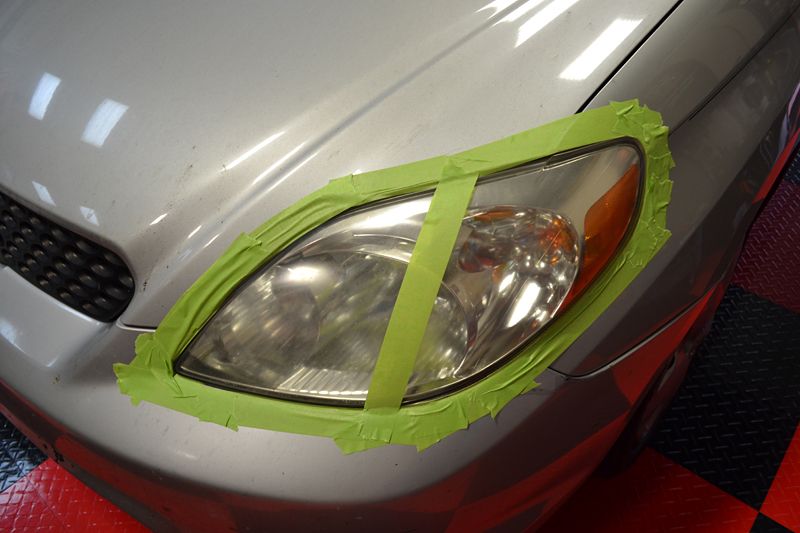
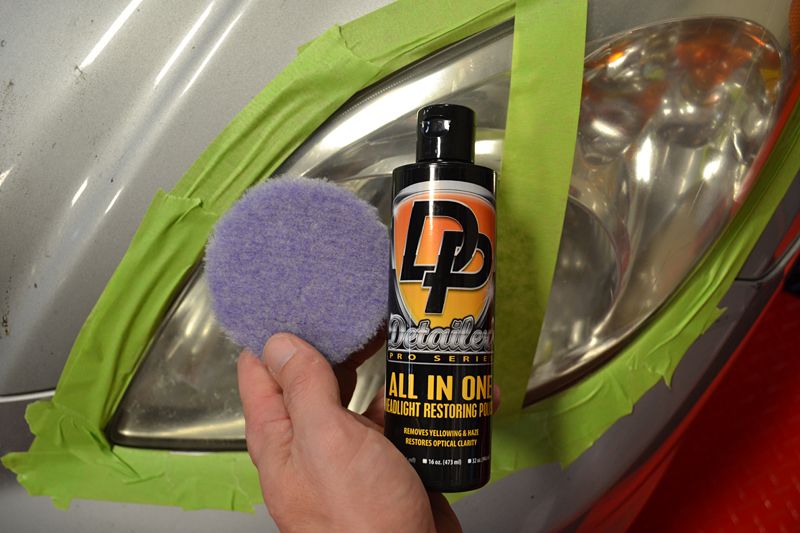
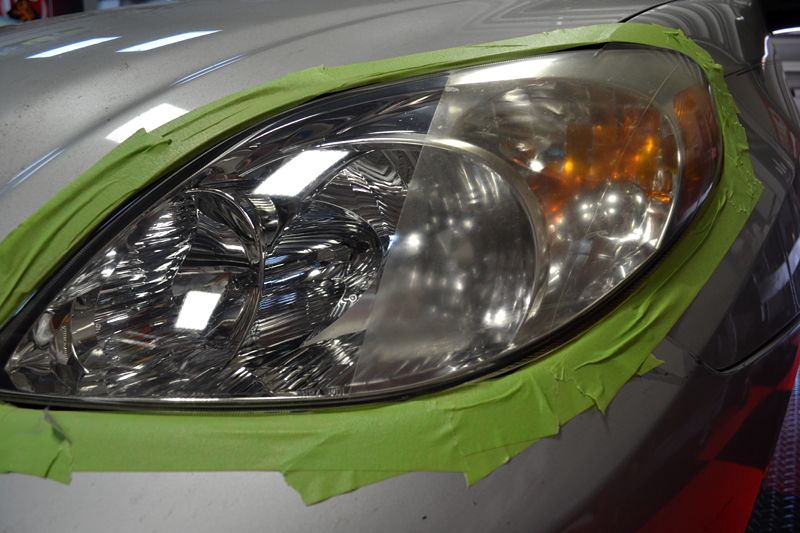
Next, take the time to tape up any adjacent bodywork. This is step is even more important if you are using the rotary-like action of a drill for your restoration.
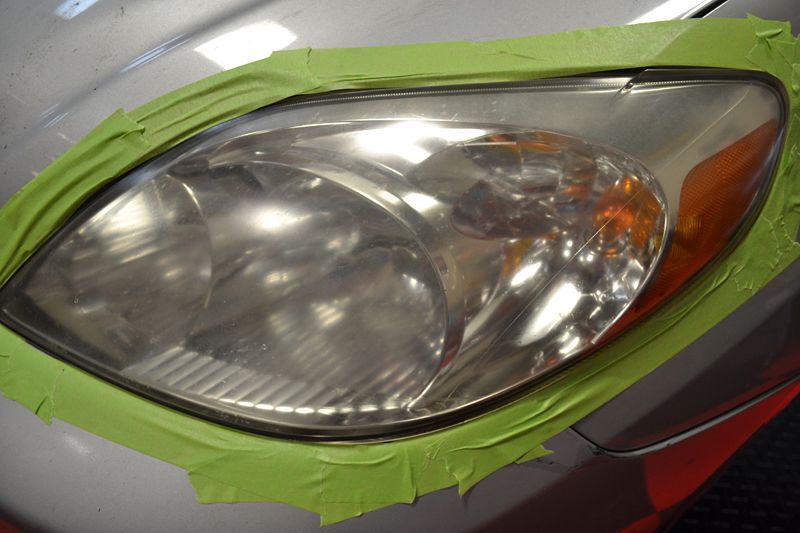
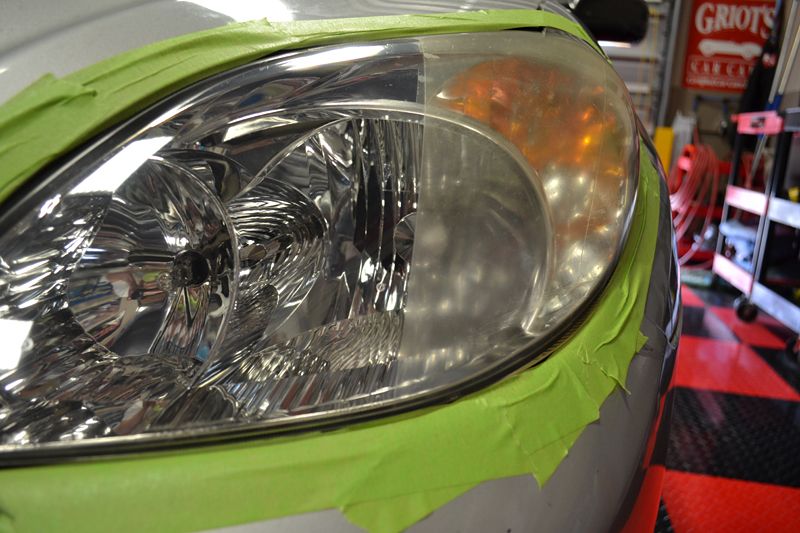
To demonstrate the effectiveness of Detailer's All In One Headlight Restoration Polish, I taped the headlight in half as well.
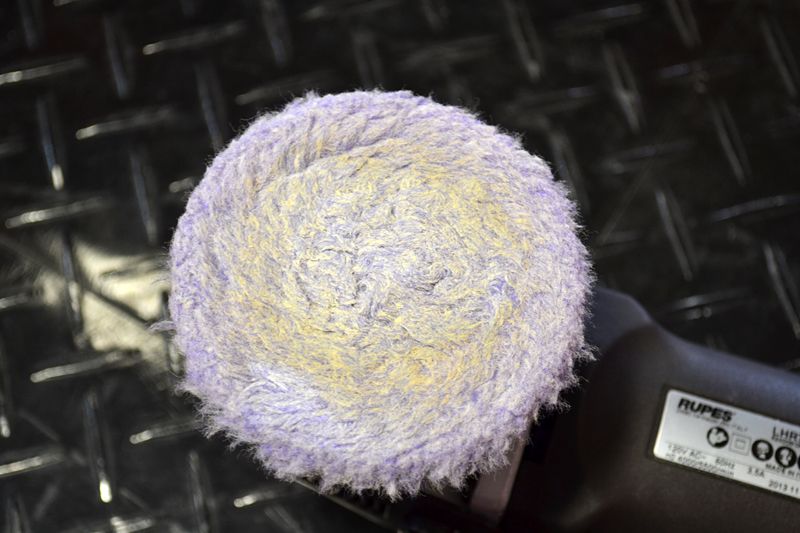
The Lake Country Thin Purple Wool Pad provides good cutting power (to scrub away the yellowing/oxidation), which is why it is included in the kit. Not only does it clean well, but it leaves a haze-free finish so your headlights will shine brightly.
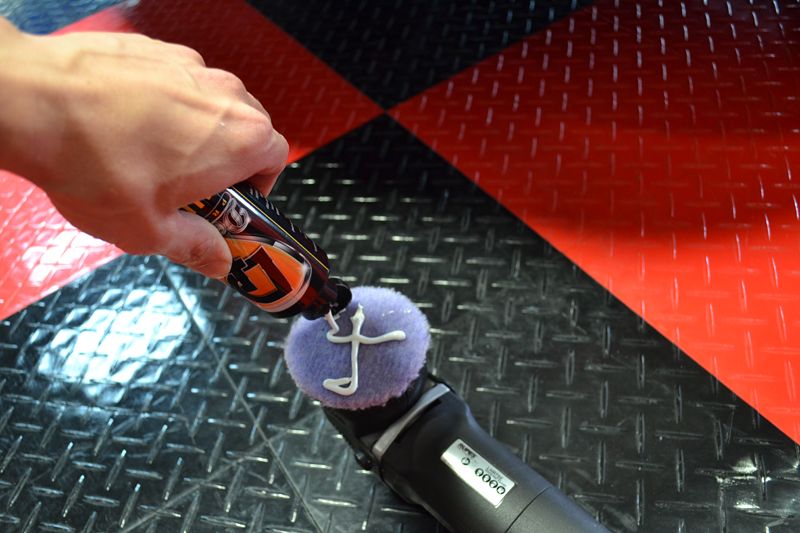
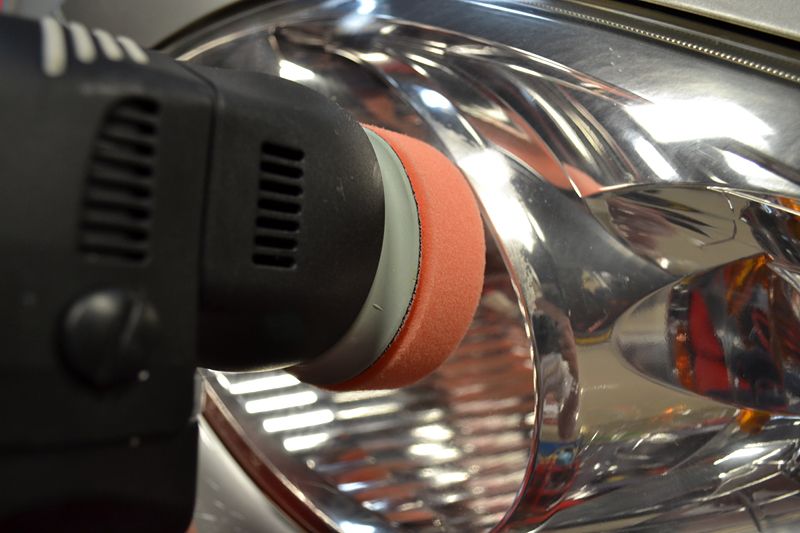
The kit's provide attachments to use with a standard drill. However, I have access to Rupes' excellent Mini BigFoot Polisher, so I wanted to give it a try. A drill will work equally well, just make sure to keep it moving to avoid overheating the plastic lens cover.
Draw a medium X across the face of the pad.
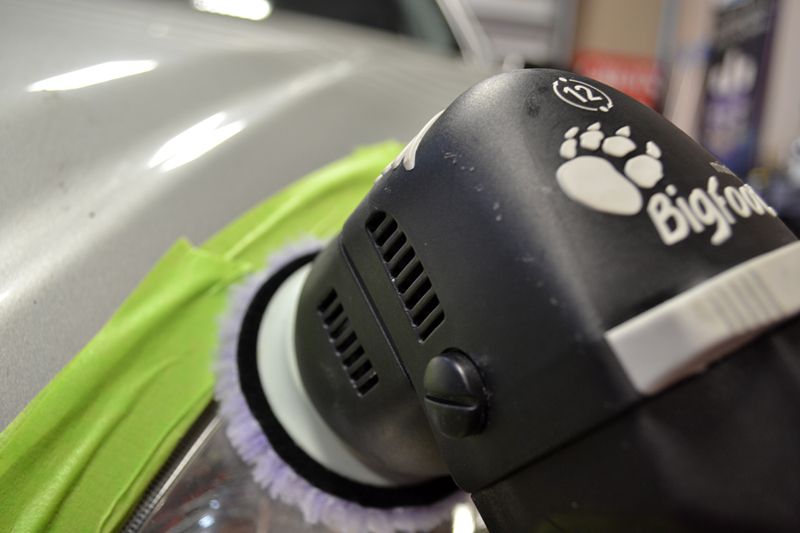
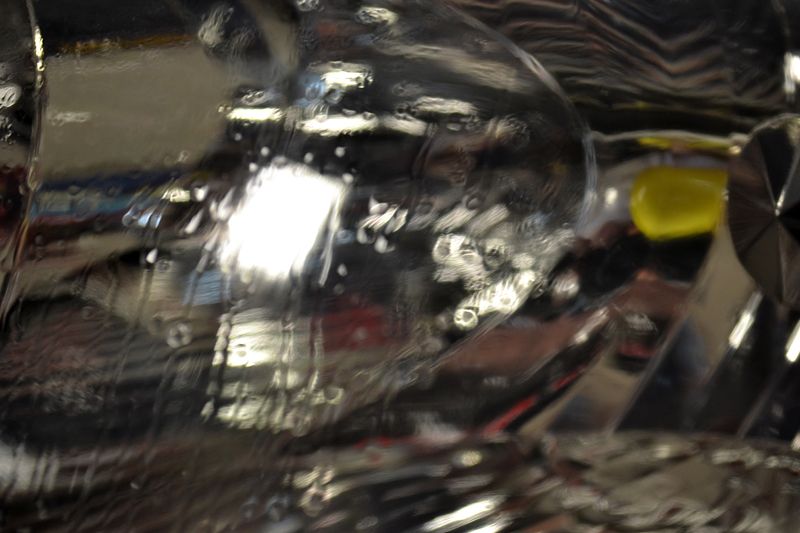
Using Detailers All In One Headlight Restoring Polish is as easy as putting the machine on the paint, turning it on, and moving it around in smooth overlapping passes. The film will quickly "clear up", revealing a clear headlight. It is amazing how quickly this works.
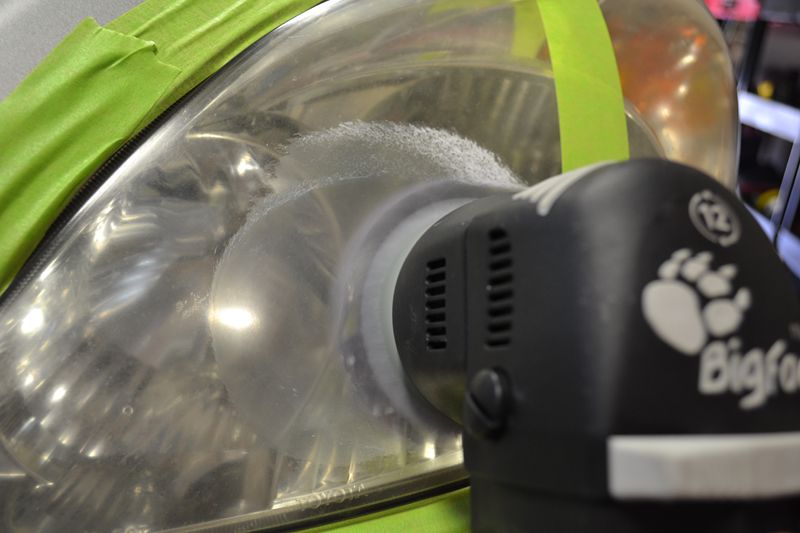
Make sure to get the edges (why the tape comes in handy).
You can see the yellowing on the face of the pad. Clean with a nylon brush like the Pad Conditioning Brush or compressed air.
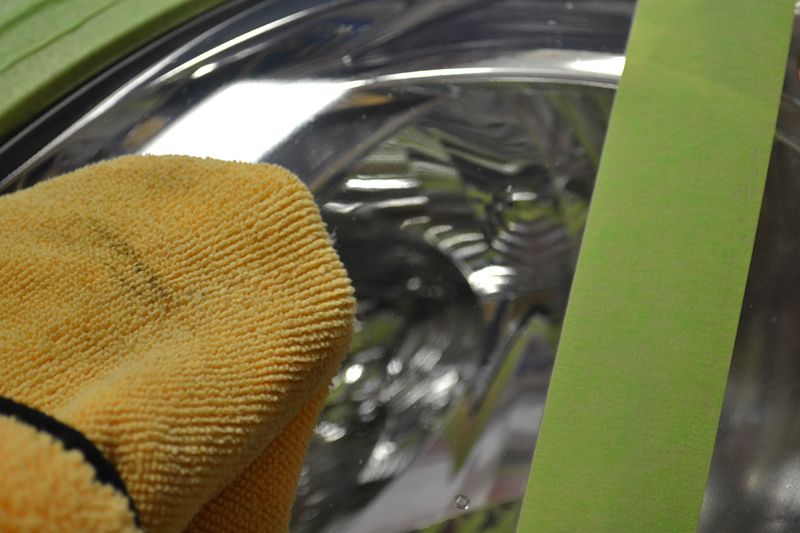
Polish until the residue and the headlight appear clear then wipe away the residue with a soft microfiber cloth. For headlights that are badly oxidized, you may need two applications.
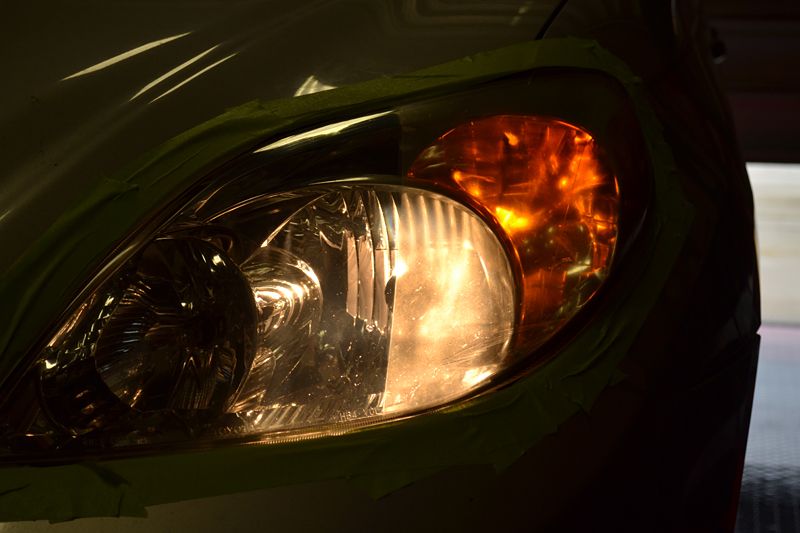
Removing the tap line to reveal the 50/50 - before/after- shots.
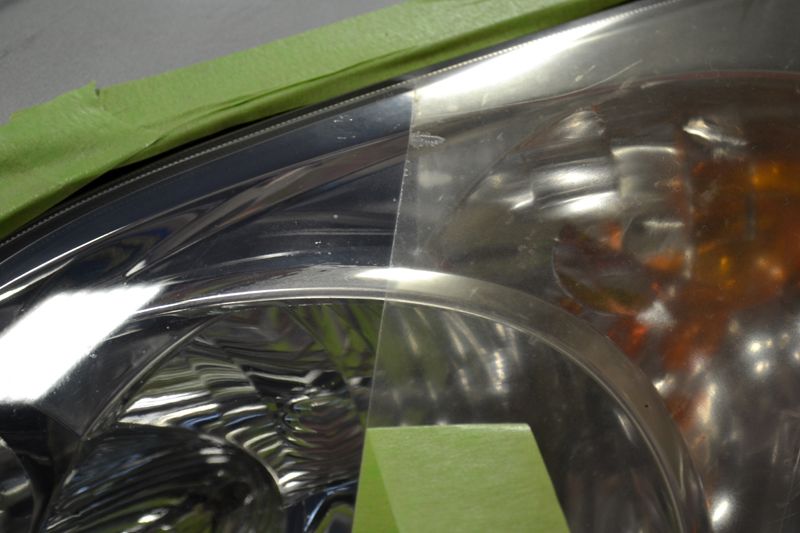
The polished side looks much much better....
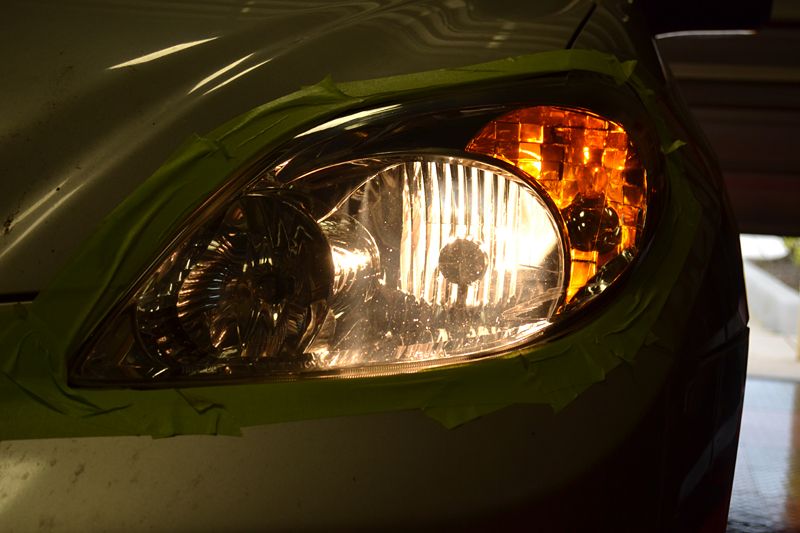
... and more importantly, both luminosity and visibility have been greatly improved.
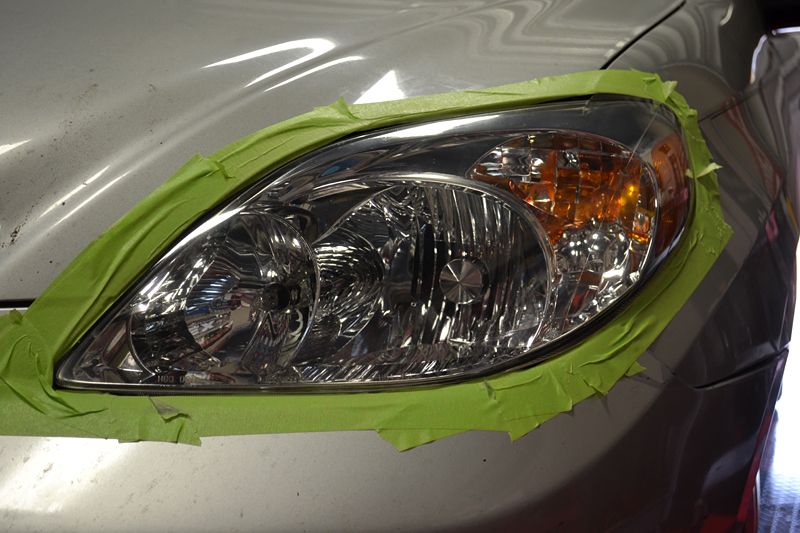
In a matter of minutes I had the rest of the headlight restored...
Once the headlights have been restored, they need to be protected to prevent or help prevent oxidation/yellowing from reoccurring. Detailer's offers an excellent, and easy-to-use Headlight Protectant Spray. However, if you want even long-lasting protection, I would suggest looking at one of Detailer's nano coatings.
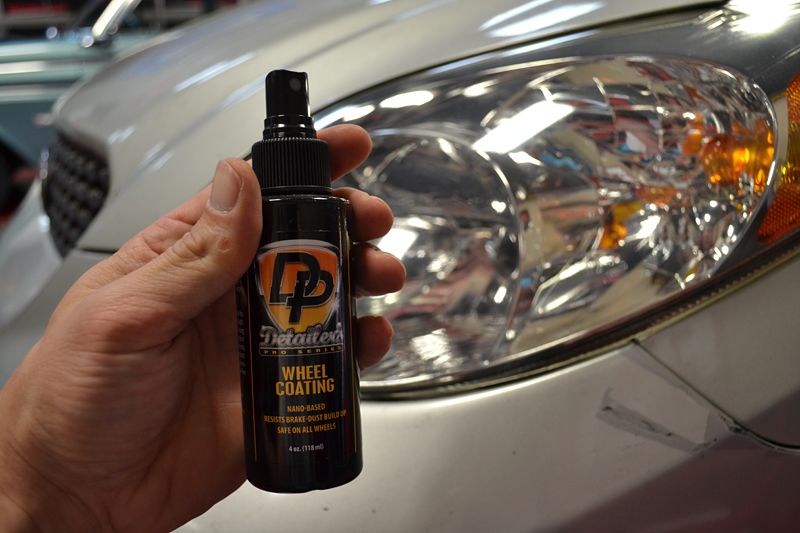
In this case we are going to use the Detailer's Wheel Coating. The reason I choose the Wheel Coating is because it features a unique solvent that flashes quickly, perfect for maximum adhesion to small areas....
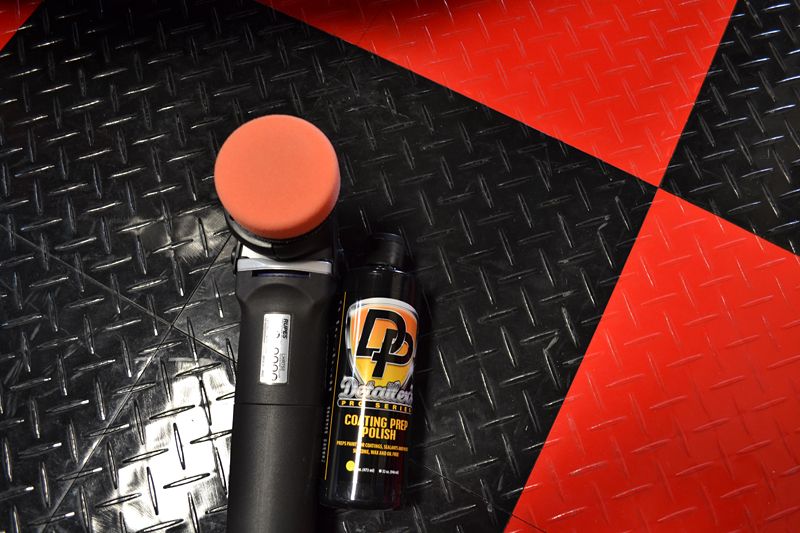
Nano coatings must be applied to surgically clean surfaces, free of any oil, polish, silicon/e or wax residues. Detailers Coating Prep Polish is a cleaning agent that quickly removes any surface residue while wiping away completely. You can use this polish with a drill, polisher or by hand. Since I had the BigFoot Mini handy, I slapped on a 3-inch Lake Country Tangerine Hydro-Tech Pad and spread it over the surface, then buffed it away.
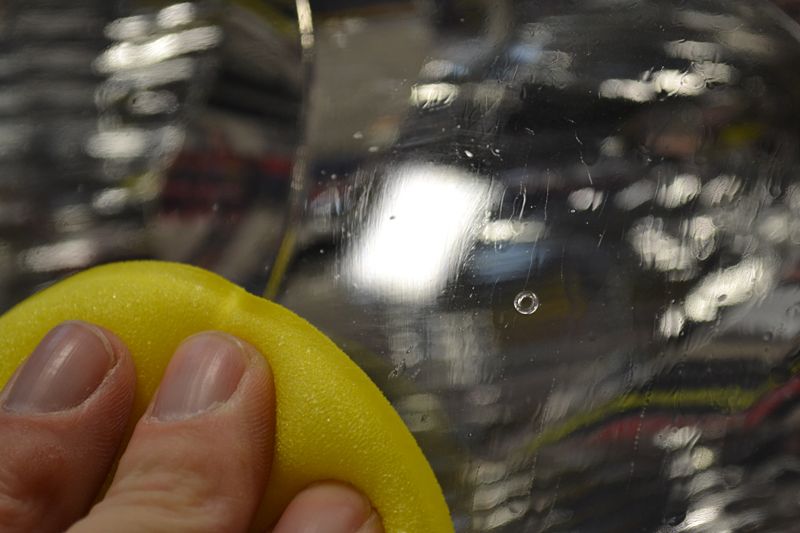
Simply spread it out on low speed and wipe away the residue.
Once the headlight is prepped, mist one-to-two sprays of Detailer's Wheel Coating onto the headlight and spread thinly into an even film. Continue work until no streaks are visible.
Allow the coating to cure for about a day and avoid water exposure for 12-24 hours if possible.
In less than 20 minutes you can restore headlights to like-new condition. The majority of the time is spend cleaning, claying and taping as the All In One Headlight Restoration Polish works so quickly. In a few more minutes, you can apply a long-lasting, nano-ceramic coating that will provide a crystallized shield against degradation.
Detailer's All In One Headlight Restoration Polish is available as a stand alone product as well in two kit forums.
Detailer's Headlight Restoration Kit -
This kit features a 4 oz bottle of Detailer's All In One Headlight Restoration Polish, as well as 3 1/4 inch Lake Country Purple Foamed Wool Pad, a 3-inch Drill Backing Plate and microfiber applicator. This kit allows you to use a standard drill to achieve professional results.
Detailer's Total Headlight Restoration Kit -
This kit is similar to the above, with the addition of an 8 oz bottle Detailer's Headlight Protectant Spray. The polish size is also increased to an 8 oz bottle.
Getting Started:
In this article : Autopia Guide To Headlight Restoration is showed the advantage of doing a total headlight restoration (including sanding) on the passenger side headlight of my Toyota Matrix. For this article I am going to work on the driver's side headlight. While sanding will flatten the cover more, removing sand-blast pits, Detailer's All In One provides near the same results in less than a fraction of the time.
Not only do clouded healights look back, but they greatly reduce the headlight's ability to illuminate the road head. Even worse, they reduce your visibility to other drivers..
Start by thoroughly cleaning the headlights (washing or wiping with a waterless wash) then using Detailing Clay to remove any insect remains, embedded contaminates and road film... Here I am using BLACKFIRE PolyClay Fine.
Next, take the time to tape up any adjacent bodywork. This is step is even more important if you are using the rotary-like action of a drill for your restoration.
To demonstrate the effectiveness of Detailer's All In One Headlight Restoration Polish, I taped the headlight in half as well.
The Lake Country Thin Purple Wool Pad provides good cutting power (to scrub away the yellowing/oxidation), which is why it is included in the kit. Not only does it clean well, but it leaves a haze-free finish so your headlights will shine brightly.
The kit's provide attachments to use with a standard drill. However, I have access to Rupes' excellent Mini BigFoot Polisher, so I wanted to give it a try. A drill will work equally well, just make sure to keep it moving to avoid overheating the plastic lens cover.
Draw a medium X across the face of the pad.
Using Detailers All In One Headlight Restoring Polish is as easy as putting the machine on the paint, turning it on, and moving it around in smooth overlapping passes. The film will quickly "clear up", revealing a clear headlight. It is amazing how quickly this works.
Make sure to get the edges (why the tape comes in handy).
You can see the yellowing on the face of the pad. Clean with a nylon brush like the Pad Conditioning Brush or compressed air.
Polish until the residue and the headlight appear clear then wipe away the residue with a soft microfiber cloth. For headlights that are badly oxidized, you may need two applications.
Removing the tap line to reveal the 50/50 - before/after- shots.
The polished side looks much much better....
... and more importantly, both luminosity and visibility have been greatly improved.
In a matter of minutes I had the rest of the headlight restored...
Once the headlights have been restored, they need to be protected to prevent or help prevent oxidation/yellowing from reoccurring. Detailer's offers an excellent, and easy-to-use Headlight Protectant Spray. However, if you want even long-lasting protection, I would suggest looking at one of Detailer's nano coatings.
In this case we are going to use the Detailer's Wheel Coating. The reason I choose the Wheel Coating is because it features a unique solvent that flashes quickly, perfect for maximum adhesion to small areas....
Nano coatings must be applied to surgically clean surfaces, free of any oil, polish, silicon/e or wax residues. Detailers Coating Prep Polish is a cleaning agent that quickly removes any surface residue while wiping away completely. You can use this polish with a drill, polisher or by hand. Since I had the BigFoot Mini handy, I slapped on a 3-inch Lake Country Tangerine Hydro-Tech Pad and spread it over the surface, then buffed it away.
Simply spread it out on low speed and wipe away the residue.
Once the headlight is prepped, mist one-to-two sprays of Detailer's Wheel Coating onto the headlight and spread thinly into an even film. Continue work until no streaks are visible.
Allow the coating to cure for about a day and avoid water exposure for 12-24 hours if possible.
In less than 20 minutes you can restore headlights to like-new condition. The majority of the time is spend cleaning, claying and taping as the All In One Headlight Restoration Polish works so quickly. In a few more minutes, you can apply a long-lasting, nano-ceramic coating that will provide a crystallized shield against degradation.

