When you click on links to various merchants on this site and make a purchase, this can result in this site earning a commission. Affiliate programs and affiliations include, but are not limited to, the eBay Partner Network.
Ok Ninja Turtles, got em done using the small bolts. One problem, no way to secure the aim of the light. With screws tightened as tight as they'll go, light will still move with a shake. So, I rigged em for now (feel free to point and laugh). Ill be going back to get the 1/2" spacers like OP used to see if that helps secure light. Lol.
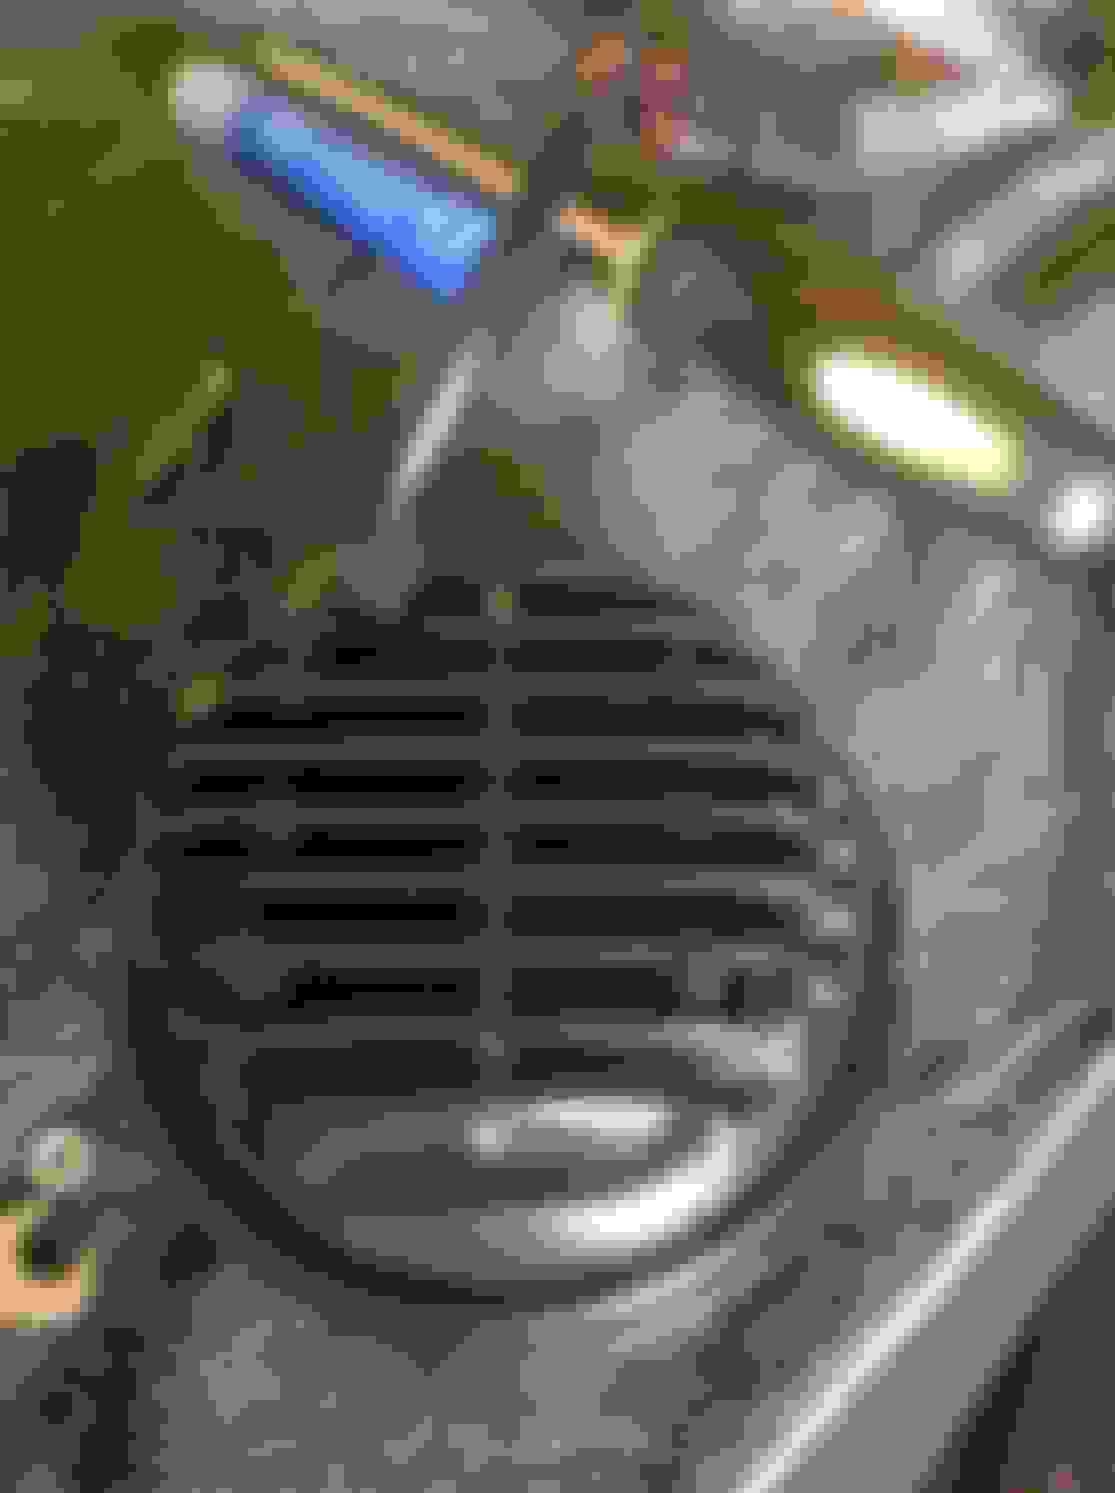
No the right light is not crooked, just looks that way from angle of camera
It's ok....mine actually did come out slightly crooked. Quickly solved by putting a washer or two under bracket to level back out.
BTW, I pulled those little stickers off that were covering the holes and put some silicone in/on the holes to seal back up.
BTW, I pulled those little stickers off that were covering the holes and put some silicone in/on the holes to seal back up.
It likely won't matter too much, but I'd recommend leaving those stickers on. They're actually called Goretex Patches, they allow moisture to evaporate without letting any in. They use them on OEM headlights as well as retrofits, that's the only reason I know about them.
Started tapping the brackets and lights tonight. So my problem that I ran into is that the bolts are not long enough. I used the same hardware as Infinite but I'm a little short. I'll get the longer bolts tomorrow and then do a better write up on mine. Here are a few pics of the progress.
Edit...I'l post the pics tomorrow....taking forever to upload from the phone.
Here are some pics of the first stages of my install. Im going to try and finish up tonight after I get longer bolts.
The first picture is the exact hardware I used, an M6-1.00-25mm Bolt (which I need it to be a bit longer) washer to match bolt M6, 1/2" metal spacer and an m6 nut. The second picture is the order things go on the bolt when its on the bracket and in the light....Bolt first, washer against the bracket, spacer between the bracket and the fog light and the nut in the heatsoak. The third picture is just the bracket and light, nothing important there. And the fourth picture is the fog light tapped. I started with a 3/16th bit and then tapped 13/64 and then 7/32 and everything seemed to fit snug and just right.
Ill finish up with a new post tonight when I get the longer bolt in and have them completely mounted on the bracket and on the car.
Last edited by Smokin00WS6; 05-06-2016 at 08:51 AM.
Started tapping the brackets and lights tonight. So my problem that I ran into is that the bolts are not long enough. I used the same hardware as Infinite but I'm a little short. I'll get the longer bolts tomorrow and then do a better write up on mine. Here are a few pics of the progress.
Edit...I'l post the pics tomorrow....taking forever to upload from the phone.
Here are some pics of the first stages of my install. Im going to try and finish up tonight after I get longer bolts.
So are you drilling through the outer 2 fins on each side of the housing? I've been lurking on this thread and have the lights, got the factory ones out last night, and will work on mine tonight as well. I think I got something like #8 x 1 3/4" bolts but will double check length before I start drilling anything. I didn't see spacers though.
So are you drilling through the outer 2 fins on each side of the housing? I've been lurking on this thread and have the lights, got the factory ones out last night, and will work on mine tonight as well. I think I got something like #8 x 1 3/4" bolts but will double check length before I start drilling anything. I didn't see spacers though.
Brews,
Im just drilling through the first set of fins on the fogs. i was thinking about going through two, but I just dont see the benefit. the biggest problem is the curve that it creates, so from the bracket to the fog i feel like there is an angle that was created, probably from my drill holes on the bracket and the holes in the first row of fins.
1 3/4 might be too long, but then again its how many fins you tap. maybe just to be safe, stop at the hardware store and get 1 1/2 and 1 1/4 bolt then you will have all 3 on hand. I need to shoot over and grab mine here in a little because i want to finish this up tonight. Let us know how it goes. Hope this helps.
I was mistaken, they were 3/4". Exchanged for 1" and it appears to be perfect. My only problem is not having a skinny enough wrench to hold the nut from spinning. Ill find one tomorrow and hopefully finish this up.
How are you guys getting the wrench in there to hold and tighten the nut?! My light also has this ridge between all the fins so it's not ideal to drill through for the threaded rod method. Ugh.
Bump to see if Smokin got his done? I got the tap set yesterday and have the lights tapped for #10-32 bolts and will grab some on the way home tonight.
Haven't quite decided how to make vertical adjustments. If the bolts with locktite hold it tight enough, I may just use washers on the bracket bolts if necessary. Otherwise, I'll need to drill/tap the bracket to accept bolts, similar to the stock adjustment setup.
Brew I think yours are different than all of ours. I'd drill into that middle rib and tap that too. This is aluminum so be careful not to over tighten like I tend to do.
Another option would be to offset your holes so you can clear that middle rib and put some spacers on the bracket before you install to drop the bracket lower to cover the offset hole.
Yeah I drilled deeper into the middle rib so I can use 1-1/4" screws. I'll be careful about tightening it. If anything happens I think you're right, I'd just offset the holes slightly.
Last edited by BREWS02WS6; 05-09-2016 at 02:00 PM.
Reason: found spacers, don't need to ask the question
Looks great man! I am all about lighting mods. The brighter the better! If I had known about this I probably would have done it. Maybe on my next car if I get another TA!
I may end up scrapping the factory bracket idea and making my own. I'm having trouble getting a vertical adjustment setup to hold them tightly. I don't want to muck up the thread with my issues, so I won't bother posting pics. But I'll post my final results.
Bump to see if Smokin got his done? I got the tap set yesterday and have the lights tapped for #10-32 bolts and will grab some on the way home tonight.
Haven't quite decided how to make vertical adjustments. If the bolts with locktite hold it tight enough, I may just use washers on the bracket bolts if necessary. Otherwise, I'll need to drill/tap the bracket to accept bolts, similar to the stock adjustment setup.
Brews,
I'm in the garage right now and just got done! Argh! What a PITA these were. Lol. If you don't tap it perfectly they are hard align. So here is what I ended up doing....3/4 inch bit and tapped 3 fins. I ended up using 1/4-20 2 bolts with the 1/2 inch spacer. I ended up not using nuts. The last fin I tapped it at 15/64 so the bolt would screw into the fin. I then drenched the damn thing in locktite. Hahaha it worked. Actually they aligned absolutely perfect. I'm going to do a write up below with pics so u can see. I took my time and ended up changing things 3 times. I wanted these to be perfect.
Alright guys....here are some more pics. When I'm on the computer sometime tomorrow I'll edit a good wrote up. The cell is pretty much dead. Sorry this took so long to do, I've just been super busystem with work and other stuff.
Mike
Edit:
So here is what I have learned. Depending on which set of lights you get, because it seems like there are a few different backs to these, this is going to determine which hardware that you use to mount these up. Take a look at all of our pictures on here and see which fogs you have and then go from there. Also, make sure that you mount the lights in the correct beam pattern.
Mike
Last edited by Smokin00WS6; 05-12-2016 at 07:58 PM.

 05-03-2016 | 12:03 PM