
2002 Black Corvette Paint Correction + Optimum Gloss Coat
 08-21-2016, 02:53 PM
#1

The owner of this 2002 Corvette is one of my many uncles (my mom's baby bro). A brief background on the car. He is the second owner and he has had it for roughly 10+ years. He had the car repainted due to clear coat failure on the rear quarters. The high UV index here in Southern California will do that along with not enough care.
Tools and products used:
Wash:
Detailer's Pro Xtreme Foam (Now McKee's 37)
Griot's Garage Fast Correcting Prep Mitt
Car Pro IronX
Wheels:
Griot's Garage Heavy Duty Wheel Cleaner
Detailer's Pro Xtreme Foam in a bucket for my brushes
Wheel Woolies
Lug Nut Brush
Mothers Wheel Brush
Rupes Keramik Polish on the Rupes nano
Car Pro Eraser
Car Pro DLUX
Tires:
Meguiar's D108 Super Degreaser at 4:1
Detailer's Pro Tire Rejuvenator (Now McKee's 37)
Tuf Shine Tire Brush
Detailer's Pro Tire Coating (2 coats) - Now McKee's
Wheel wells:
Meguiar's D103 APC+ with a brush
Meguiar's D160 All Season Dressing
Glass:
Clay Magic Clay Bar
Meguiar's D120 (used to clean the glass and clay lube)
Meguiar's M101
Optimum Paint Prep
Optimum Opti-Glass
Optimum Opti-Glass Clean & Protect
Paint Correction:
Rupes LHR15 Mark II
Rupes Mini
Rupes Nano
Griot's Garage Boss Microfiber Cutting pad
Meguiar's D300 Microfiber Correction Compound
Rupes Yellow Foam pad
Rupes Keramik Fine Gel Polish
Optimum Paint Prep
Optimum Gloss Coat (2 coats)
Optimum Opti-Seal (used to protect gloss coat during the curing time)
Trim:
Meguiar's D103 APC+
IPA
Solution Finish
Optimum Paint Prep
Optimum Gloss Coat
Exhaust Tips:
Meguiar's Fine Cut Metal Polish
Car Pro Eraser
Car Pro DLUX
Interior:
Meguiar's Quik Interior Detailer
303 Automotive Protectant
Meguiar's D181 Leather Cleaner
Car Pro Cquartz Leather Coating
Optimum No Rinse as glass cleaner
Engine Bay:
Meguiar's D103 APC+
Blackfire All In One
Tailights:
Rupes Mini
Rupes Zephir
Rupes 4" Blue pad
Optimum Paint prep
Optimum Opti-Lens
Headlights:
Optimum Paint Prep
Optimum Opti-Lens
First thing was washing the wheels. Wheel Cleaner doing it's thing on the passenger side wheel.

Front driver side wheel
Before
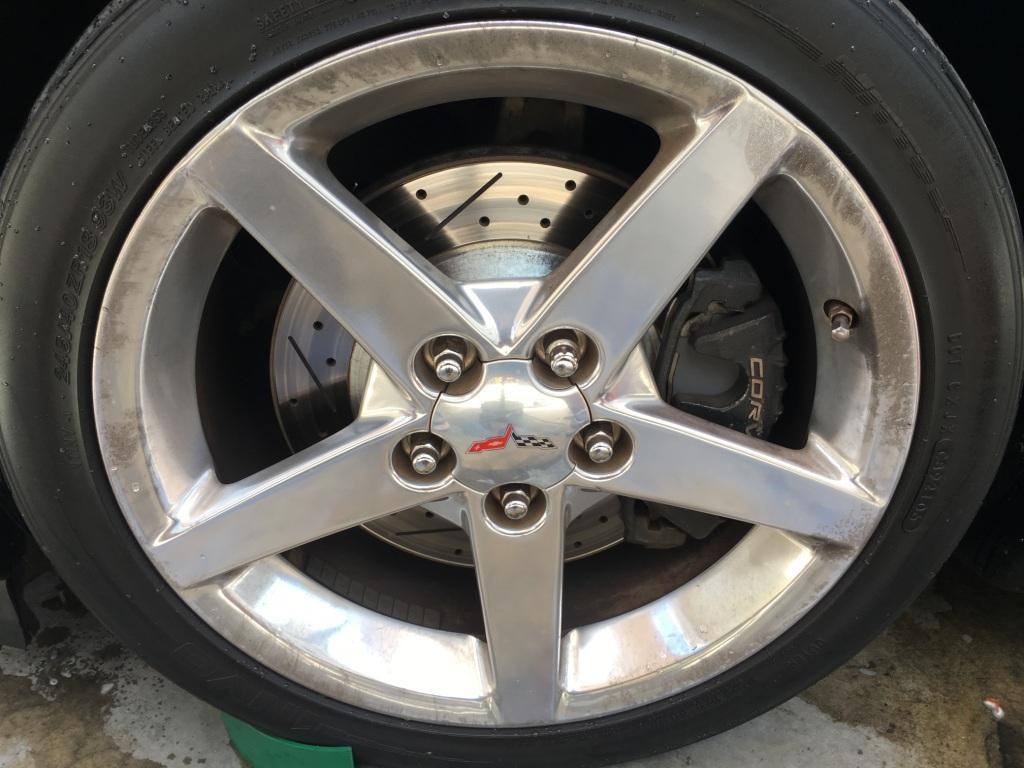
After

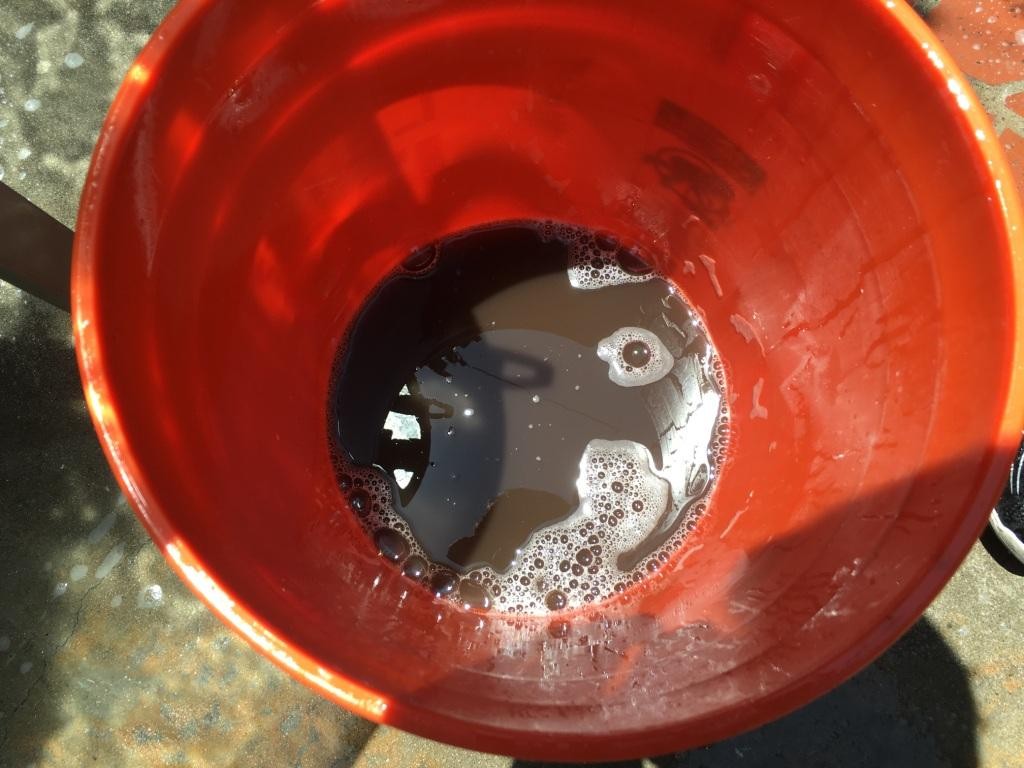
My dedicated wheel bucket afterwards just to give an idea of how dirty they were
Once the wheels and tires were cleaned it was time to wash the car. As always I start off using the aggressive wash method courtesy of Mike Phillips (The Aggressive Approach to Washing a Car)

This completely stripped whatever was on the paint. The car was dried to inspect the paint in the sun. This is what we saw.

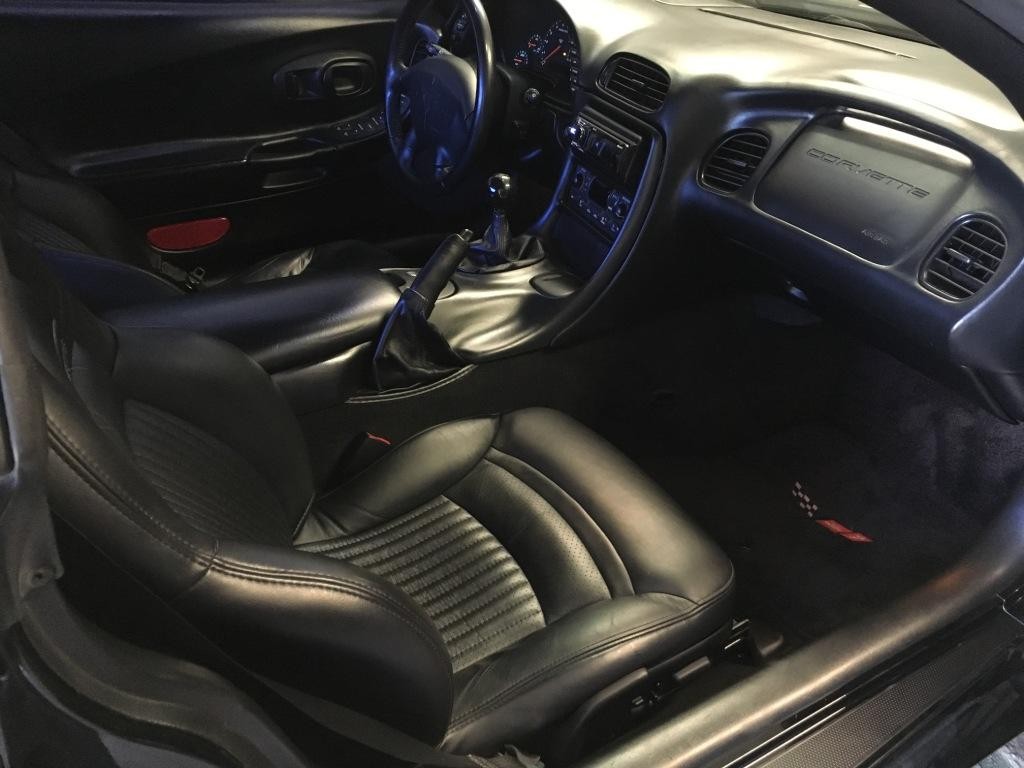
We pulled the car into the garage and the first thing that we attacked was the interior.
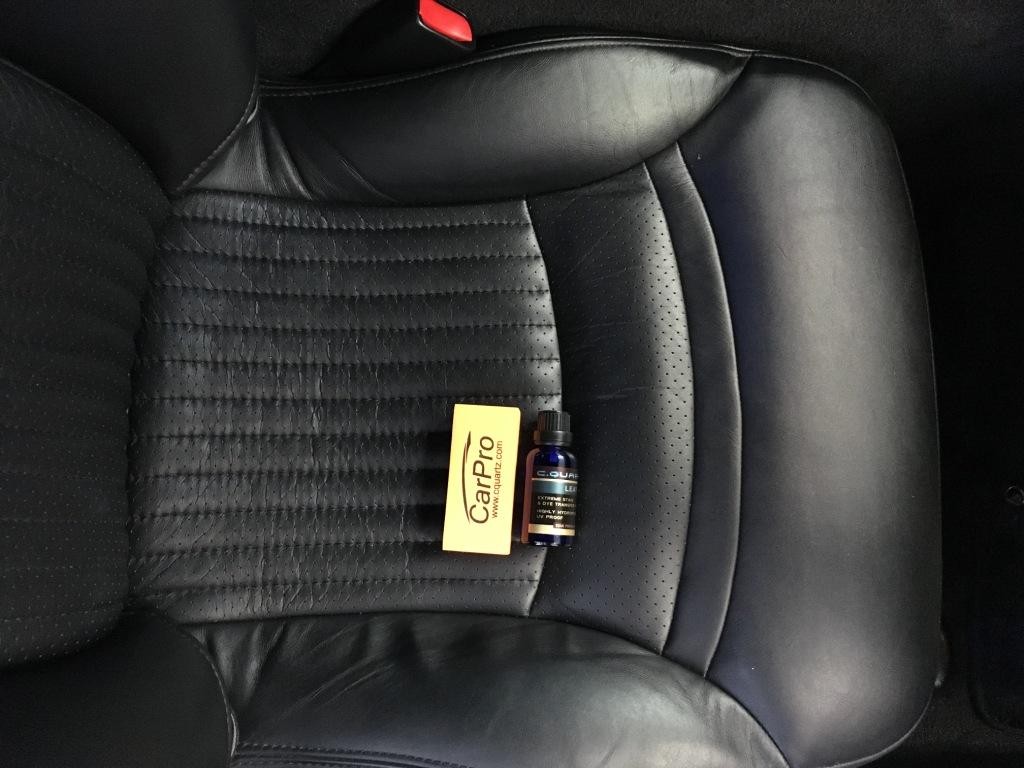
All leather was cleaned with Meguiar's D181 leather cleaner followed up with a damp microfiber towel to prep the leather surface for Car Pro Cquartz Leather Coating.
Before (this is how the engine bay looked like when it arrived). It's been to Arizona a few times so it needed a good cleaning.
While I was working on the interior my brother took it upon himself to dress up the engine bay. I forgot to mention that he cleaned the engine bay with APC and some brushes while I was cleaning the wheels.

After it was pulled into the garage after washing and deconing the paint the engine bay was dressed with Blackfire All In One Trim and Tire Protectant

We called it a day after that.
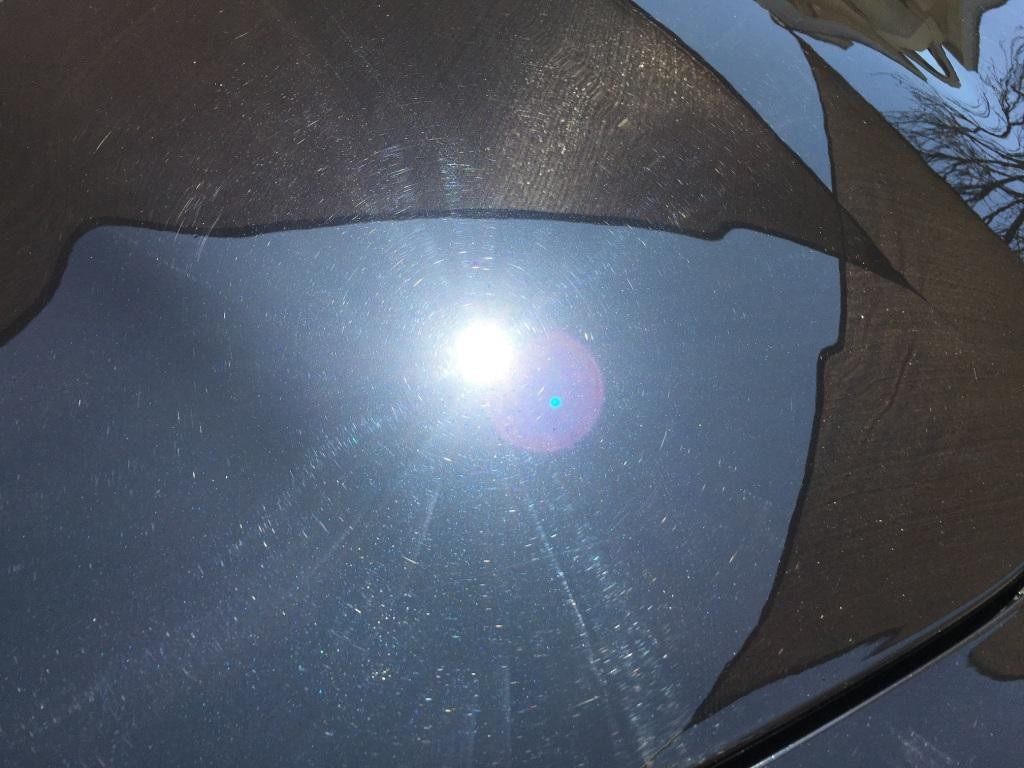
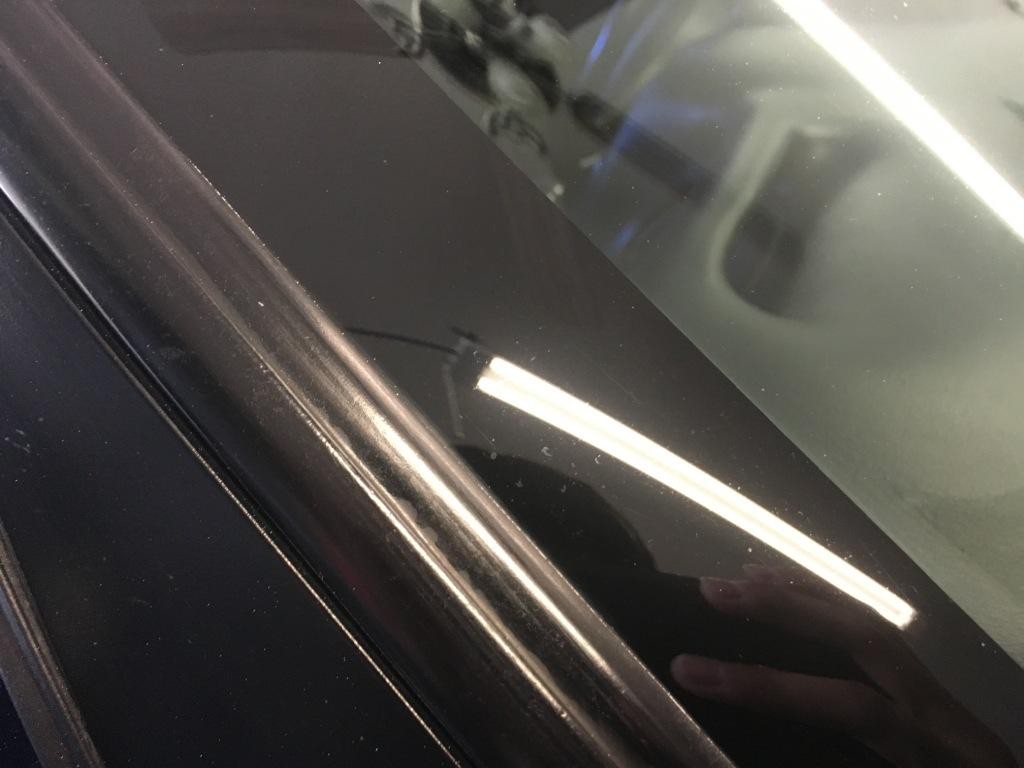
The next day I began polishing the glass. My uncle ran water over the car and left it like that. It created some pretty bad water spots on the glass, taillights and paint. DP Glass Restorer Polish on a cutting pad did nothing as did clay. I had to go with Meguiar's M101 on a cutting pad using my Meguiar's MT300 to remove them. It was on all the glass.

I got most of it out.
During the work week I would do a panel here an there after I got home from work.
I proceeded with a test spot using M205 and it removed most of the defects but the paint would require a more aggressive polish to remove the deep defects. I ended up compounding the car with Meguiar's D300 on Griot's Garage Boss Microfiber Cutting pads. This was giving me the correction I wanted. It also is a low dusting compound at least for me.
Here's the rear quarter panel area.
Before

Clarity restored.
Roof

After

Edge work

While I was wrapping up compounding the paint, I took the next project on which was his taillights. There were some water spots on them as well. I took each one off and used my Rupes Mini to compound them out.
Before
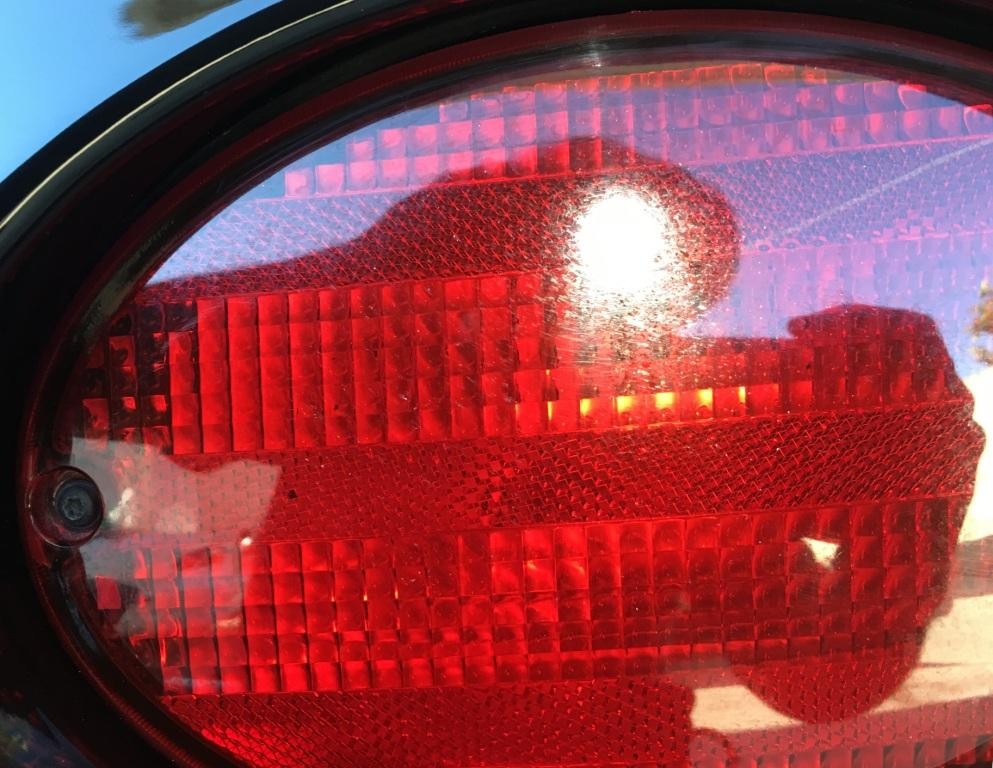
After. No the lens is not broken. That is a reflection. These were coated with Opti-Lens later one while I was coating the paint

Once I figured out what worked to finish out the paint, I followed up with blowing out the paint and crevices with compressed air to remove as much of the compound and polsihing dust. I then rinseless washed with ONR to remove the remaining compound and polish dust. I preped the surface with a couple wipedowns of Optimum Paint Prep. The paint was coated with a double coat of Gloss Coat (1 hour apart) followed by 1 coat of opti-seal (1 hour from the last coat of Gloss coat) to protect Gloss Coat during the cure time of a week.
The humidity was higher than normal which caused Gloss Coat to flash quicker.
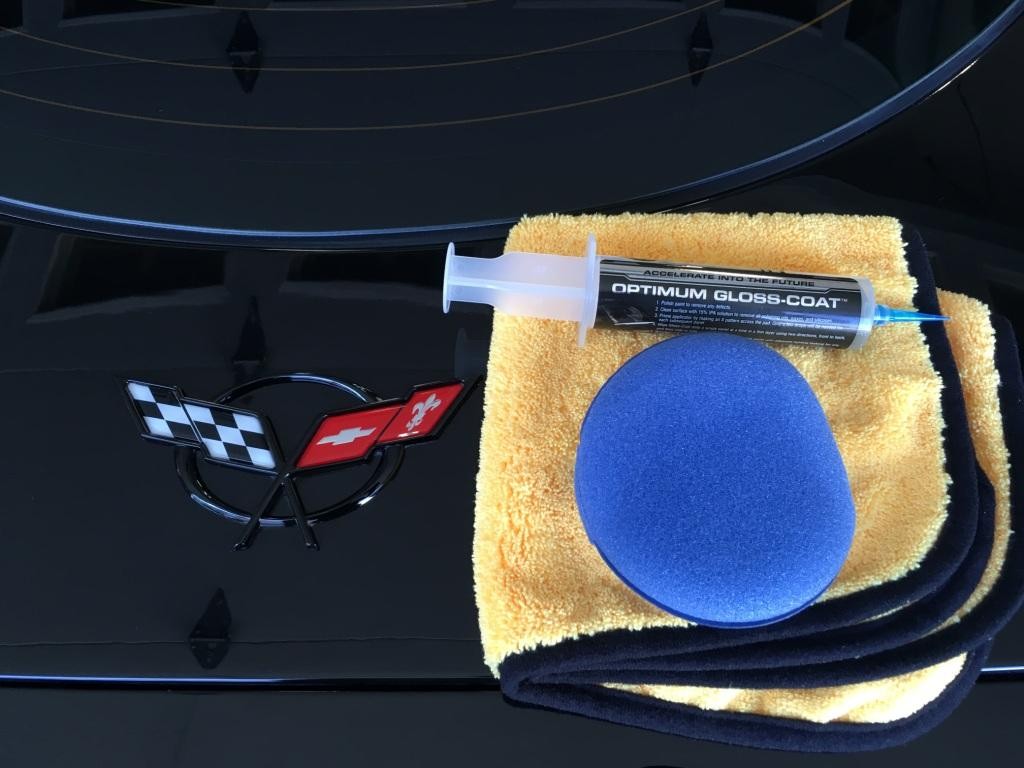

I tried something different this time with Gloss Coat. I typically use the Car Pro block and suede applicator. This time around I used the blue foam applicator that comes with Gloss Coat. I found that to be even easier than the block and suede applicator. I used the same amount of product with the foam applicator that I do with the block and suede applicator. To those that say the foam applicator absorbs a lot of product I would have to disagree.
Gloss Coat flashing

Looking good after one coat
During those wiat times between coats, the face of the wheels were polished with Rupes Keramik on a Rupes Nano and coated with Car Pro DlUX following a wipedown with Eraser.


The tips of the Borla cat back were polished with Meuiar's Fine Cut Metal Polish and prepped with Car Pro Eraser. They were also coated with DLUX

Here are some final photos to show off the end result. I had some dust on the camera lens.


New plates


2 coats of DP Tire Coating

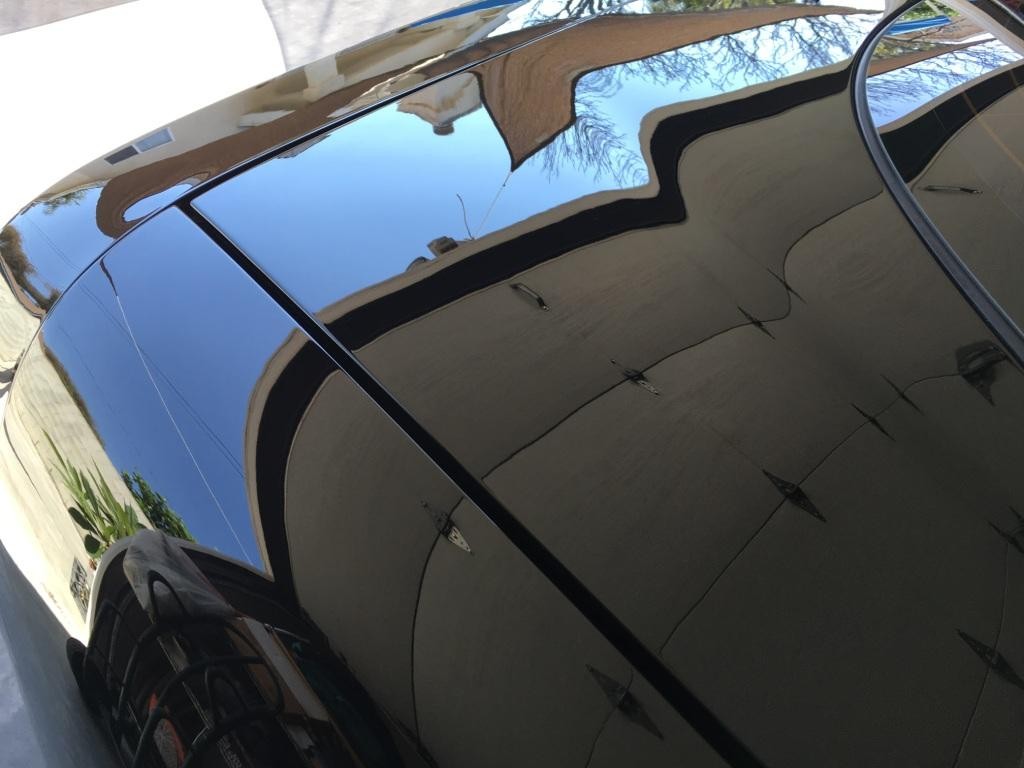
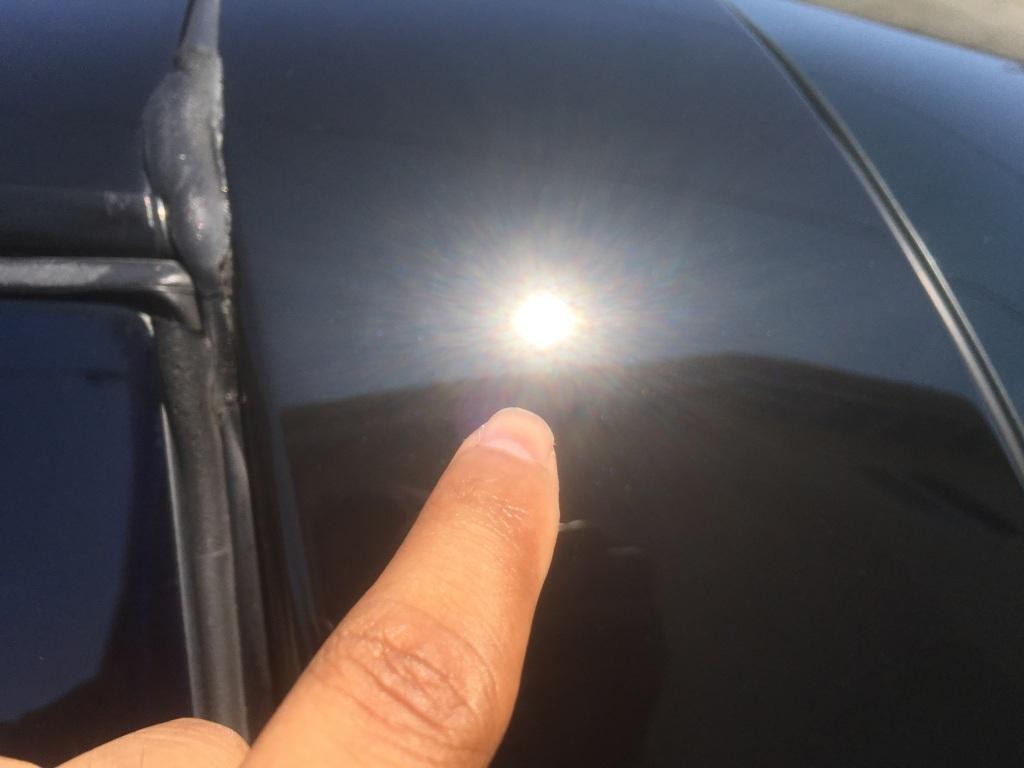
Beautiful defect free paint
The paint came a long way from this
To this

The transformation is night and day.
Tools and products used:
Wash:
Detailer's Pro Xtreme Foam (Now McKee's 37)
Griot's Garage Fast Correcting Prep Mitt
Car Pro IronX
Wheels:
Griot's Garage Heavy Duty Wheel Cleaner
Detailer's Pro Xtreme Foam in a bucket for my brushes
Wheel Woolies
Lug Nut Brush
Mothers Wheel Brush
Rupes Keramik Polish on the Rupes nano
Car Pro Eraser
Car Pro DLUX
Tires:
Meguiar's D108 Super Degreaser at 4:1
Detailer's Pro Tire Rejuvenator (Now McKee's 37)
Tuf Shine Tire Brush
Detailer's Pro Tire Coating (2 coats) - Now McKee's
Wheel wells:
Meguiar's D103 APC+ with a brush
Meguiar's D160 All Season Dressing
Glass:
Clay Magic Clay Bar
Meguiar's D120 (used to clean the glass and clay lube)
Meguiar's M101
Optimum Paint Prep
Optimum Opti-Glass
Optimum Opti-Glass Clean & Protect
Paint Correction:
Rupes LHR15 Mark II
Rupes Mini
Rupes Nano
Griot's Garage Boss Microfiber Cutting pad
Meguiar's D300 Microfiber Correction Compound
Rupes Yellow Foam pad
Rupes Keramik Fine Gel Polish
Optimum Paint Prep
Optimum Gloss Coat (2 coats)
Optimum Opti-Seal (used to protect gloss coat during the curing time)
Trim:
Meguiar's D103 APC+
IPA
Solution Finish
Optimum Paint Prep
Optimum Gloss Coat
Exhaust Tips:
Meguiar's Fine Cut Metal Polish
Car Pro Eraser
Car Pro DLUX
Interior:
Meguiar's Quik Interior Detailer
303 Automotive Protectant
Meguiar's D181 Leather Cleaner
Car Pro Cquartz Leather Coating
Optimum No Rinse as glass cleaner
Engine Bay:
Meguiar's D103 APC+
Blackfire All In One
Tailights:
Rupes Mini
Rupes Zephir
Rupes 4" Blue pad
Optimum Paint prep
Optimum Opti-Lens
Headlights:
Optimum Paint Prep
Optimum Opti-Lens
First thing was washing the wheels. Wheel Cleaner doing it's thing on the passenger side wheel.
Front driver side wheel
Before
After
My dedicated wheel bucket afterwards just to give an idea of how dirty they were
Once the wheels and tires were cleaned it was time to wash the car. As always I start off using the aggressive wash method courtesy of Mike Phillips (The Aggressive Approach to Washing a Car)
This completely stripped whatever was on the paint. The car was dried to inspect the paint in the sun. This is what we saw.
We pulled the car into the garage and the first thing that we attacked was the interior.
All leather was cleaned with Meguiar's D181 leather cleaner followed up with a damp microfiber towel to prep the leather surface for Car Pro Cquartz Leather Coating.
Before (this is how the engine bay looked like when it arrived). It's been to Arizona a few times so it needed a good cleaning.
While I was working on the interior my brother took it upon himself to dress up the engine bay. I forgot to mention that he cleaned the engine bay with APC and some brushes while I was cleaning the wheels.
After it was pulled into the garage after washing and deconing the paint the engine bay was dressed with Blackfire All In One Trim and Tire Protectant
We called it a day after that.
The next day I began polishing the glass. My uncle ran water over the car and left it like that. It created some pretty bad water spots on the glass, taillights and paint. DP Glass Restorer Polish on a cutting pad did nothing as did clay. I had to go with Meguiar's M101 on a cutting pad using my Meguiar's MT300 to remove them. It was on all the glass.
I got most of it out.
During the work week I would do a panel here an there after I got home from work.
I proceeded with a test spot using M205 and it removed most of the defects but the paint would require a more aggressive polish to remove the deep defects. I ended up compounding the car with Meguiar's D300 on Griot's Garage Boss Microfiber Cutting pads. This was giving me the correction I wanted. It also is a low dusting compound at least for me.
Here's the rear quarter panel area.
Before
Clarity restored.
Roof
After
Edge work
While I was wrapping up compounding the paint, I took the next project on which was his taillights. There were some water spots on them as well. I took each one off and used my Rupes Mini to compound them out.
Before
After. No the lens is not broken. That is a reflection. These were coated with Opti-Lens later one while I was coating the paint
Once I figured out what worked to finish out the paint, I followed up with blowing out the paint and crevices with compressed air to remove as much of the compound and polsihing dust. I then rinseless washed with ONR to remove the remaining compound and polish dust. I preped the surface with a couple wipedowns of Optimum Paint Prep. The paint was coated with a double coat of Gloss Coat (1 hour apart) followed by 1 coat of opti-seal (1 hour from the last coat of Gloss coat) to protect Gloss Coat during the cure time of a week.
The humidity was higher than normal which caused Gloss Coat to flash quicker.
I tried something different this time with Gloss Coat. I typically use the Car Pro block and suede applicator. This time around I used the blue foam applicator that comes with Gloss Coat. I found that to be even easier than the block and suede applicator. I used the same amount of product with the foam applicator that I do with the block and suede applicator. To those that say the foam applicator absorbs a lot of product I would have to disagree.
Gloss Coat flashing
Looking good after one coat
During those wiat times between coats, the face of the wheels were polished with Rupes Keramik on a Rupes Nano and coated with Car Pro DlUX following a wipedown with Eraser.
The tips of the Borla cat back were polished with Meuiar's Fine Cut Metal Polish and prepped with Car Pro Eraser. They were also coated with DLUX
Here are some final photos to show off the end result. I had some dust on the camera lens.
New plates
2 coats of DP Tire Coating
Beautiful defect free paint
The paint came a long way from this
To this
The transformation is night and day.
 08-21-2016, 04:12 PM
#3
Wow. What a difference!
08-22-2016, 02:28 AM
#6
Yeah a huge difference.
Oh we already talked about that lol. I will be personally maintaining this one.
Thanks. I don't have a detailing side business. I do this as a hobby more than anything. But I am more than willing to help out if needed. You are always welcome to PM me.
Thanks. I don't have a detailing side business. I do this as a hobby more than anything. But I am more than willing to help out if needed. You are always welcome to PM me.
Trending Topics
 08-22-2016, 04:49 PM
#10
Thanks. I like the nano. The more I use it the more I like it. It fits into a lot of the smaller areas. I had been using an air powered 2" polisher and while that worked, it required the compressor to be on.
It's expensive but I got my money's worth already.