When you click on links to various merchants on this site and make a purchase, this can result in this site earning a commission. Affiliate programs and affiliations include, but are not limited to, the eBay Partner Network.
How to: Turn your camaro factory radio lights to red
Not sure if the TA radio has red lights, but this mod took less than an hour and cost me $5.
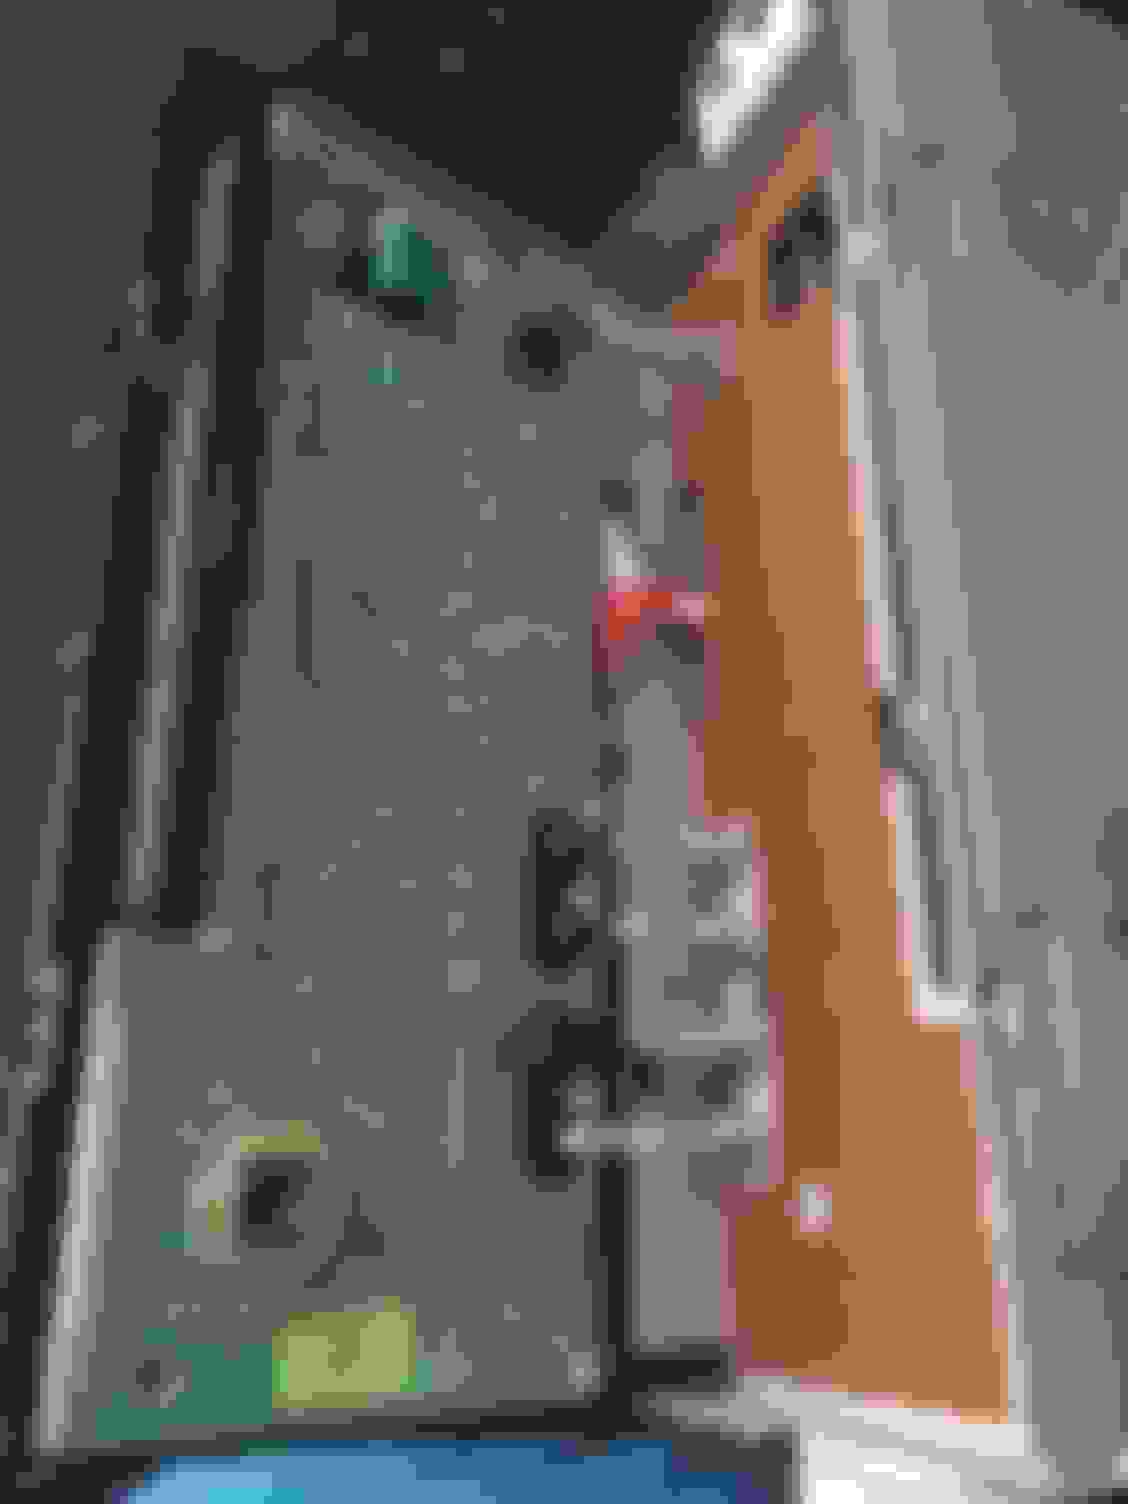
You'll need a 1/8 SAE socket to remove the bolts holding the board to the display bezel, which most local stores don't carry. Pop the **** buttons off the face of the radio before attempting to remove the face. Go around the face after the ***** are off, carefully prying up each tab. I took one look at the bulbs and decided not to replace them with LEDS as each LED would need their own resistor soldered in line. Instead, I used red window film and used two layers on each button as seen in the pics below. 3 layers were used on the digital display. You'll also need to cover the 2 clear plastic pieces that are used to distribute the light to the *****. Remove the two factory blue film pieces. Make sure the buttons are in the right orientation or you'll wind up with an upside down button like I have.
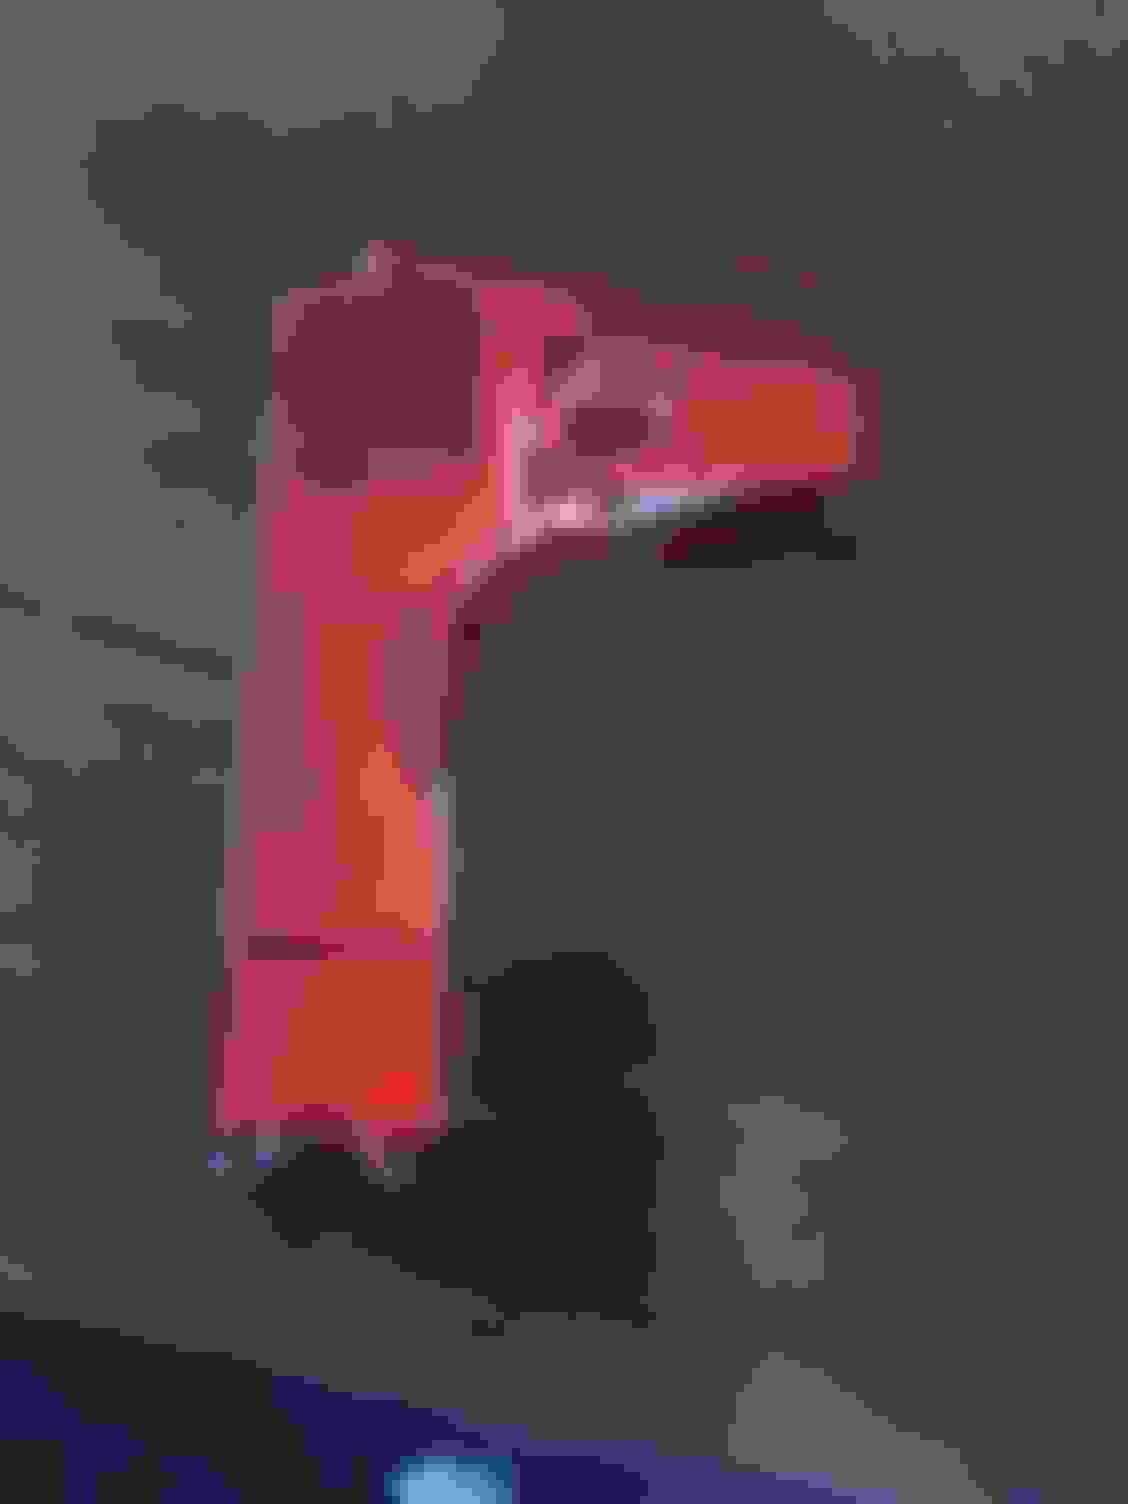
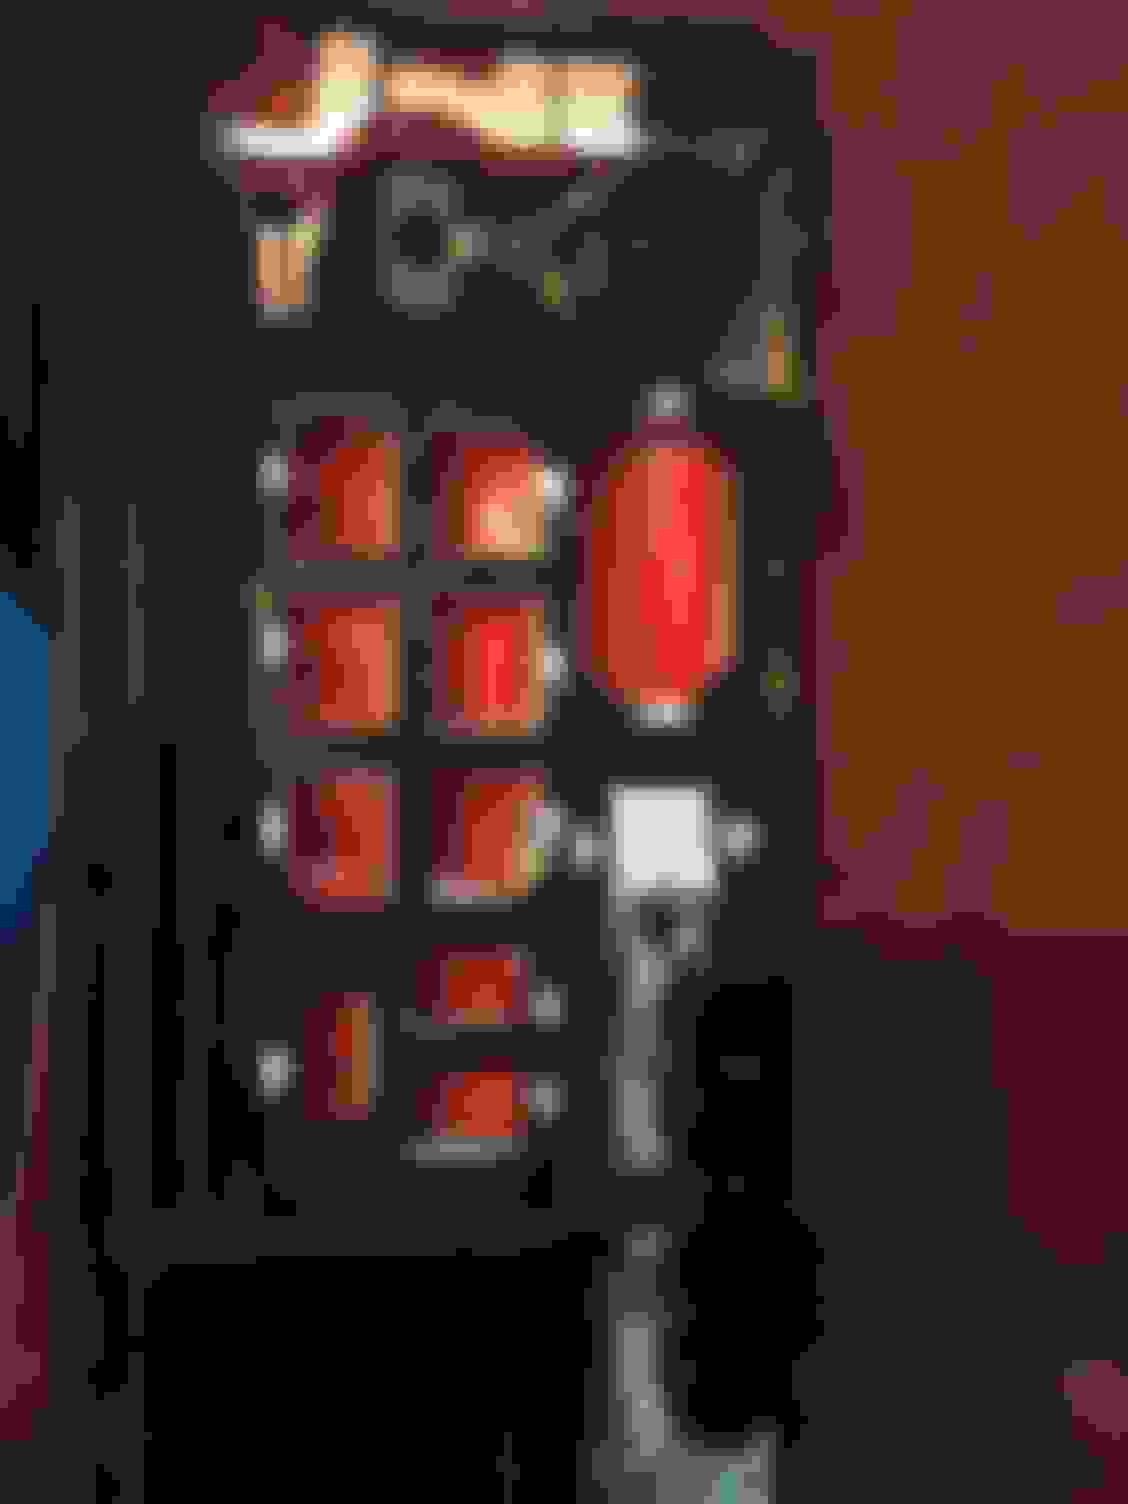
The pics make the light look pink for some reason but it looks much different in person, a very vibrant red and the color is consistent on the whole face and matches the gauge cluster bezel red LEDS as well.
Superbrightleds is what is recommended on here to replace the other bulbs. Just substitute the "R" with "x" in the part numbers below to see the available colors. The number in the parenthesis is how many bulbs are needed.
(1) 74-RHP3 - Lights up the auto shift bezel
(4) 74-RHP - HVAC and doors
(1) NEO3-RHP - Headlight switch
(5) 194-RHP5-PC - Gauge cluster.
4410-R9 - Dome light, not sure how many bulbs are in there.

 02-19-2018, 10:18 PM